Low Poly Skeleton Dungeon [Increased Brightness and Contrast]

I have spent the last two months or so creating this dungeon and animation. I really hope you like it. I had so much fun putting all this together!

Same as with the animated lamp section, I also want to share some stuff about this project.

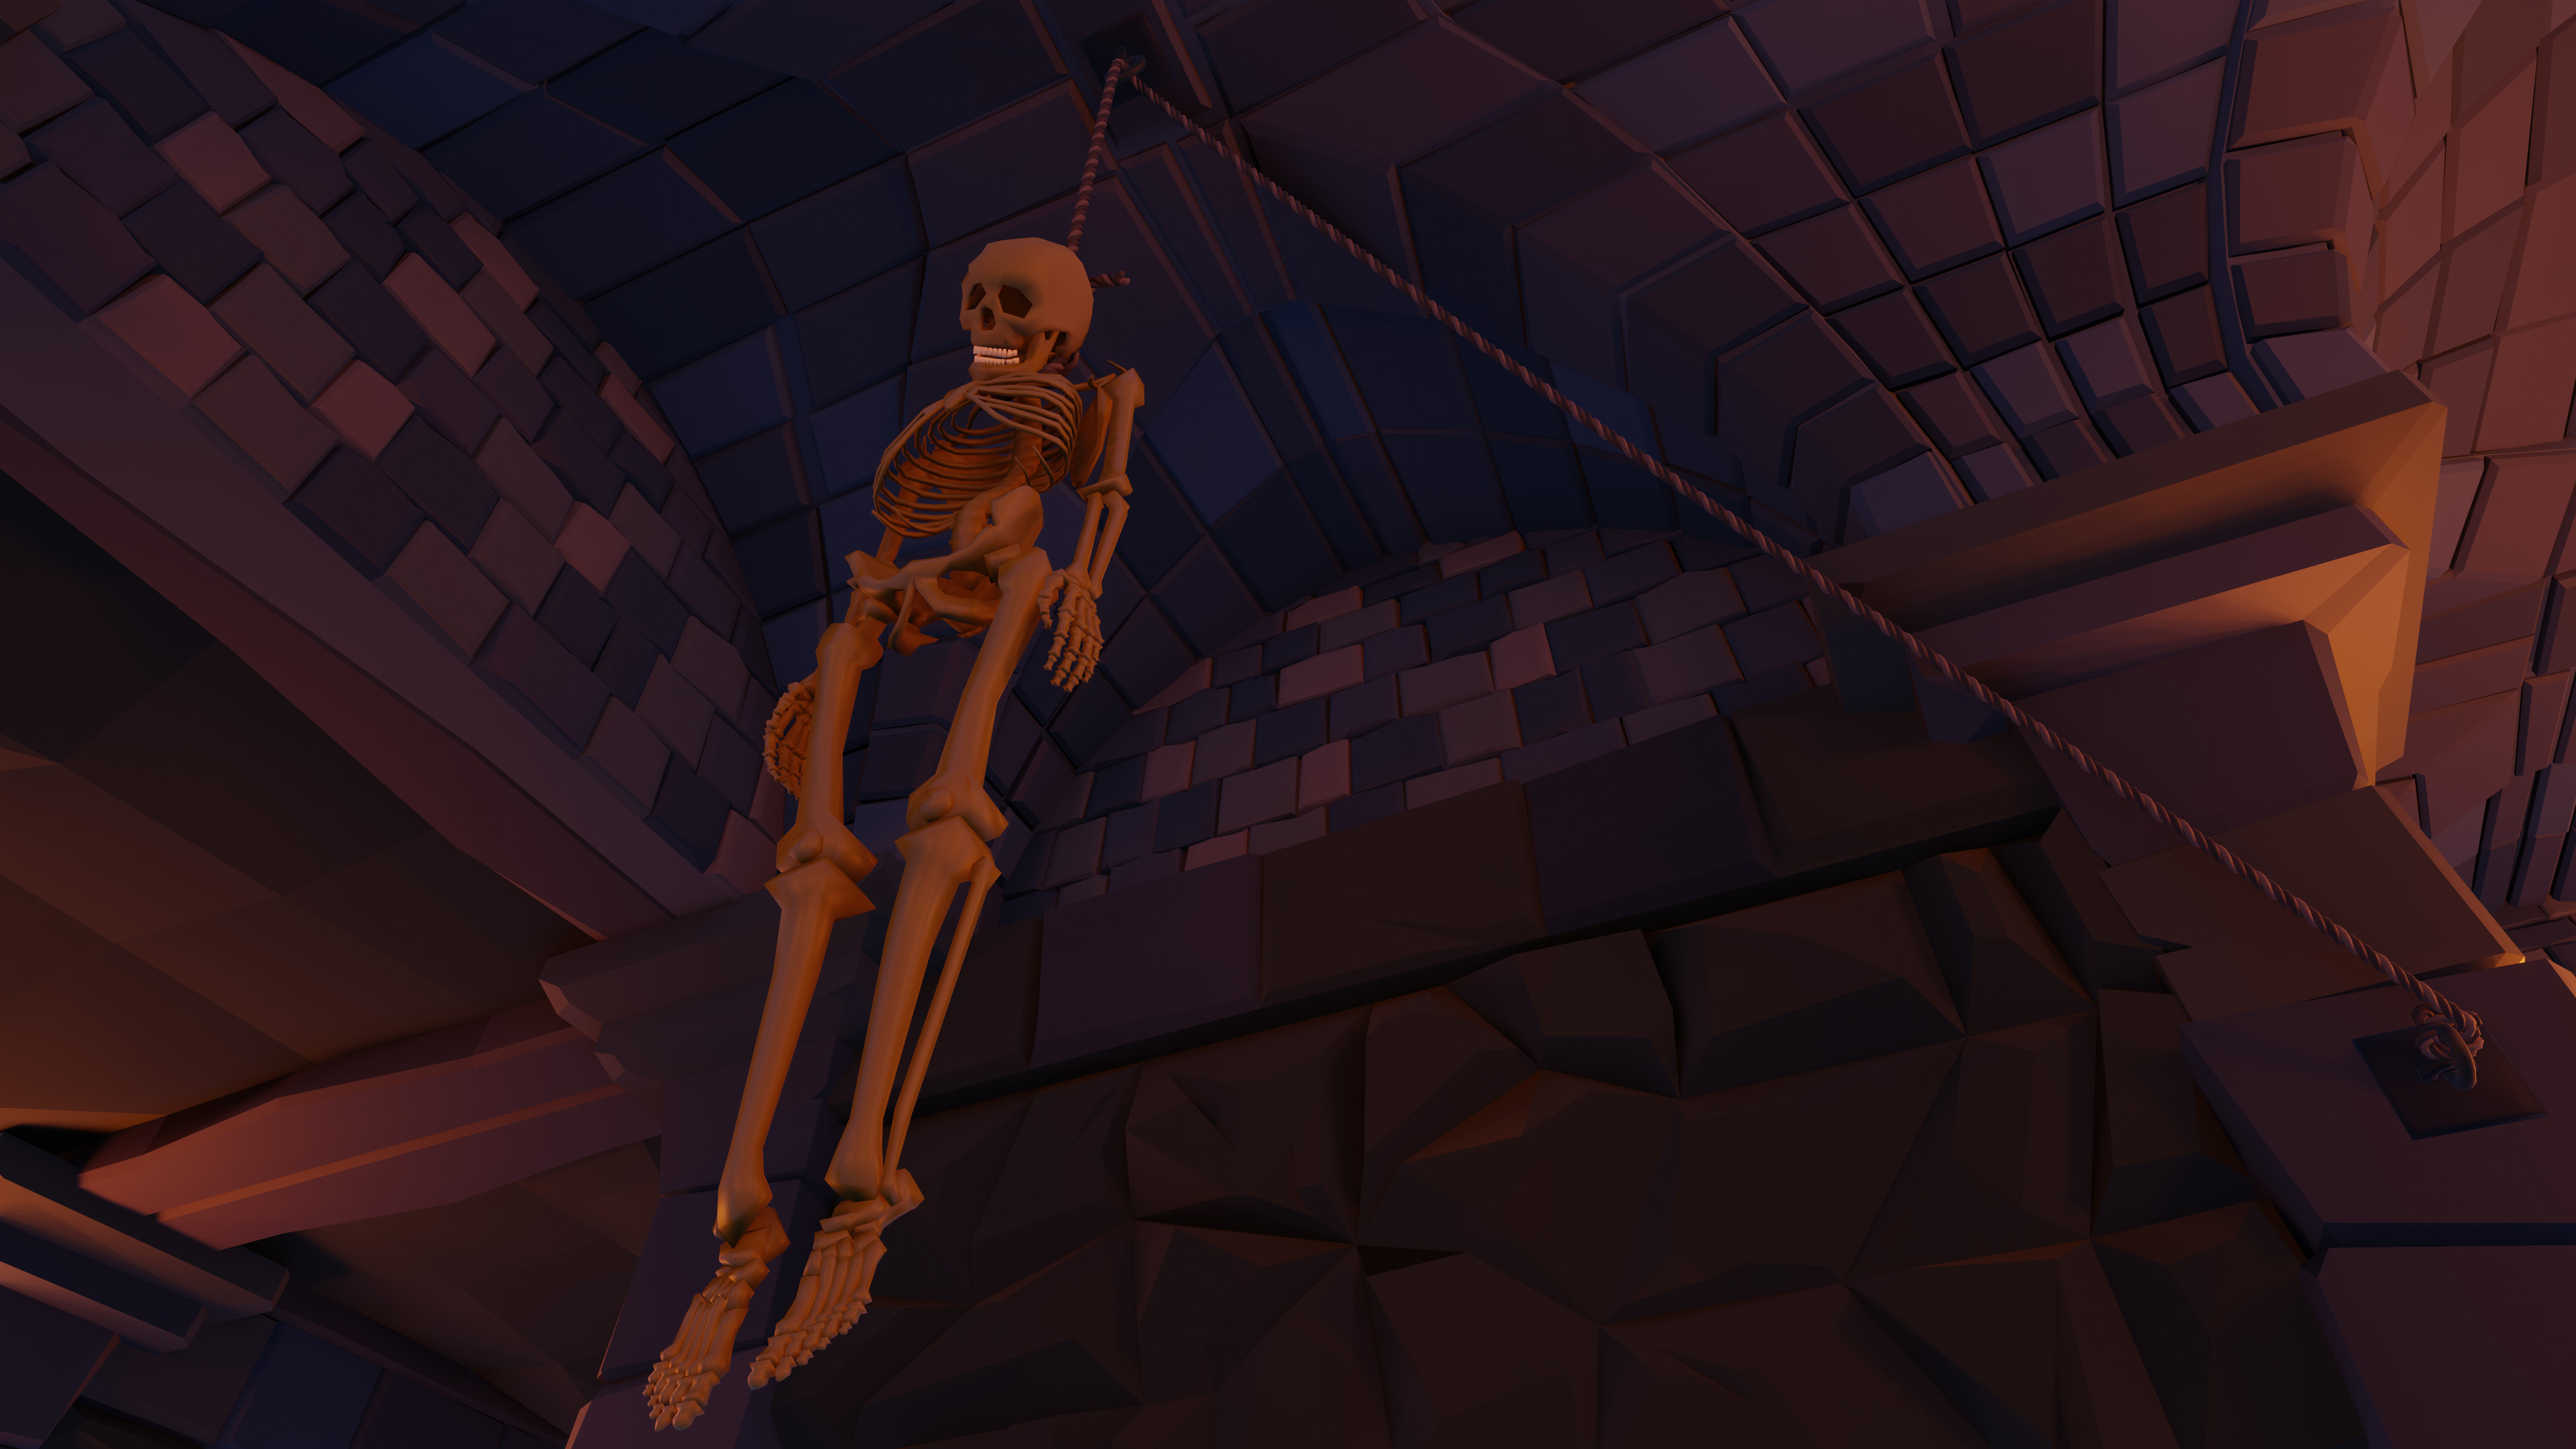
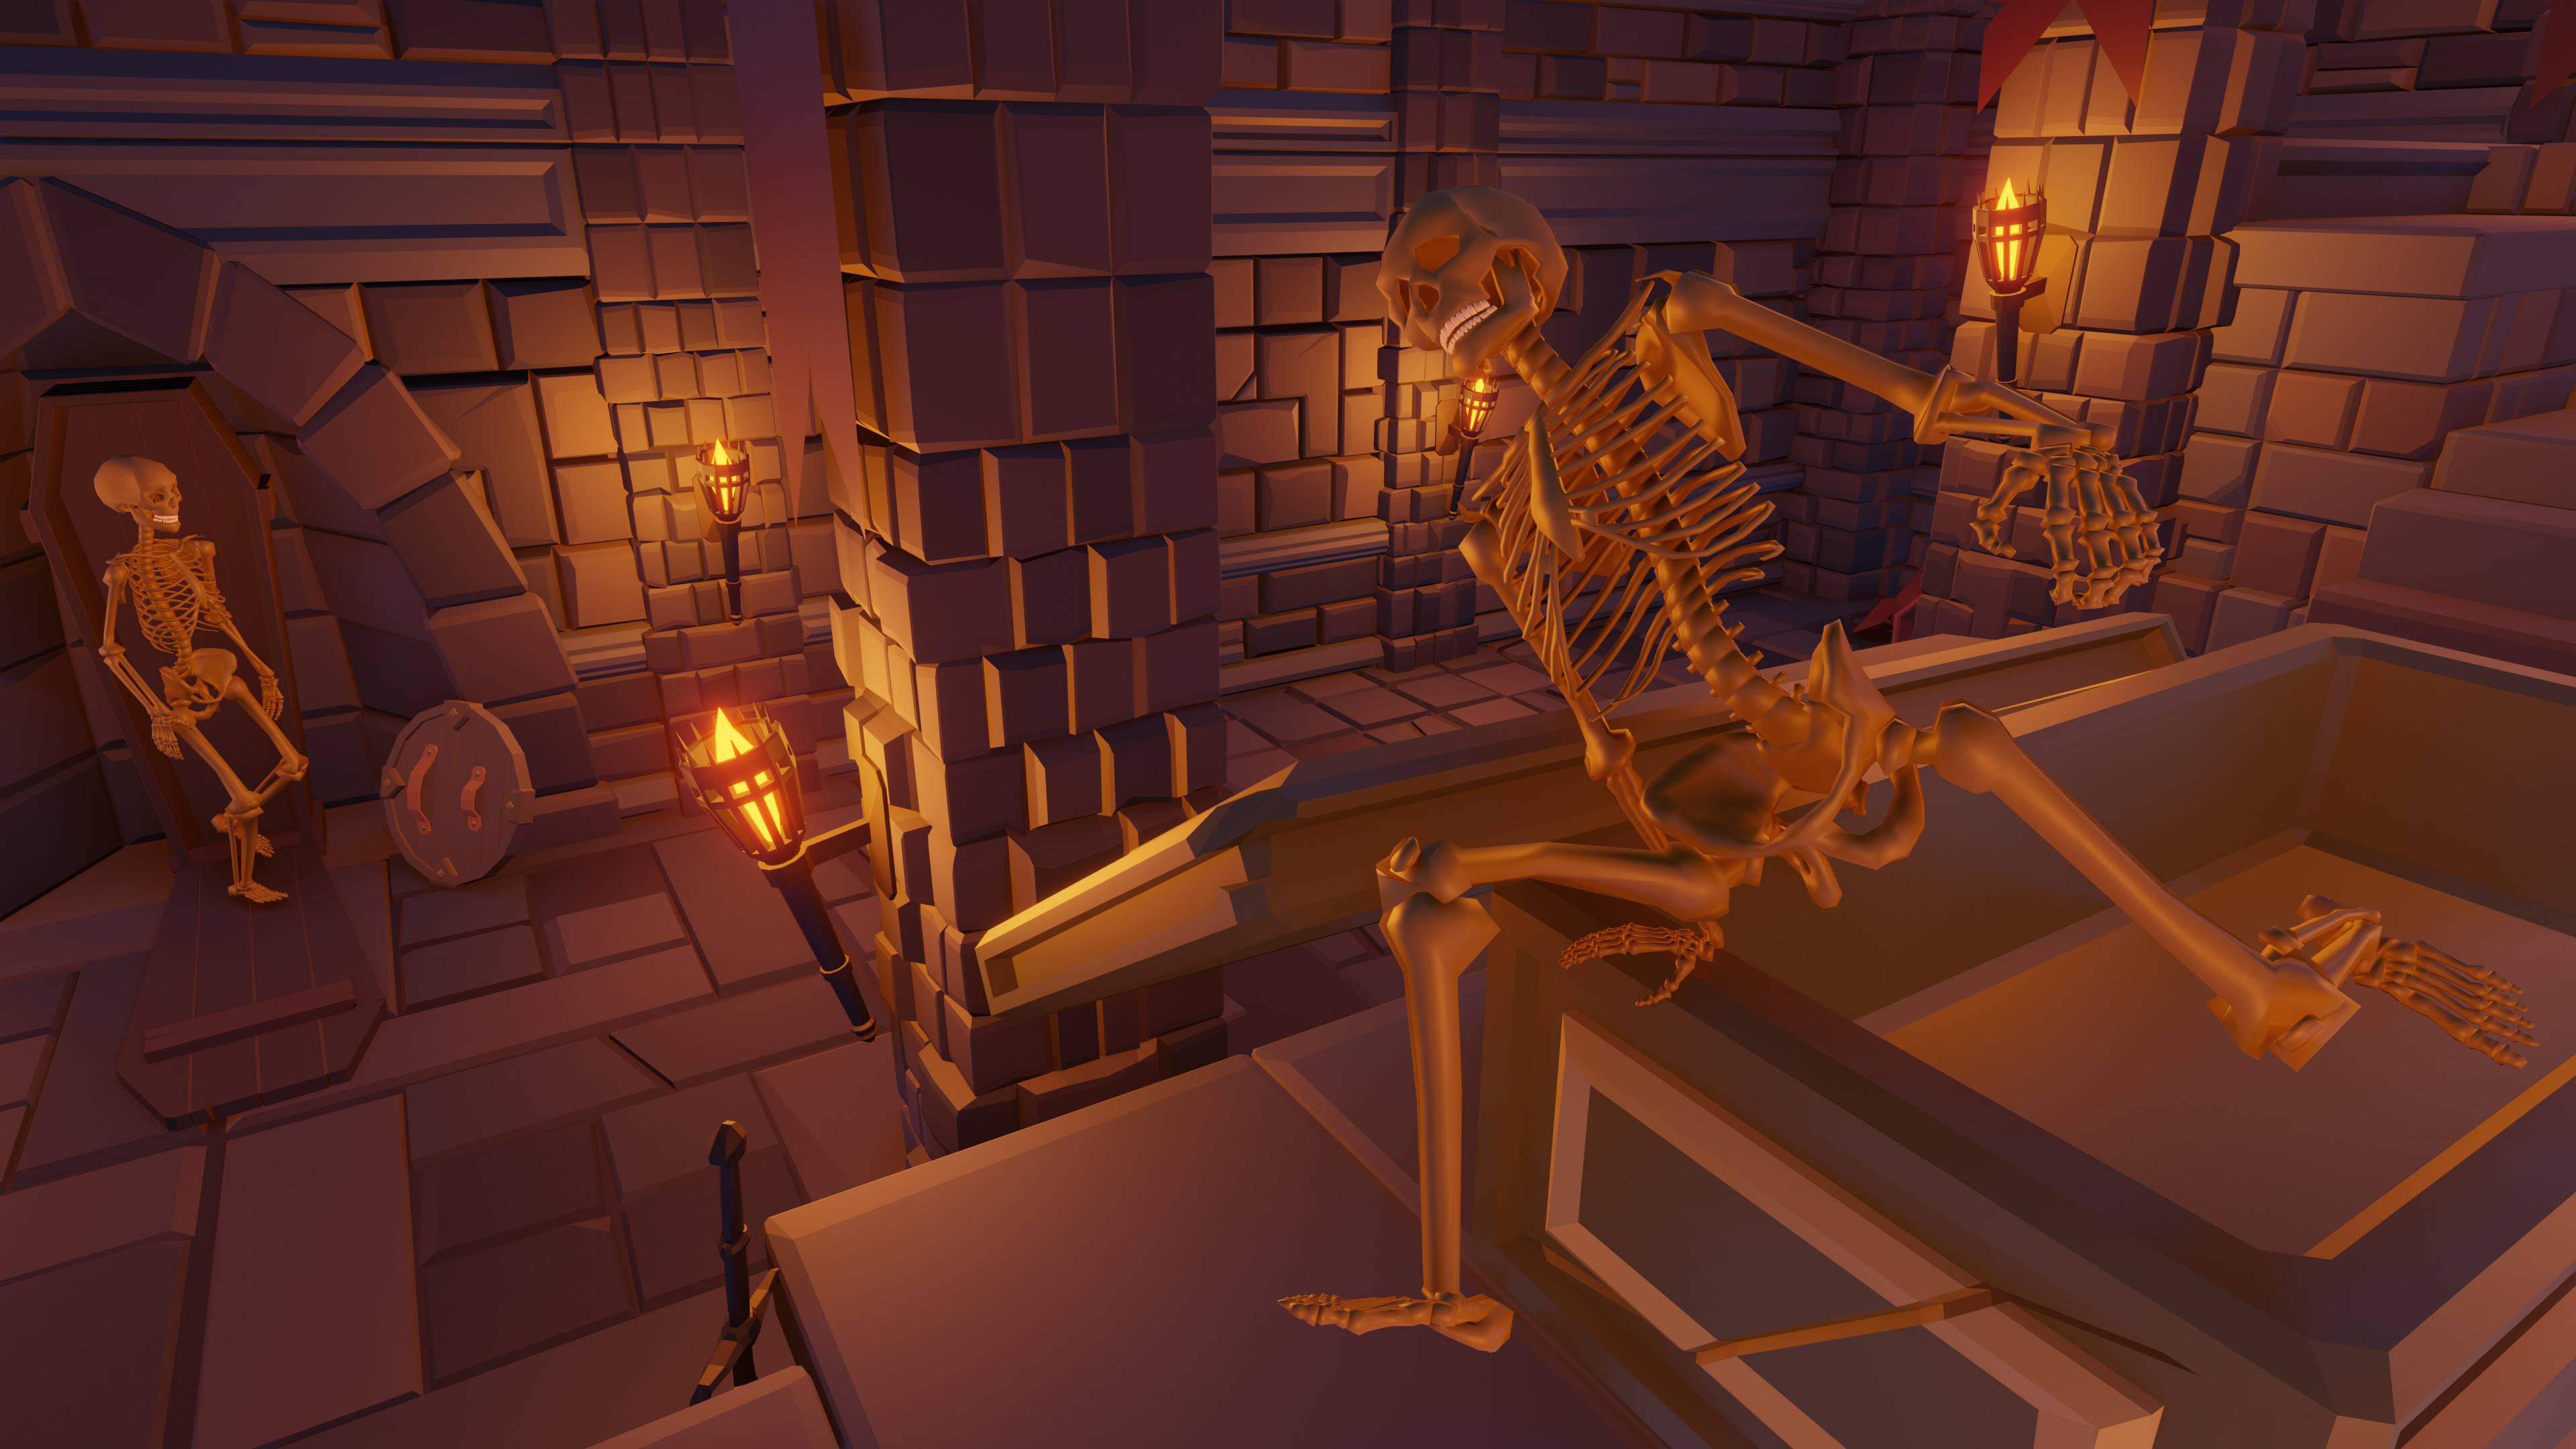
Perhaps the most difficult but also most rewarding about this project was creating, rigging, and animating the skeletons.

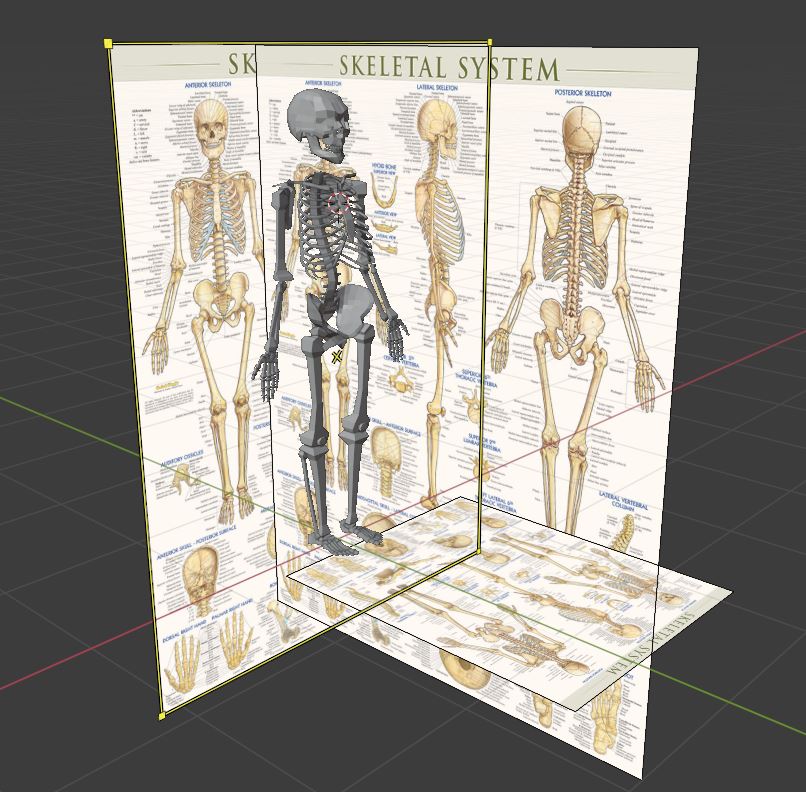
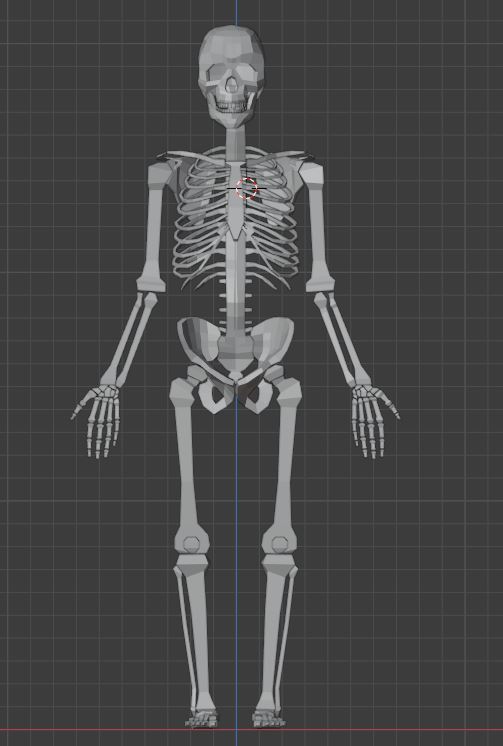
I created my skeleton from cubes in the way shown in this video:

Here are some snapshots I took while I was modeling the skeleton. I used my own reference picture and used shade smooth with auto smooth turned on in the final version. The pelvis bone was a b*tch.


Once I finished the skeleton, I thought that if I put it in all this work, I might as well make it move, too. I watched many YouTube videos to help me with my Rig. But I gotta say, the most helpful videos of all were CGDives “Rig anything with Rigify” series. Rigify is amazing and you can customize a lot of things. I am definetly going back to finish this series in the future.

Now to make the skeleton move, I first made a walk cycle by following this tutorial.

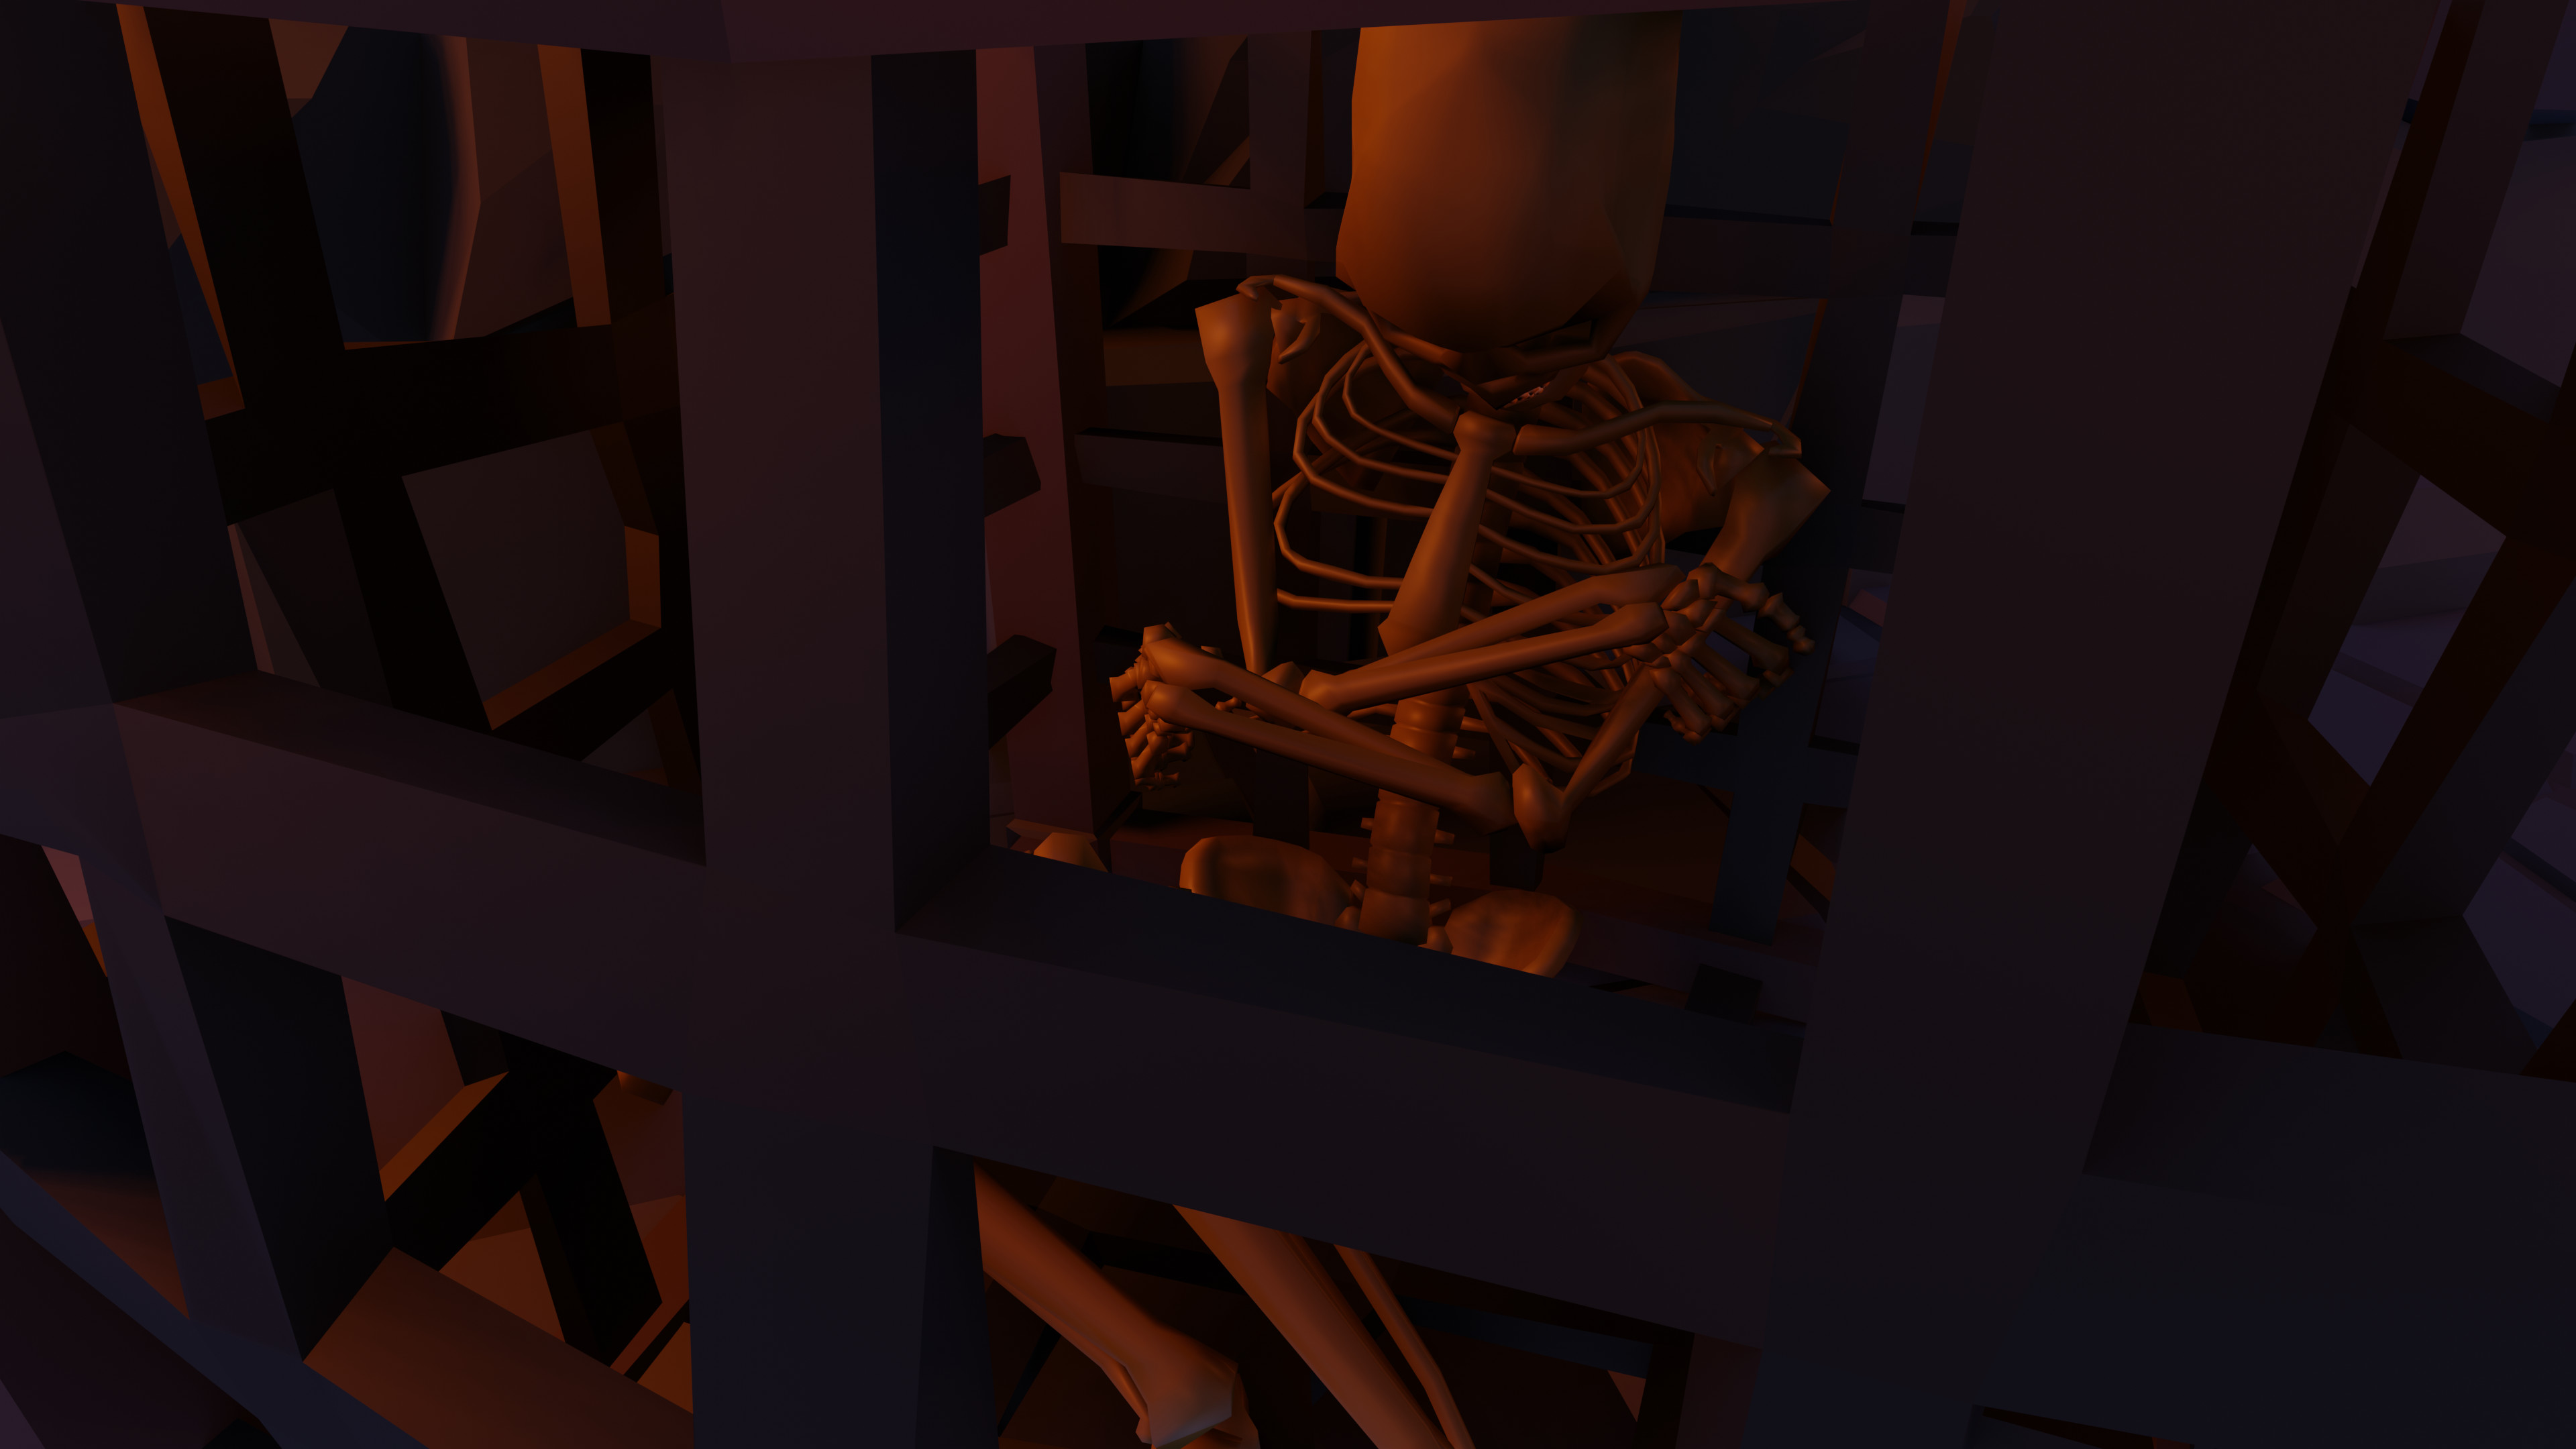
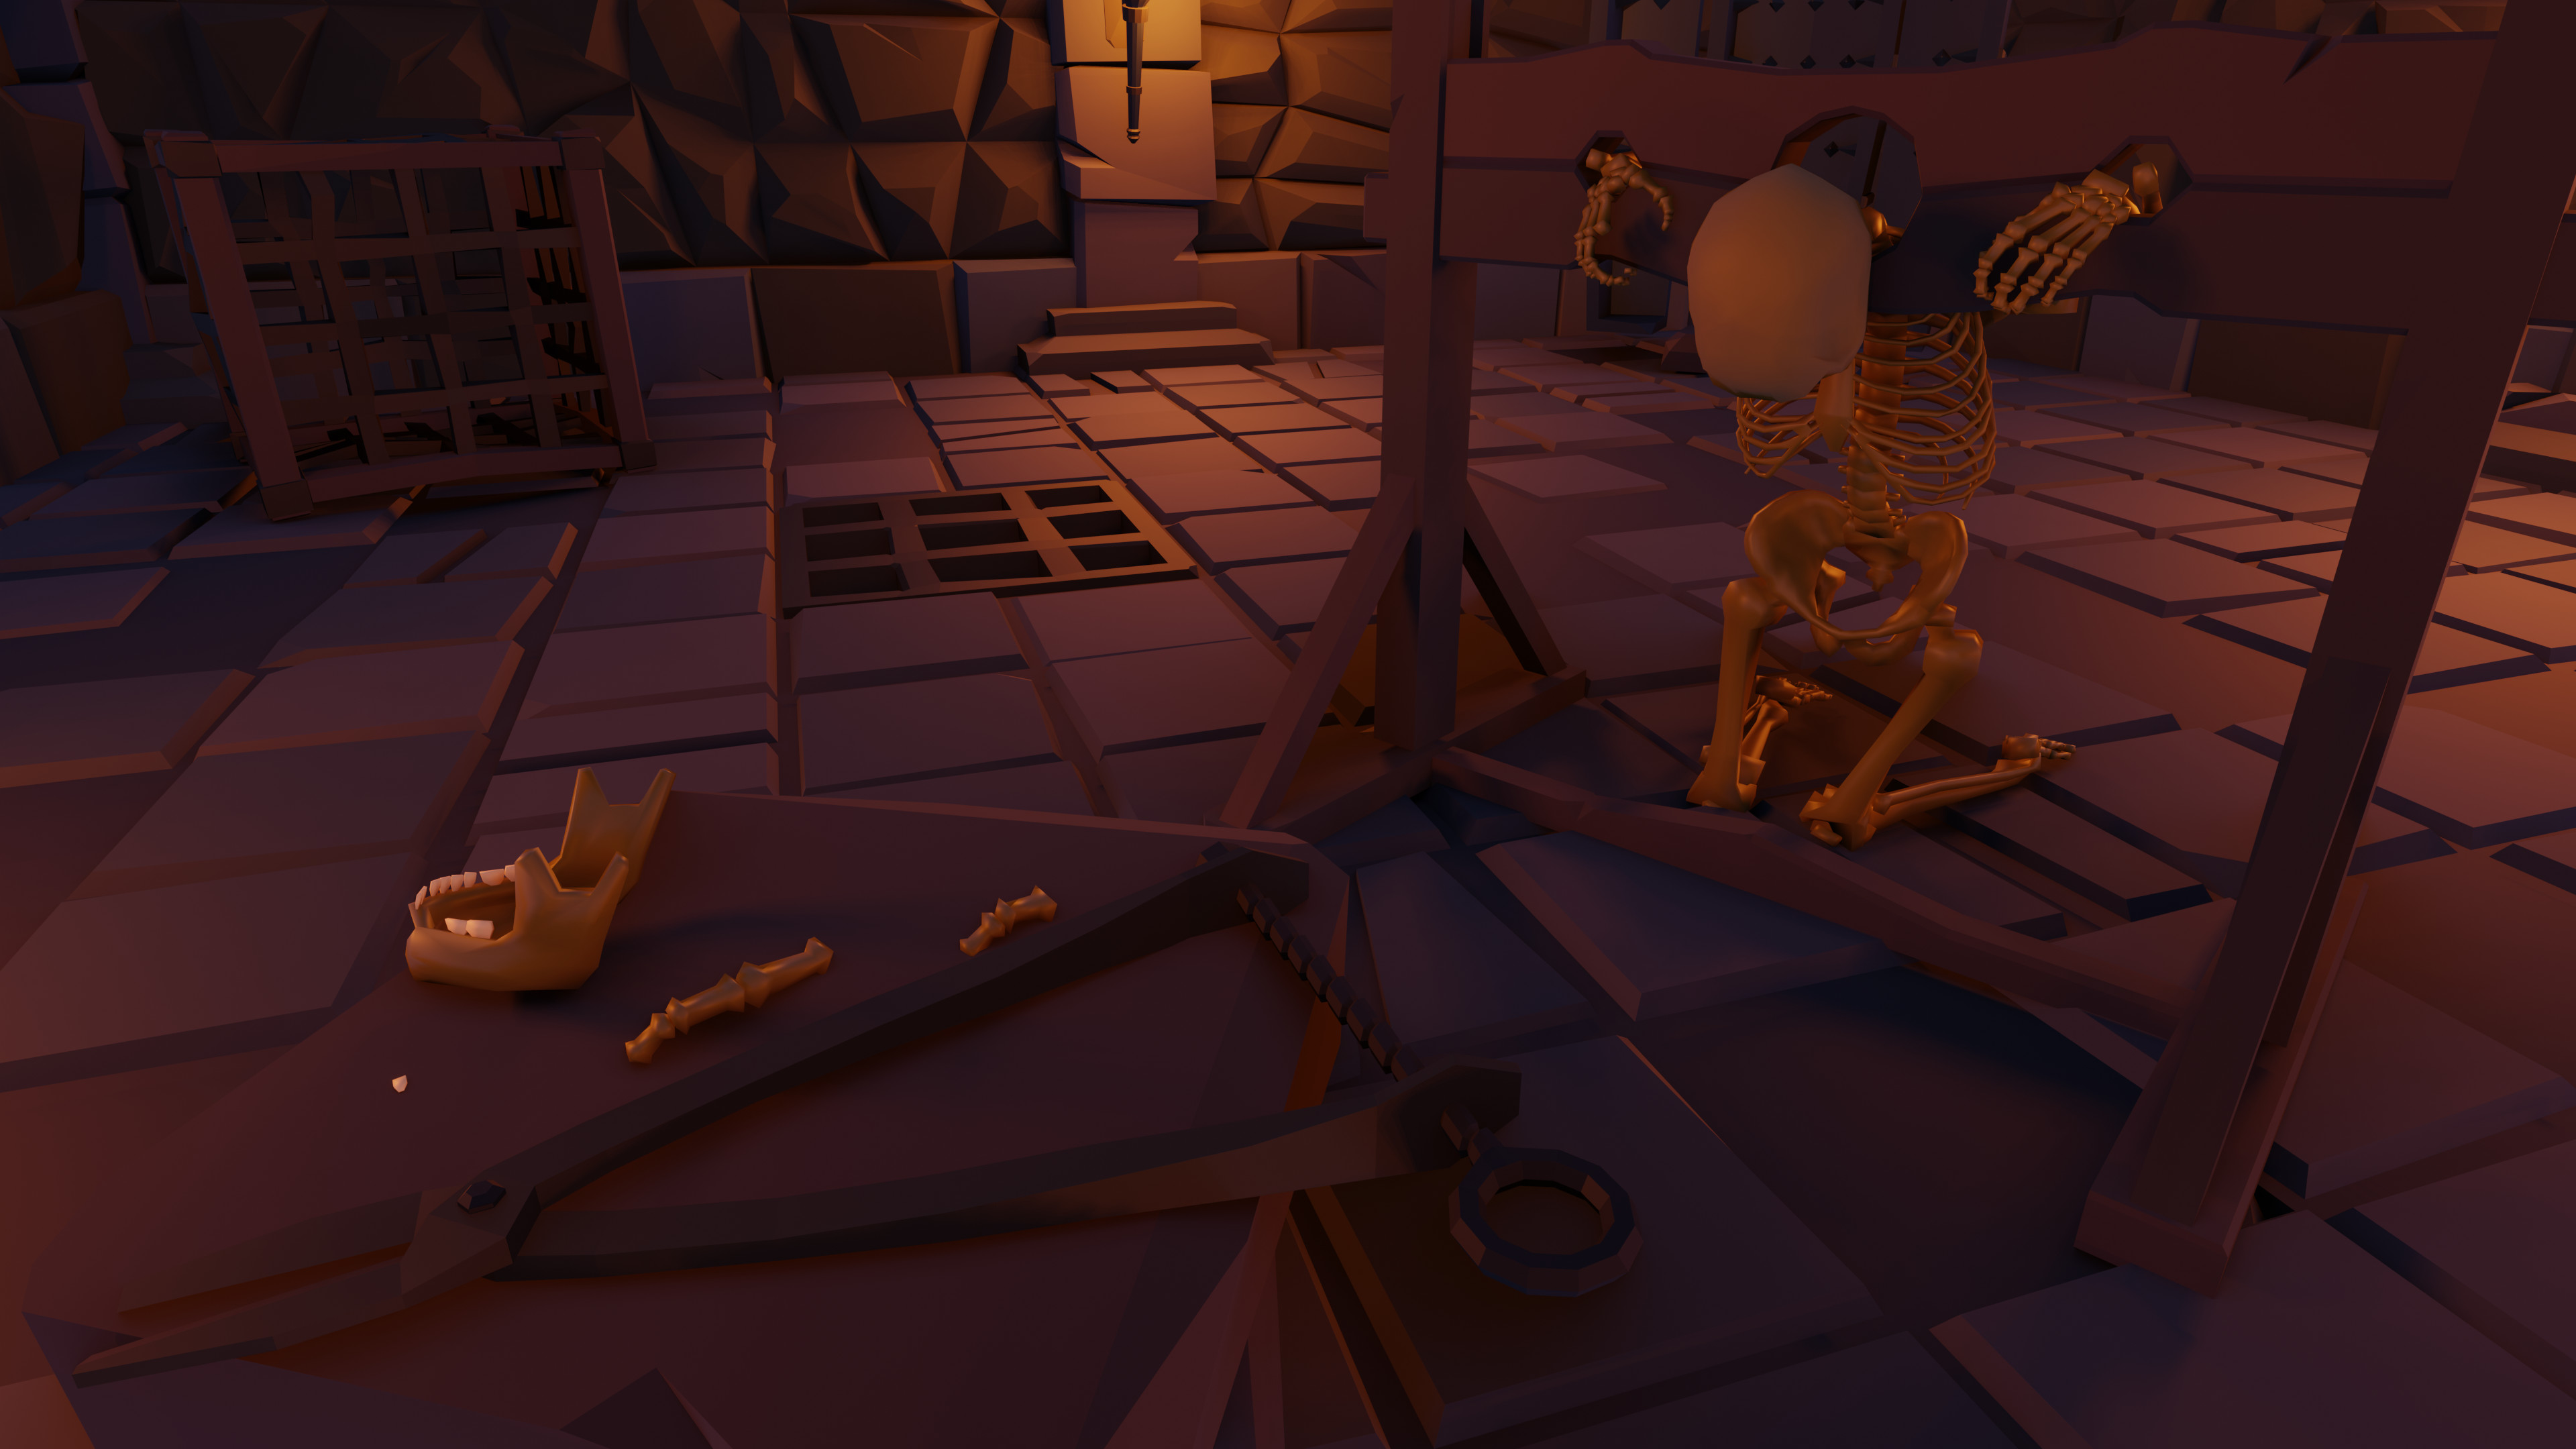
Then I put my 3D cursor on the heal or toe of the skeleton on each step and half step, to key frame the root bone moving. Of course other parts of the body need to be key framed too… but you learn how to do it as you go a long. With a rigged skeleton, I could also put some skeletons in poses in the prison part of the dungeon.

Next, of course, we have a bunch of brilliant Grant Abbitt tutorials.

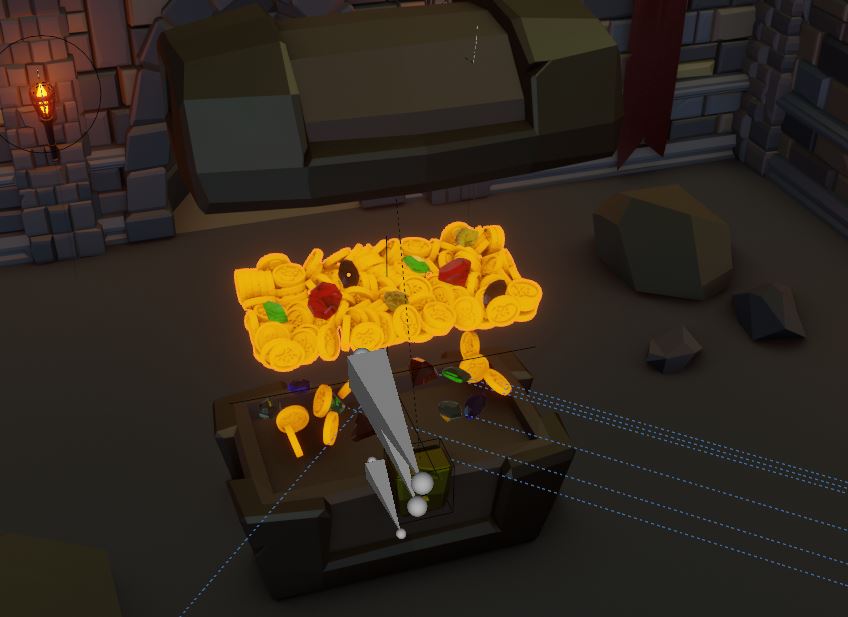
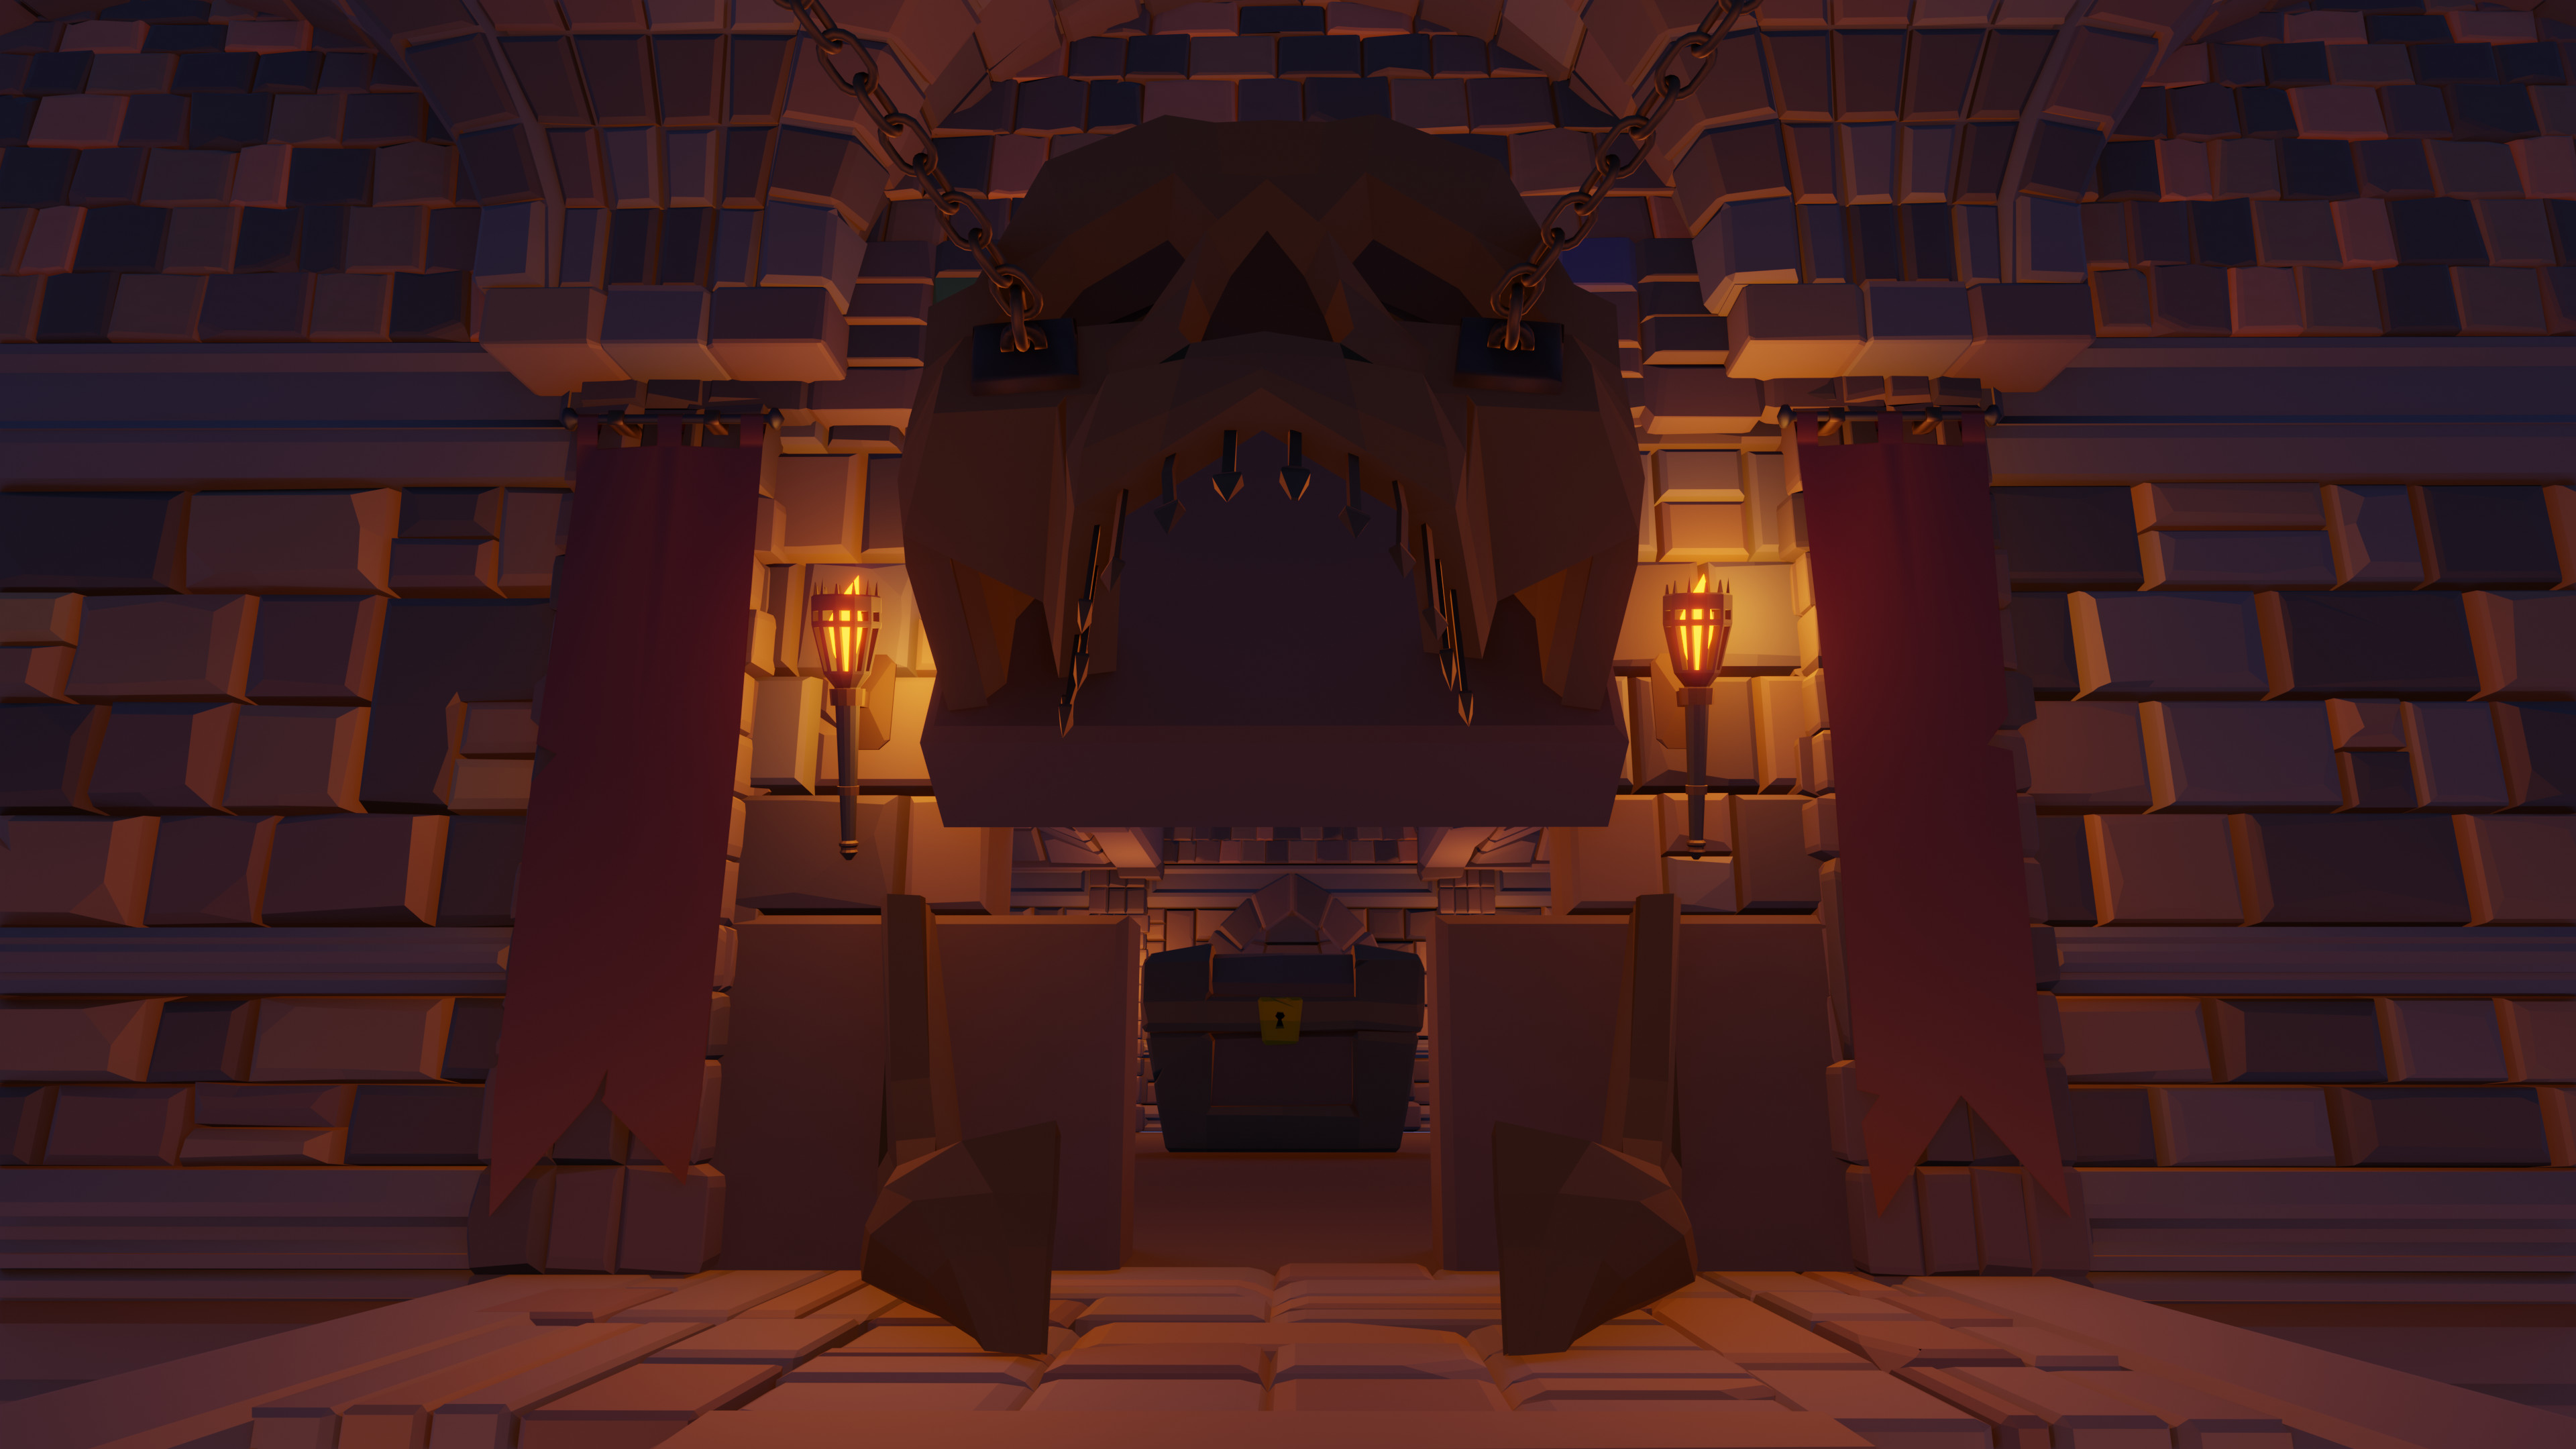
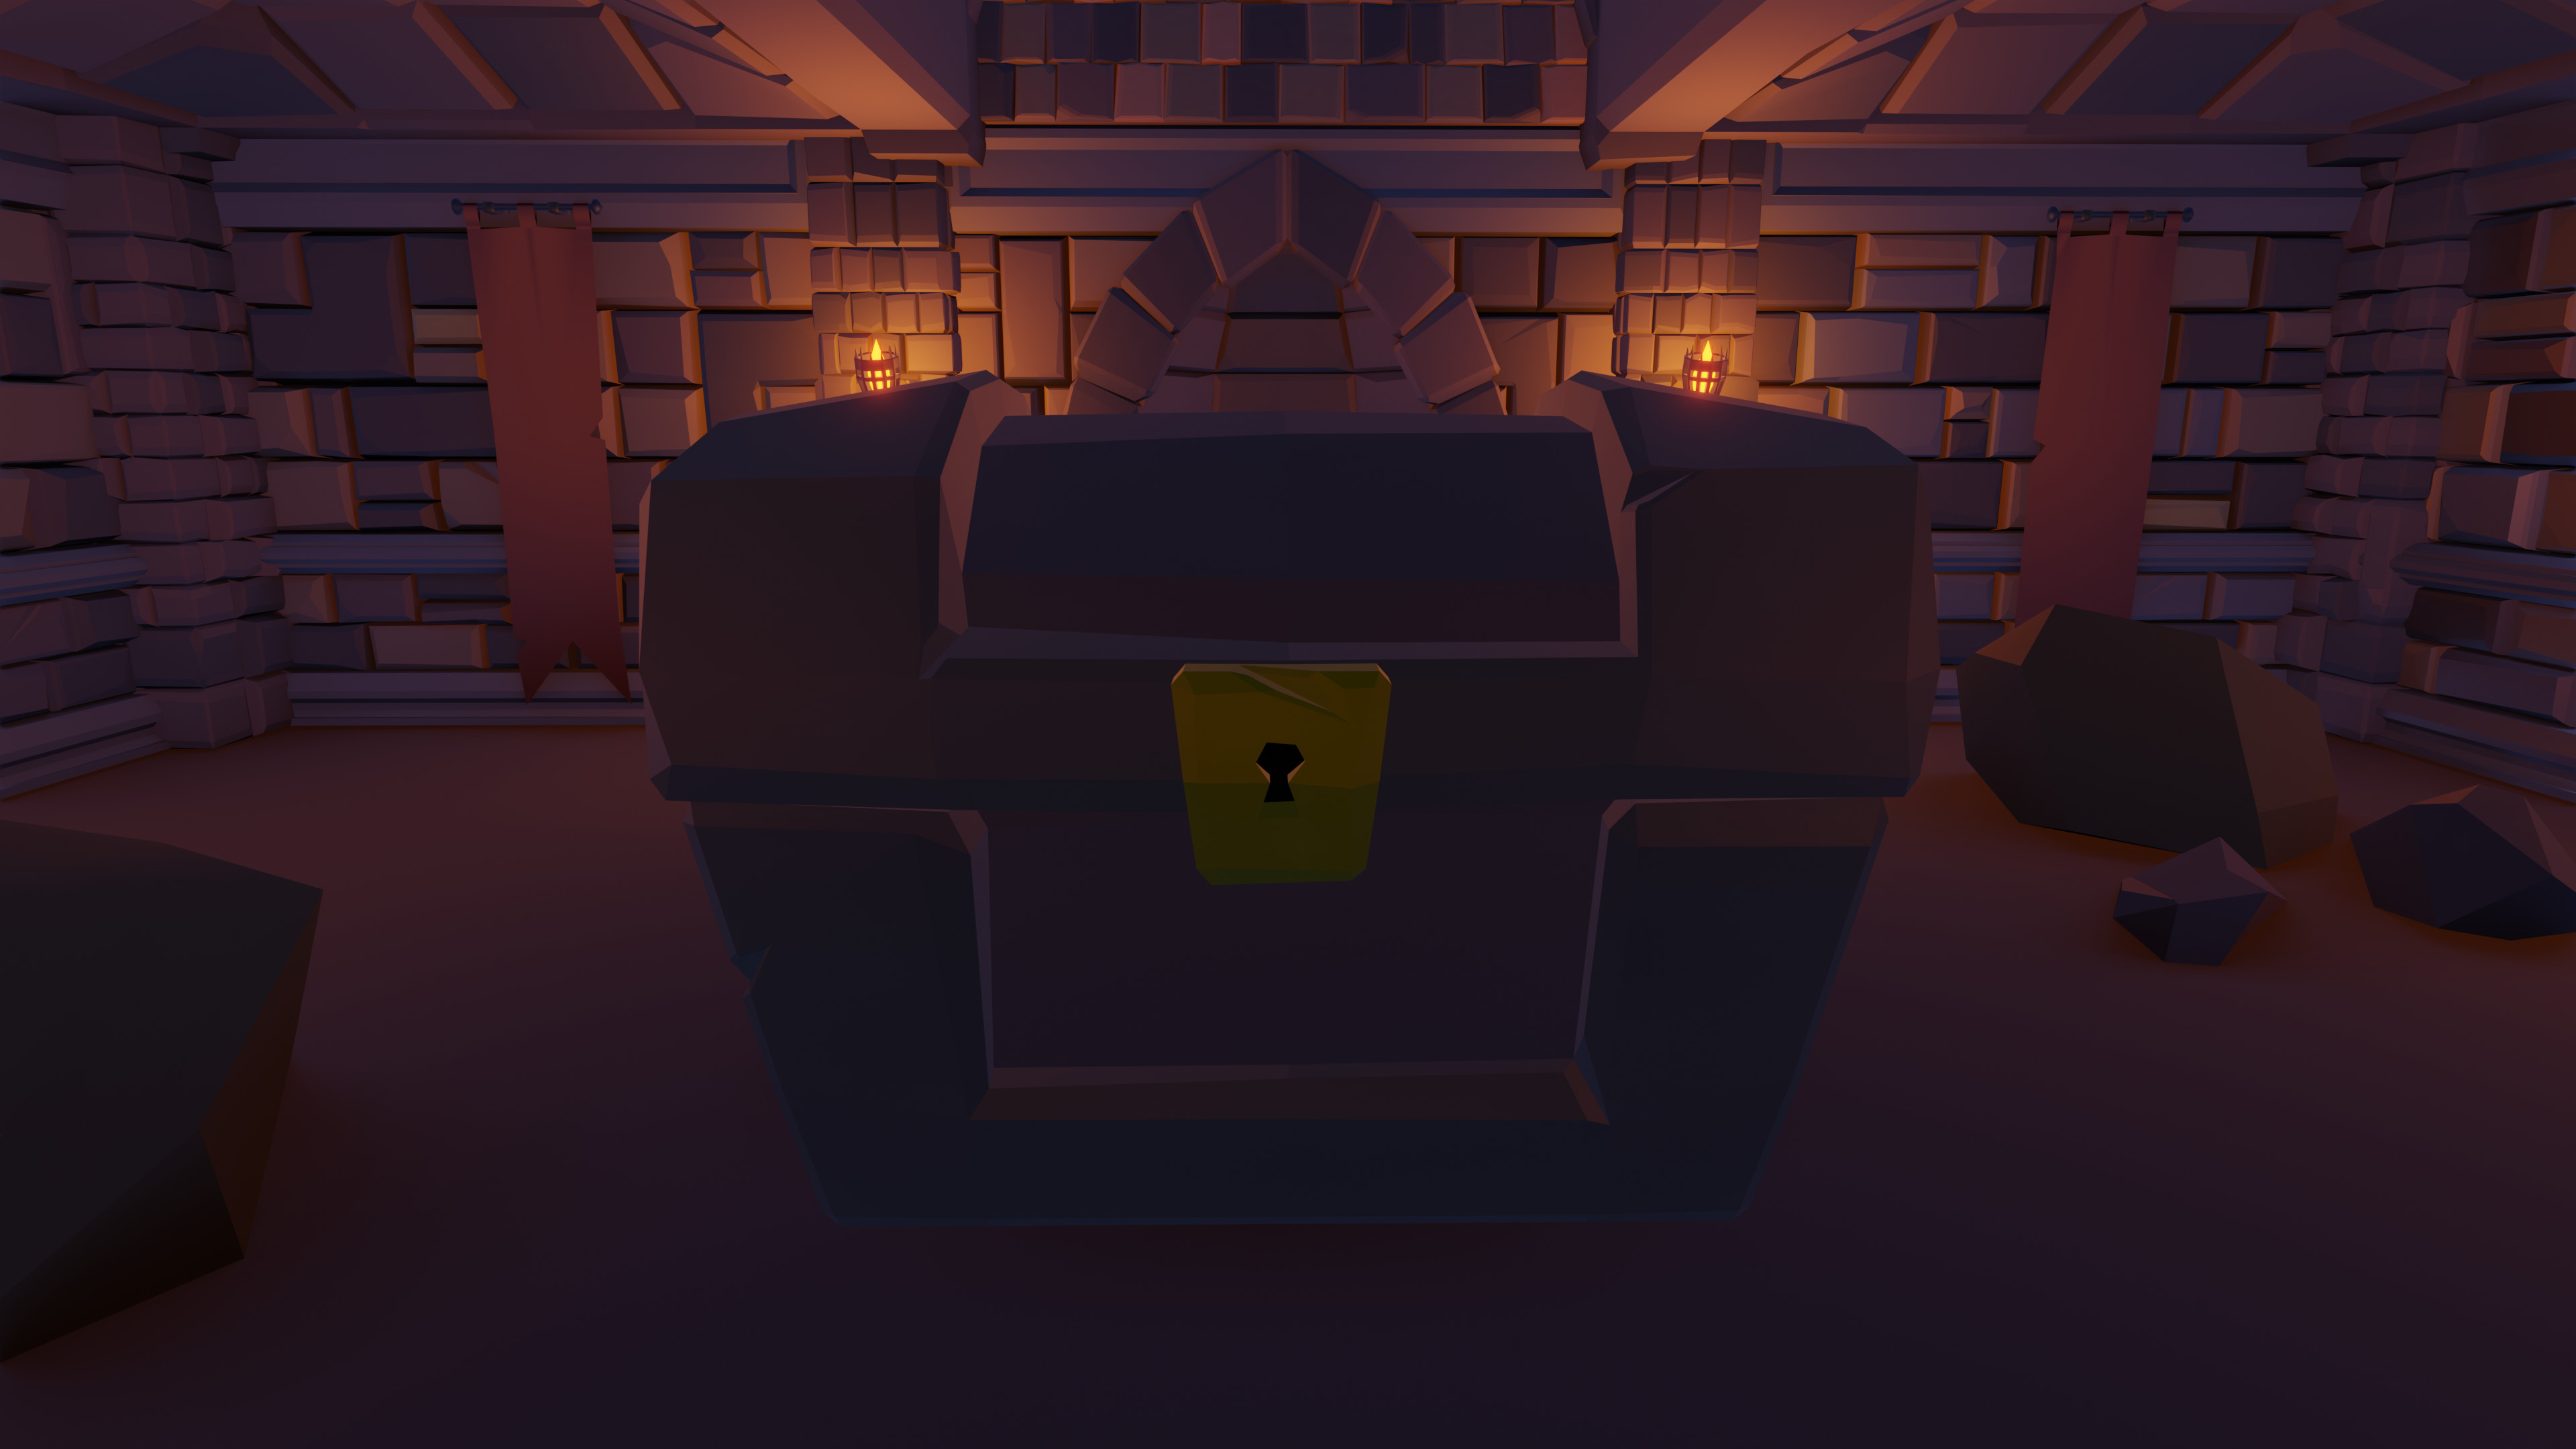
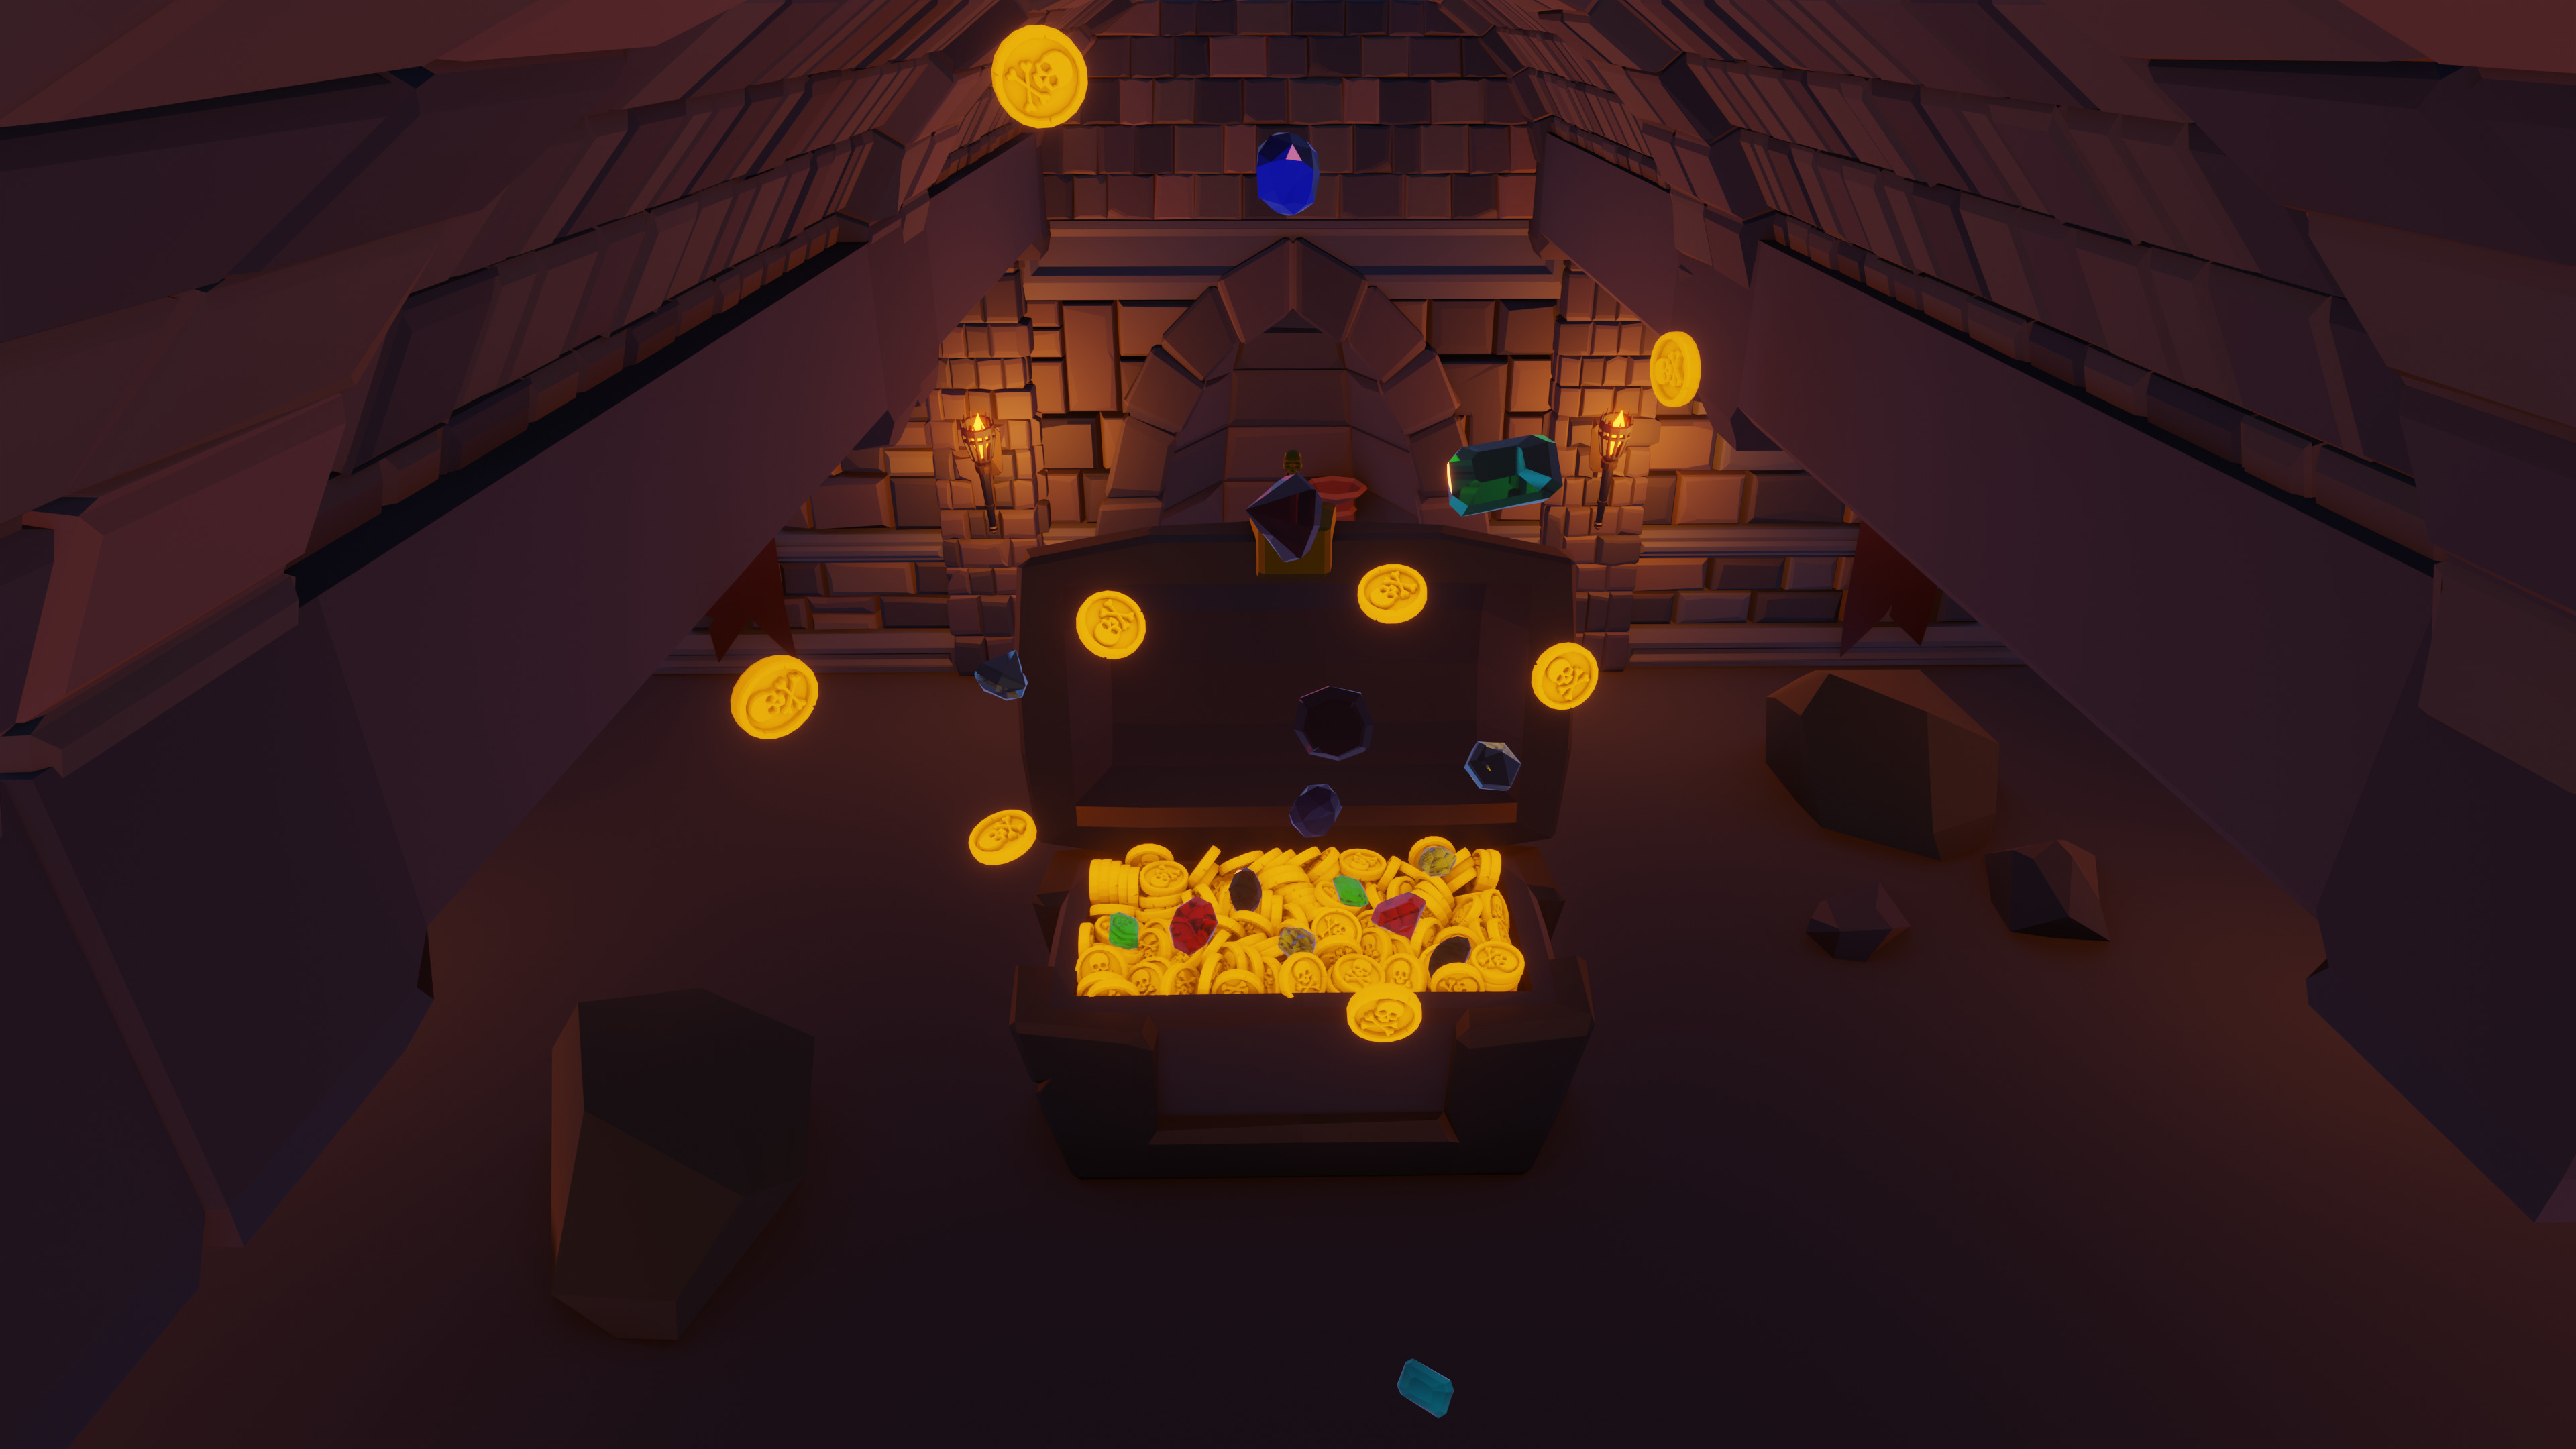
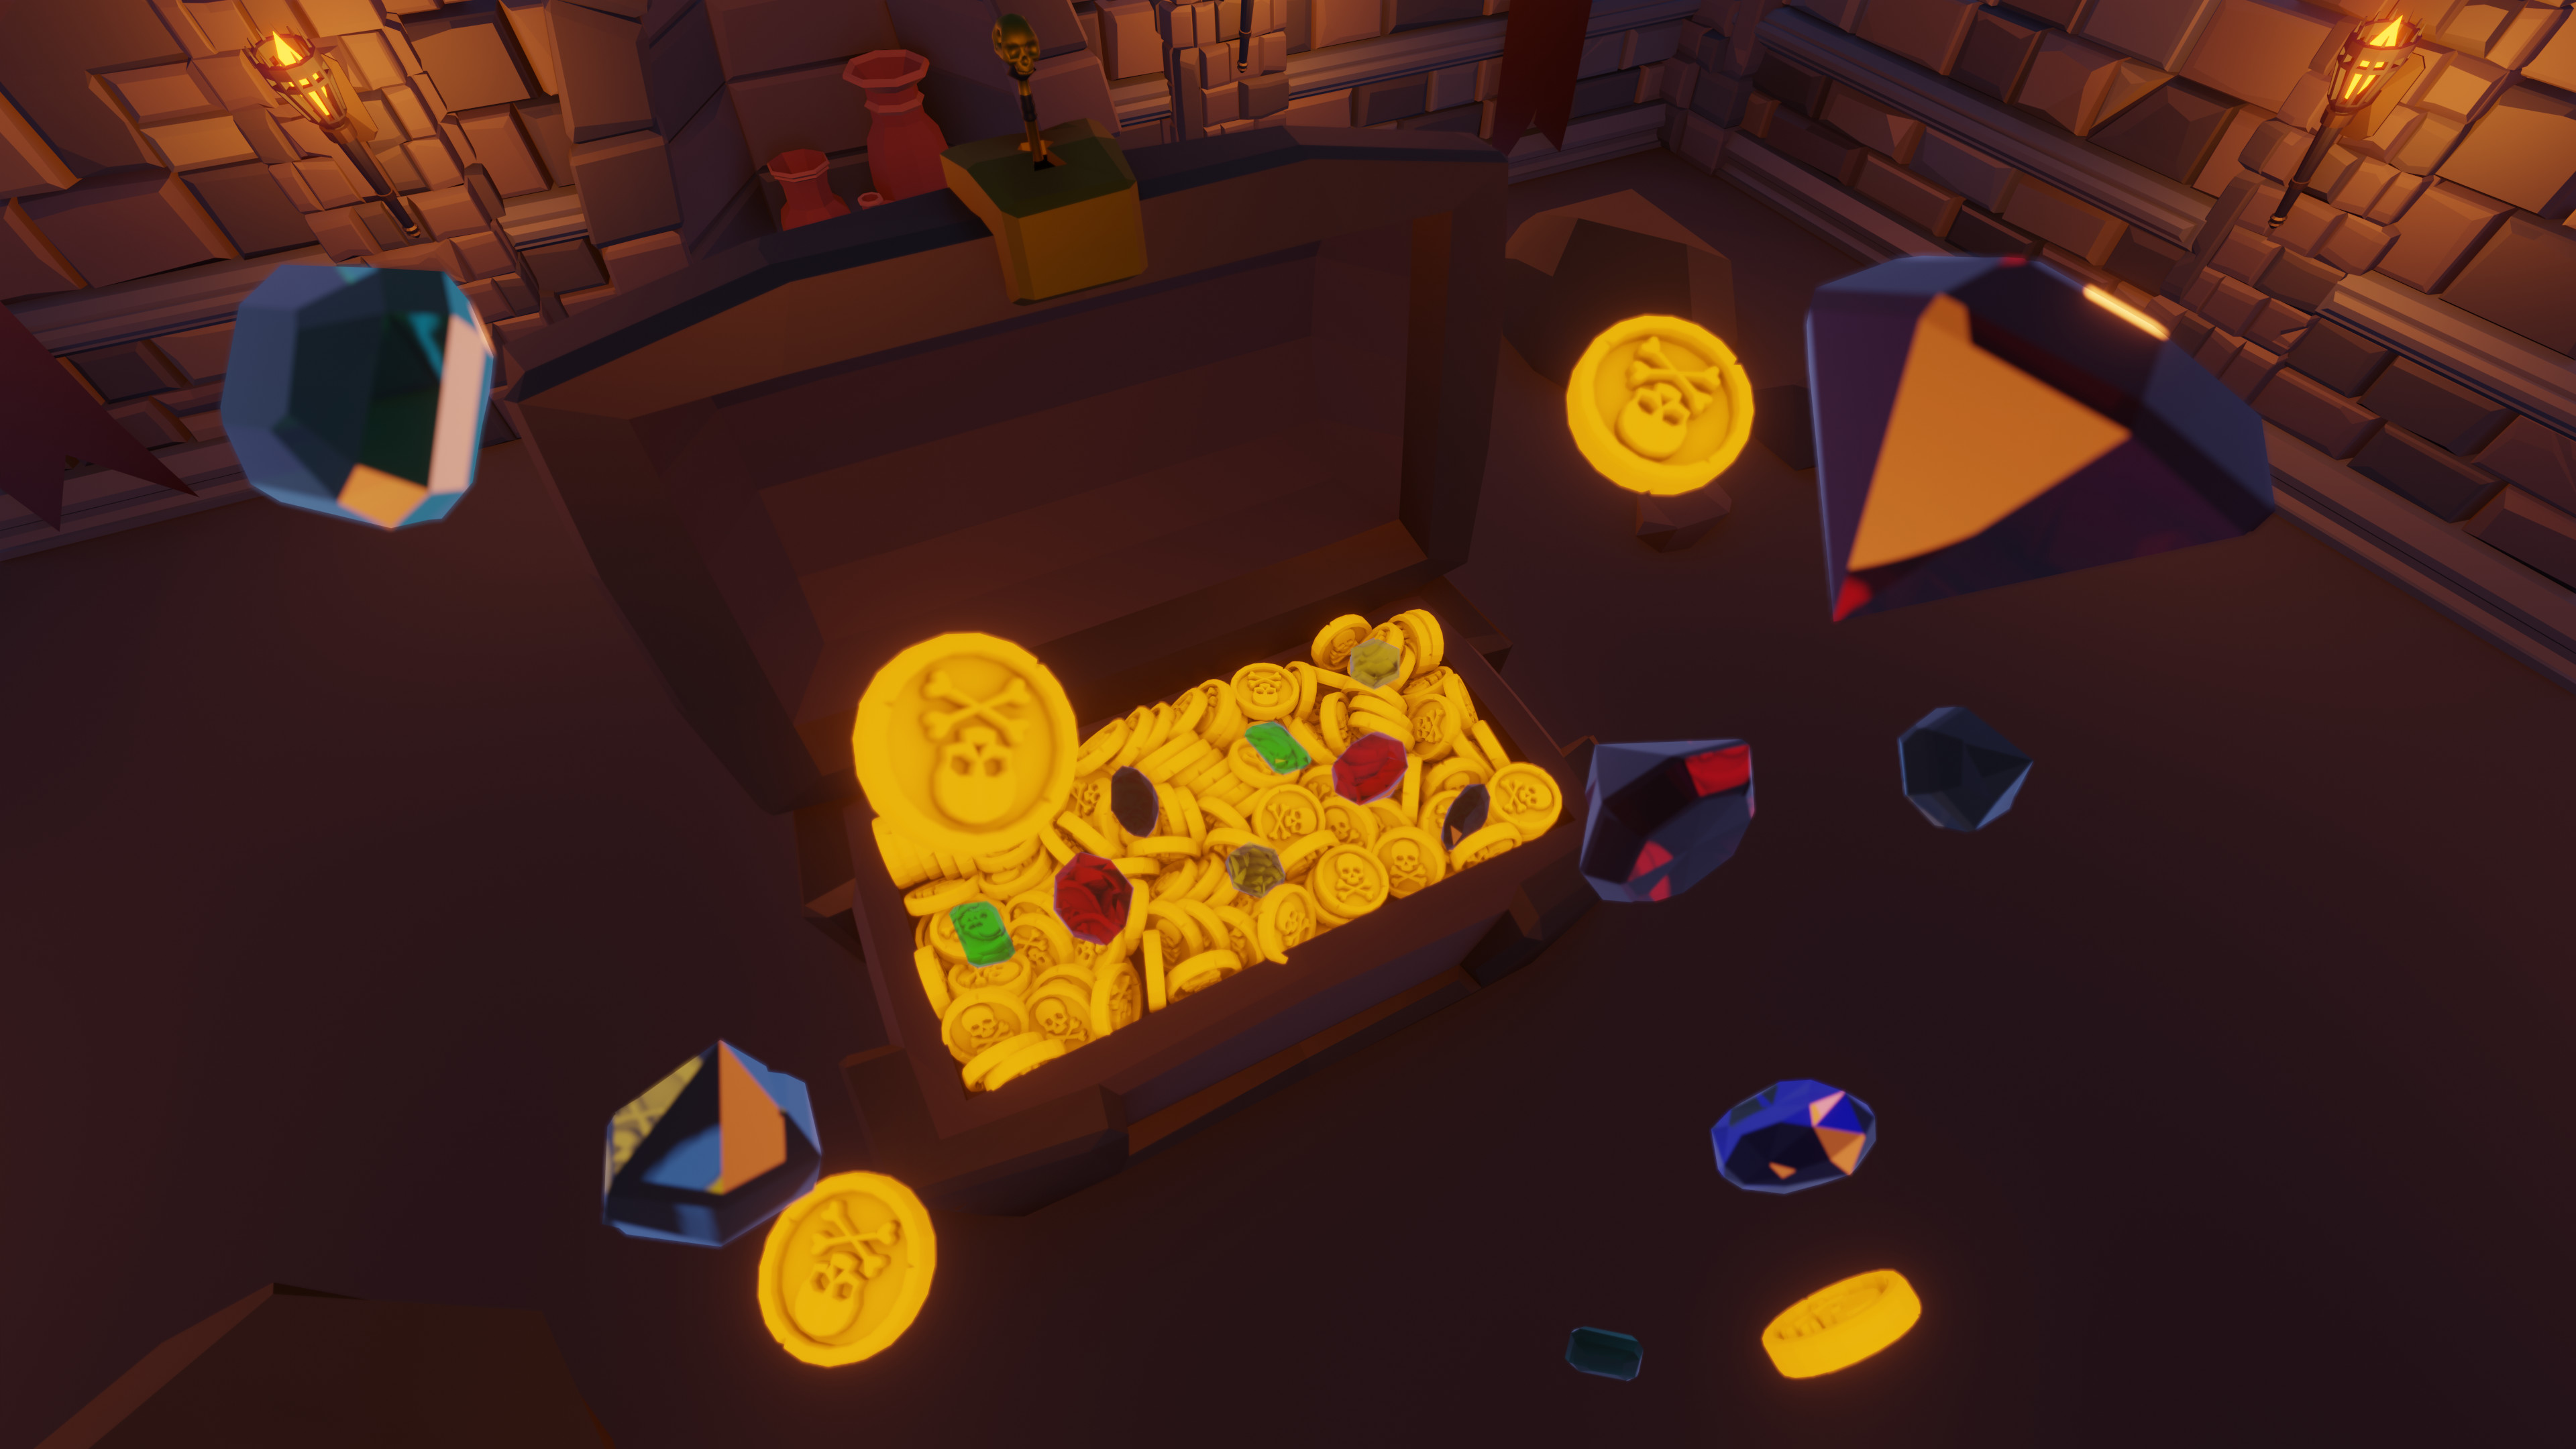
The animated treasure chest.

I had to run the physics a lot of times to get the coins and jewels to fly in the way I wanted them to. To get coins stacked in the chest, I just raised up the bottom of the chest and put a layer of coins and jewels on top. You can duplicate a bunch of coins with the array modifier and seperate them by selection, and then also some jewels or whatever. Then run the rigid body physics over the chest. I had a video that showed me how to do it but I don’t think I saved it.

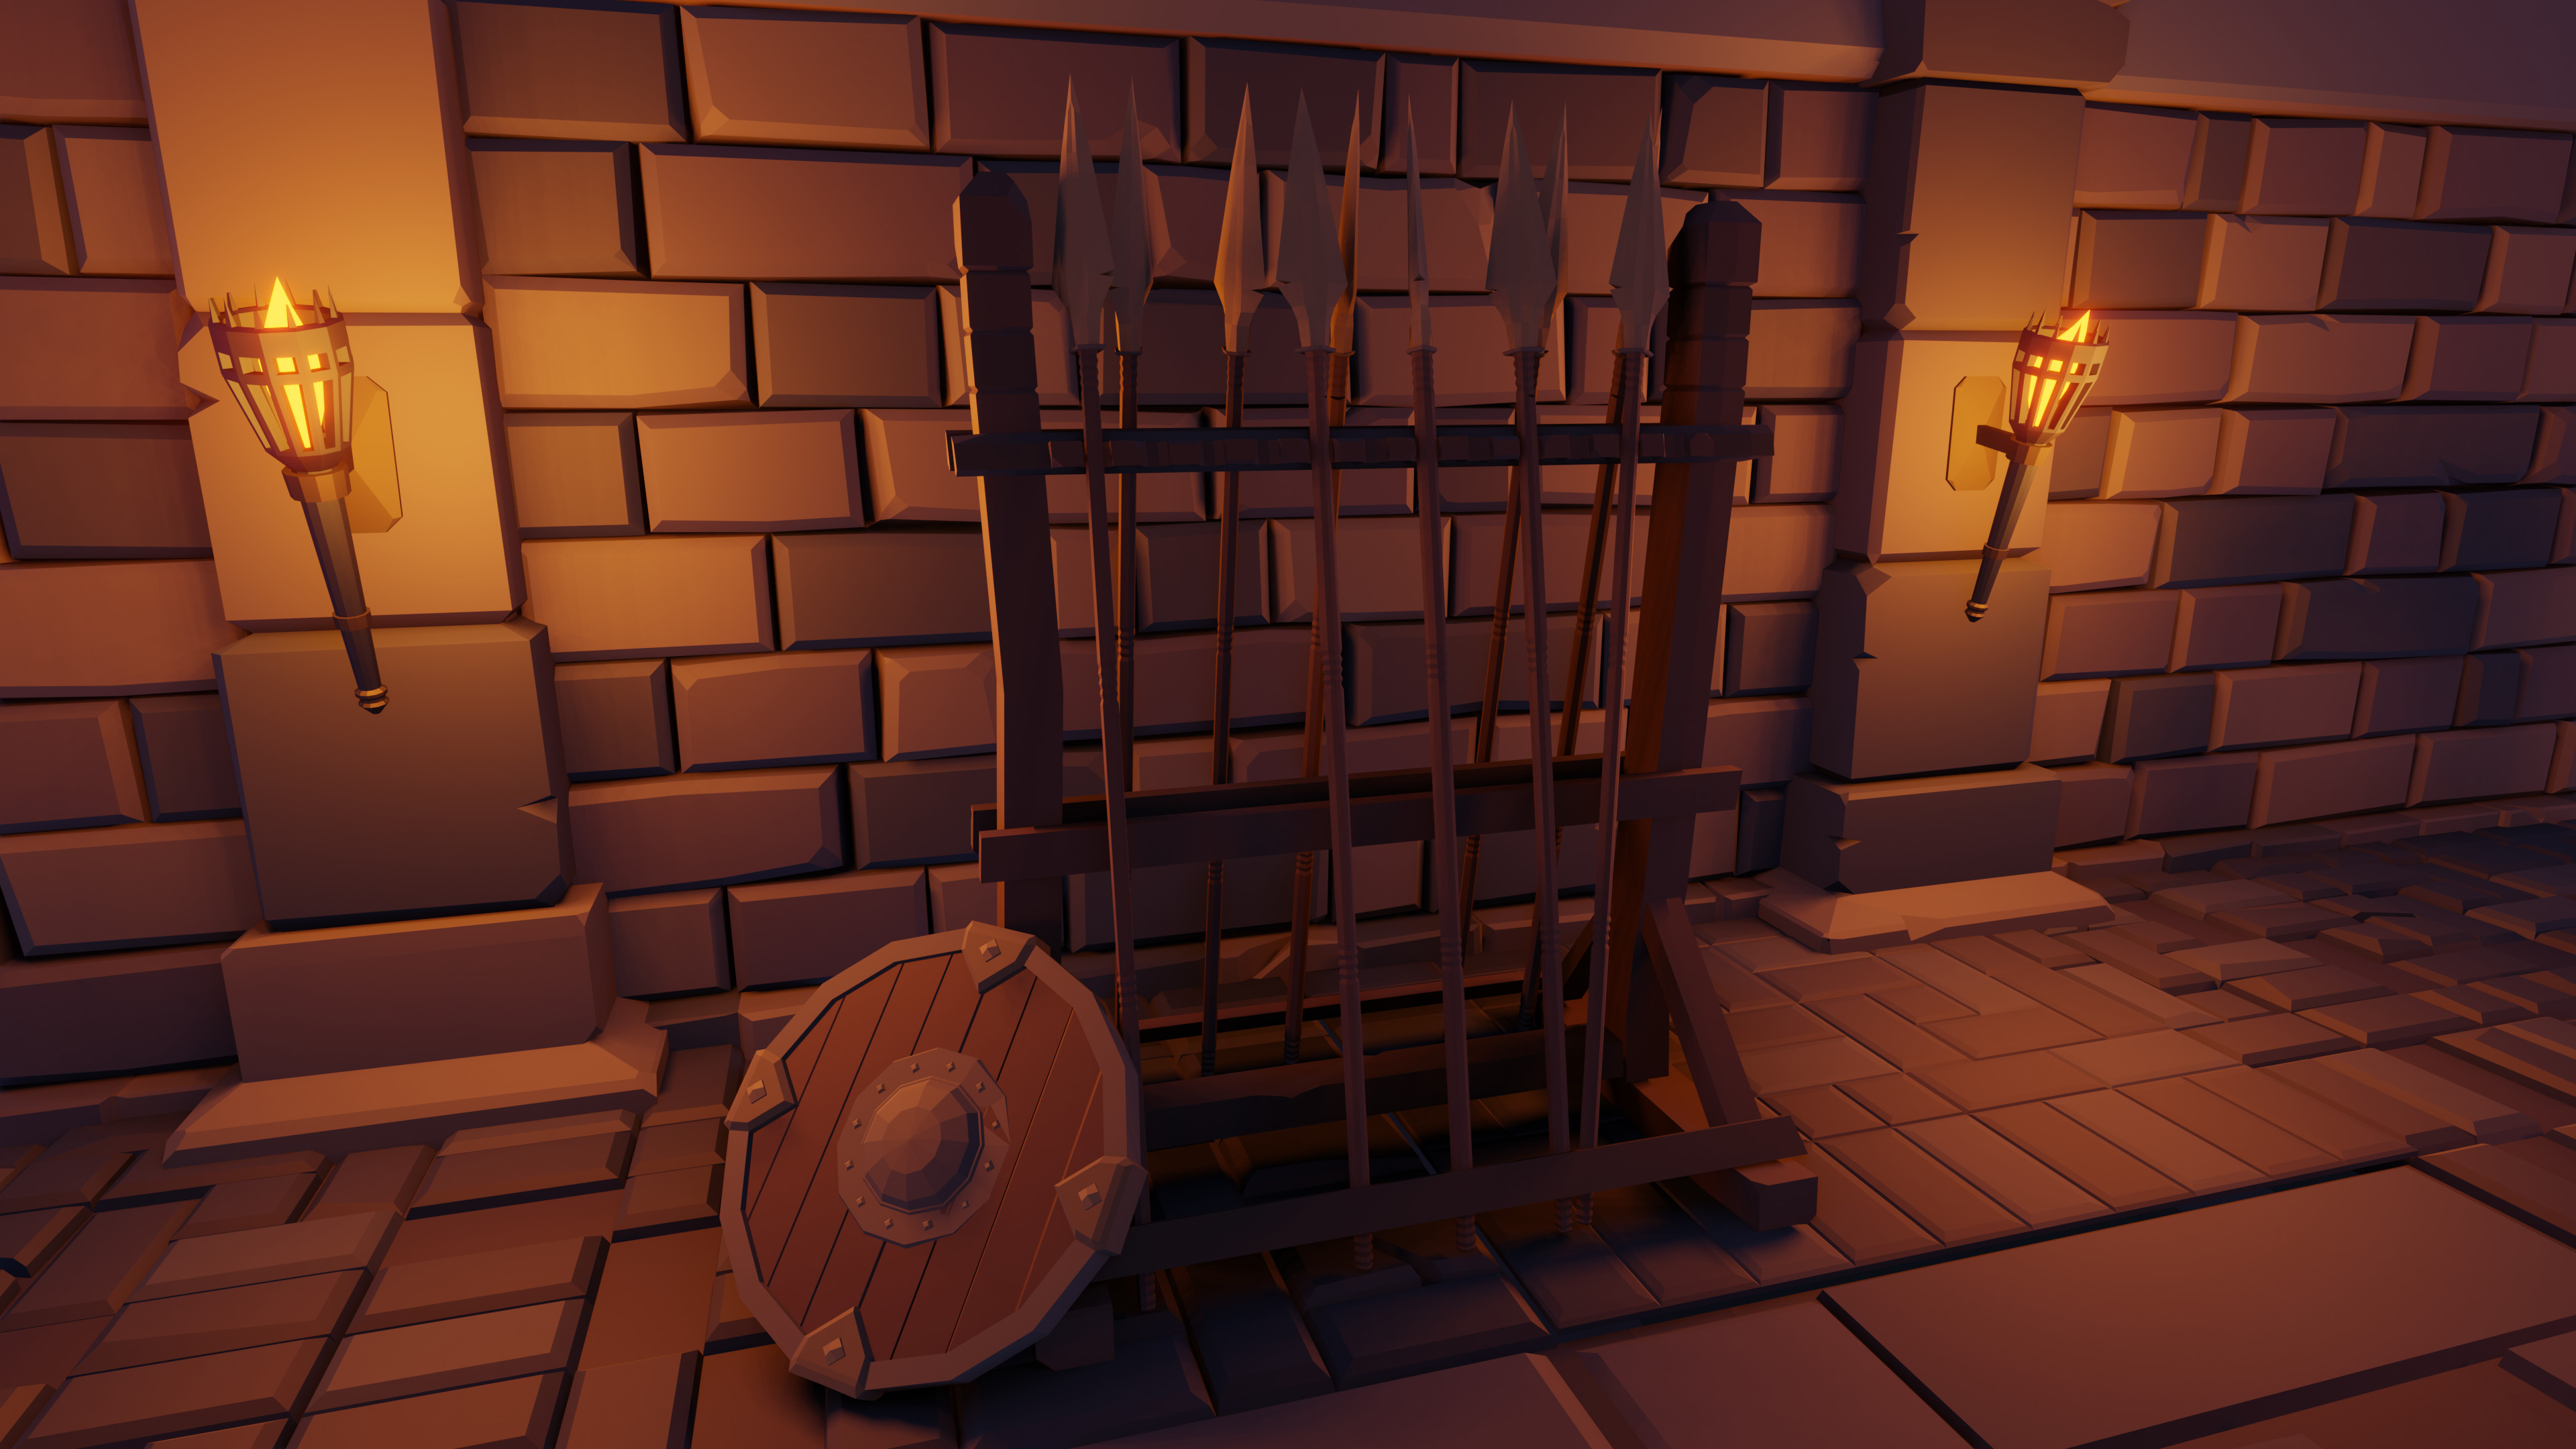
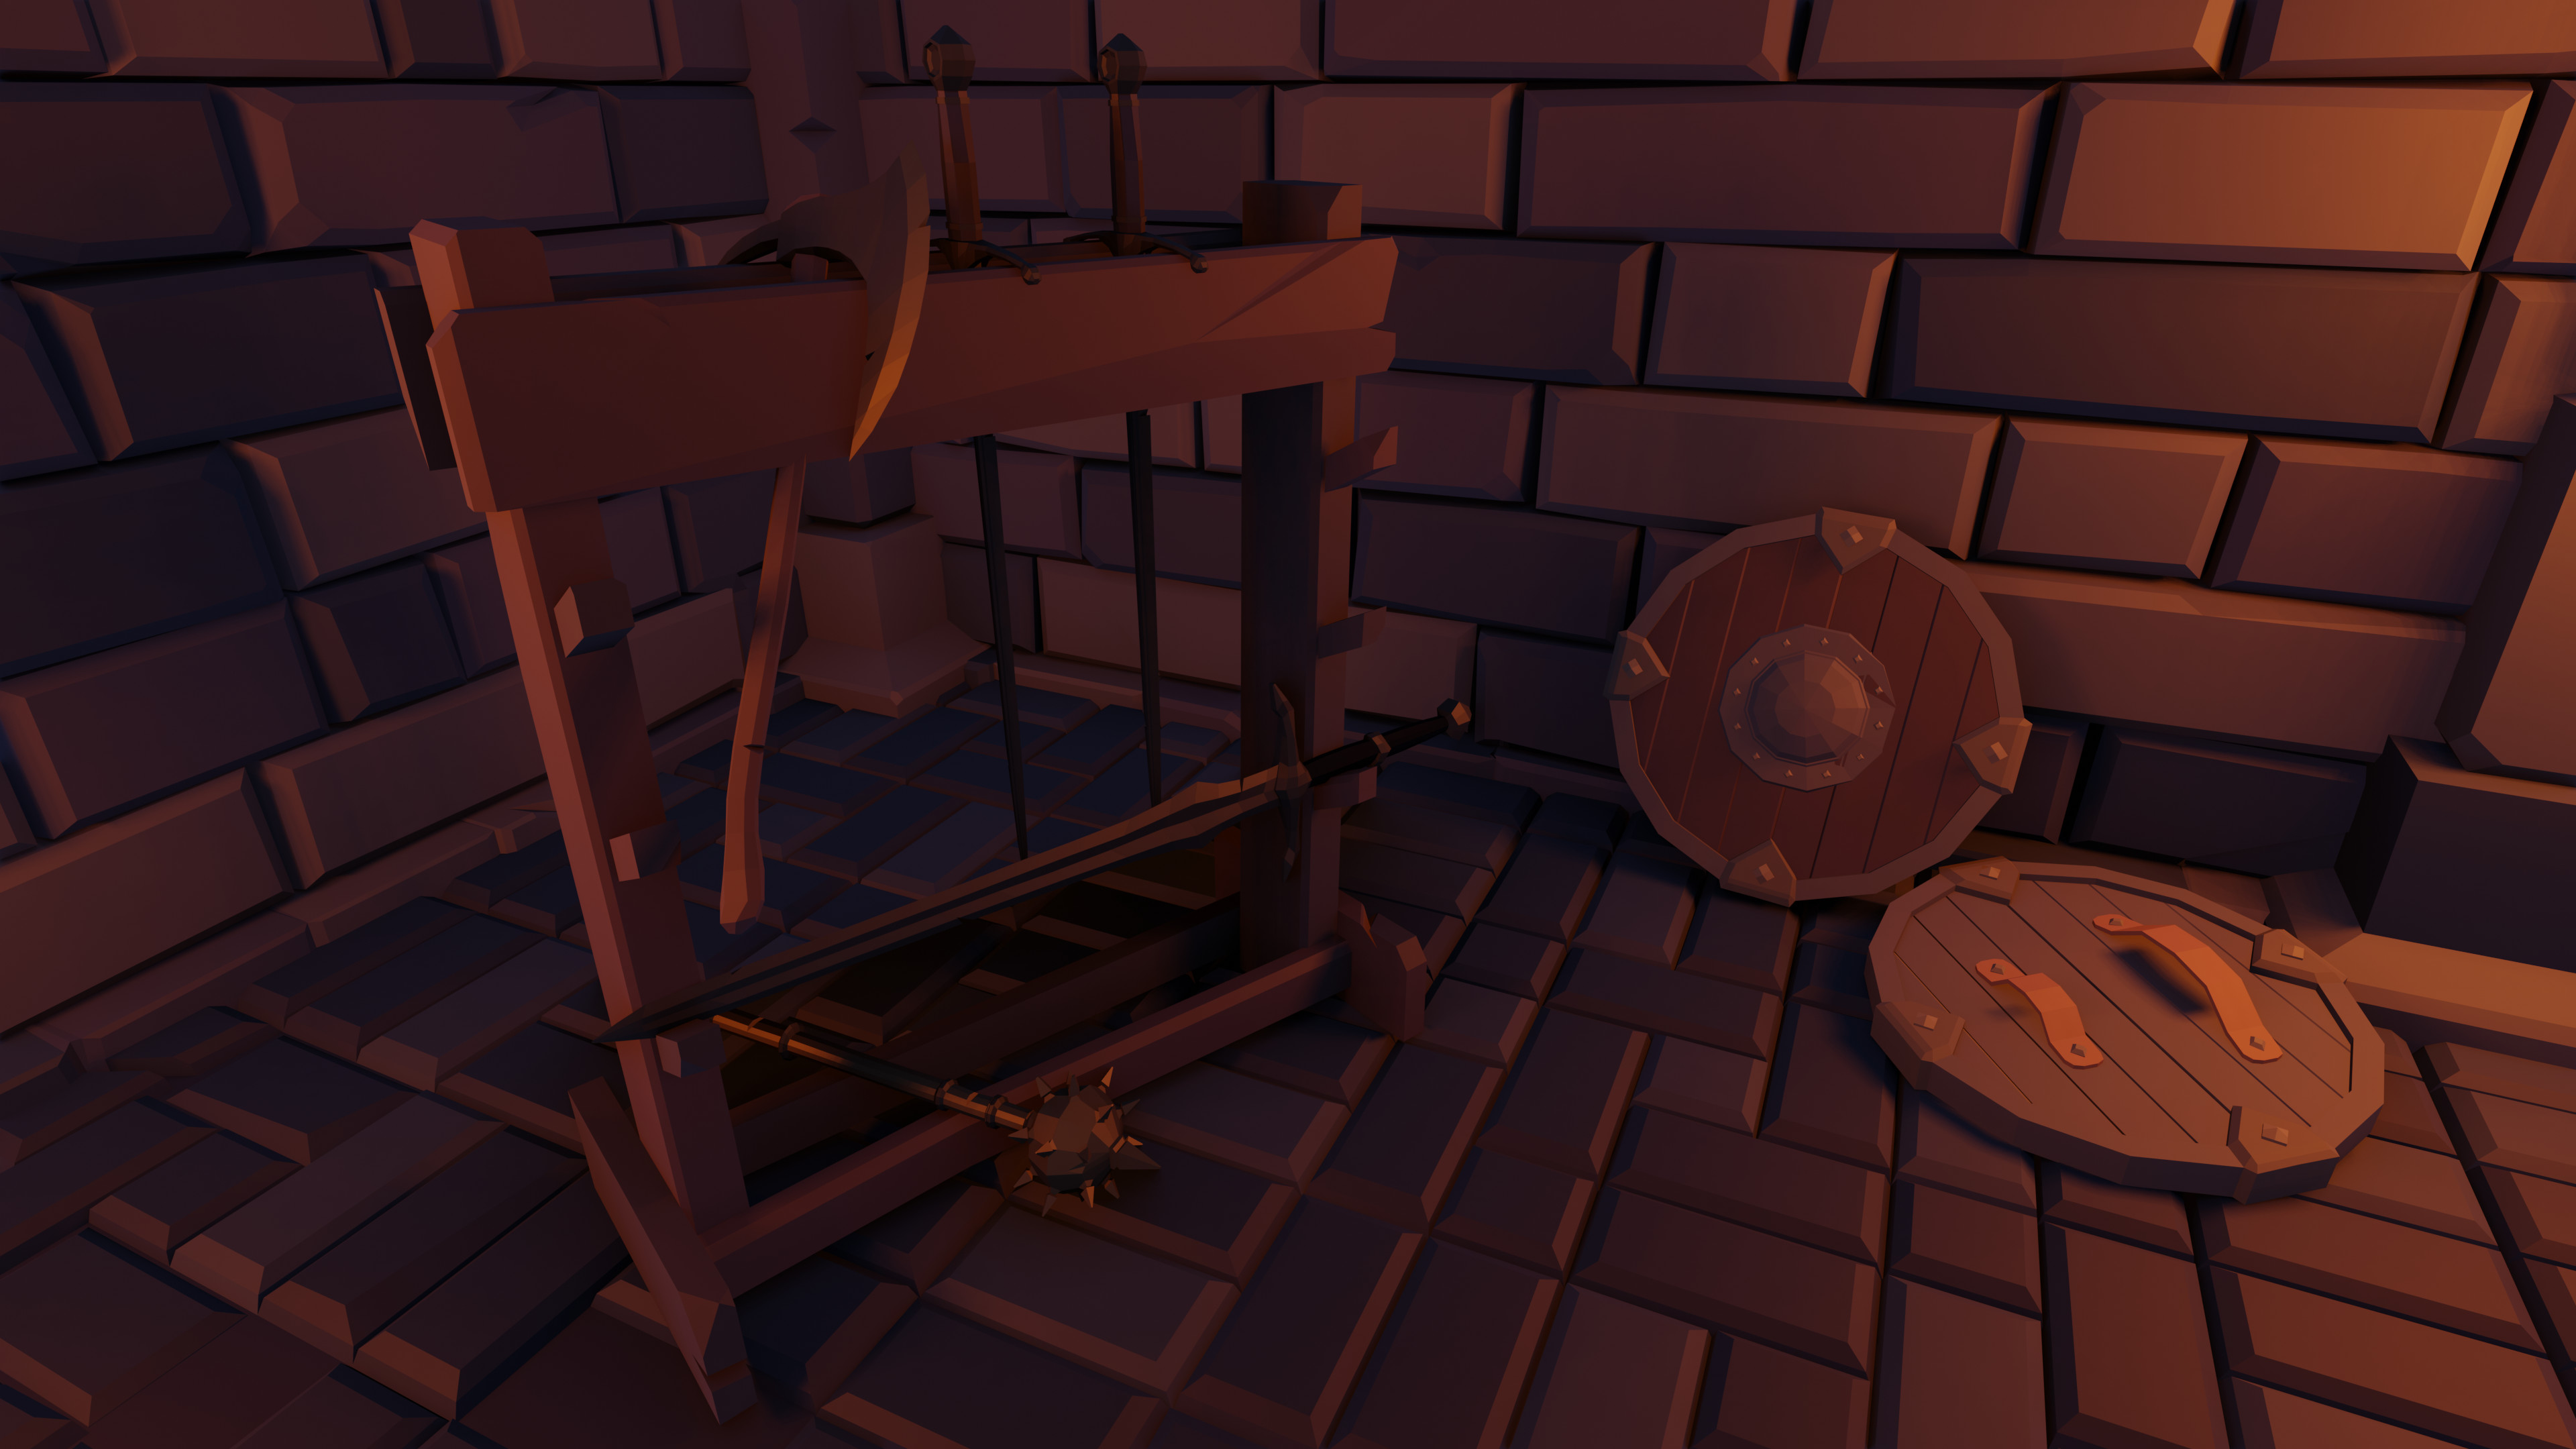
Low poly sword tutorial.

I created the rest of the weapons and shield in a similar way.

I learned about weight painting from a bunch of different videos, partly for my skeleton. But but this video by grant about a weight painted flag inspired me to make my own animated torch and lava pool.
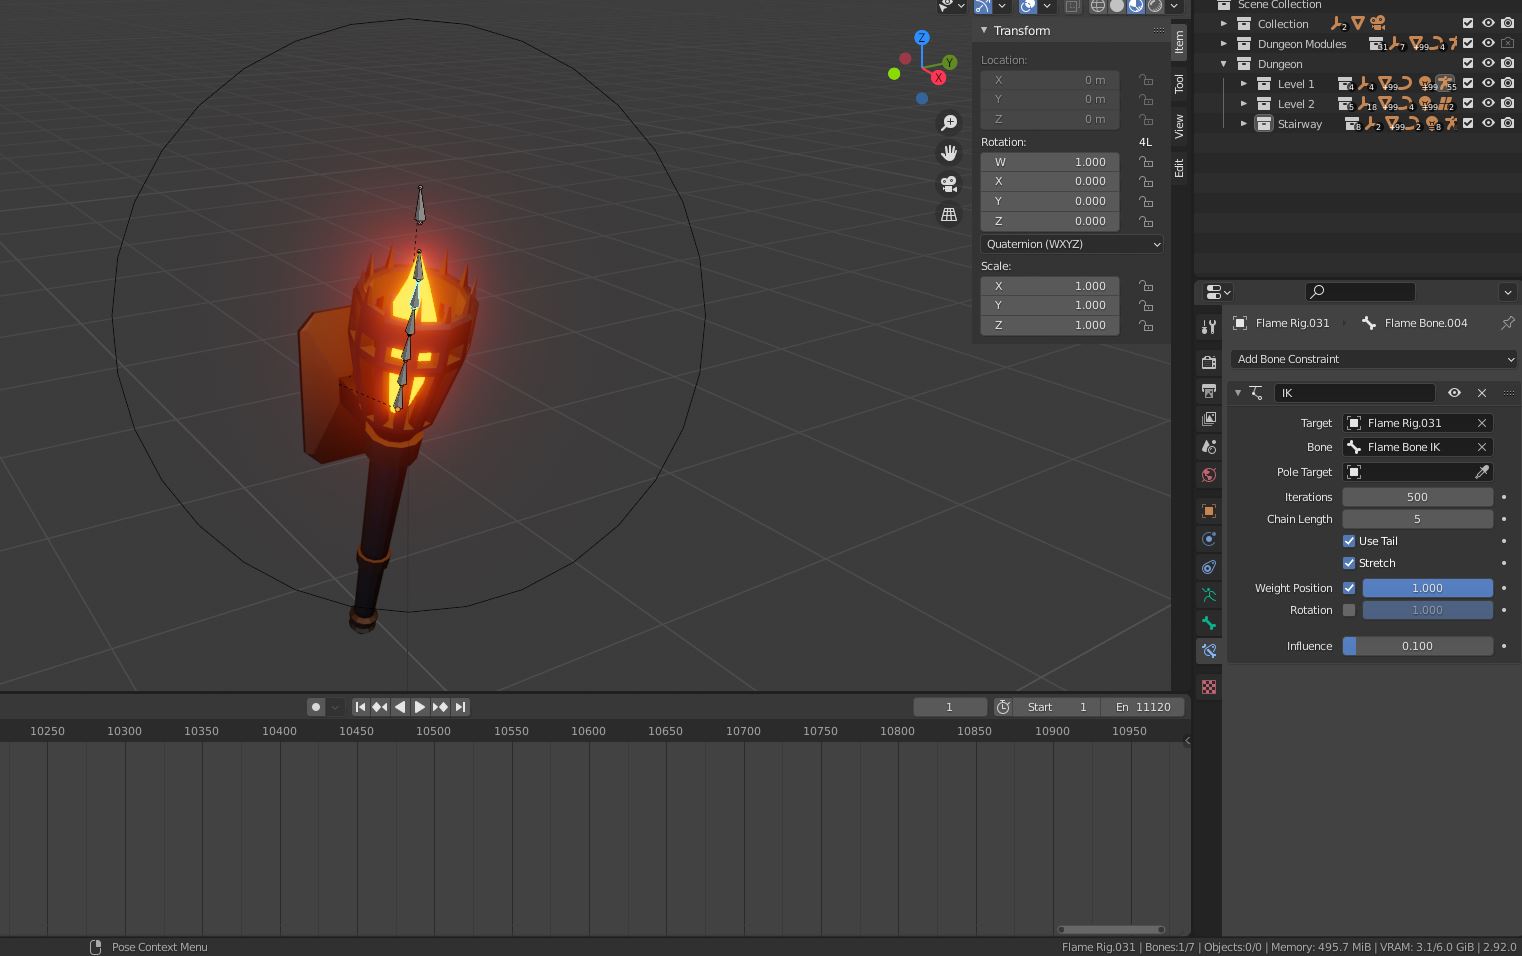
Torches:

I felt the torches were a bit too static but I didn’twant to make a complicated procedural manta ray fire or anthing. So I came up with this weight painted bone rig, animated in a pattern by using a control bone on top. I also parented point lights to each top bone so that I got some waving light effect.
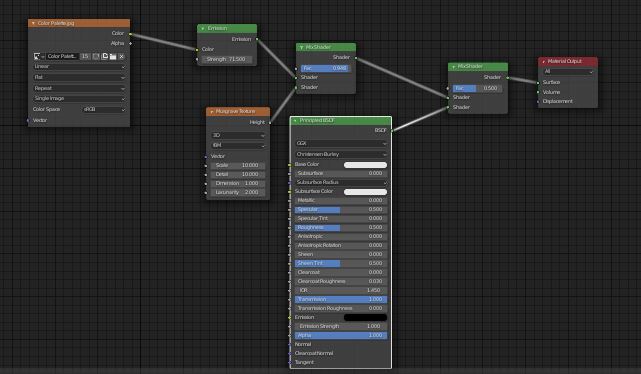
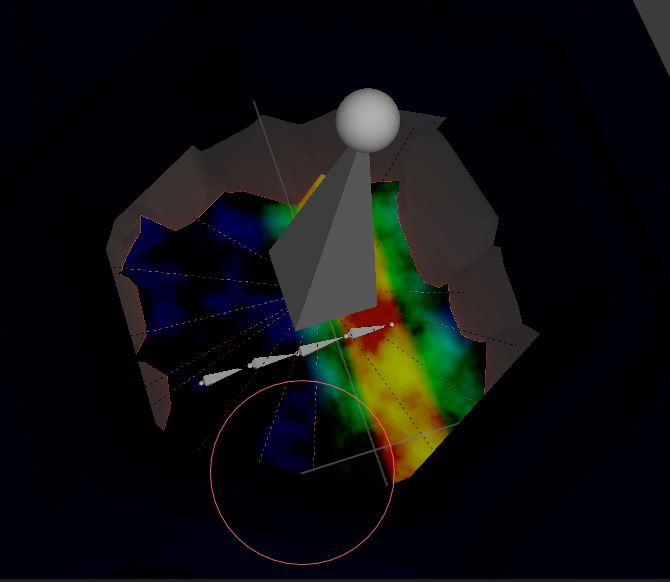
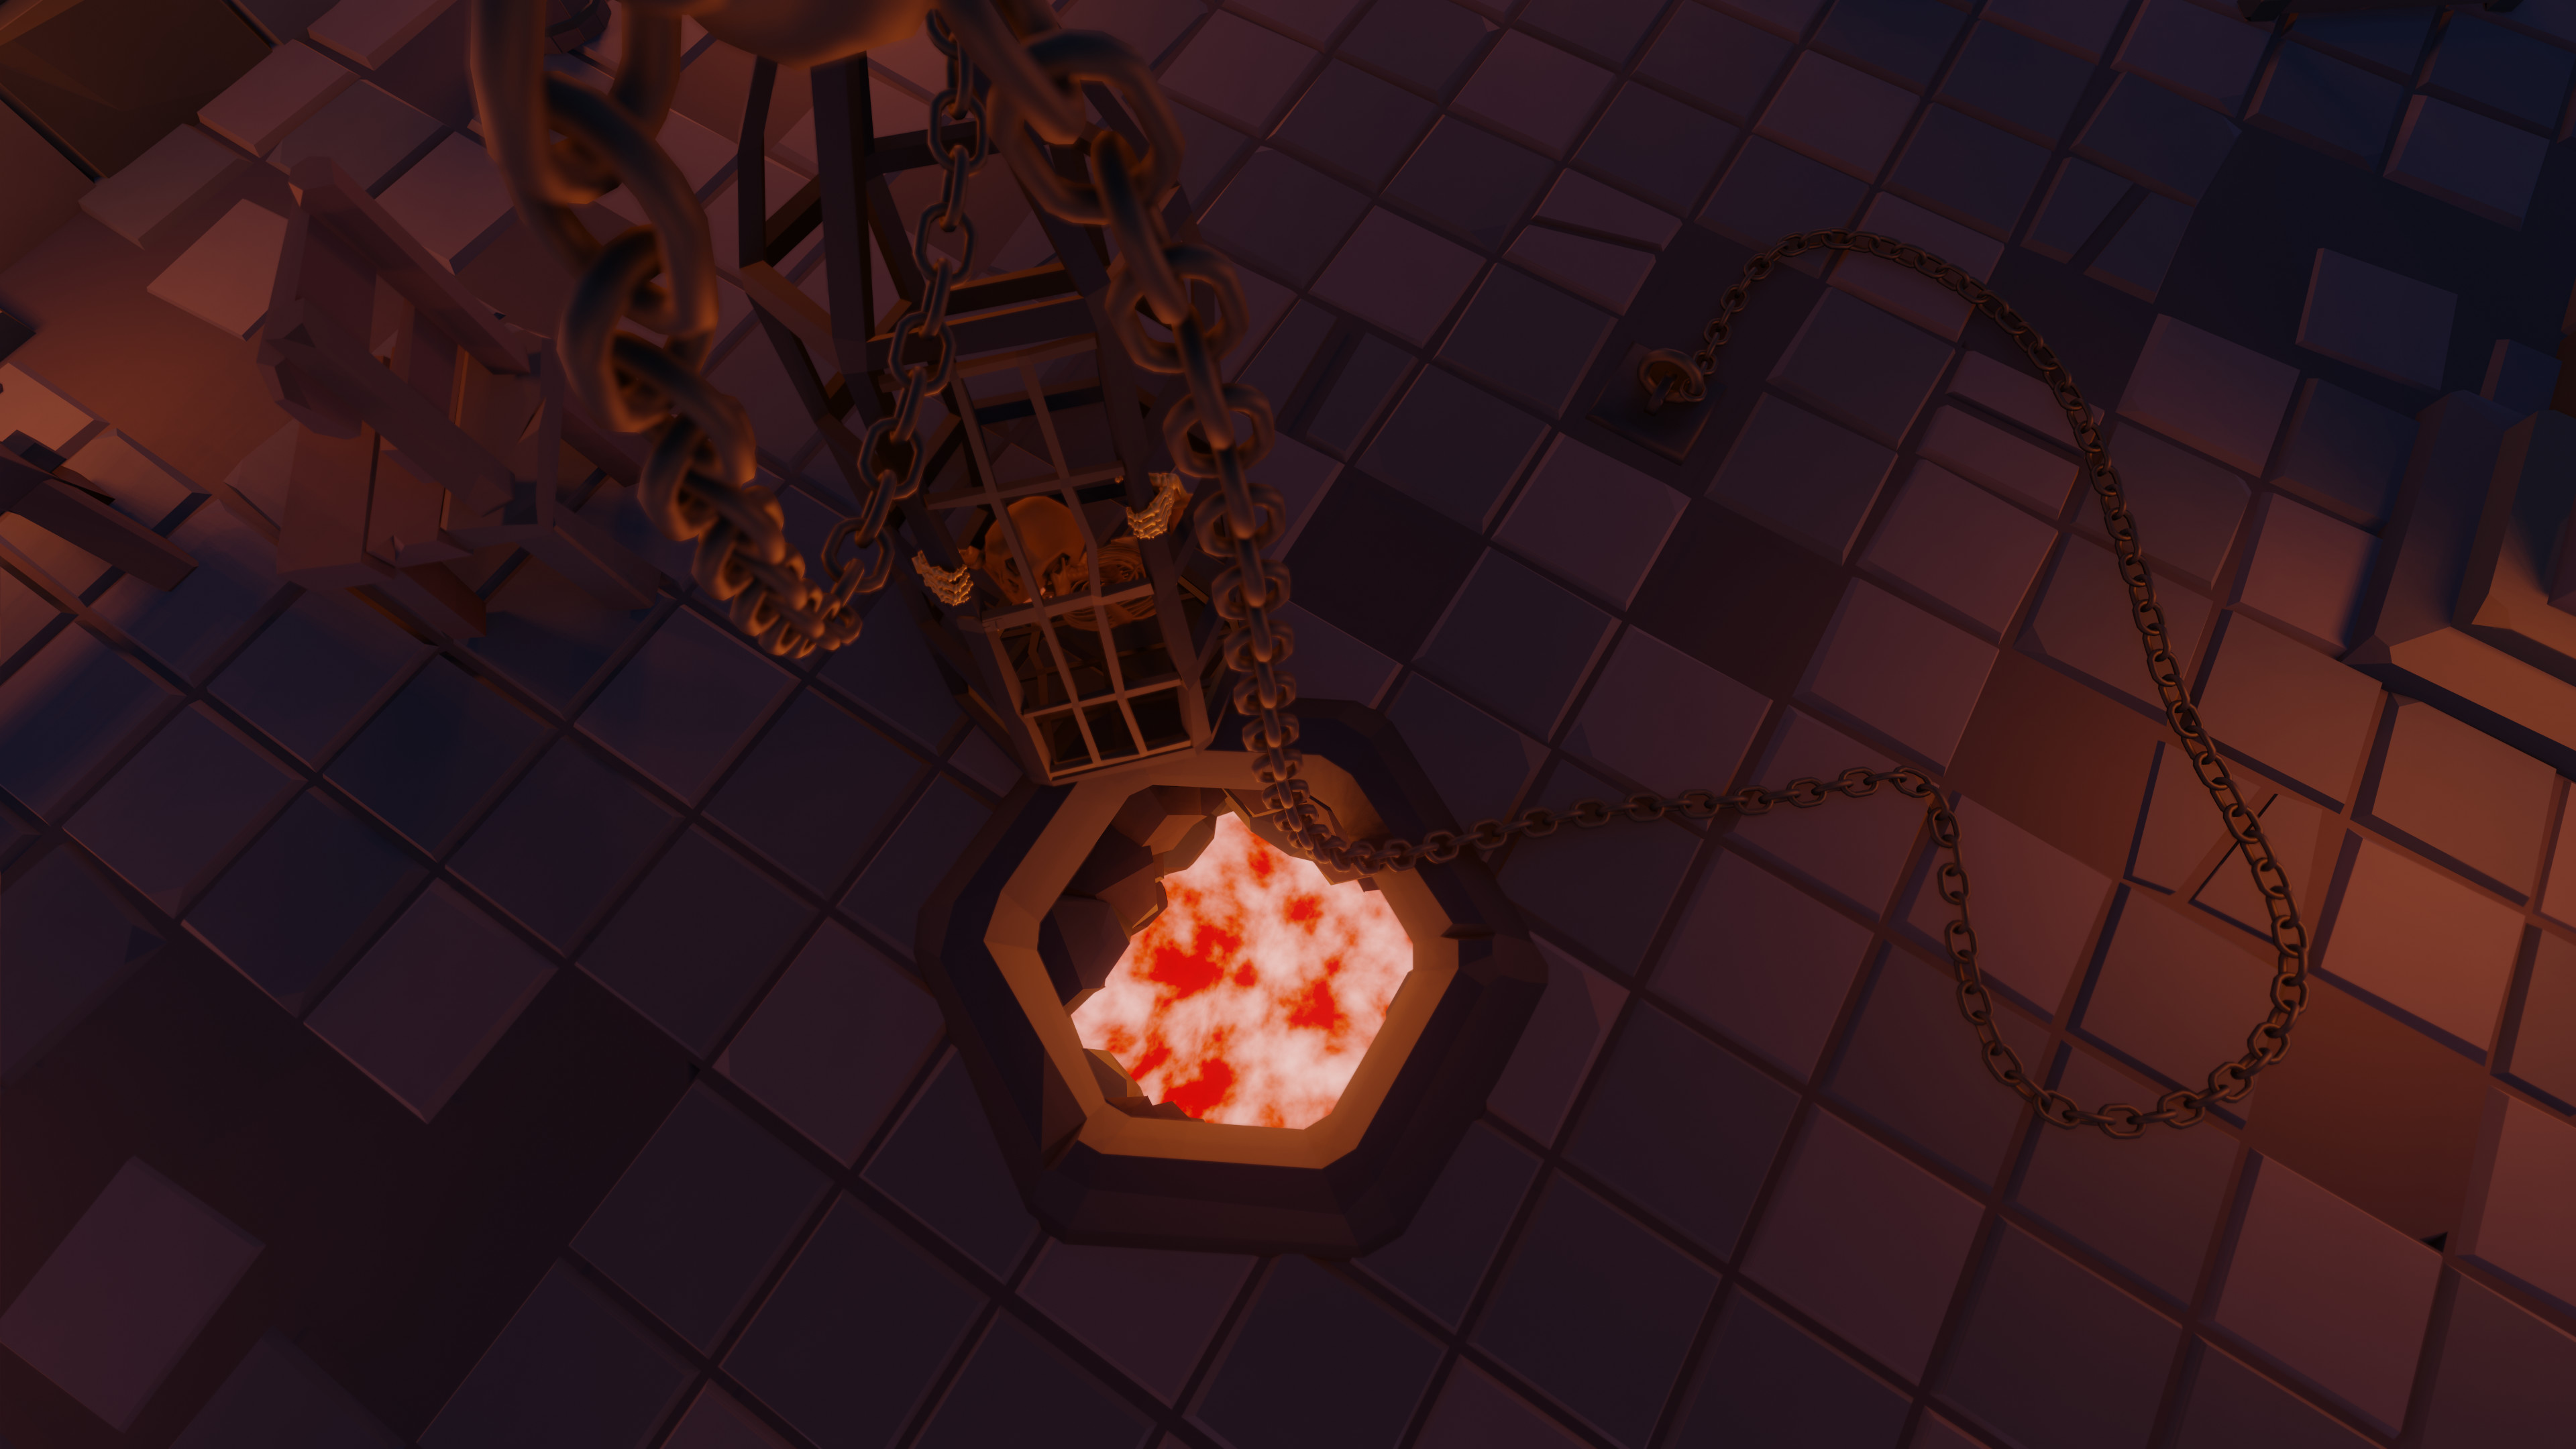
Lava Pool:

The lava pool was also constructed in a similar way as the torch, but instead with a plane. Then I put a musgrave texture with some emission on it.

Lava Texture

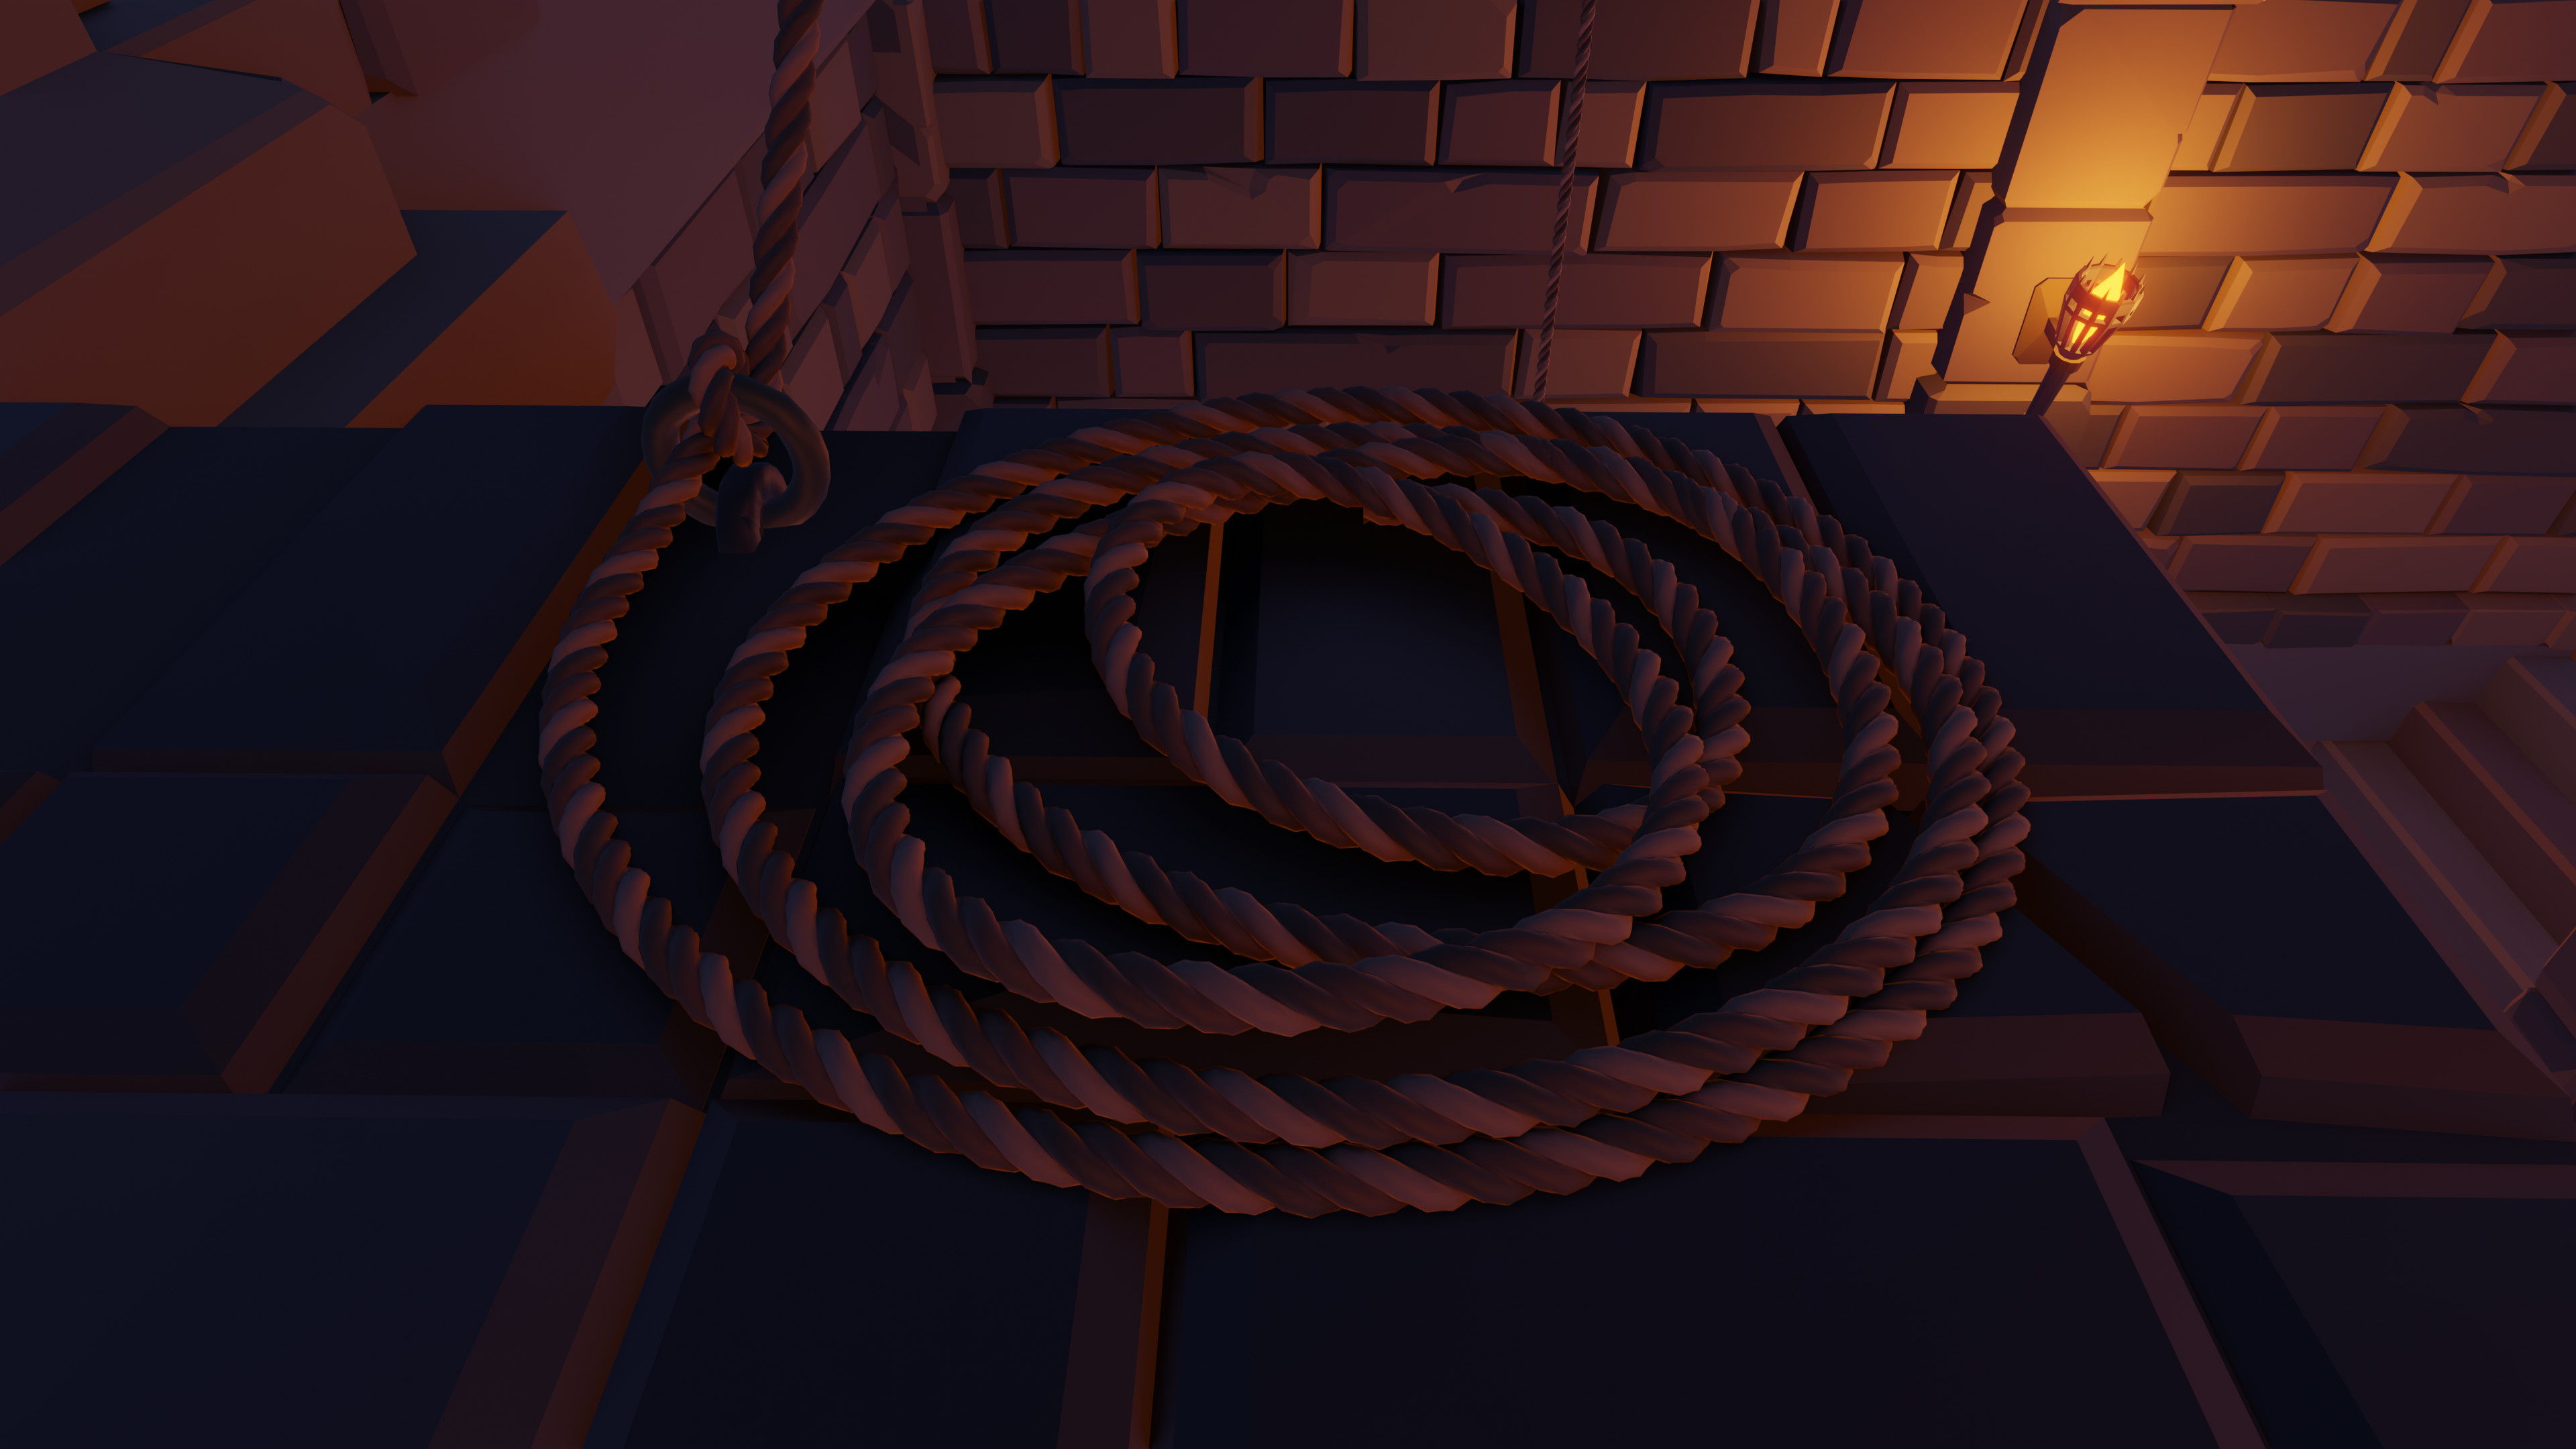
Next we have some chains, that you can move into whatever pose you want.

I followed this tutorial to create the rope, and then I made it procedural the same way as the chain.

For pickups in the animation, I used an empty that was parented to the camera.

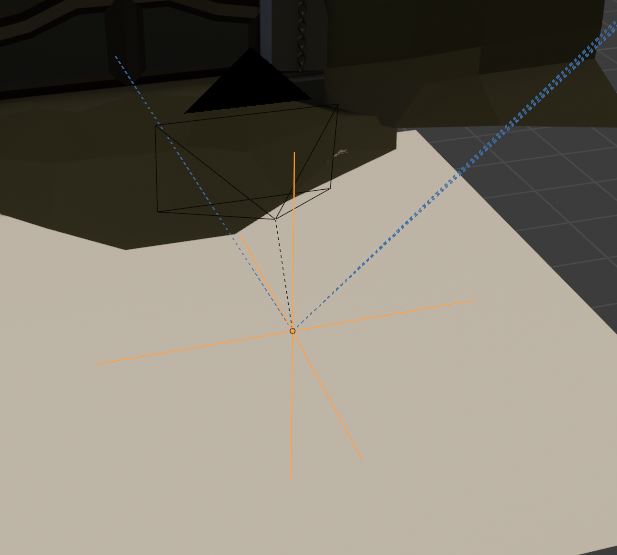
Then I just used the ChildOf constraint pick up the key, coin, and jewels. Also some key framing different locations and rotations sometimes.

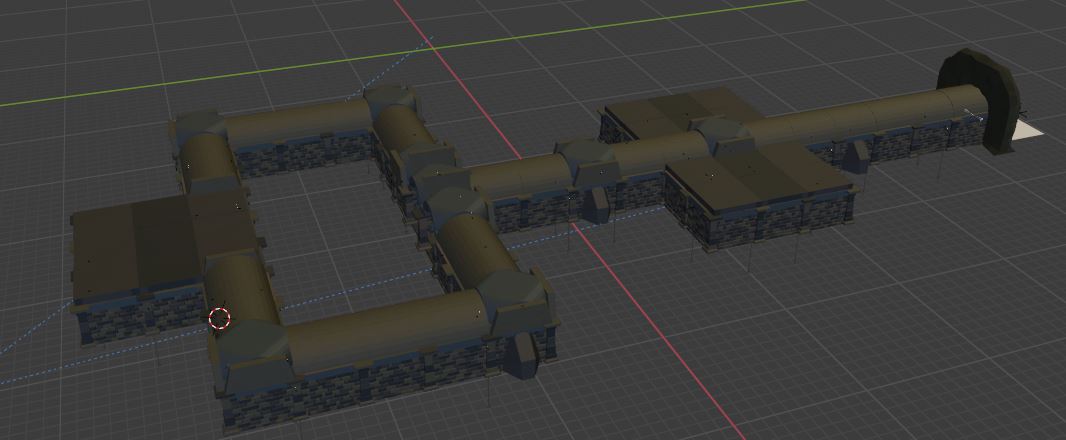
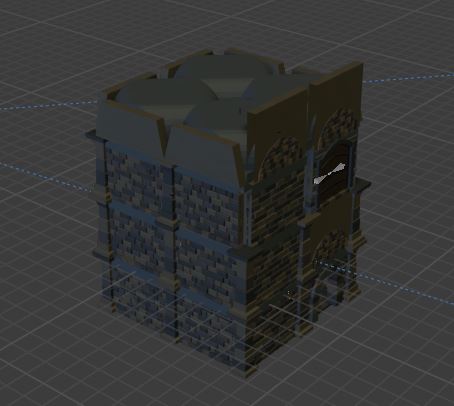
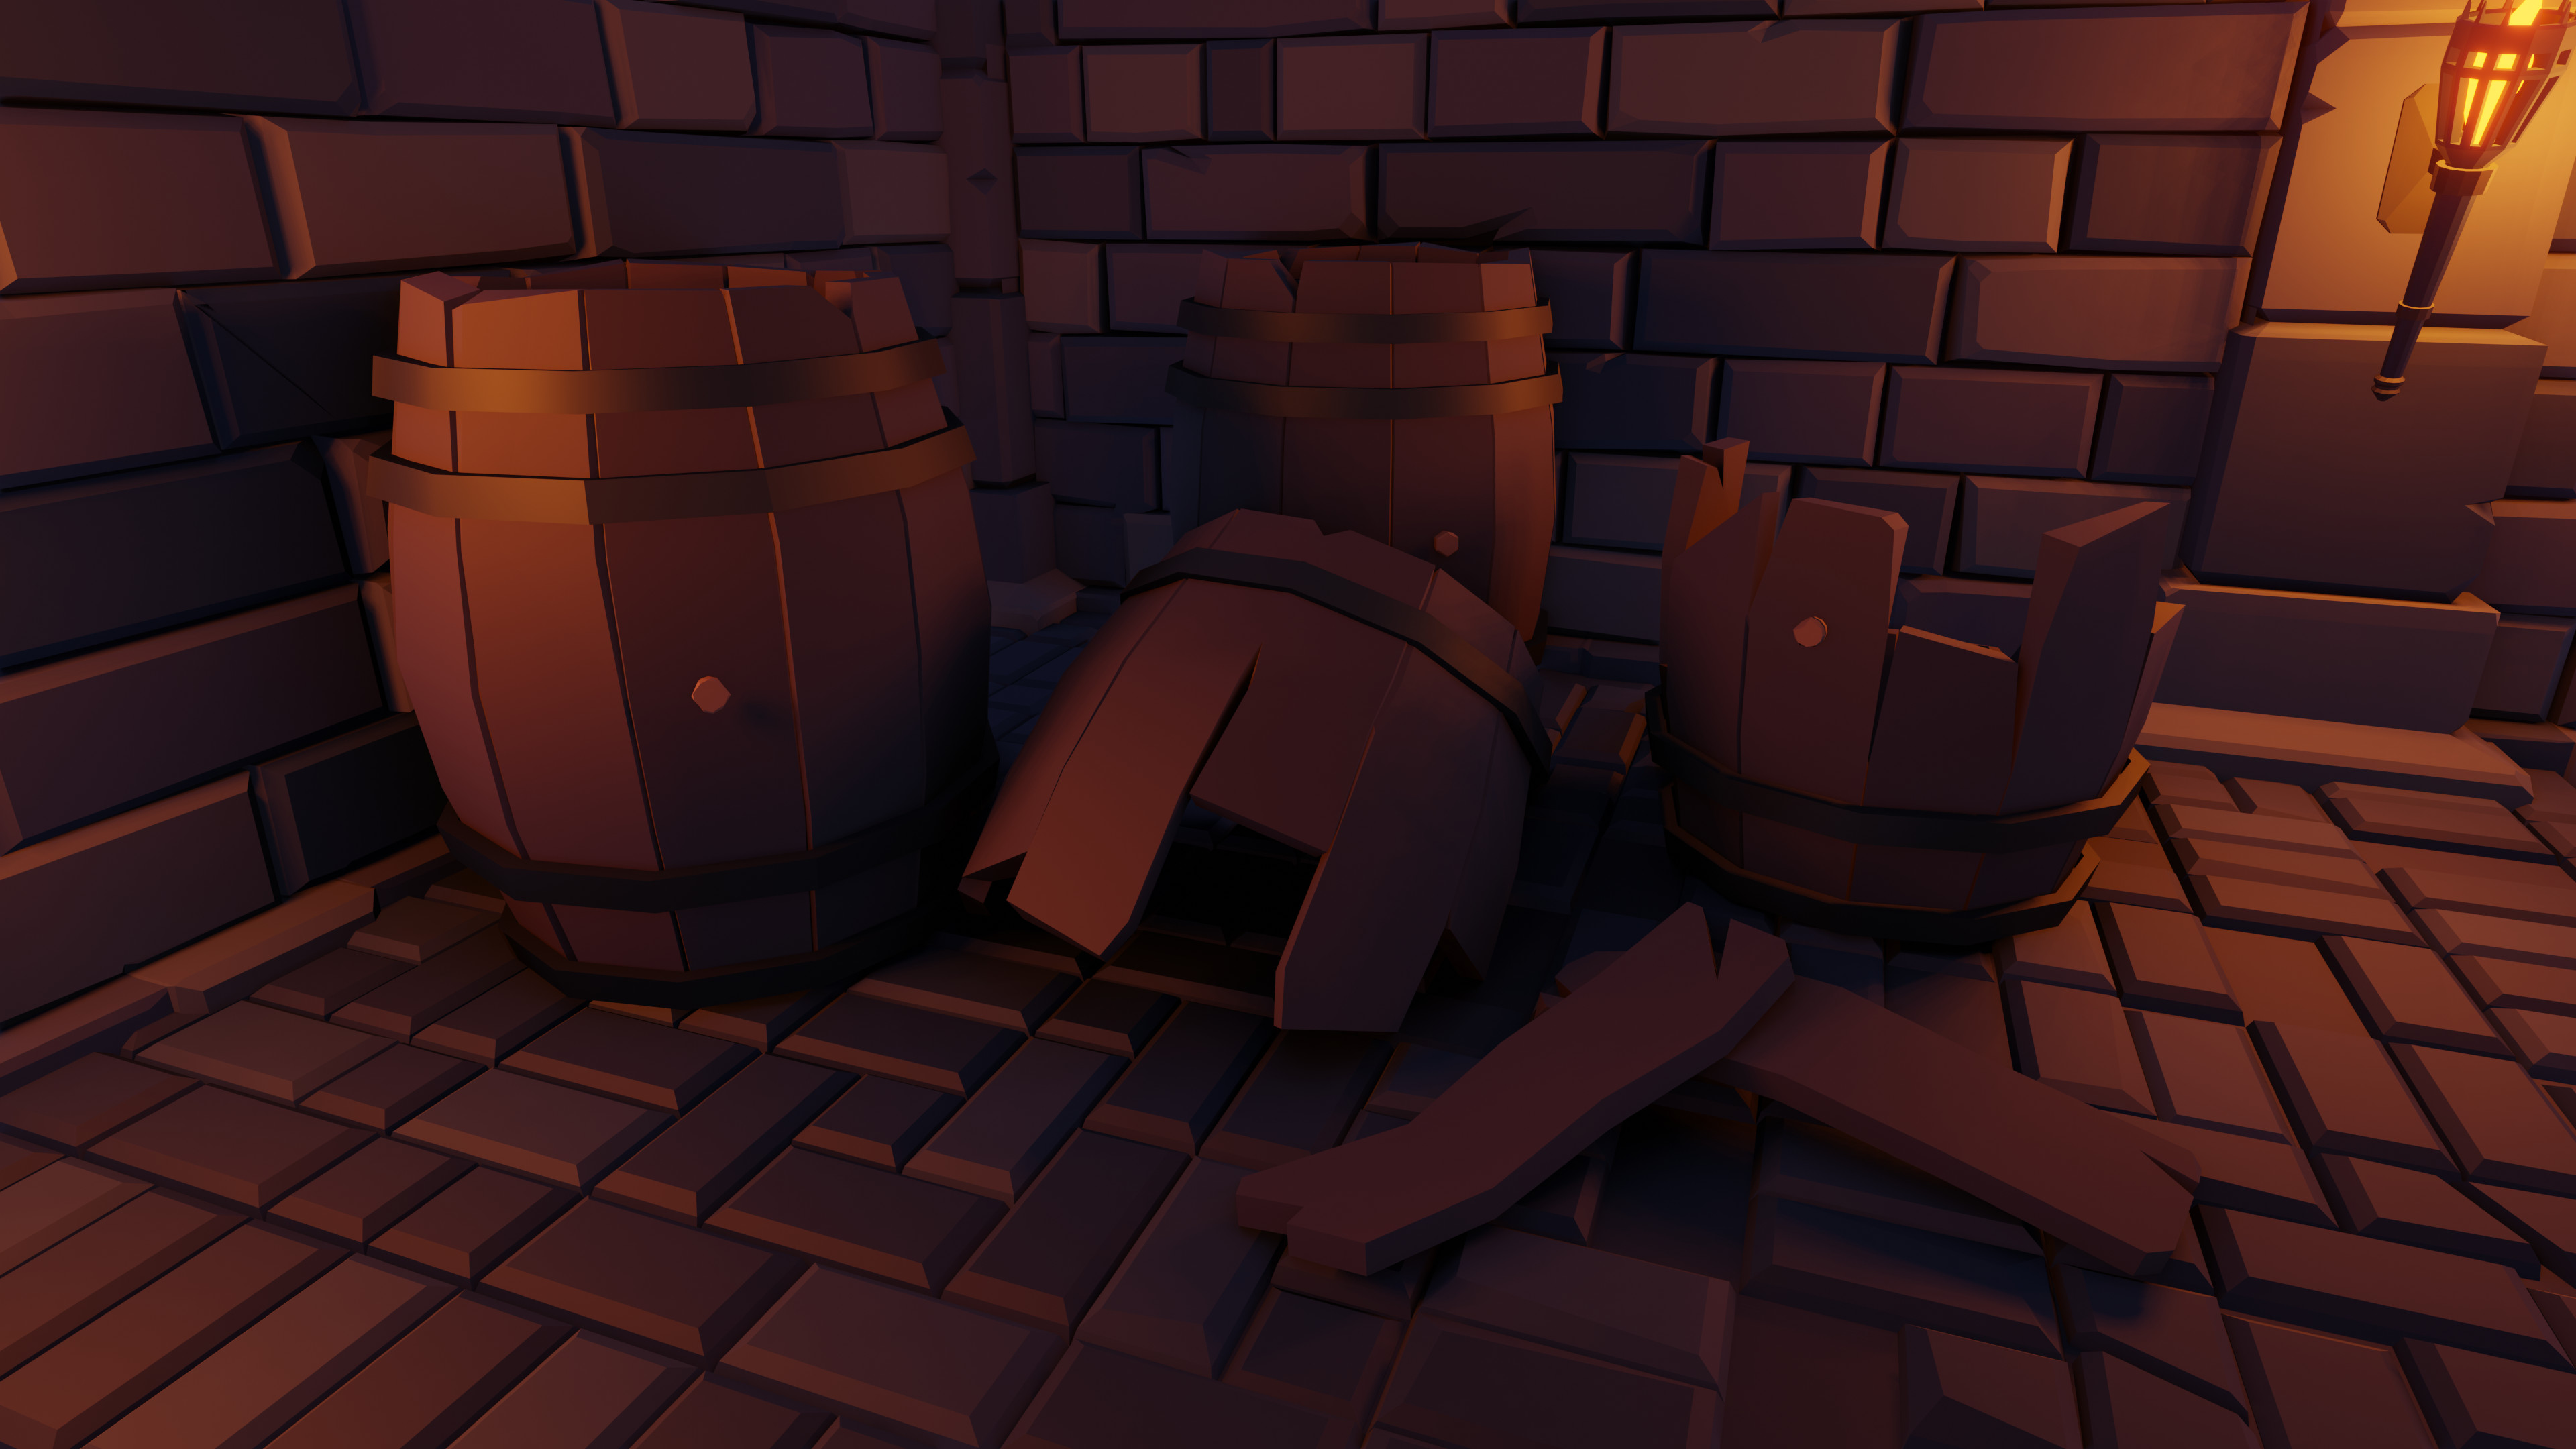
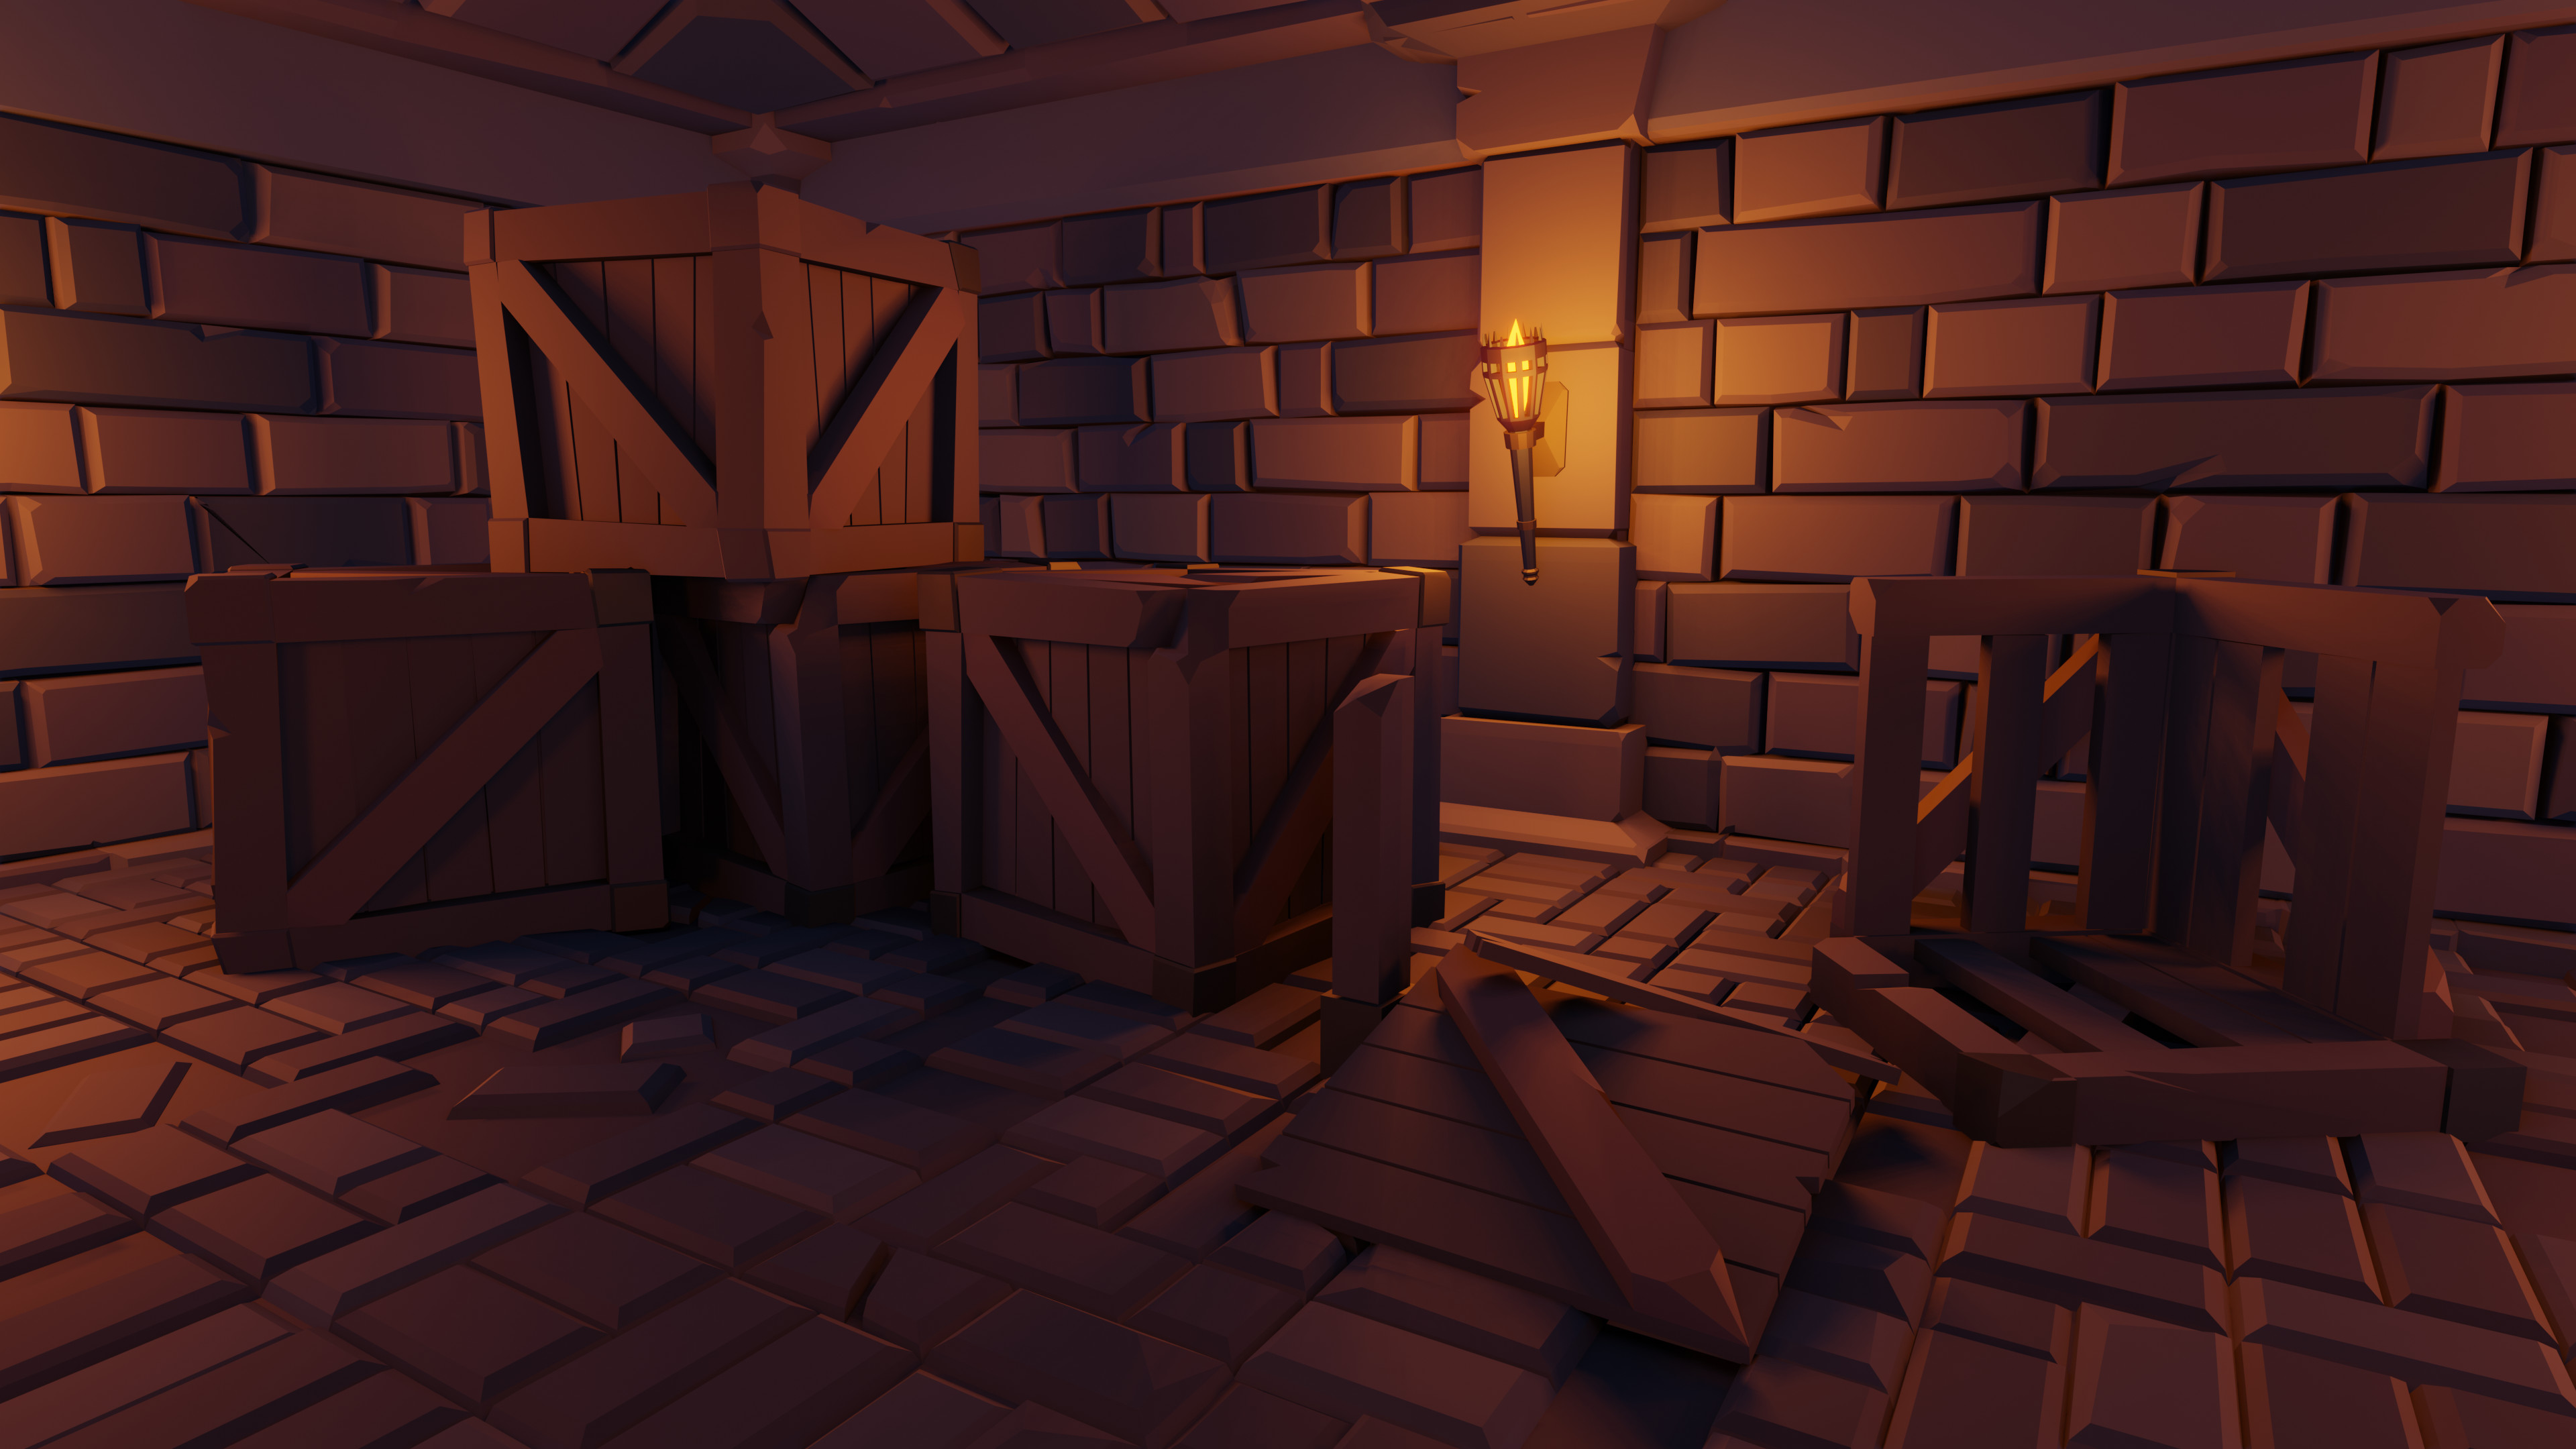
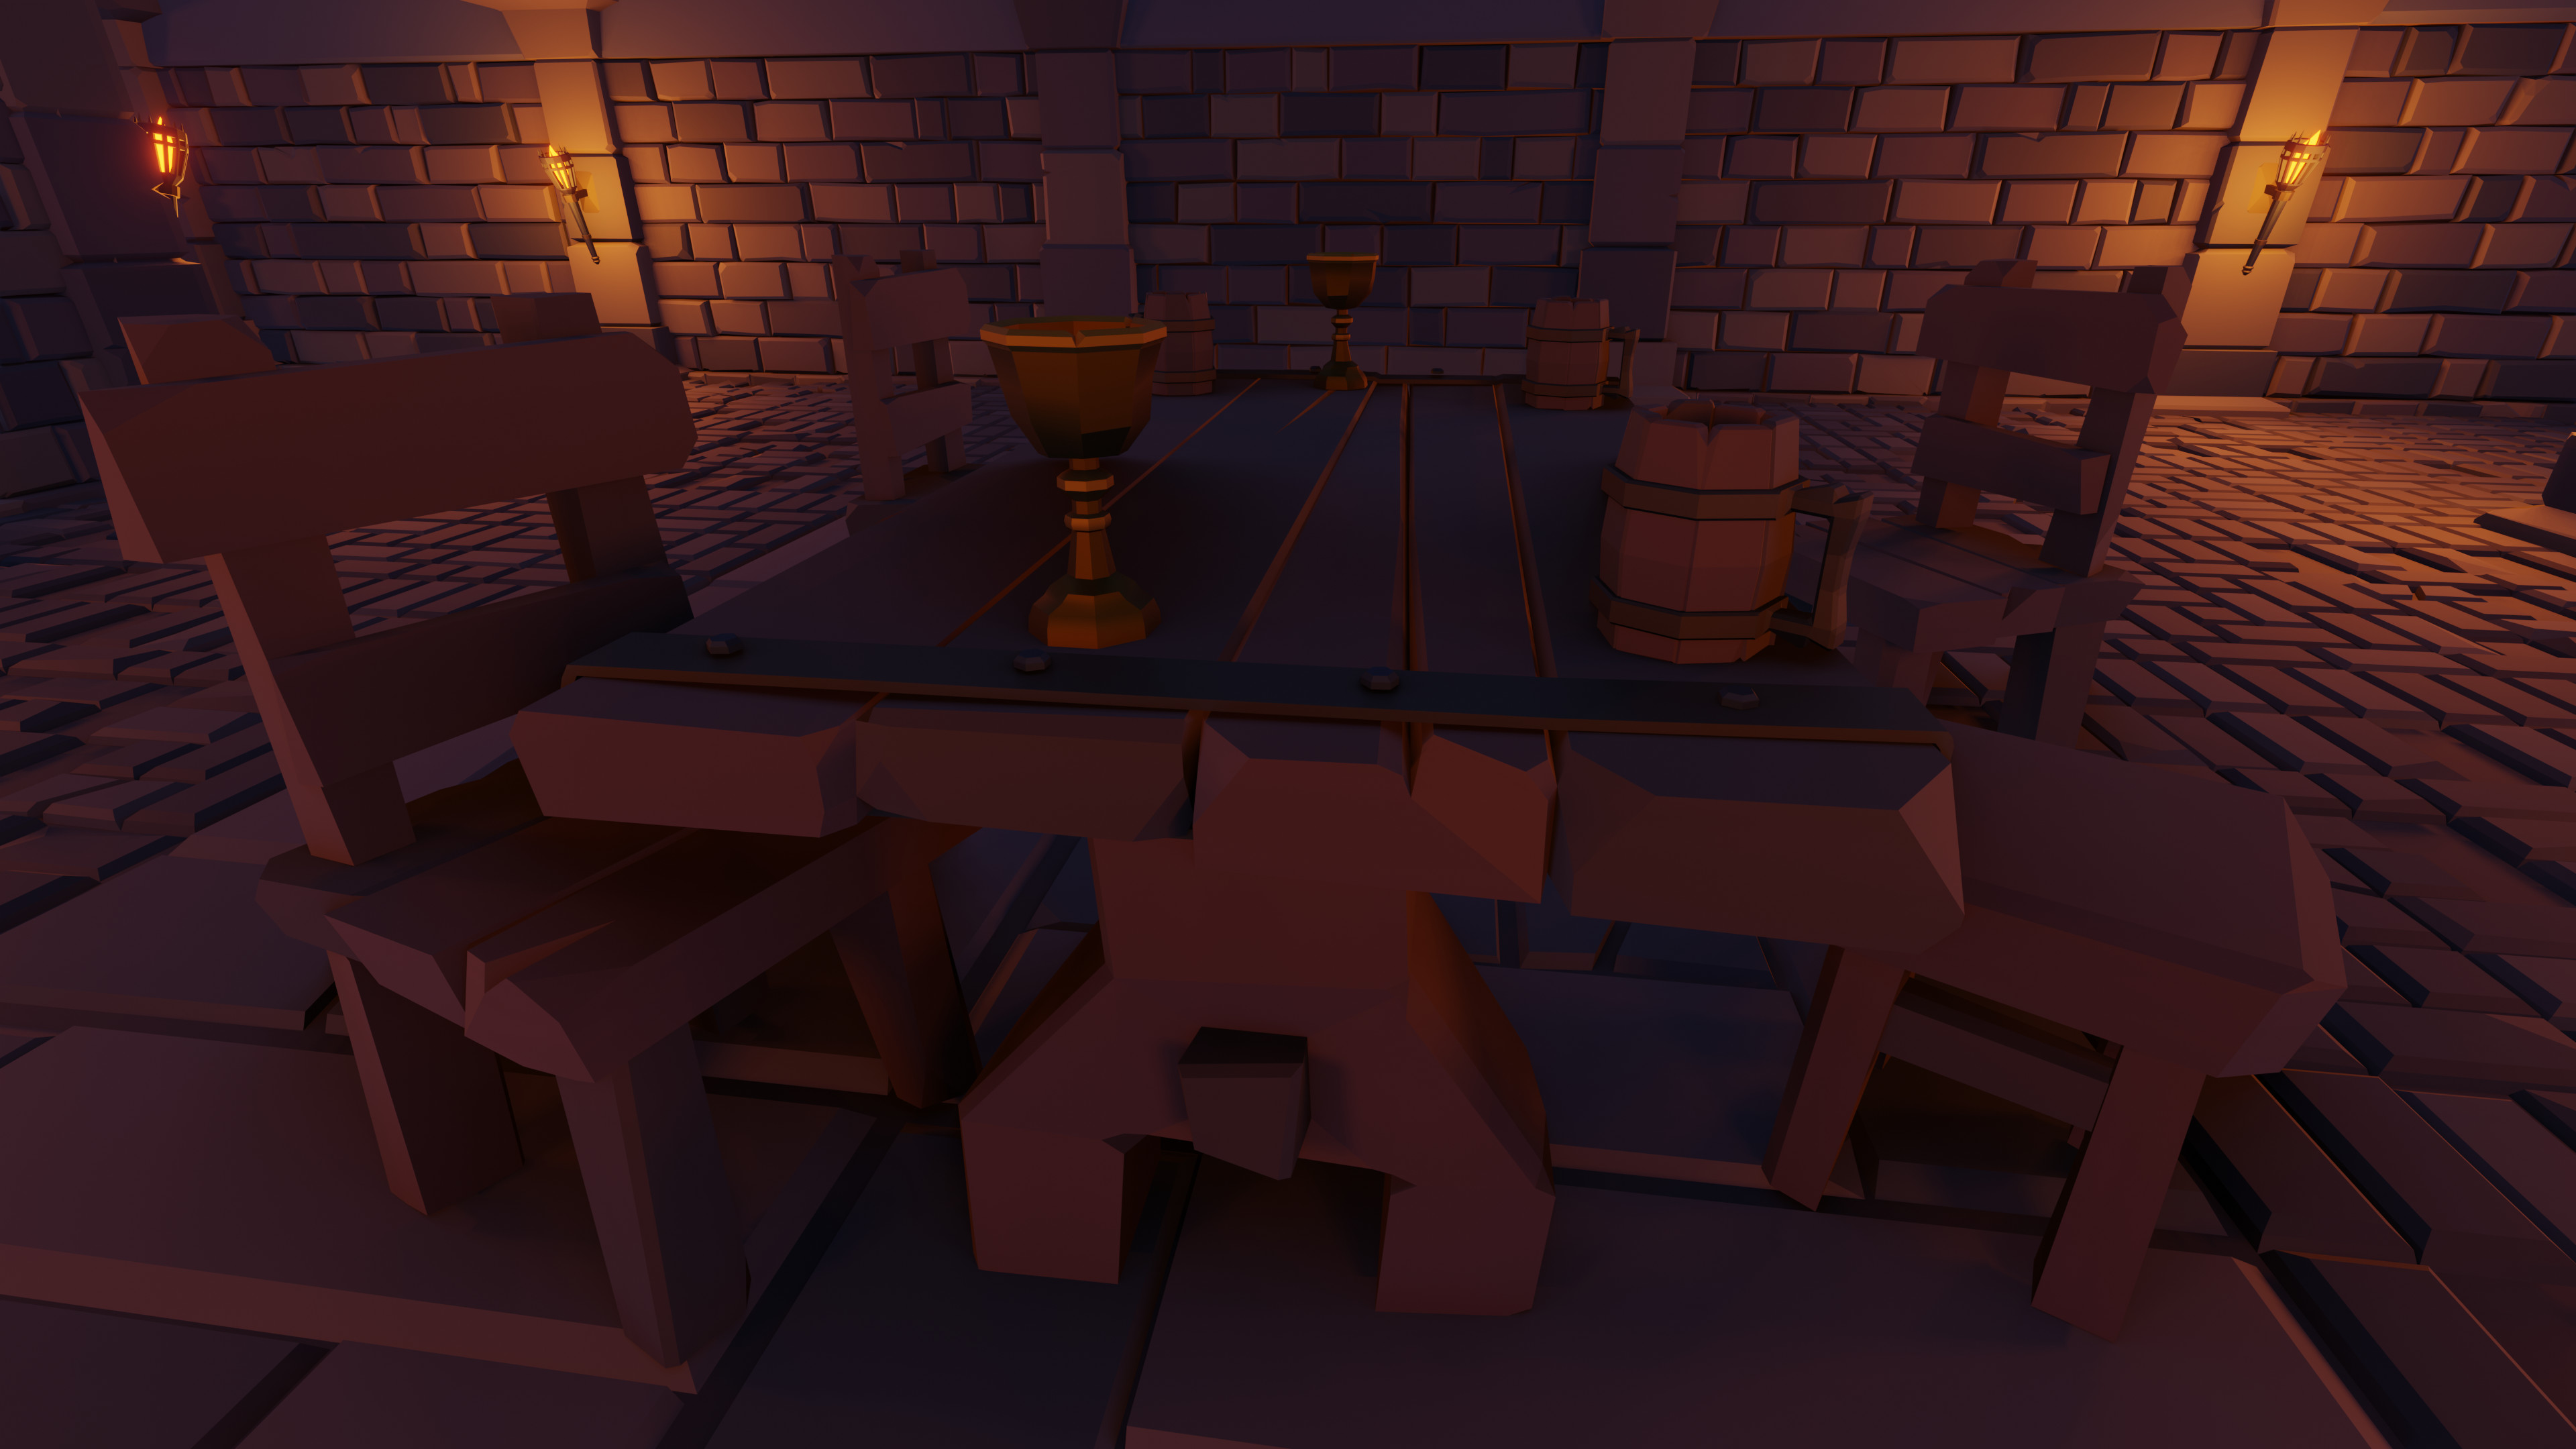
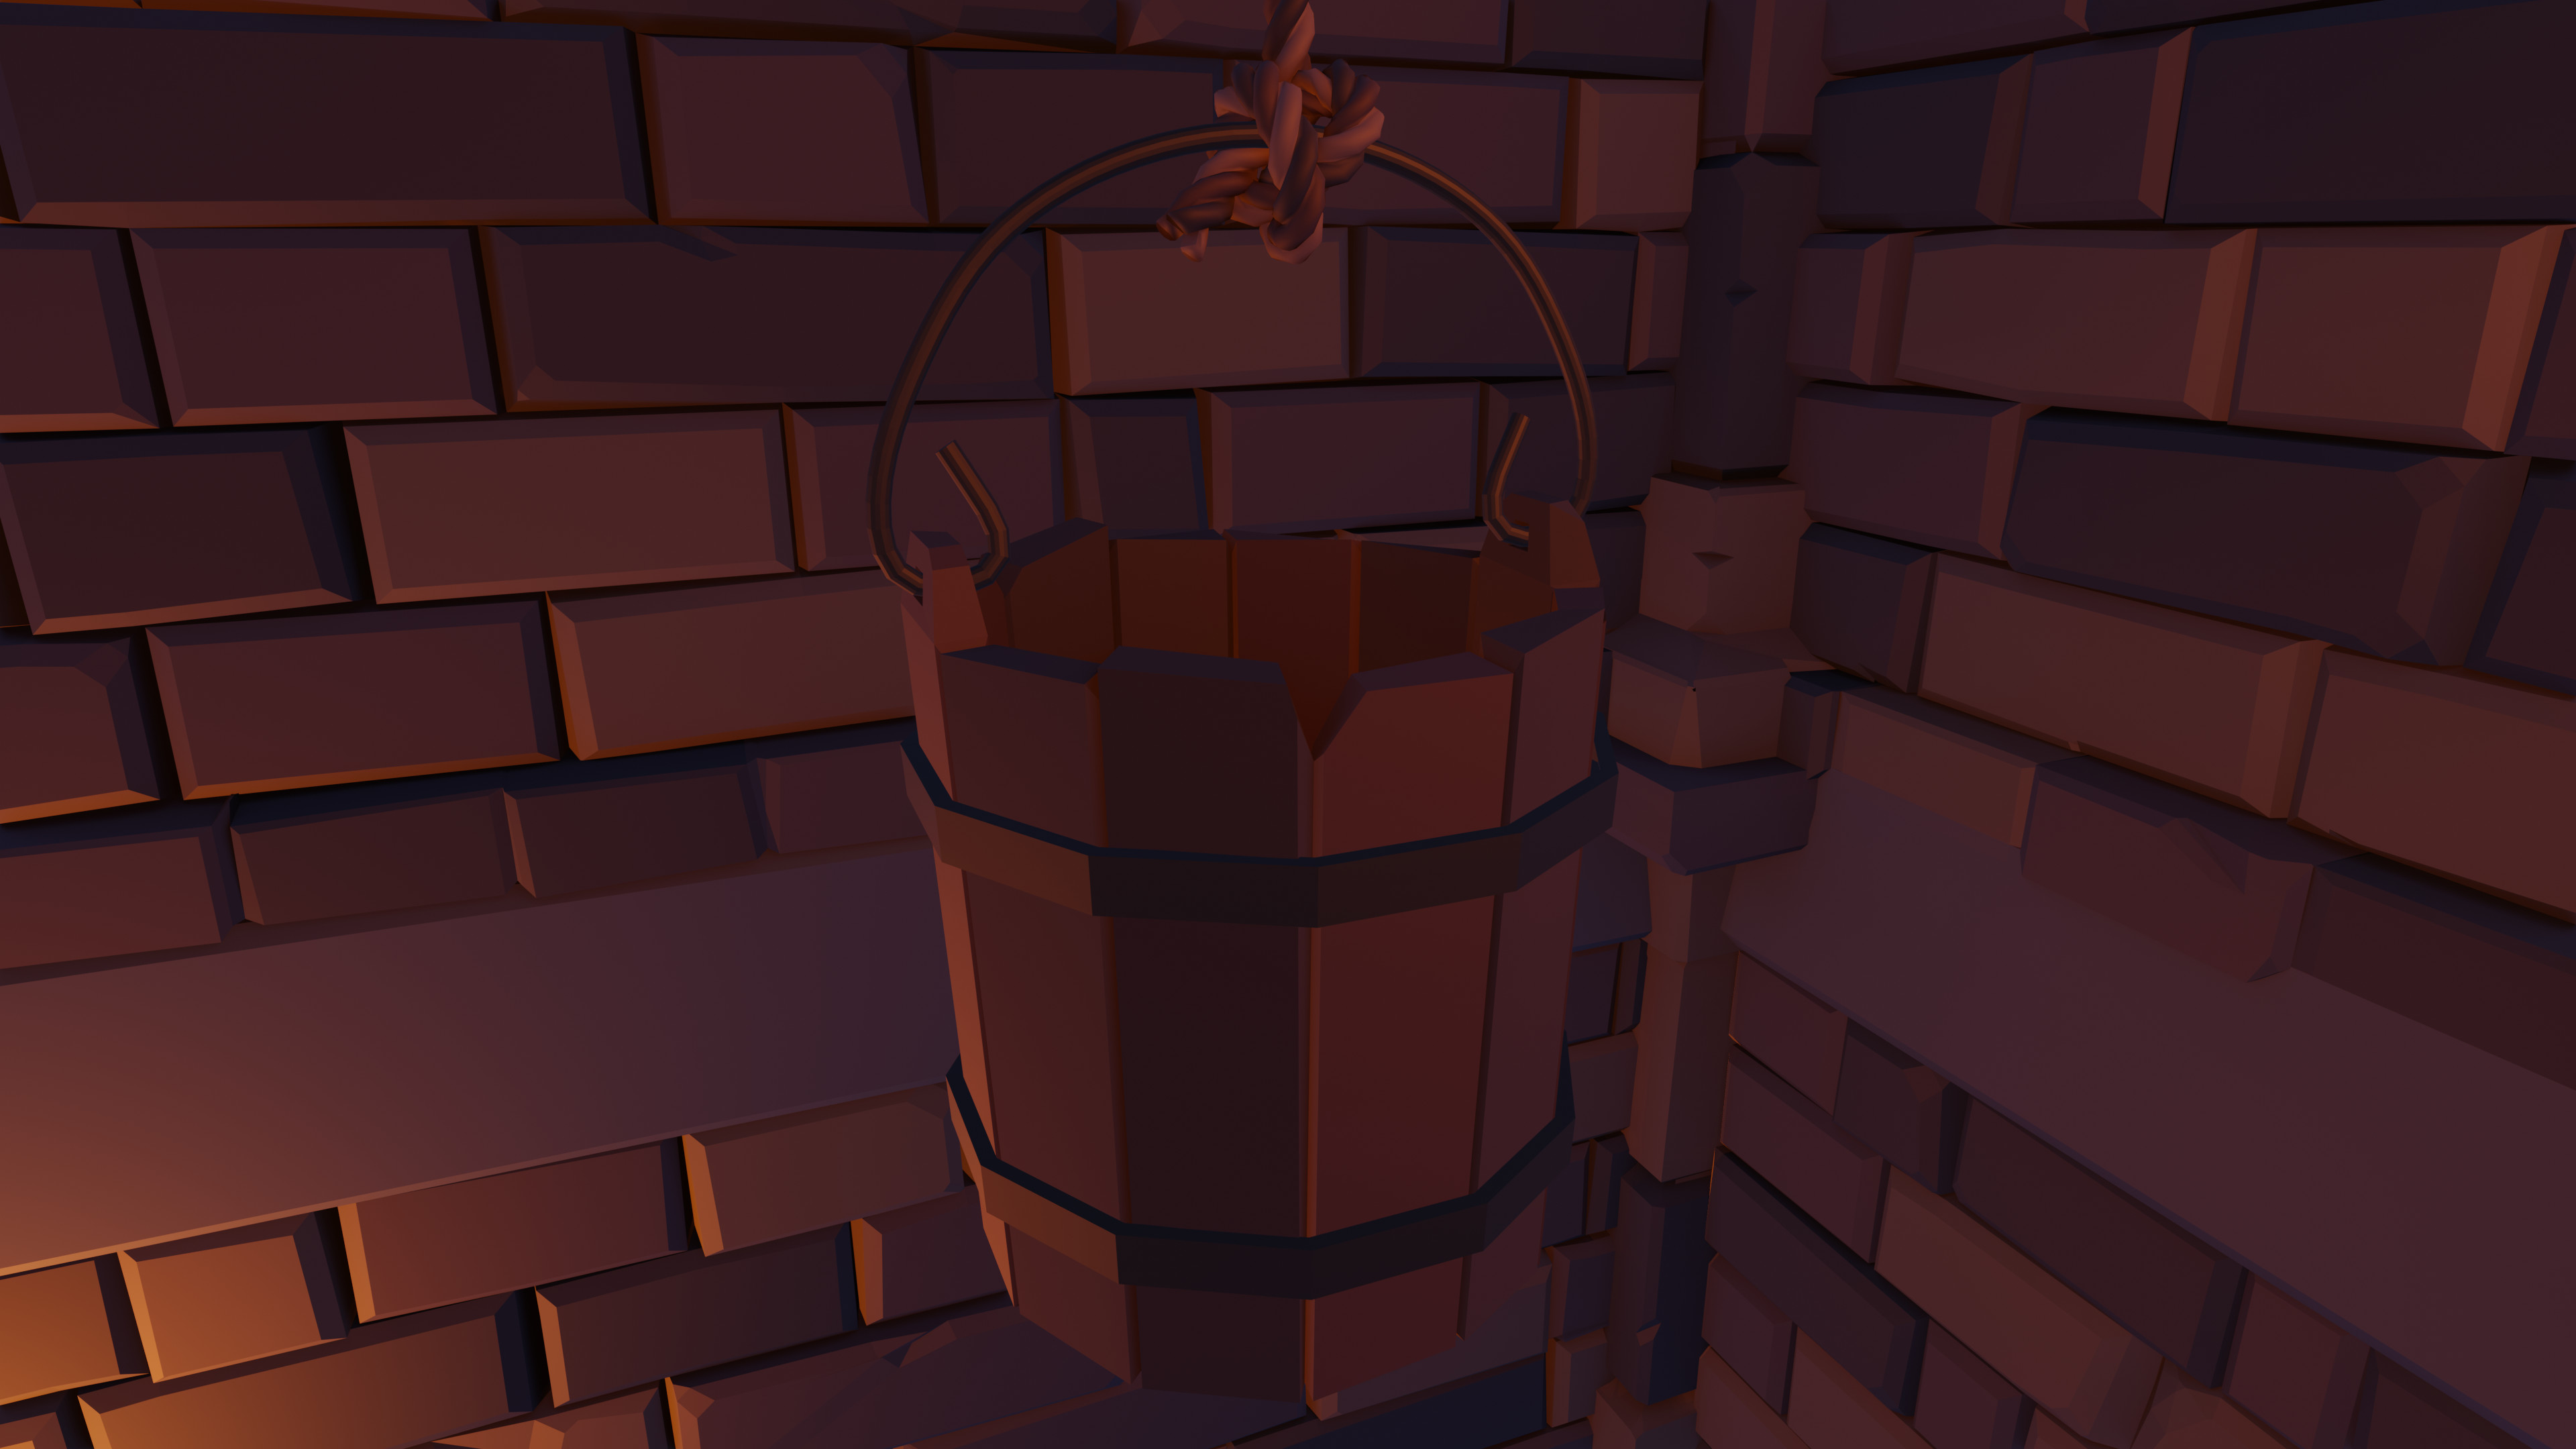
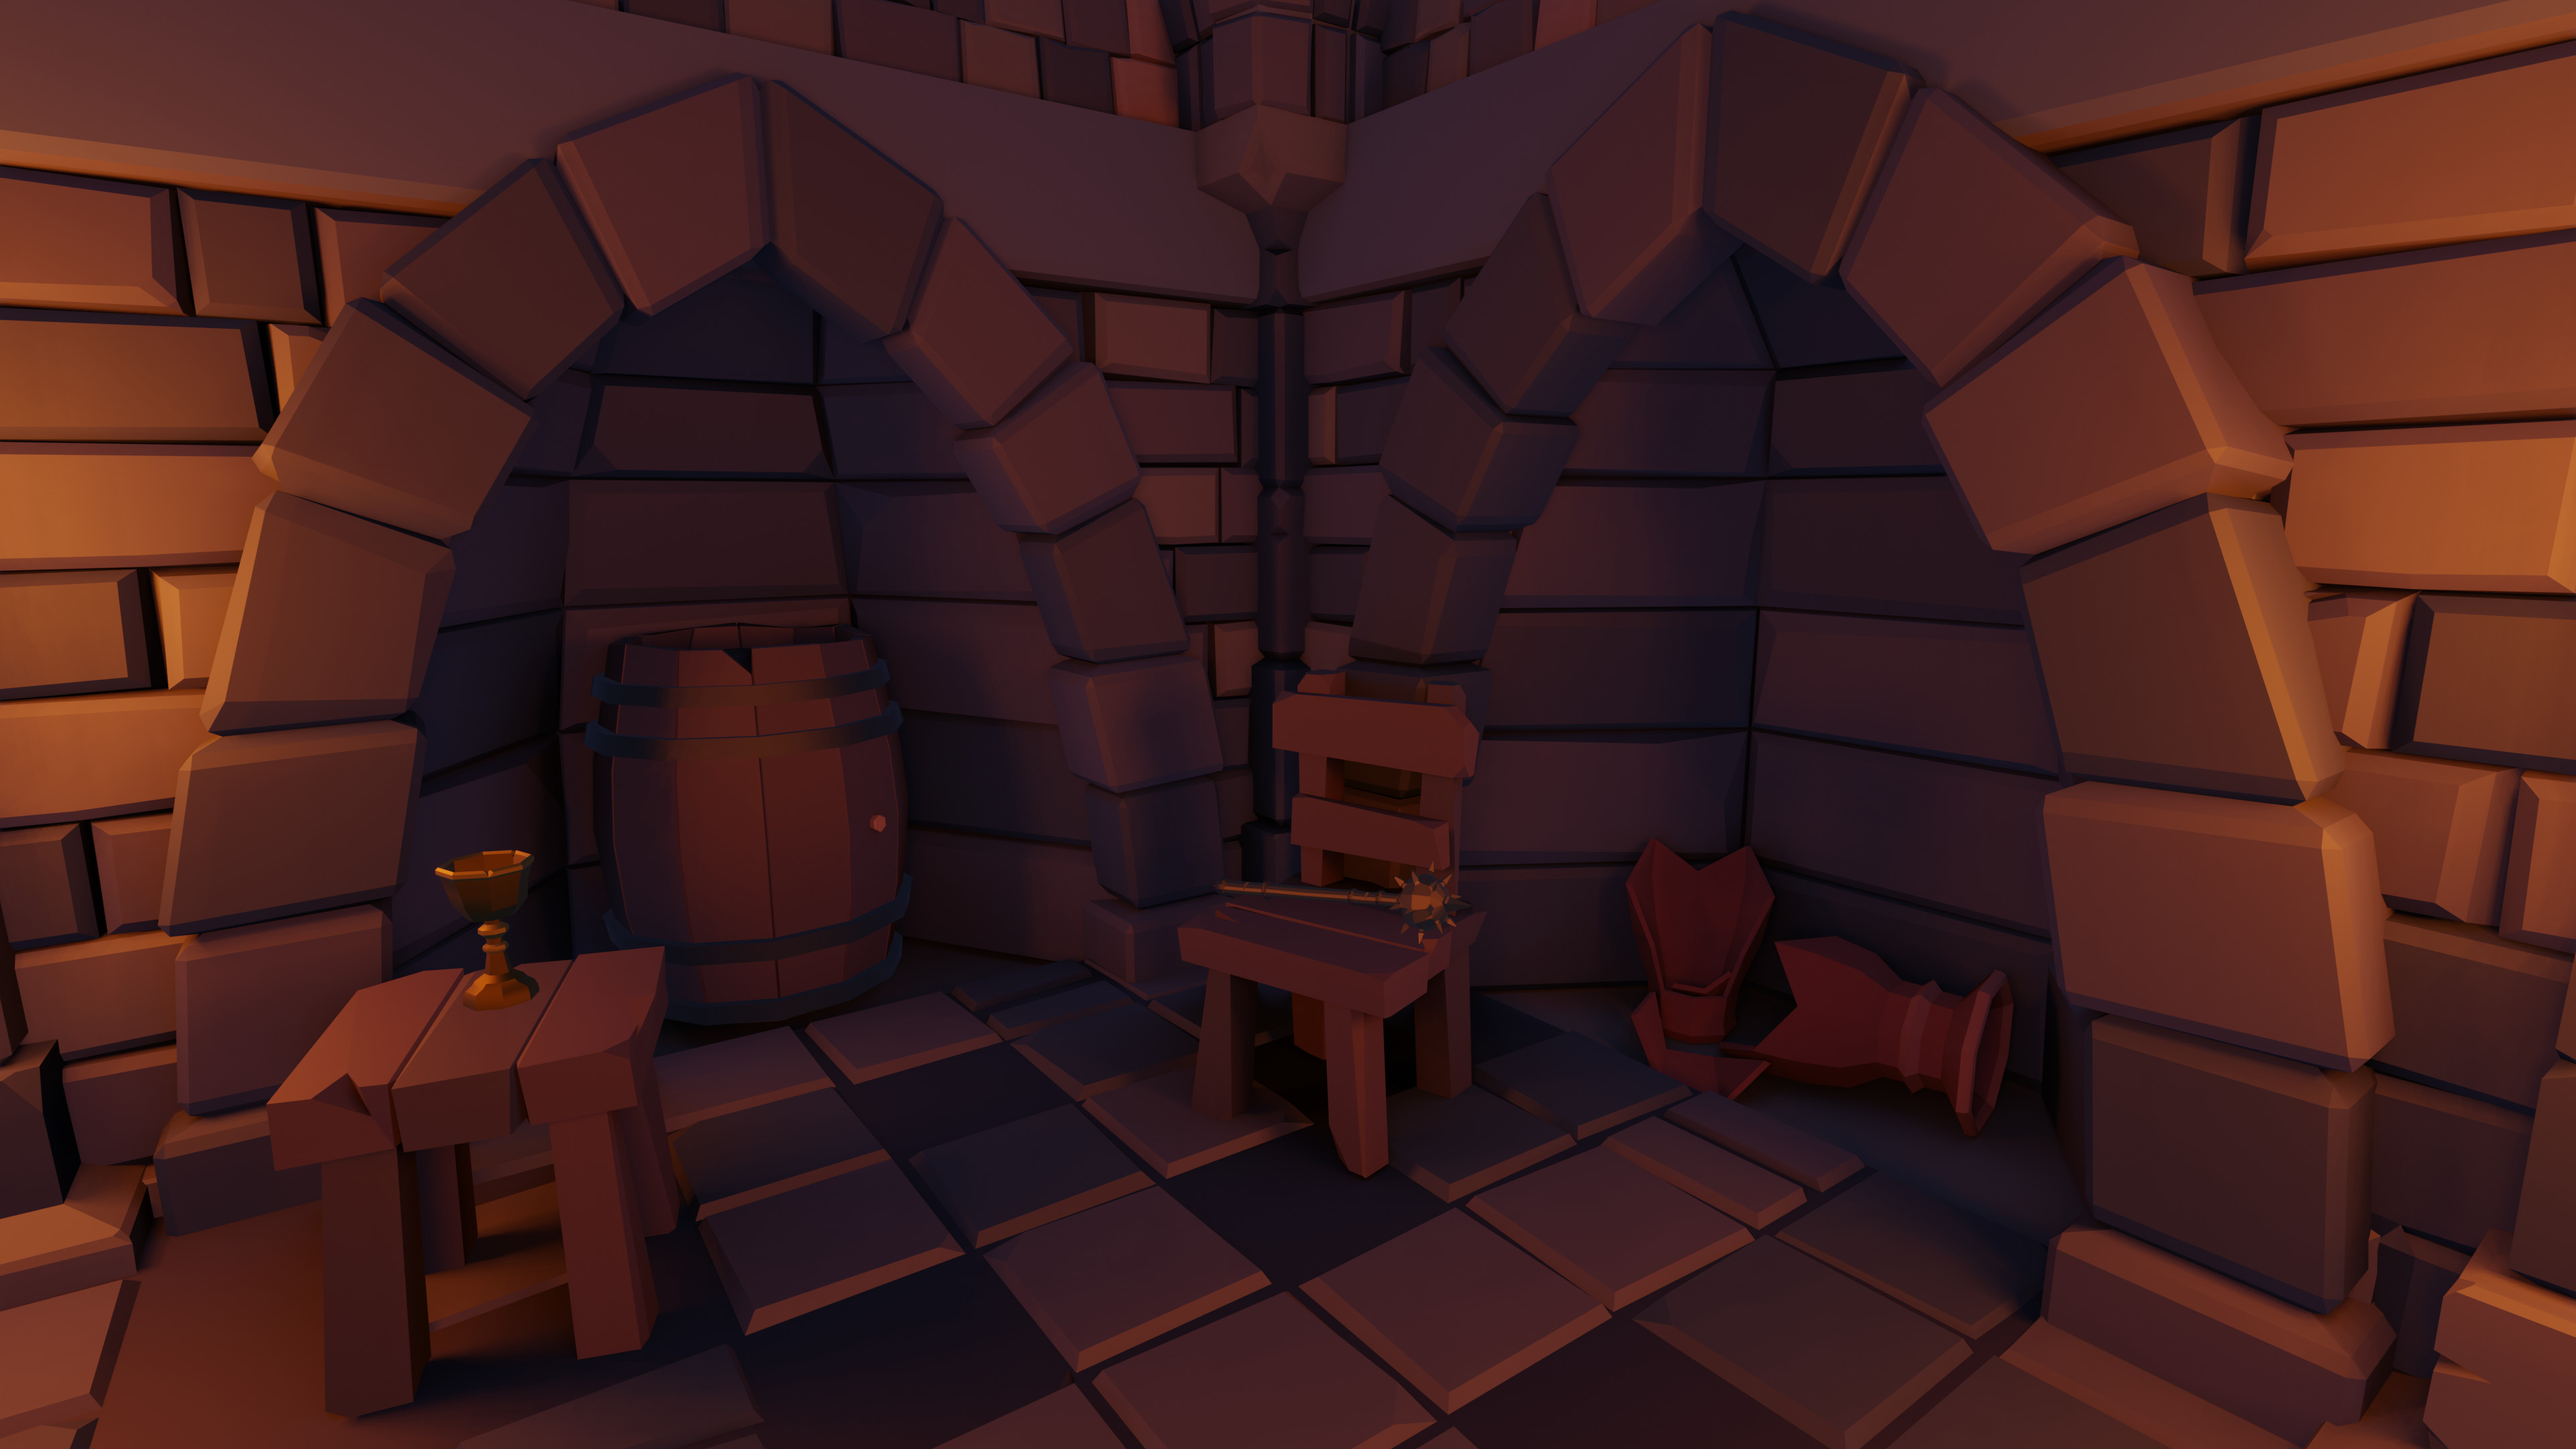
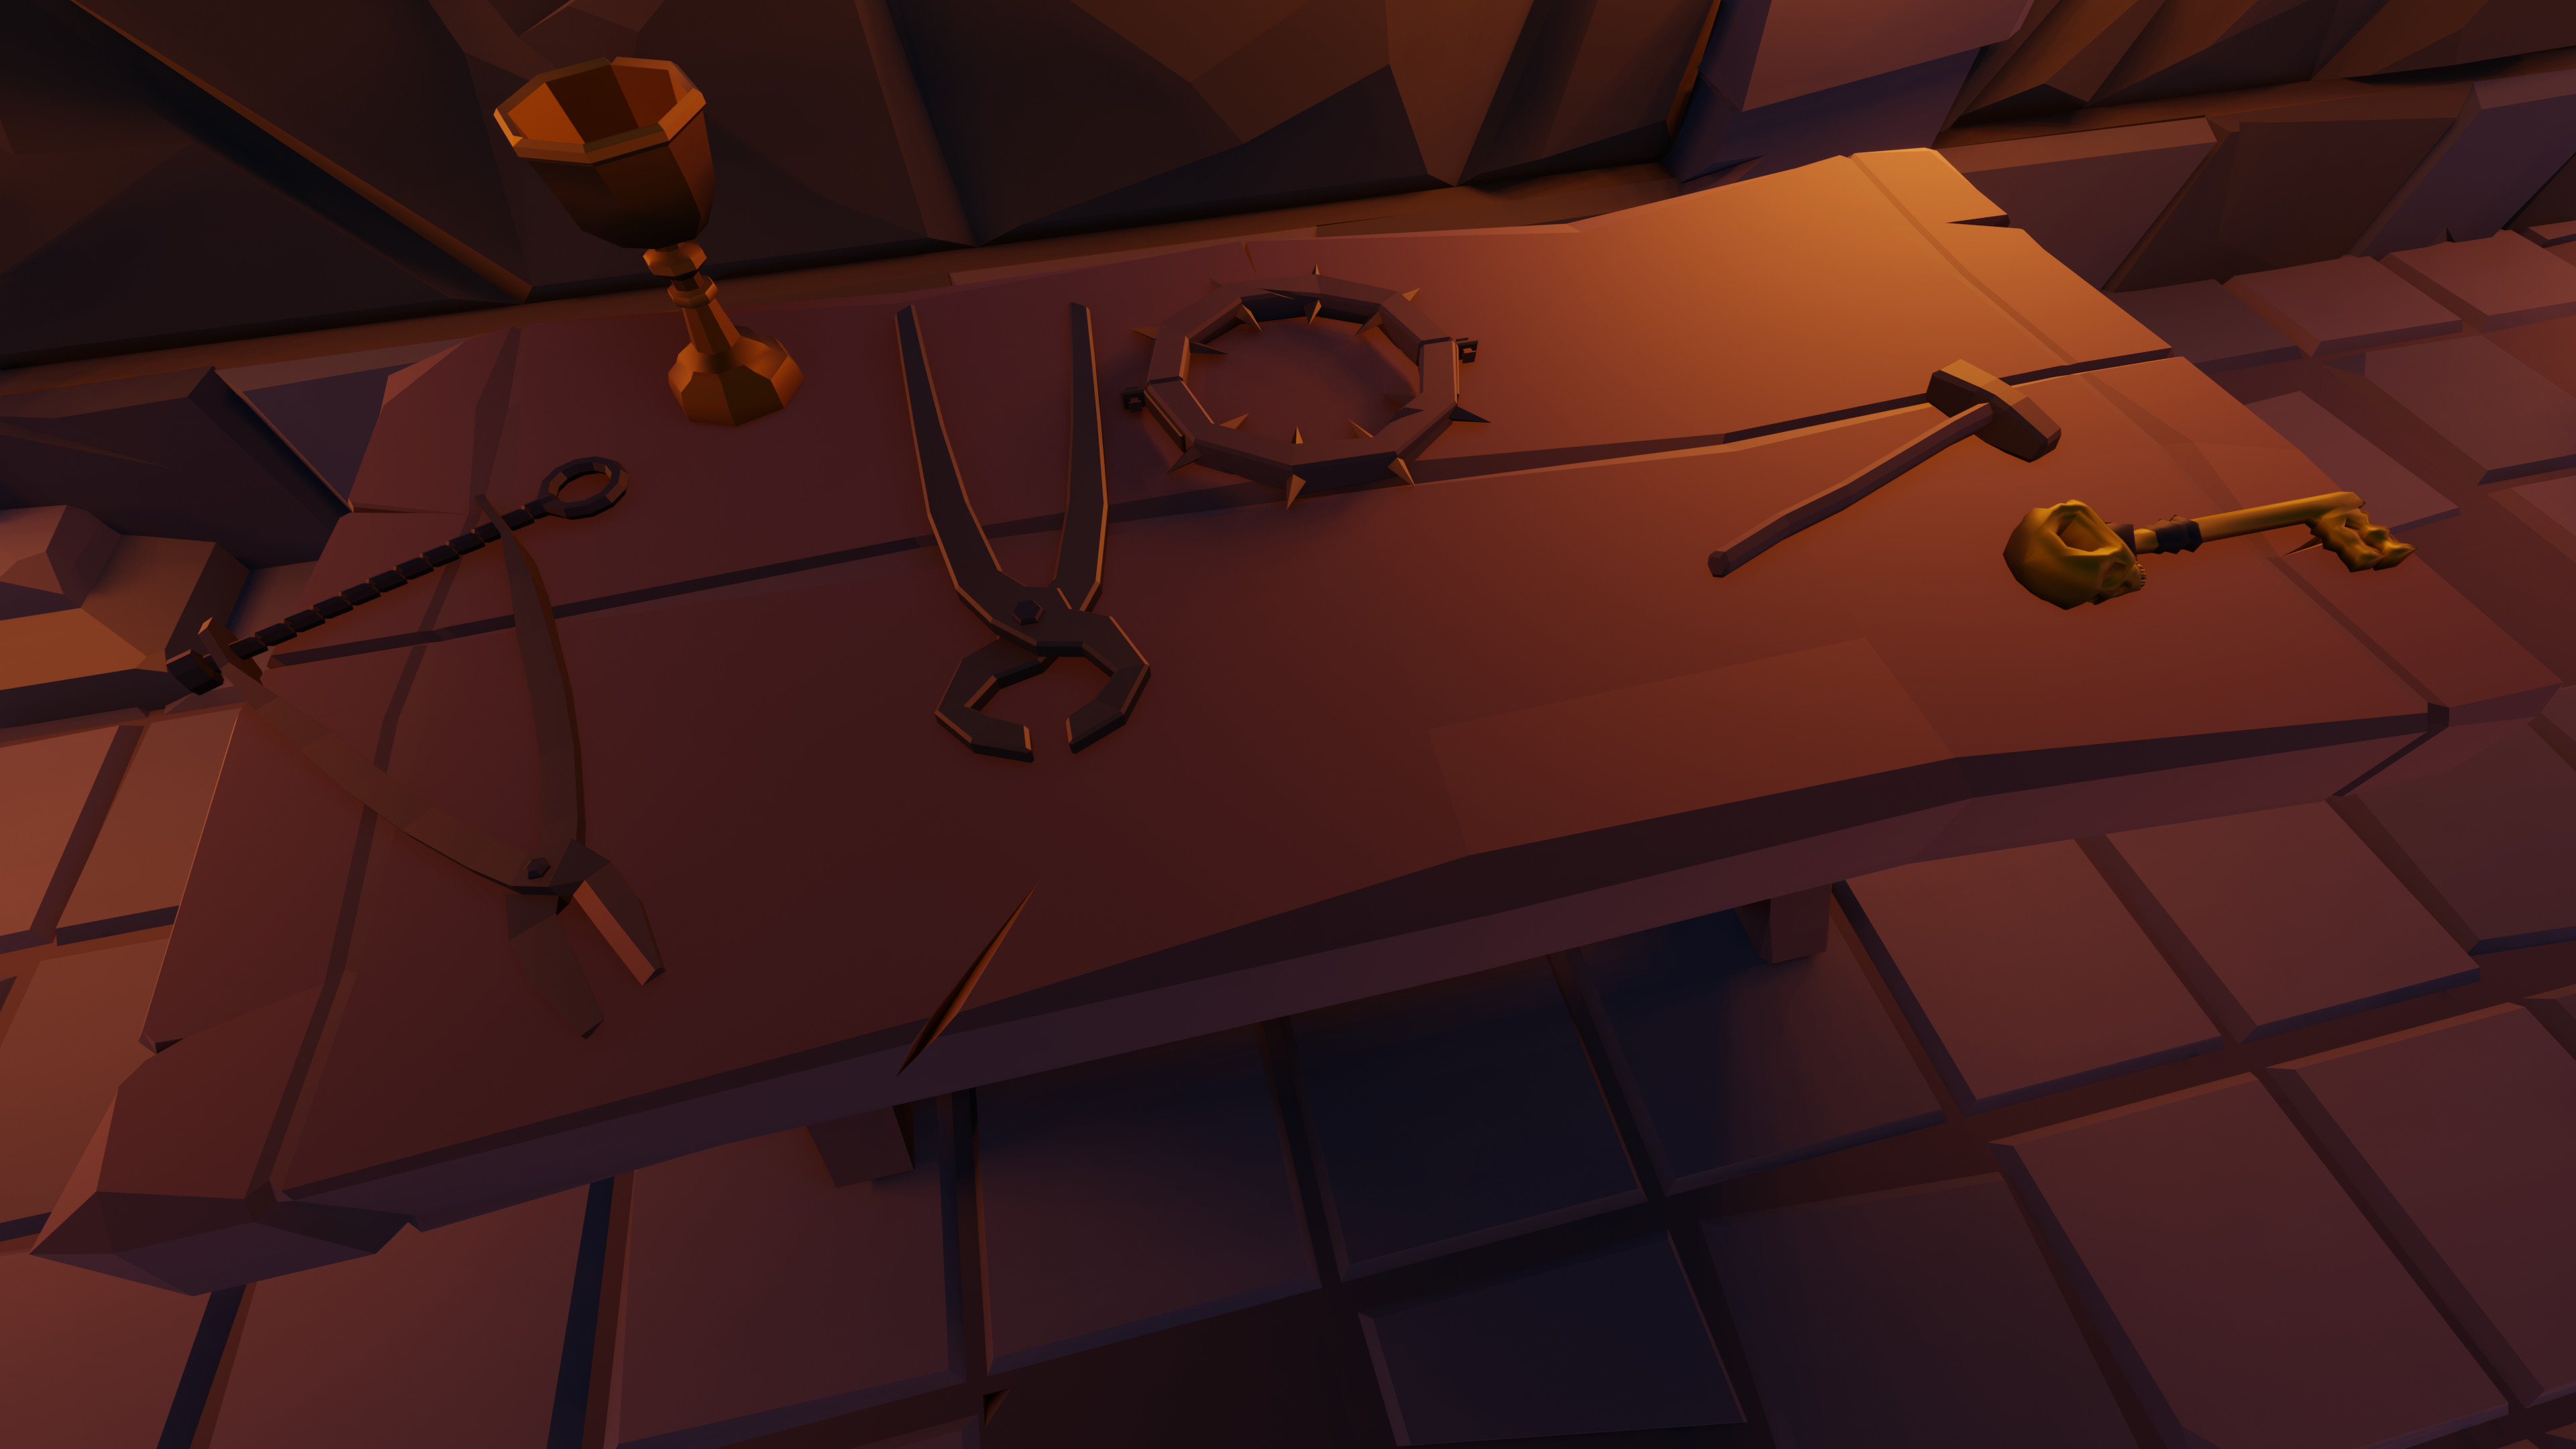
Here are some snapshots of my dungeon objects and modules.

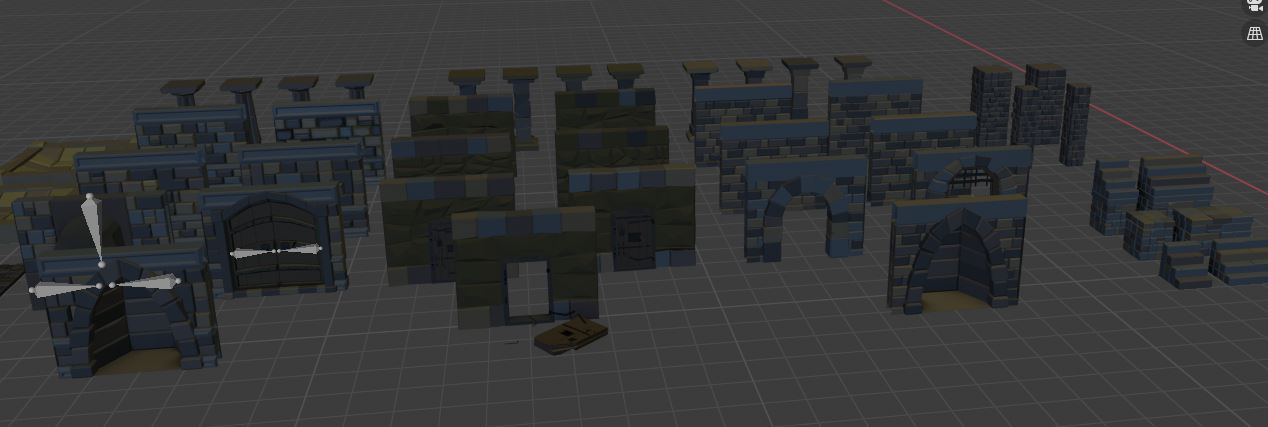
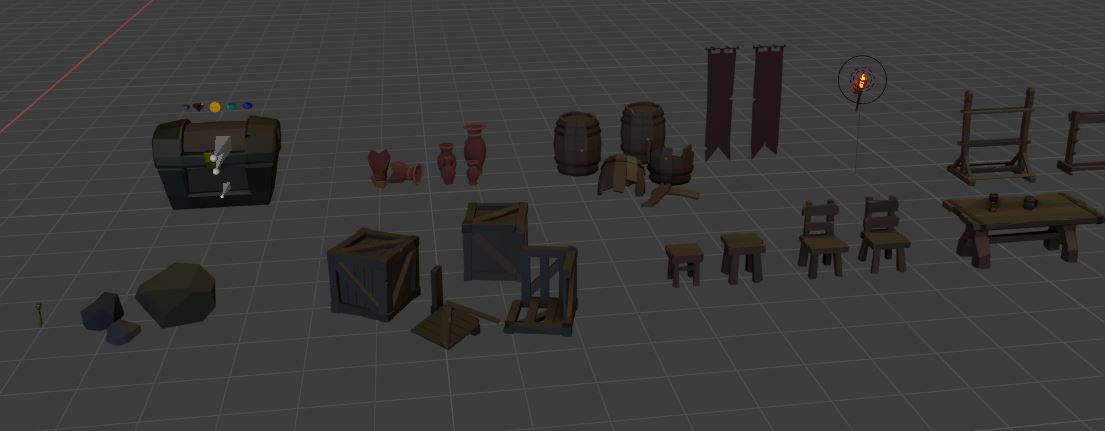
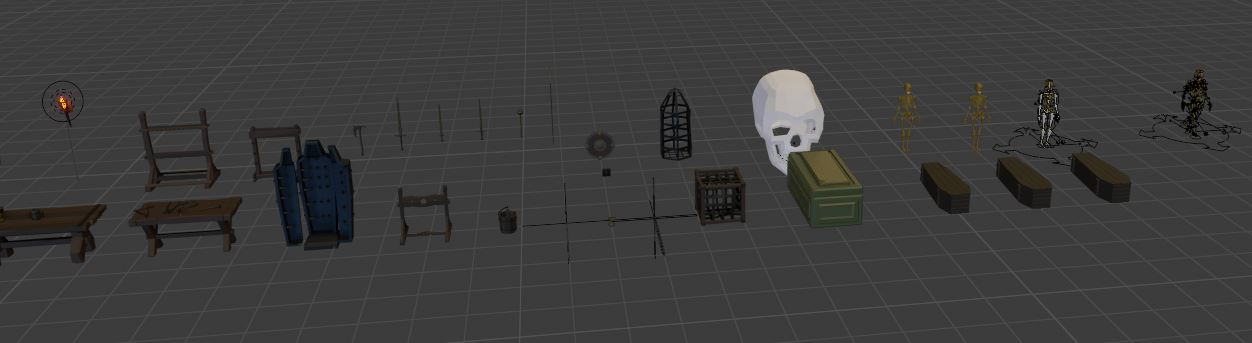
I might have changed some things a long the way. But this is pretty much everything that my dungeon was created with.

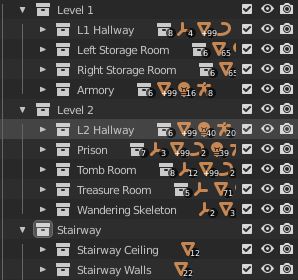
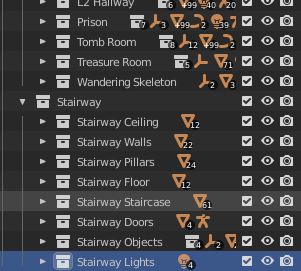
Organizing the viewport helped a lot when building such a big dungeon!

Organizing
Organizing2

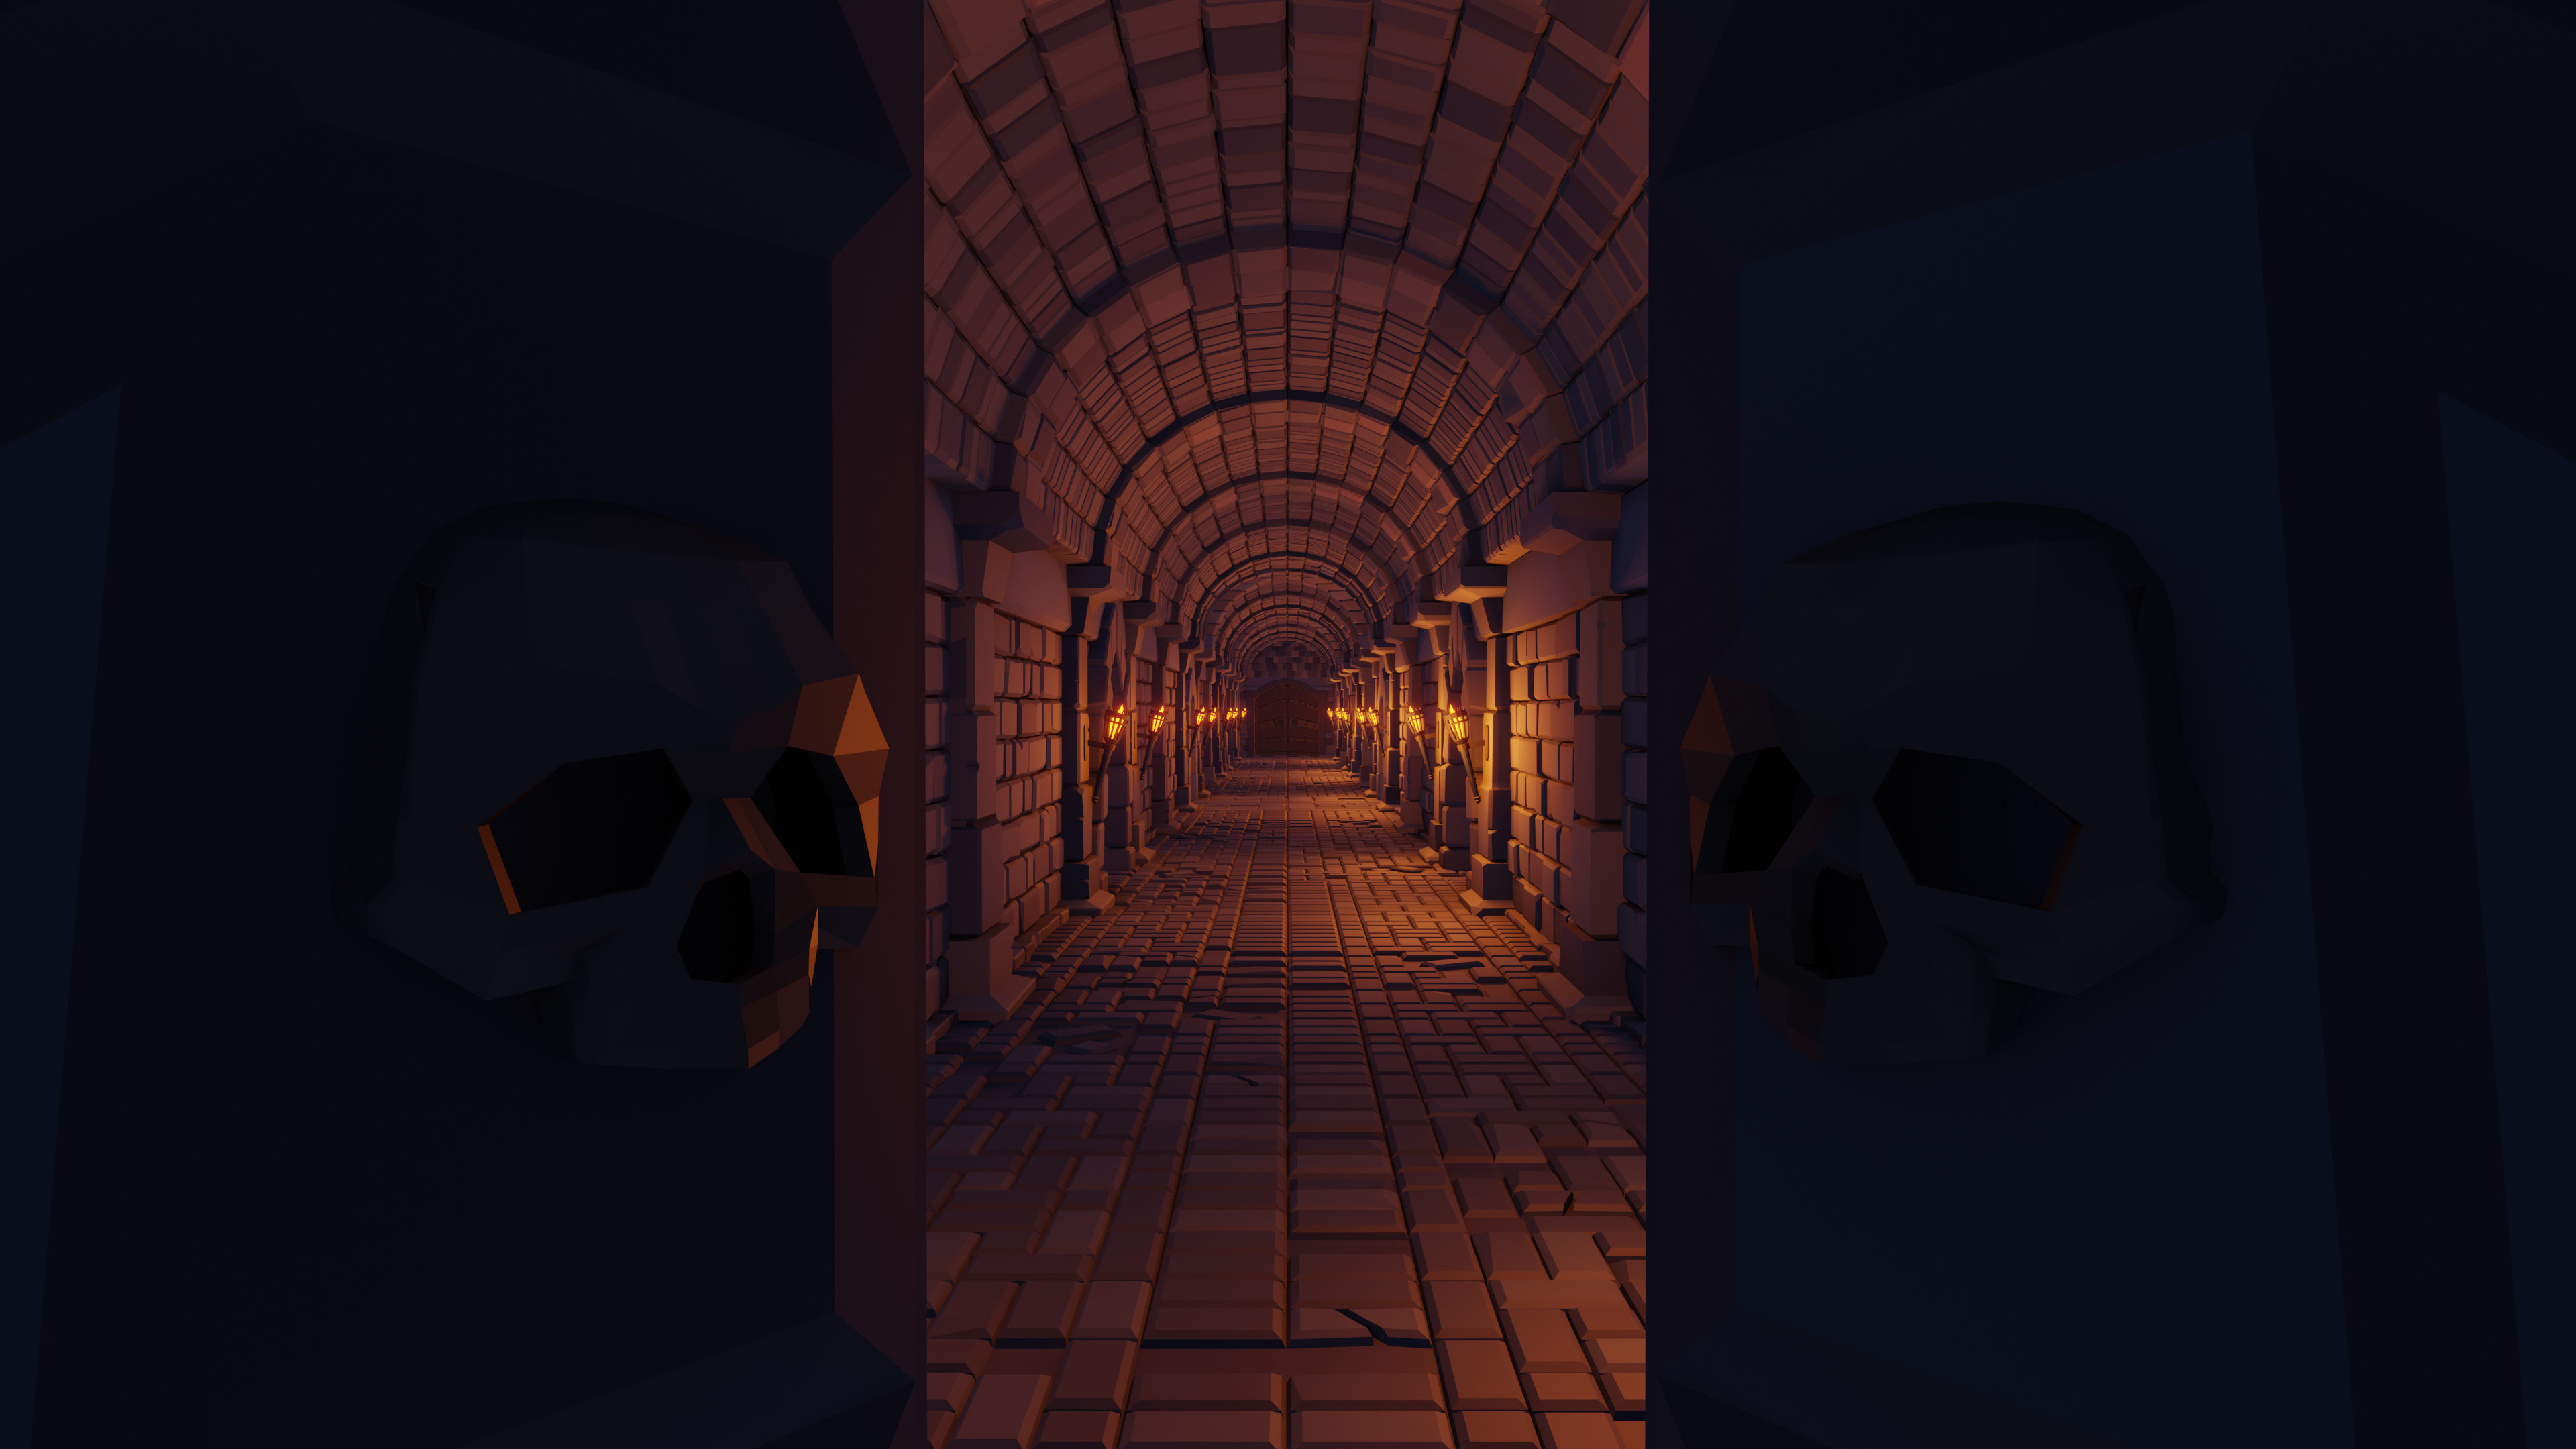
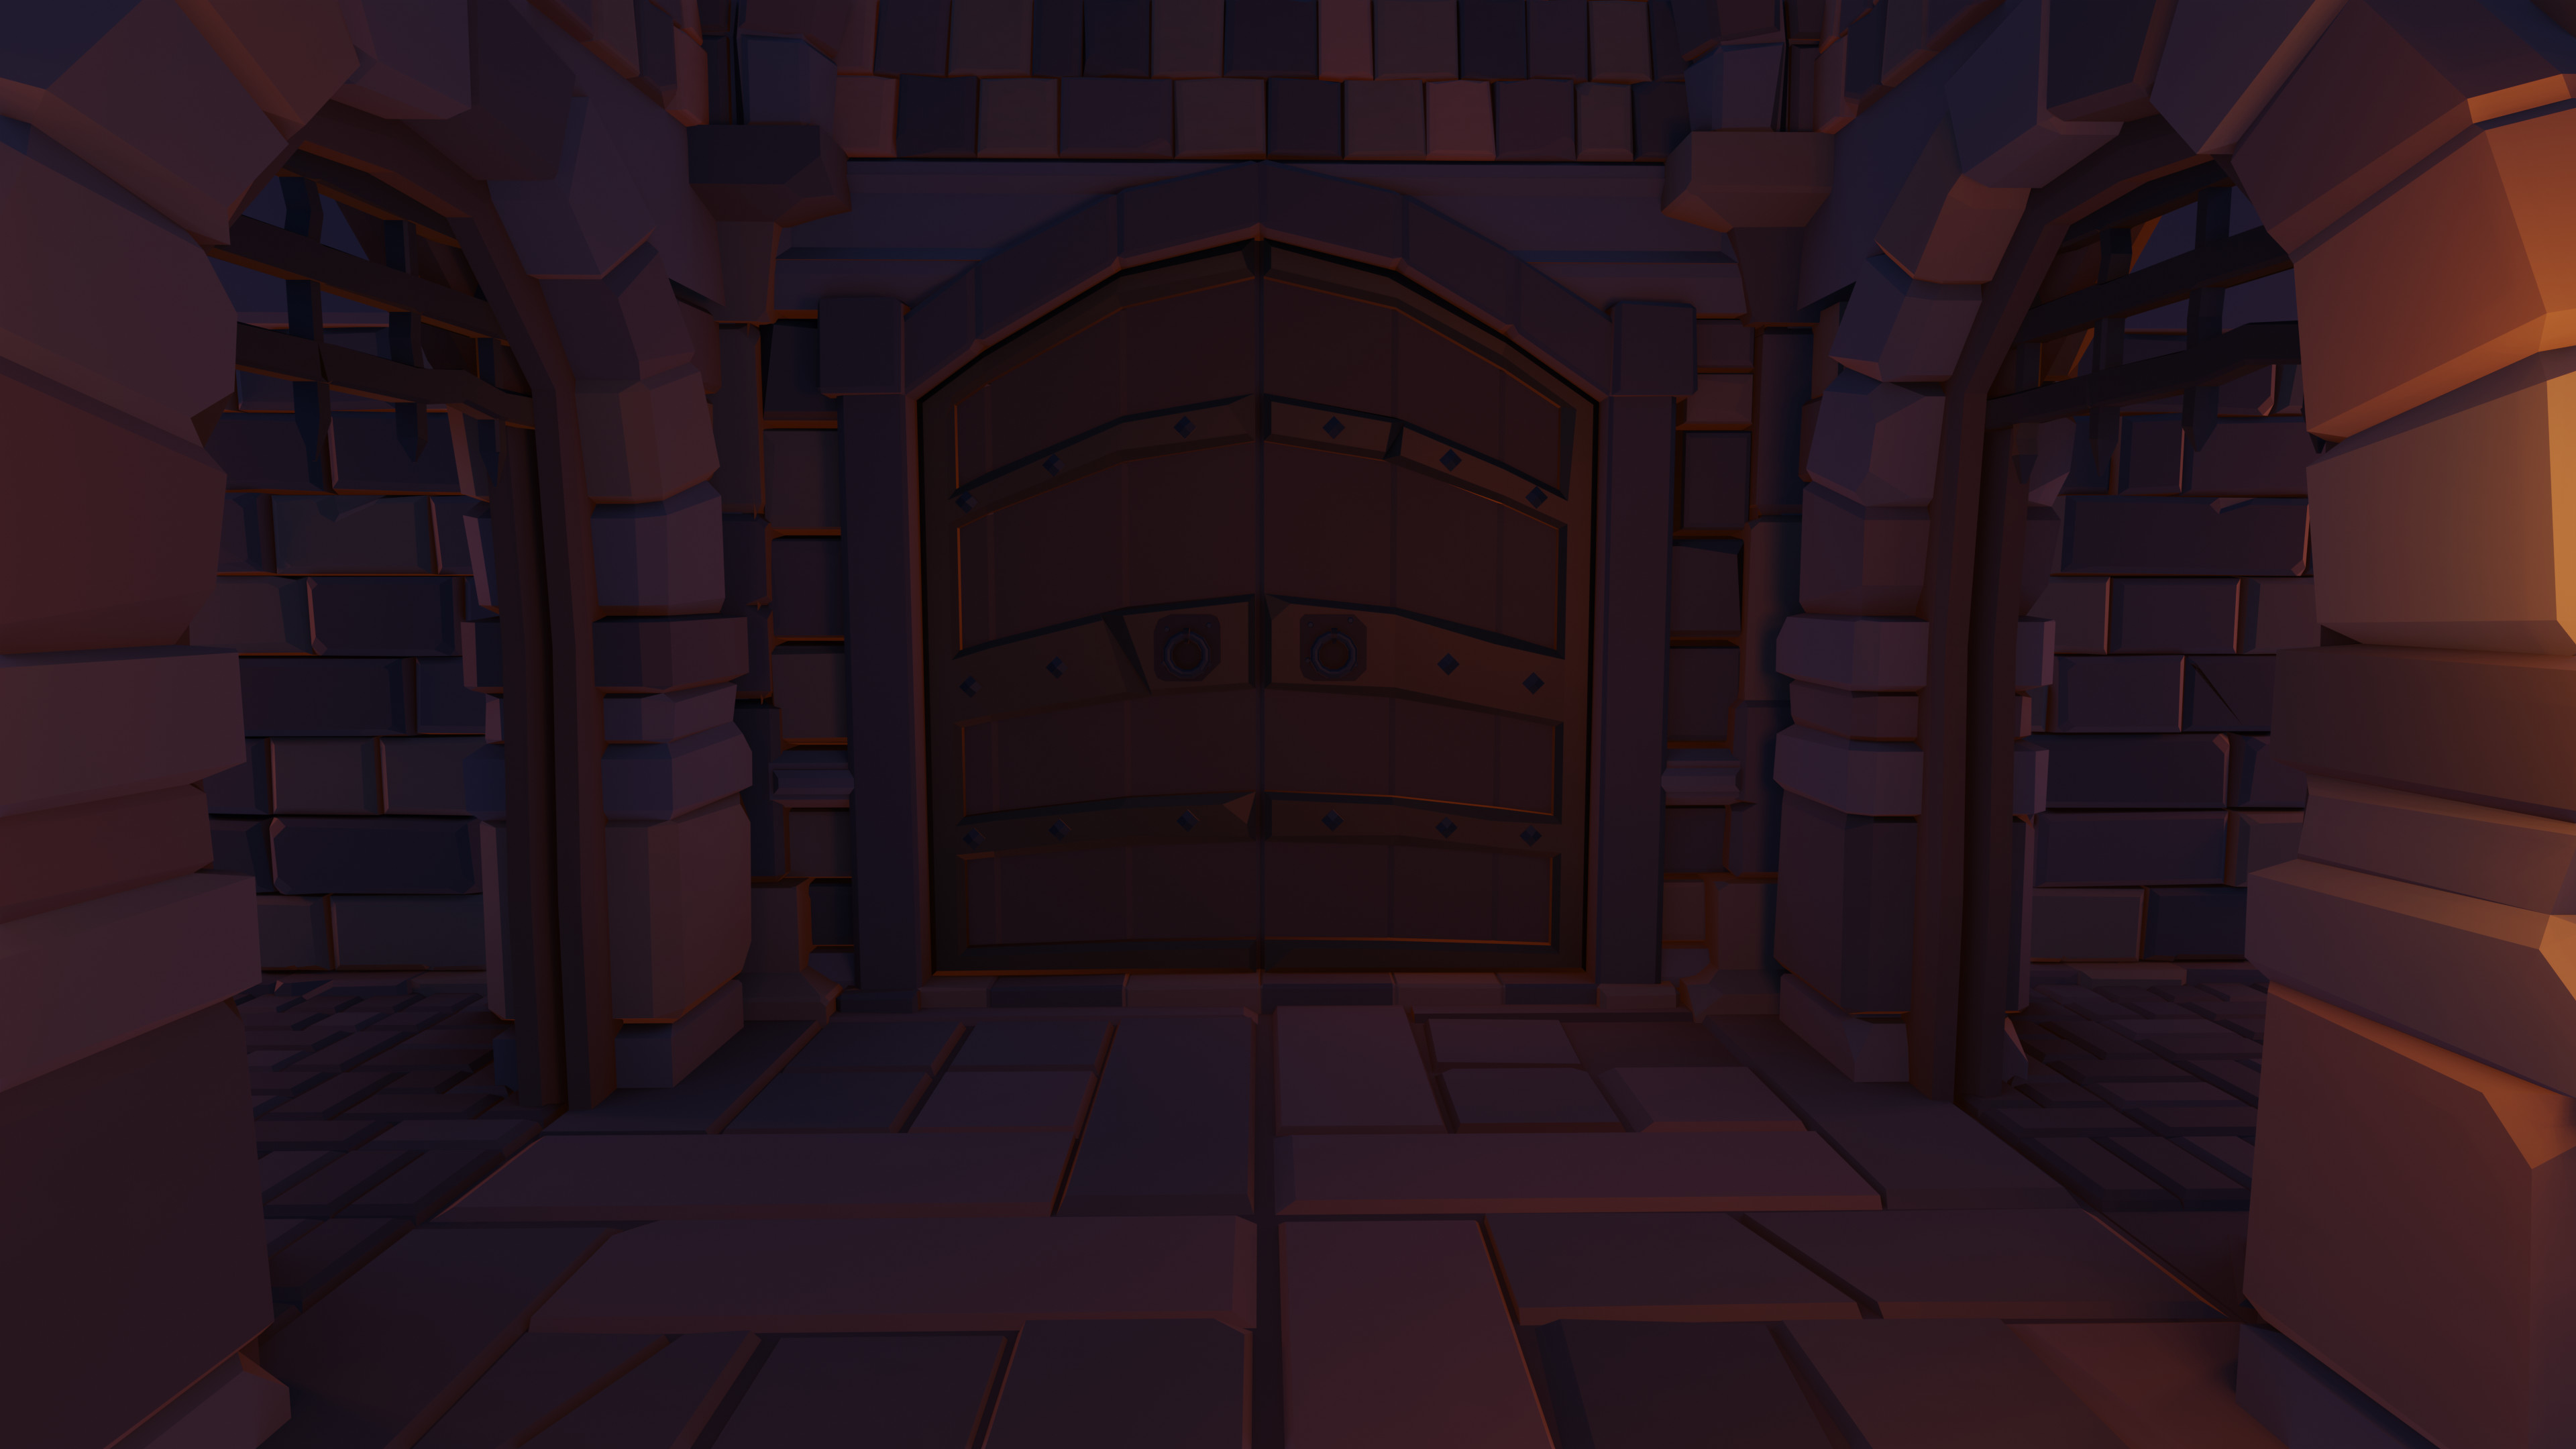
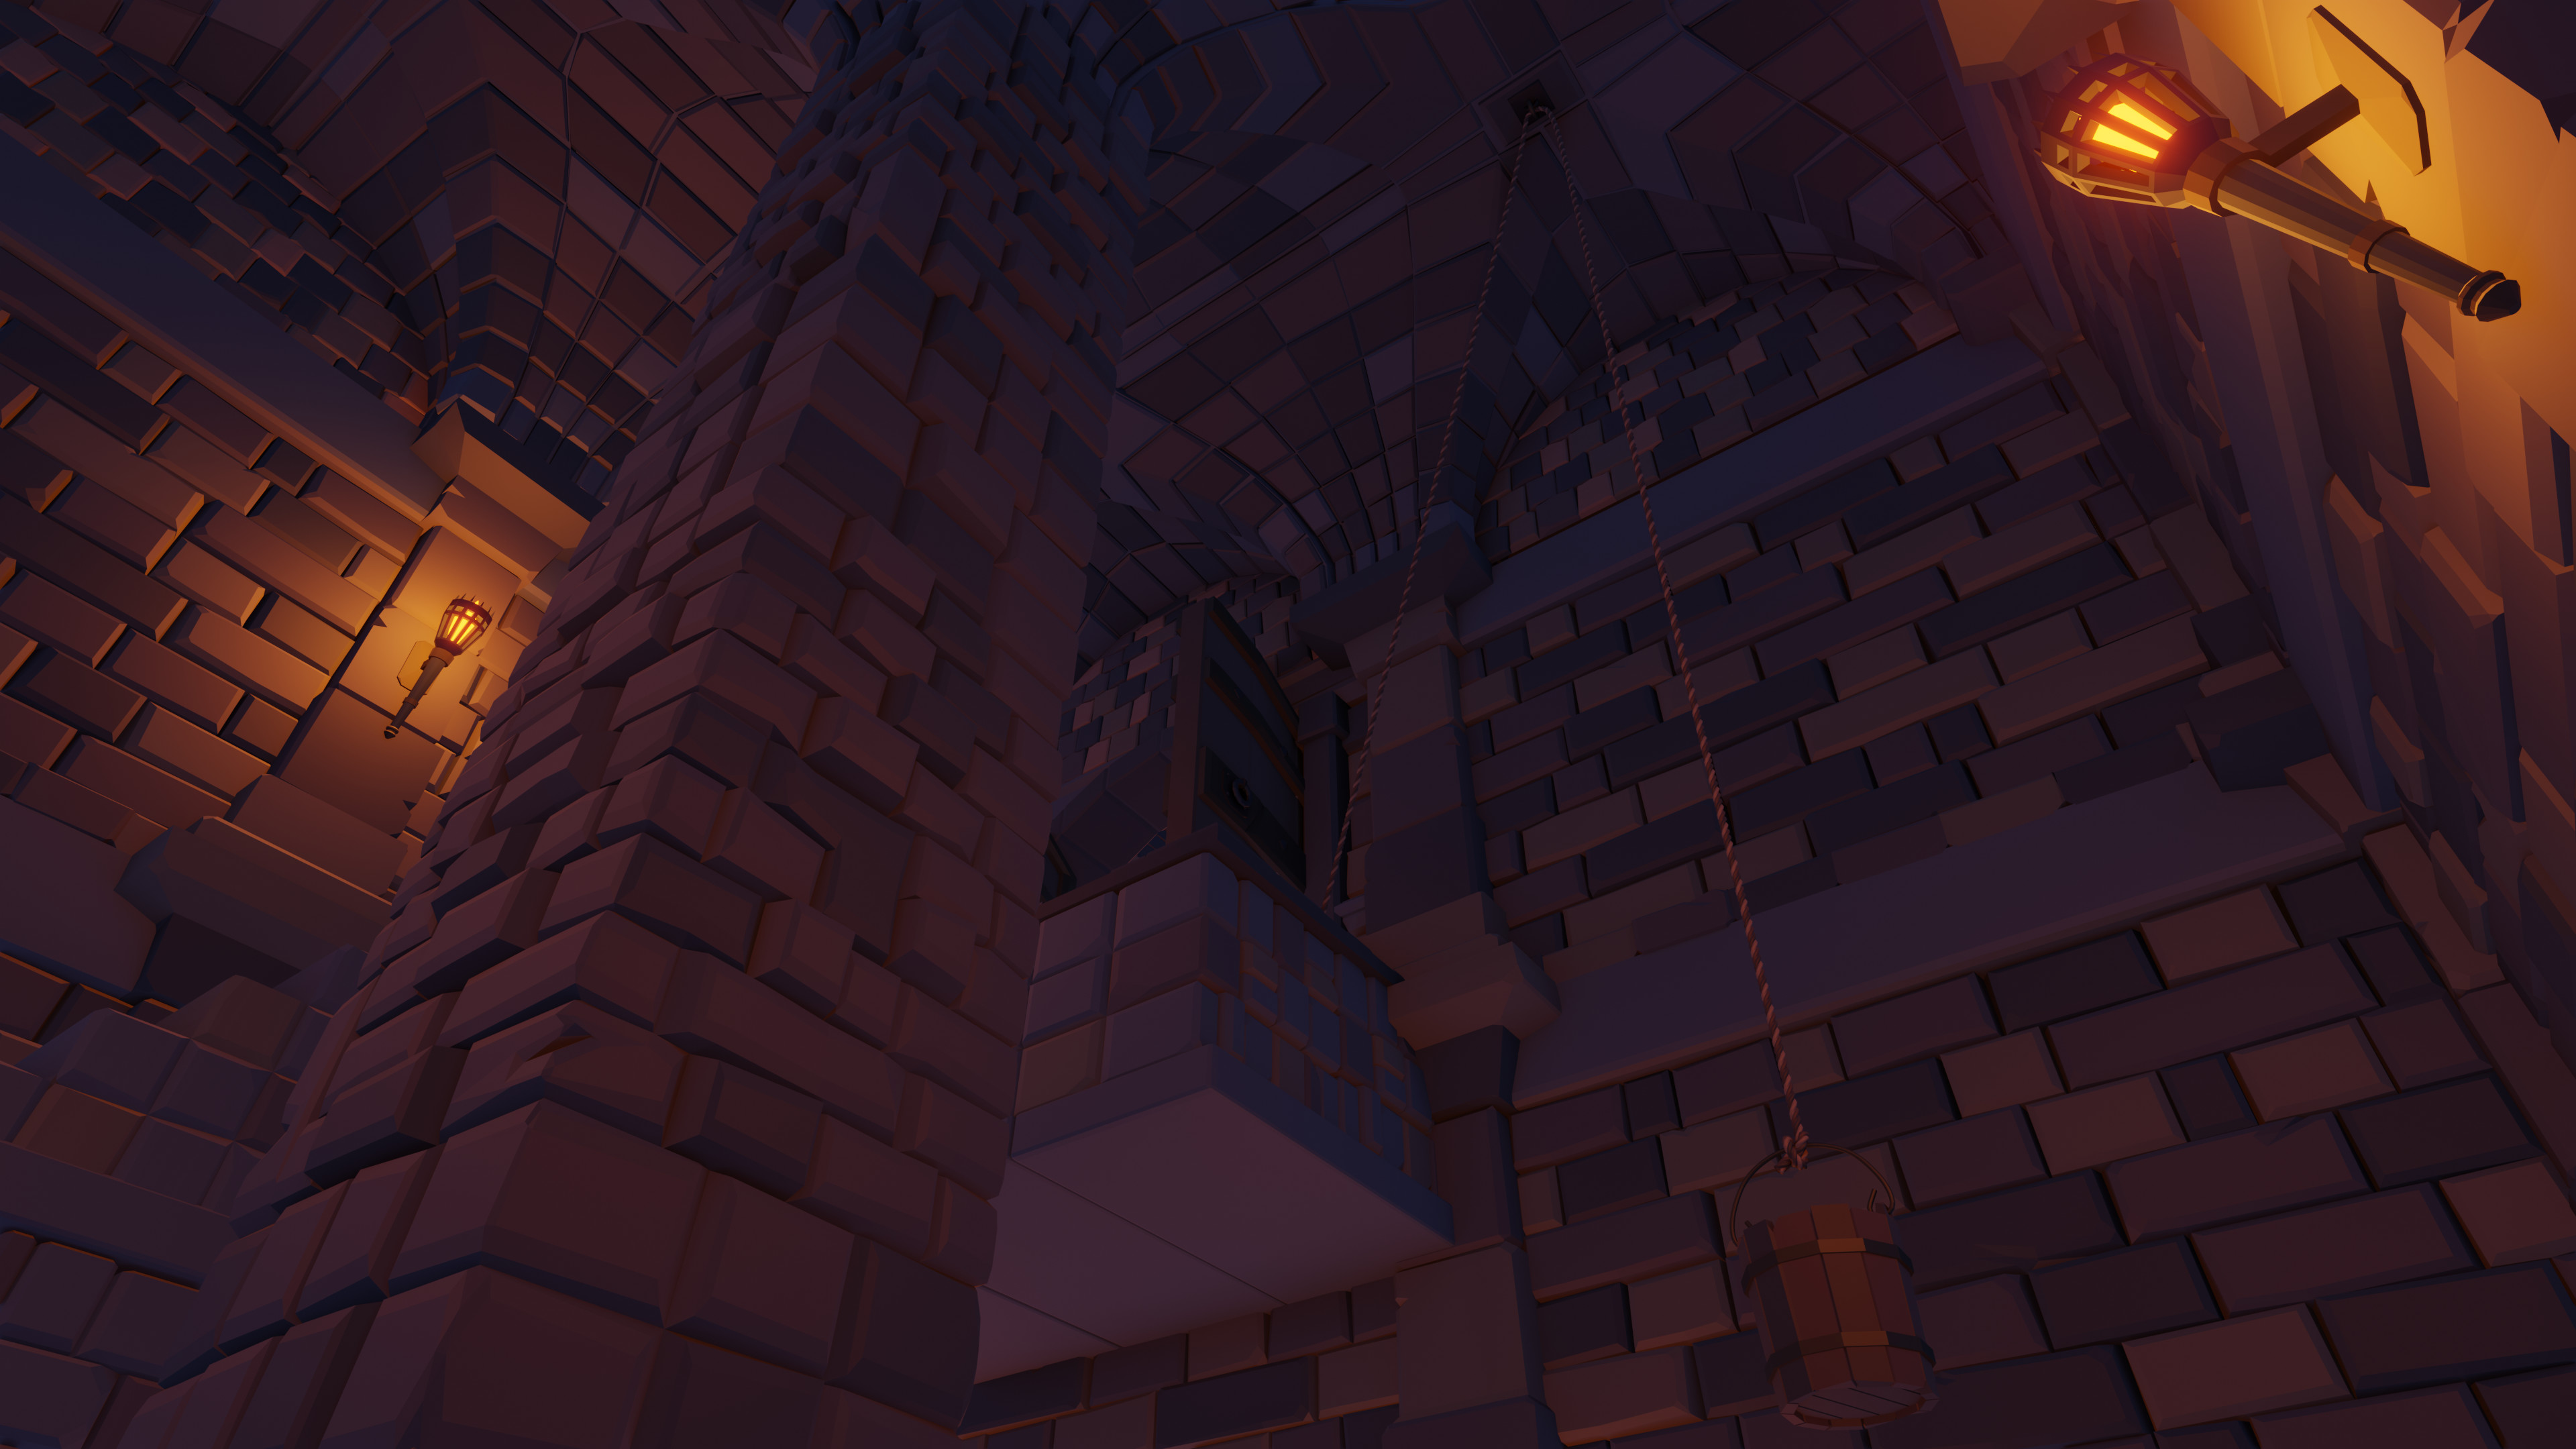
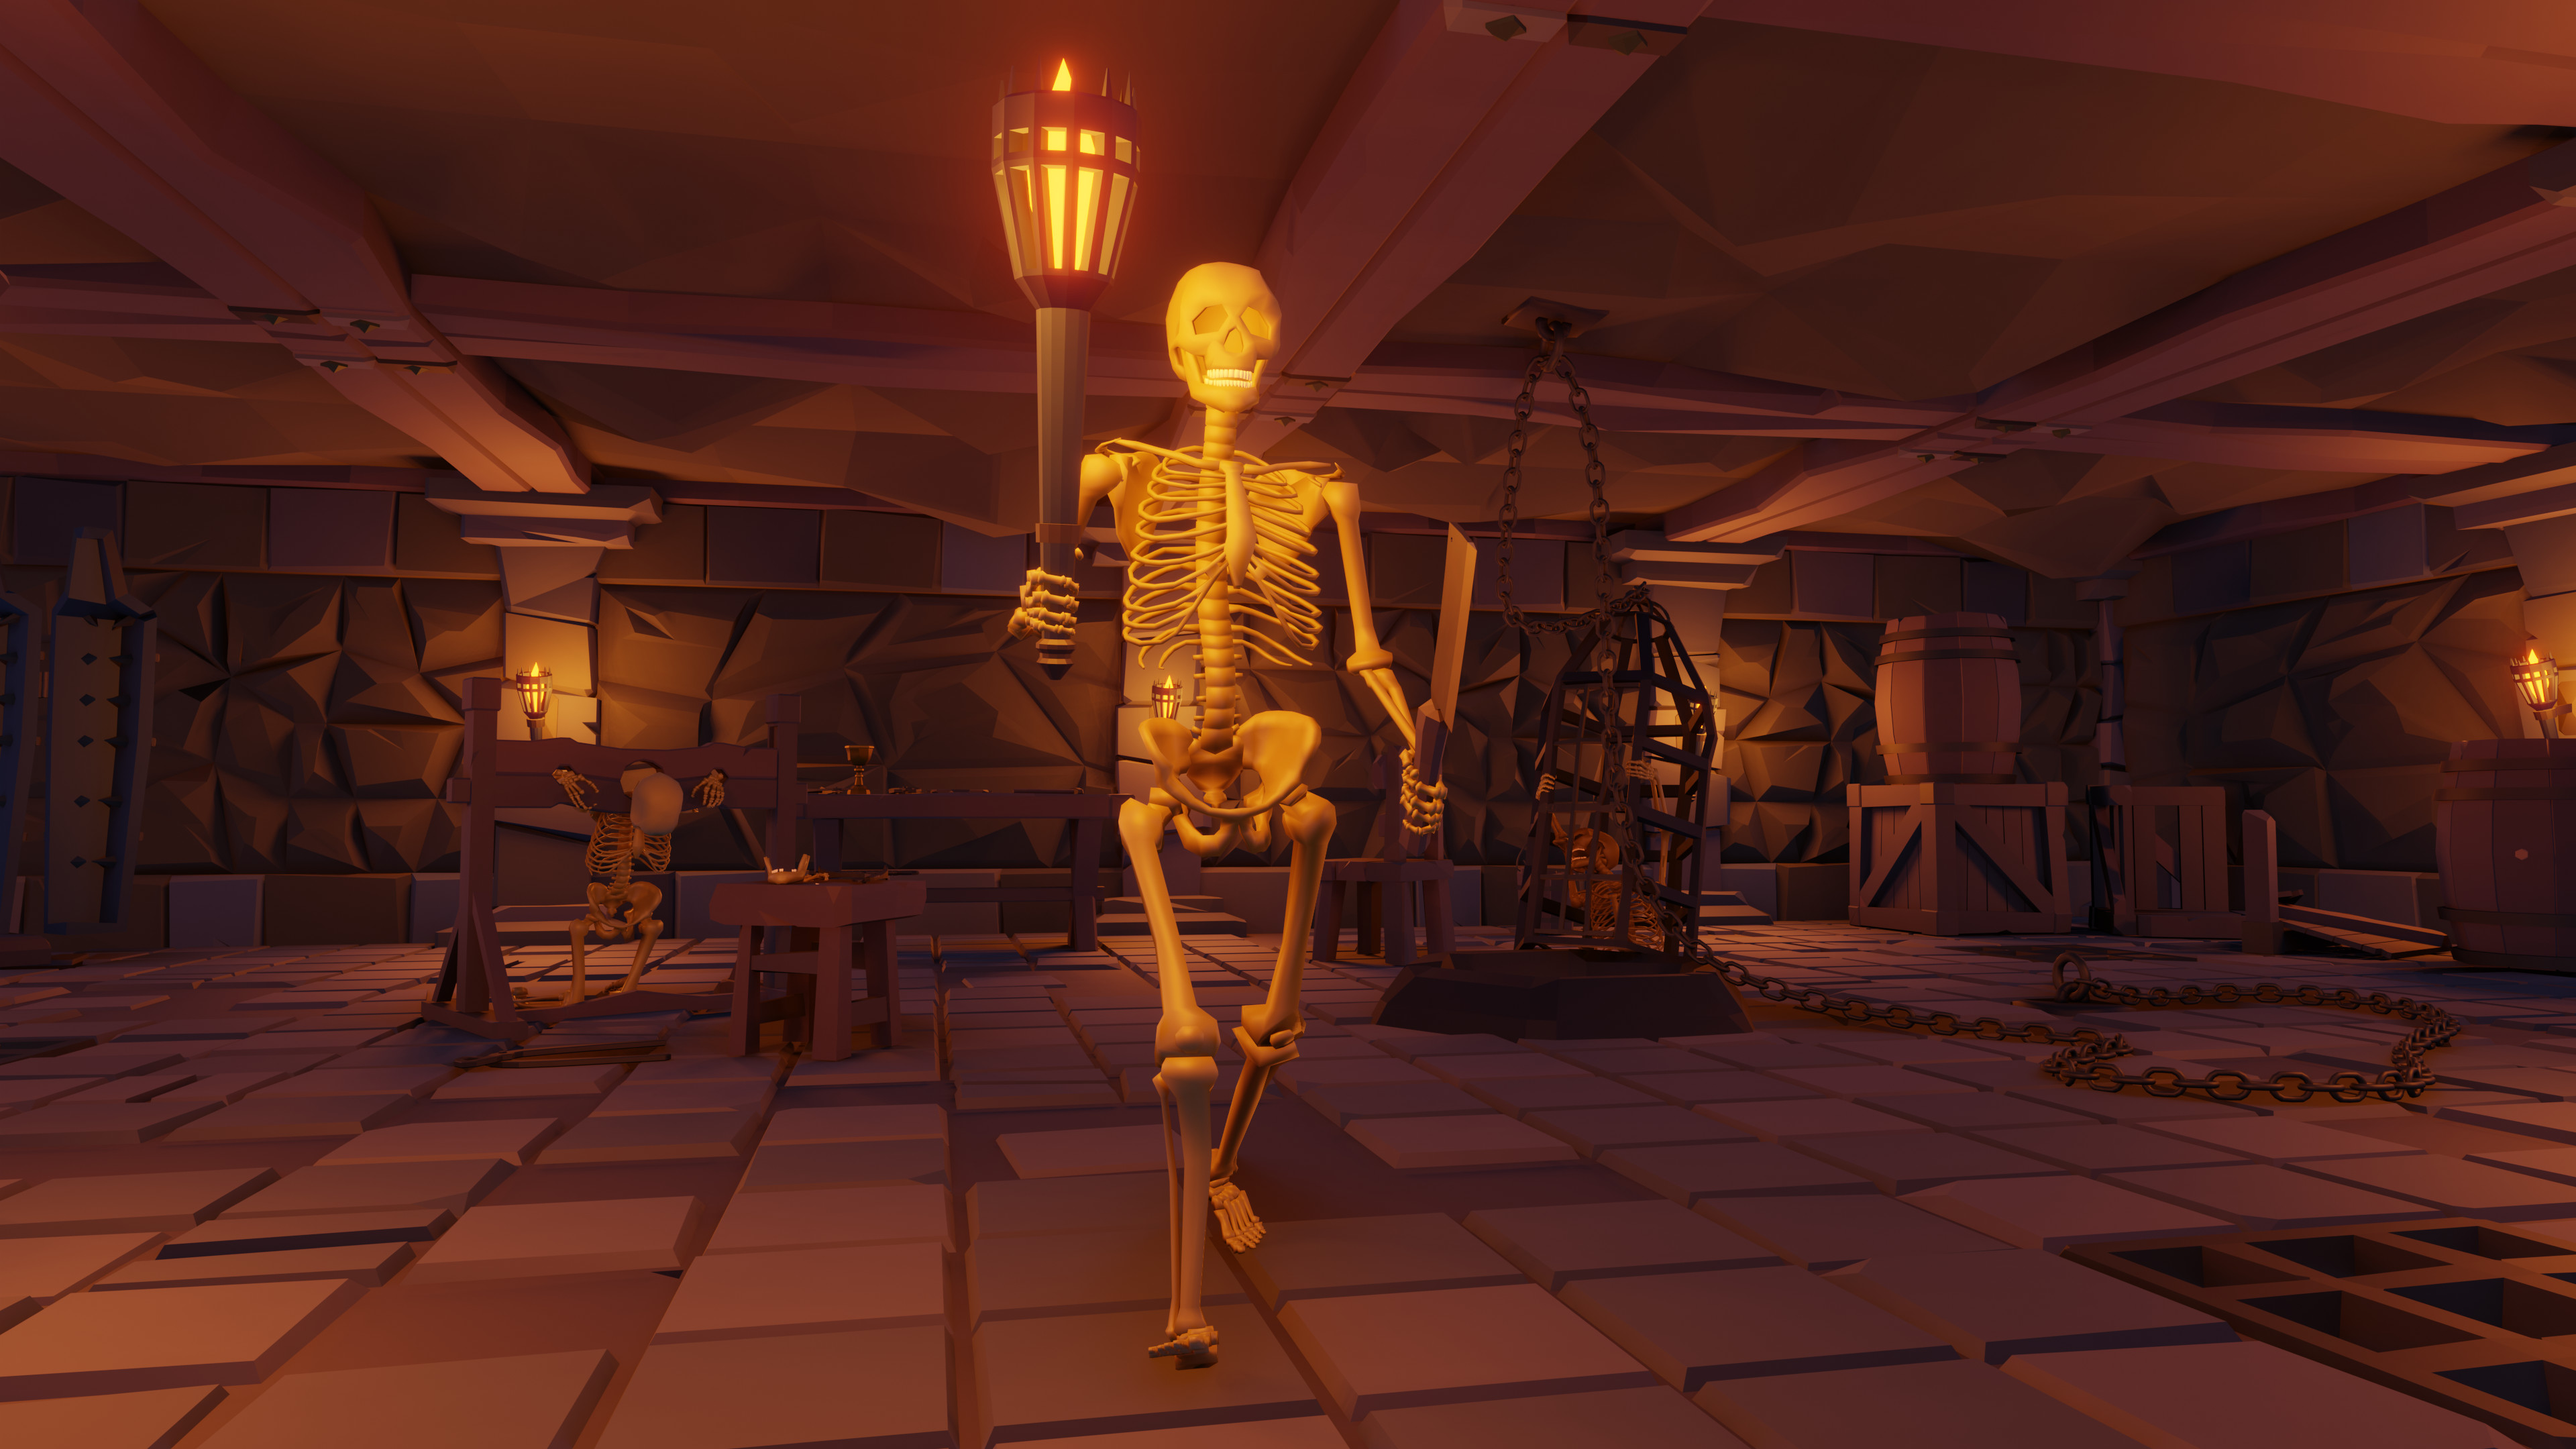
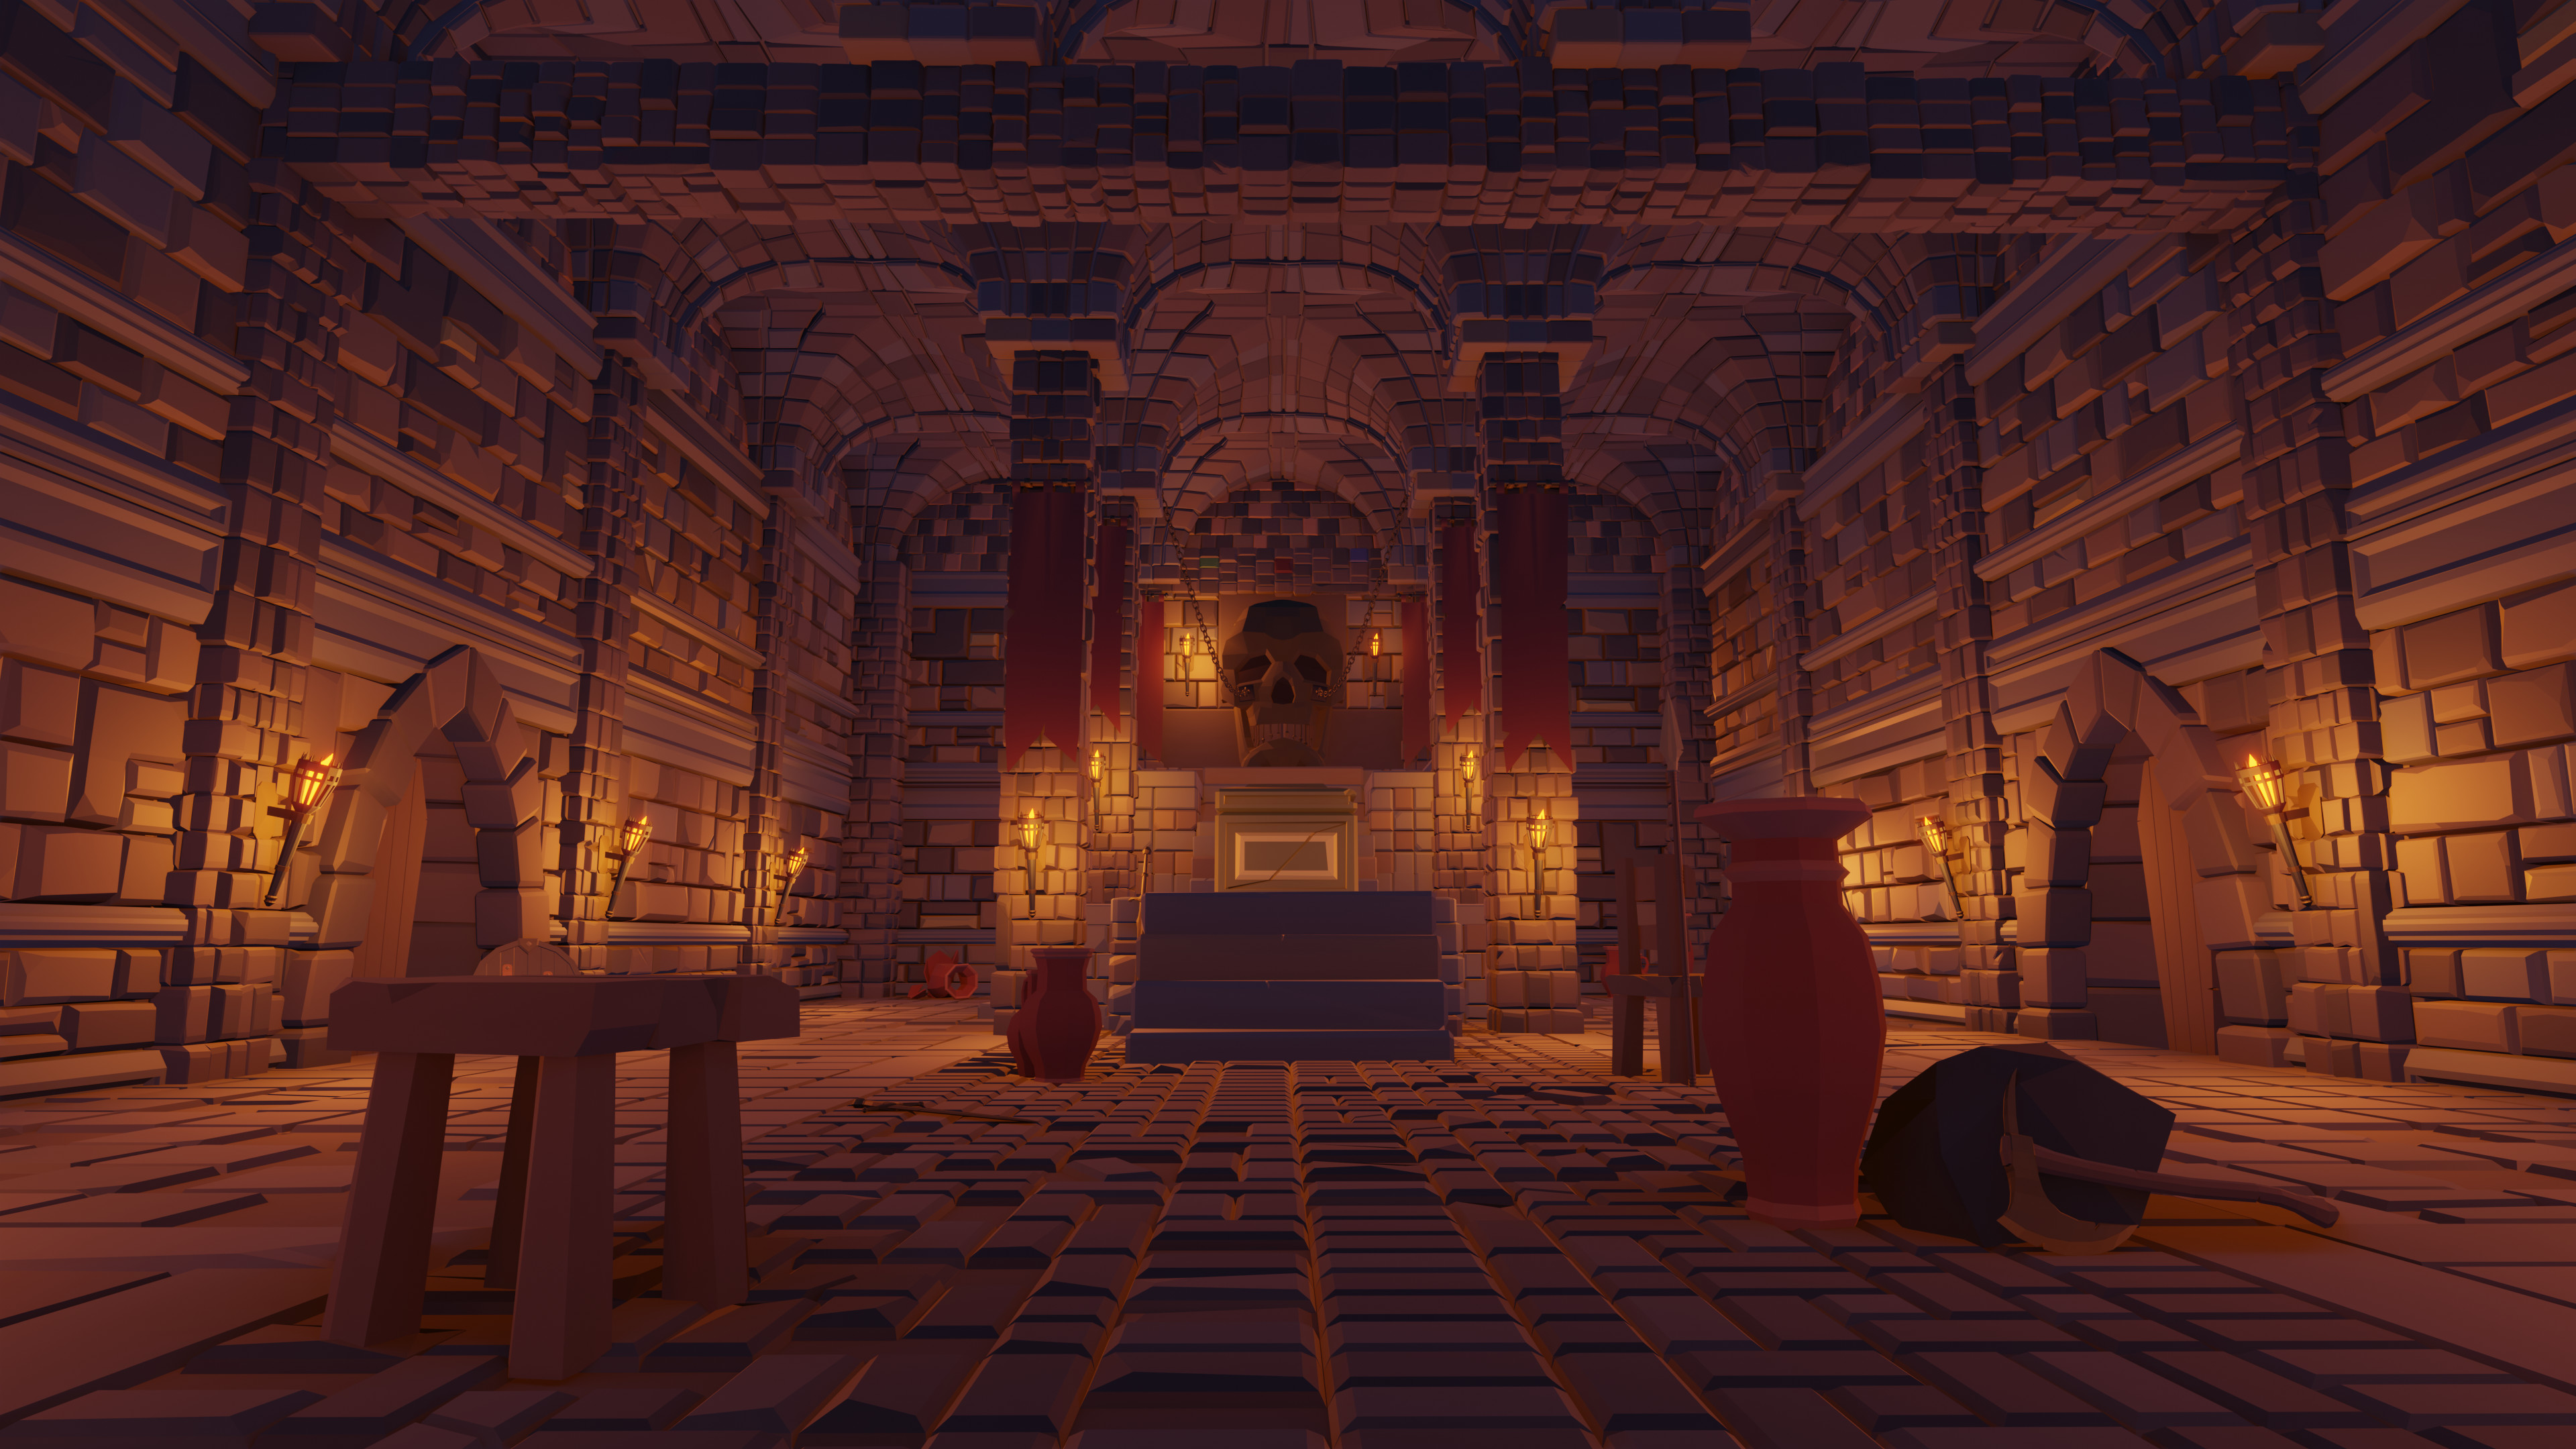
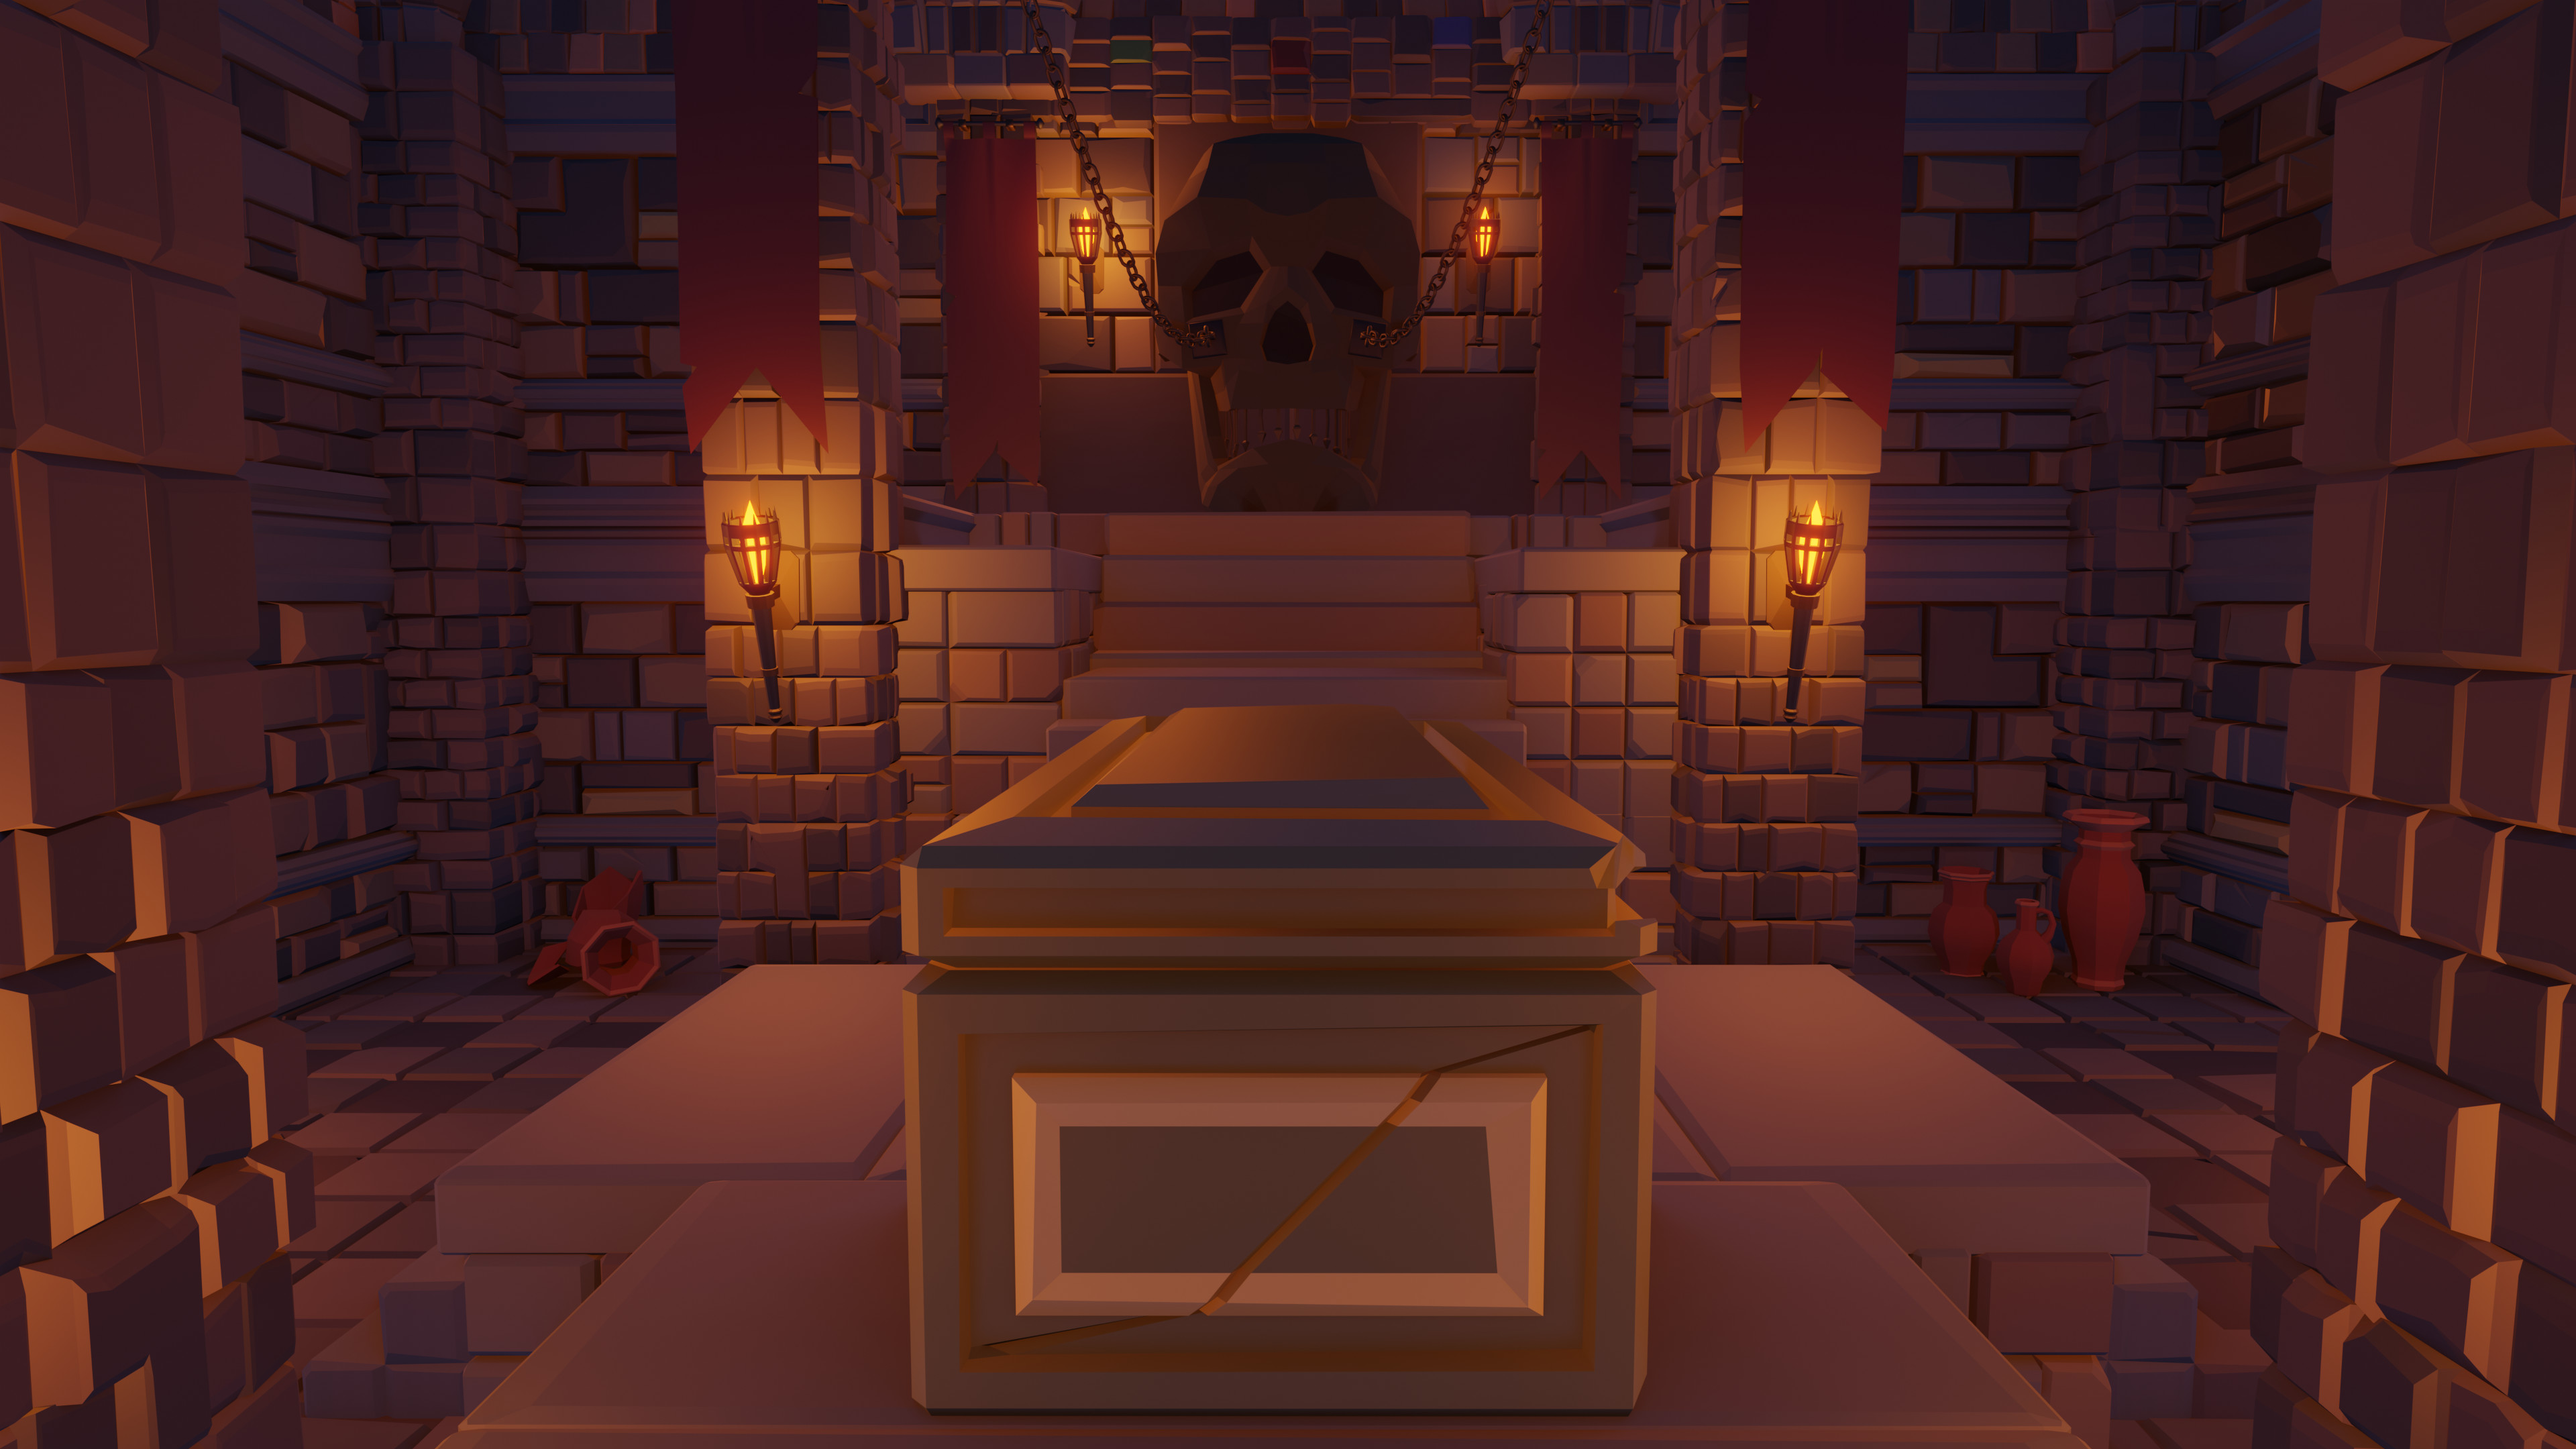
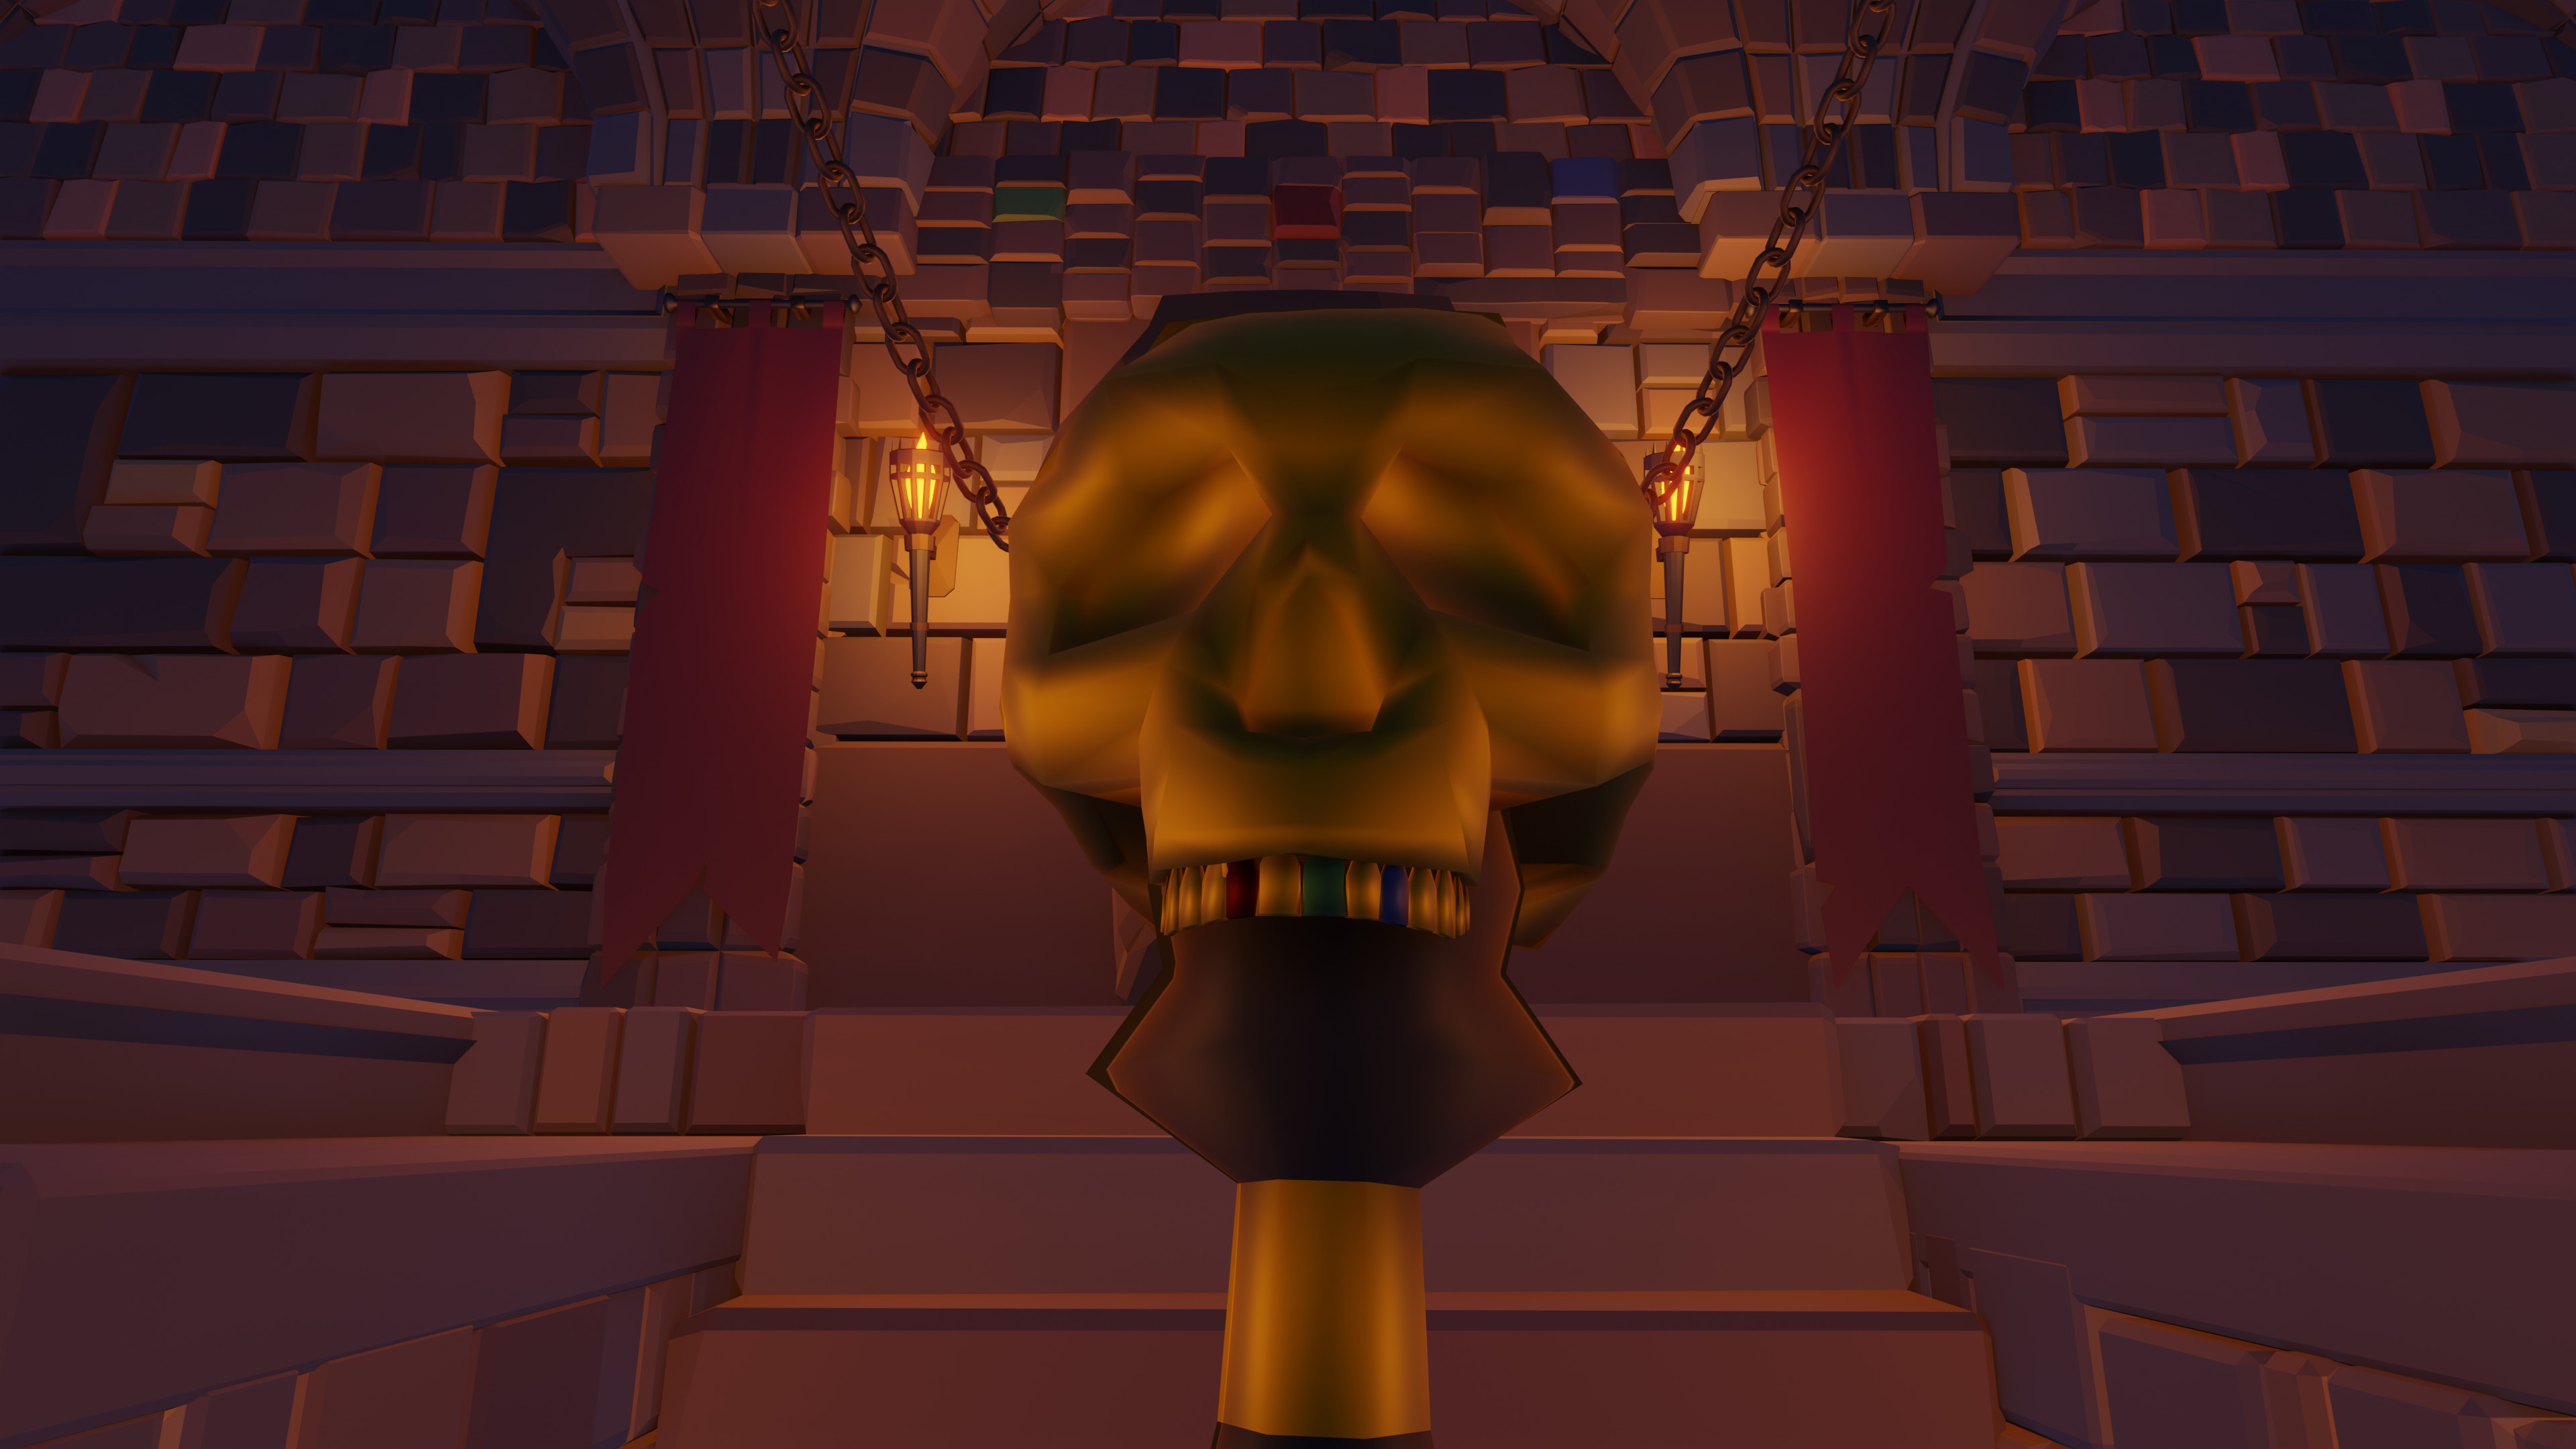
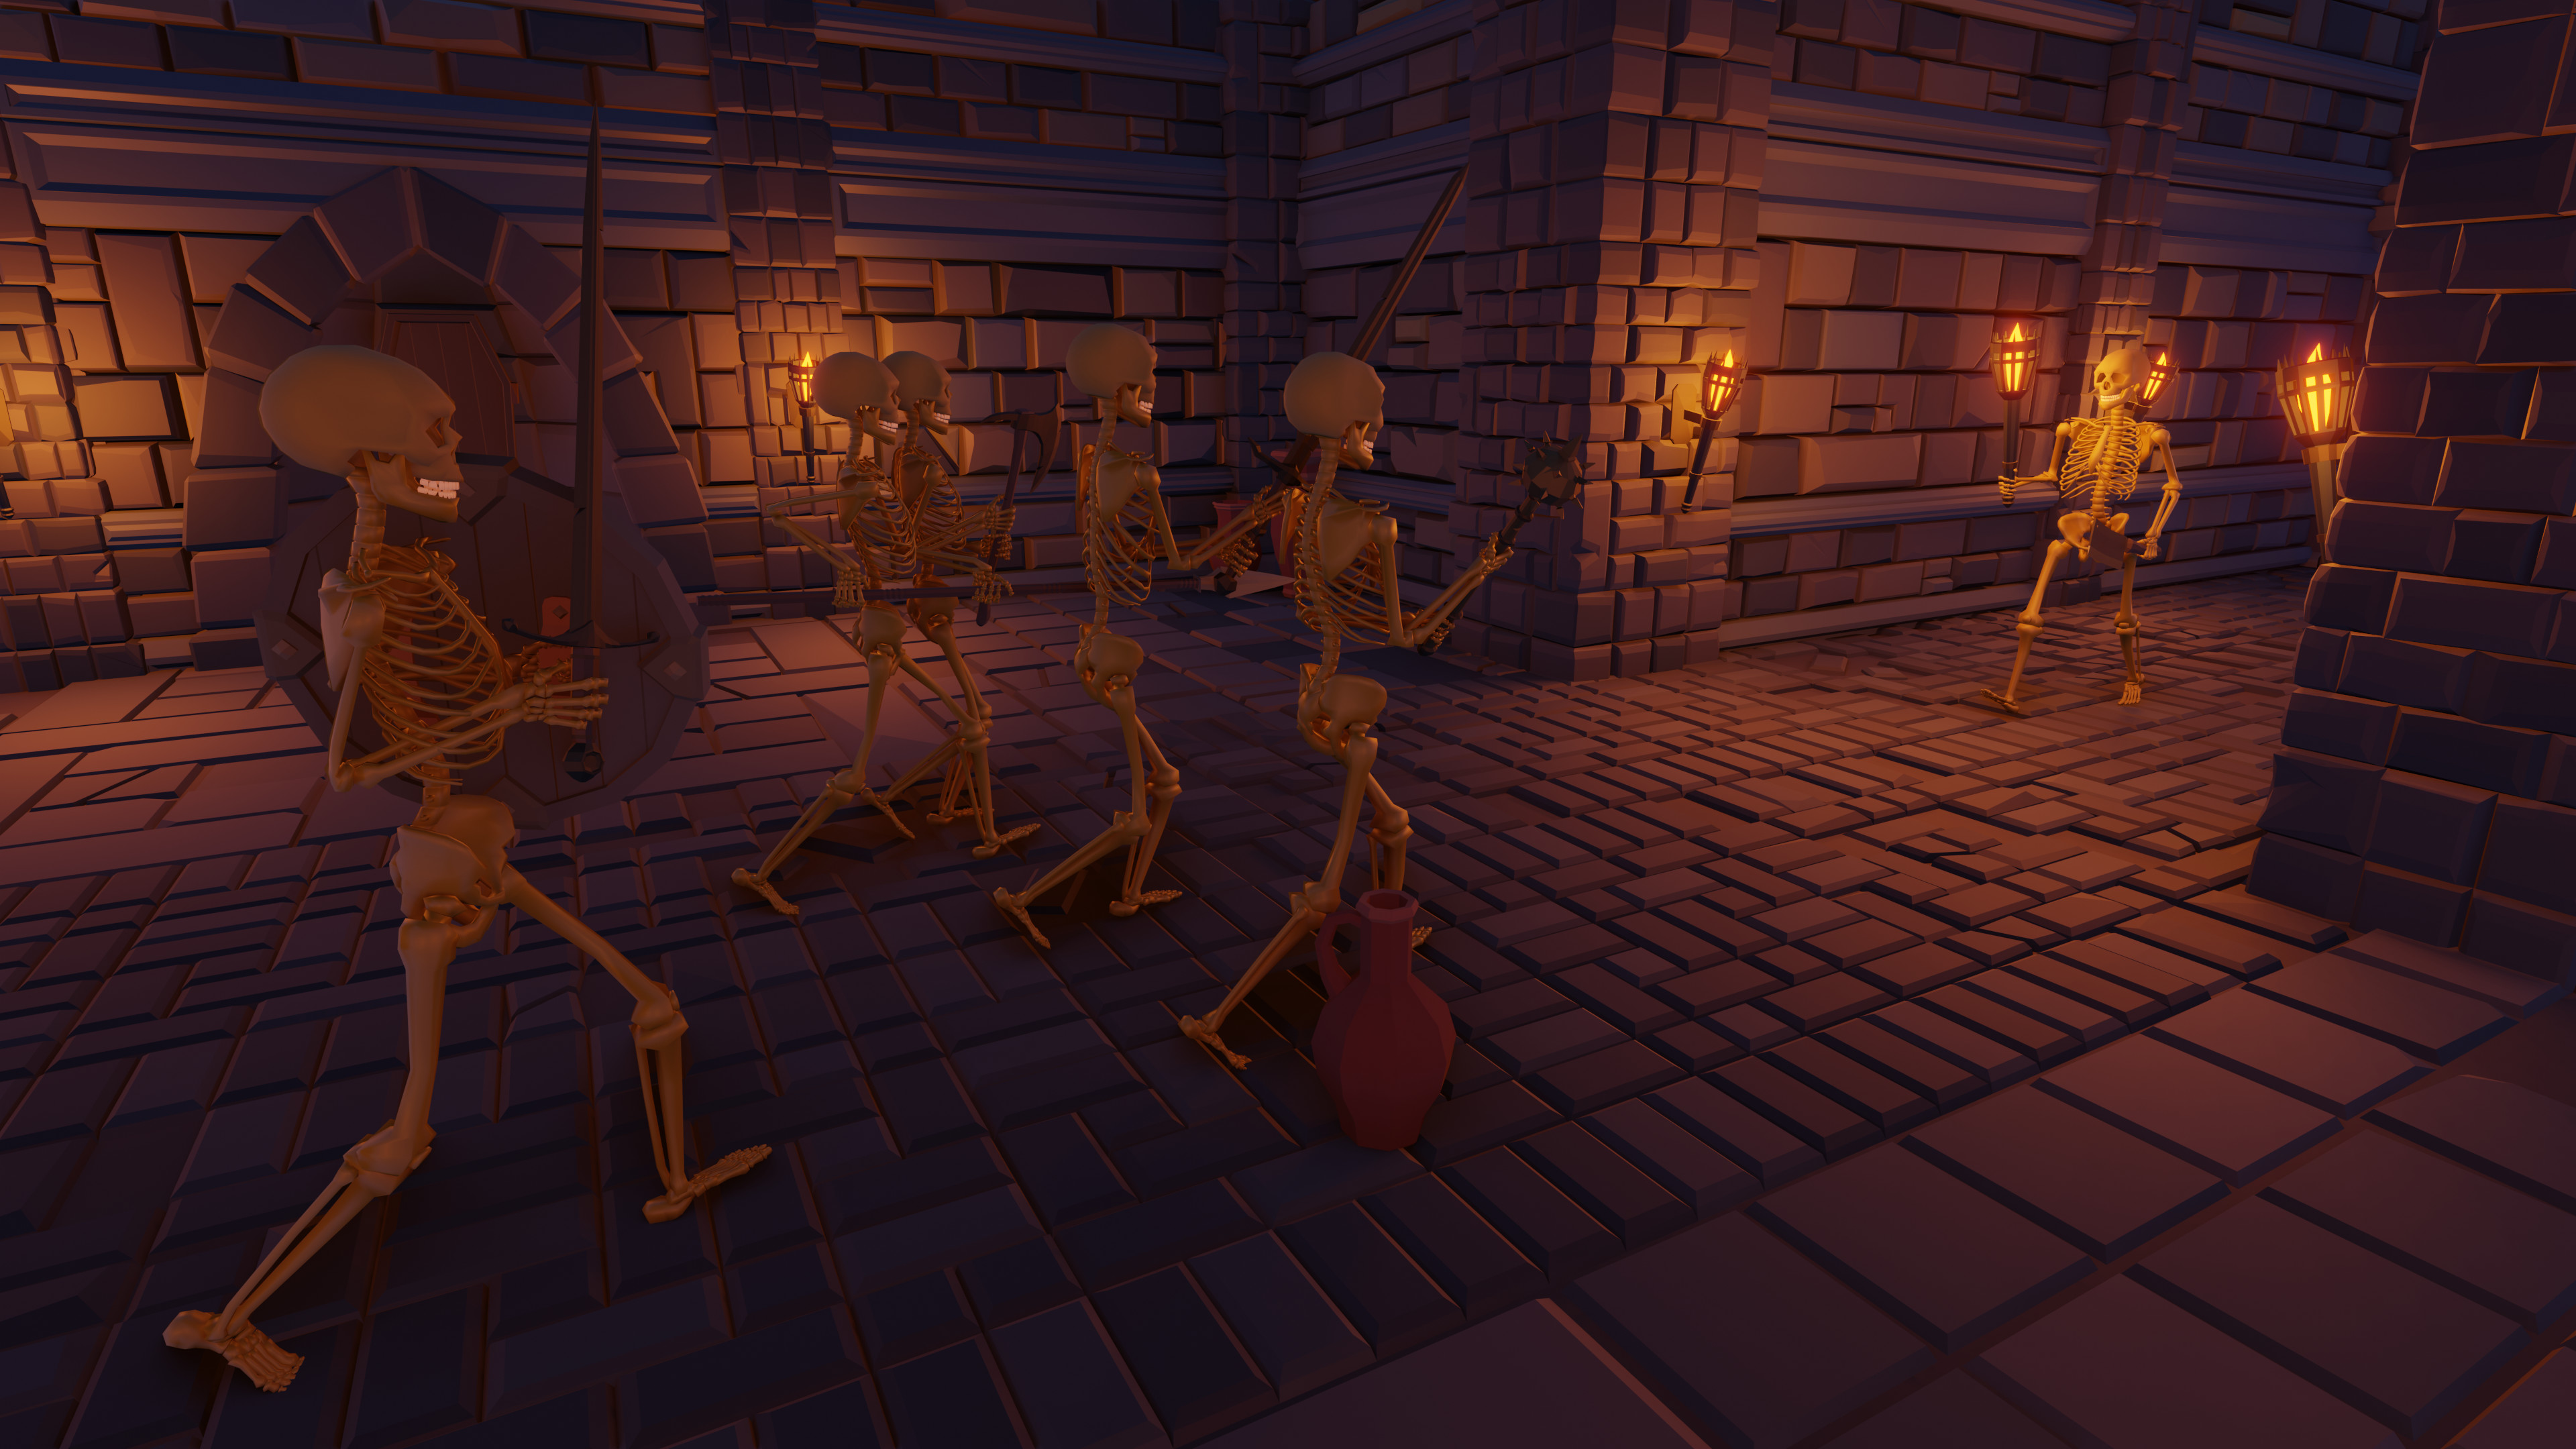
Finally, here are some overview shots of my dungeon.

L1

Stairway

Stairway

L2

You already know how it looks inside. :stuck_out_tongue_winking_eye:

Alright, I think that’s it folks. Got some chicken legs just getting ready in the oven and I’m starving. Hope you liked my dungeon. I know it’s not perfect and there are a lot of flaws, but I’m really proud over what I did these past 2 months.

Cheers!

Update! Some Eevee renders.

26 Likes

Great film. Epic post! All so much to look into.

4 Likes

Thank you!

2 Likes

Thank you, for such an amount of information.
I’ve added you to this list of interesting threads.

3 Likes

Great movie!
But on my monitor, it’s dark. Can’t see some parts, which is a pity.
Small advice, show some stills from a scene to an audience.
And probably this small issue could be fixed in an earlier stage.
But that said, it is an amazing piece of work!
Well done! You did much, much more than expected.
Great audio track too, with these audio effects on time.
Did you do that in Blender?

4 Likes

Yeah my friend also told me it was a bit too dark. I’ll try to fix that. I have a png image sequence already rendered. Maybe I can up the quality in the video sequencer and do some post editing to make it more clear and brighter. I don’t want to render the 11120 frames again. :sweat_smile:

You’re right. I’ve realized that on many platforms people don’t even bother to watch videos, but images get a lot of attention.

Thank you :slightly_smiling_face:

No, I used Adobe Elements. It’s kind of a beginners version of Premiere. But I should really take a look at the Blender editor instead. It’s probably much more customizable than Elements.

2 Likes

Blender video is very simple, it does the job.

2 Likes

I rendered the animation together with the audio natively in blender instead, and updated the video in my post. The video is a bit sharper now. It is still dark, but if viewed with quality set to 4k you can see everything pretty well. Are there any specific parts that you think look especially unclear?

I’m working on rendering some images, too.

2 Likes

Just finished it in it’s entirety really good video and great info that I will definitely explore in depth later :+1:
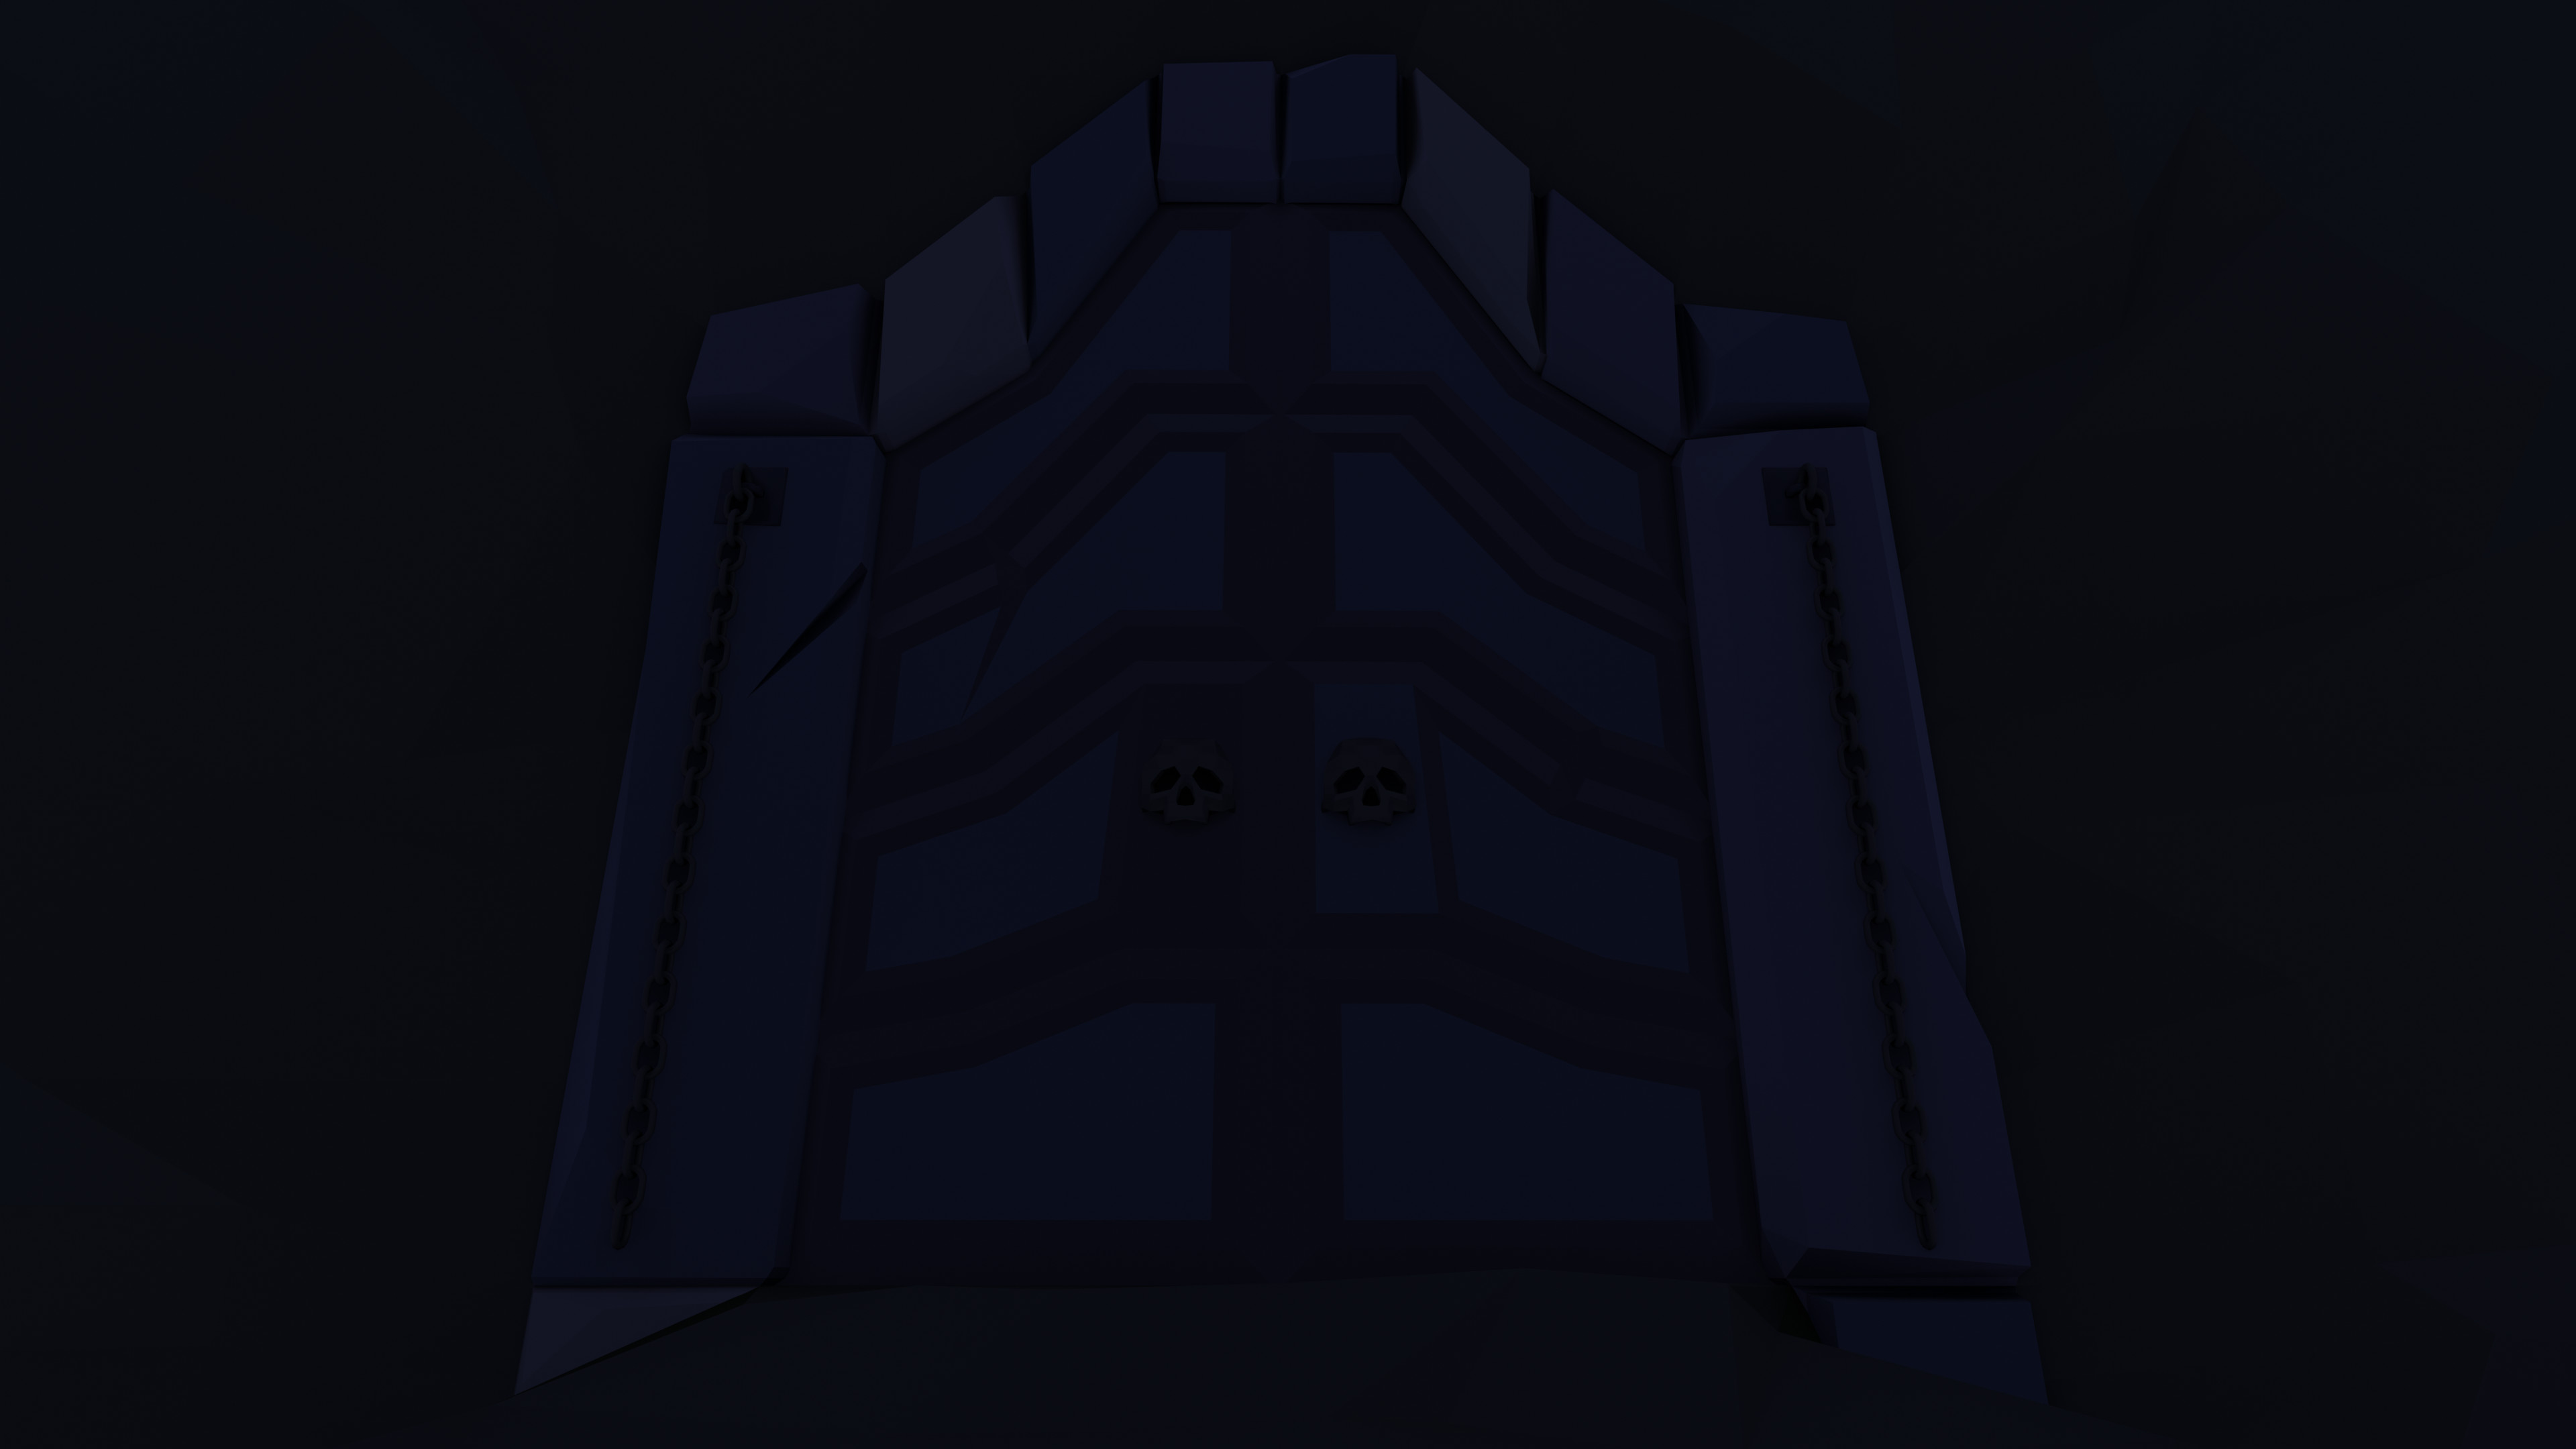
. But I have to agree lighting was kind of dark and made it hard to see some things in the various scenes.

3 Likes

It is very nice at 4k full screen on a 4k monitor. Yes a fraction dark but probably because we want to see the things you made. But as a film it is fine. Should have run out of there faster!

2 Likes

Alright, I’ll need to work on finding a good balance between quality and compatibility. And the lighting could be better. I think I focused on the story and the film more than showing of my assets this time. :grinning_face_with_smiling_eyes:

Yes, backed up like a sloth at the end. Maybe too terrified to move :wink:

2 Likes

Thank you! :slightly_smiling_face:

Yes, being too dark seems to be the general consensus, so that’s something I could’ve done better. I wanted to create a dark dungeony feeling, and maybe focused on that a bit too much rather than showing off my assets. But I’ll throw in some clear renders of my assets later, too.

1 Like

I updated my post with some still renders in much brighter lighting. I put them last so people don’t miss all the good info. Which renders do you think deserve a spot in my portfolio? :slightly_smiling_face:

1 Like

Wouldn’t change a thing about the video tbh… it was, supposed to be a dark dungeon, I think because we are into 3d modeling we were interested in seeing more of the models so yeah separate renders of some of objects outside of the native environment would be great

2 Likes

You have a good point. Everyone here is into 3d modeling so of course they want to see the models.

Thank you! But before you say that. Here is an updated version with increased brightness and contrast in the Blender video editor. This is a better representation of how it looked in my viewport.

10 Likes

YES! Now I can see all the weapons in their stands and lying on the floor, as well as the skeletons hanging from the ceiling and sitting in the chair. I couldn’t make out half those things the first time.

At the end of the video, I thought the skeletons coming in from the sides were kneeling down to the skeleton which came out of the coffin, but now I see they were just arming themselves with weapons.

Well done @Gordon very well done! :clap:

4 Likes

Oh I’m so glad that you can see the stuff now! I didn’t know that it was thaaat bad before. It’s difficult to know how how the quality is for other people on their devices. For me it was dark, but I still saw everything.

That’s why it’s so good we have this forum. Thank you @FedPete, @NP5, @Willrun, and @Miss_B. With your feedback I was able to end this section with a video that people are actually able to see clearly. :grinning_face_with_smiling_eyes:

3 Likes

Wait I was thinking it was a Skyrim mod ! :slight_smile: absolutely amazing and totally out of my knowledge but wow I will take a month to read all the informations you put in here !

3 Likes

Thank you! Skyrim was definitely a source of inspiration :stuck_out_tongue_winking_eye:

1 Like

This is just badass! You put so much effort into this. I am simply amazed. :clap:

1 Like

Privacy & Terms