I noticed for this section there were no mass posts for progress so I thought I´d start one and get the ball rolling with my base and stem. Show us what you´ve got for your base and stem 
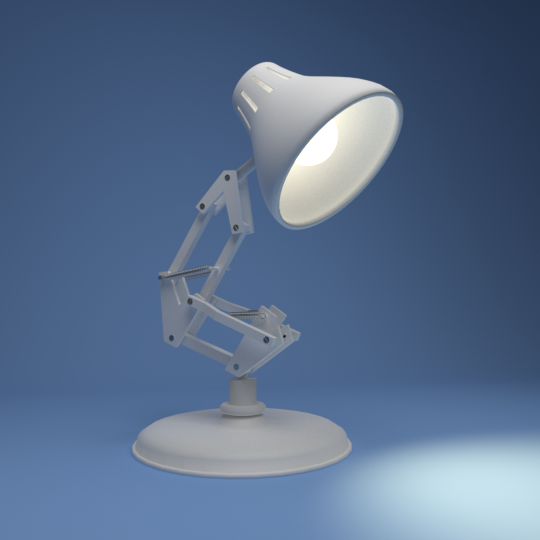
This is mine (I tried to replicate the Pixar lamp):
I noticed for this section there were no mass posts for progress so I thought I´d start one and get the ball rolling with my base and stem. Show us what you´ve got for your base and stem
This is mine (I tried to replicate the Pixar lamp):
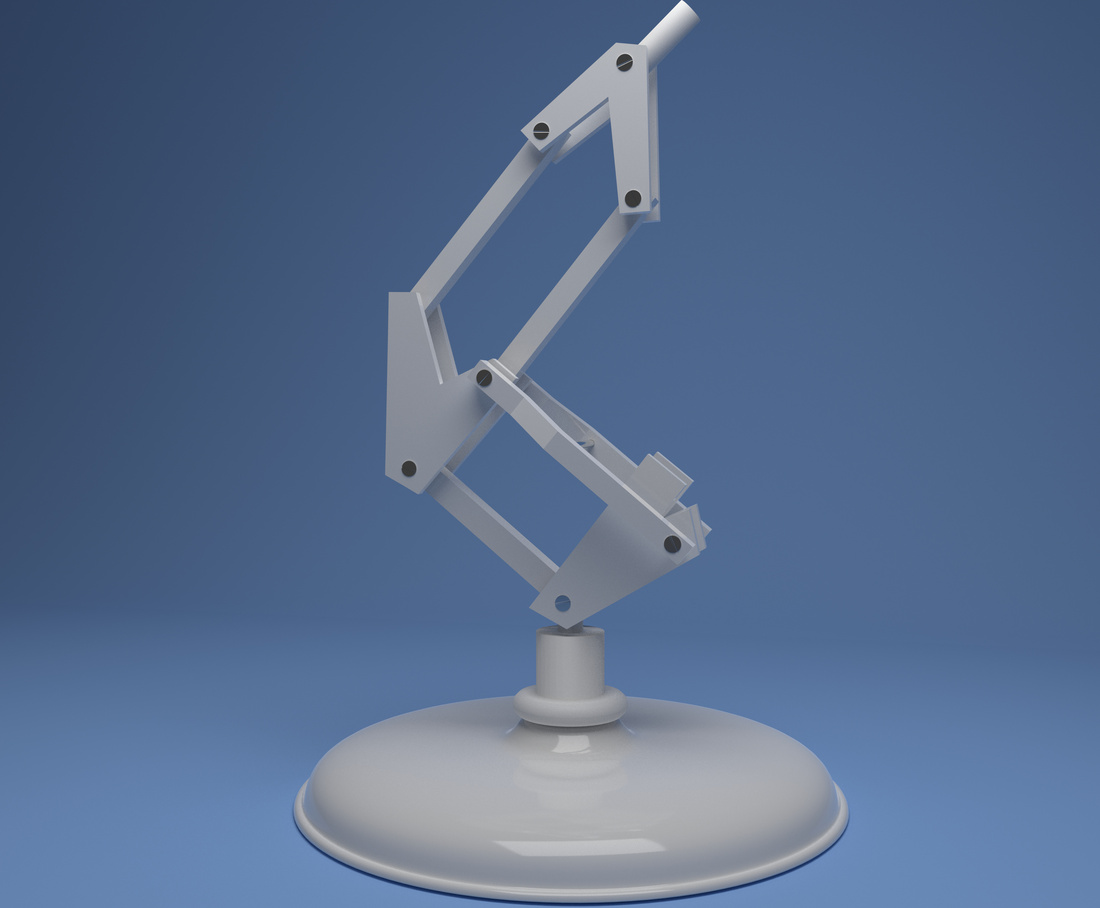
Heres an update on my lamp. Still figuring out how I´ll create the armature (I still don´t know how to restrain movement of bones) I´m sure the next few tutorials will show me how to do that so I´ll wait before adding the head of the lamp because I´m only on lecture 115 at the moment.
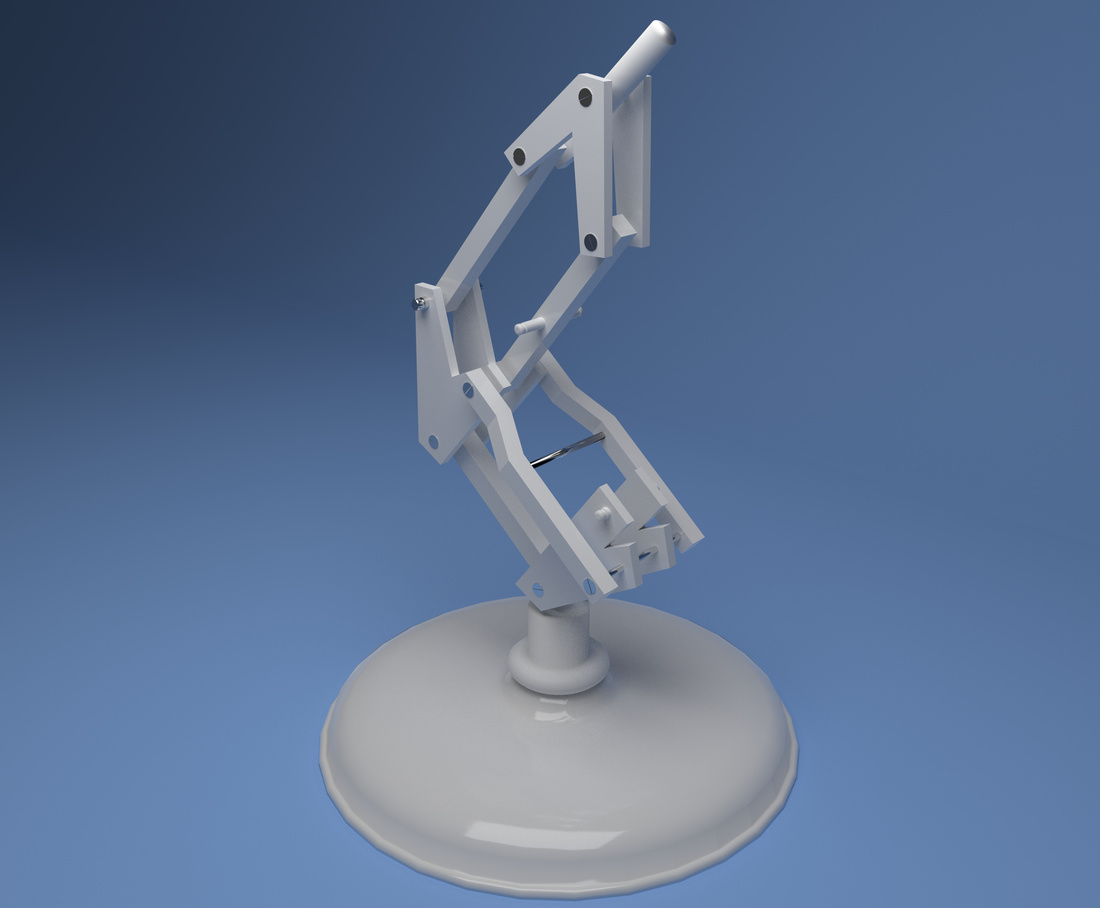
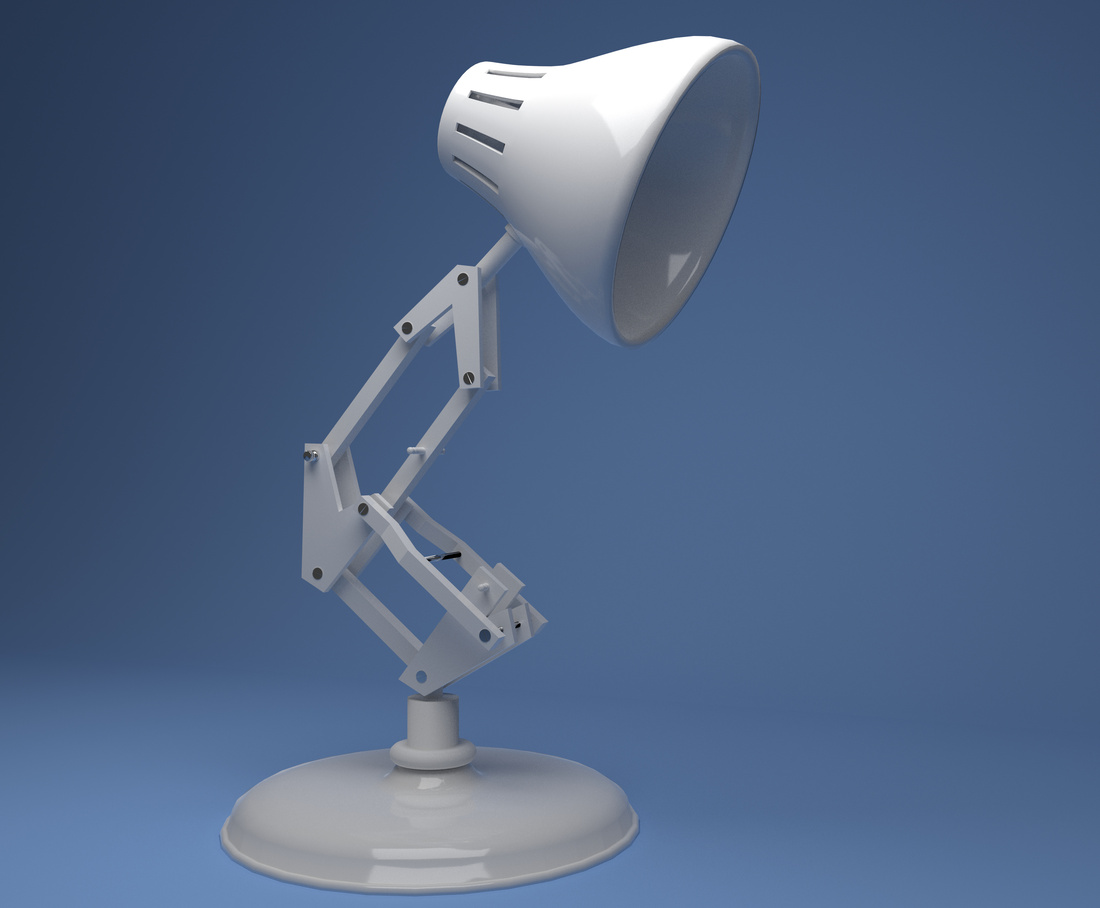
Now I´ve got my shade done and fully rigged. Time for the next tutorial. Need to find a way to make the springs and weight them
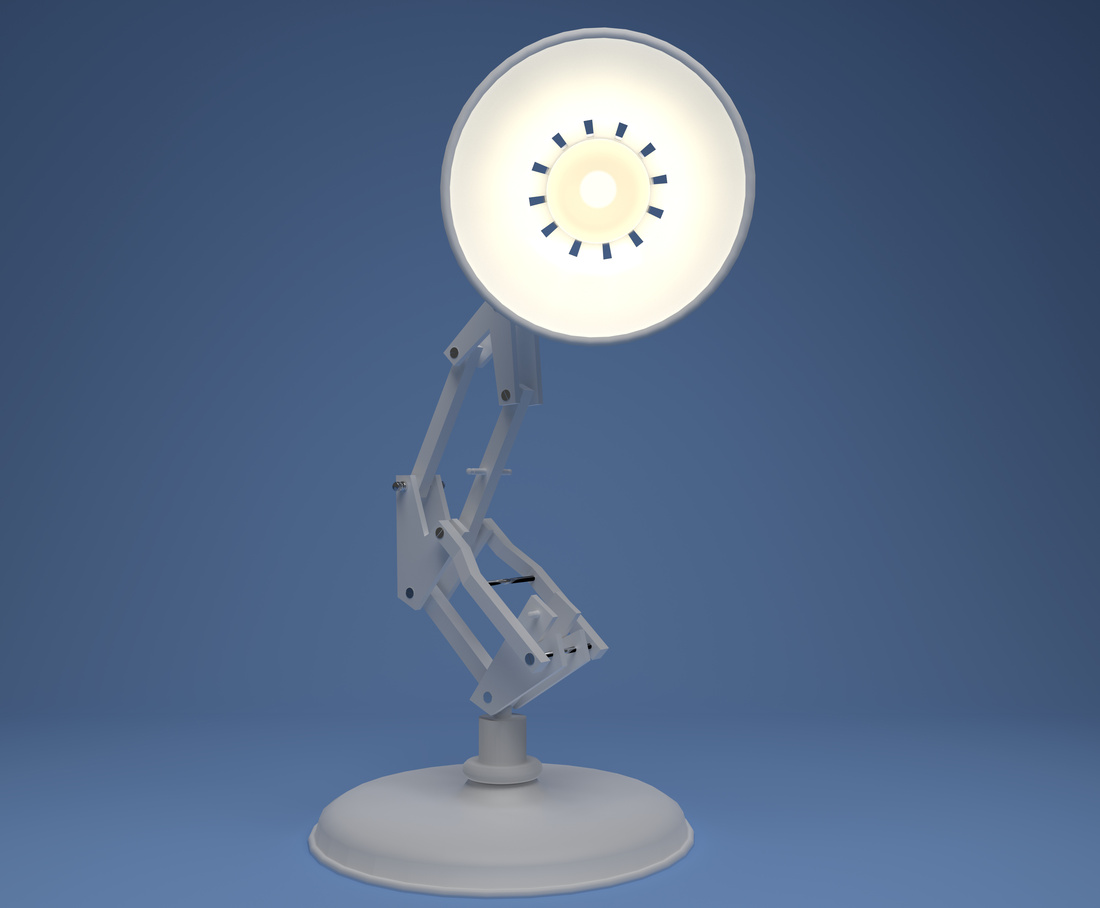
Lamp shade now has a bulb that glows. Watching tutorials on how to make springs now and rig them properly.
It’s looking great Mark. I can’t wait to see how you animate it. 
This looks great Mark! Just the right blend of diffuse and specularity here. Also the base looks great but it looks like a rigging nightmare lol. For a beginner at least. I’m interested to see how it animates!
The rigging took me forever… And the springs took far longer to attech than they should have.
Its easy when you know how and I didn´t… Finally onto animation now which I find easier.
I should have a short sample animation ready to go soon but I need to watch the tutorials on video
rendering etc. I´m planning on making something really cool with the animation because I hate leaving
things unfinished.
Thanks for the nice comments both of you 
This is my test video just to get a feel of how to do things.
When I get more time, I´ll make a longer video.
The jump animation is a bit too fast and it feels a bit brief
but overall I´m happy with the outcome.
Cool overall design, looks like the beginning of a robotic arm in this lamp!
I recently did a preview of the next long video I’m making. Got a few things to finish before it’s done.
I thought I’d update my progress here in this thread so I don’t clutter up the forums.
I did a larger render of the progress I’ve made on my animated lamp.
The animation is now complete and I’m rendering it (it’ll be 20 seconds long and will take the next 16 hours of rendering to complete).
However, here is the longer video (I’ve changed the initial jumps slightly because I wasn’t completely happy with them)
It took 48 hours to render this video and I’m still not completely happy with it.
The blender logo goes through the floor, the light bounces were dropped half way through and didn’t really reduce the render time much and the lamp animation towards the end when he looks at his feet is a little mis-timed.
Having said all that, all in all I don’t think it’s that bad and now I don’t have the patience to re-render it again so I’ll leave it at this and move on with the course and perhaps re-visit this later and render it with lower resolution and perhaps clamp lighting, lower samples and use the denoiser the next time.
Here’s the result:
Hi Mark,
You did a very good animation job here.
Respect!
I did not notice the logo through the floor untill i had read your post.
Continue the good work!
Grtz,
Ray
Thank you for the nice comments Ray, I also like your work too
Hi,
That a cool replication of Pixar intro!
I wonder how you bent that letter, did you use some deformation with an armature ? It seems I have never tried to do something like this, might as well try to figure it out myself by testing  .
.
Concerning the blender logo, it appears only for the last 6 secs, if you kept the PNG (or whatever image extension) around you might have to only re-render that part.
And assemble the new part with the 14 sec old part through the video editor.
Instead of going through the full 20 sec render =>48H it would take perhaps 10H. Well that’s quite a lot anyway 
That was a cool video.
Cheers !
Hi Hiju, thanks for the nice comments and yes, that’s a good idea!
Unfortunately, to be happy with it, I’d need to render it from the moment the light quality changes too
but I could take your suggestion later if I don’t feel like rendering a lot again.
I made the blender mesh with the logo and appended it into the Lamp file.
To bend the “L”, I used a couple of shape keys. I could have done with one more to stretch it a bit
after the squash to give it that extra elastic effect.
I’ve just prepared a little image tutorial because I’m also thinking about playing around with shape keys
to morph meshes (mainly facial expressions) but I think I’ll wait the character head part before I start that.
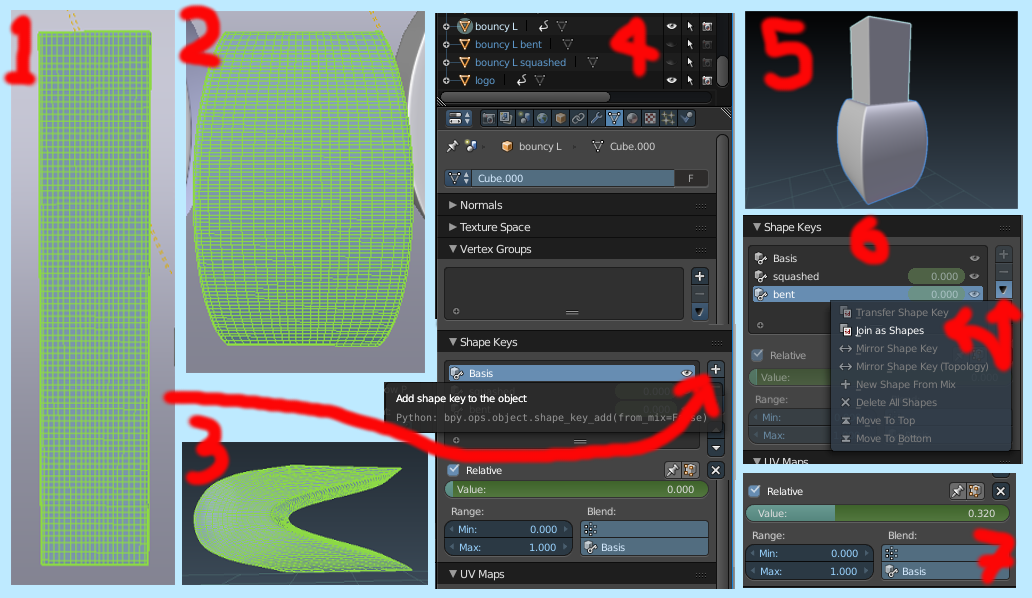
Here’s the image, below it is a quick explanation:
1, 2 and 3 >>> So first create your main mesh then duplicate it and morph it into the desired shapes
(at their maximum morph position). Name them appropriately. In my case, the two dephorms were
called “squashed” and “bent”.
4 >>> Next, click the vector symbol in the properties panel and scroll down until you see “Shape Keys”.
Click the + sign and it will add a default shape key called “Basis”. Make sure it’s only added to
your original mesh.
5 >>> Then first select your dephormed duplicate mesh, then shift and right-click on your original
mesh to have them both selected.
6 >>> In the Shape Key tab you’ll see a little arrow pointing downwards.
Click that and then choose “Join as Shapes” in the drop down menu. Rinse and repeat with all
your dephormed duplicates.
7 >>> Almost done. Now delete or hide your dephormed meshes and select your original mesh and
use the slider in the Shape Key panel for each new shape key to change how much the original
mesh dephorms. To animate it, press “I” (“i” for insert) to insert a key frame.
Hope that helps.
I’ve been looking at your work in the showcase Hiju and throughout these sections. I really like what you
do in blender.
Let me know if you post any of your new work here. Would love to see it!
Oh and I’ll include the blender logo .blend file here in case you’d like to use it for something.
(Might save you some time making it for anyone who’s interested and it’s good to share here).
blender logo.blend (4.6 MB)
Cheers 
Thanks for the great info!
Hi again,
I can definitively understand why you’ll want to re-render the whole scene if you changed the light setup.
As Corune said, thank you so much for the little tutorial about shape keys, I will try and see what I can do with it soon ![]() . It is a really well explained tutorial, I don’t think I’ll have any issue following it.
. It is a really well explained tutorial, I don’t think I’ll have any issue following it.
I am struggling to find inspiration right now, it’s been a month since I did anything new (the last one was the 24H bowling challenge). I am looking for new ideas by wandering in the forum ![]() . And your tutorial may be a new field to explore. Who knows, maybe I will create something new by the end of the week ? If I do I’ll tag you in
. And your tutorial may be a new field to explore. Who knows, maybe I will create something new by the end of the week ? If I do I’ll tag you in ![]() .
.
Cheers !
You’re welcome Corune and looking forward to it Hiju! Sometimes the hardest part is starting something