Trouble Bakeing Normal Maps

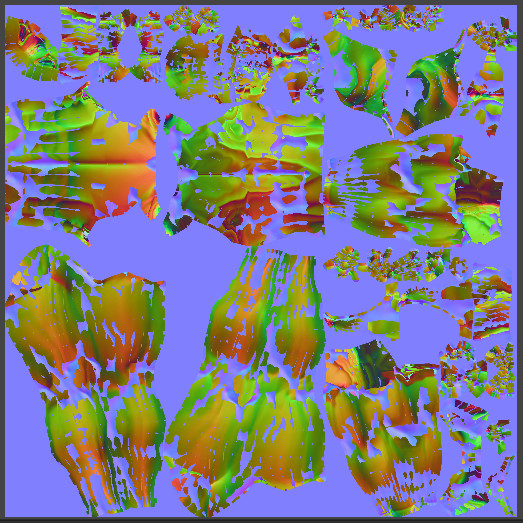
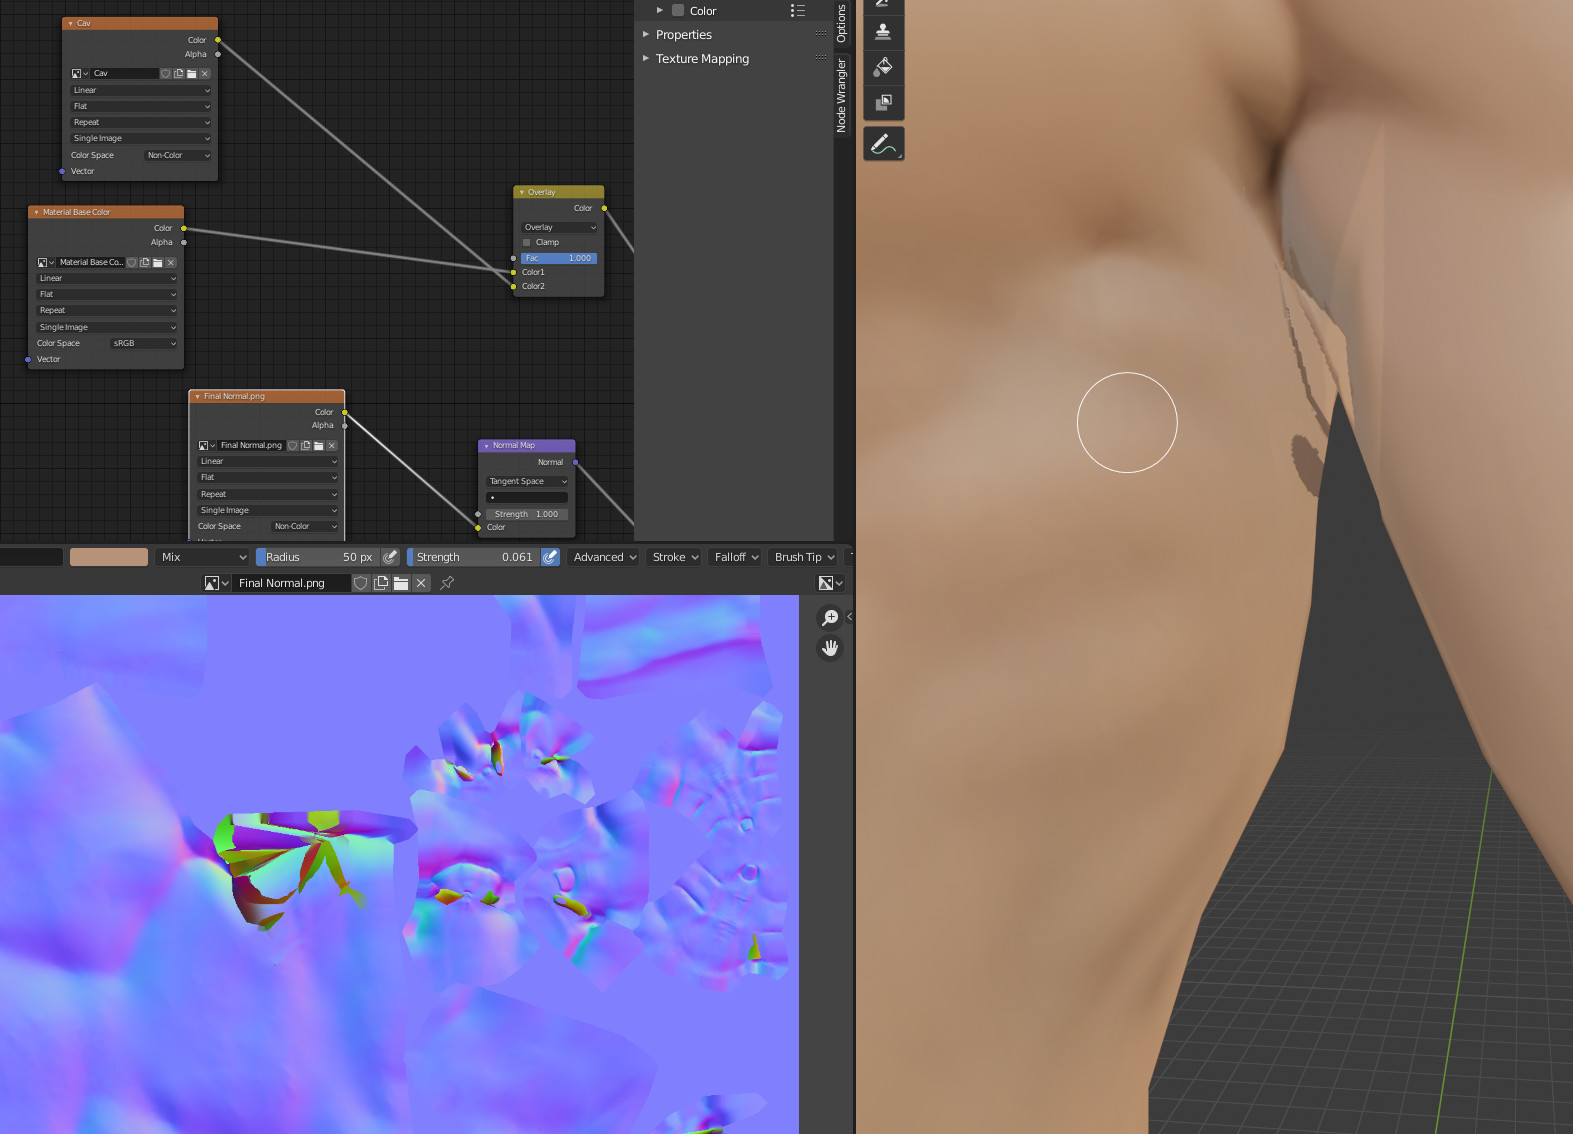
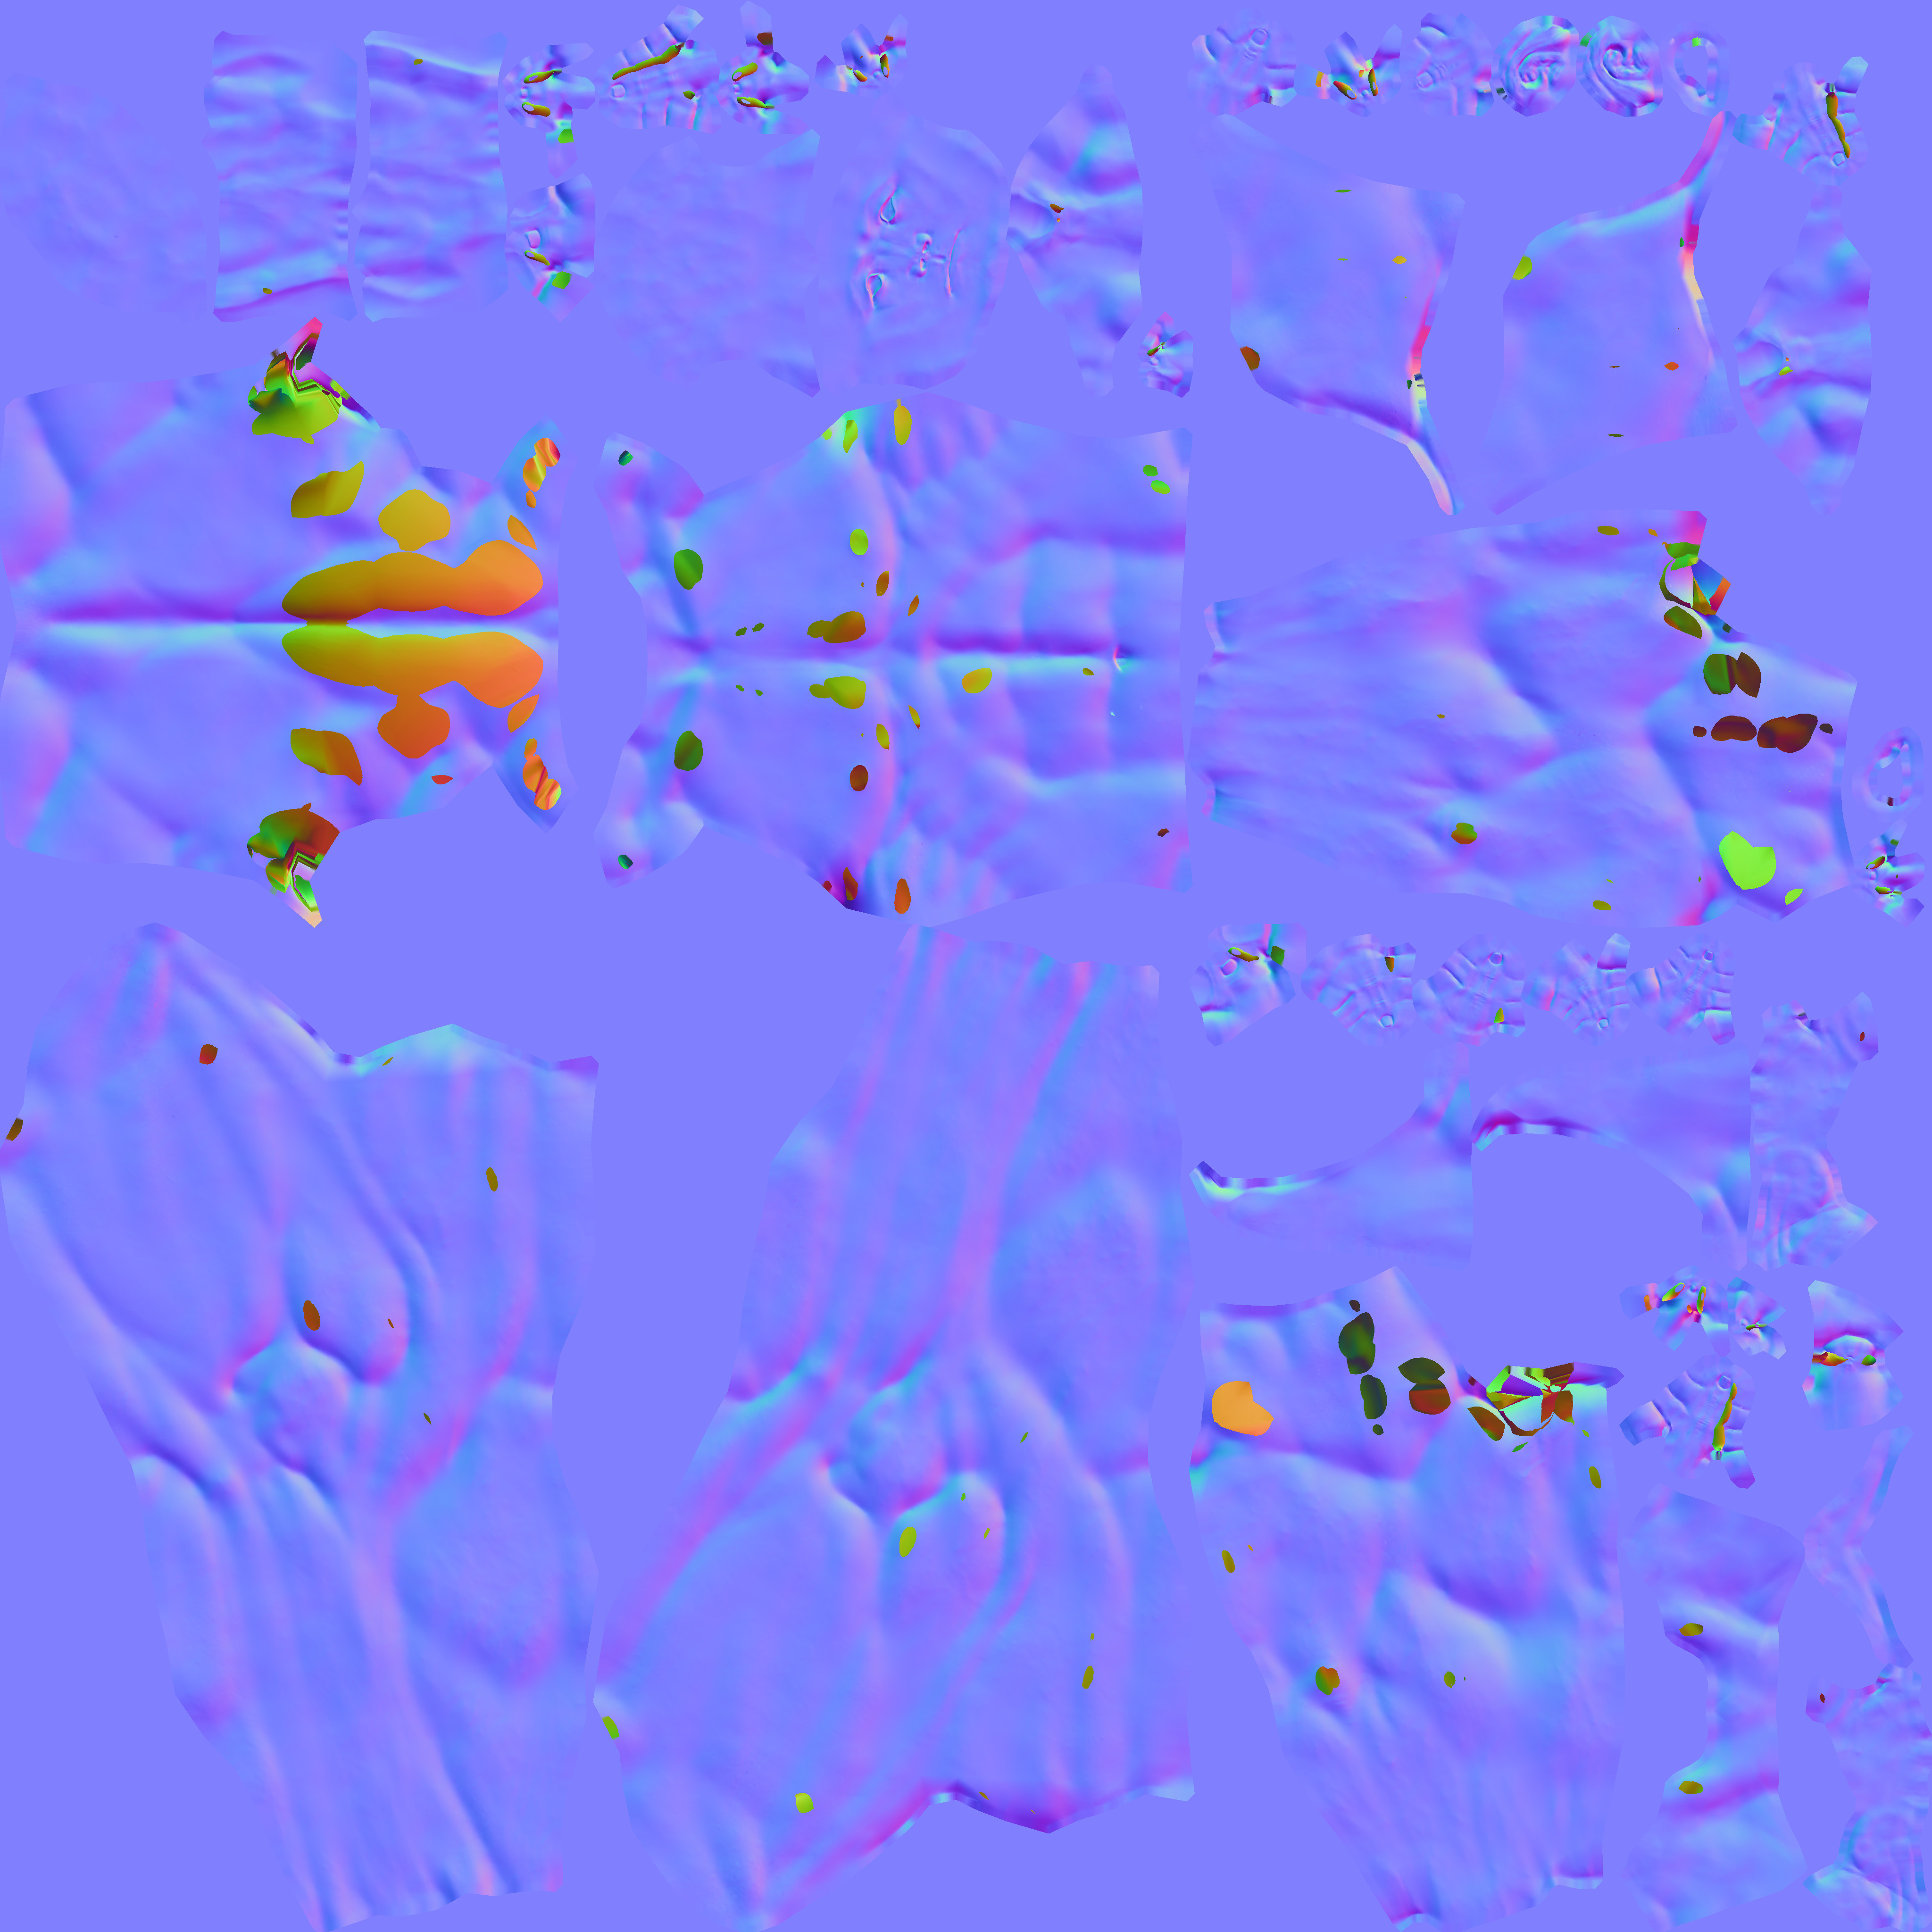
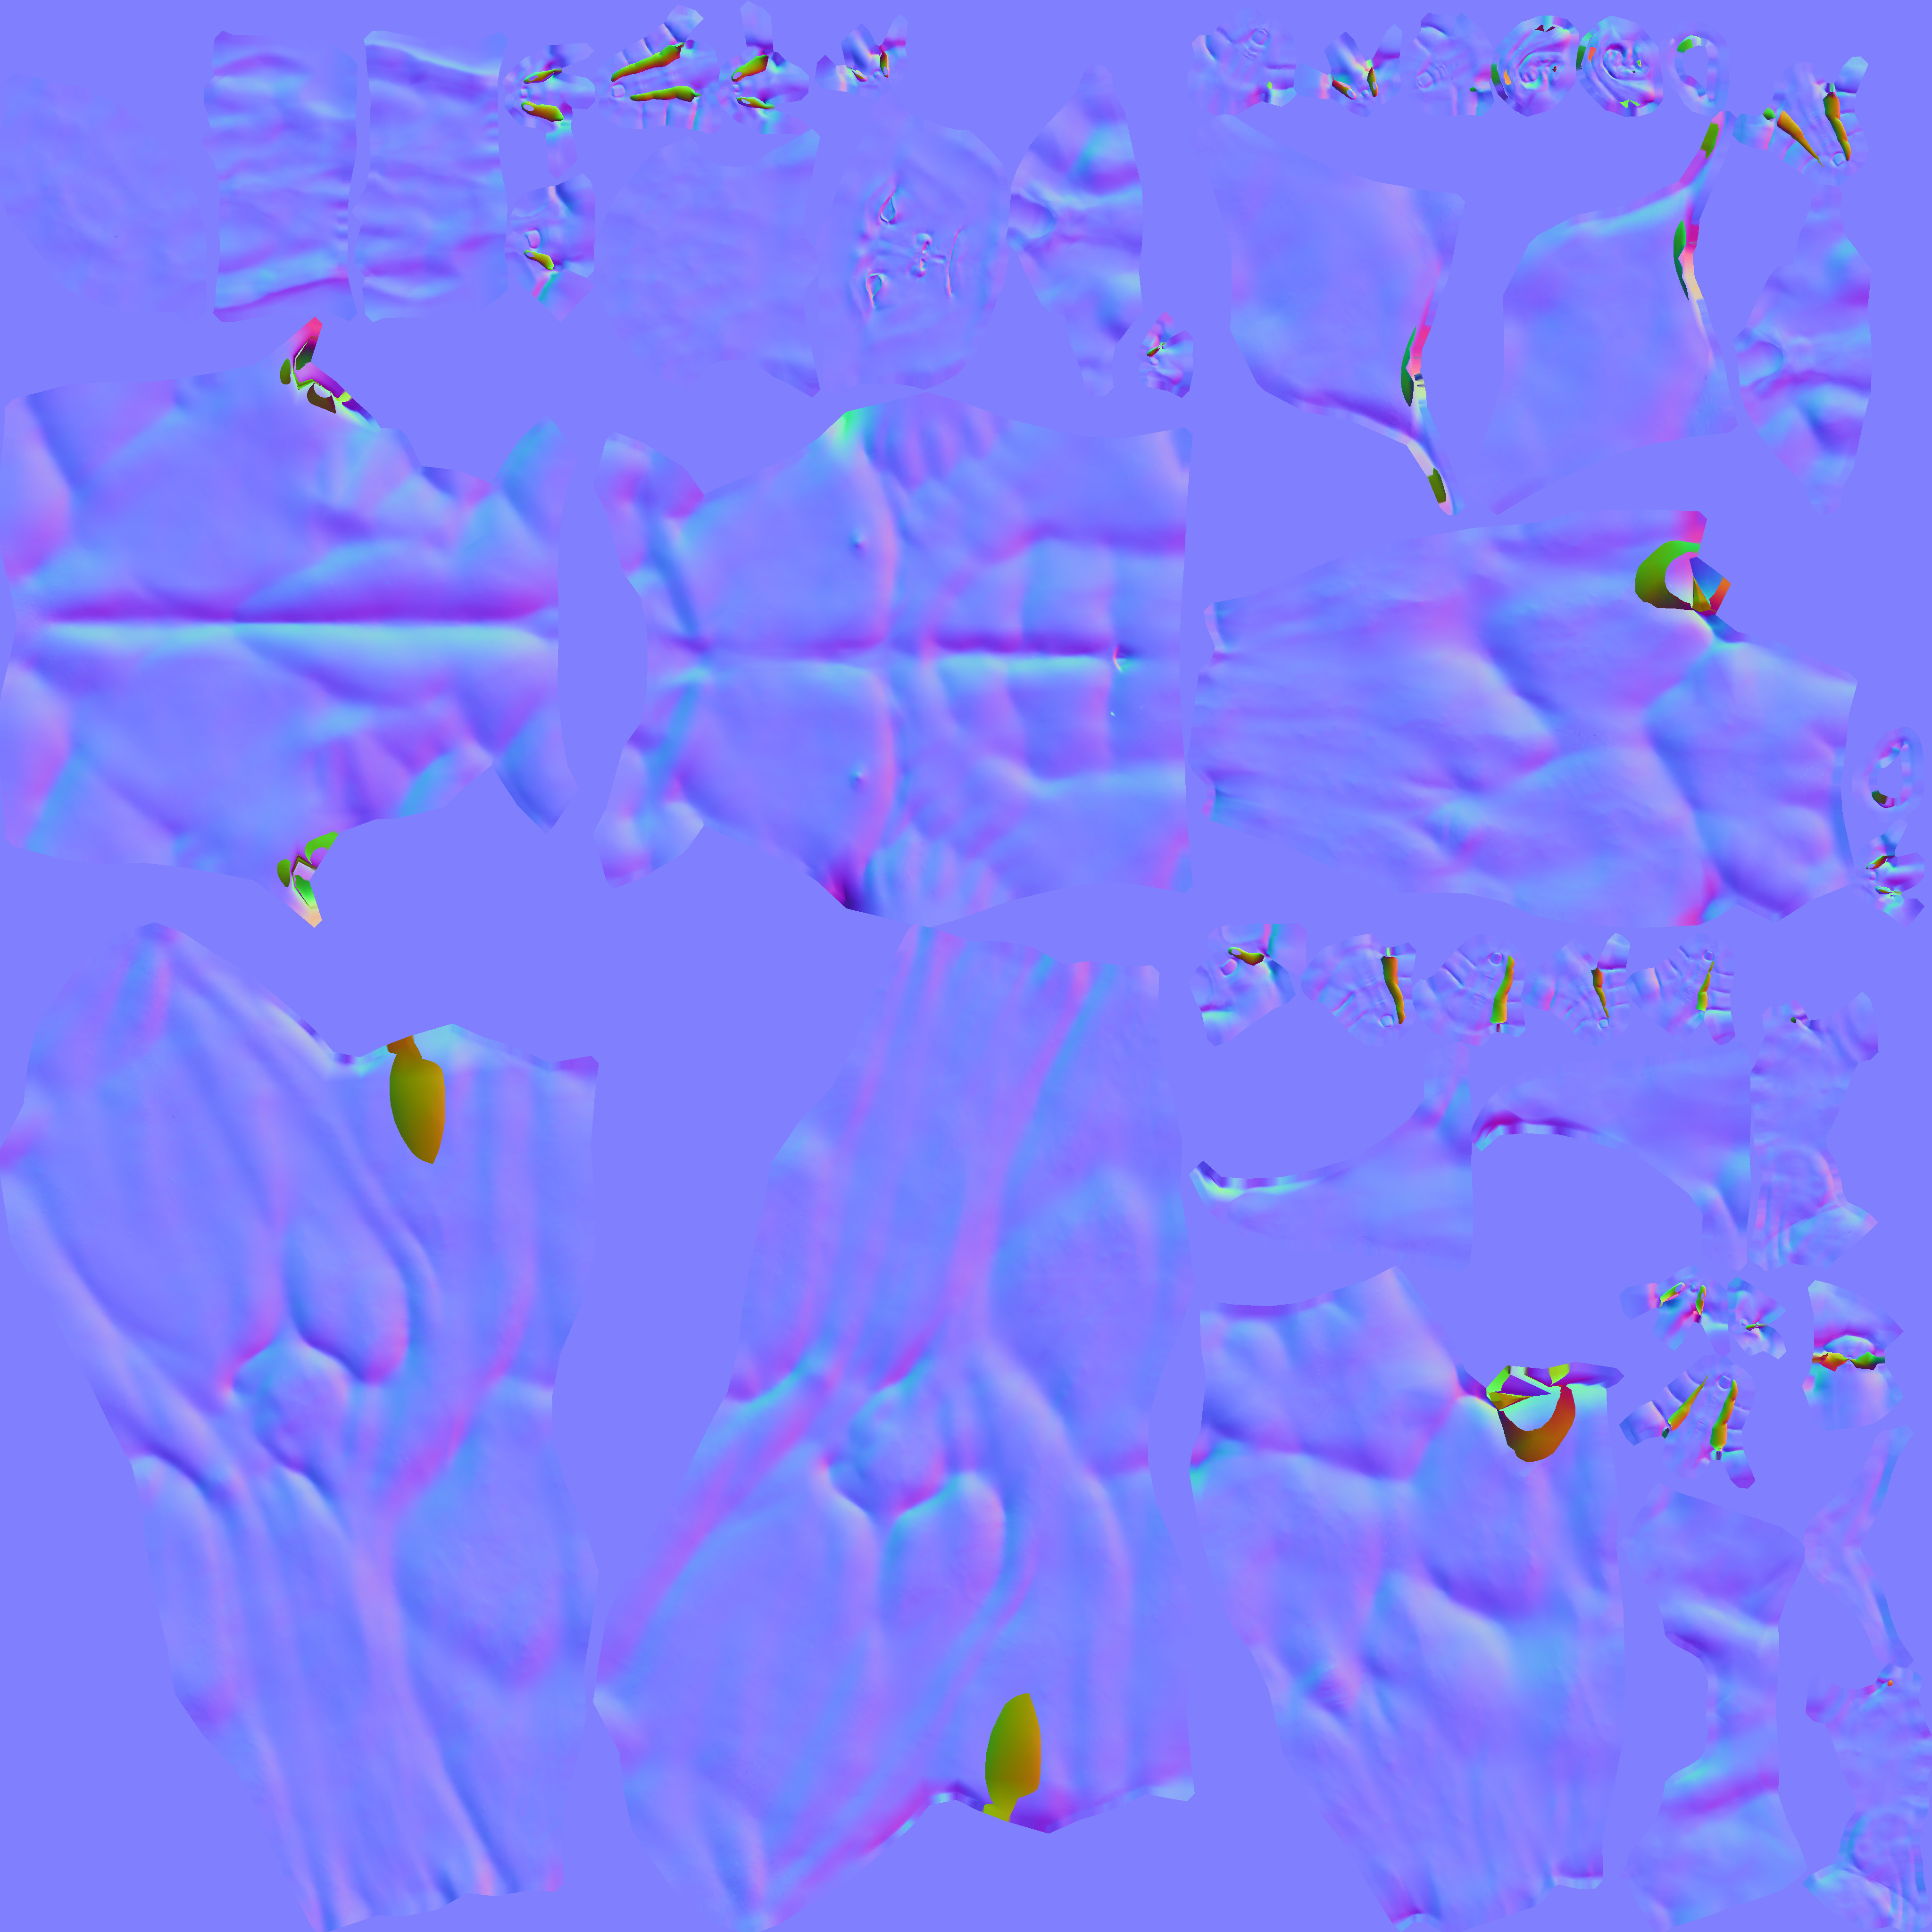
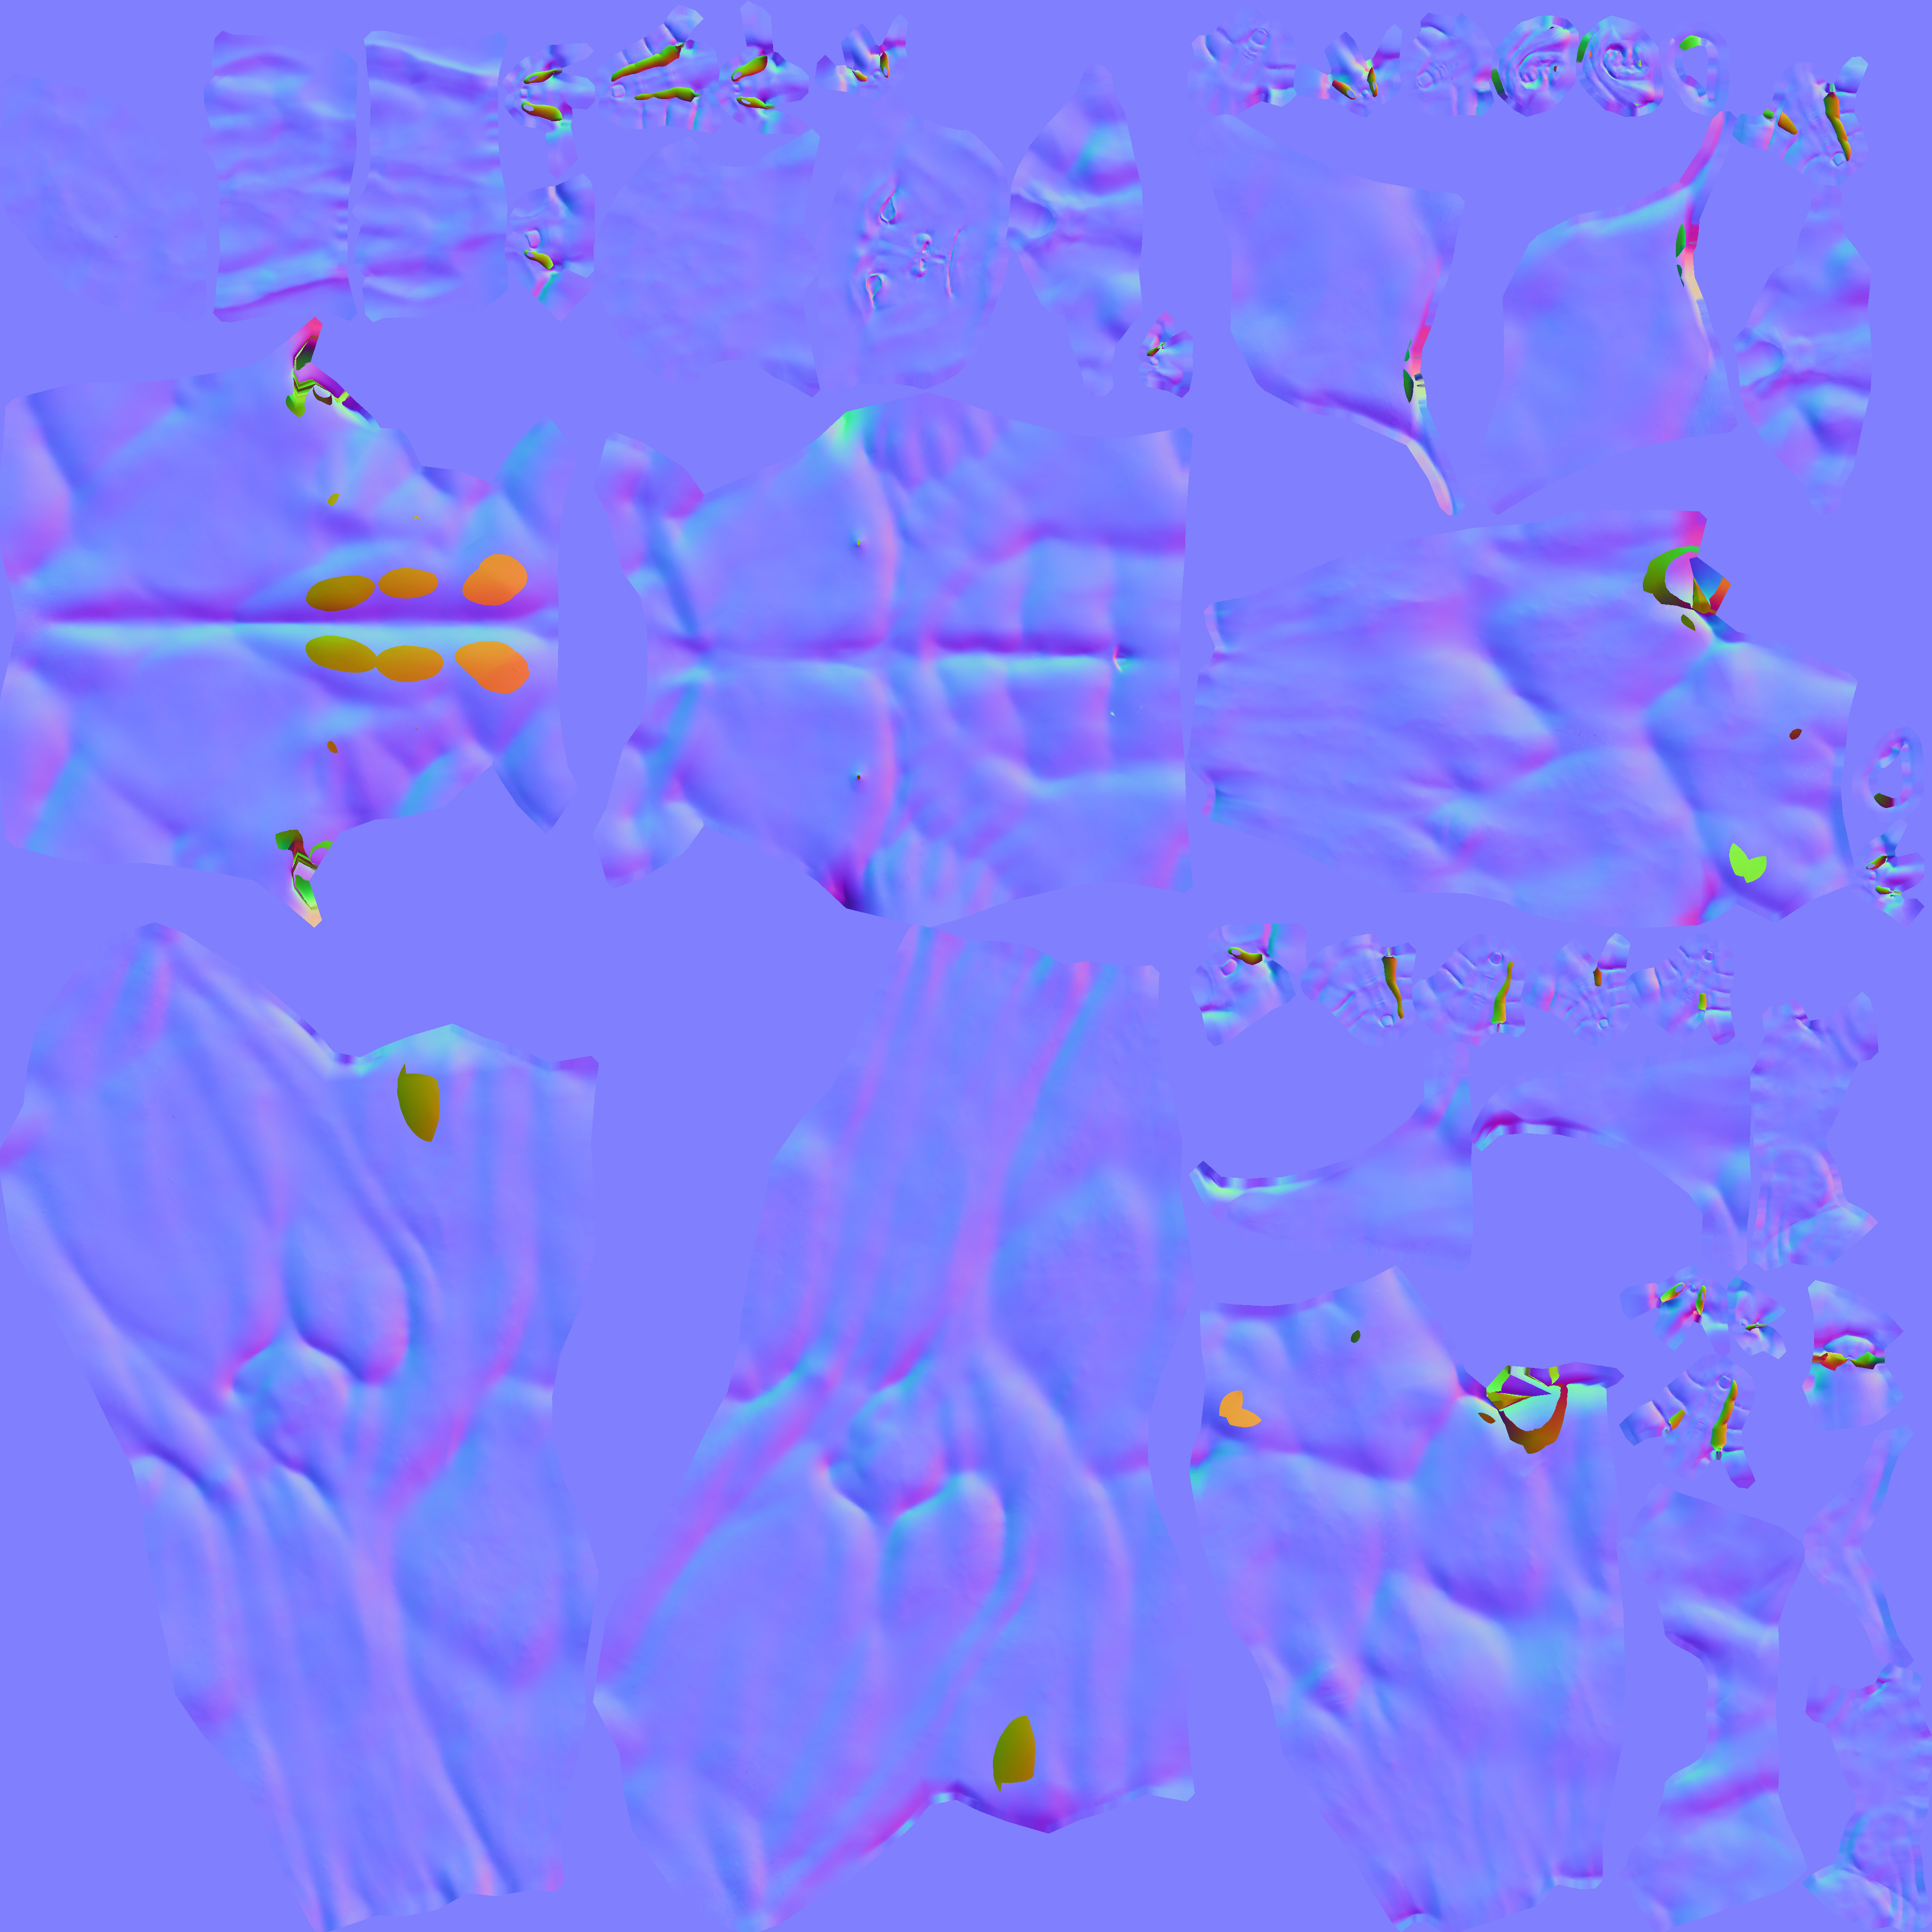
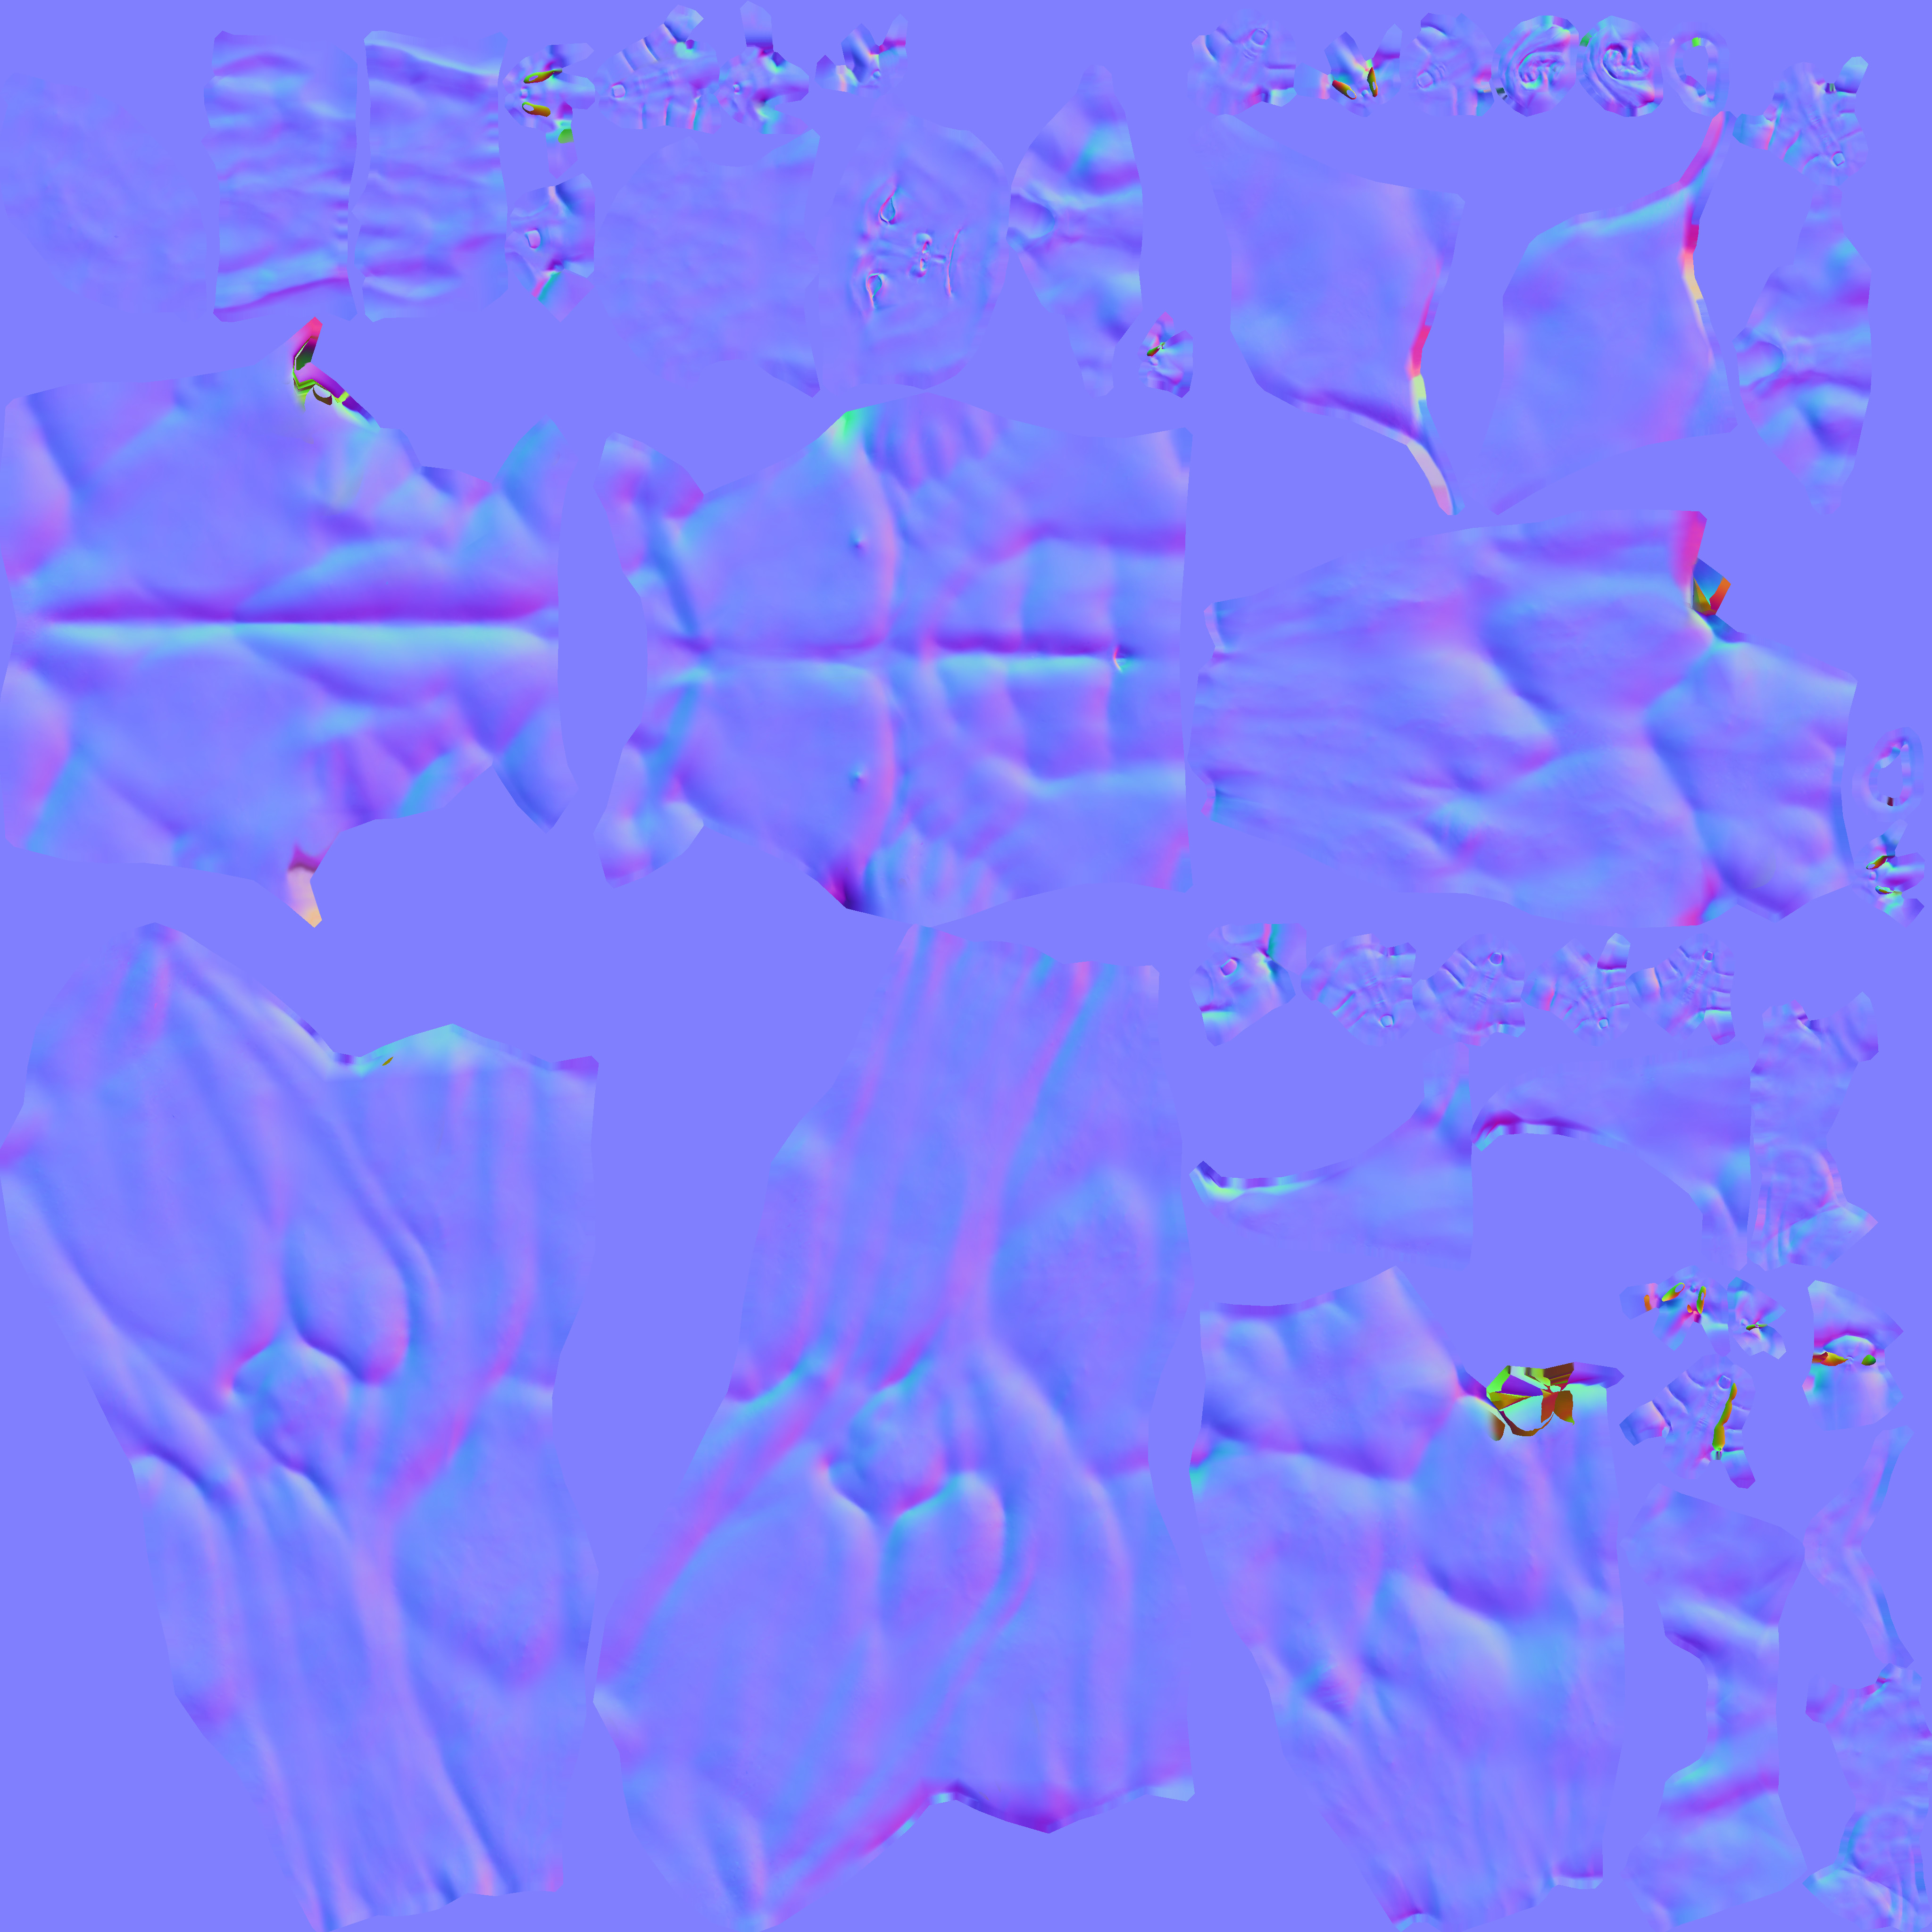
In the course when he bakes the orc’s normals he sets the ray distance to 0.02, but when I do the entire thing goes green and yellow. I assumed it’s a scale issue, so I tried larger values. 0.5m and 2 meters seems to work the best but still having issues between fingers and thighs (areas that are close together) I thought I could use the best parts of each and combine them in Photoshop, but that doesn’t seem to work.

Any advice would be great thanks.

0.5 m


1.5m

1m

2m

0.02m

1 Like

Must be very odd scale issues 2m for ray distance!

If you study the remaining bright areas a few changes in the low poly topology to fit better may be a good idea. If they are barely visible areas it may just not matter.

2 Likes

Thanks for the reply,

Yeah, as I had played around with sculpting before I used a simple base mesh and carried on from there without checking the scale so it ended up as.

image

as for the glitches, through using the cage bake and combining a few in photoshop I got 90% of the way. the only issues now are under the arms and between the fingers as seen here.

Continued playing around with the painting to see if I could hide the trouble areas, but that is not going as I would of hoped.

1 Like

Check and clean up the mesh!

1 Like

With your cage object, make sure it’s not clipping into itself. As long as you don’t delete, add or wildly change the geometry in anyway (any way that would change the vertex number order) the cage will still work. Might be that the cage object is clipping in the tighter areas, scaling down along the normals until it’s above the high poly will ensure it works fine.

1 Like

Privacy & Terms