9.208+: Boris the Slow Loris

The Slow Loris is at least complete,
of techniques this course replete,
The end is nigh, and thus a sigh
of relief so bitter sweet.

I suppose this is almost the end of this course- besides the extra bonus material.

I have more or less finished my Slow Loris, having learned much in this section as I have in many others. Where to begin and end for this section end? I suppose pictures and then explanations-


Here is the slow Loris picture. Its position was inspired by this one:
image
Mine is less shaggy and has bigger eyes, but so do other species of slow loris.

I was having some rendering issues, so I let my viewport render it instead. This is all done in cycles of course, with depth of view focusing on the eyes.

Eyes:

Speaking of eyes....


These were done using a tutorial that I noted in this topic :roll_eyes:

An interest effect of the eyes that I made is that no matter where I position my camera, the pupil is always looking at it. An unintentional effect of something I did to be sure.

Here are some early beginnings:

Early process photos


Some other early render and tests can be found here.

Scene:

Scene creation

The Background is an HDRI of some forest, blurred out, much like as explained in the course material. There are also branches that I made using various techniques that I used. The branches used bump maps attached to the main image texture. I used the hair particle system to create the moss, with the material using moss images and attached a bump map to it. Some of the moss looks a little like green mossy mossy hair dreads.

After creating the branches I duplicated them and moved them about:


Here are some other playful pictures:

Quick photo edits


What I have learned:

Issues fixed, things discovered, and tutorials used
  1. Issue: Images cutting into each other:
    Images were cutting through each other when they were stacked about each other, but some did not.
    FIX: Go to material setting of the image, go to the settings found in there, and turn off “Show Backface”.

  2. Issue: Armature:
    Back in another topic I was having problems with an armature setup. I could not move the hair with the mesh, nor the mesh rig of Rigify would adhere to any bone structure. This meant that there were no constraints containing the rigify rig’s movement, so I could stretch the mesh in all manner of strange ways. The solution ended up being even more simple than the one I came up with there.
    FIX: The real problem being that I looked at the mesh modifier before I parented the armature to it- so I was looking for shadows on a sunny day, so to speak. You cannot move an armature in the mesh modifier if you have not parented the it to the mesh, go figure. So once I did that, there it was. I could now move it to the top of the list, and Lo! The hair moved with the body, just as the body moved with the bones.
    I am sure that I could get that Rigify rig to work properly now, but that won’t be necessary for this project.

  1. Hair Cover:
    Certainly covers a lot of mesh mistakes or bad typology. I can see why one would want to retypologize their mesh before doing something final with it. Underneath all that fur is a bundle of strange angular distortions. Good ol’ fur.

  2. Bald Patches:
    @Raiju had some good suggestions on how to take car of those pesky bald patches, as found here. I used this useful technique to create deeper shadows in the fur rather than to cover up any bald patches. Some of those black bald patches are on purpose. :unamused:

  3. Using Different Material Nodes:
    Because I branched off into other tutorials to create a more robust model, rather than leafing it as but a simple shoot, I found my understanding of Material Nodes sprouted and bore fruit. :slight_smile:
    I was able to start reusing bits and pieces of nodes to help create other ones. Hair particles for the moss, as mentioned above, but also the skin texture for the nose. Even the eye tutorial had bits that were useful in other places.

  4. Auto-Mirror:
    Very useful if you use it rightly. If you click on the wrong axis, you get a literal “End to End” mirroring, where the front now likens to the back- a strange odd creature indeed. :astonished:
    What

  5. Importing Image Issues:
    I found that some of my images did not import properly and were showing up black. Yet my image to planes were usable, so they must have been imported properly.
    FIX: Well, sort of, it is really a round about way rather than knowing how to deal with the issue properly. For any texture I wanted to use, I simply used image as plane to get the texture into Blender, making it useable for anything else.

  6. Vertex Groups:
    This took some time getting used to. I had to realize that you have to unlock the group before you can assign anything, but that you had to make sure you were not assigning anything you did not want to be affected. Sometimes I accidently had different parts effecting the same areas: Like the nose affecting the hands or the feet as well. But once I got the hang of it, it became useful. It is a nice way to quickly select all the vertices you have for that group, and add or subtract as necessary (subtracting for an assigned group is a little more involved than adding).

  7. Skin:
    Like the eyes I found a nifty tutorial on how to approach skin. It is not as good as the one mentioned here by @Cathy_N, and I highly recommend other to take a look at it as it is a very good resource, but it did the trick- at least from far away and if you squint…


    There are some strange white lines when looking at it rather close, but that is another problem for another project for another day.

Finally, Last but not least-

For all those still working on your projects:

7 Likes

The eyes do add a lot of character, the whole face looks really good. I also like the posture.

4 Likes

I think the technical difficulties were worth it. This is a very professional looking piece. The pictures you have provided showing the construction of the hair and especially that eye is quite impressive. If I were to add one thing to the final image, it would be deeper shadows. The contours of the body are slightly lost due to the solid white fur of the body. You have made an impressive model, show it off as much as you can with good lighting. Great piece for a portfolio. :+1:

3 Likes

Thanks for the comments. The eyes and the hair were me simply following what I saw. Although, what is nice about that eye tutorial is that it tells you how to make the same eye renderable in the Eevee system. Quiet useful if you want to keep to Eevee and have good looking eyeware.

I do agree with you here. I was noticing that the fur colour and light combination were in the way of some of the deeper parts of the fur.

Possible approaches:

  1. Longer Hair: I thought about doing this and it might help.
  2. Change Hair Colour: Another thought that came to mind
  3. Lighting: I have quite a few lamps burning about the scene, it might be good to have more contrast.
  4. Scene: I could darken the background picture, and this could help with some of the outer edges.

My biggest impediment I think was my computer. I was starting to push it to the edge. Each render was taking about 1 hr and a half to do. Part of that is because I have about 1k-2k of hair coupled with about 1500 children… a fair bit if you ask me.

2 Likes

For your approaches, the angle of the lighting is all that is necessary. I wouldn’t change the length of the fur for it looks accurate to the real deal. What you could also do is have some objects in front of a light that has a defined direction to place shadows on the model. It would simulate sunlight breaking through the leaves of the trees, providing strips of shadow and light wrapping around the body of the loris. It could further define it’s shape.

For the render time, make sure the samples are not too high. For some reason, since the release of 3.0, the default samples count for me is 4000 something. I usually do 200. Though this could create grain in the final image, I remedy this with a denoise node in the compositor. It takes less than minute to setup.

2 Likes

Very good Slow Loris.
Are their eyes really so flat at the front? I mean it looks good but I assumed eyes were all pretty much spherical.
Is it me? Does it seem to lack shadows? light blasting in from the front only? The photo is in shade, no direct sunlight. Which is fine, but your render is too ‘bright’ I feel to give that impression.

With all that you have learnt now you can make a Fast Loris! :rofl:

Only worry when a render is not completed by the next morning when you need the computer for something! 1 1/2 is nothing. :grin:

2 Likes

You just reminded me what I did to the eyes- they are a little flat, but it was flattened to deal with some problem I cannot remember I was trying to deal with. I could go in and see if it is a problem in Cycles (it may have been an Eevee problem, I cannot remember).

Both seem to be touching on the same thing. That might be something to consider in order to polish the Loris.

Speaking of Loris:

Apparently someone already did it…

image

3 Likes

I took a two week holiday from blender anything since I have technically finished the course. There is a bonus section, but it seems very off topic and very anticlimactic after all that buildup from section to section. Really, in the end, it might be better to have a micro course on how to import into a game section, or attach it into the new Materials course, since they touch on modular building in that one as well.

That being said, my two week “holiday” became three weeks for one reason or another. Prior to that I had played around with the settings to tweak my Slow Loris, but I was not too impressed with the results- and too tired to care:


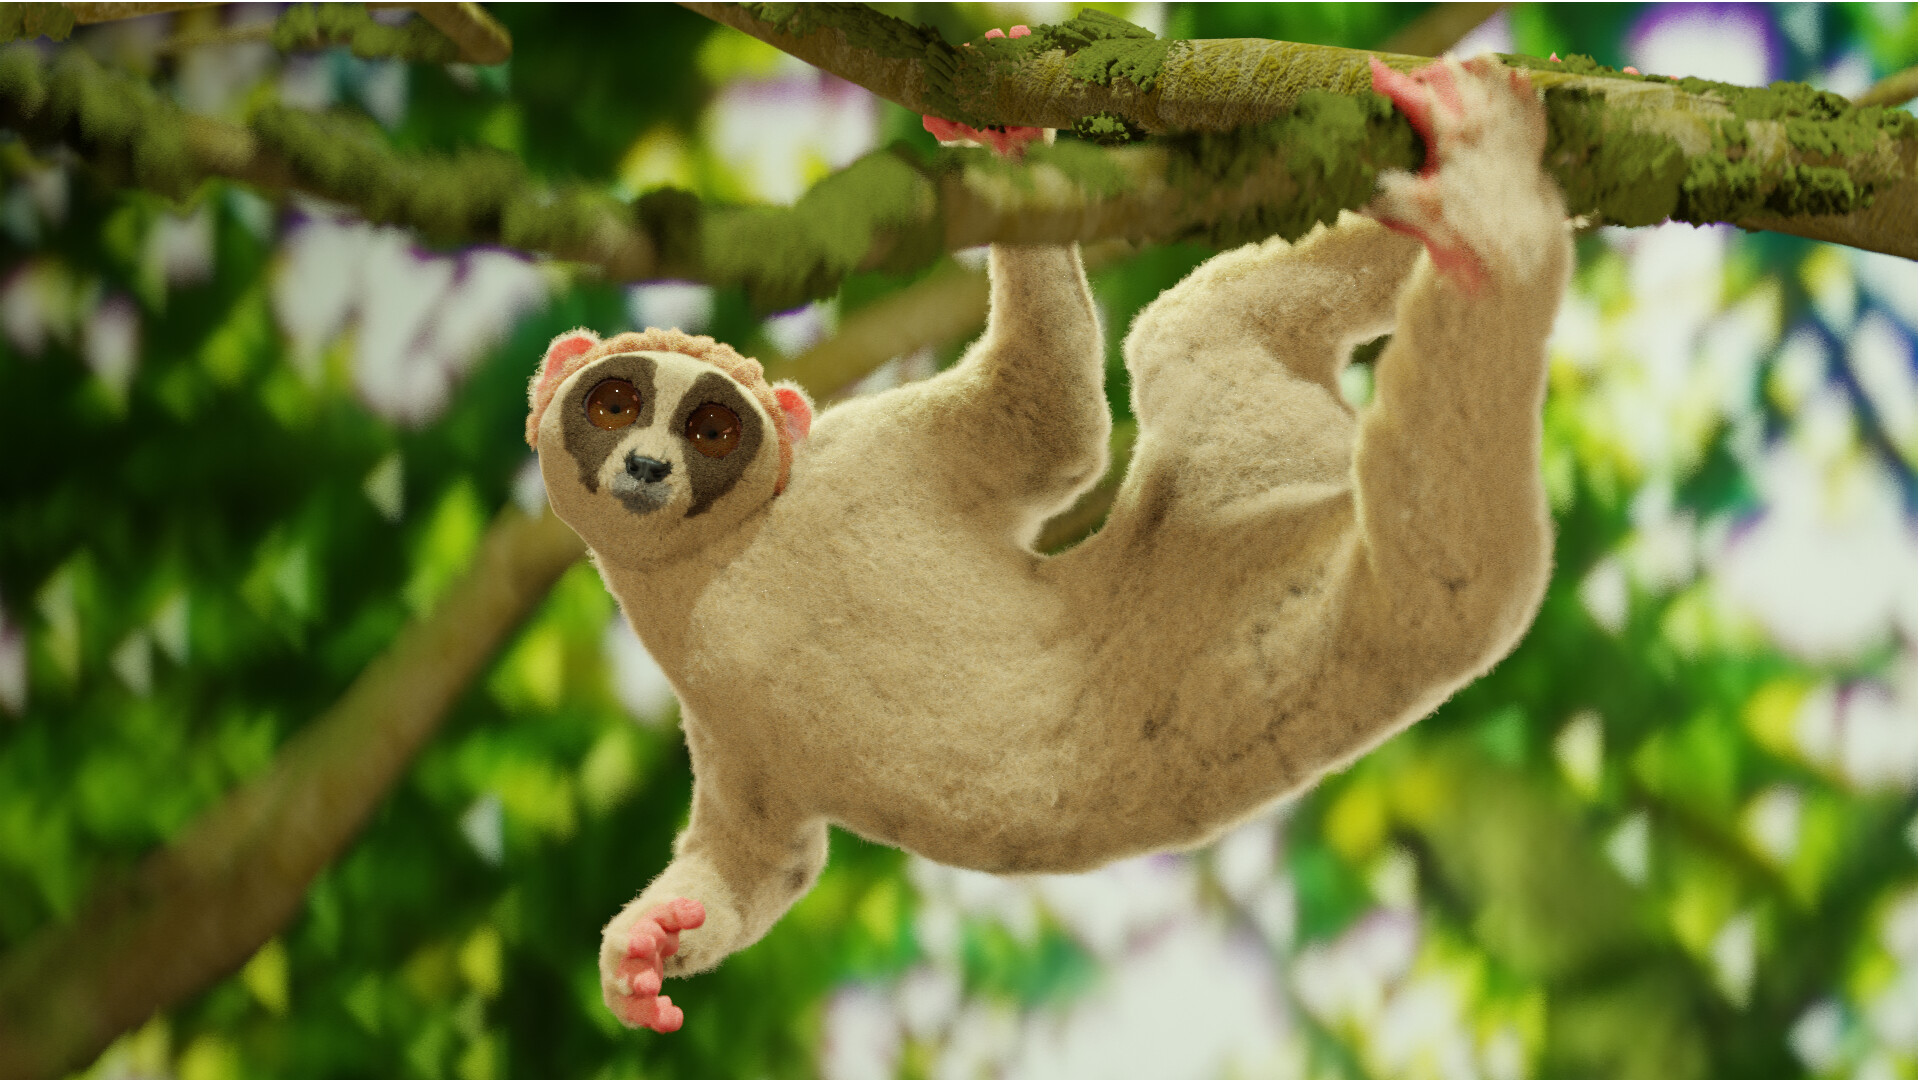
Looks like a muppet to me.

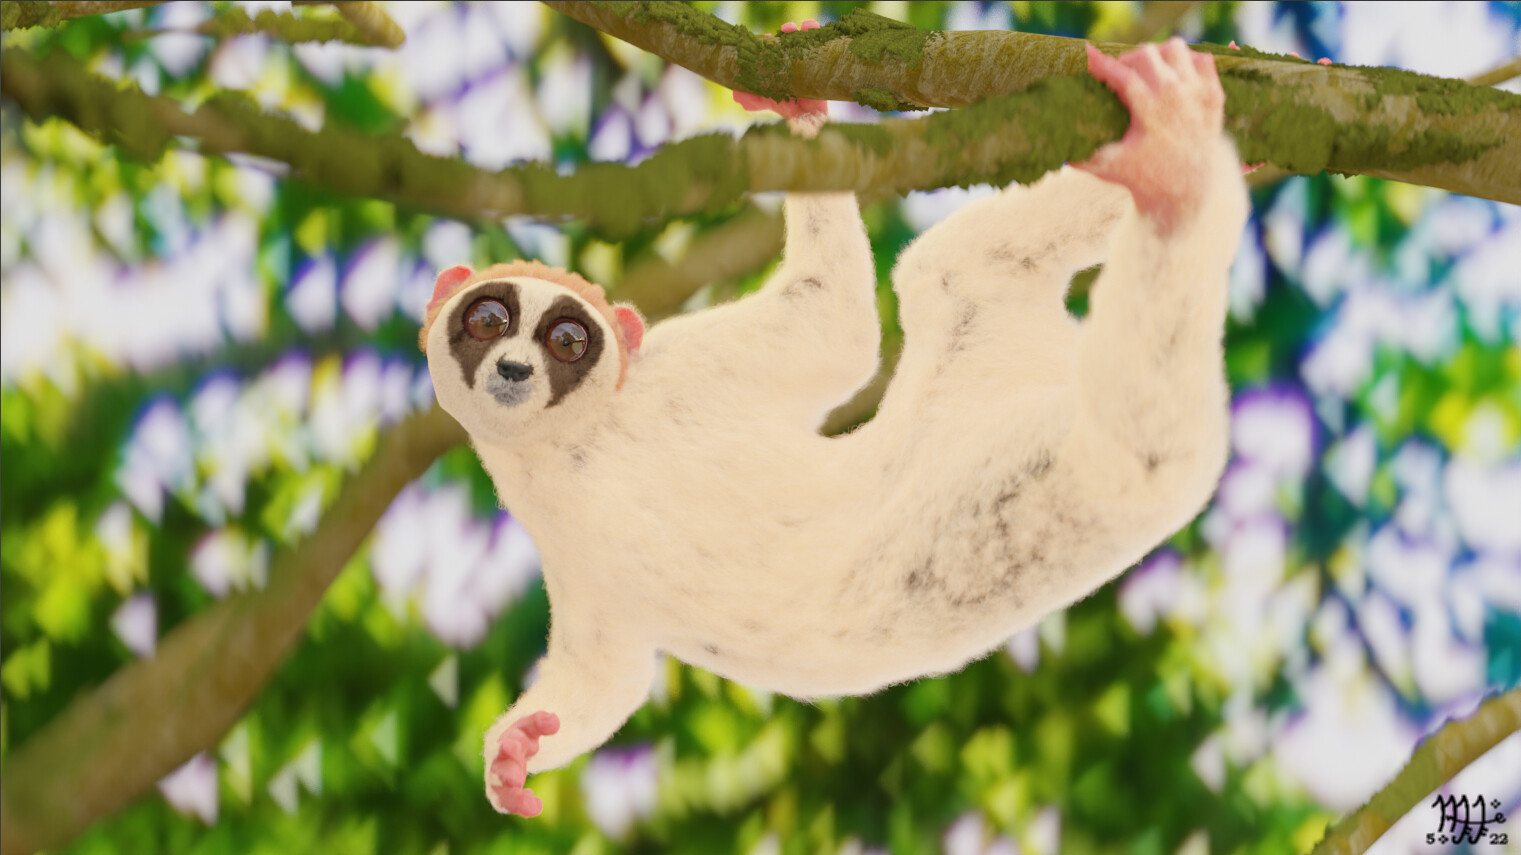
I still like this one a little better (the old Pic)

1 Like

Awesome work .Love it .
This one looks like he is bored stiff about something :sleeping:

And this one looks like he found something he is reeeally happy about :flushed:

Did you wanted him to have those expressions or was it a happy accident.
Anyway looks awesome!
I wanna create something like this too!!So I am extremely enthusiastic to learn new things in the course. Although my annoying habit to experiment with everything I find in blender makes my course progress reeeally slow!. But I like it though,that way I can learn new things deeply and have fun!!

2 Likes

I think the new image is a vast improvement. The lighting is not overbearing and reflects off the fur accurately as it would when it is in the shade. I have looked at images of lorises and most of them are in shaded areas. The fur also has a sense of depth due to the ambient occlusion it now has which boosts the realism of the image. In addition, since you reduced the brightness of the image overall, I can better appreciate the subsurface in the ears (the passing of light through the skin).

If I were to add anything, it would be a small highlight of the eyes to give him a little more “life” in the face. This is easy to do and you can set the light to not cast a shadow either so it won’t affect the rest of the shading of the overall image.

What you have done here is great and I see improvements with every post. Make sure to keep this new image, it is a great portfolio piece.

3 Likes

Now you can concentrate on the collab then! Challenge yourself. :grinning:

2 Likes

I am thinking of that, but I still want to finish my tavern!

But rather than Leave everyone in suspense, Here is what I have so far.

The happy look of the original one (the second picture) was due to there being a surround background, and this reflected off his eyes. However, I think I may have just copied that picture rather than properly rendering it. The “Happy” look was something I was attempting.

For the first picture, the happy look was dulled by the reduced brightness and lack of background reflecting off the eyes. As @3DE_Study, putting in some highlights there will add more life to them. Or, if I am lazy, I could copy the eyes of the one picture and photoshop them into the other :slight_smile:

3 Likes

Privacy & Terms