7.200: Rig Issues

So I am getting close to finishing my slow loris, and it is coming along nicely. However, now that I wanted to rig something to it using rigify I came across a problem:

Question: I would make no bones about it, but the bones do not move with the mesh and the rig, but the mesh will move with the rig! How might I resolve this?

I had done an automatic weight parenting which got it all together, save the bones.

bone issue

As you can see, the finger moves, but has no bone to constrain it. I can work with this if I have to, since am not planning on animating it (although later I might try when I learn more about animation)

1 Like

You have a complex IK rig, those shapes are bones. The course does not use any rig, does it?

1 Like

Nope- I wanted to delve a little elsewhere as a side excursion.

I went and followed a tutorial that had used a metarig from rigify, fit it to the model, then generate a rig from it (which was a bit of a process all on its own). I followed everything from what I could see, and had no errors pop up on my screen or down below. Yet the bone does not clip on to the rig as I thought it would.

I can move everything else, yet the bones themselves will not budge.

1 Like

You can select a single bone and look at the connected weight paint map? And or the vertex group associated with the bone?

2 Likes

Sorry for the late reply, my entire family had the flu, so I have been away from all things for about a week.

But to tell you the truth, it was a nice “holiday” if one may call dizzy migraine heads and foggy eyes a holiday. I completely avoided computers and electronics of all sorts for 6 days, and all coursework of any sort. Sure, I was getting stir crazy by the end, but it is better coming back wanting to come back rather than loathing to, just to get it done… :slight_smile:

I also used the break to reconsider my direction with the coursework: it has been closer to a year and a half now- I should have a better idea where I would like to go with this, or at least not want to go with this. So I dropped Unreal and any game making aspects for the time being. Time to “Specialize” a little more and get a little better with a few things than overspread my much divided attention over too many things.

That aside:

I will look into that

1 Like

How do I look at a bones weight paint map?

1 Like

If you could elaborate, maybe with some pictures?

1 Like

To look at what bones control what part of your model, first select the rig then your model. Second go to the top right corner of the screen where it says object mode. Click it and a drop down menu will have weight paint mode.

Your viewport will then look like this:

The blue color will represent no influence, green will represent minor influence, to yellow, then red being complete influence.

To select and see the influence of each bone, go to the object data properties. There will be the vertex group for the bones.

When selecting each one, the colors on your model will change depending on where the bone is.

3 Likes

Good explanation!

2 Likes

Really Good explanation.

Here is what I found:

  1. The Rig connects- I found the weights and they connect to the mesh.
  2. But they don’t adhere to the original metarig (is it supposed to?)- the bones that (I assume) should keep everything connected and consistent do nothing. Which (in my mind) seems to cause the below:
  3. There is some lack of “constraint” as I can stretch parts, and other parts will not follow (like move a finger tip, but the rest of the hand/arm/body will not follow)
  4. The hair will not follow, but stays put as a separate entity.

Something I noticed, that was always there, I think in the character course, you only rotate bones. Or should, and it makes sense, our bones do not stretch! We cant move them longer.

2 Likes

If you have an IK rig then it isn’t necessary to keep the basic armature. From what I’ve learned, the rig (the parts with the colorful connections) replace the armature. The rig is intended to have inverse kinematics or “IK” for short. What this means for the rig is if you grab the end of a limb, the rest of the joints before that last one will move with it. For example, if I grab the hand of the character the rest of the arm (elbow / shoulder) will move. This system was intended to make animation more simple. A system with the basic armatures would require you to rotate each bone to get the pose. I have provided some pictures below:


In the pictures above I show that all I need to do is grab the part of the foot and move it up. Notice that the rest the leg above the foot moves too. This is IK.

In contrast, a system of just bones with no IK would require me to work in pose mode and rotate each segment between the foot to the hip.

For the hair, if it is a separate object, you must select all items that are meant to be part of your character when assigning a rig.

If you would like to know more about IK, this video may explain it better than I can: Inverse Kinematics - Blender 2.80 Fundamentals - YouTube

The version is 2.8 but the idea hasn’t changed. Lastly, I apologize for the wordy response. I know what it is like to get stuck so I try not miss anything I can share of the topic.

1 Like

Stretching a bone should be possible?!
But maybe due to the IK constraints.
I used in some projects the stretch bone with keep volume option.

Oh, it can stretch, just should not other than some unusual use case I think was the point made in that course.

Greetings,
From he who’s experiencing rig beatings…
Yet bleatings are not unceasing,
Because of your aid, issues are decreasing.
Might I add, a few found solutions?
dealing with strange rigging conclusion?

Based off of your various advice and promptings @3DE_Study, @FedPete , and @NP5 (especially the lovely detailed explanations @3DE_Study, kudoos, and I am glad I have provided an opportunity for your to exercise your knowledge) I have found a few things. Perhaps these are covered in the character course, but of course, I have brought my course to a much different course of things…likely coarse thinking on my part. :wink:

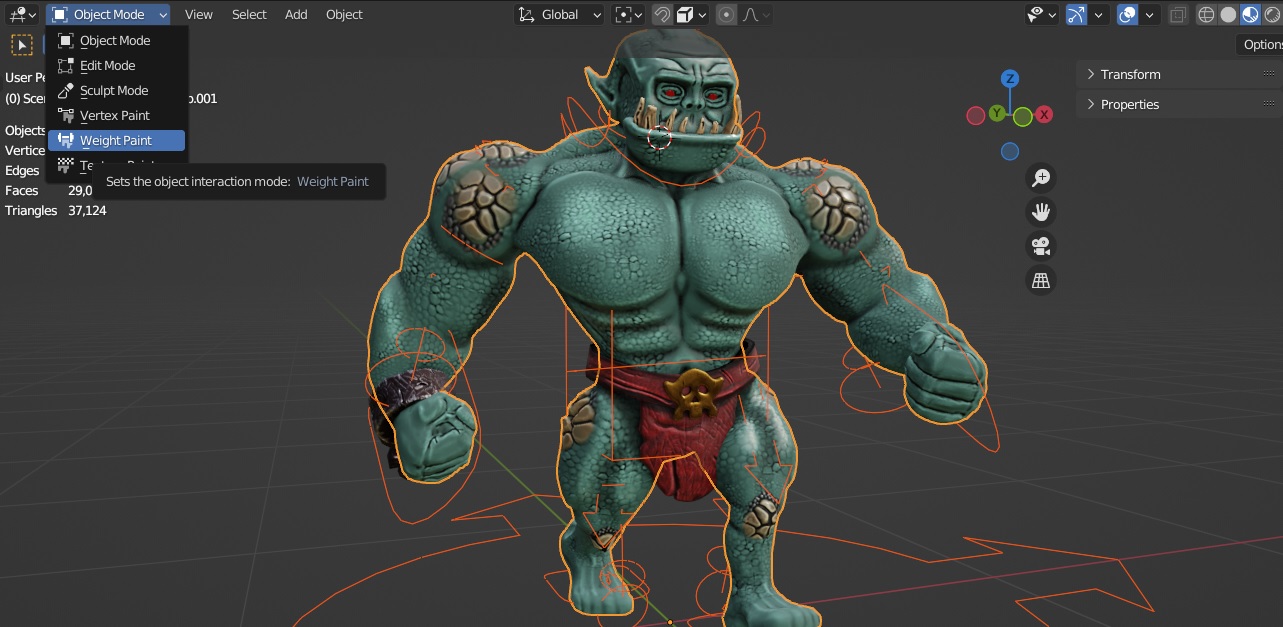
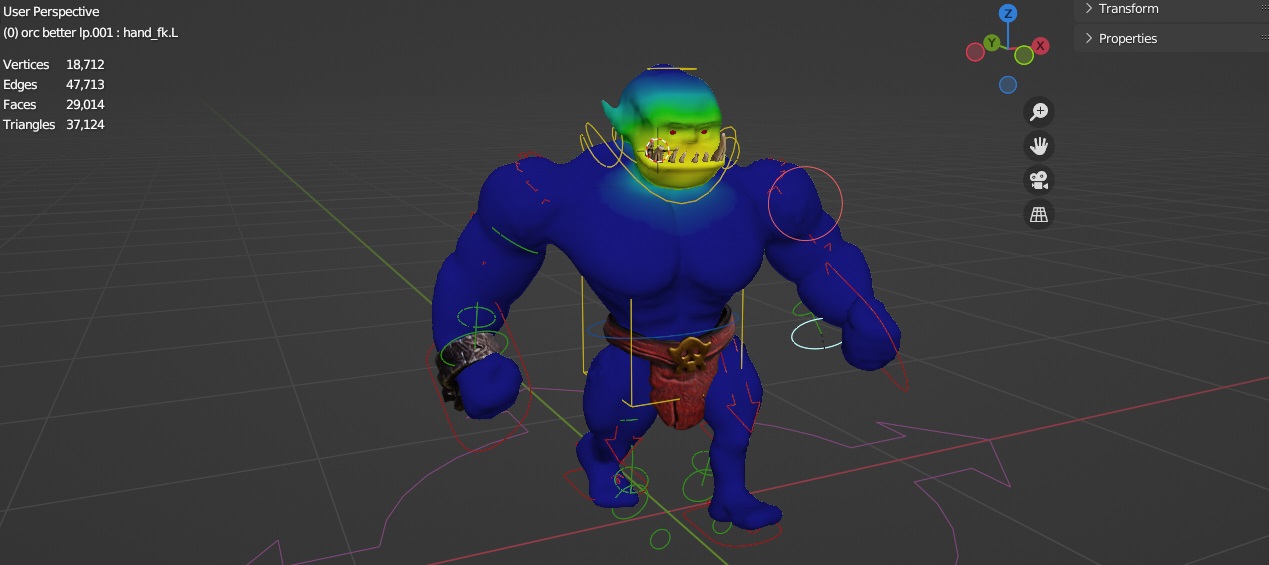
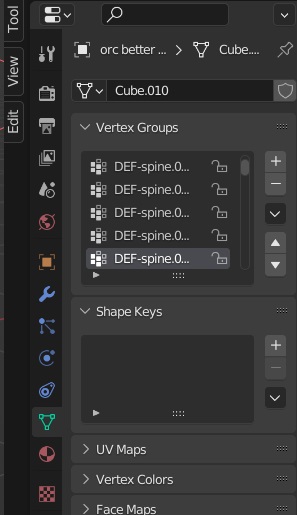
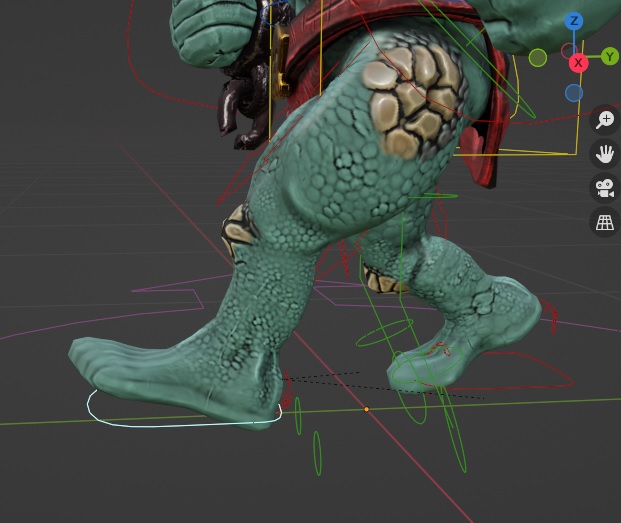
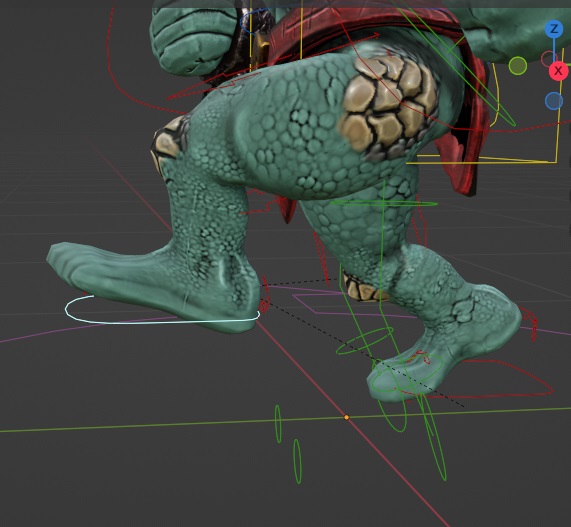
  1. Parenting: I had been trying to follow various quick tutorials (I.e. skipping everything I should watch, and watching everything I shouldn’t) to get the idea of what to do. But when I did something quiet different, I attached my mesh to the bones, with automatic weights, I have experience success with a ridged bone and mesh combination that I had been looking for.

However, I cannot move the face as well as when I had rigify, and the eyes don’t completely attach itself to the nearby bones. Regardless, I still cannot stop the unconstrained movement that I experience in rigify, but at least I can have some restraint directly attaching the mesh to the bones.

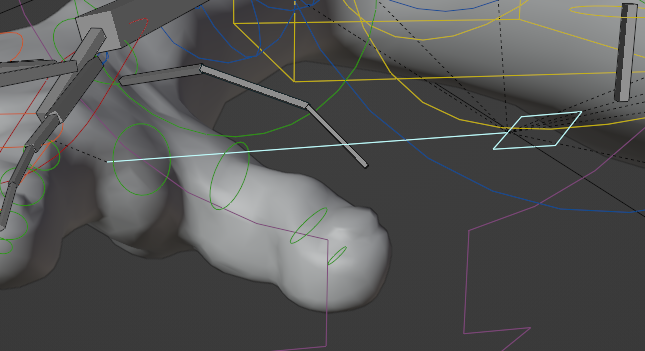
  1. Hair: The hair would still not work. When I converted it to a mesh (Rather than keeping it as a modifer), and then parented it to the bones (I probably should join it to the Loras Mesh first rather than having it as a different unjoined mesh…), It would move with the bones and body.

Thoughts?

2 Likes

For things like eyeballs. I use only a Eye ball object linked as a child to a head bone. No automatic weighting involved.
To point the eye balls in a direction, I use a bone constraint, following a empty in front of the face.

It’s difficult from a distance to see or understand your problems. It is a difficult process, mistakes are easily made. But also the work flow on on how to place a bone for what reason is only mastered with a lot of practice and understanding.

2 Likes

Would it be possible to have an image your character? In my experience of searching for solutions, I get stuck due to overthinking it. Most of the time when I do find a solution, it is much more simple and straightforward. Also, describe what it is you want your character to do (your ultimate goal for the character).

1 Like

I have solved it to the extent that I wanted to- it does everything I was requiring of it: to make posing possible.

While I courted the idea of animating the animal, I decided against that idea. My trials with rigify put animation severely out of scope. So I stuck to posing

Solution:

  1. Rigify: It actually did help, but not it’s auto-generate function. It gave me a base human bone structure without me having to cobble one out of nothing.

  2. Parenting: I found that if I parented my mesh onto the bone-rig (as opposed to the “rig to mesh” auto-rig function) everything started working as I wanted: no stretchy limbs, and mesh adhered to the solid bone structure underneath. Joy! :grin:

  3. Extra: I was able to copy and paste the hands onto the feet and parent them to the legs. This pleased me very much, as I thought I would not be able to accomplish this easily. :open_mouth:

What I learned.

Various things that I stumbled upon
  1. Rigify: Appears to be a very useful tool… if you learn how to use it. It will allow you to mix and match different parts, but you have to know how to do that, which I do not. There is a whole course on it for relatively cheap, and all the core concepts are free. But that is a whole other coursework that must be saved for another day… or year at my current pace… :unamused:

  2. Bones: I have a bit better of an understanding on how to work with bones with an organic mesh- as opposed to the lamps that we had done in a previous course.

  3. Parenting: Trial and error has supplied me with some further knowledge with parenting mesh to bones- various different options to work out different solutions: Automatic Weighting for the body mesh, and Parent to Bone for the eyes. Useful. :+1:

  4. Character Course: Having gone off-course from my current course, I found very many holes in my knowledge. Just by what @3DE_Study had been meticulously explaining, all was likely from a course I have not yet taken.

Steps of Action:

What my Blender Path will likely look like
  • If I would like to fill in those holes, my next step should be the Character course.

  • However, in my mind anyway, the next logical step is the Environment course - I want to work more with the larger world exterior and the complex material nodes that go with it before I step into the smaller (but certainly no less detailed) realm of characters.

  • With Environment out of the way, and Characters finished (eventually), the next step afterward would be to delve into animation. But hard experience tells me not likely until next year…

Thank you each for your various bits of advice. Each bit got me thinking in different ways, directing my poking about. It is time to get this Slow Loris out of the way!

3 Likes

This topic was automatically closed 24 hours after the last reply. New replies are no longer allowed.

Privacy & Terms