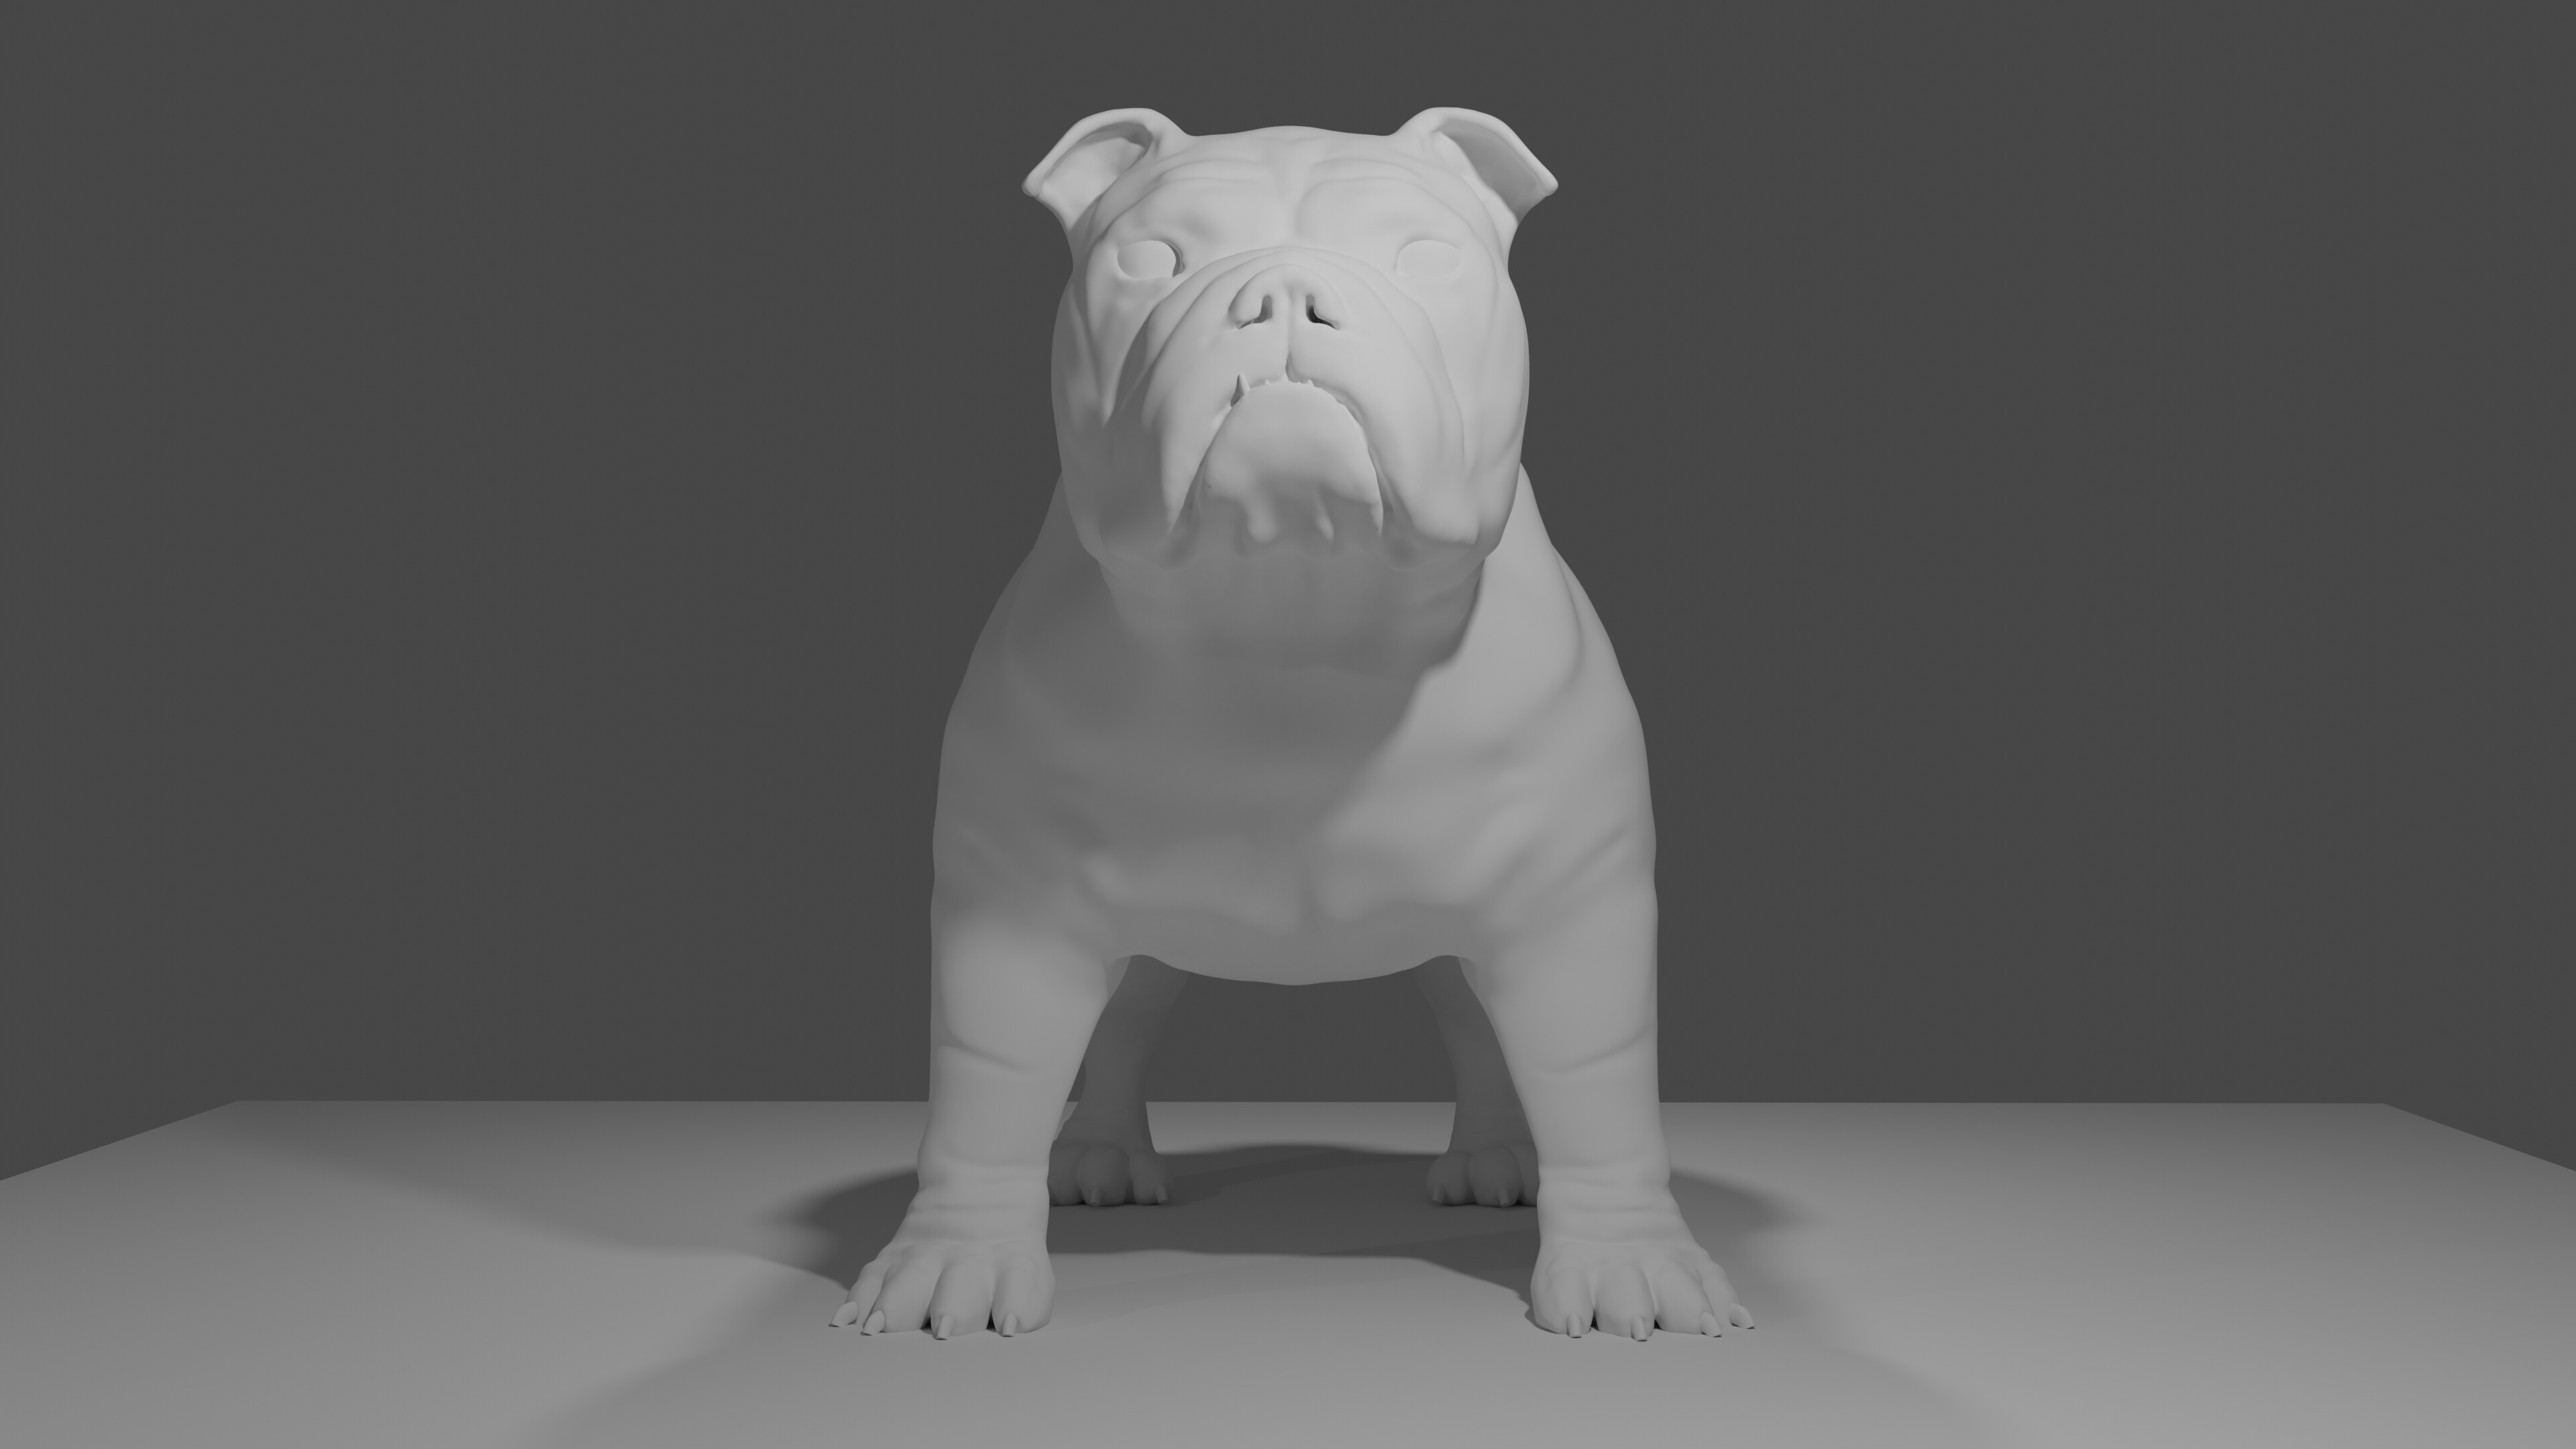
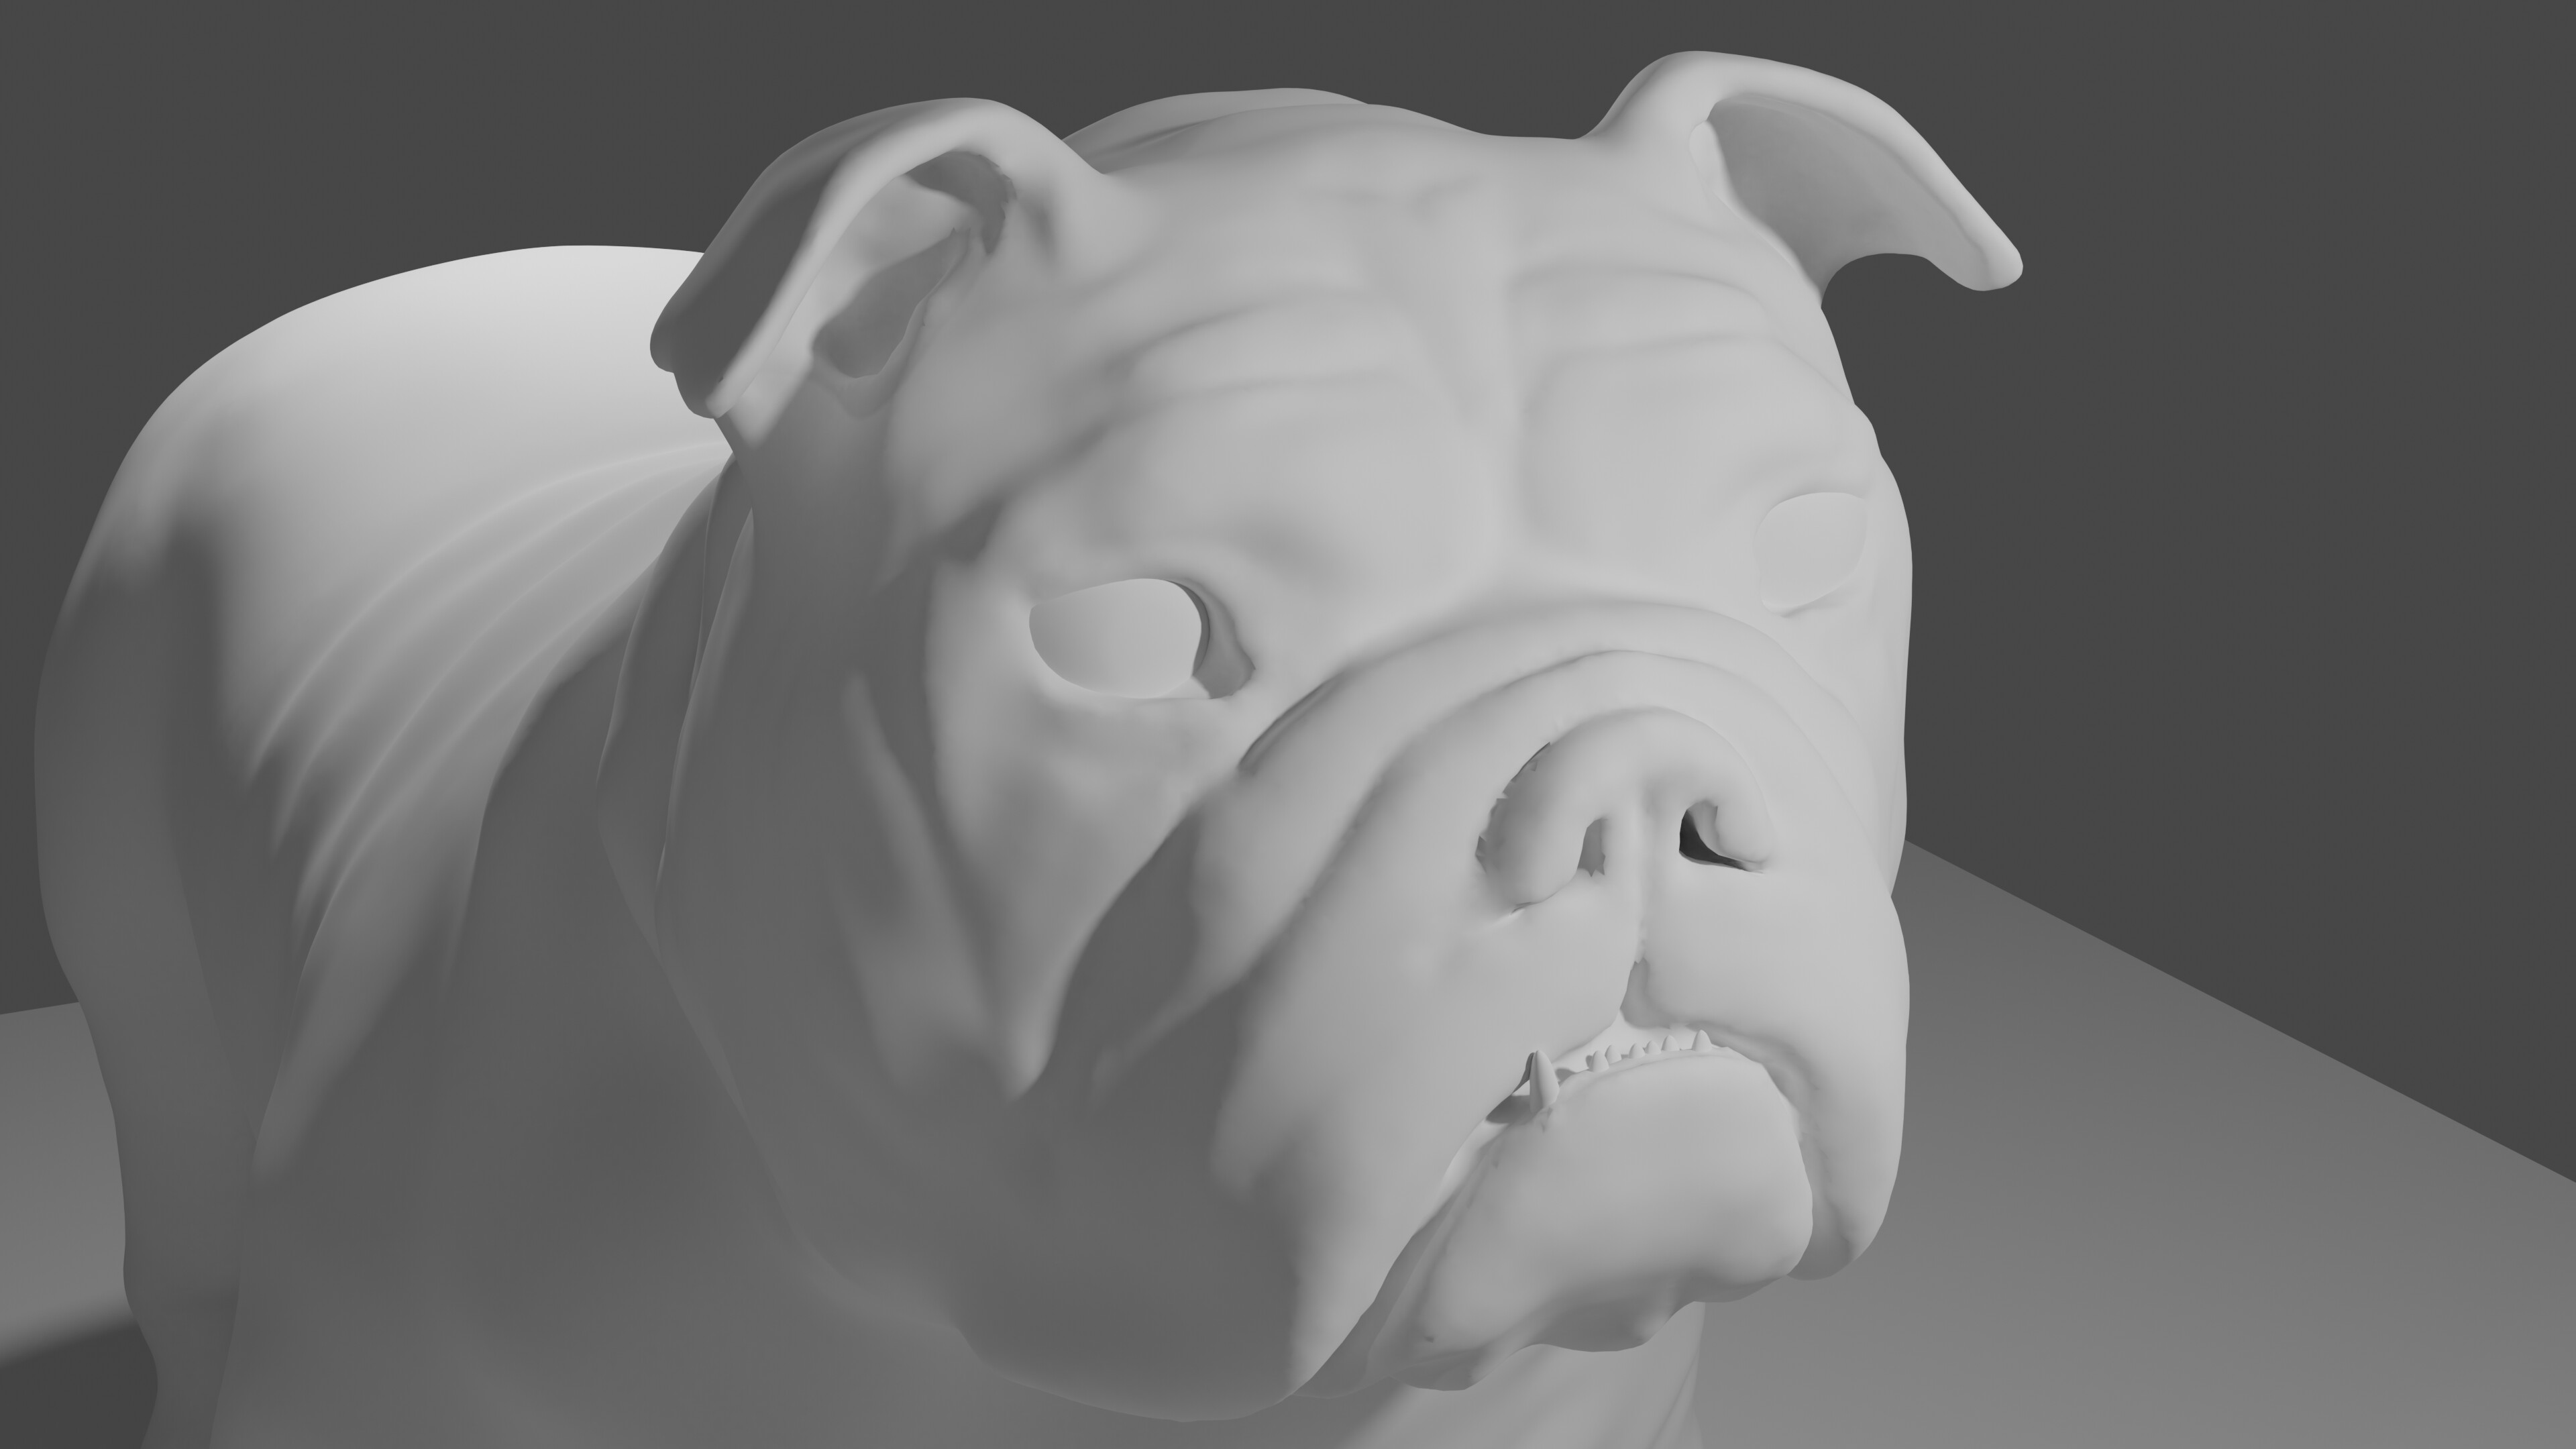
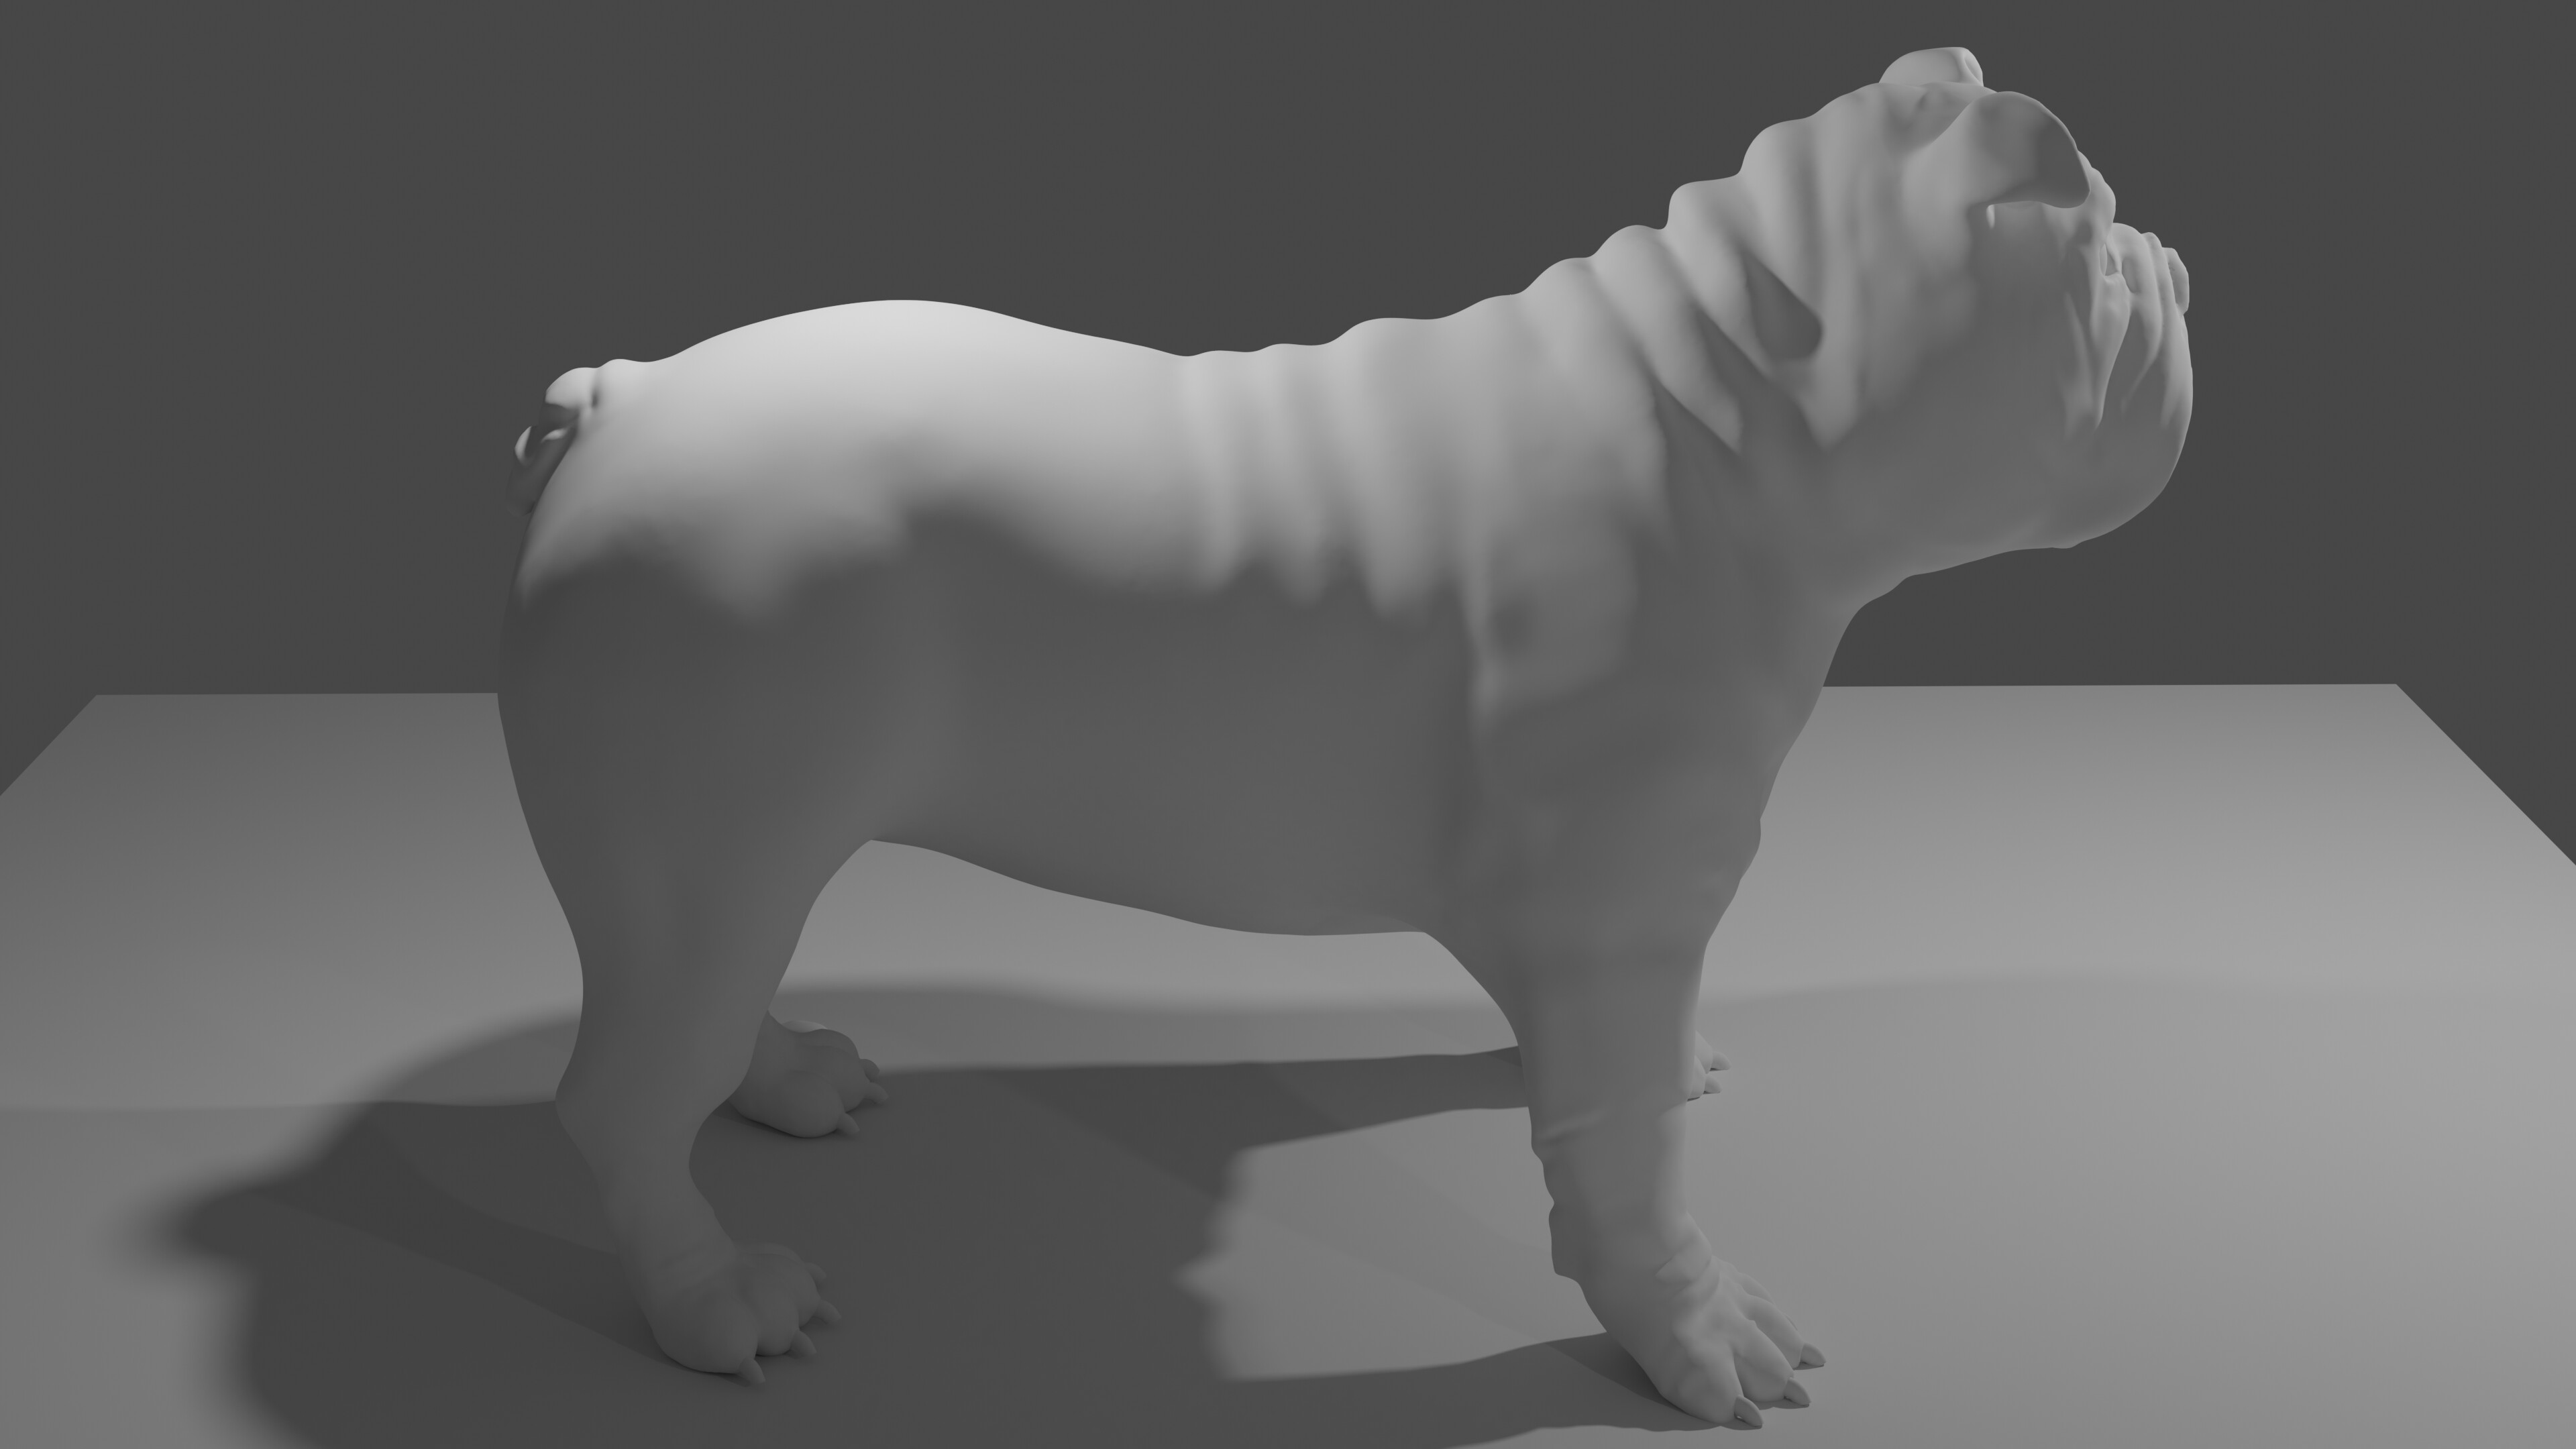
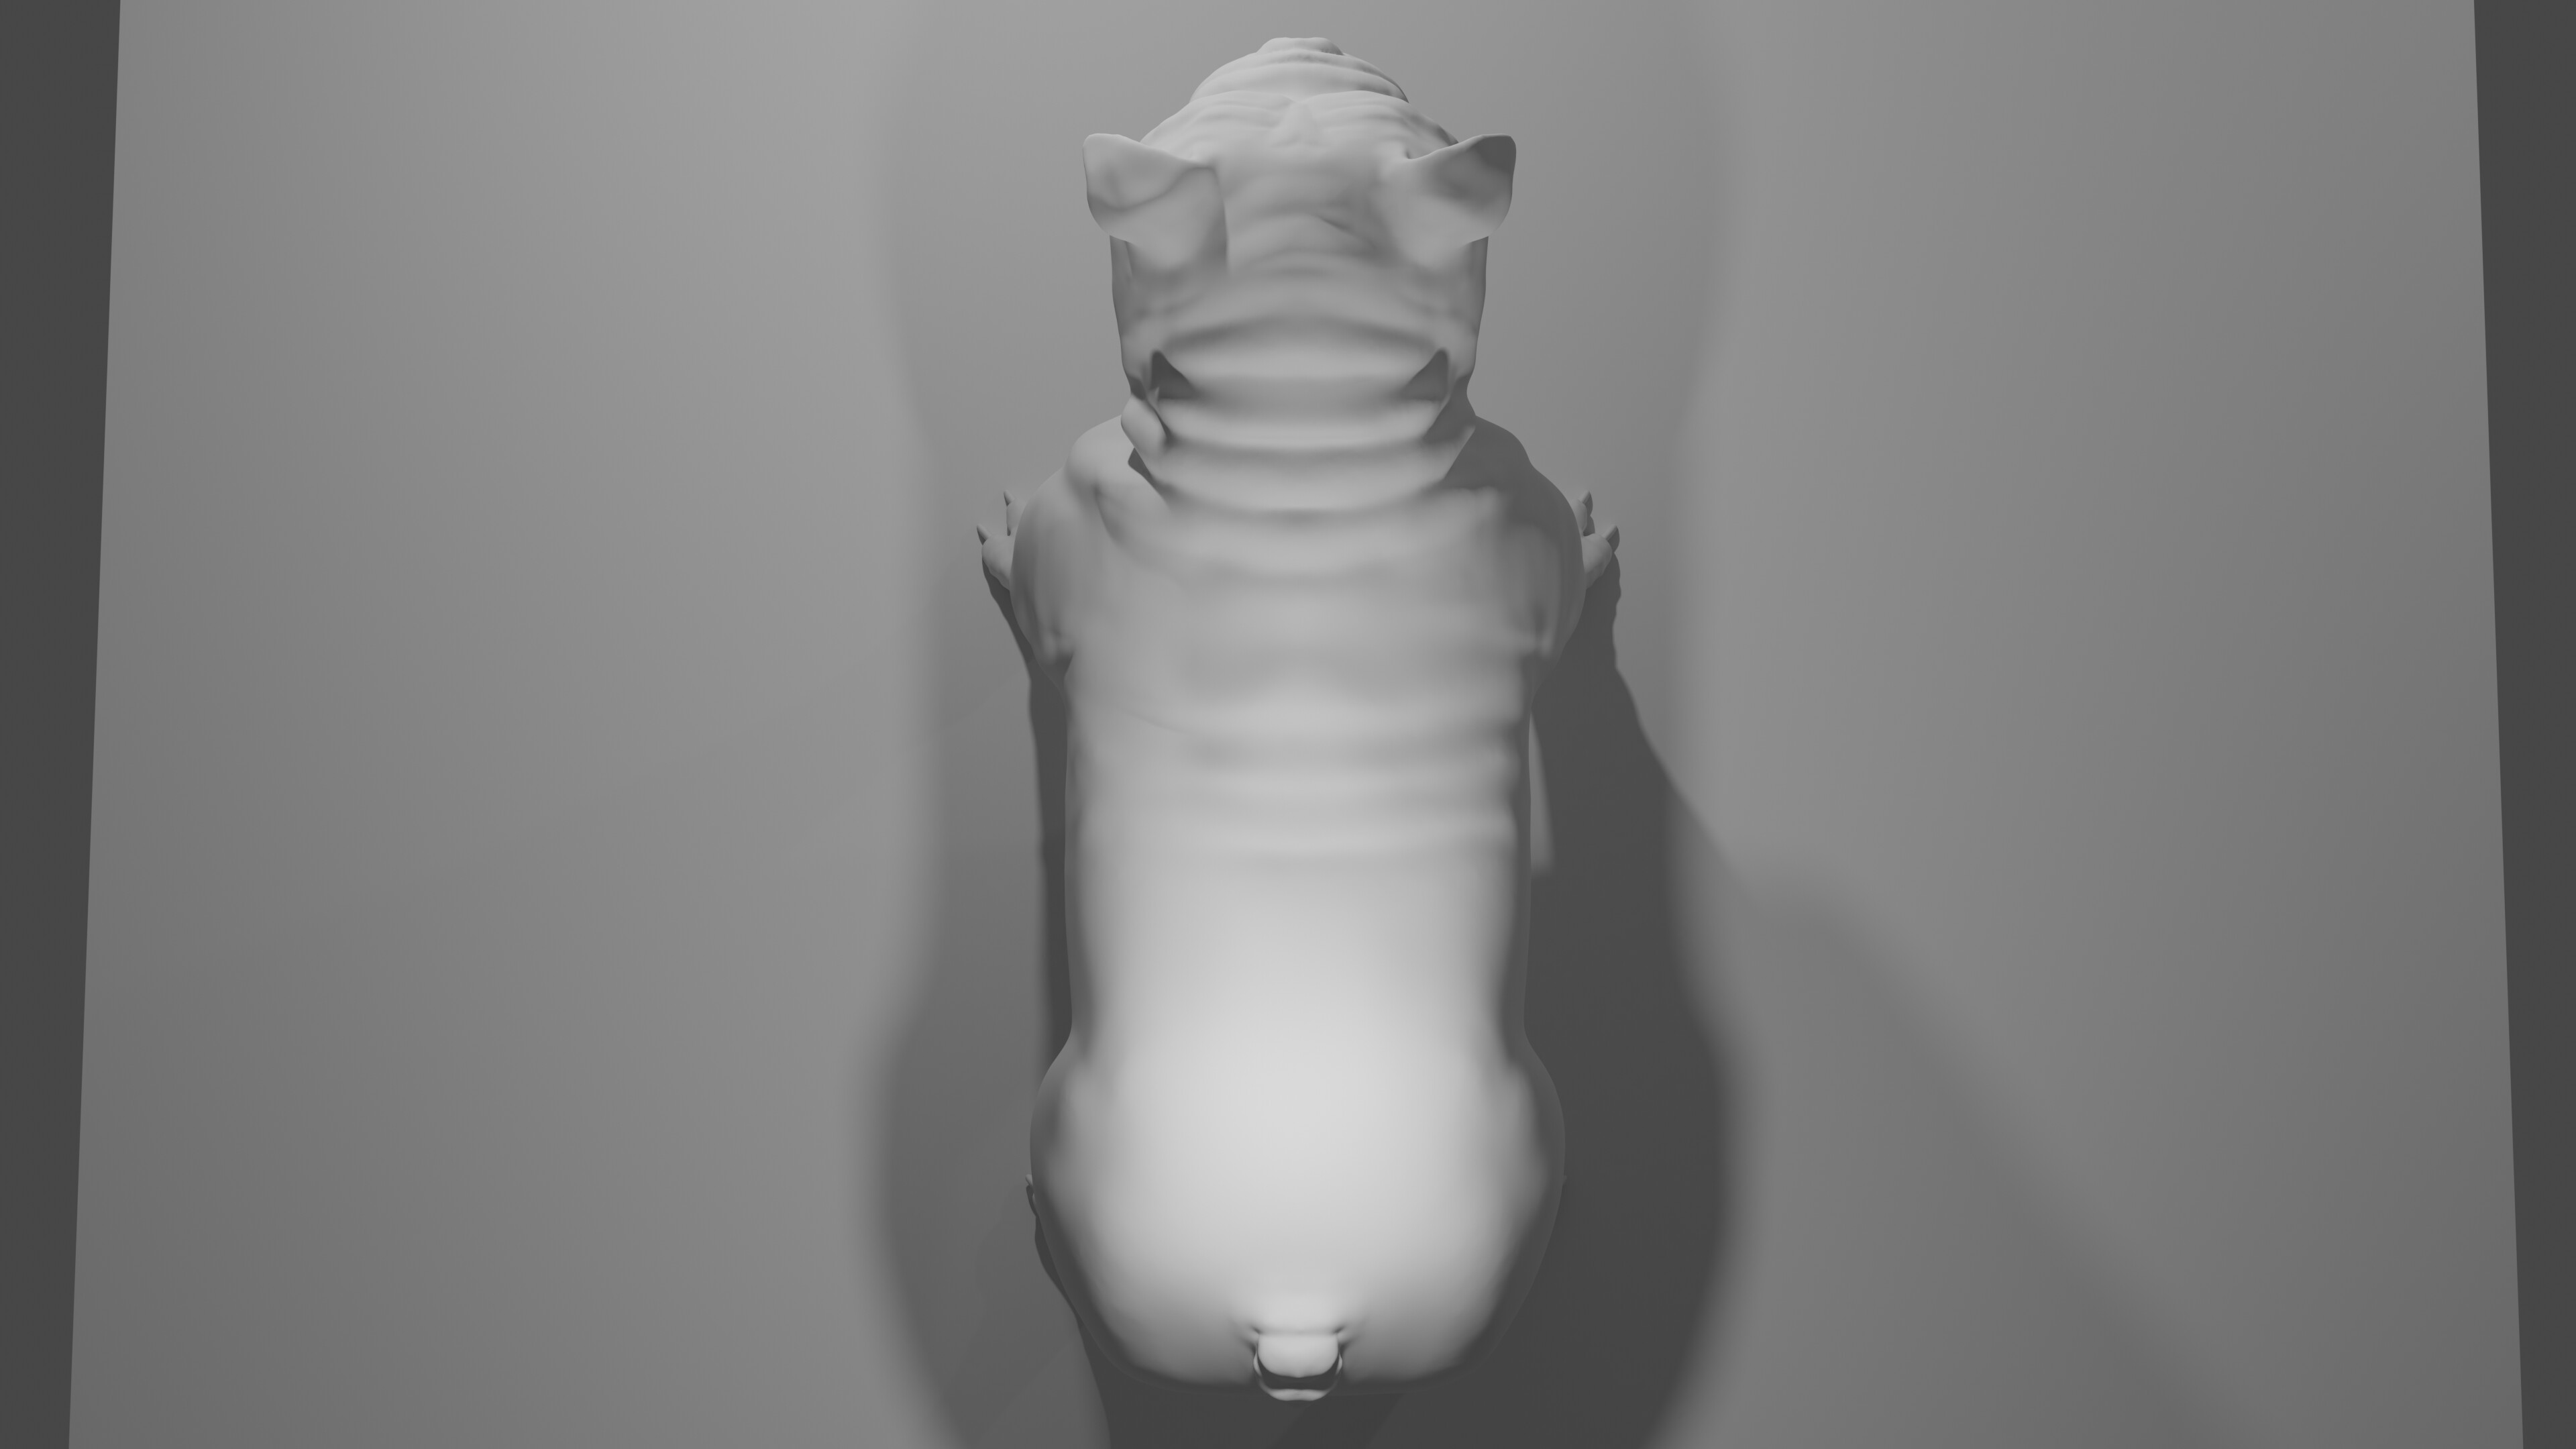
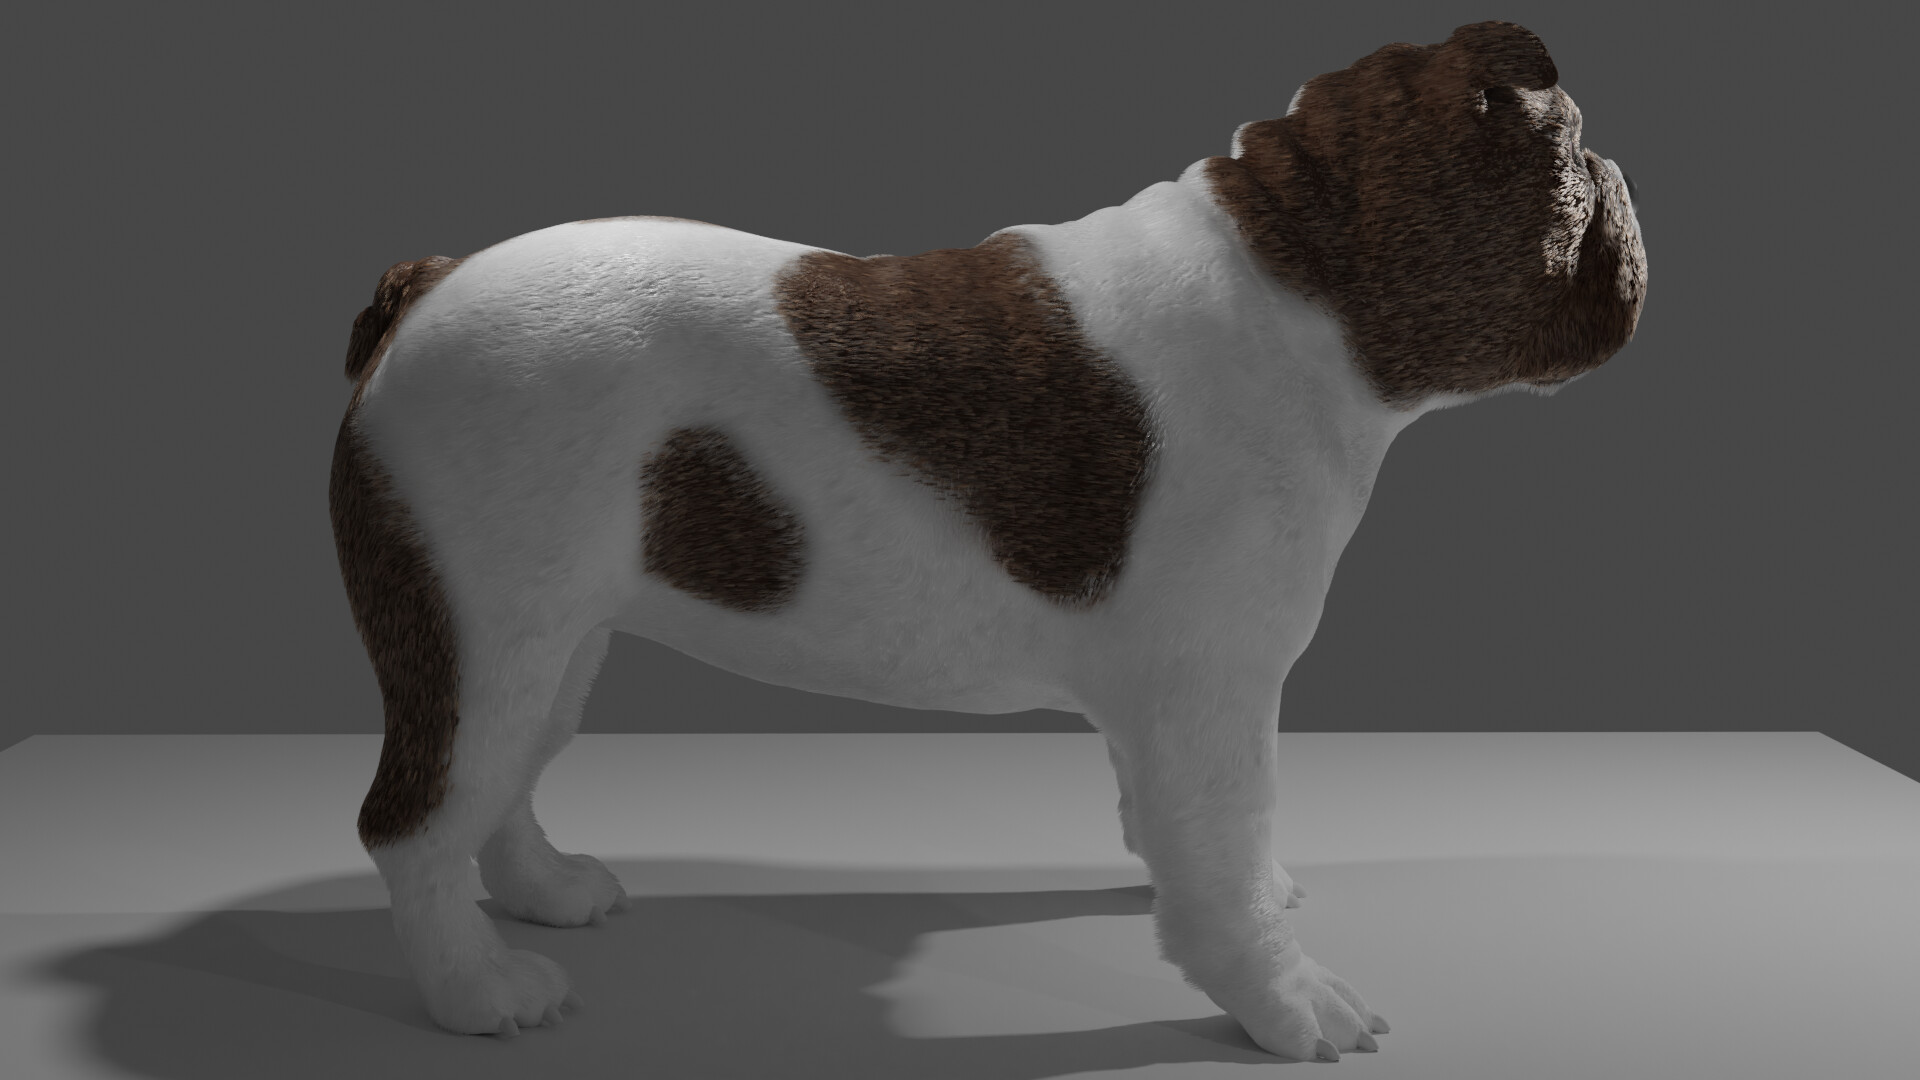
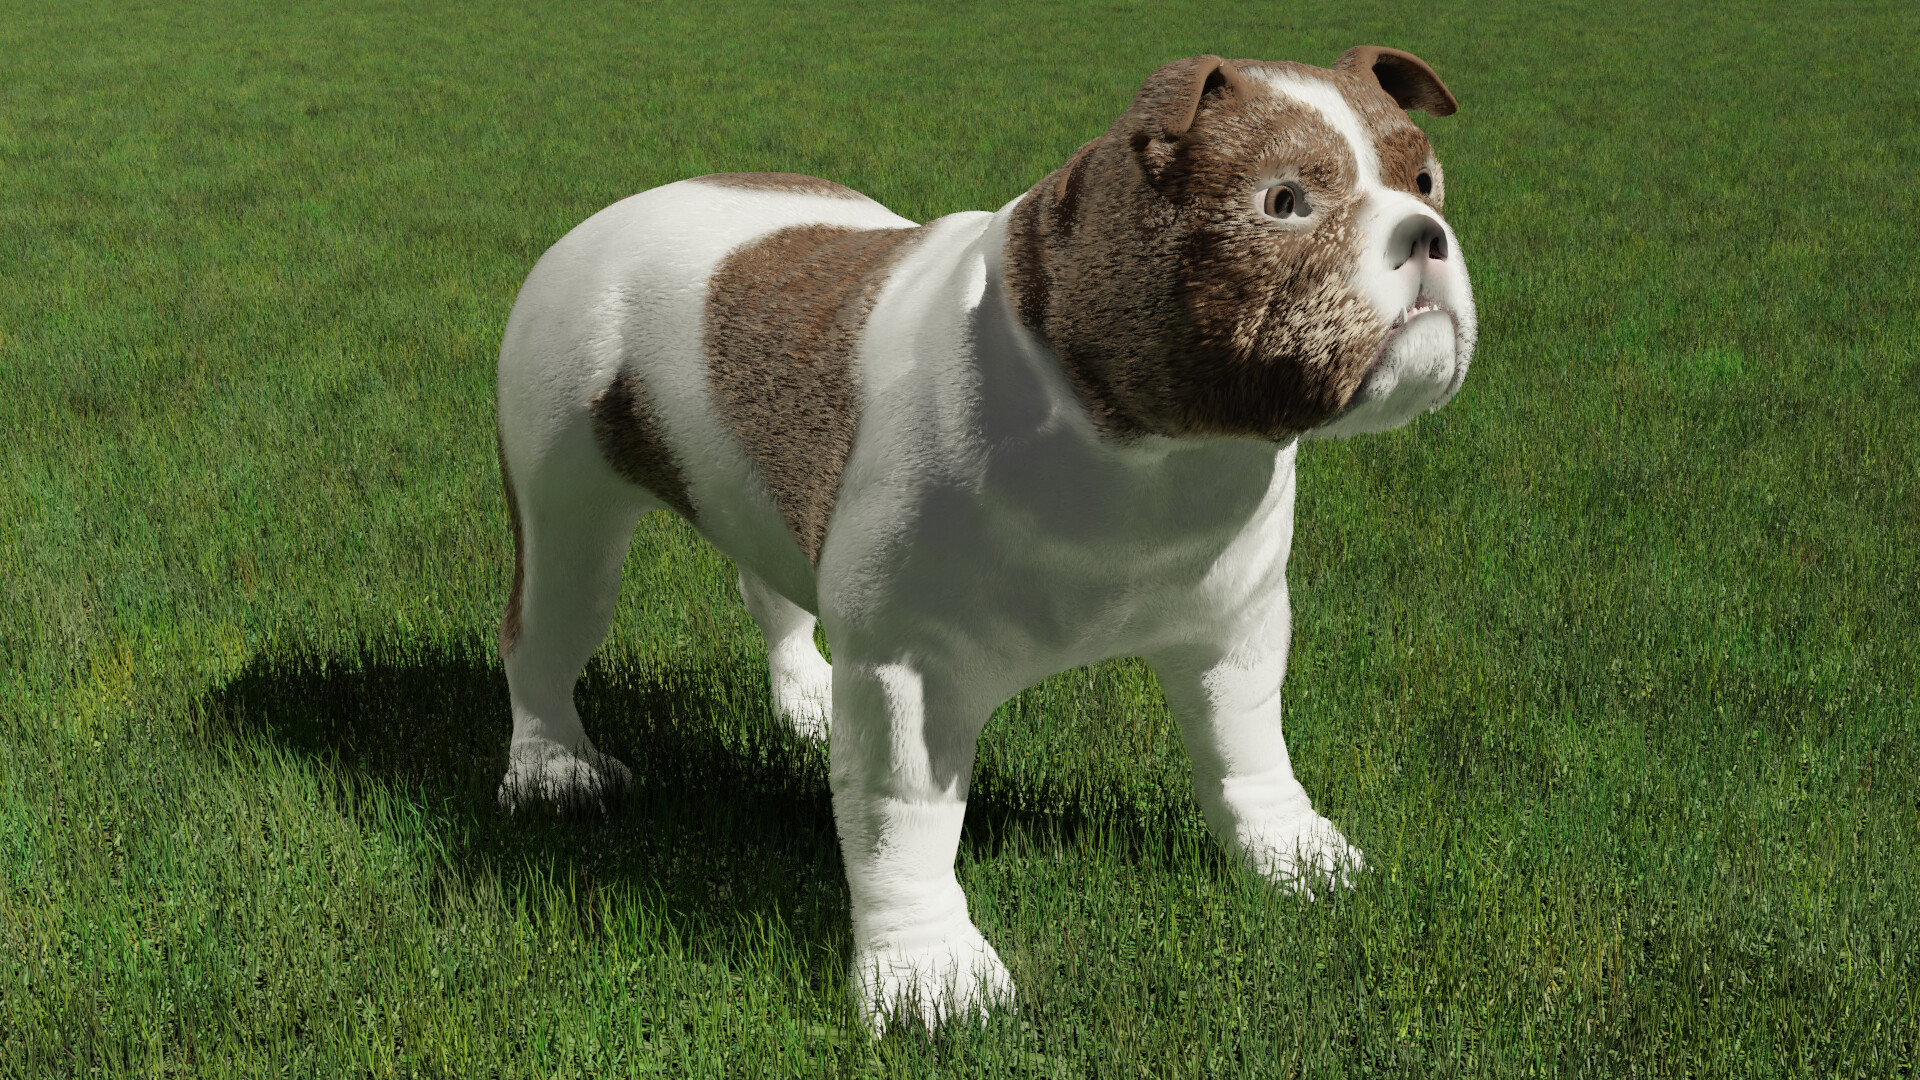
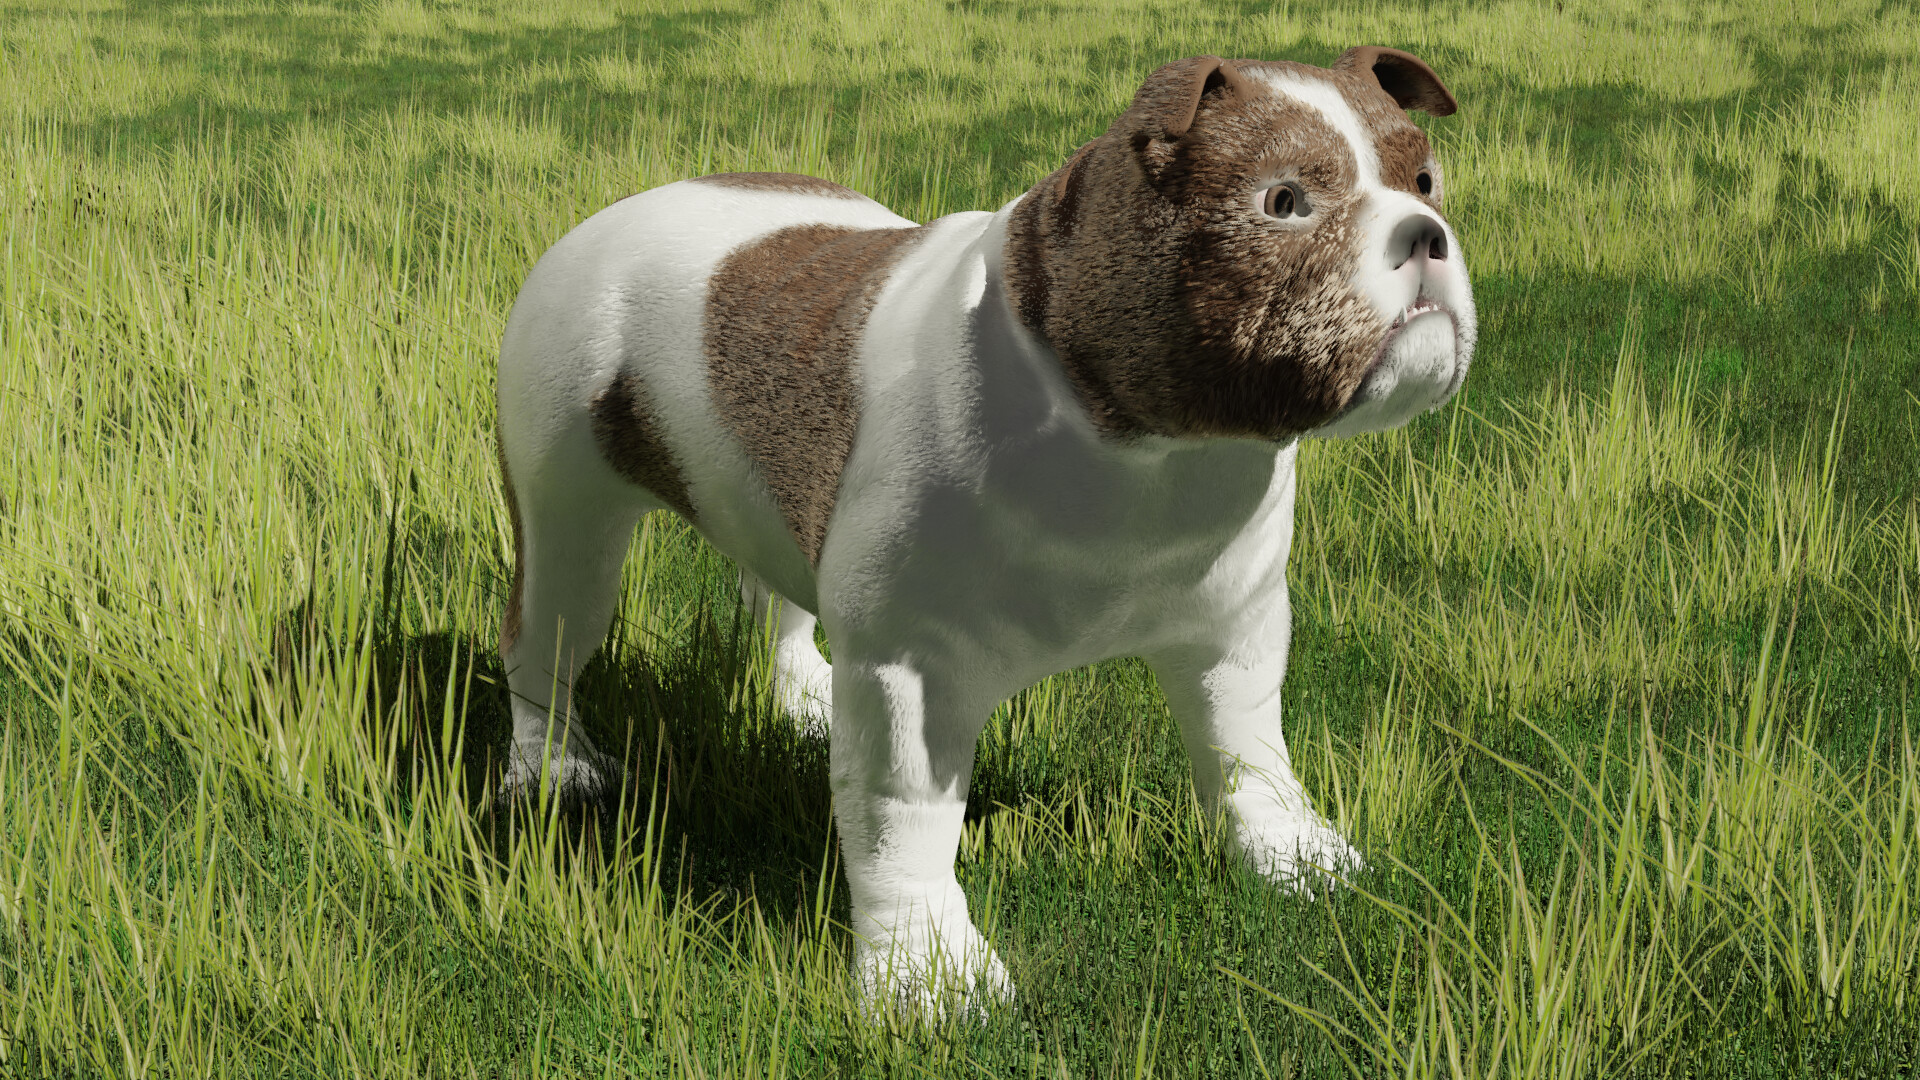
Final Renders:
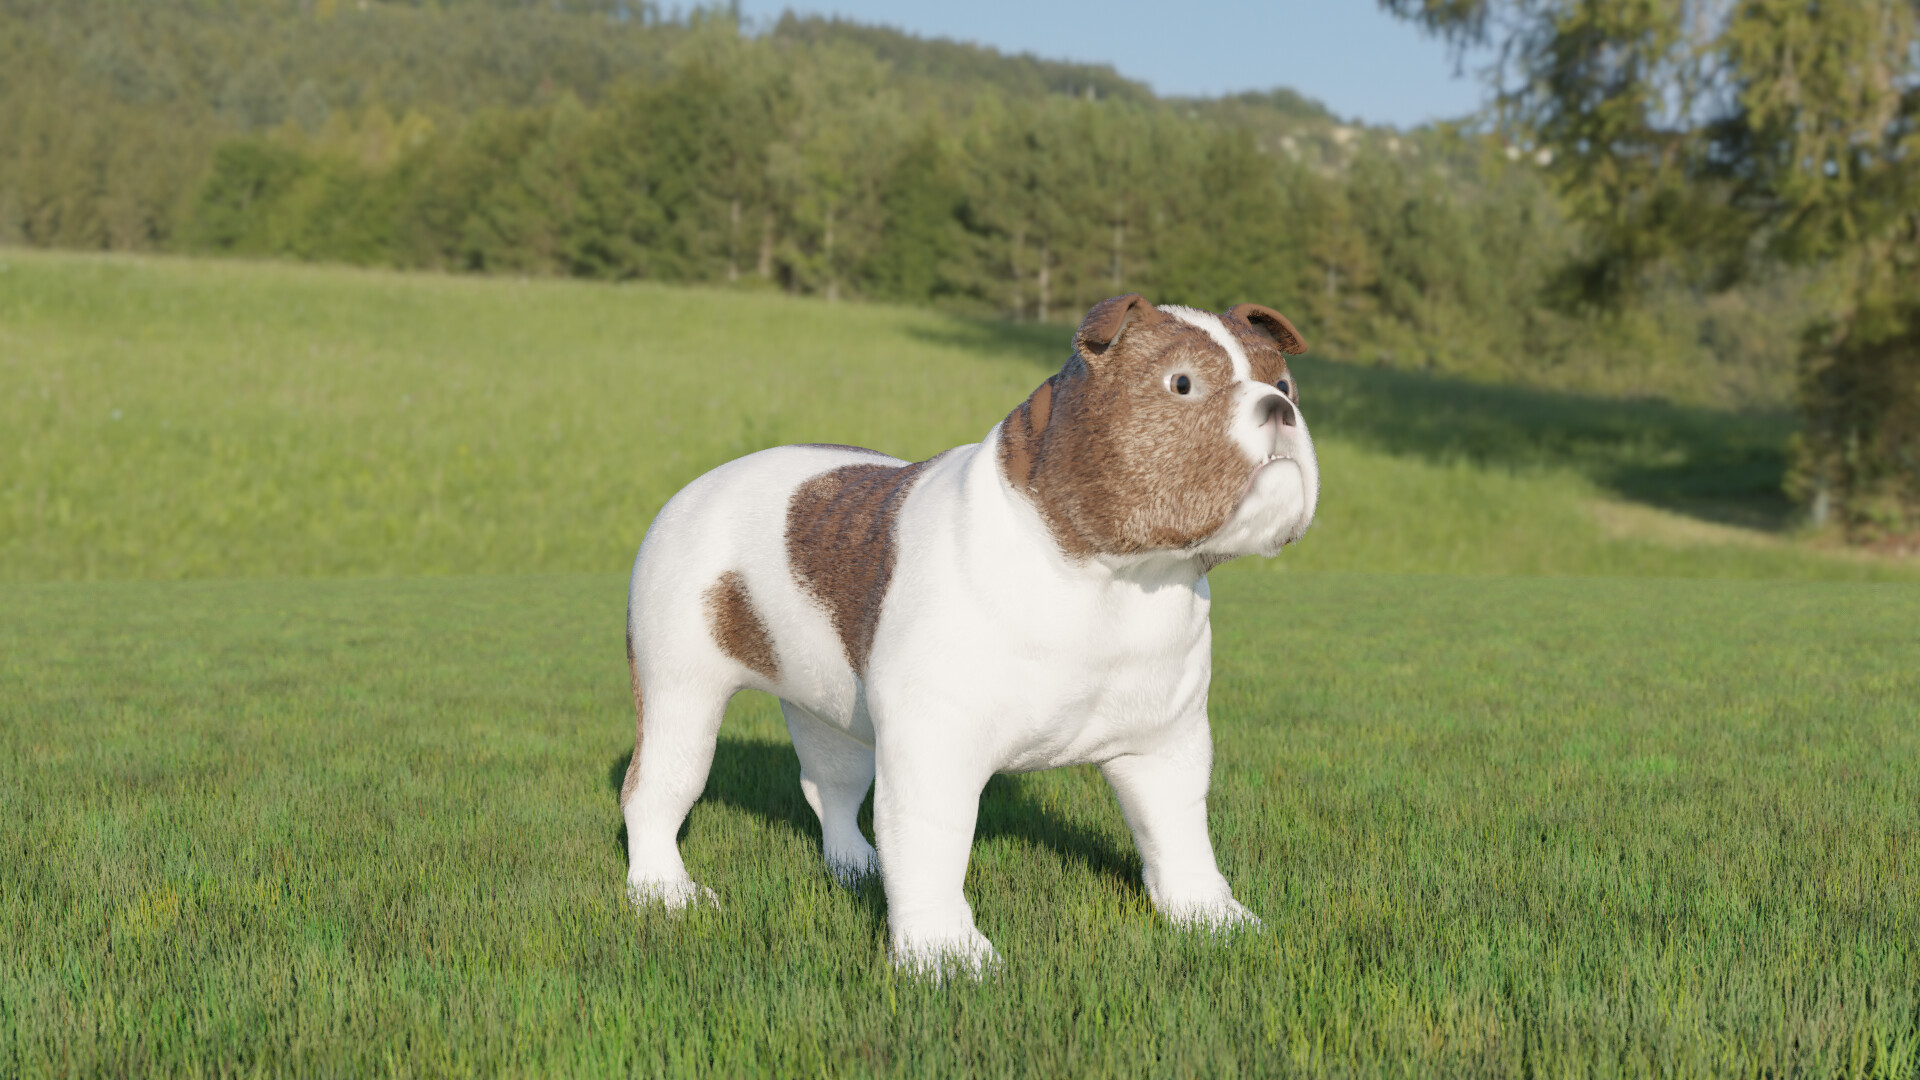
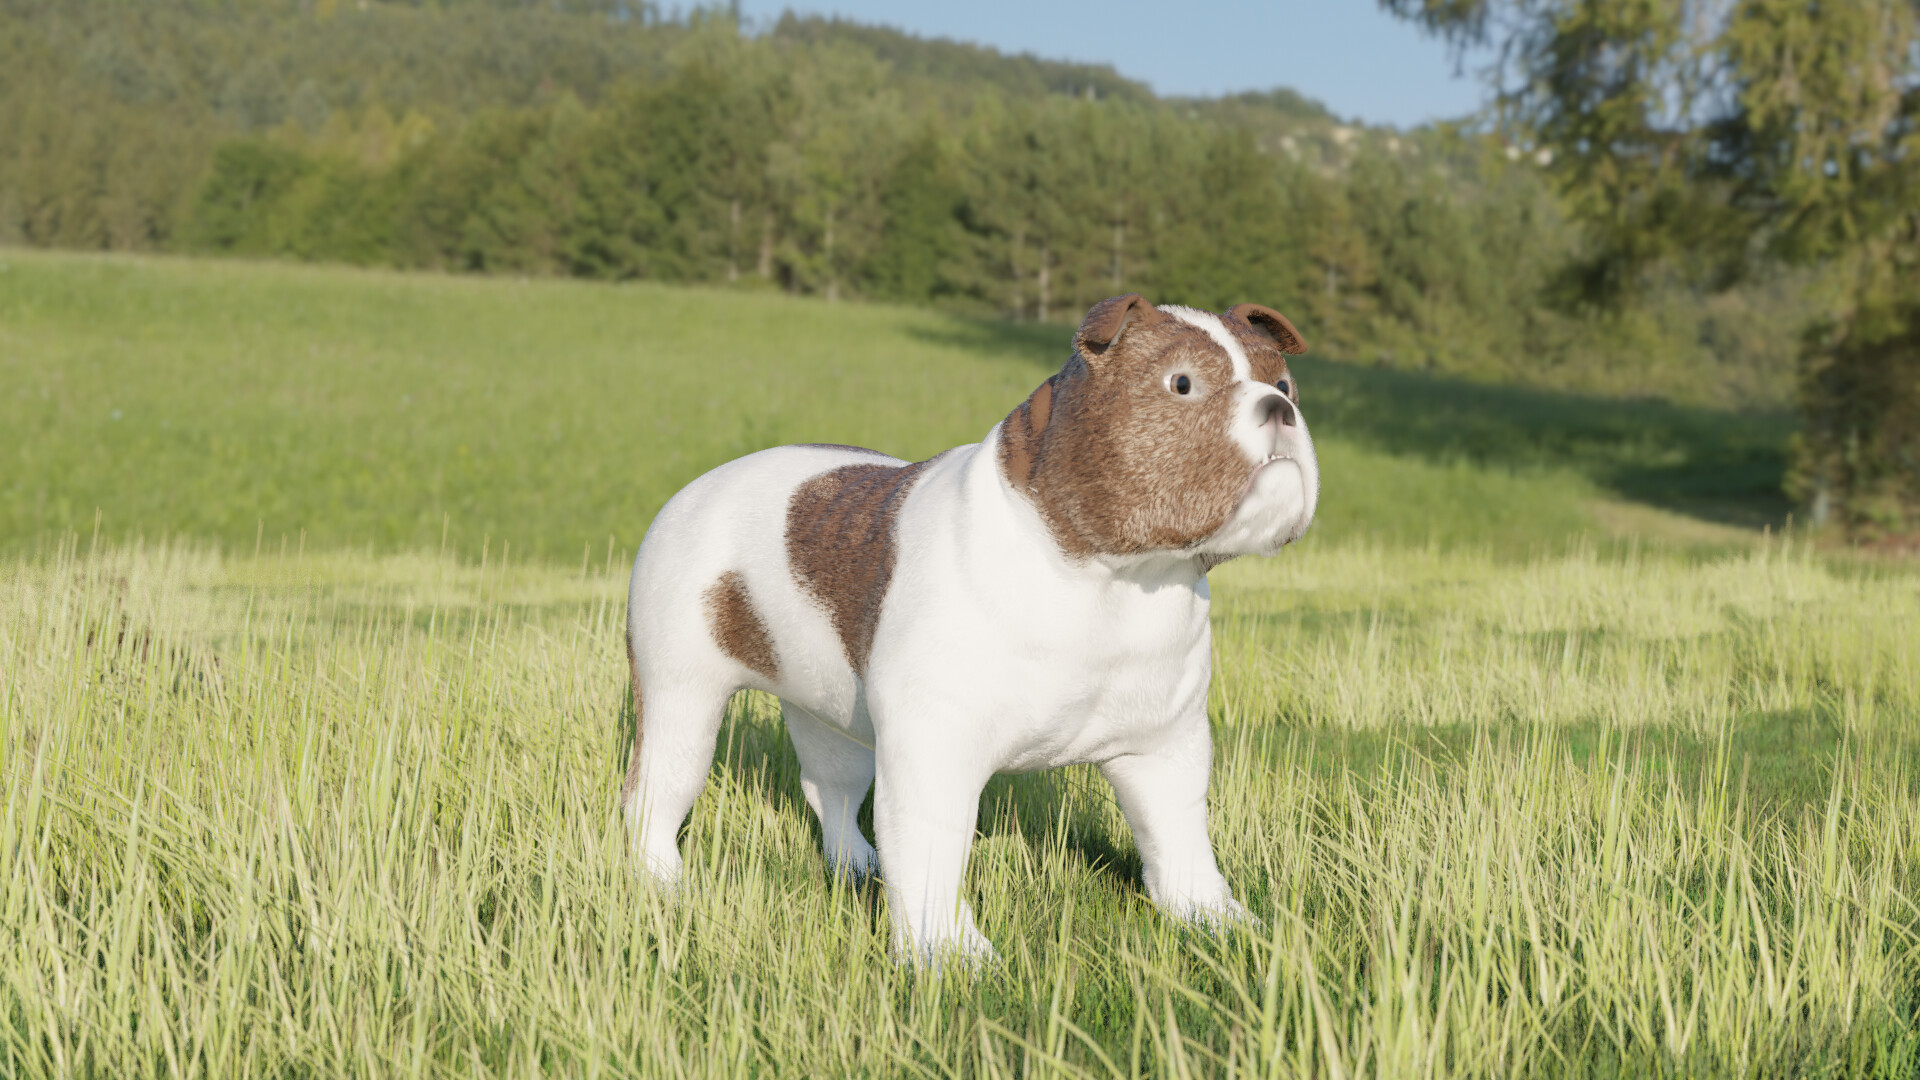
I based this project on our pet Bulldog named “Boeing”.
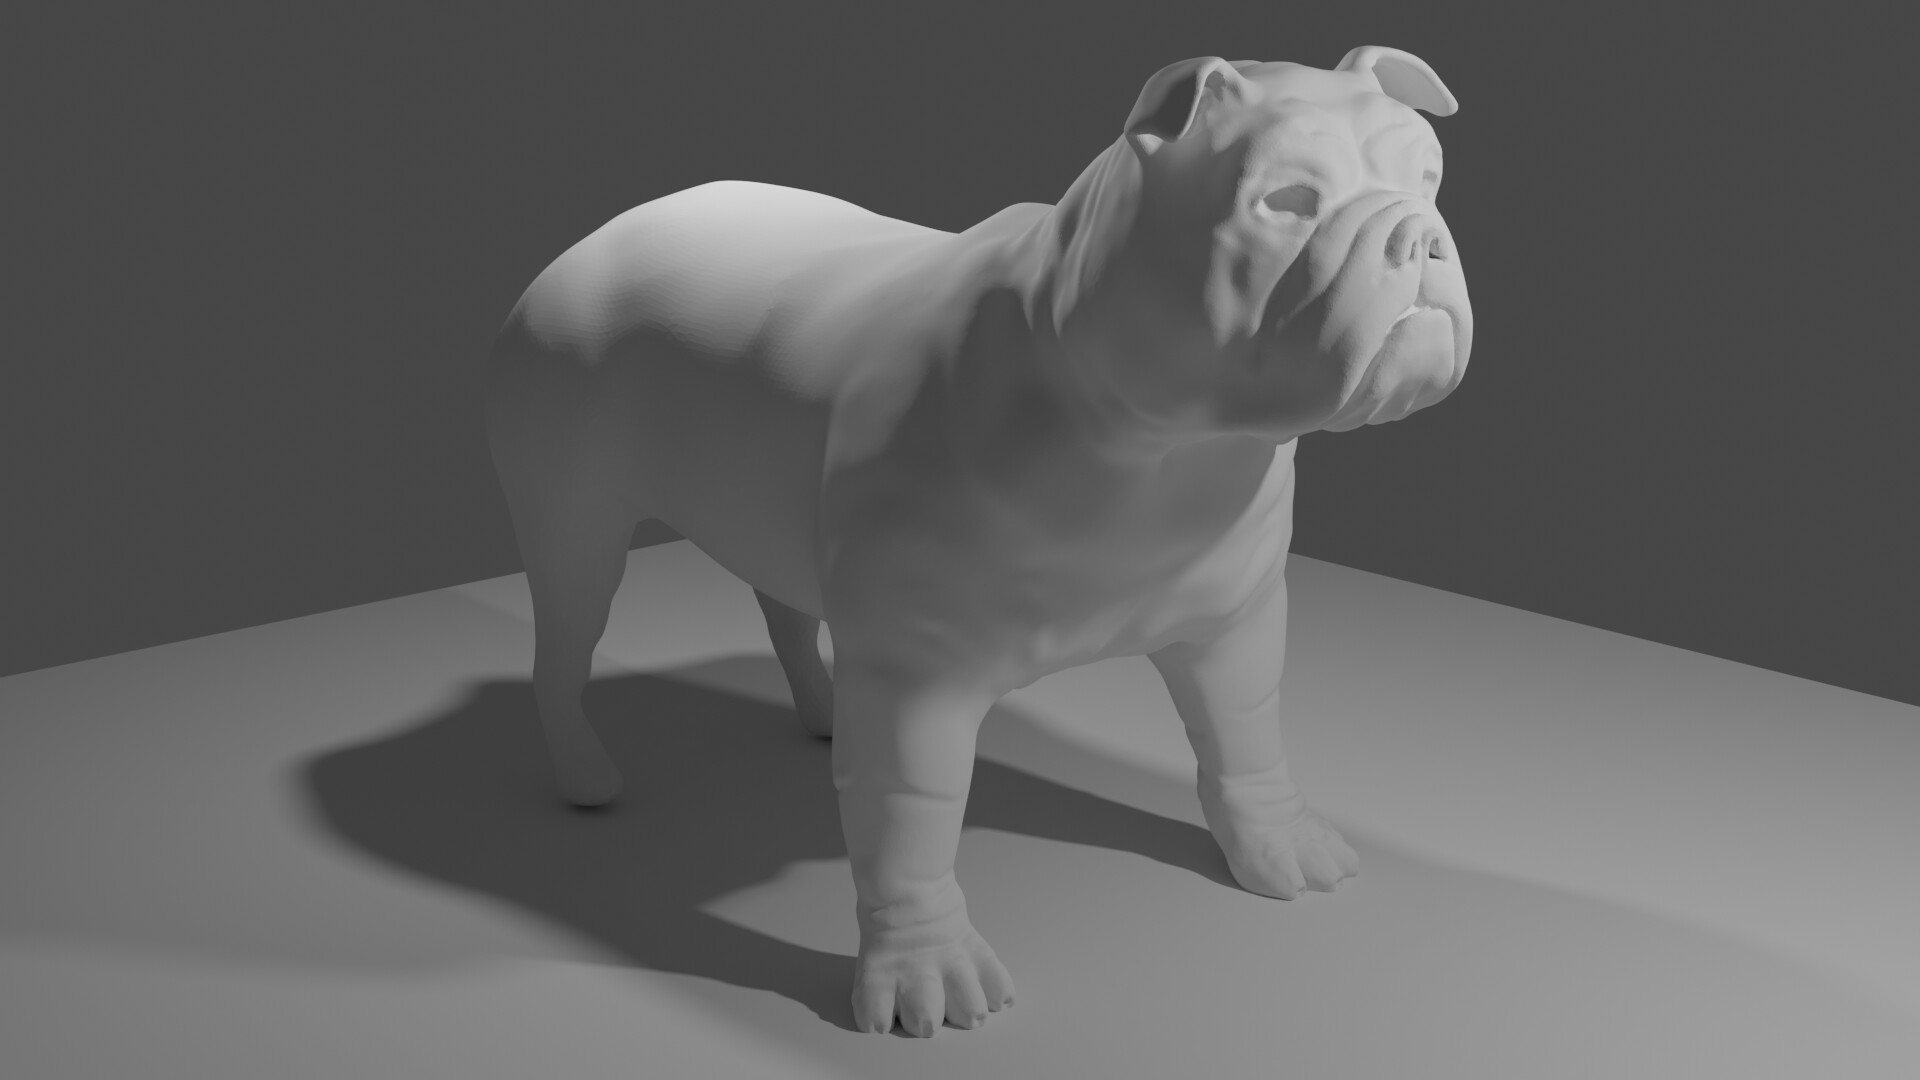
The journey up to this point:
Beginning to sculpt the basic form:
A lot of trial and error while looking at reference material.
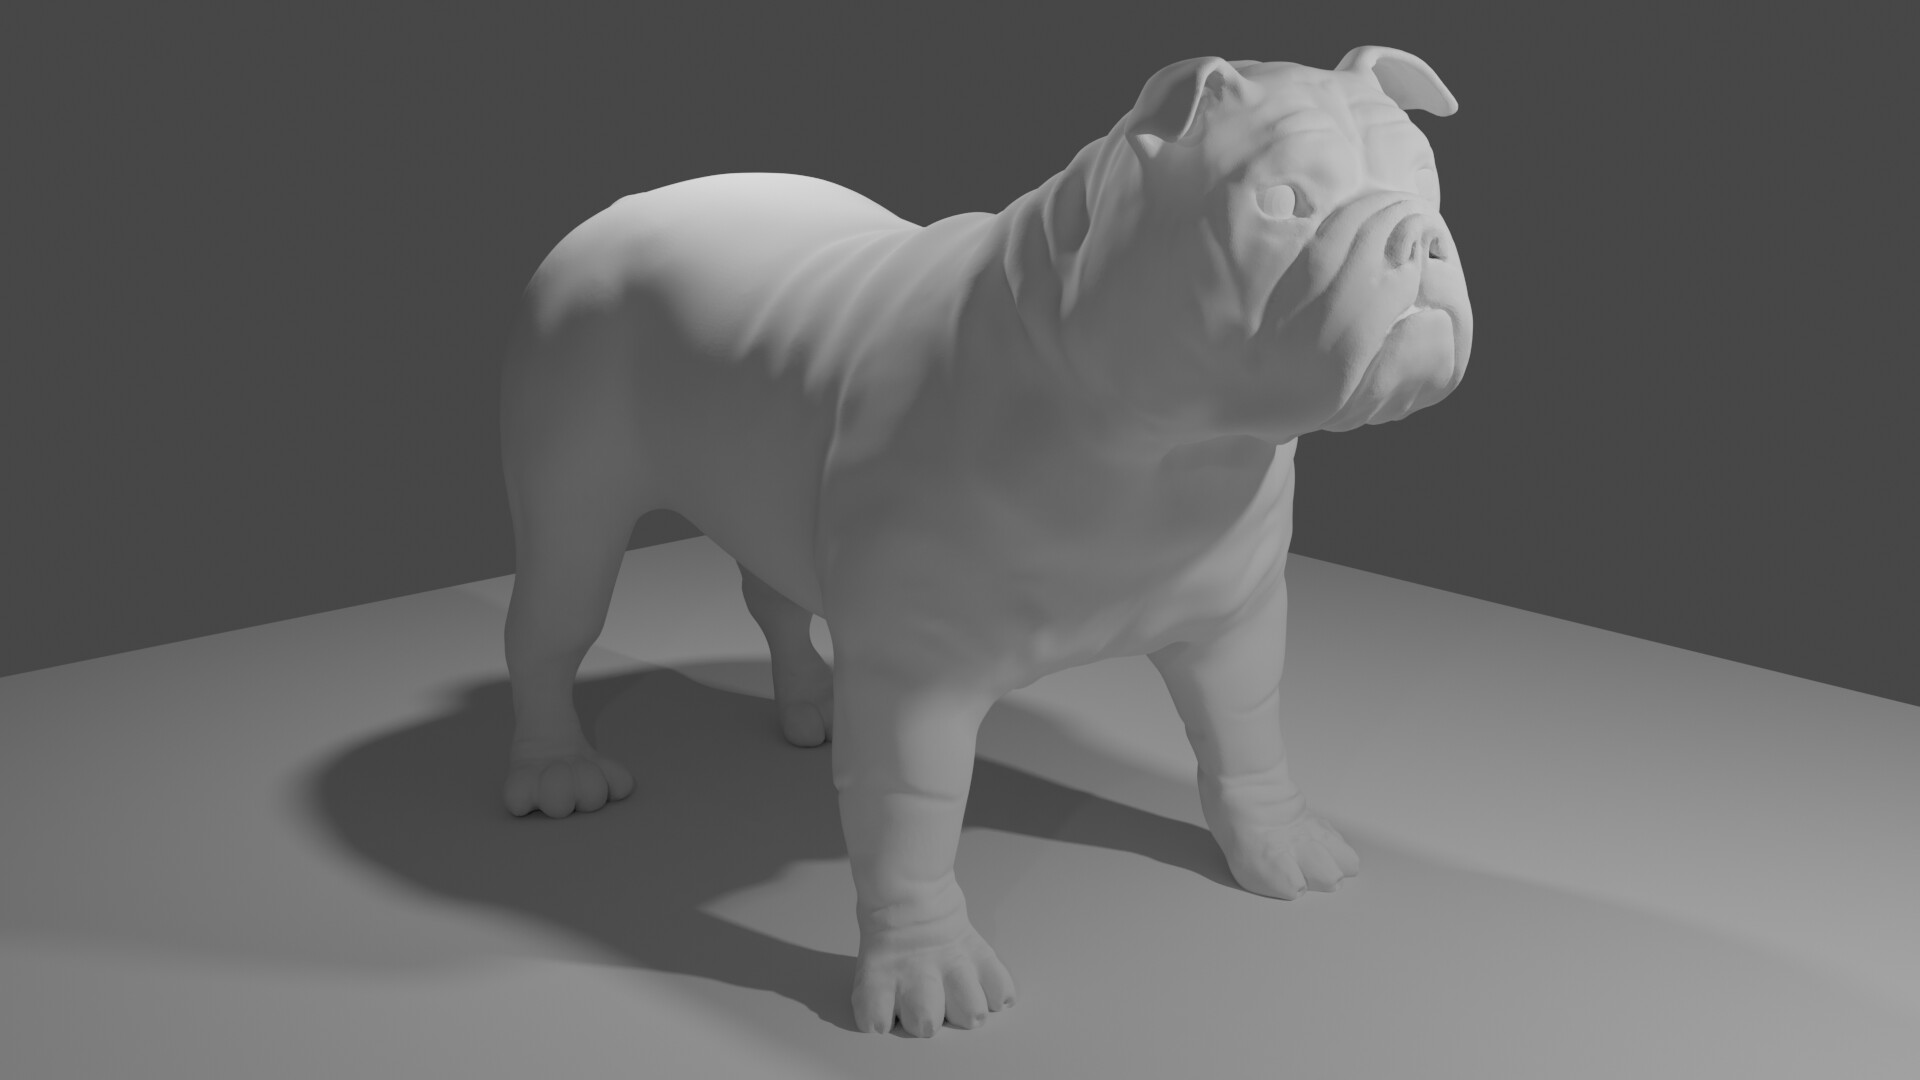
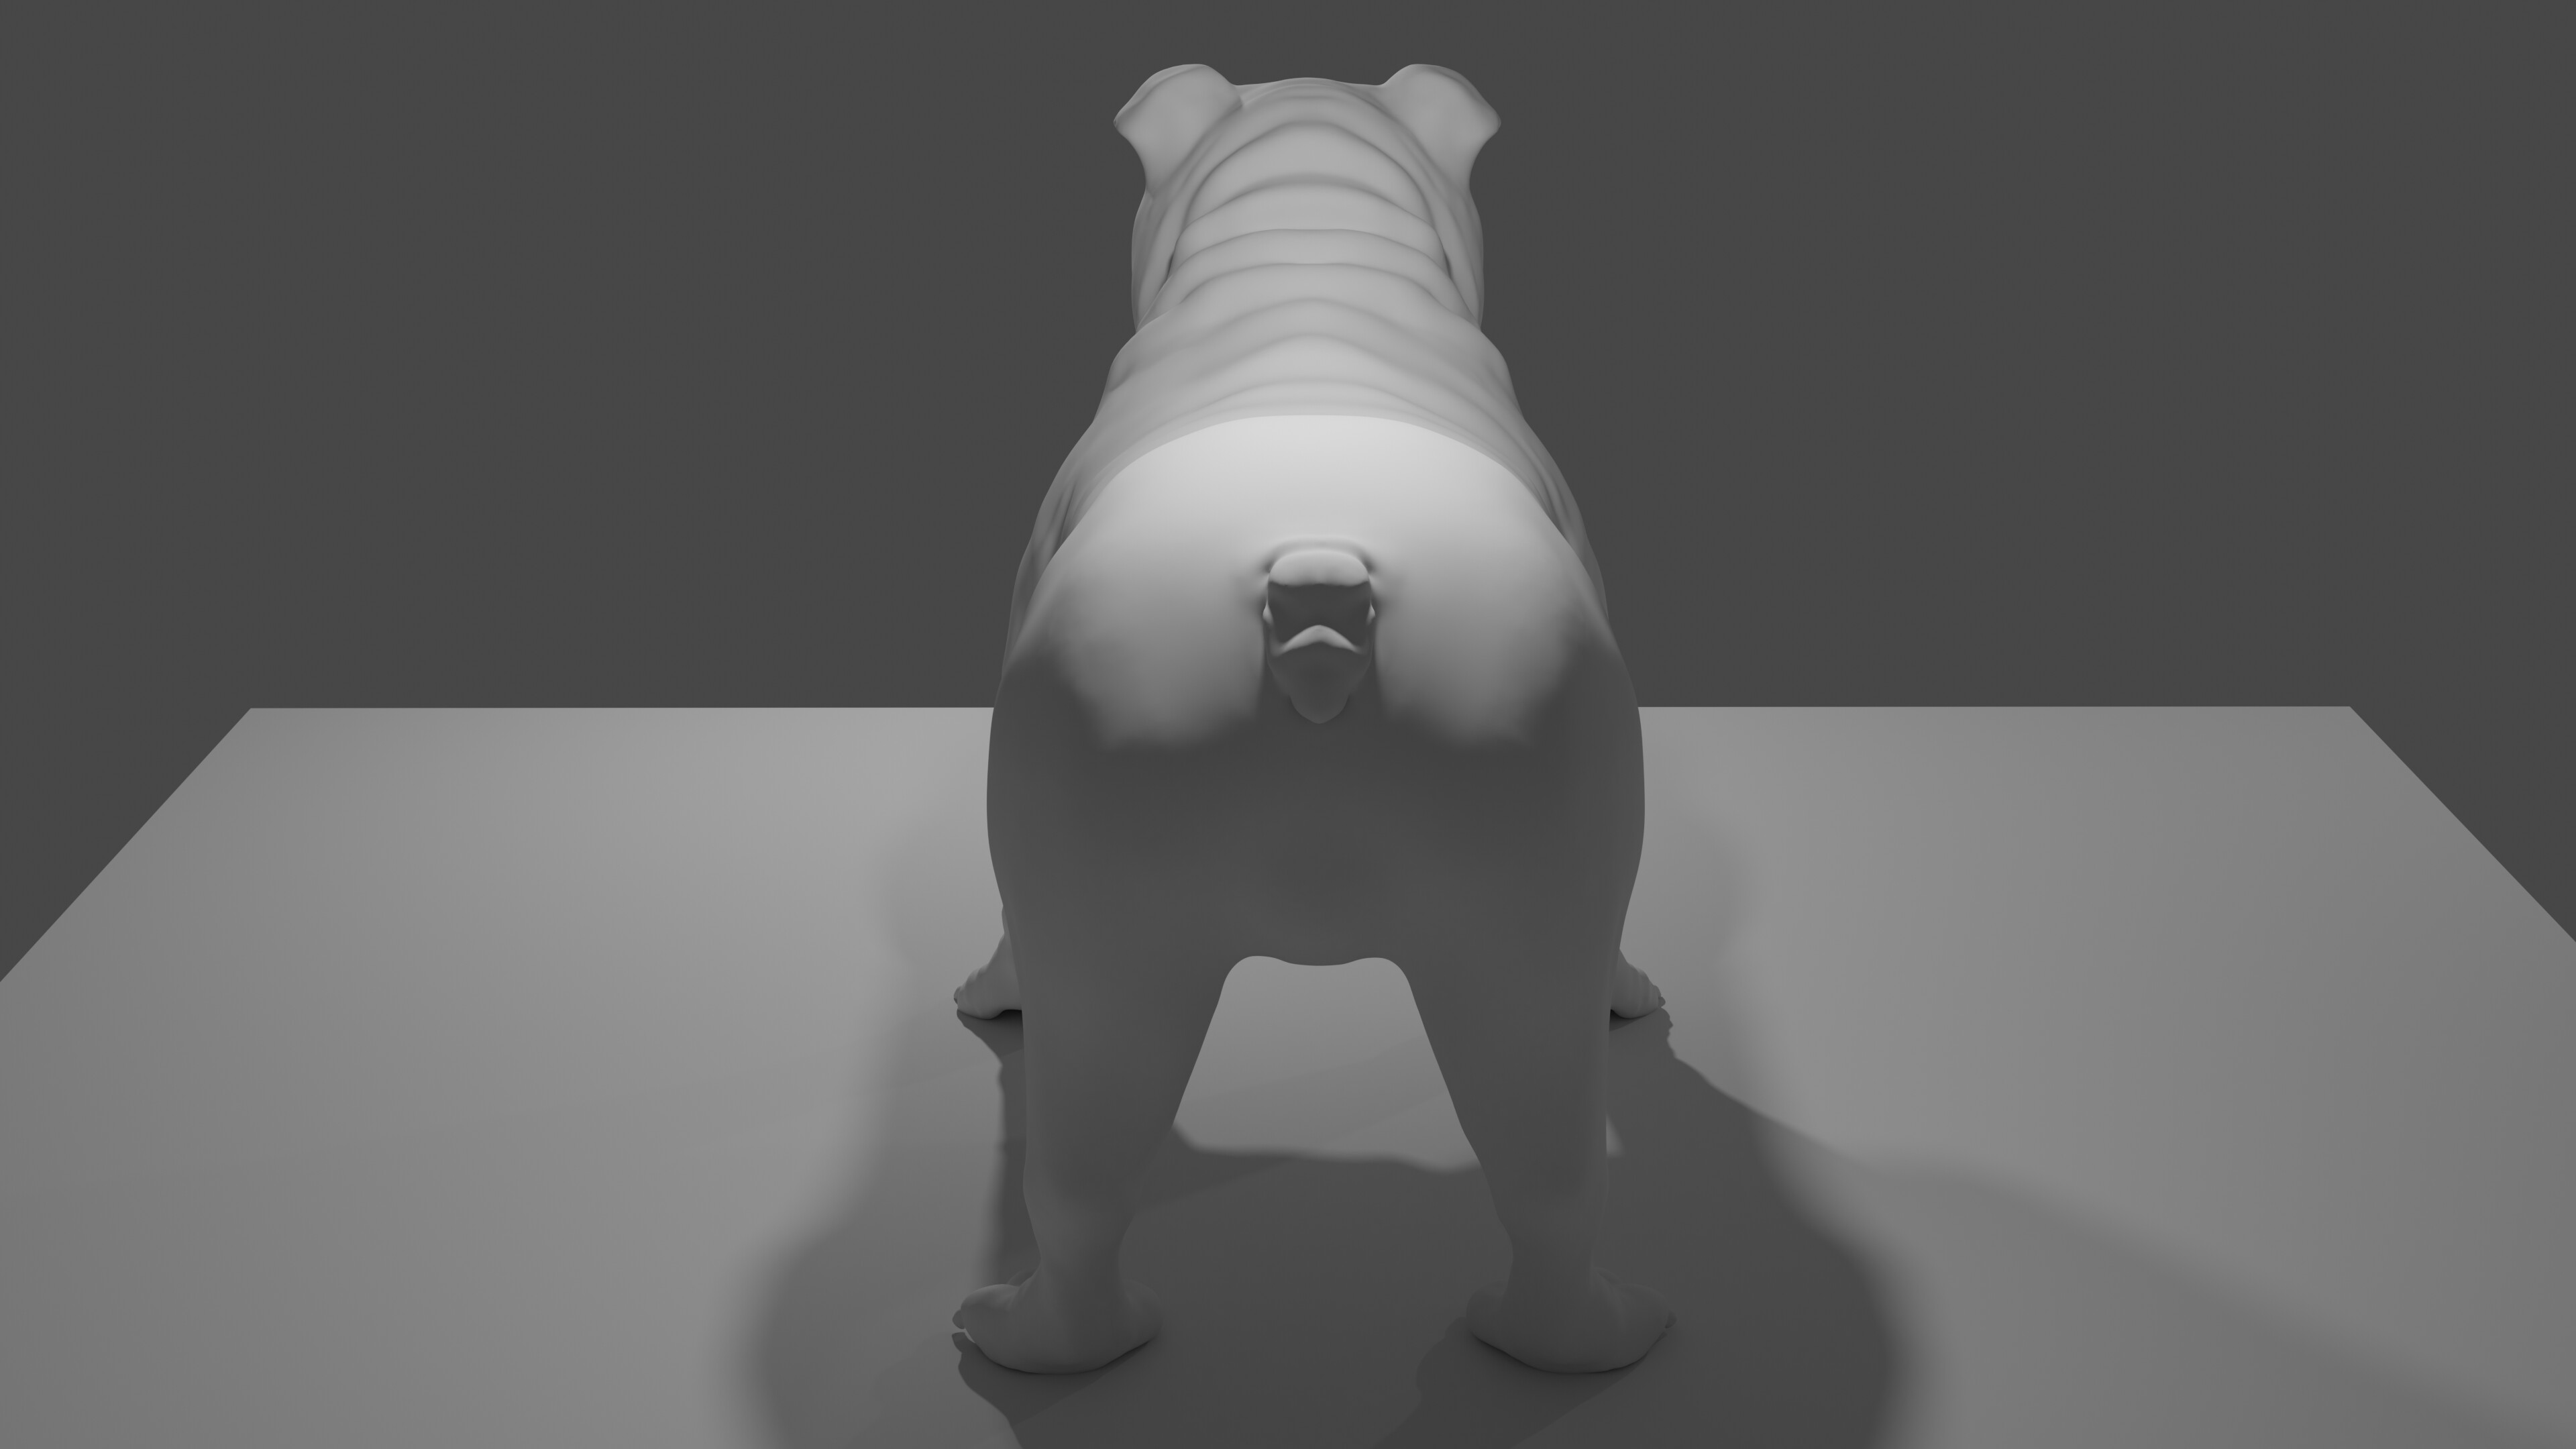
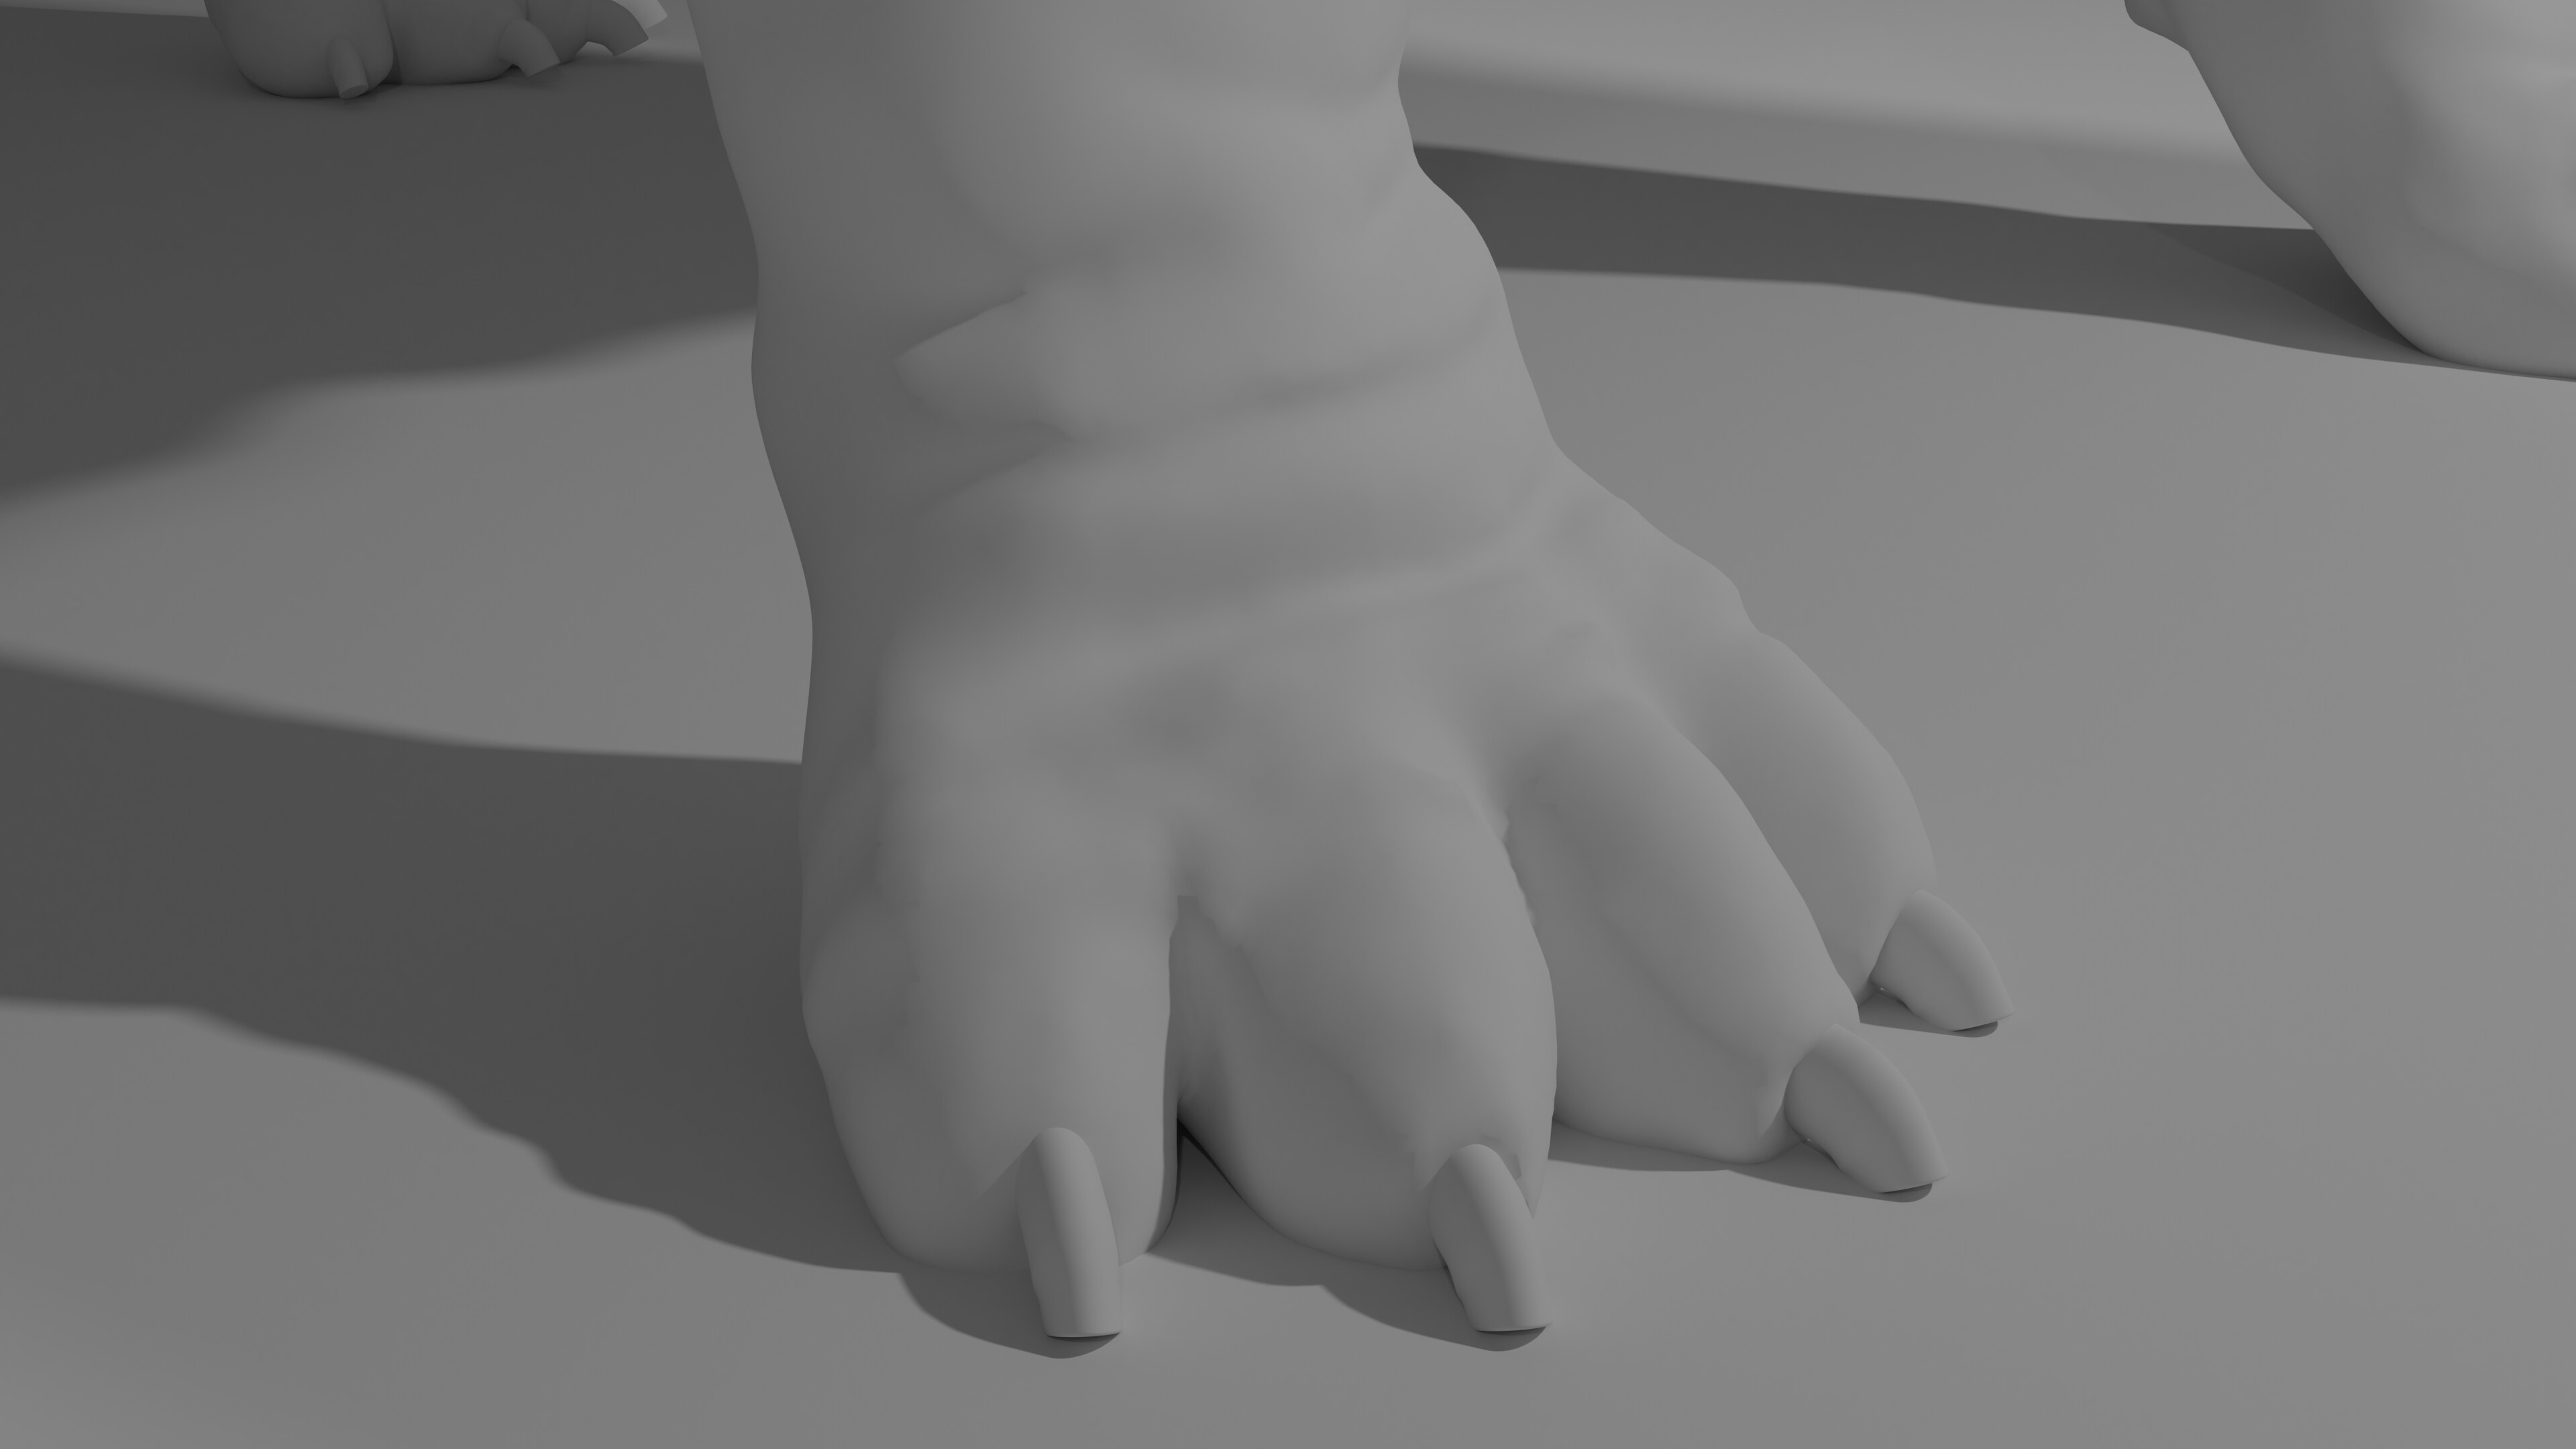
The final sculpt:
Took some more experimenting to get the wrinkles, rolls, face, and paws looking believable. With my work schedule, it took me a couple hours a night for a few days to make it this far. I found that just the draw tool and some smoothing works best for me when adding the finer details with a little crease tool as well.

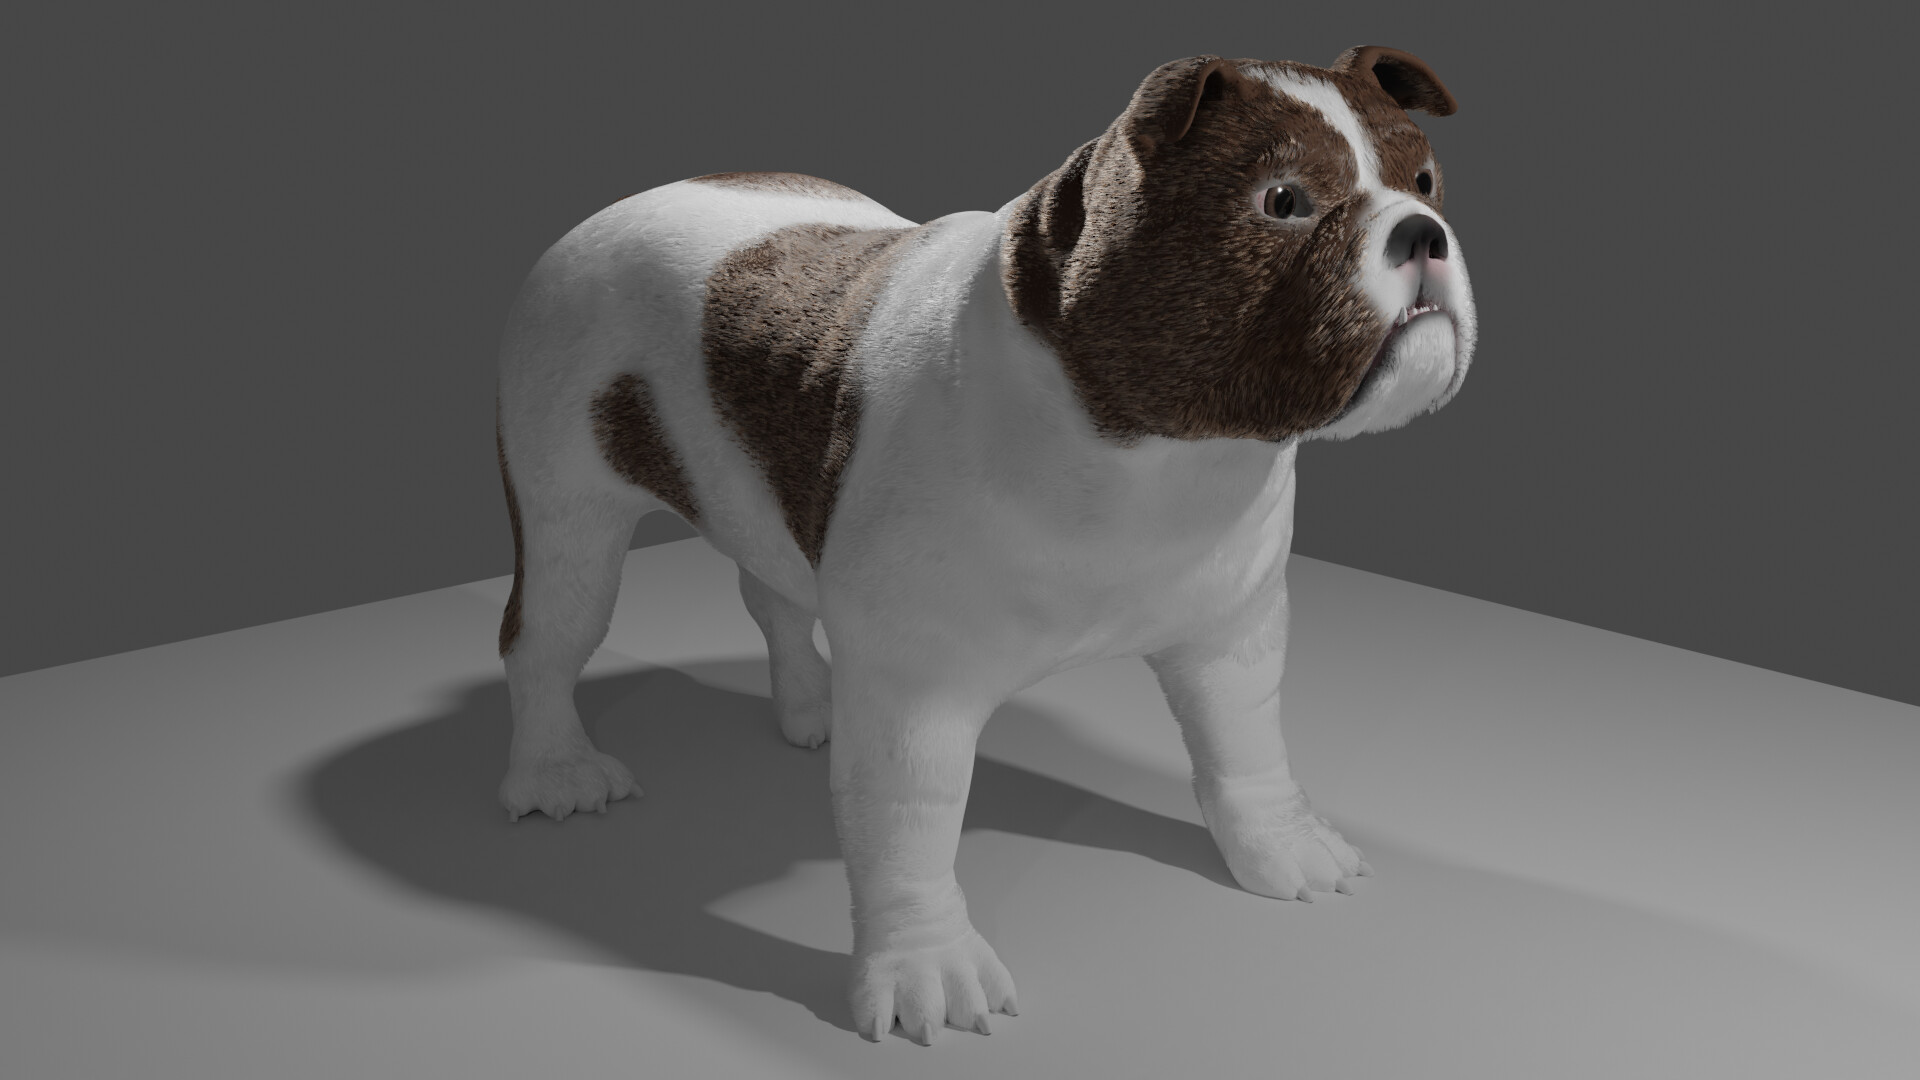
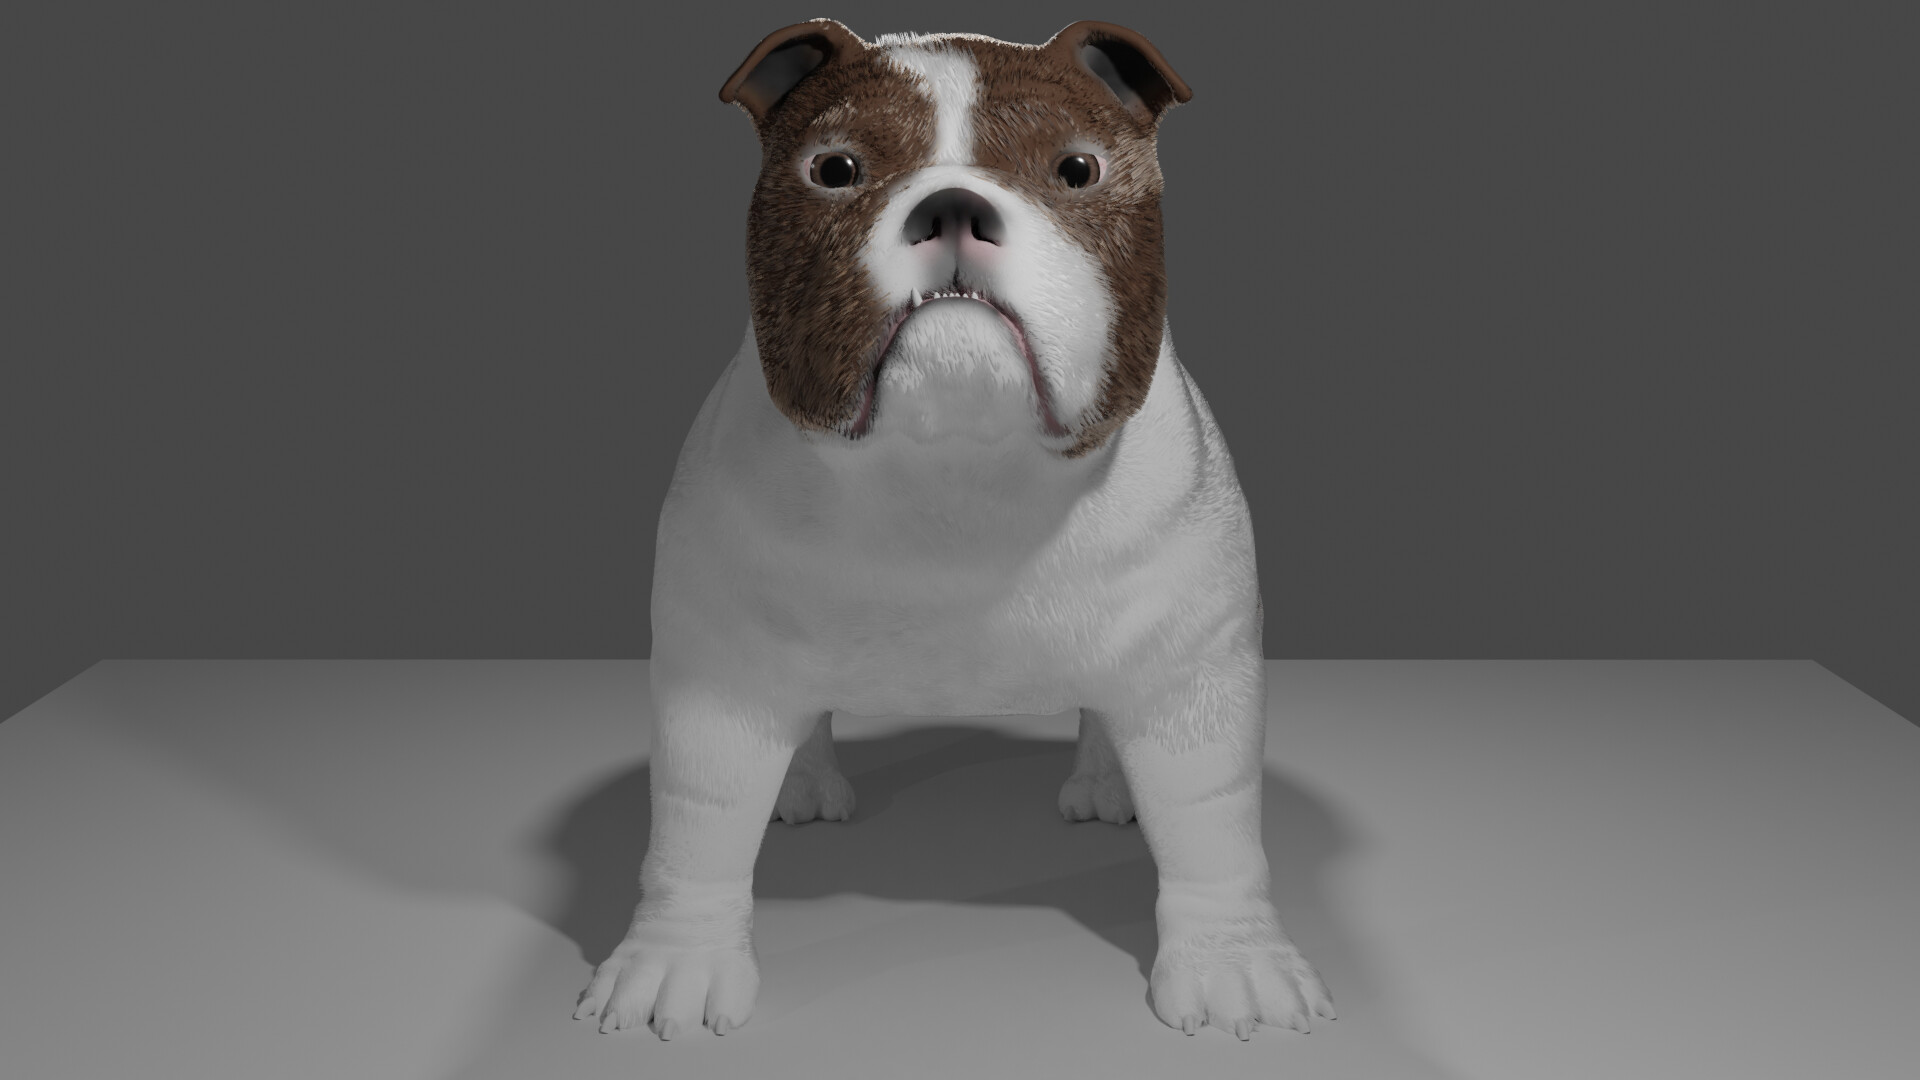
Hair, eyes, and vertex painting:
I started by painting the mesh brown and white. With some experimenting I found that it gave a more believable look to the hair. A dog’s real skin color is pinkish, but painting the mesh pink all over showed through the hair particle system too much and would look strange without pumping up the particle count to unreasonable levels. I also vertex painted some other details on the face. (Nose, mouth, etc.)
I then made two particles systems for the brown and white hair, with two separate vertex groups for weight painting. After weight painting the brown spots, I was able to cut out the spots in the white hair weight paint by leaving the other particles shown in the viewport and tracing around them, making sure to leave a little bit of overlap so that the two different hair colors would blend together nicely. This took quite some time as I didn’t remesh the bulldog, opting to keep the higher tri count for detail. So my tri count was high and I had a lot of particles already making my PC struggle to keep up. I made sure to tone down what was actually displayed in the viewport as much as possible and hide particle system that I wasn’t currently working on.
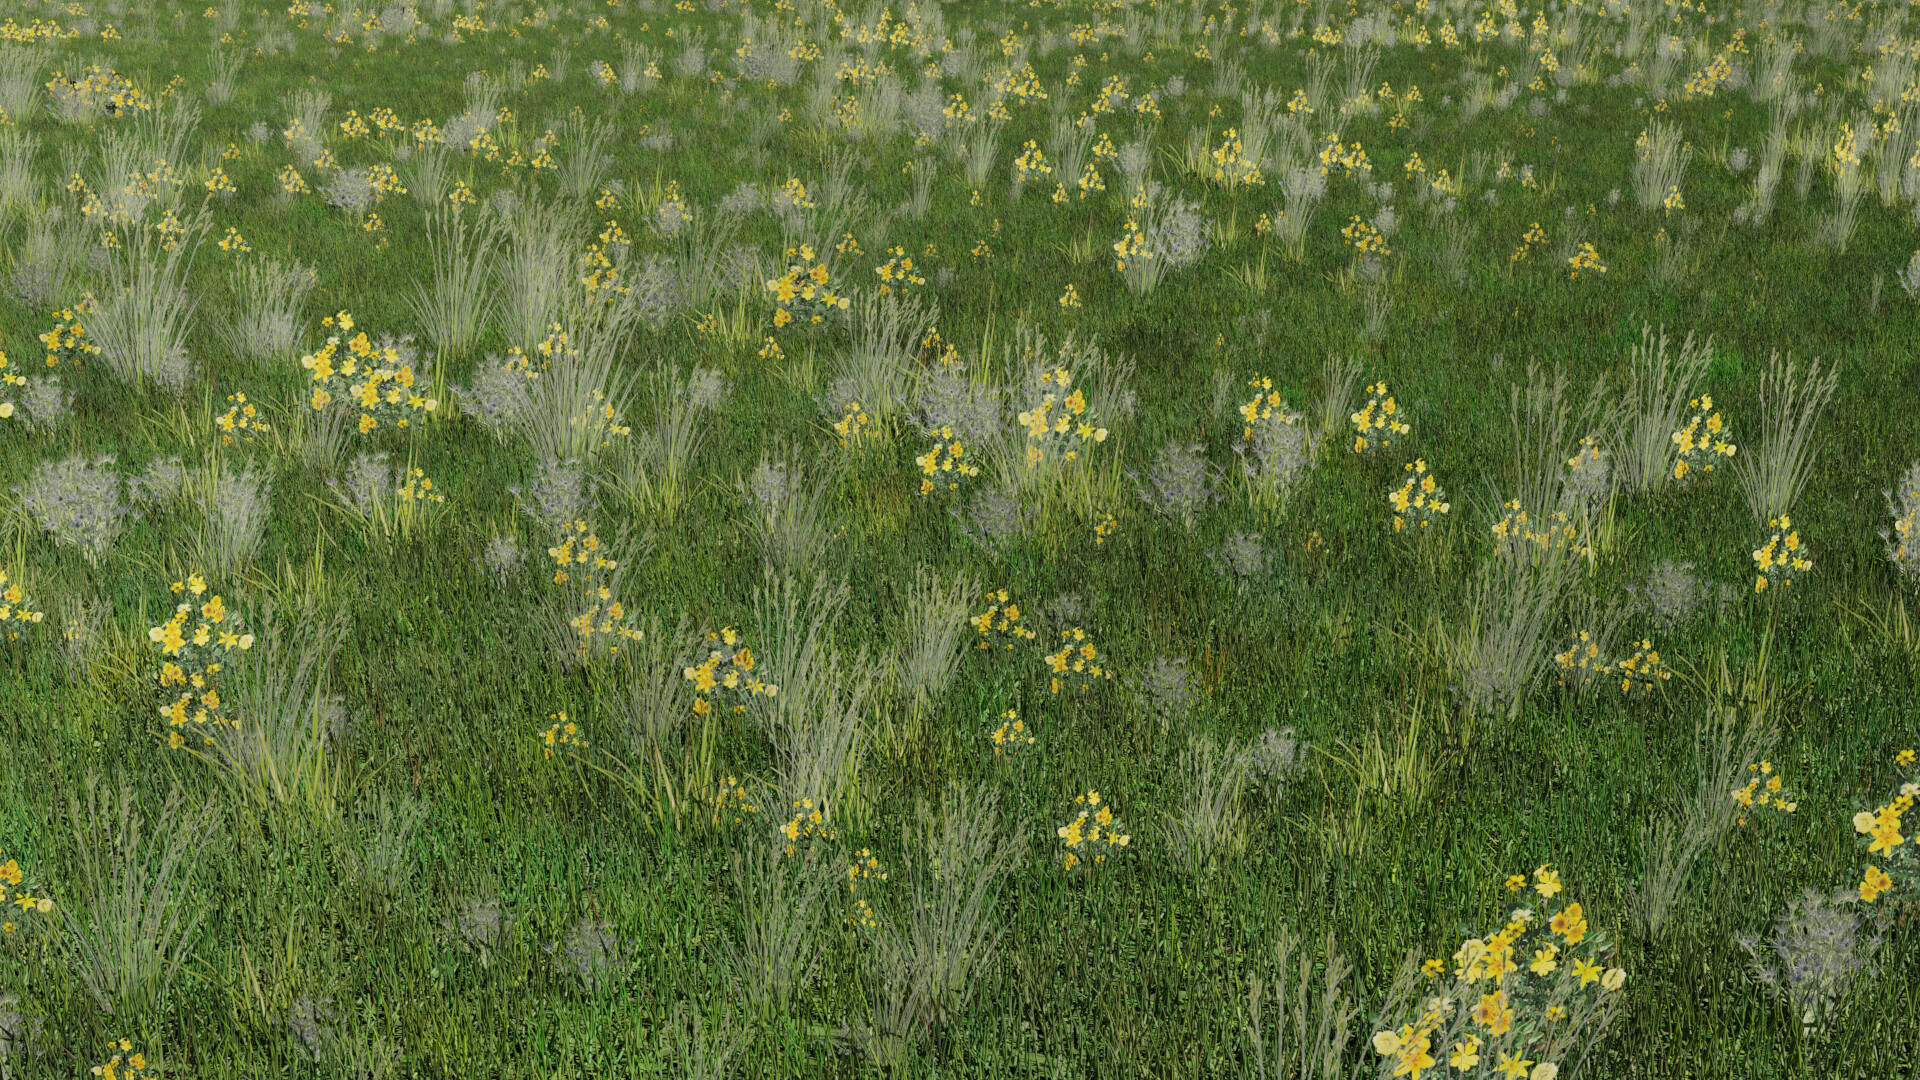
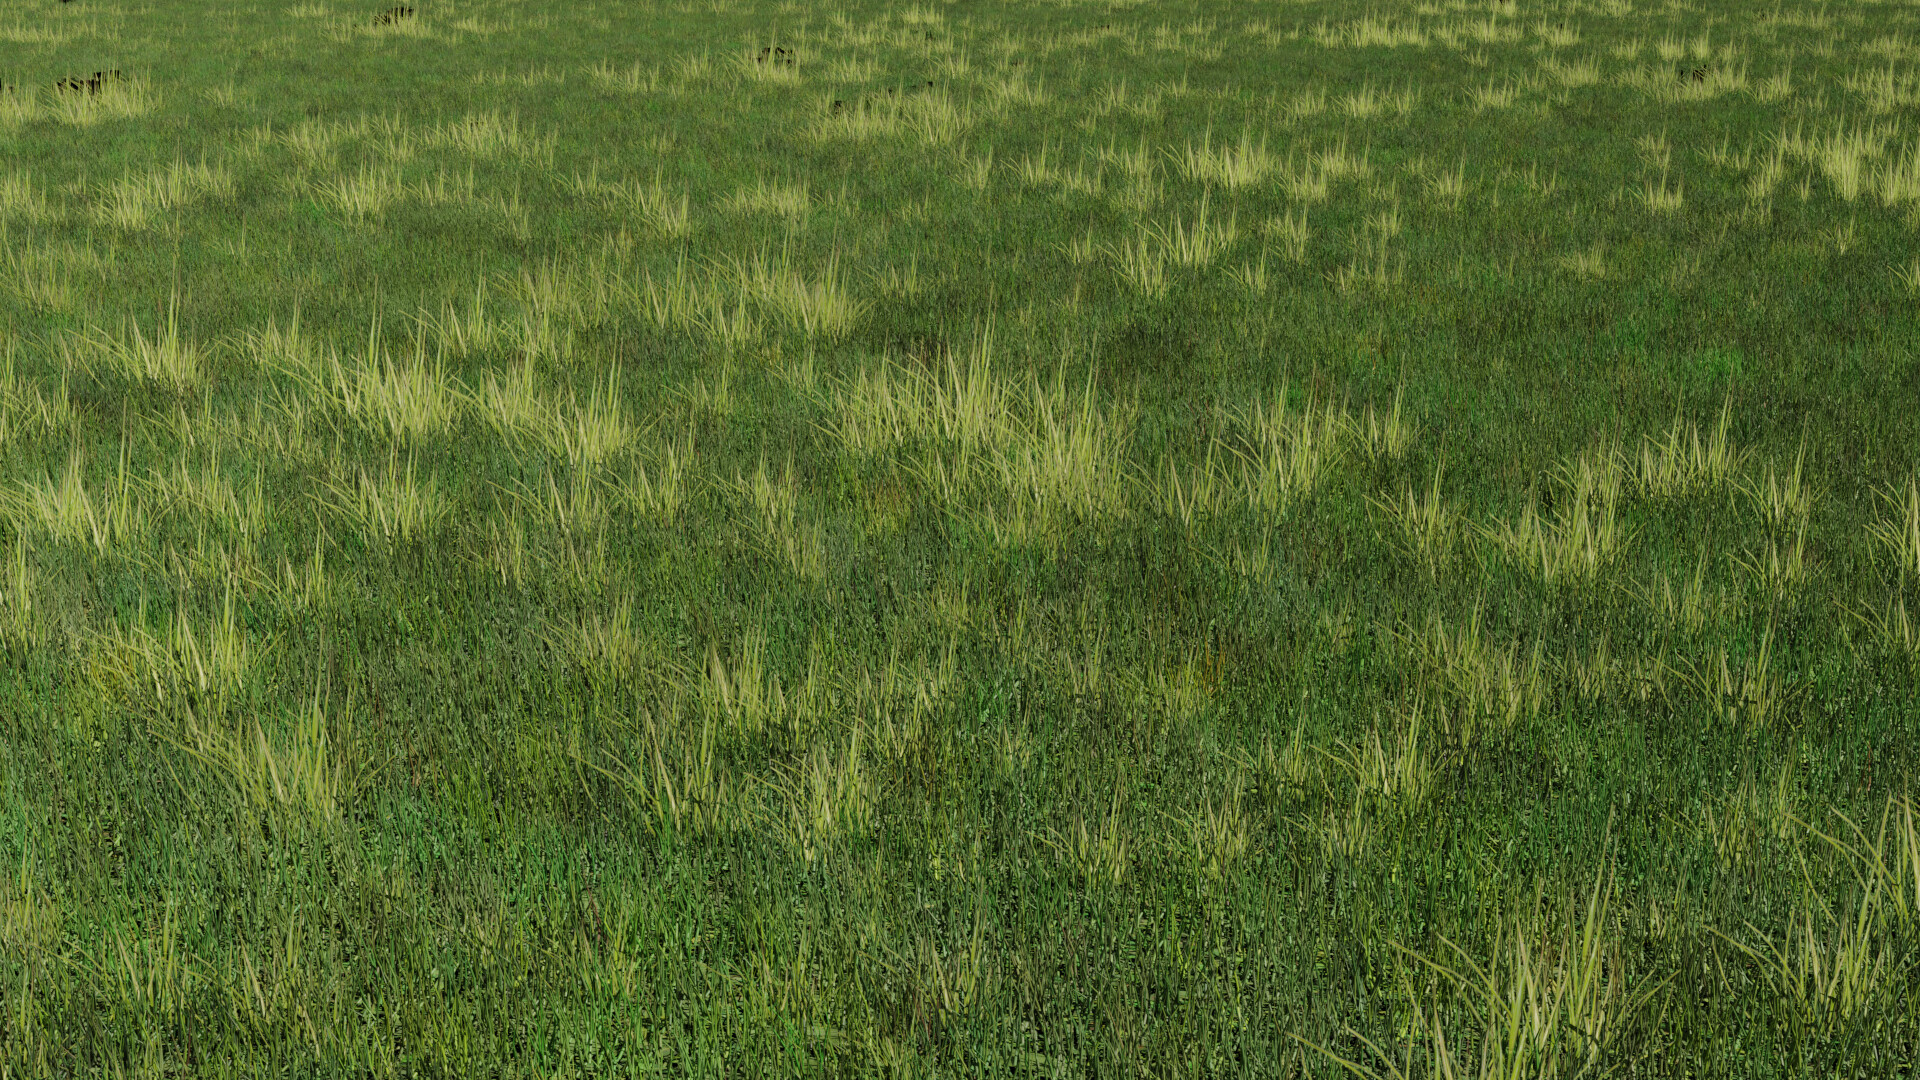
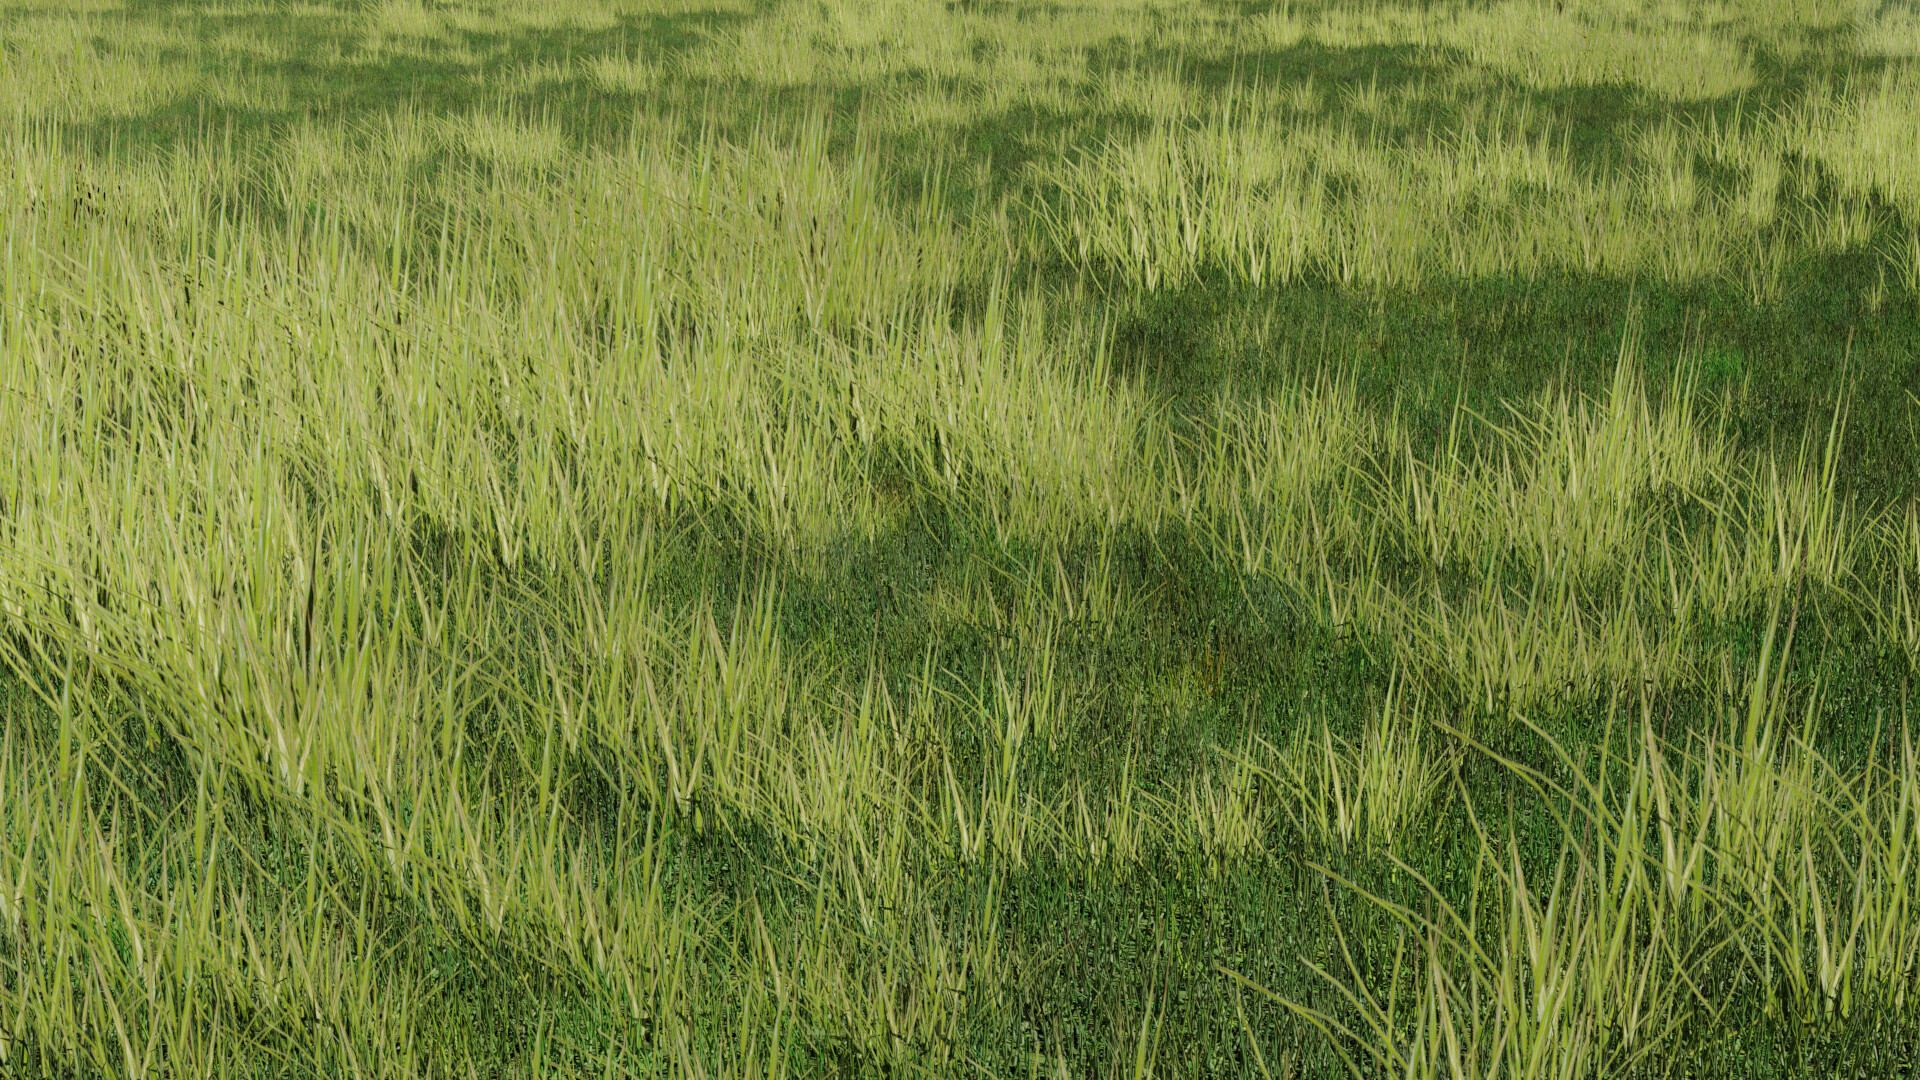
Grass:
The grass was fairly simple. I found a nice grass texture and placed that on a plane to serve as the ground. I used the same plane for the grass particle system, and used the same texture as the color for the grass particle material, which gave a realistic color variation to the grass particles. I added some randomness and clumping and presto: grass.
Grass Details (Adding images as planes to a particle system):
I had a hard time getting this technique to look the way I wanted, and I’m still not completely satisfied with the result. I think some higher quality images, some more variation/randomness, and more time spent tweaking things would give a better result. I eventually decided that what I had was good enough and it was time to move on. I had learned the technique and was ready to move on to the next project.
Had a lot of fun with this project, and I’ve gotten some great feedback in the forums. Thank you everyone for your kind comments, and for your own posts which have inspired me to try new things and keep going forward. I’ve learned a lot from this course so far, and am already better at the sculpting part than I thought I would ever be. I’m excited to keep practicing and improving from where I am currently.

