
[Update: Because I forgot something like I usually do. Added My Picture Frame Pictures]
So my silent film is done. I promised myself that I would follow the course as exact as possible and not get detoured. Tried as I might, close to a month later I ended up with an animation almost 10 times longer than asked for (2730 frames rather than 300), but worth every extra second, day, week…month…but not year!
I managed to get both an Evee and Cycles version working. The evee took about 30 minutes to render. The cycles, at 16 samples with denoise to between 7-9 hours. I ran most of it through during the cold of night while I was asleep rather than the heat of day.
What I propose to do first is post the progression of the little films development, then show the two videos. This post will act as a summary to all my posts in this section.
Development:
-
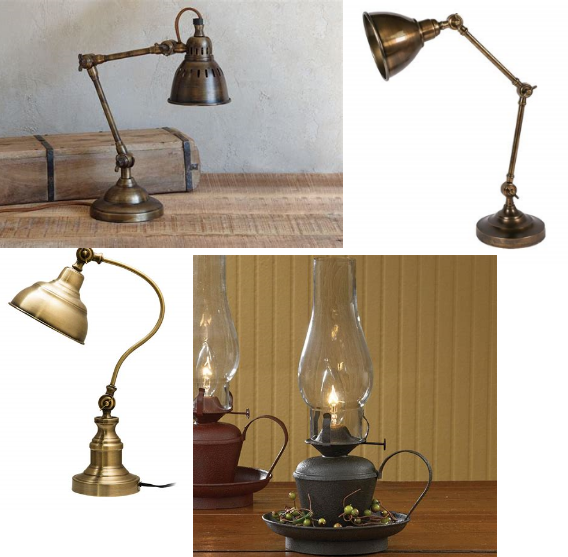
Reference:
-
Sketch Up:
-
Grease Pencil:
-
Grease Pencil To Mesh:
-
Base Building:
-
Lamp and Droop Lamp:


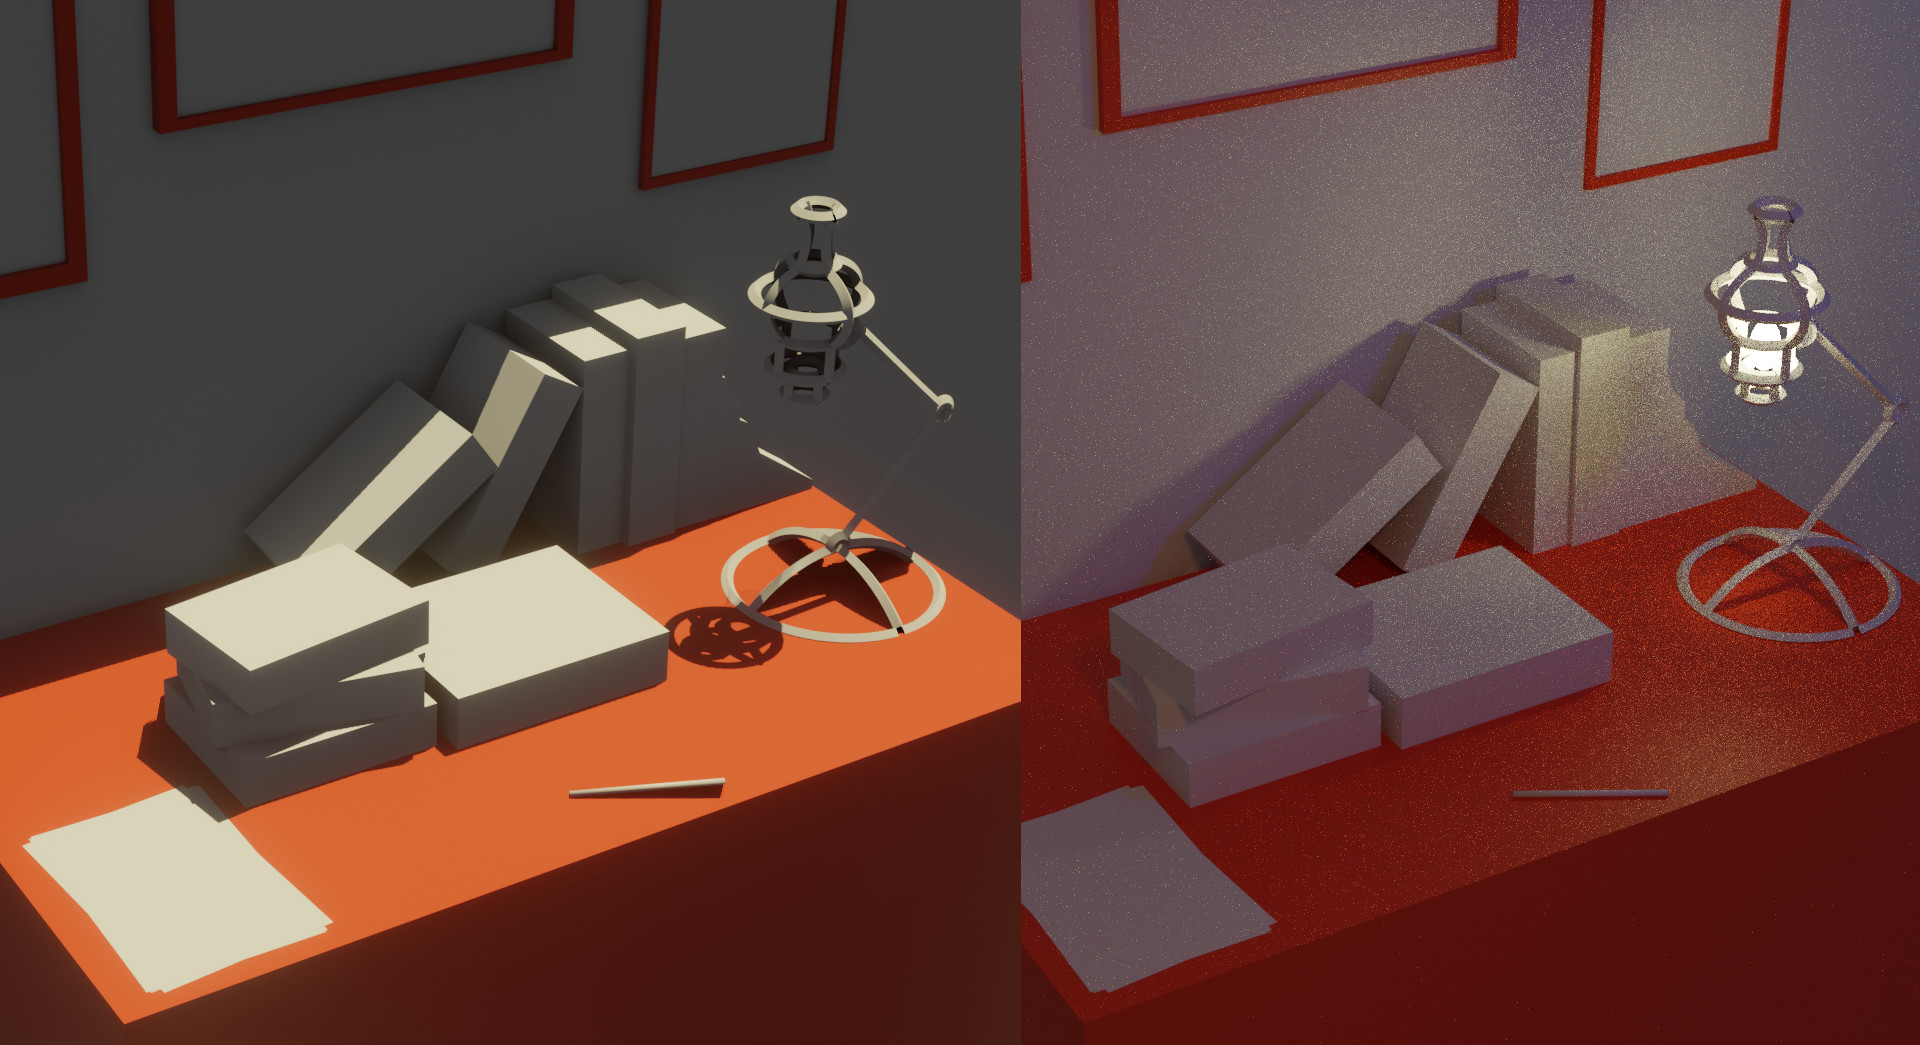
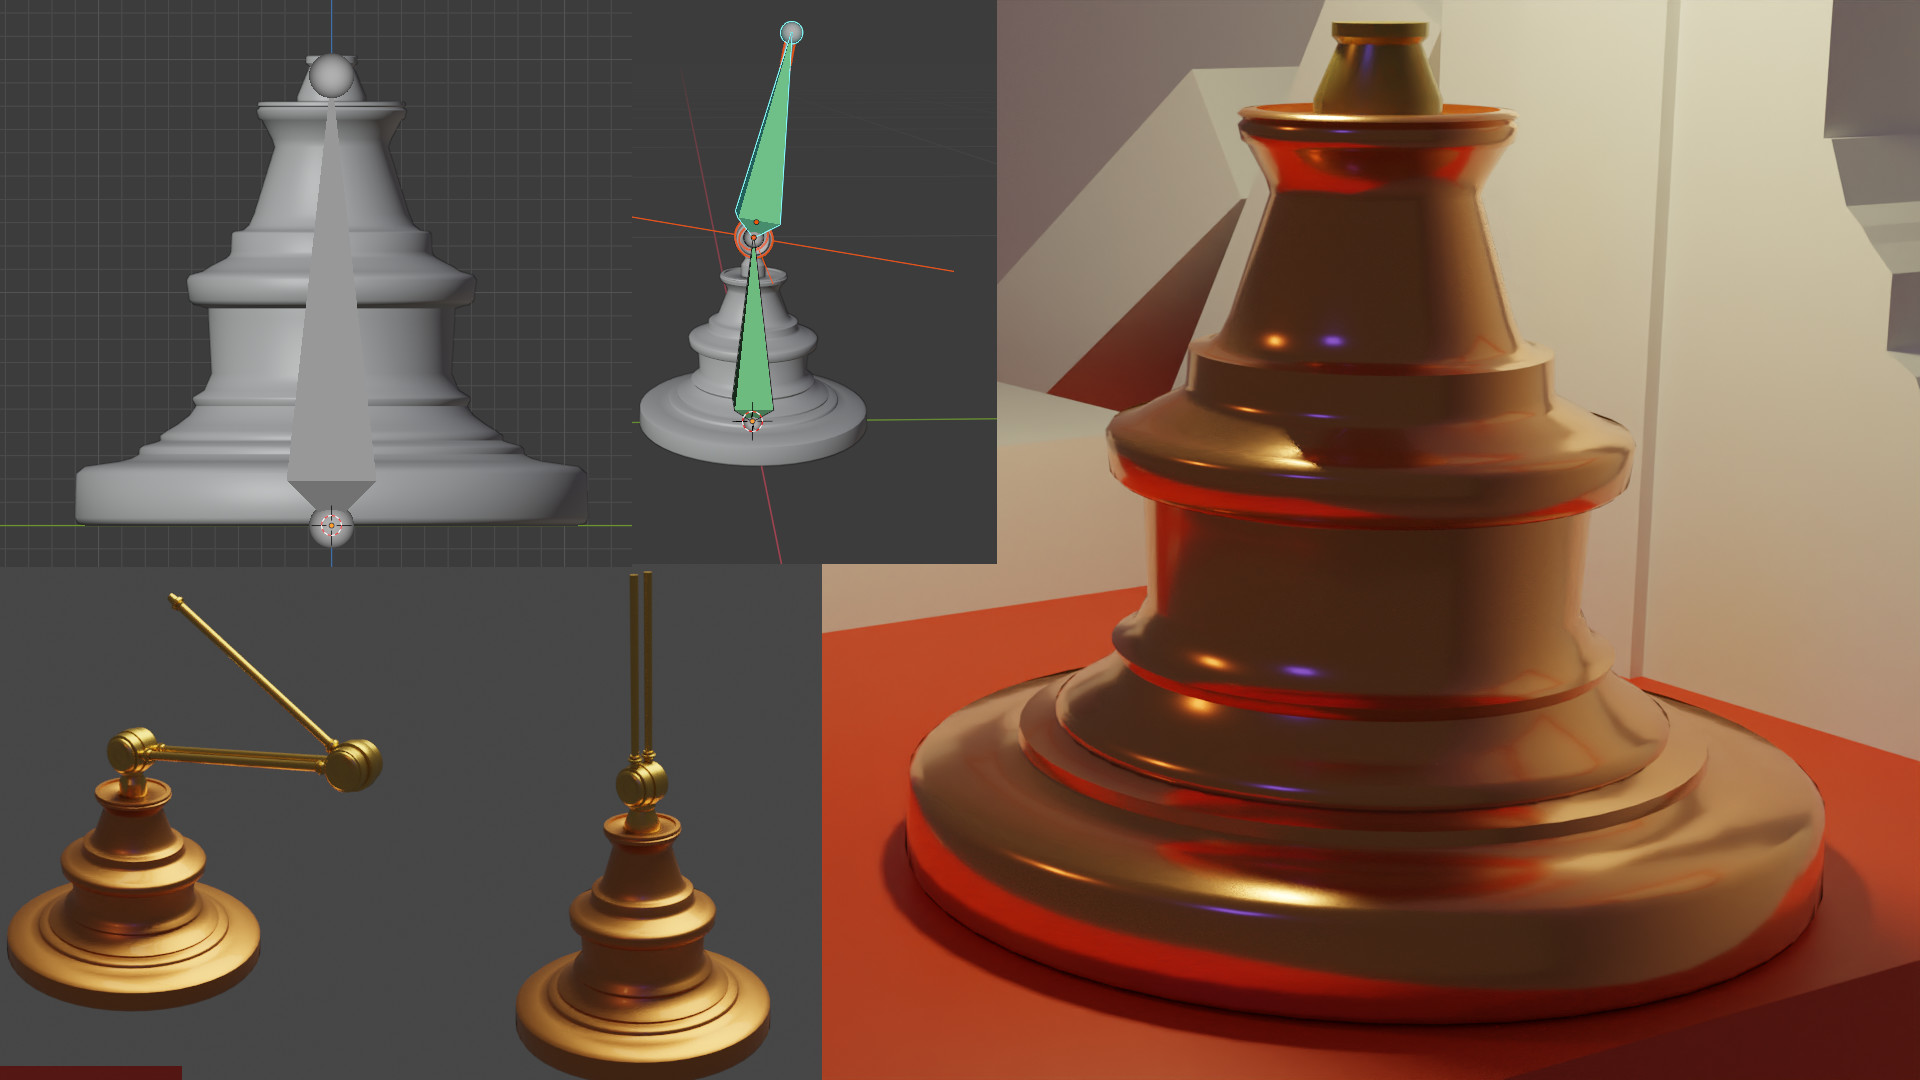

- the Droop lamp (the one at the bottom of the picture) was originally a joke directed at @FedPete 's comment here; something about form follows function. I followed his advice and let “Droop Lamp” follow joke :).
-
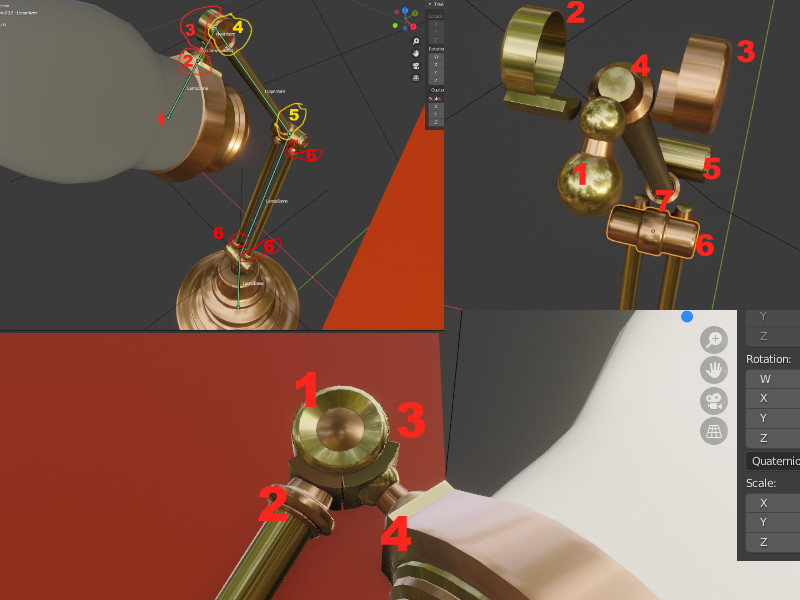
Constructing The Joints:
10.[Update]- Picture Frame Pictures: all were drawn or developed by me (two from this course, two from an art course) except the hands of Adam and God from the Sistine Chapel. Those I edited to look like they were sketched.

- The Reel Deal (On YouTube, private links, since these are getting too big for most free upload sites to handle):
Enjoy!


