This is the Blender Collaboration 2026, week 13 challenge. Don’t be afraid to join, a lot of us are beginners. This is all to practice, have fun, learn, and get together.
This week’s subject is “Rollercoaster”.
“Rollercoaster” - Also a bit of modular design and solutions like following a path …
The rules are simple. 1 subject, 1 entry, 1 week.
You create whatever object or scene or whatever you can think of that has something to do with the subject. It can be as simple or complicated as you want, all entries are welcome!
Post your picture here in this thread. At the end of the week, we start to vote. And if you are the winner, you may choose the next subject and win a unique badge.
Working on the supports now that I have a track laid out. No clue where they should go, exactly. Just placing them where I feel stability is needed - like setting up support trees when 3D printing
Alright, I’m calling this done for this week as I have other projects to work on. I’ll figure out which will be the final image and post it before end of day Saturday.
I wasn’t sure how to approach it from a geometry node perspective, so these are going in manually. Basically, I started by placing a support at the top of each crested hill. Then created linked duplicates of the support and placed them at intervals along the track. For the specialty areas, like the loop and the corkscrew, I placed altered versions of the supports in a manner that makes the most sense to my brain. I have created a few different connecting clamps that i am using to attach the supports to the various areas of the track. I have a few pics from six flags I’m referencing to get an idea of where these supports should go.
Silly question, how do you manage to keep the Z normal of the rail elements pointing upwards? After e.g., a loop, the track is tilted by 30 deg. Do you tilt each vertex manually to correct this?
Great job getting the cars to animate along the track. I’ve just about finished the track and now I’m about to start on my car. Not sure if I’ll get it animated, however .
Love the taxi feel of the car. Are you designing a Crazy Taxi-inspired roller coaster? Cause that would be really sweet! I put way too many hours into that game during my Dreamcast days.
In the Curve Settings on the Properties tab (on the right), there is a setting called “Twist Method.” By default, it is set to “Minimum.” If you change it to “Z-Up,” the mesh placed on the curve will always have its Z-axis facing up.
Thx. Yes, until you add a loop. Then halfway through the loop it twists by 180 deg. But I haven’t tried tilting the nodes with Z-up enabled. Let me check.
You can also use the shortcut CTRL+T and that will enable the tilt tool. That’s what I ended up doing to ensure the track was pointing in the correct directions through the curves.

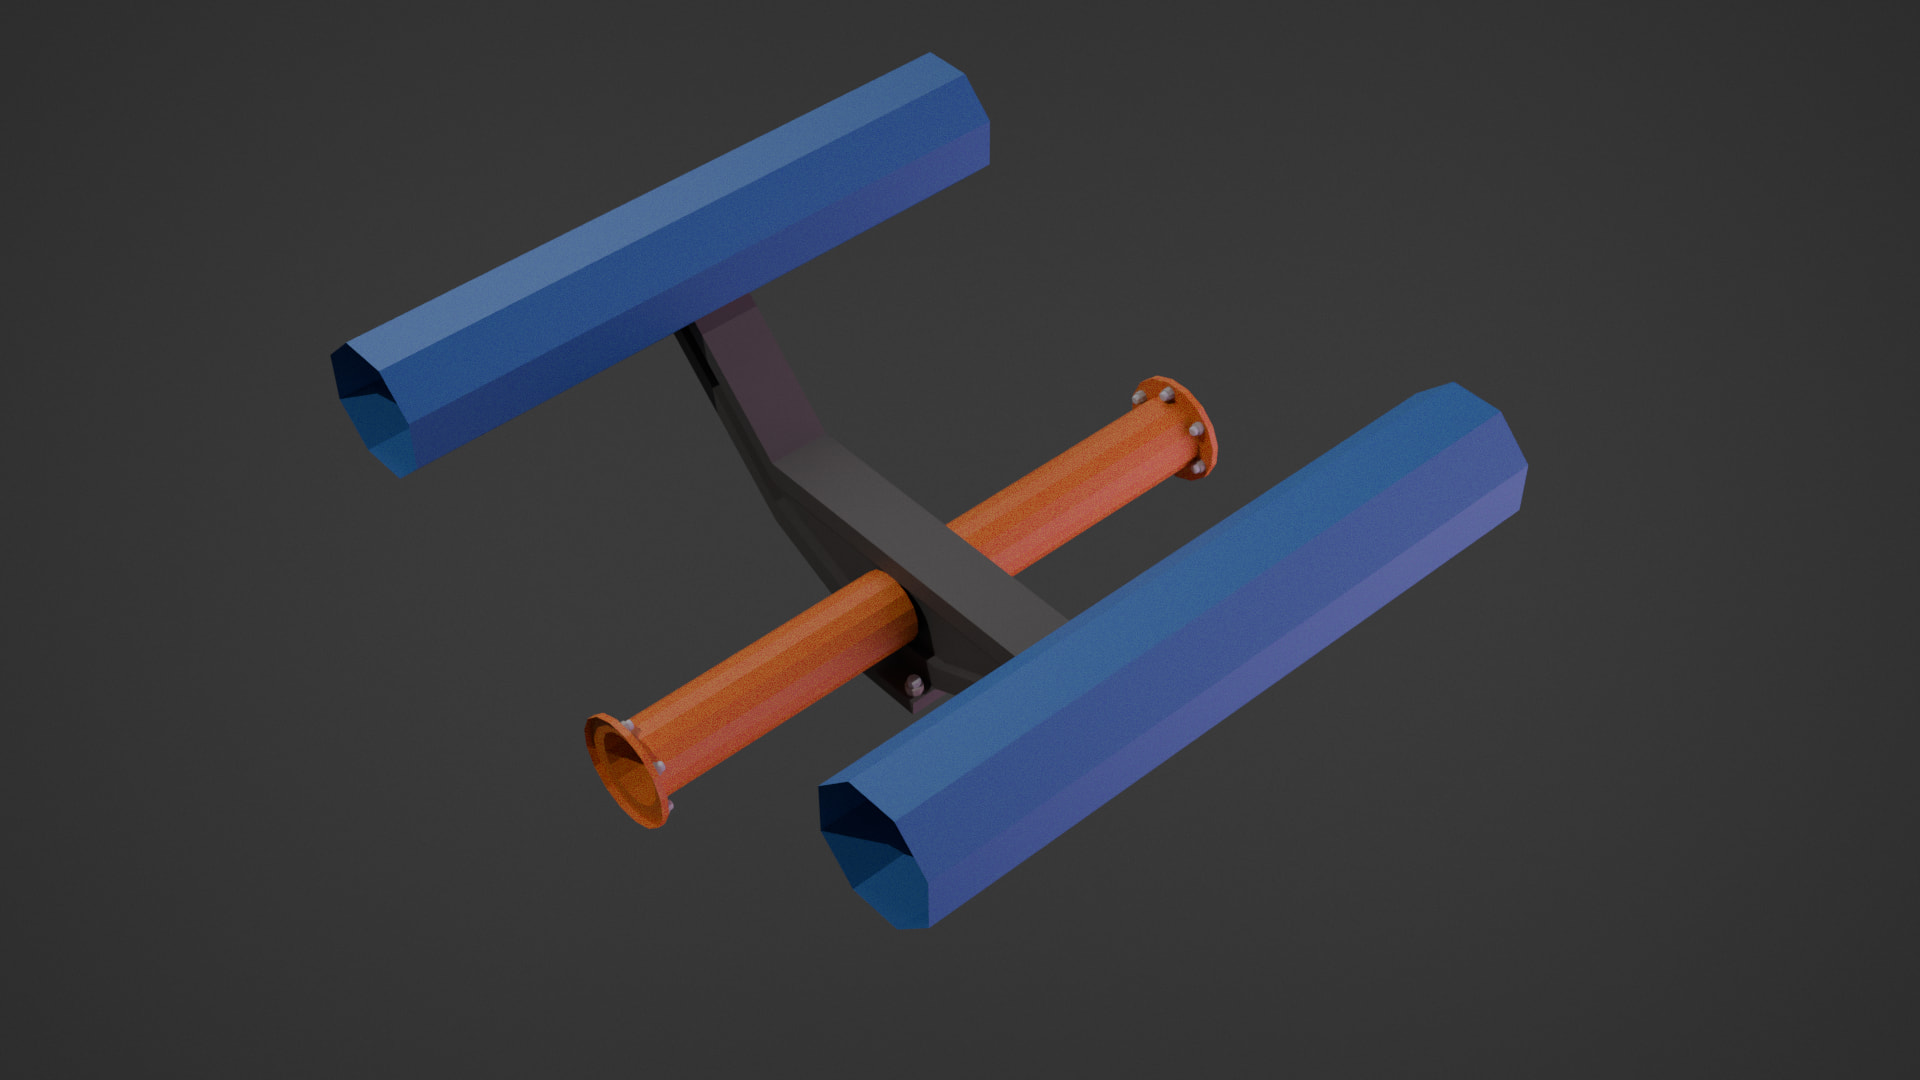


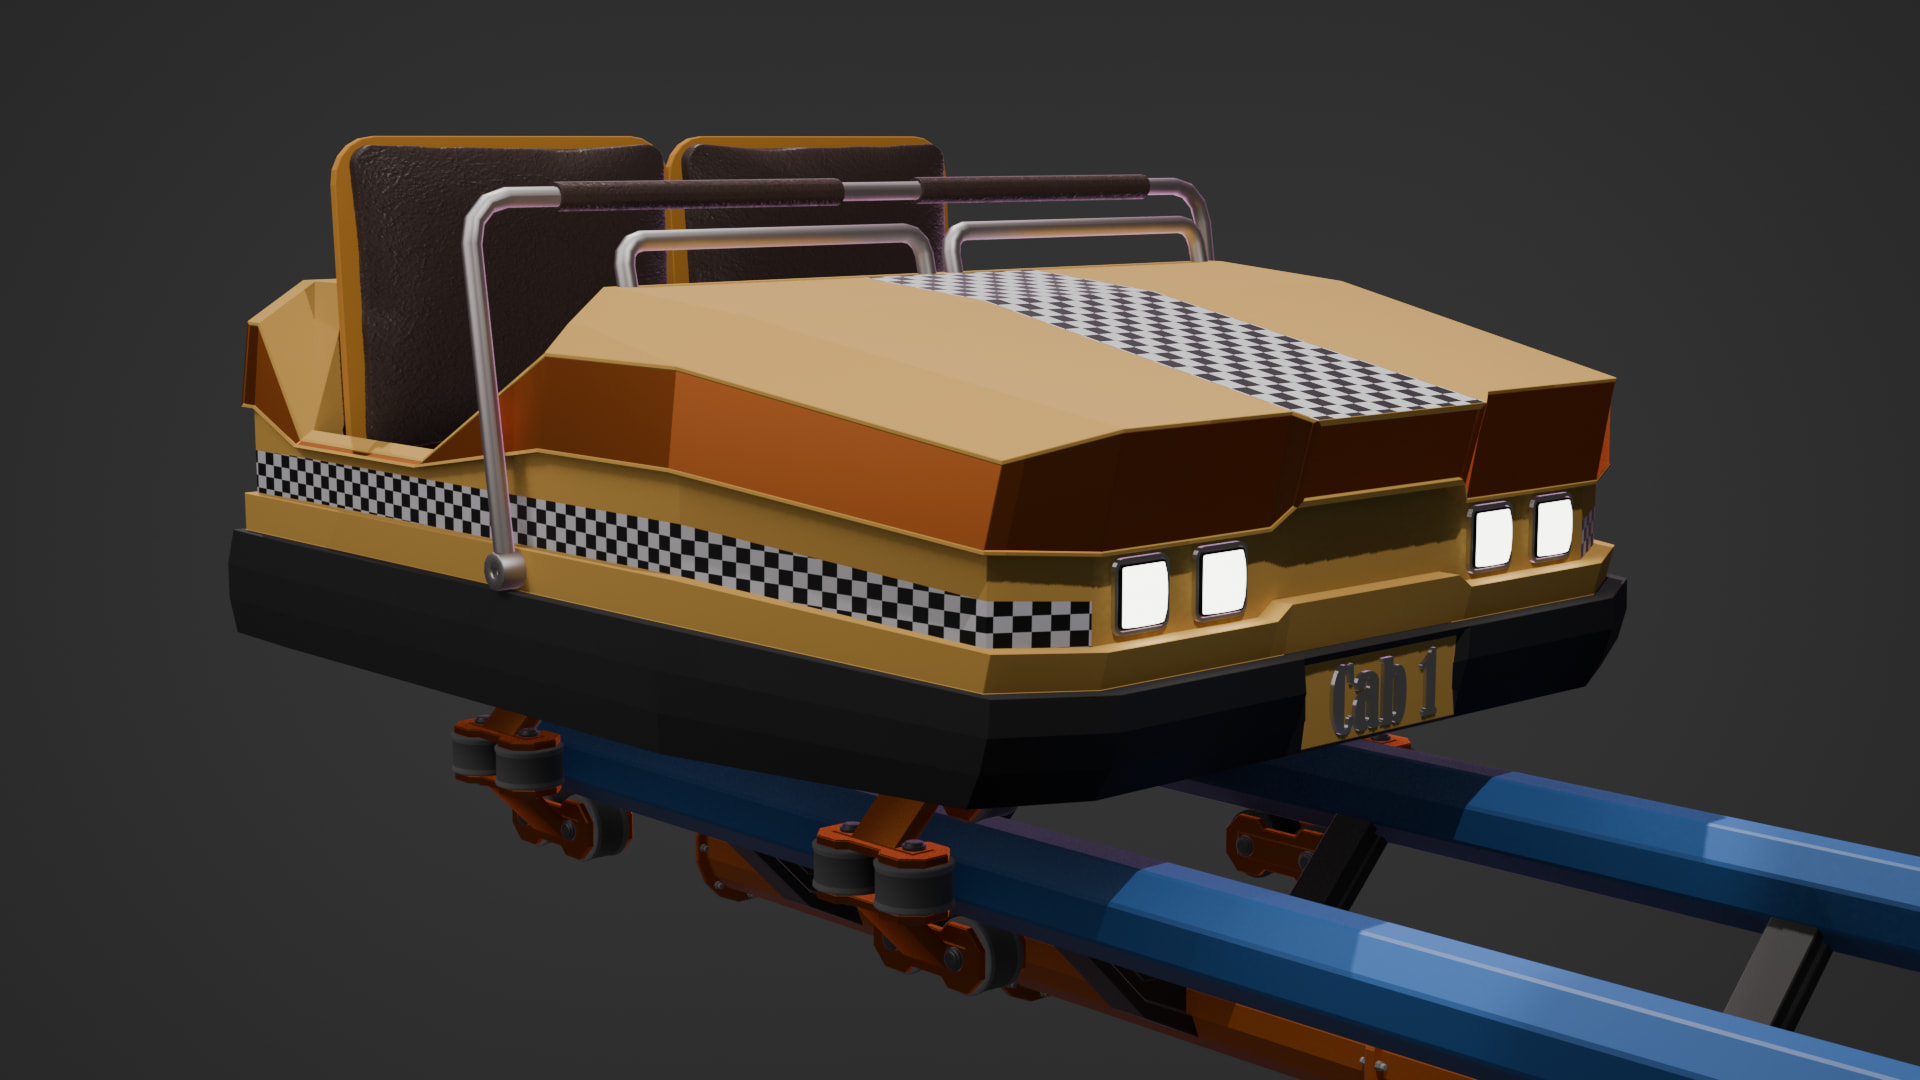

 .
.