This is the Blender Collaboration 2023, week 39 challenge. Don’t be afraid to join, a lot of us are beginners. This is all to practice, have fun, learn, and get together.
This week’s subject is “Something old”.
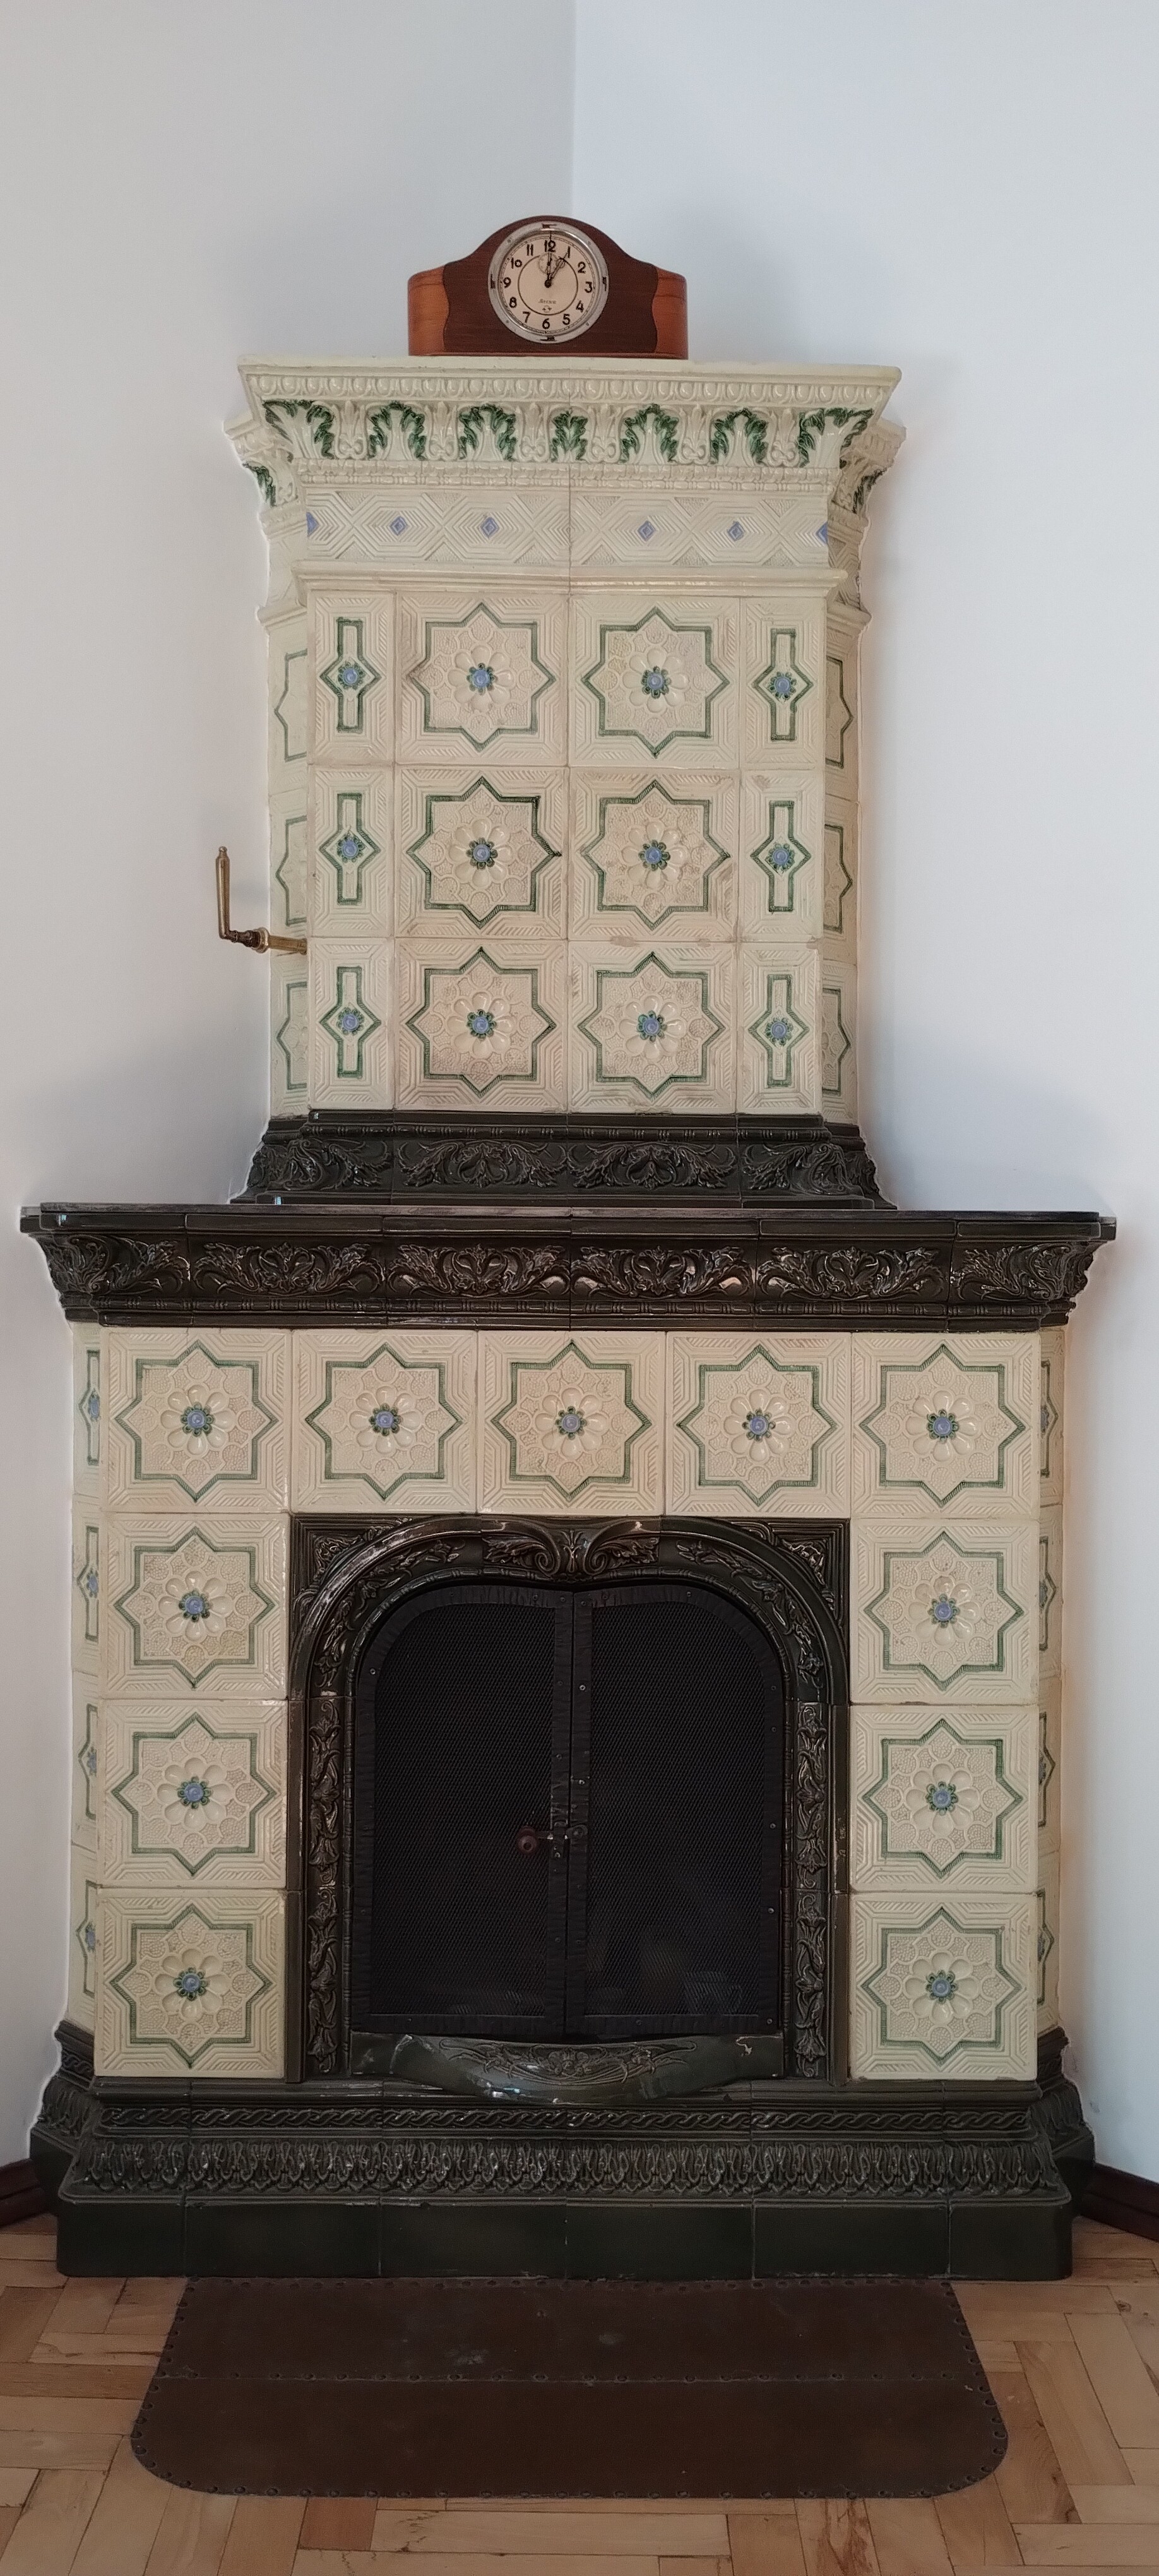
Something old - An old thing, a memory, something historical, something that makes us think of old times.
The rules are simple. 1 subject, 1 entry, 1 week.
You create whatever object or scene or whatever you can think of that has something to do with the subject. It can be as simple or complicated as you want, all entries are welcome!
Post your picture here in this thread. At the end of the week, we start to vote. And if you are the winner, you may choose the next subject and win a unique badge.
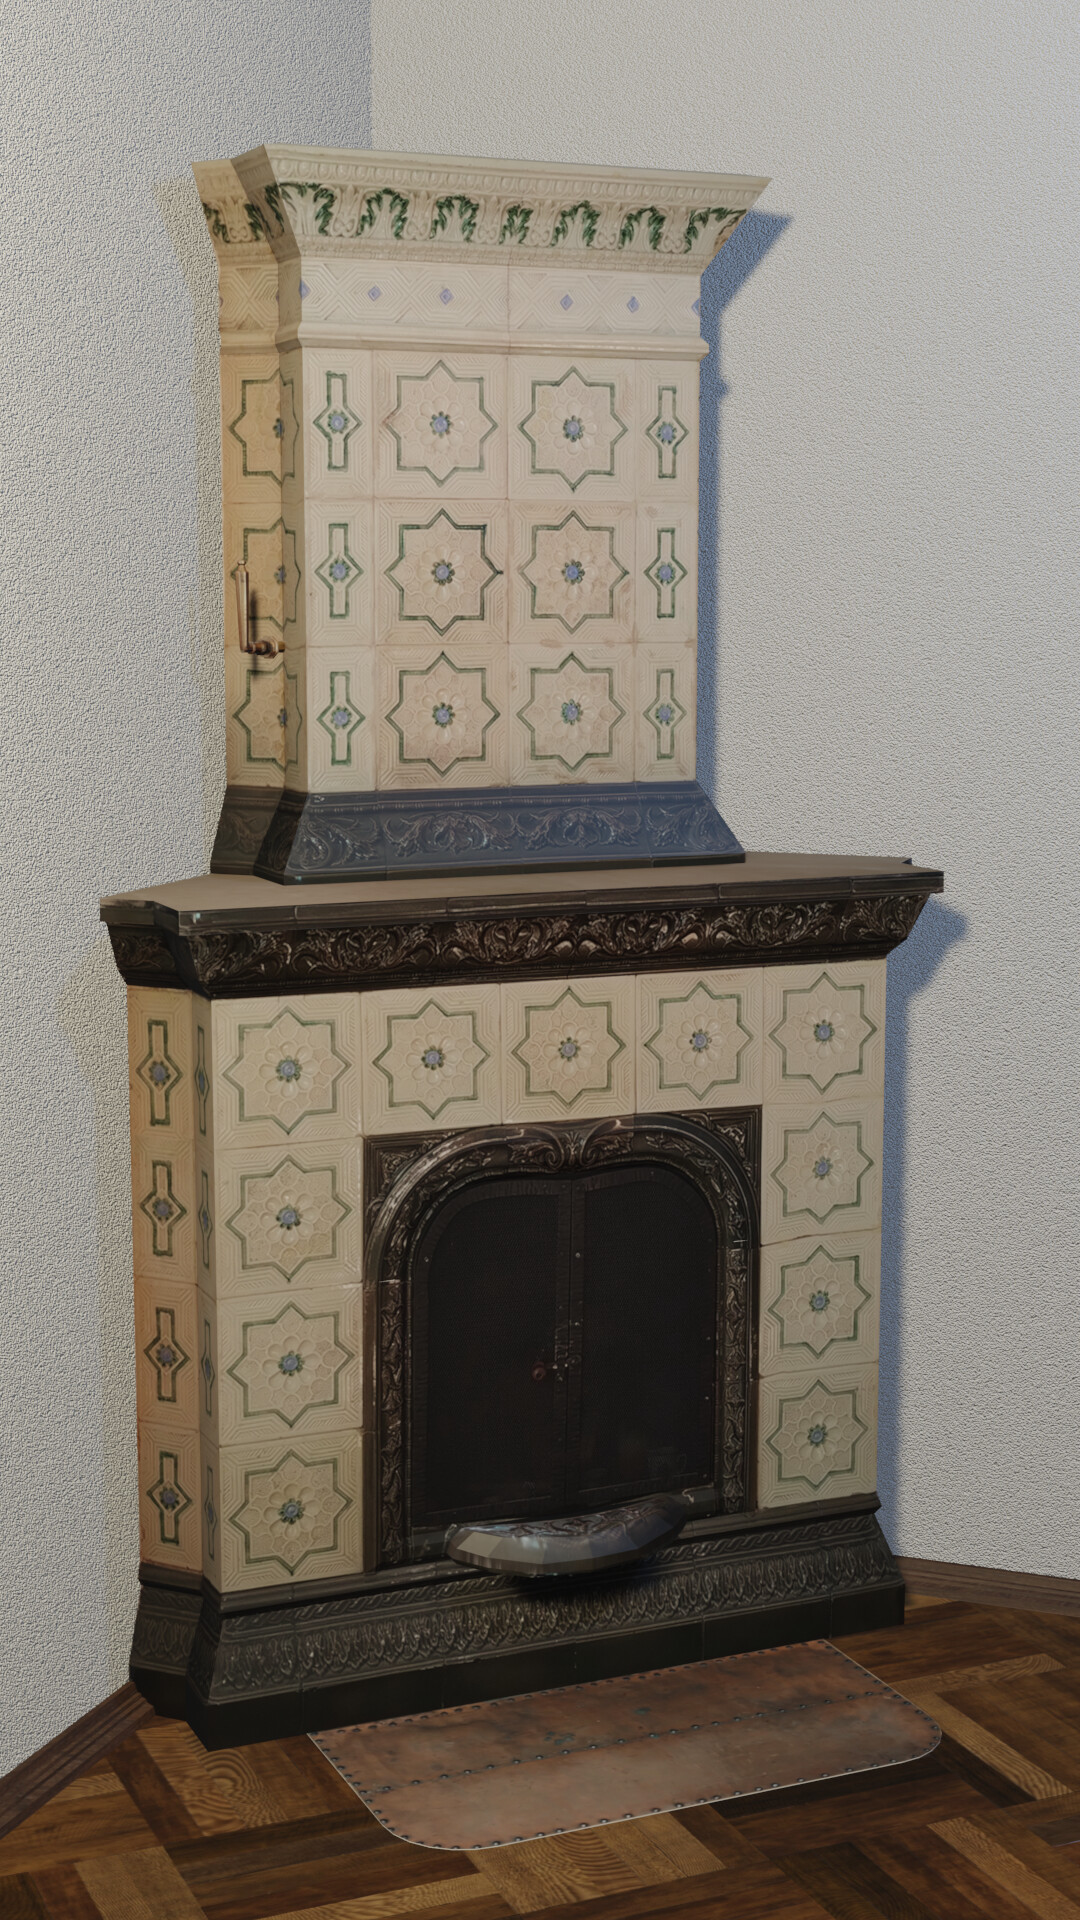
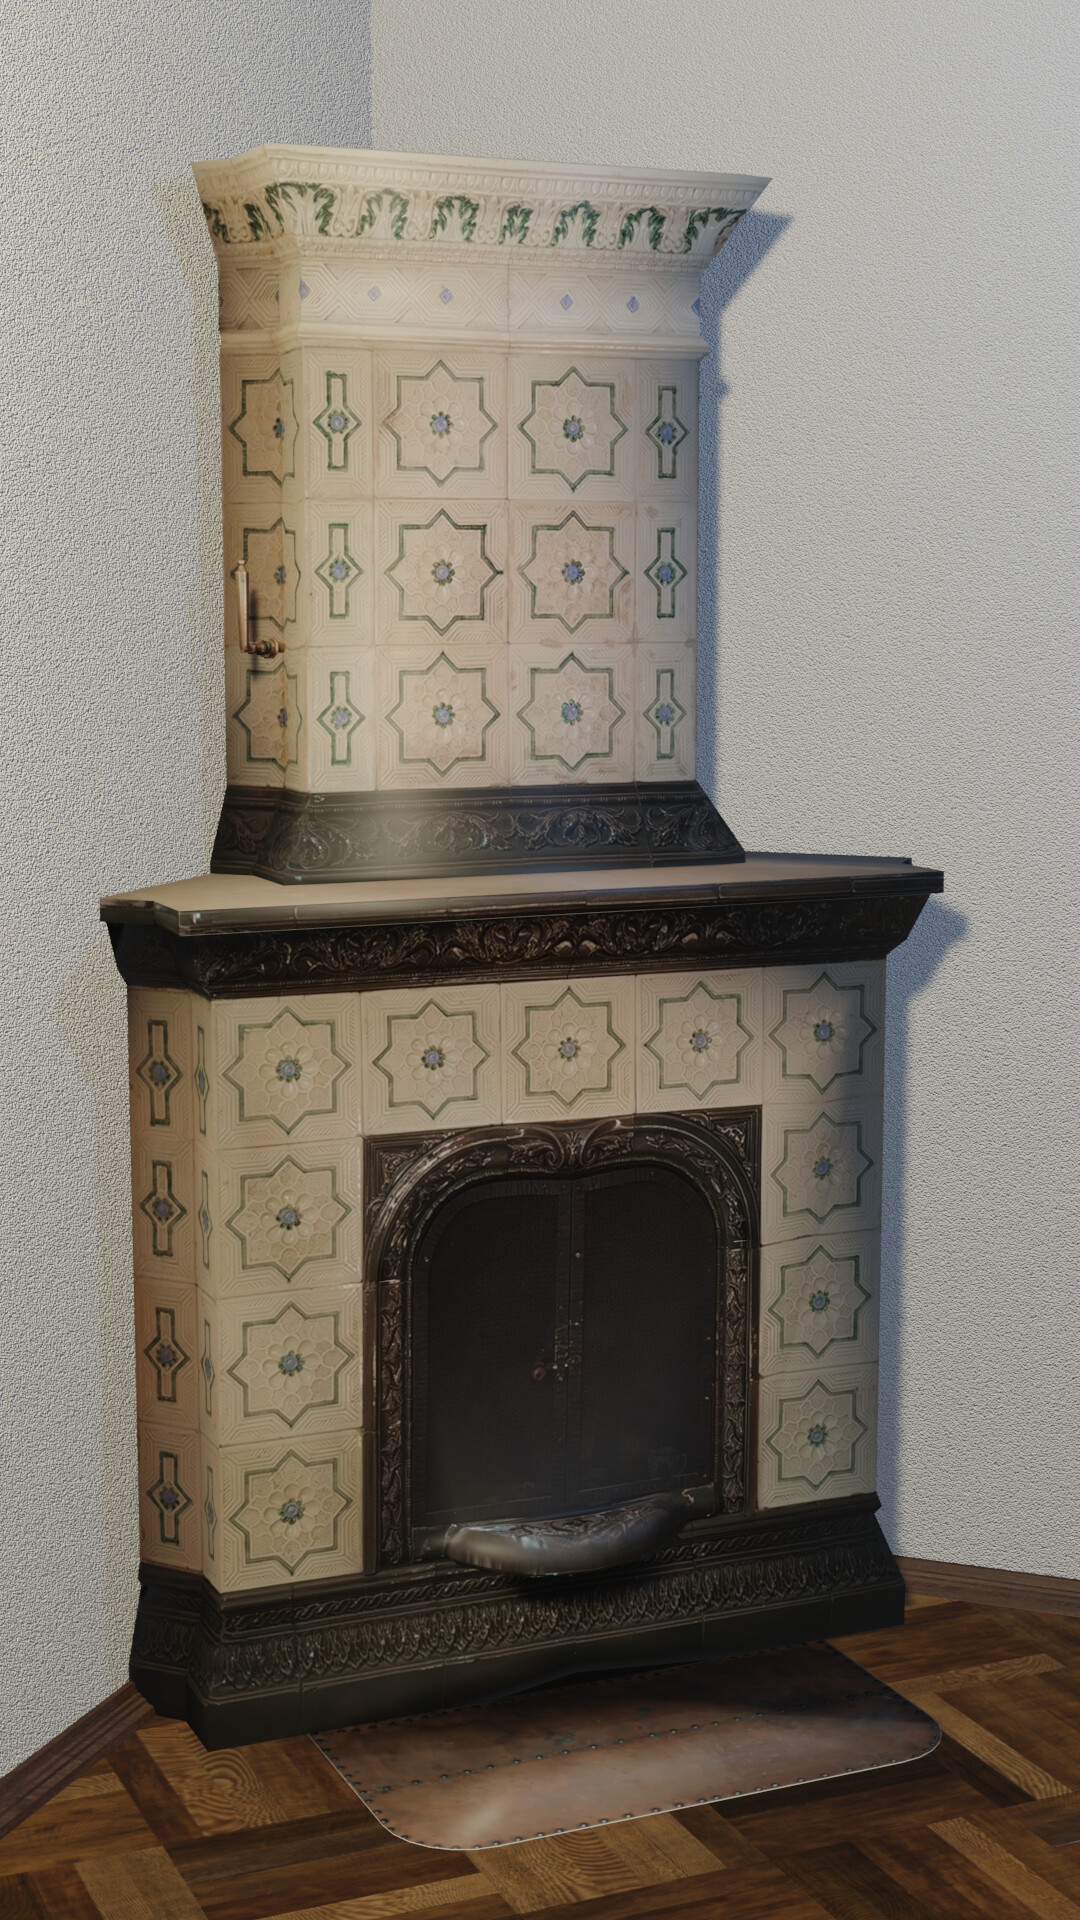
And here is the result. I’m going to continue working on the model, it’s literally just a box with some details, or even start from scratch. There is still room for improvement.
If you select part of the object and press P, you can separate it into a new object. Then you can shade smooth that part, without shade smoothing the rest of the fireplace.
You have to use auto-smooth and either play with the angle under normals or set it to max (180) and mark sharp edges in edit mode.
Alternatively, you could add bevels either through geometry or a modifier.
Smooth shading a rectangular object outright will result in incorrect shading since it will try to make it look “spherical”. You have to control it by setting up the edges appropriately.
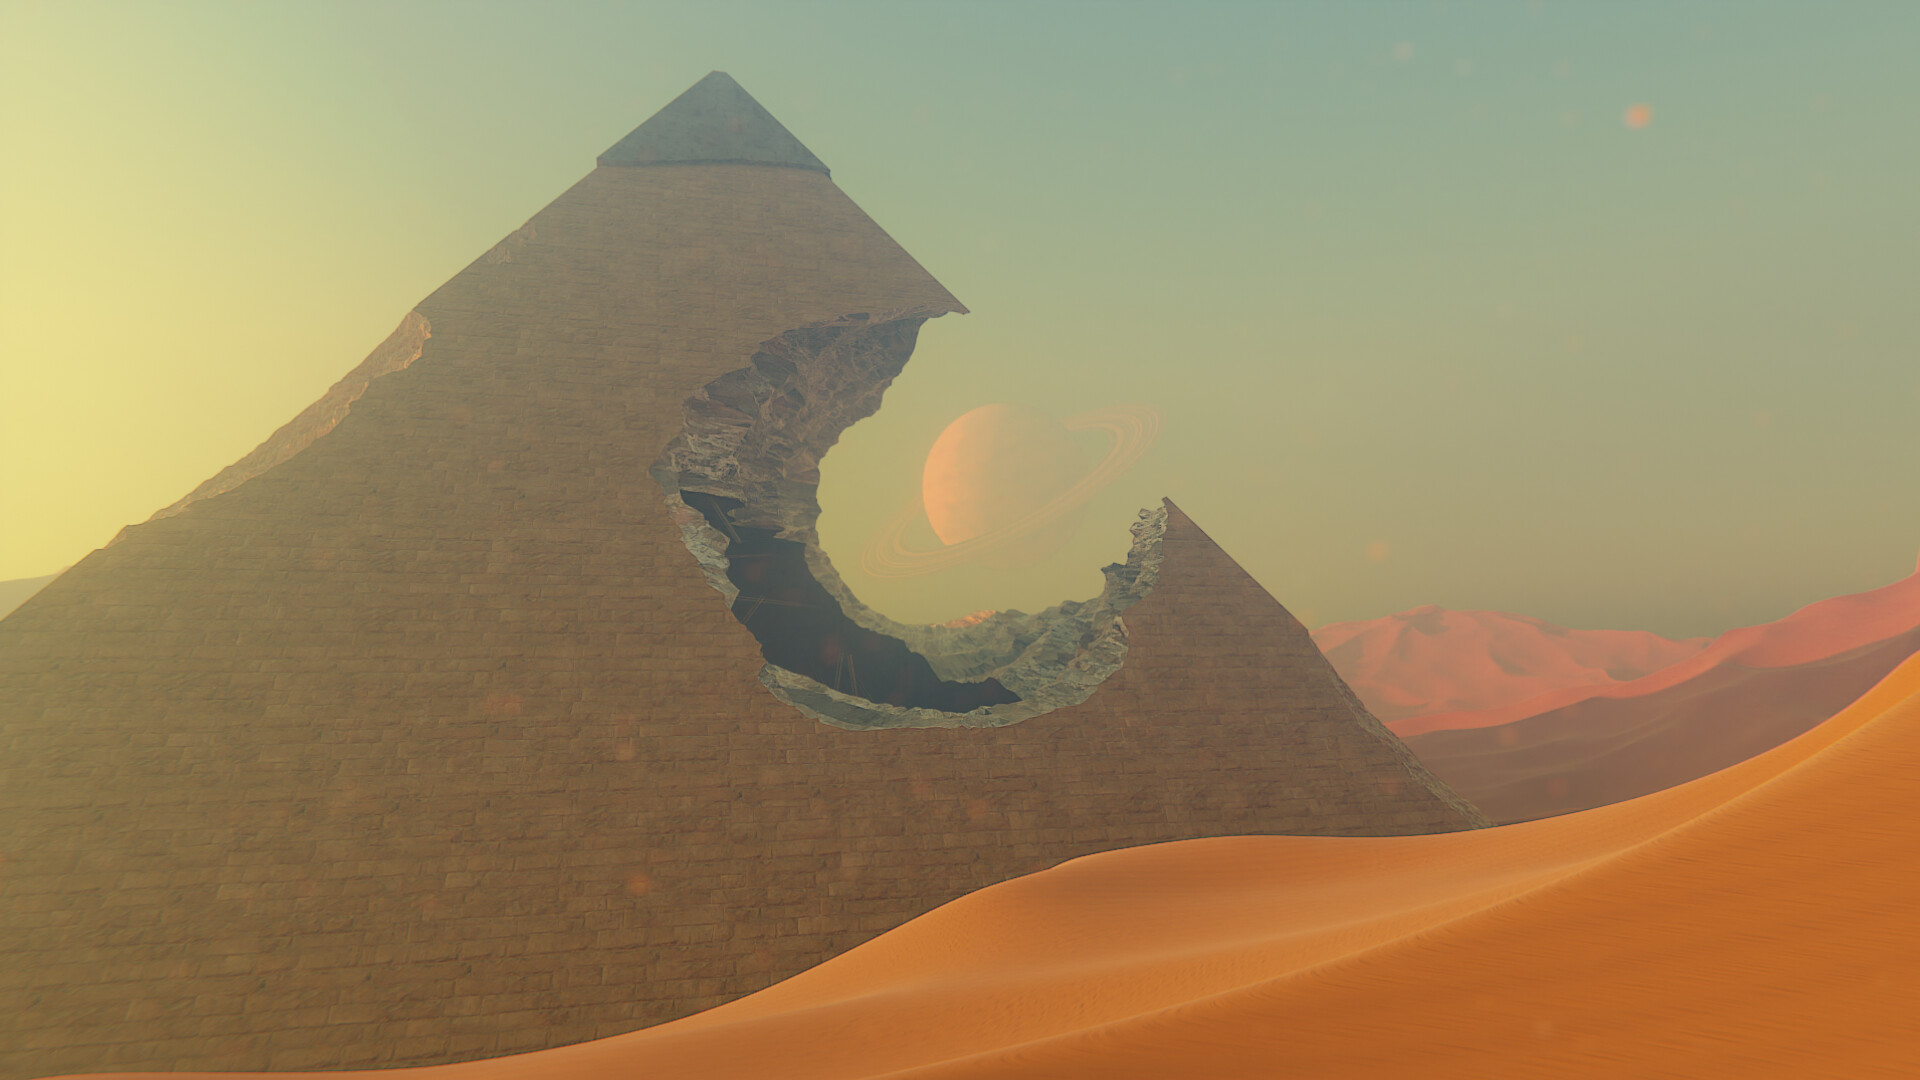
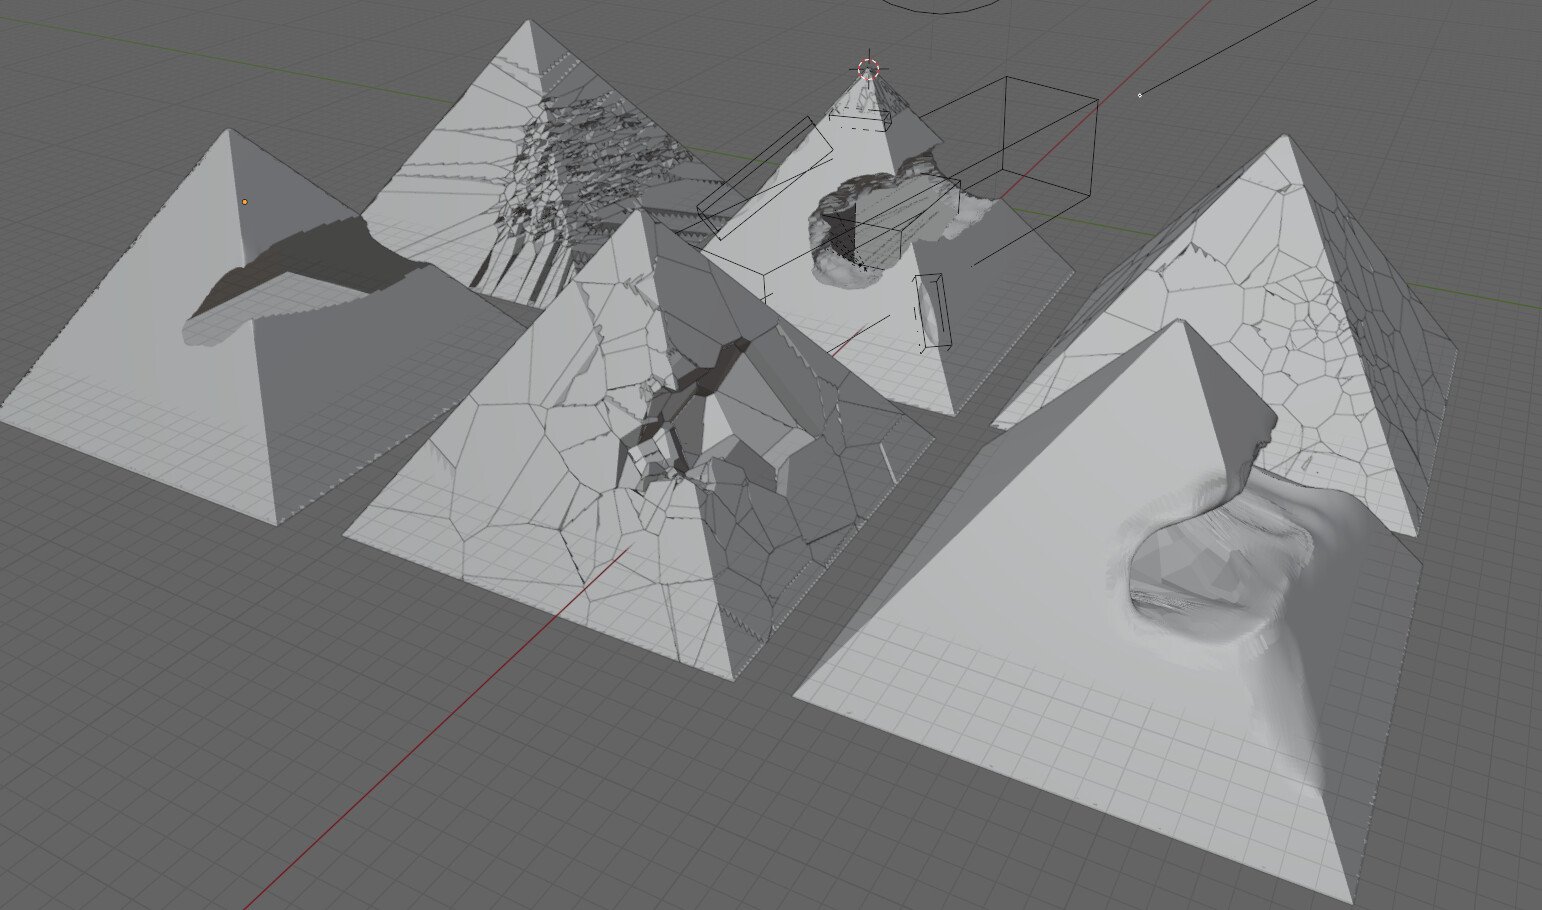
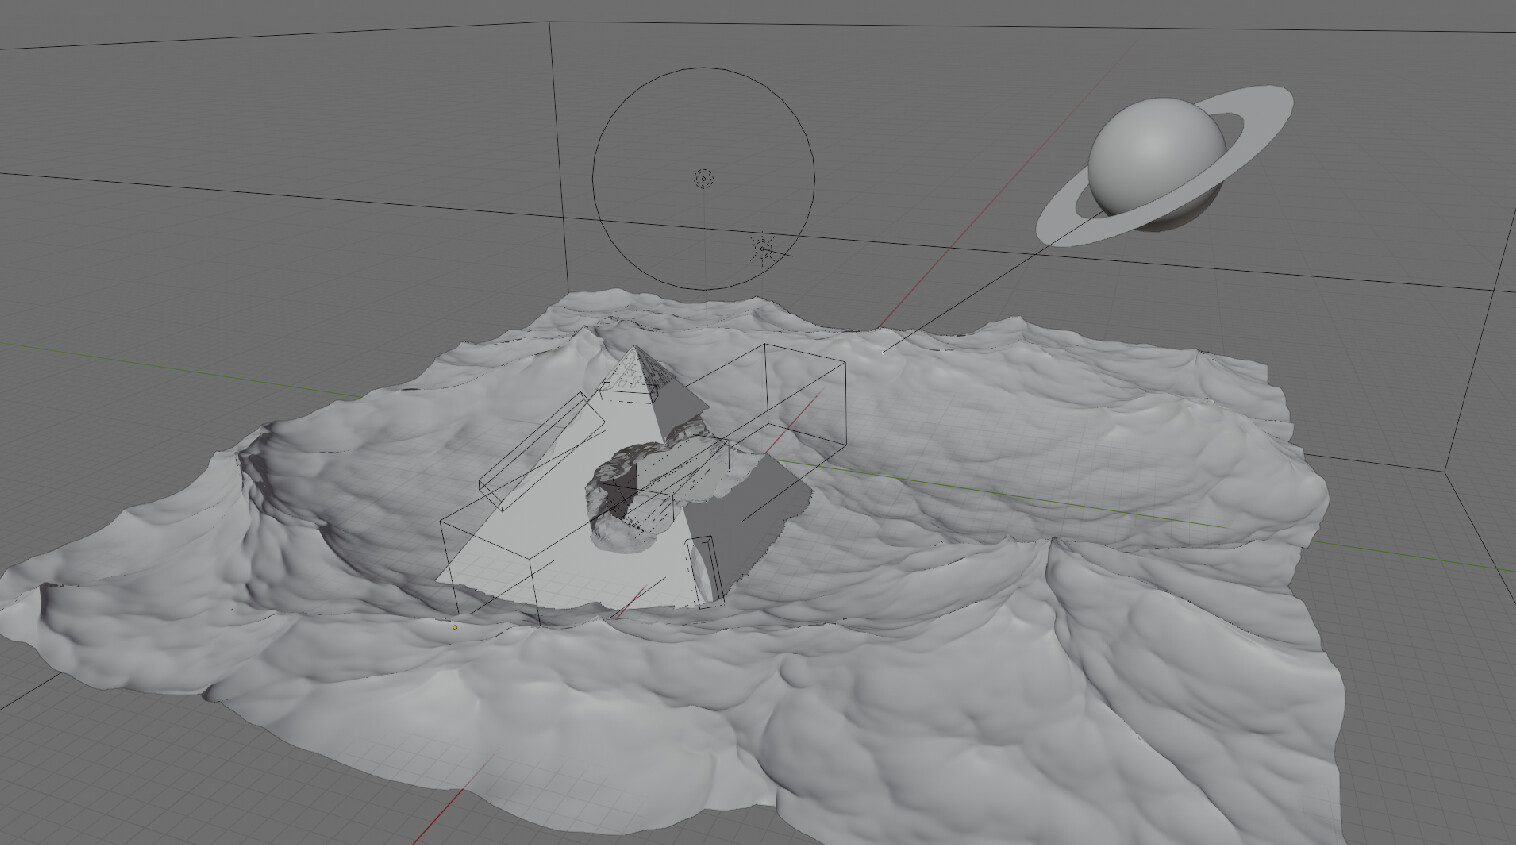
Many pyramids died in the making of this render. I tried many…many cell fractures, sculpting, and manually deleting faces, but could not get a look I liked. In the end I used booleans, by creating a sphere and using the Displace modifier to create noise in the cut.
We @BlenderCollab have a few days to vote. You can vote fast but also think slowly about design, colors, technique, difficulty, subject, realism, etc. Choose consciously and not on your own entry.
The new subject week 40 “Dragons nest” has already started. The winner of this week’s “Something Old” challenge may select a subject for next week 41 and win a badge.
Yes, it was hard to choose. In the end, I chose the picture that made me feel more emotional.
Thanks everyone for the advice. Things don’t work out well for me with shade smooth. I will continue to work on this. In the end, I temporarily broke the model apart so that the doors are smoothed, but the fireplace itself is not. And added more details. Work in progress.
This is a great portfolio piece. How did you achieve the atmospheric perspective? I’ve used volumetrics before, but had not achieved such interesting color contrasts like this.
Thanks! The volume has a low density (0.01) controlled by a gradient texture moving away from the camera, then a high anisotropy. The rest is then playing with the Sky Texture node and tweaking to get a nice effect. A lot of the contrast was done in the compositor with the Colour Balance node, giving the Gain a little bit of blue made a considerable difference.
@Congartulations@Myn on your beautiful futuristic scenery. The viewer gets puzzled by what happened here. This project shows a good set of Blender skills—a well-deserved winner.
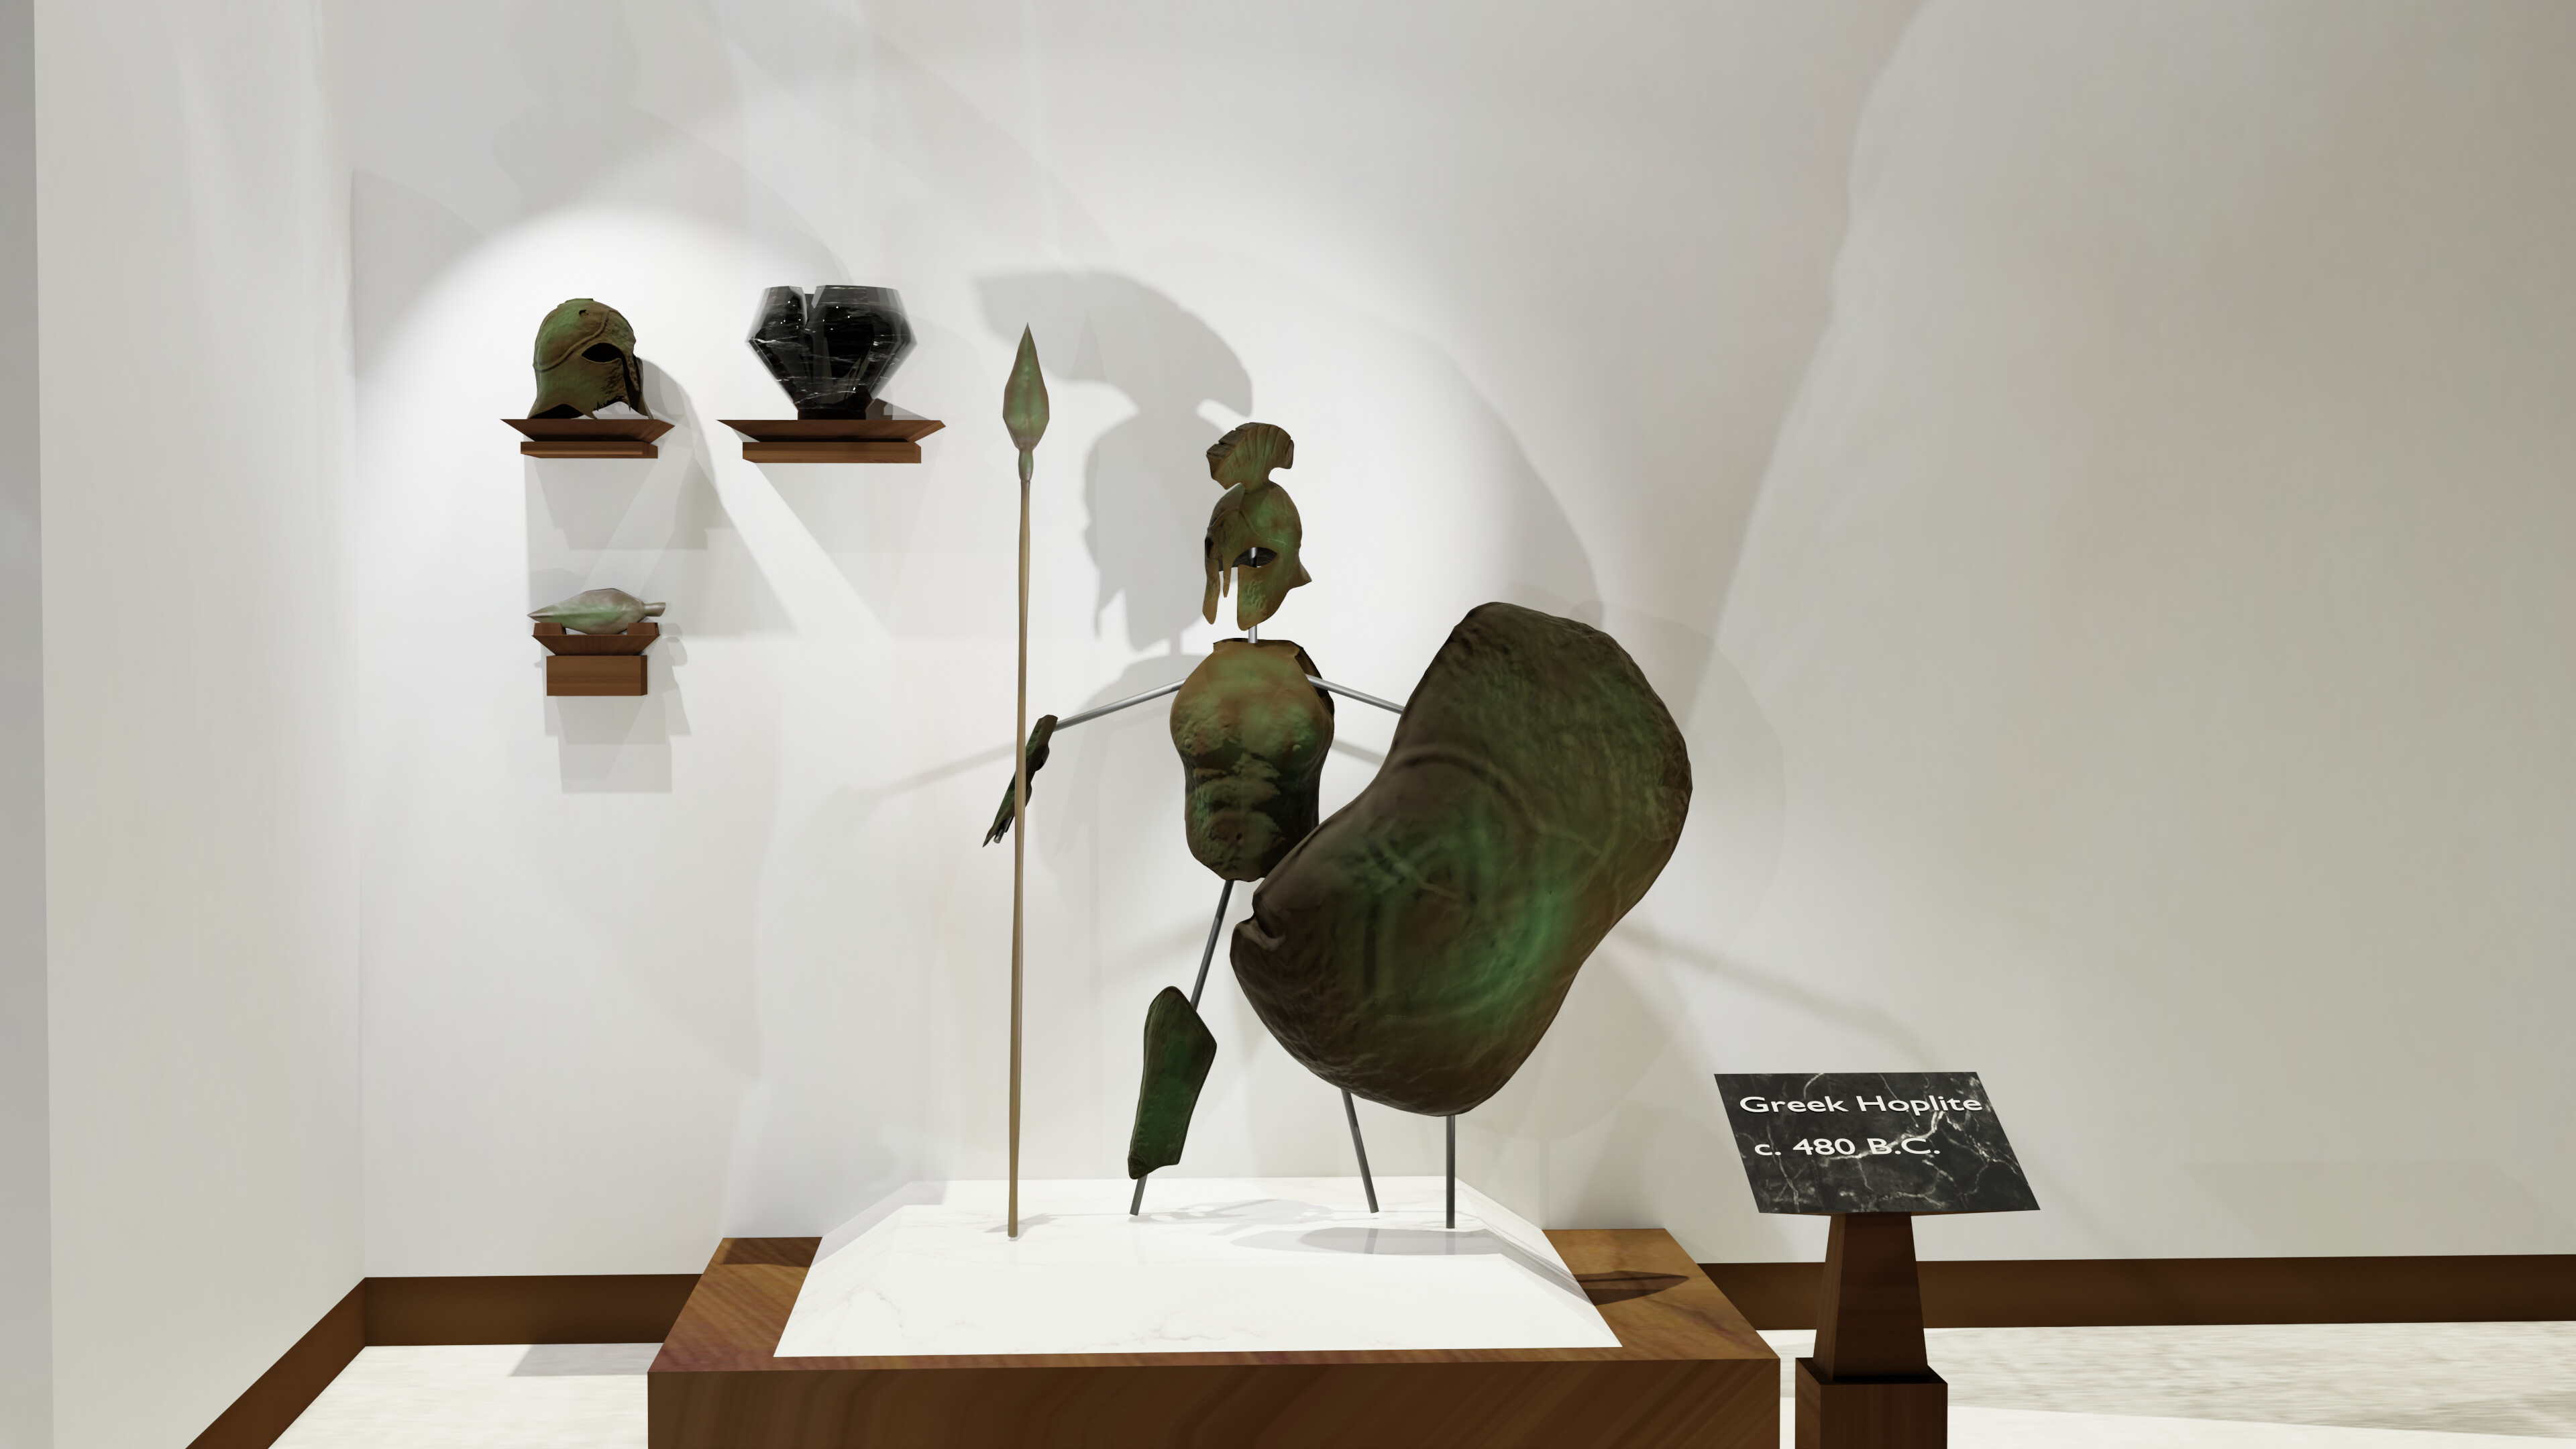
Joey_Cuevas - It is a great idea to show something old in this age of streaming content. I do get the feeling it looks tiny (miniature), not sure why. Maybe camera settings.
Jern - Nice setup and chosen something old subject. The texture used for this is excellent playing with lights. Play more with the scene setup.
FedPete - Definitely something old. But too simplistic. I used camera focus but also movement blur (it’s a scene from an animation). The green electron bottom right is strange. It has blur but also draws sharp. While the top one is blurred. It was a nice experiment that involved more study on motion blur.
Kzanna - Fun subject but could use better shading as you experiment already. In project like these, I would use as much vertices to do the job. Individual layering of the tiles, cracks and crevices (sculpting)
Note: I don’t want to offend anyone. I try to write down positive ideas and visions in my simple use of the English language. I am also sometimes more inspired by a particular subject or solution. I’m also learning from you!