Don´t know what exactly i´ll do - but my goal for this collab is to understand displacement-baking and to be capable of doing it. Followed along with some tutorials over the last days and also tried the GrabDoc Add-On, but it didn´t really work out, i didn´t get the same fine results as showed in the tutorials. They make it seem so easy but for me it´s such a hard task. Just can guess it´s because some minor imperfections in different steps of the baking/applying process. But there´s progress.
Story so far + questions
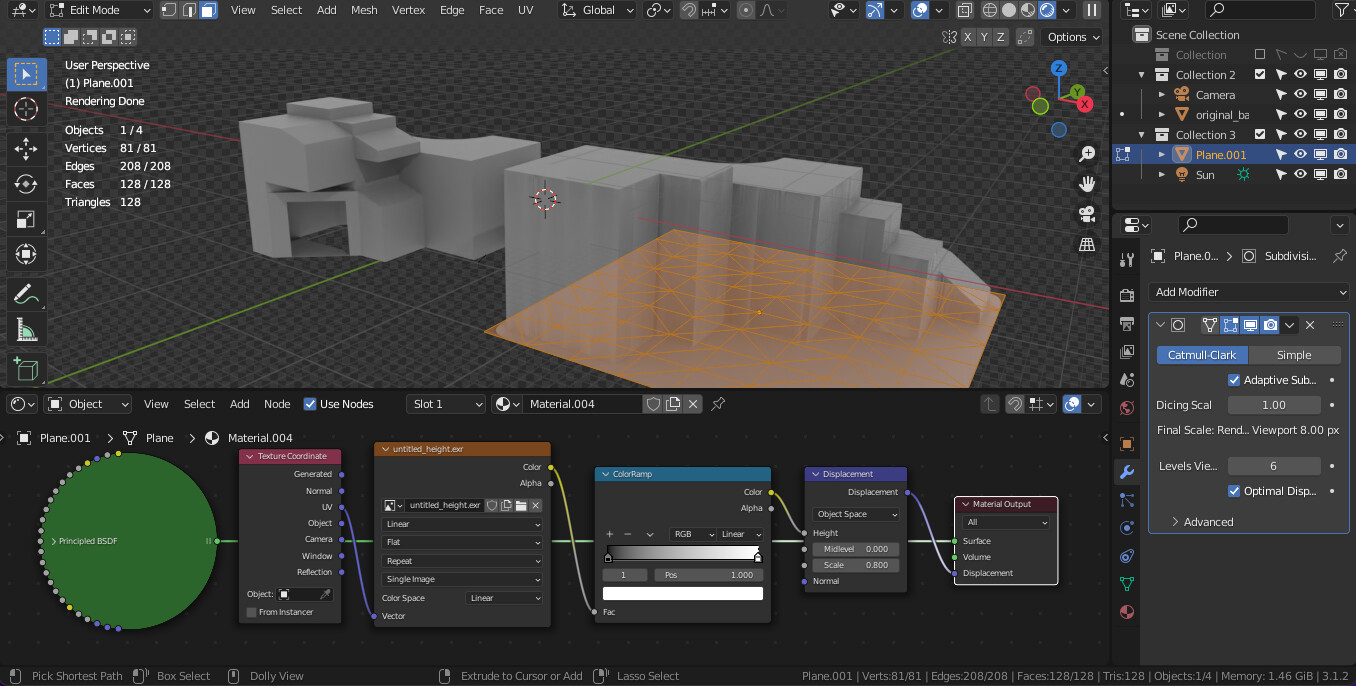
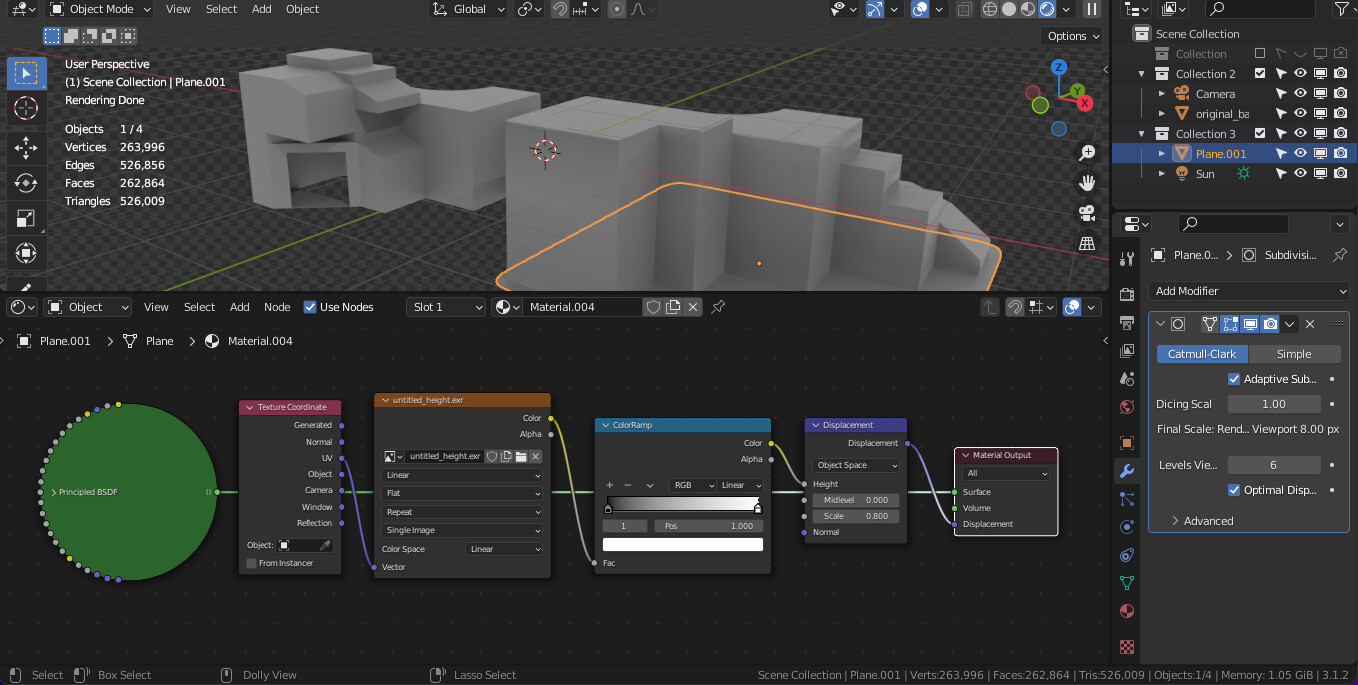
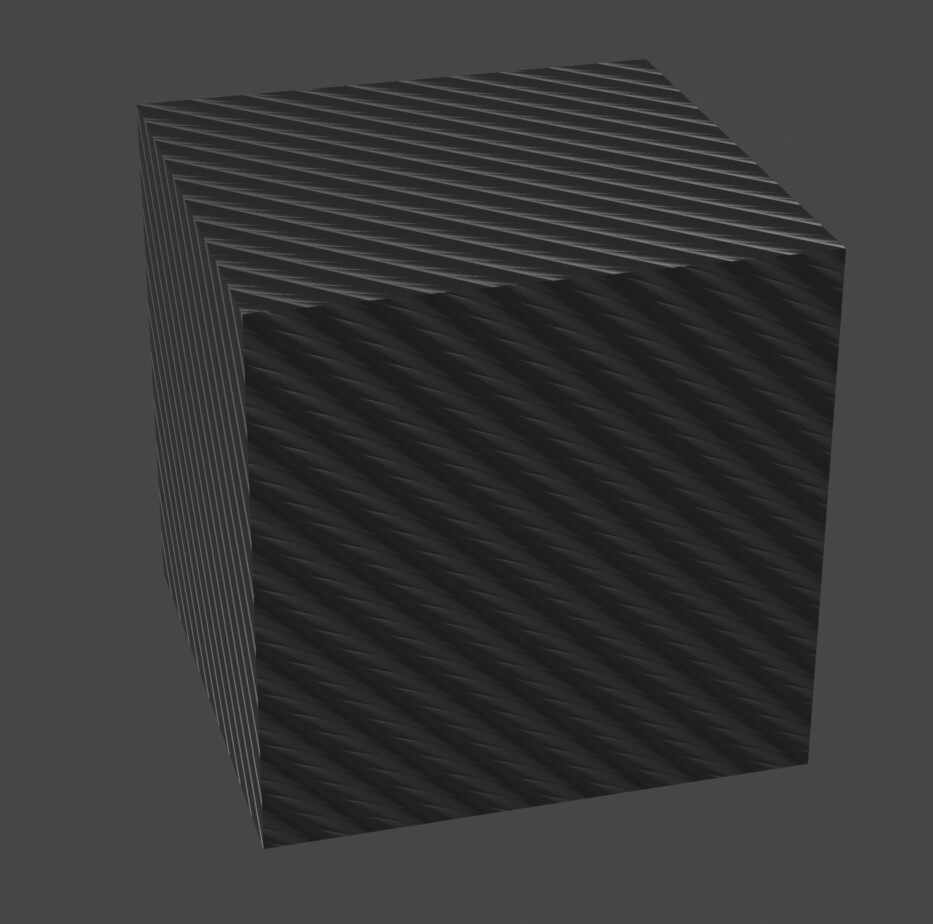
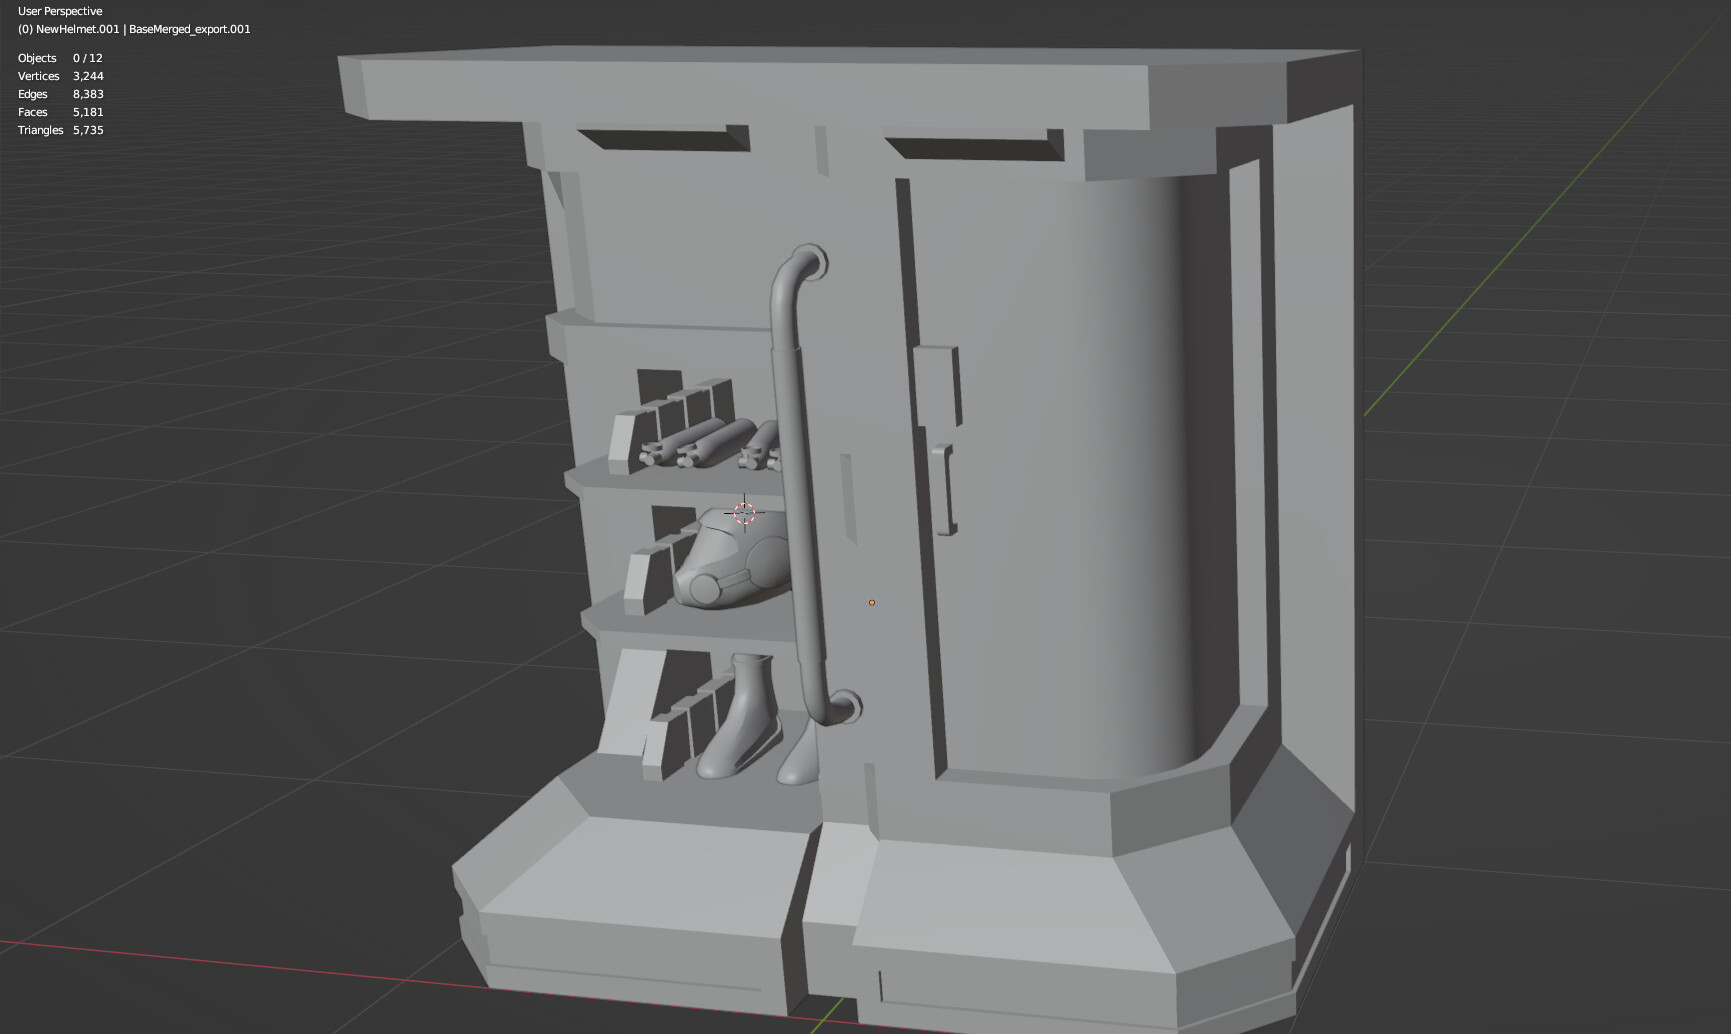
Made an experiment with the “architecture” base-building from last week and was able to bake the origina base-mesh (1721 tris) on a plane with 128 tris. It´s nowhere near perfect but looks similar at first glance. And that´s a step forward. What baffles me a bit is, that blender seems to also pull tri-count from active modifiers into the statistics, but only in edit mode, as seen in the screenshots. So there´s a huge difference in tri-count between edit mode and object mode per object. I know y´all won´t be too strict with the ruleset but i really wonder which one of the numbers matters in the end for this collab.
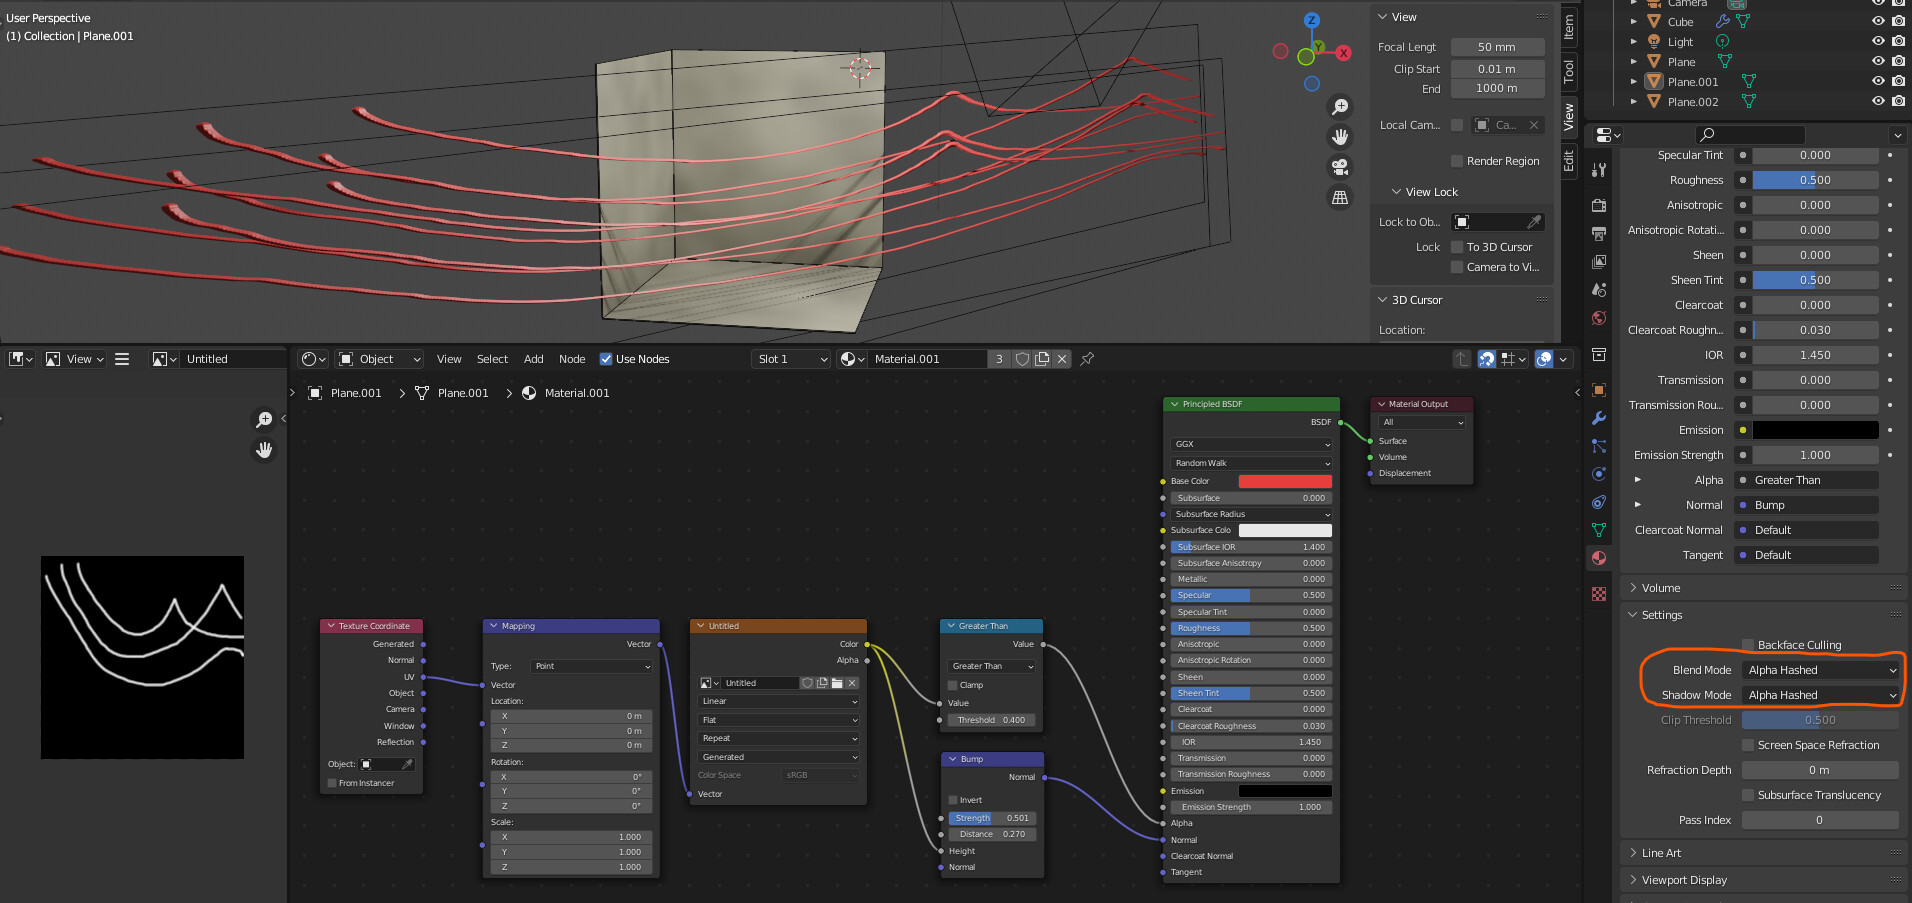
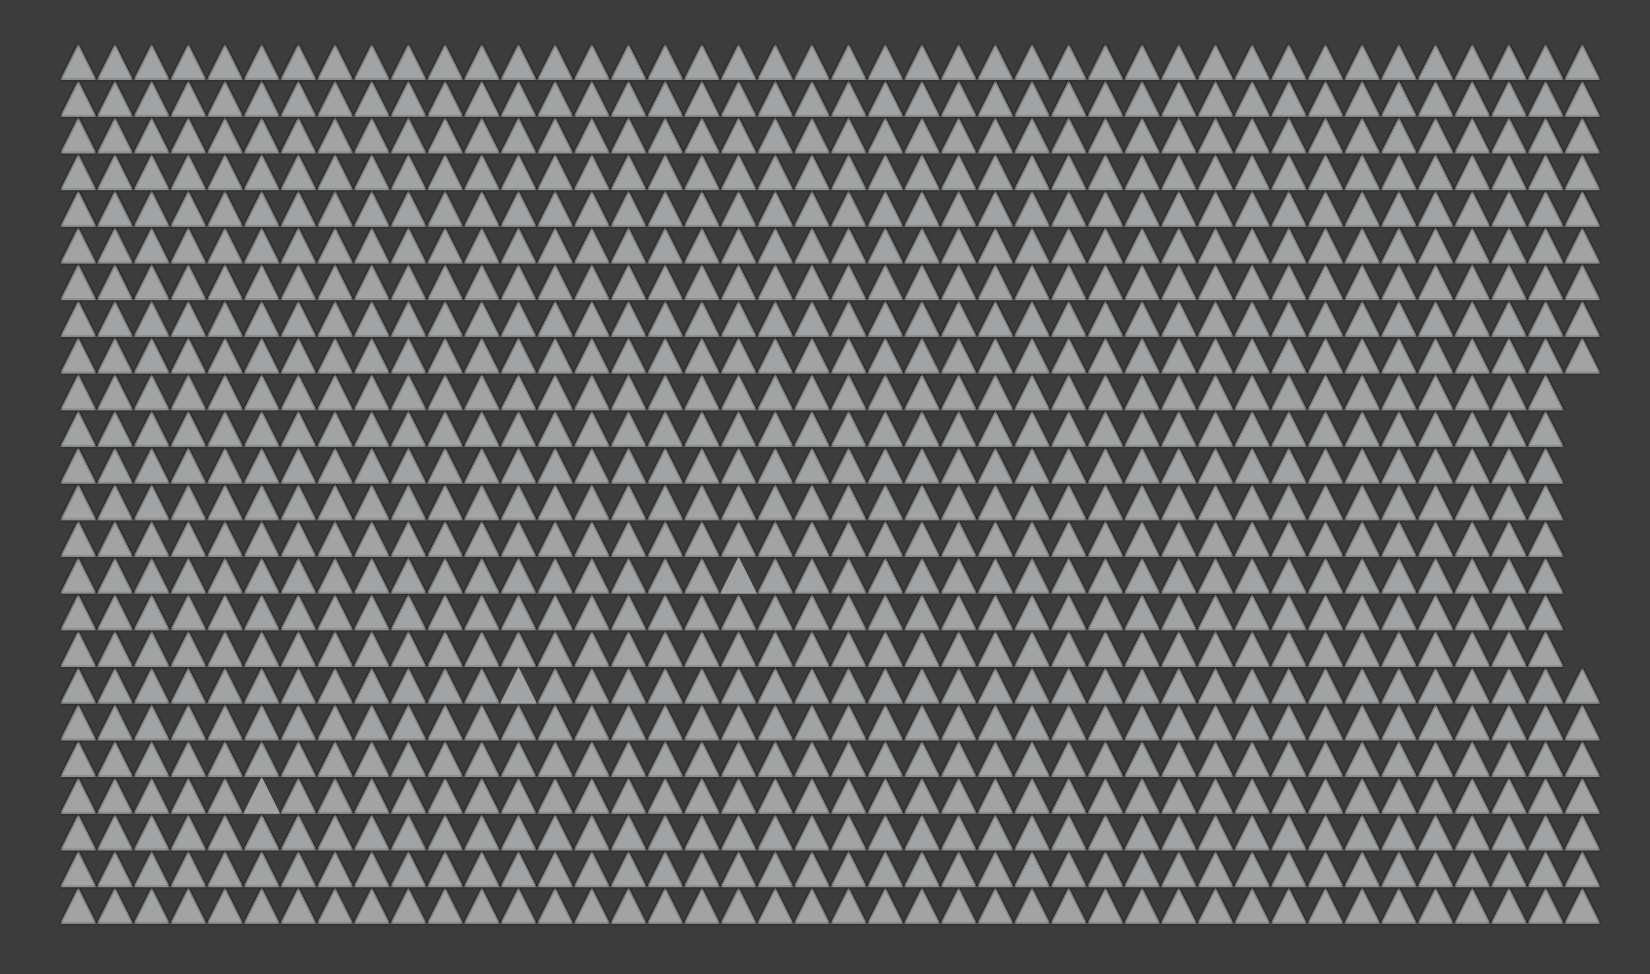
I´m on the lookout for simple solutions from which i can learn and i´d highly appreciate if someone could have a look at my current node-tree and can tell me if it´s already compromised or if it´s a good way to start. I already know that i didn´t render the baked uv-map sensitive enough. Rendered it in as a 2k .exr and i guess that´s why it doesn´t account the more minor height-differences. Is that right or wrong? If you decide to help me out here, lots of thanks in advance!!!
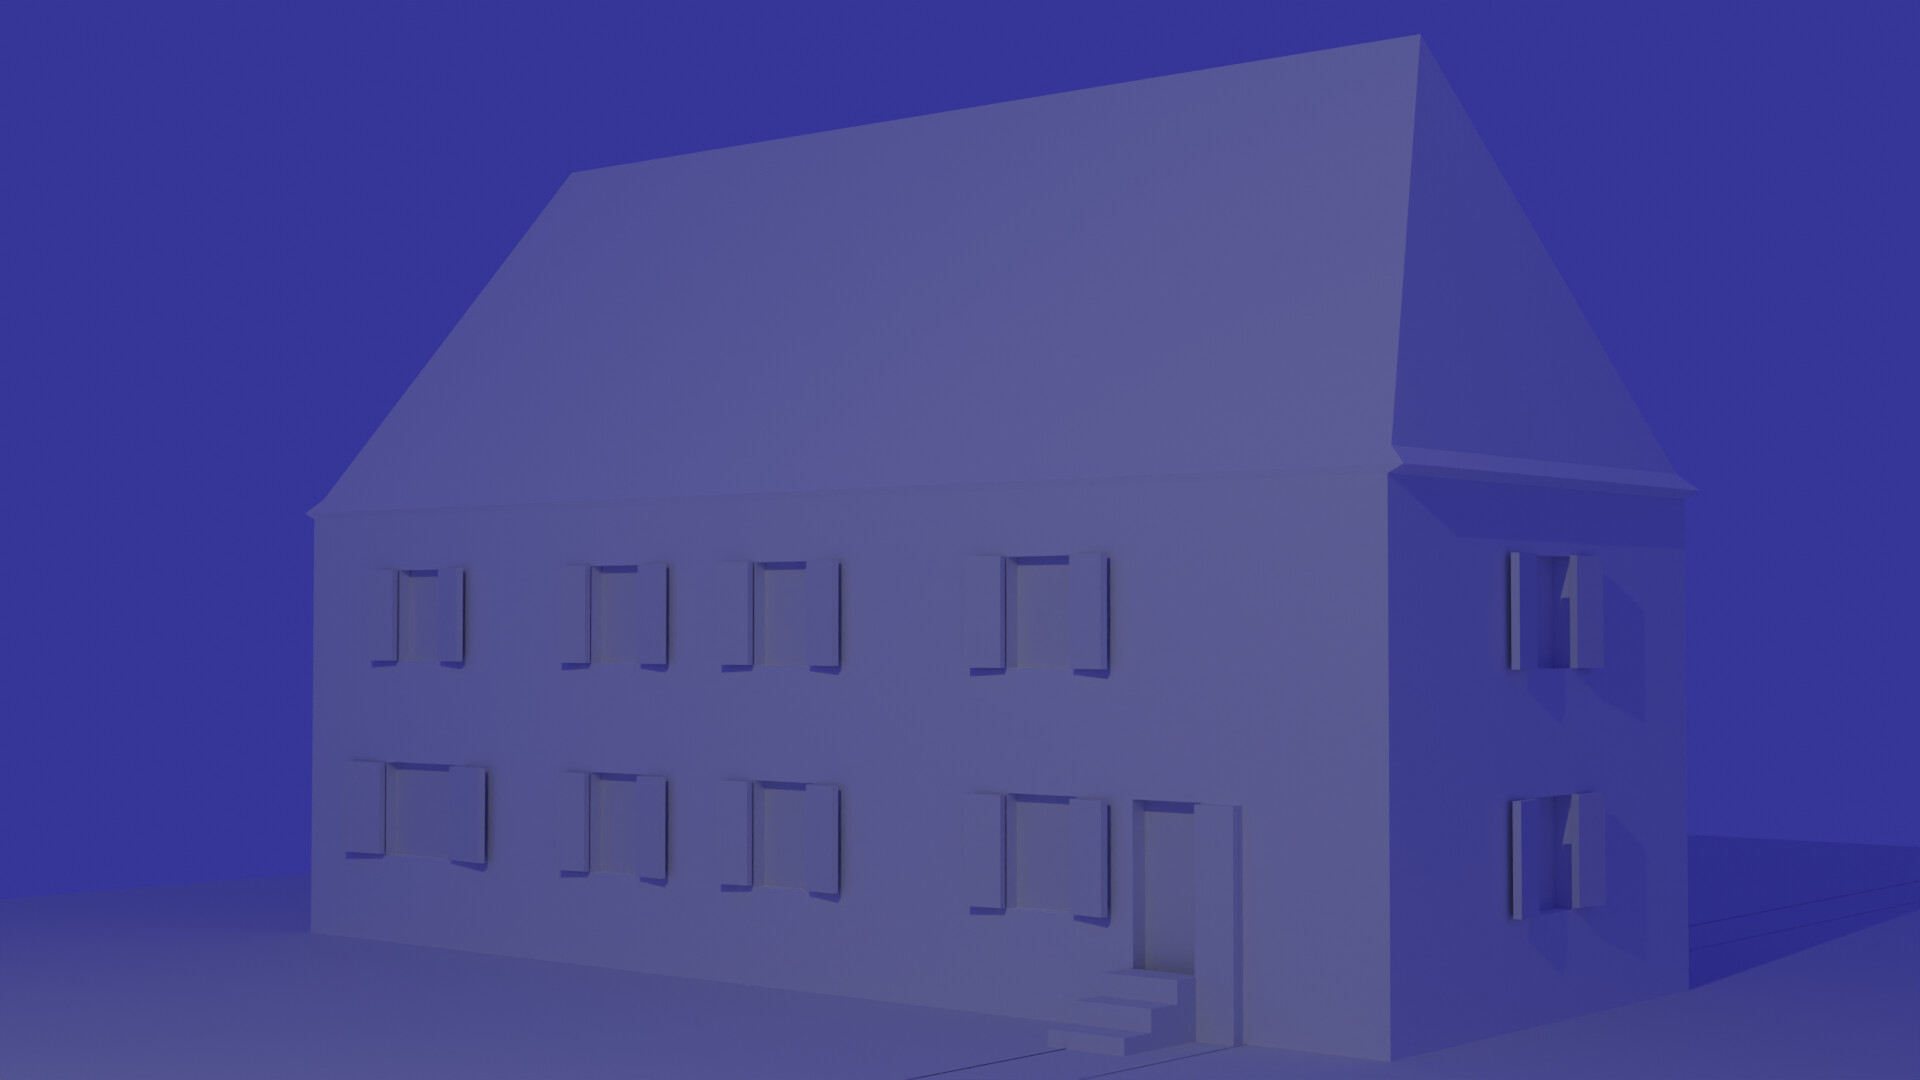
Well, it doesn’t look like much at the moment, but time allowing and not getting too side-tracked, it might get a little more interesting… maybe. 861 tris at the moment, and there is some equally exciting features at the back of the house… the excitement is overwhelming, right?
Baking? the only baking I have done so far today is bread. I have no clue what baking is as it relates to Blender, so that’ll be something to look into.
Based on the two pics you show, I would guess that the 128 tris is for the highlighted, editable plane whereas in the second one, it is the whole structure. I think if you’re in edit mode, you select something to edit and that is what is counted in tris, faces, etc.
Yep, that´s probably right. I just wonder how it can be possible to bring the count in object mode down to a low number with that technique if the statistics also account the info from the geometry baked onto a plane. Or if just got everything about baking wrong. Guess stuff like that is possible on a pro level i´m just too far away from
I just looked through a view more sites about the topic and have to admit, that i misunderstood the whole thing. I´m really sorry for having spread confusion!
What baking seems to be:
The process of creating different uv-maps from high-poly objects with colour coded information to different aspects (height, normals, albedo, roughness).
(Applying those maps onto a plane can probably bring the visual illusion of existing high-res geometry, when viewed in specific angle, but the plane remains flat as an object, as seen when rotating the camera-view. In the end there are no additional vertices, which blender could count because it´s all just a clever projection because geometry isn´t changed)
What i thought baking is before:
The process of applying those maps onto a plane with displacement-modifiers, so that geometry comes to existance on the plane completely without modeling the mesh. In a way really like baking a cake, which you can rotate around and which keeps its form from every angle.
And this is also possible BUT the program indeed creates additional vertices based on the maps and modifiers like subsurf/displacement. So those vertices/quads/tris will be accounted in the statistics.
But i´m still not completely sure. It would be so great if someone who really knows it could tell if this understanding is true or false. Every page i find about it is a really long and confusing read with so many steps. Some really simple and short true/false-statements would be a great help
EDIT:
It´s a deep topic. So i´ll restrain from bringing it up in this collab thread again.
I was quite confused just now too. But what you wrote now is exactly how I understood it.
You can bake textures, which is what you described. There’s also baking light / simulations, which is basically “pre-calculating and saving” as I understood it, so it isn’t done realtime. Relevant for Games for example. xD Anyways, good job googling and so on, it’s so confusing when everyone describes technical aspects of Blender with SO MUCH detail. I have definitely gotten lost in it before! xD
Edit: Just to clarify, I deleted my earlier post about baking to normal textures because I was confused and thought that I must have misunterstood something and that it’s thus irrelevant to the discussion ^^’
Low poly is what games make or break. You see a high level of detail but is basically low poly with a very smart level of details techniques. Object far away is low poly, sometimes just a bitmap. Closer to the camera, more tris are involved. Using baking techniques, even shadows are baked.
So you can for this collab create a very high detailed scene. With a few vertices but rendered with a lot of textures. Mimicking a lot of details. It all depends on your skills.
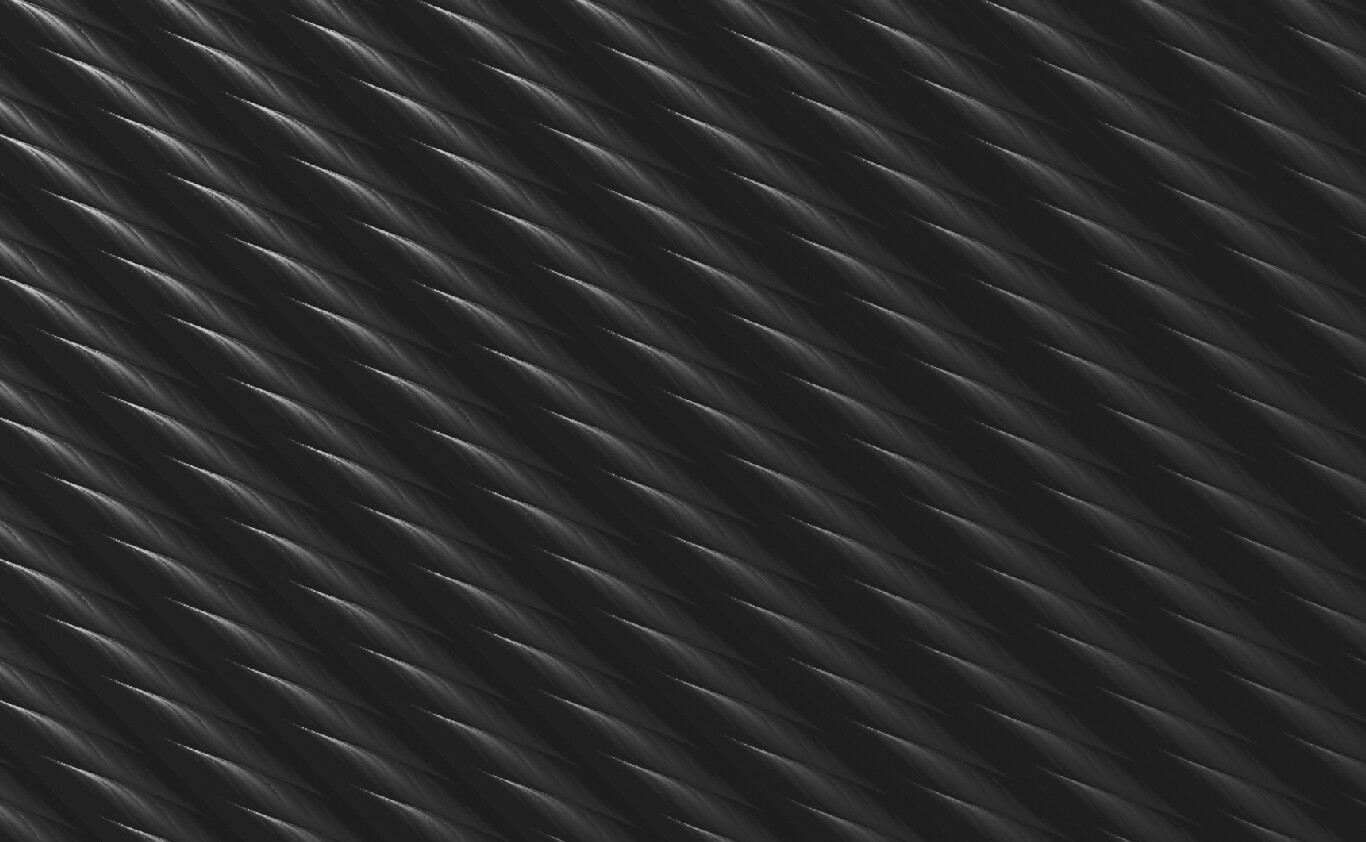
I realized round stuff like cables is evil, at least, when you are trying to keep the polycount down ^^
Here’s my image now, added a few stuff. It’s now 834 tris (including invisible planes for lighting). Wish I could have exactly reached the 1’000 limit, but I am out of ideas of what to add, without destroying the composition. (I’m looking at you, left corner!)
Some rather high-poly cables in the corner. (They were getting my numbers too high anyways - I tried to make it work, but it just looked horrible, believe me - so why not just make it extra smooth xD) Wayy over 1000 tris, so not my entry. Thought I’d share it with you all anyways, just because I like it ^^
yeah, they are… esp. if you want to have movement etc. in your scene… then there is no avoiding the extra geometry (at least no way that I know off). When you have full control over it… you can basically use a cube… or a plane…
an that was first normal map I found for wires in google
Edit: and to add something useful to discussion… Watch some lazy tutorials of Ian Hubert on YT. He shows a lot of cool tricks that fool the eye. And I recommend watching his World Building talk too.
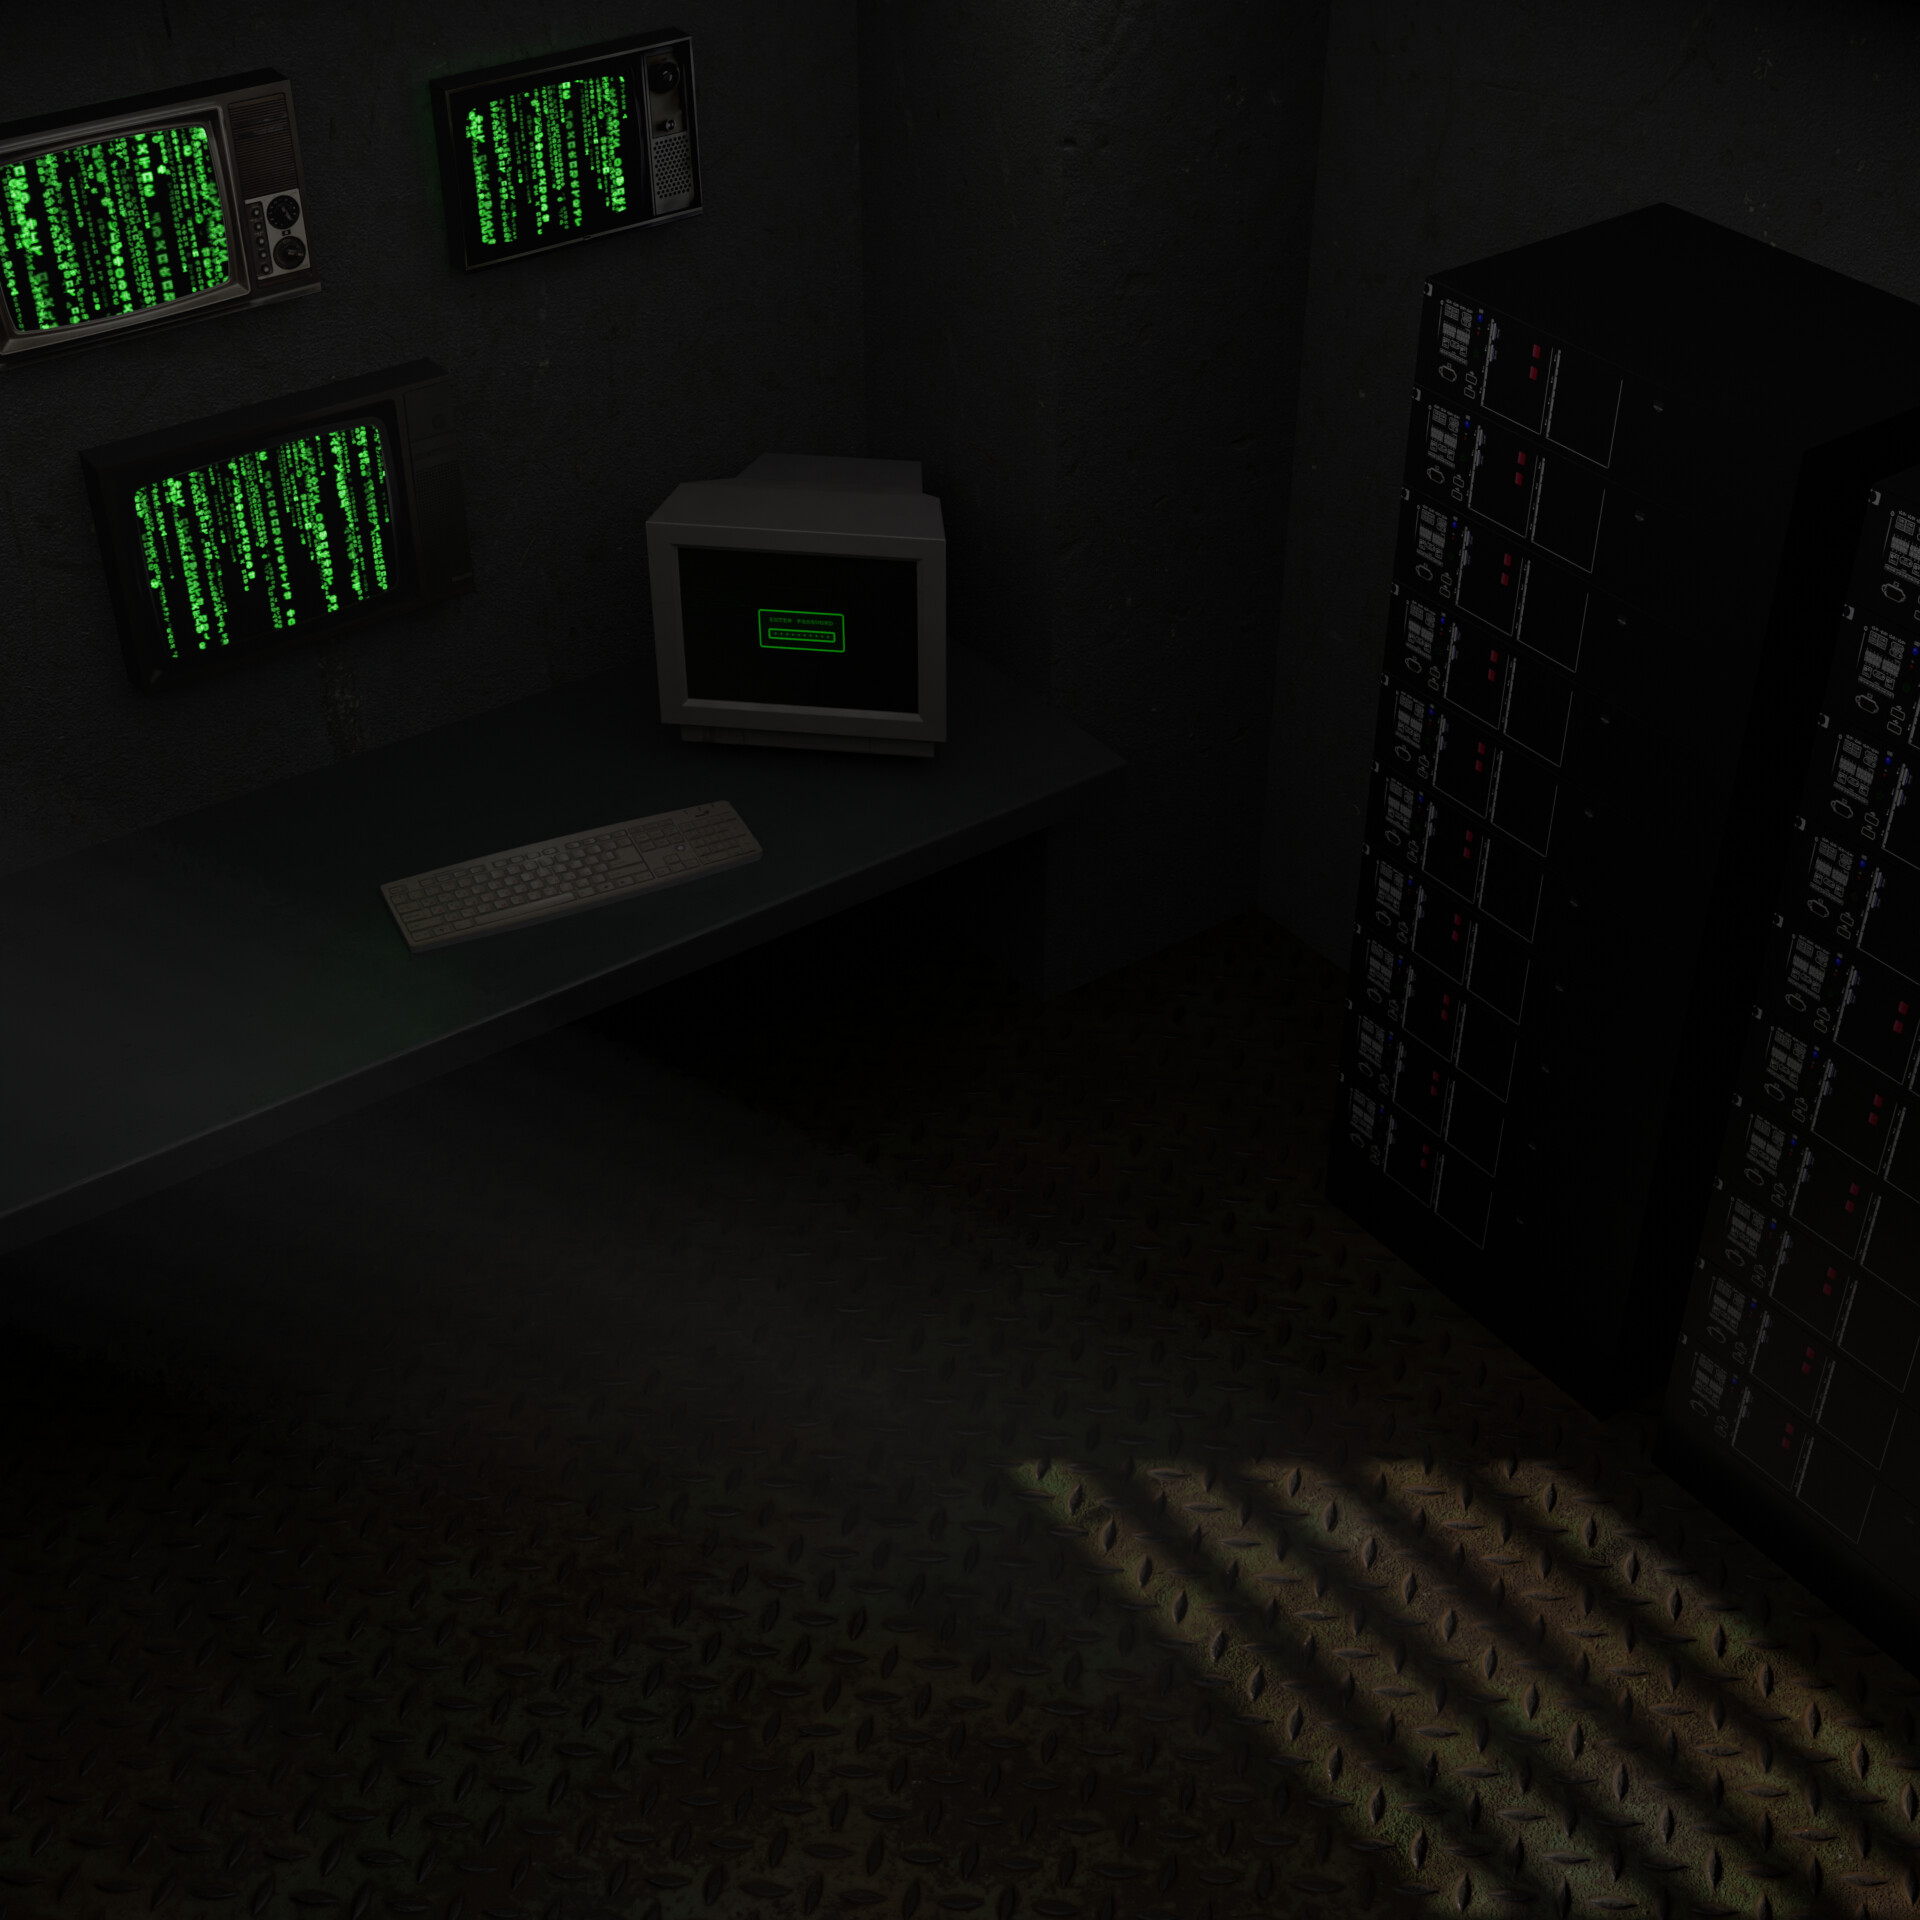
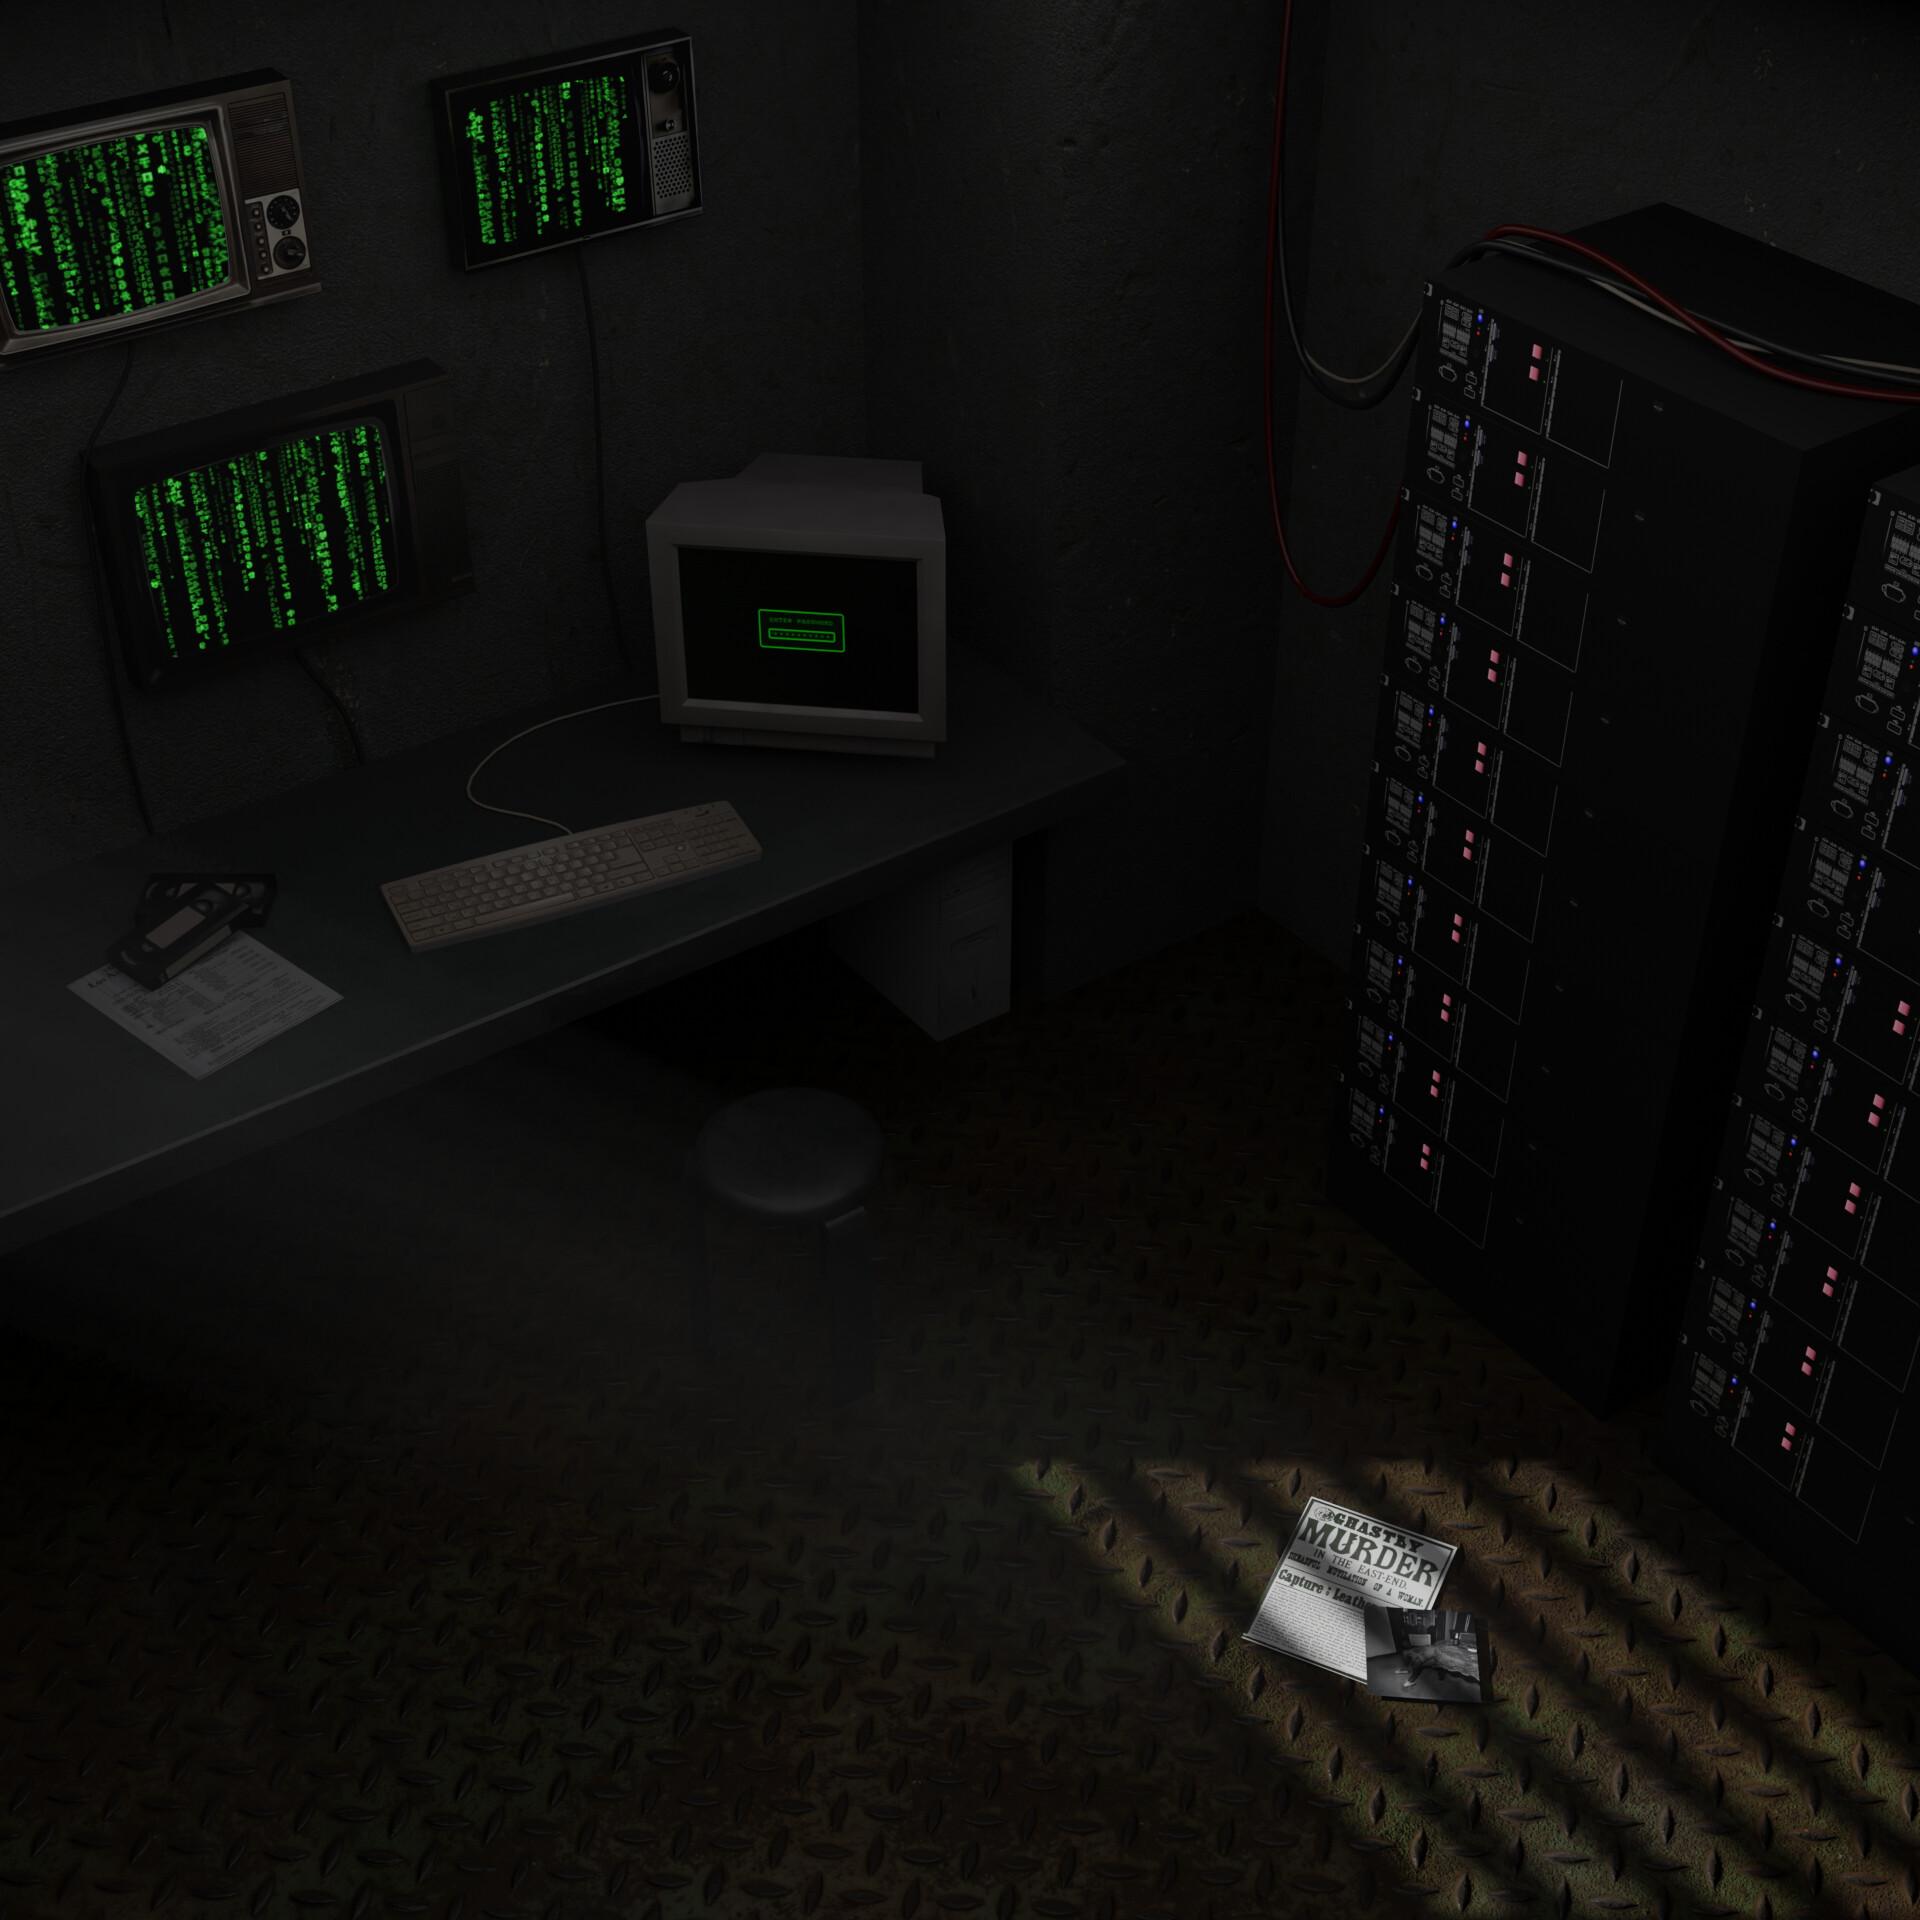
I like it! Such a nice little mood piece. I sort of picture a story where the absent person perhaps got lost in the matrix, but the media speculated that he/she was murdered instead. Maybe a trash can for the left side?
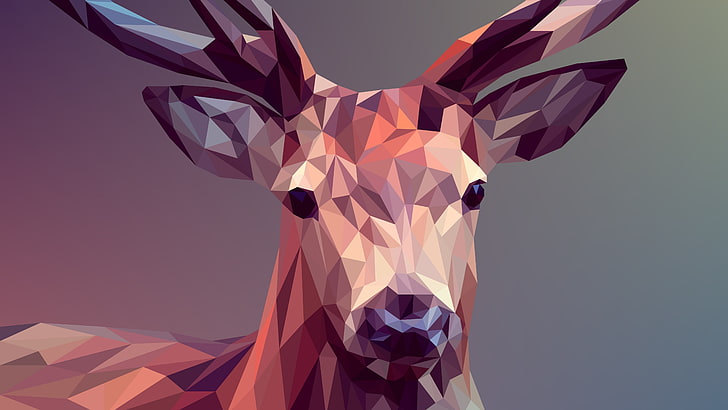
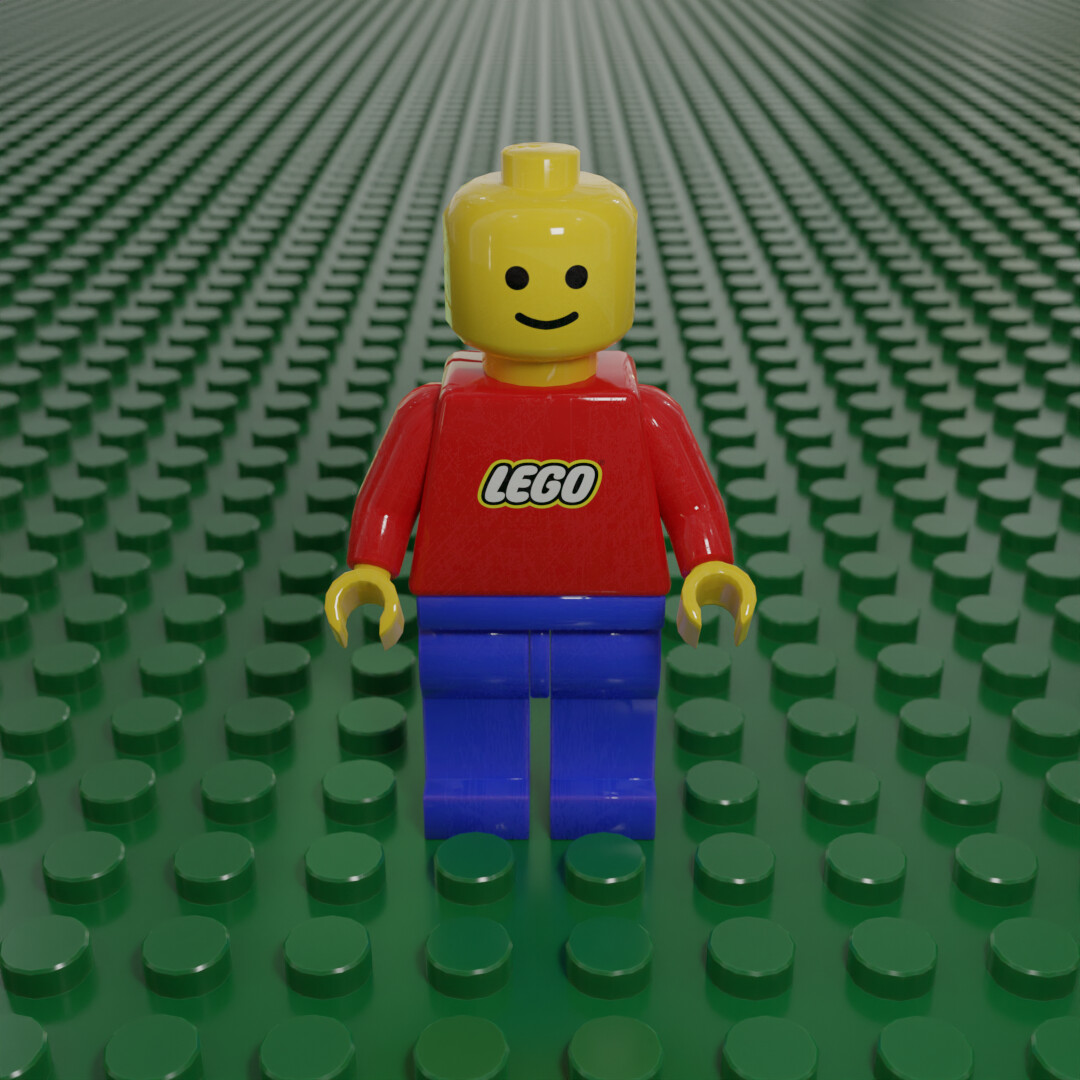
The lego guy is cool as well! I can see how trying to lower the count would really mess with the look we all know so well.
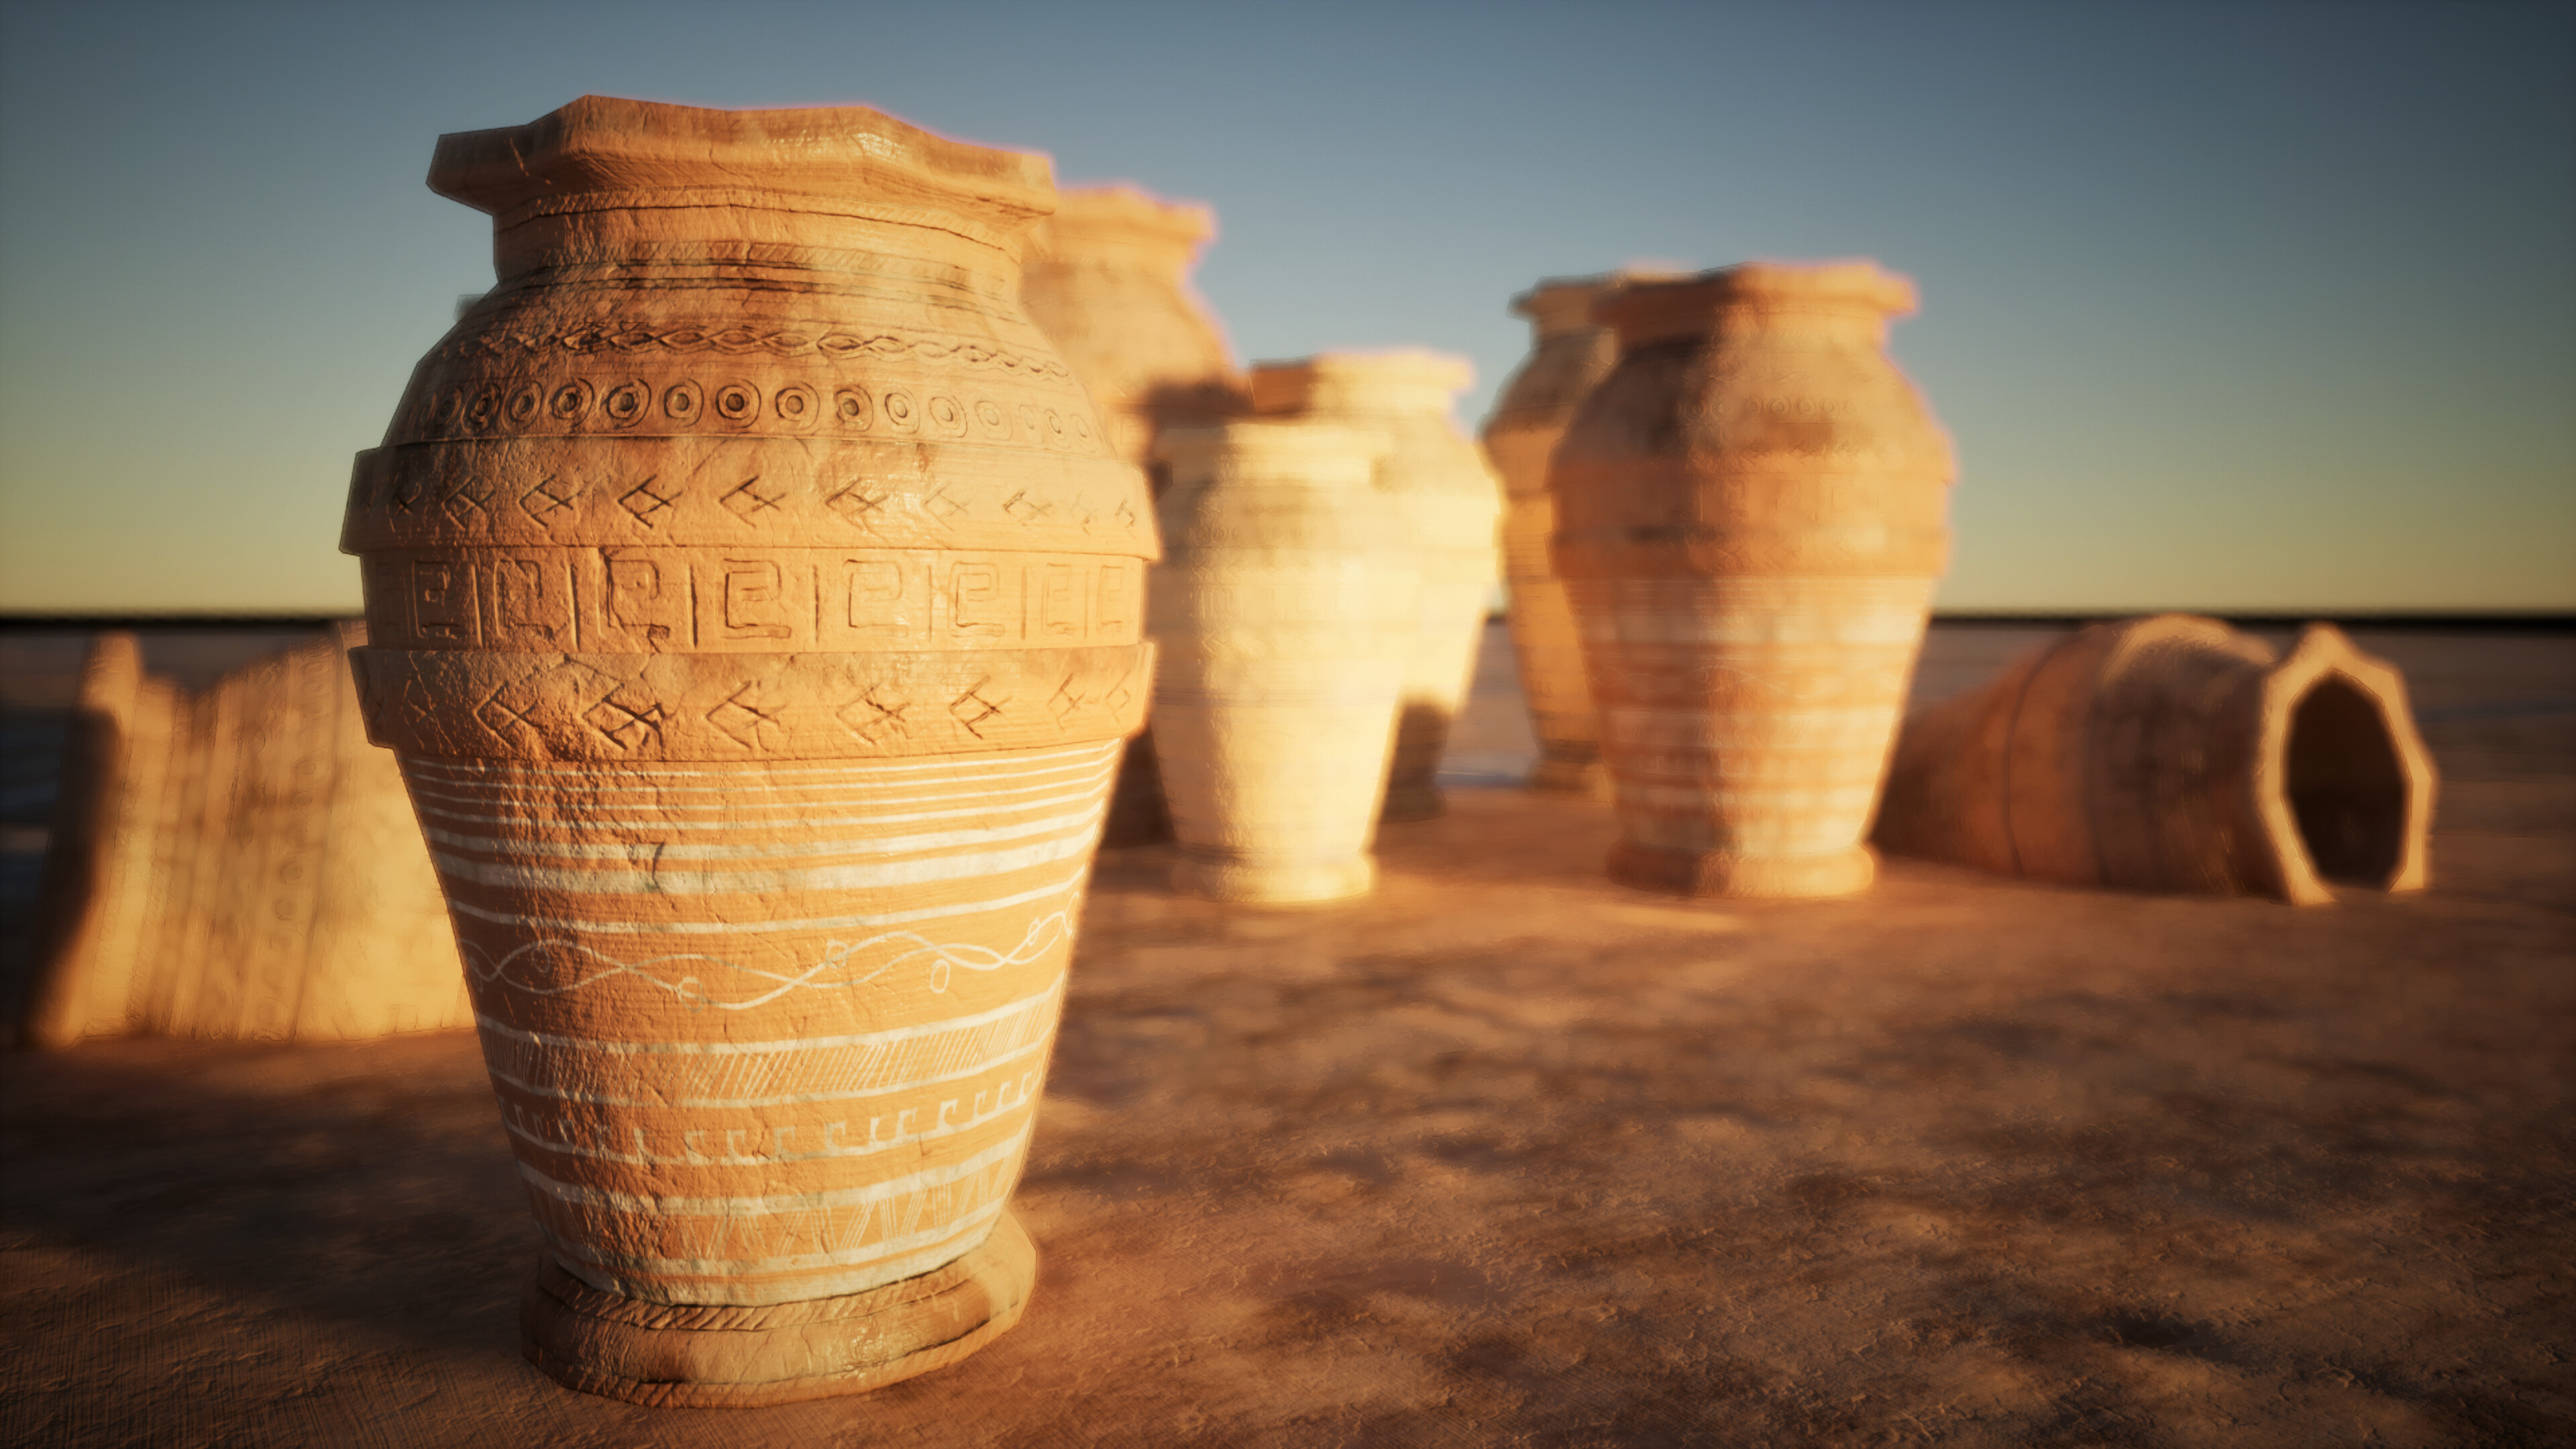
This was taken as a screenshot in UE5, and a number of other software was used in addition to Blender. If you’re interested in seeing some of the process, I made a thread here Week 16 Collab WIP
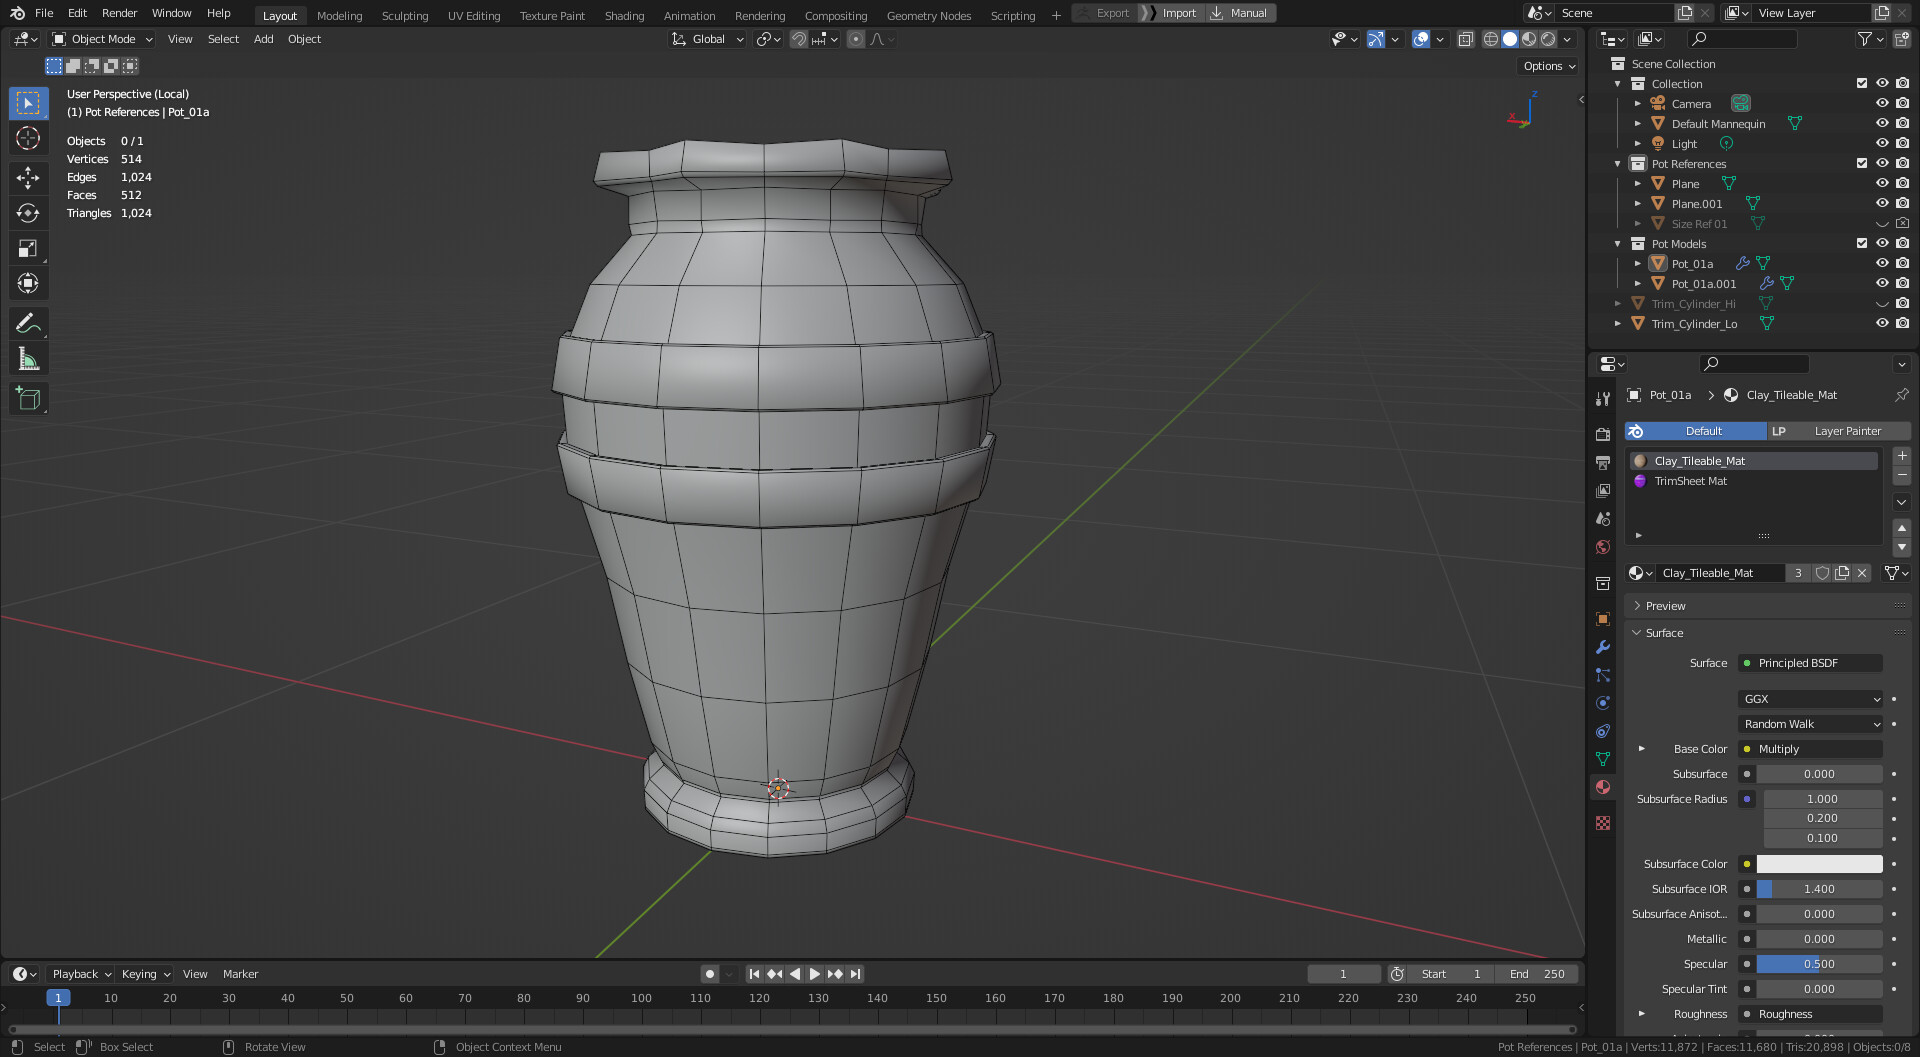
Each pot has a polycount of 1024 triangles, which is exactly 1k!
Hopefully this is a good example of how big a difference materials and lighting makes! Now I just need to make the rest of the environment for them to go into…
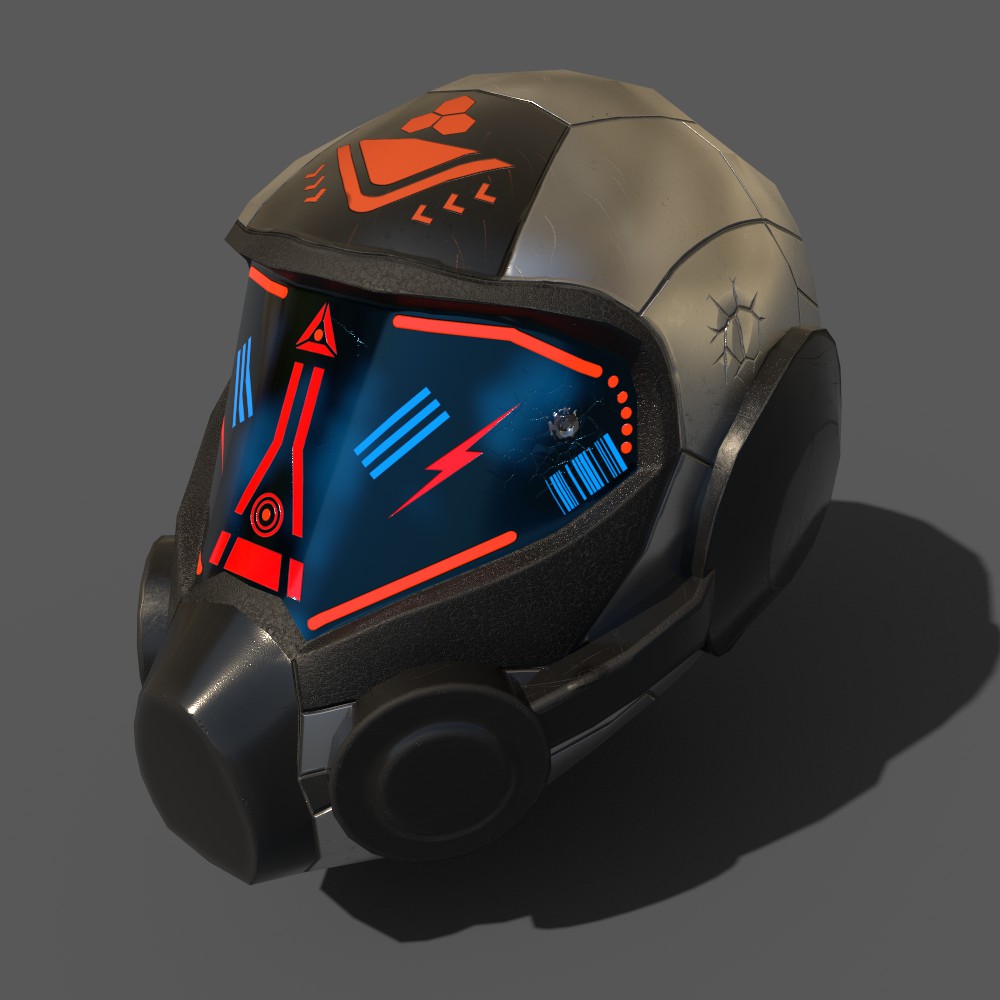
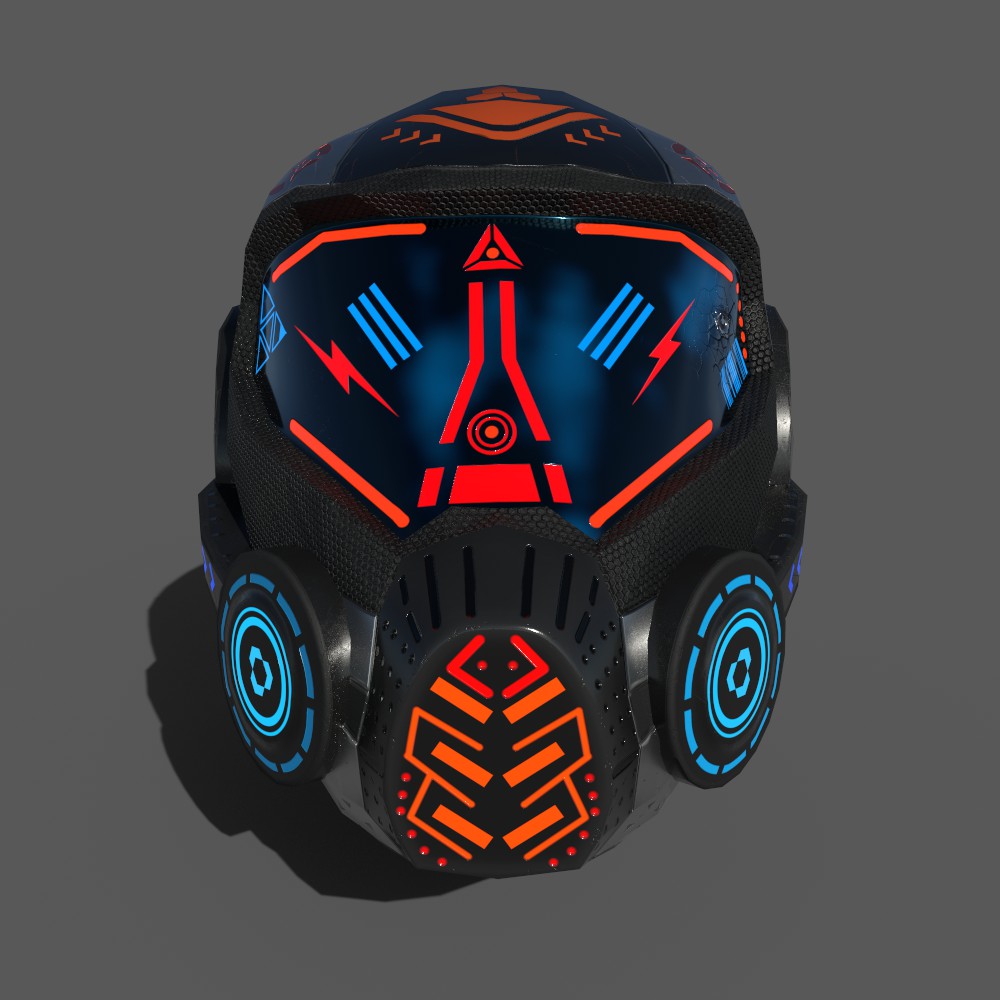
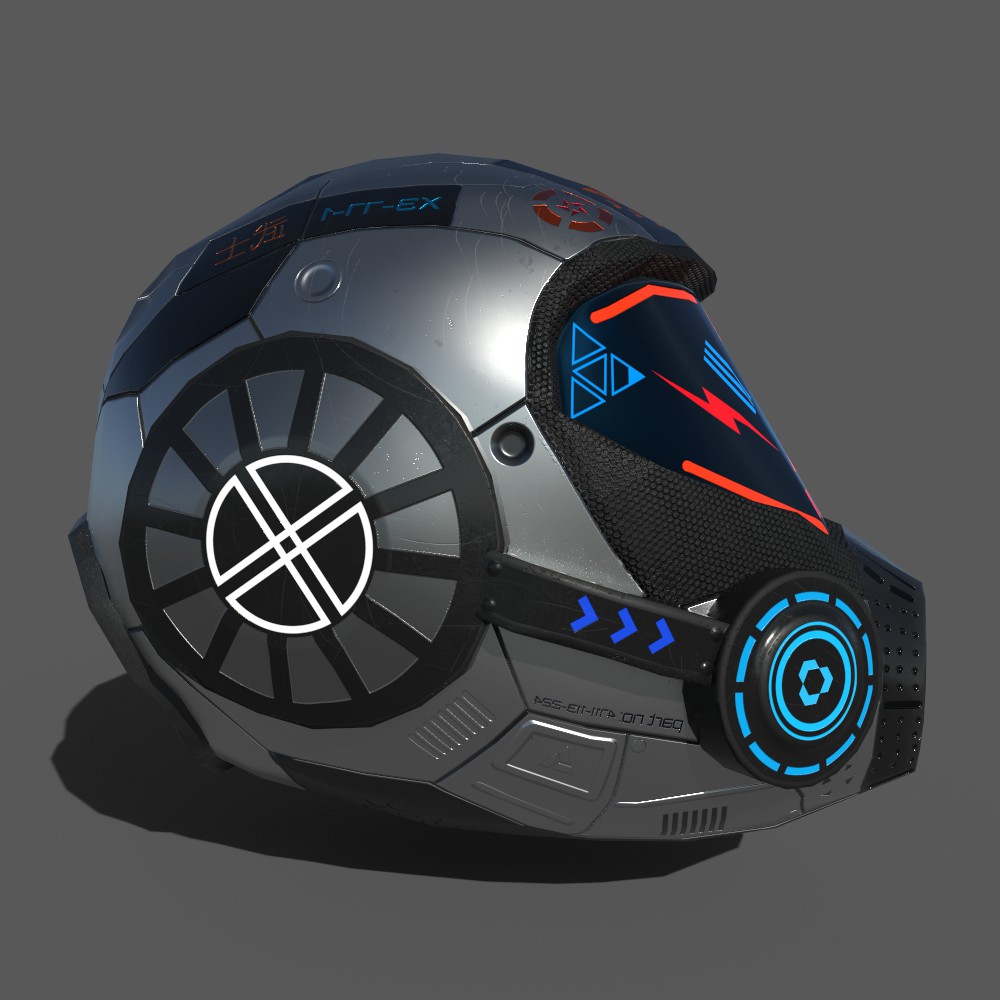
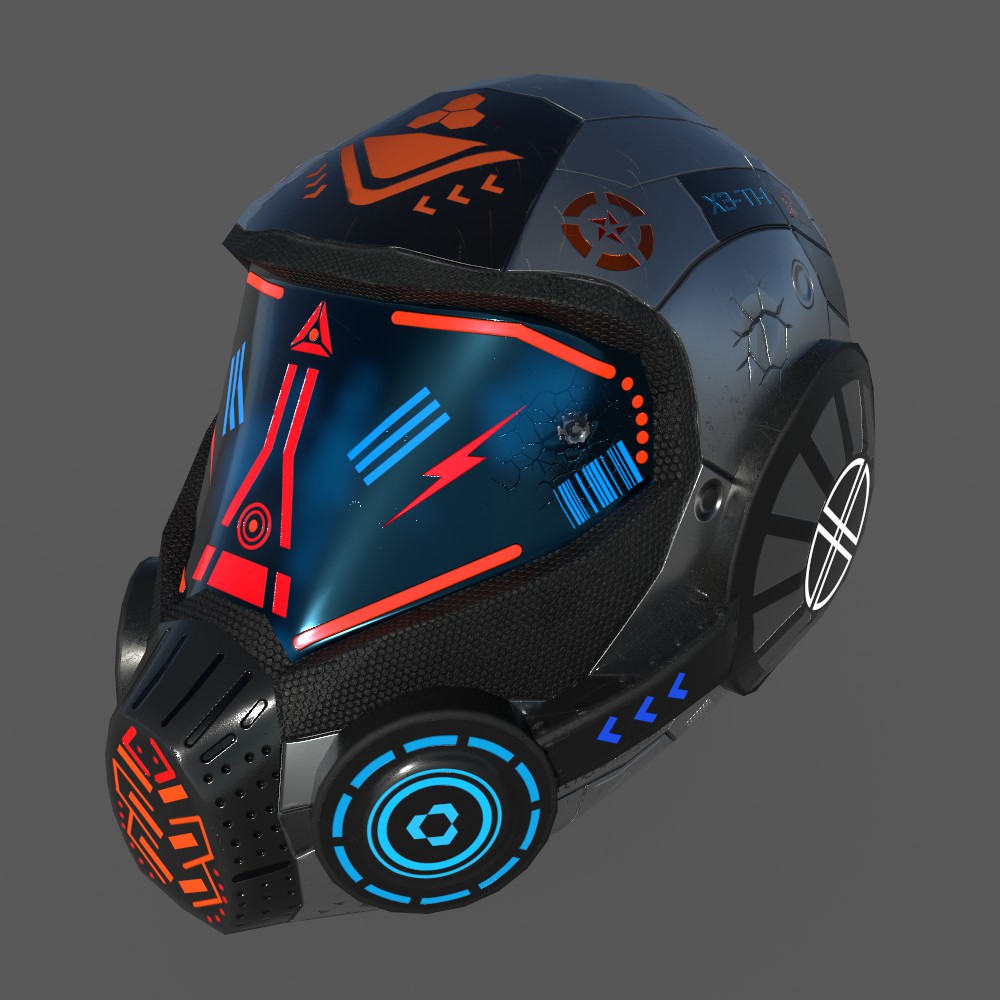
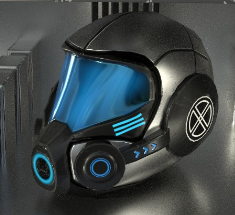
But Empyrion’s style was quite limiting. First, I wanted to give it more futuristic and more angry/scary look. Second I wanted to tell a bit of a story with it. It’s not a helmet straight out of factory lines. It was used heavily in exploration and combat. It proved to be effective against melee hits (though it has a scar from that encounter) and even saved the hero after well aimed shot at his visor :).
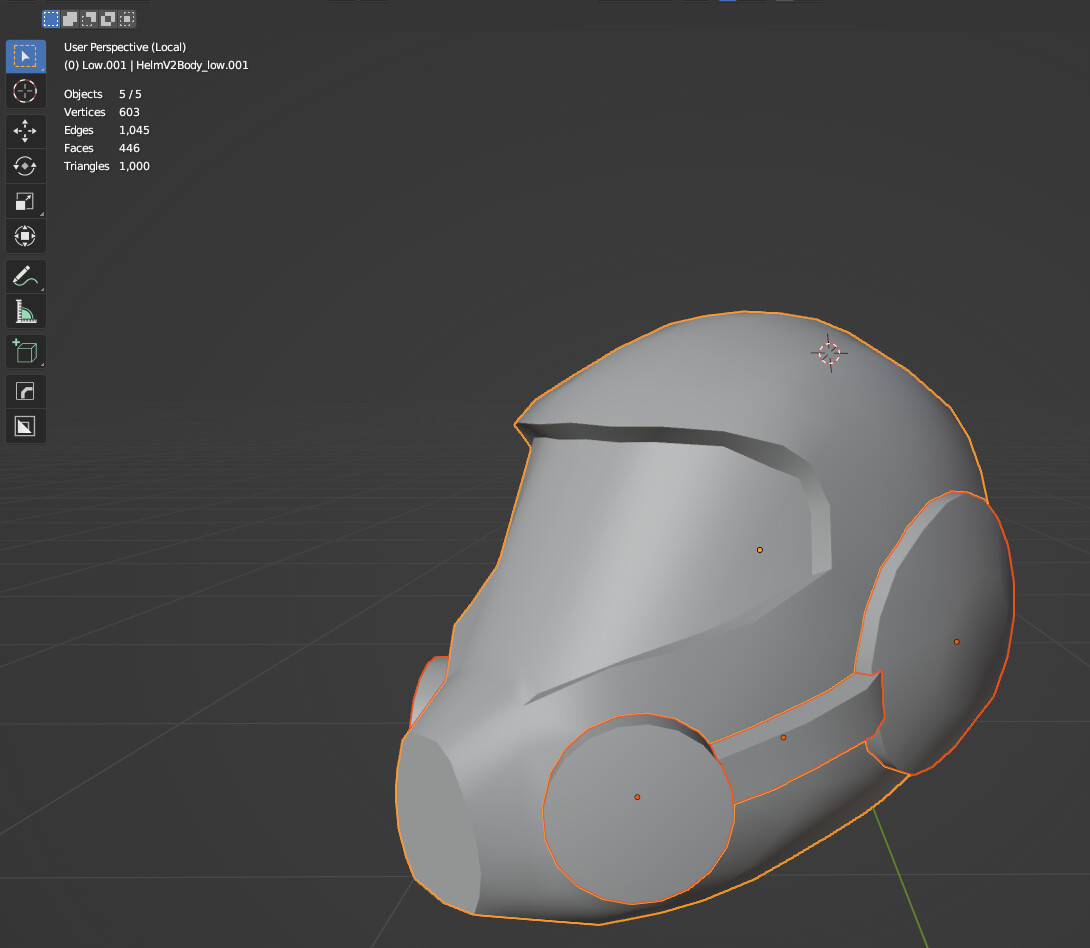
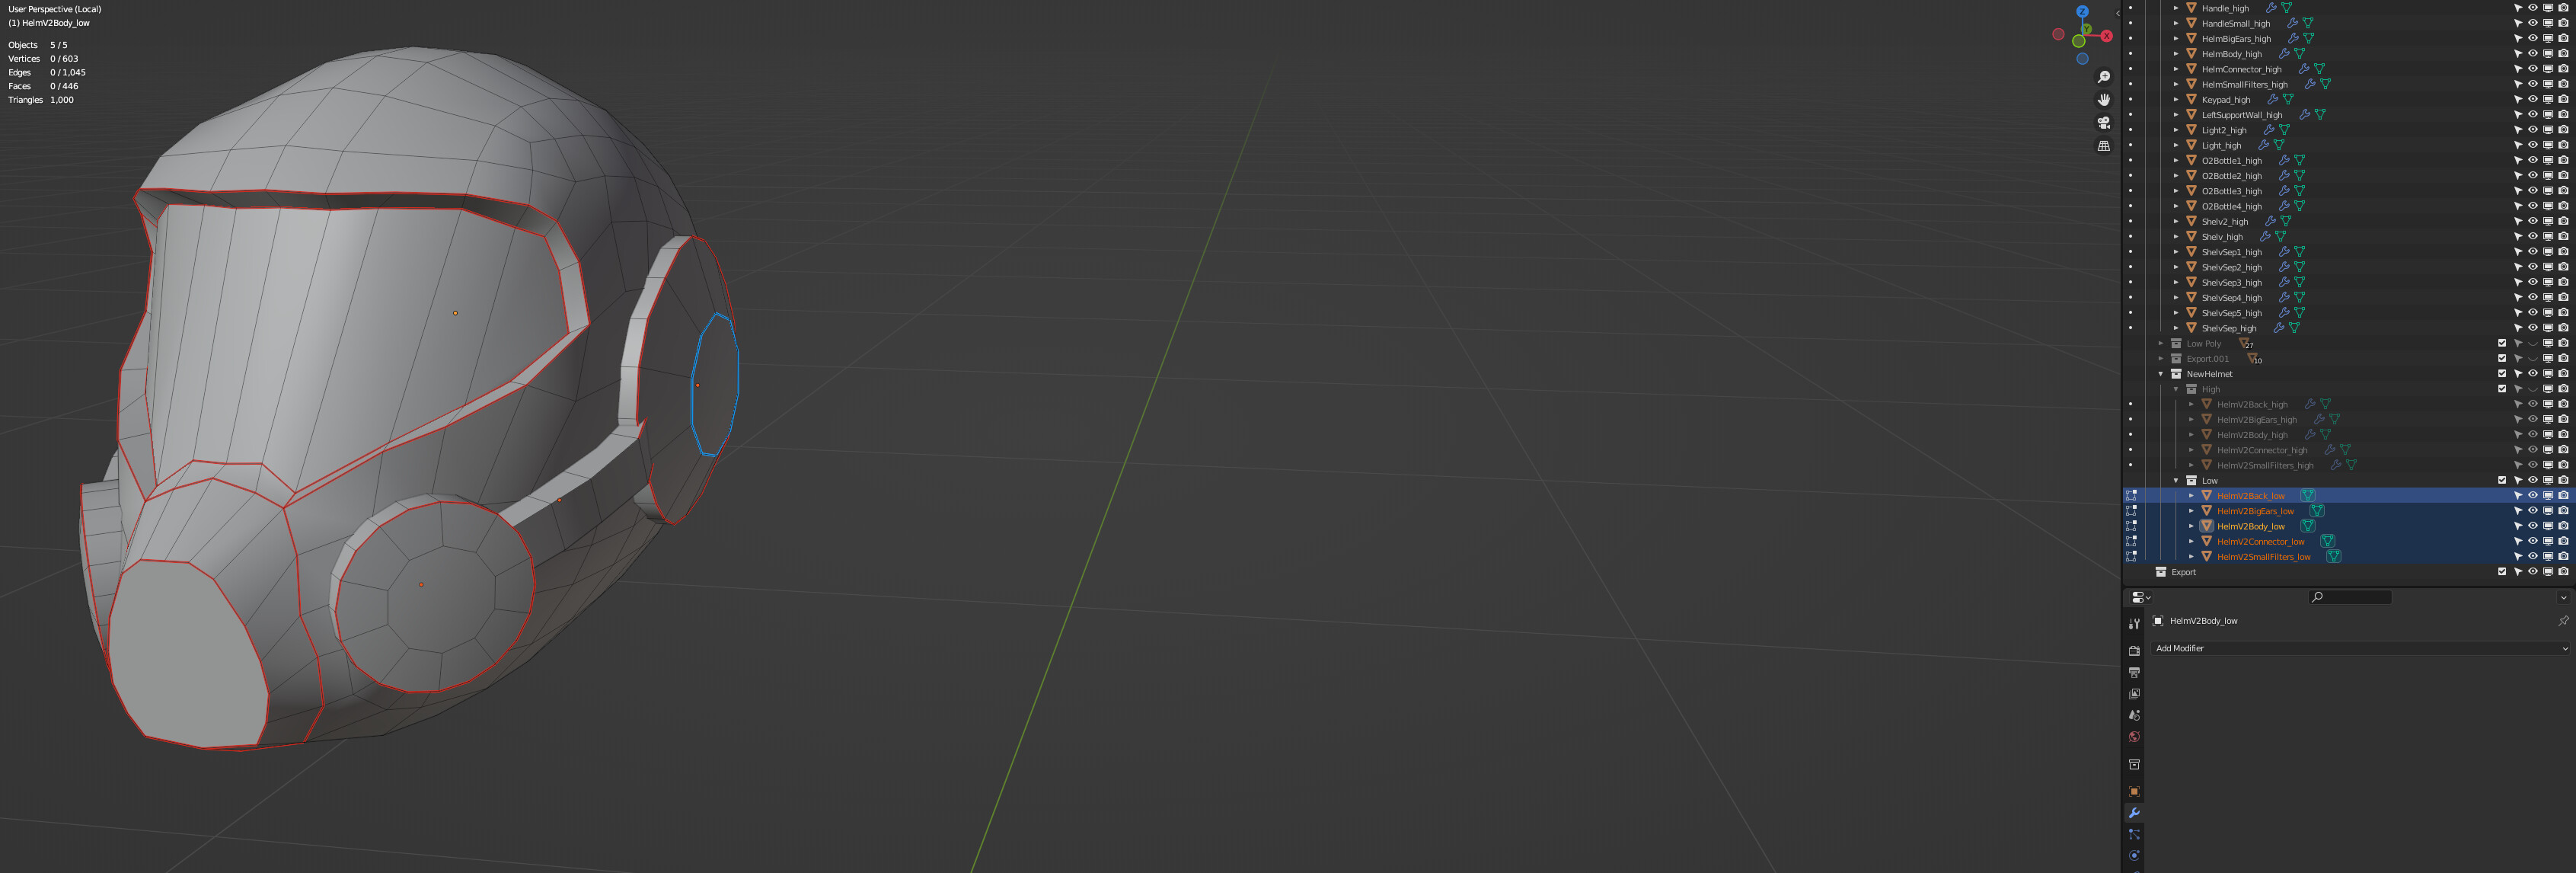
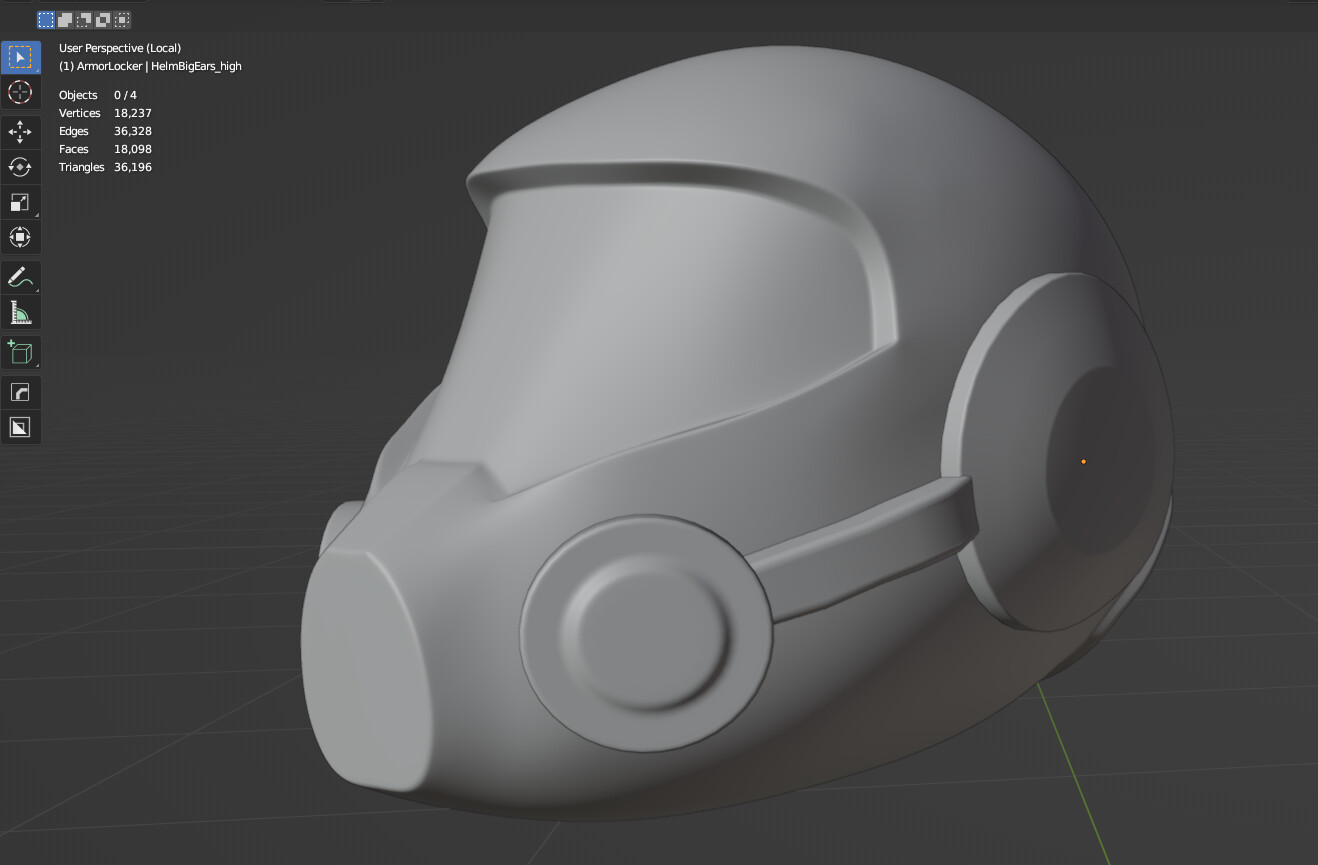
So I took the original helmet and made a new low poly version. It was 1236 triangles, so I had to make even lower poly version. That proved to be quite hard. High poly version has 36k triangles and combines smooth and sharp edges:
So with each triangle I removed - the shape was going too far away from the high poly. Which caused baking issues. So I was going through many iterations of: 1. lower triangle count 2. bake 3. correct shape 4. bake 5. goto 1. This was really tedious.
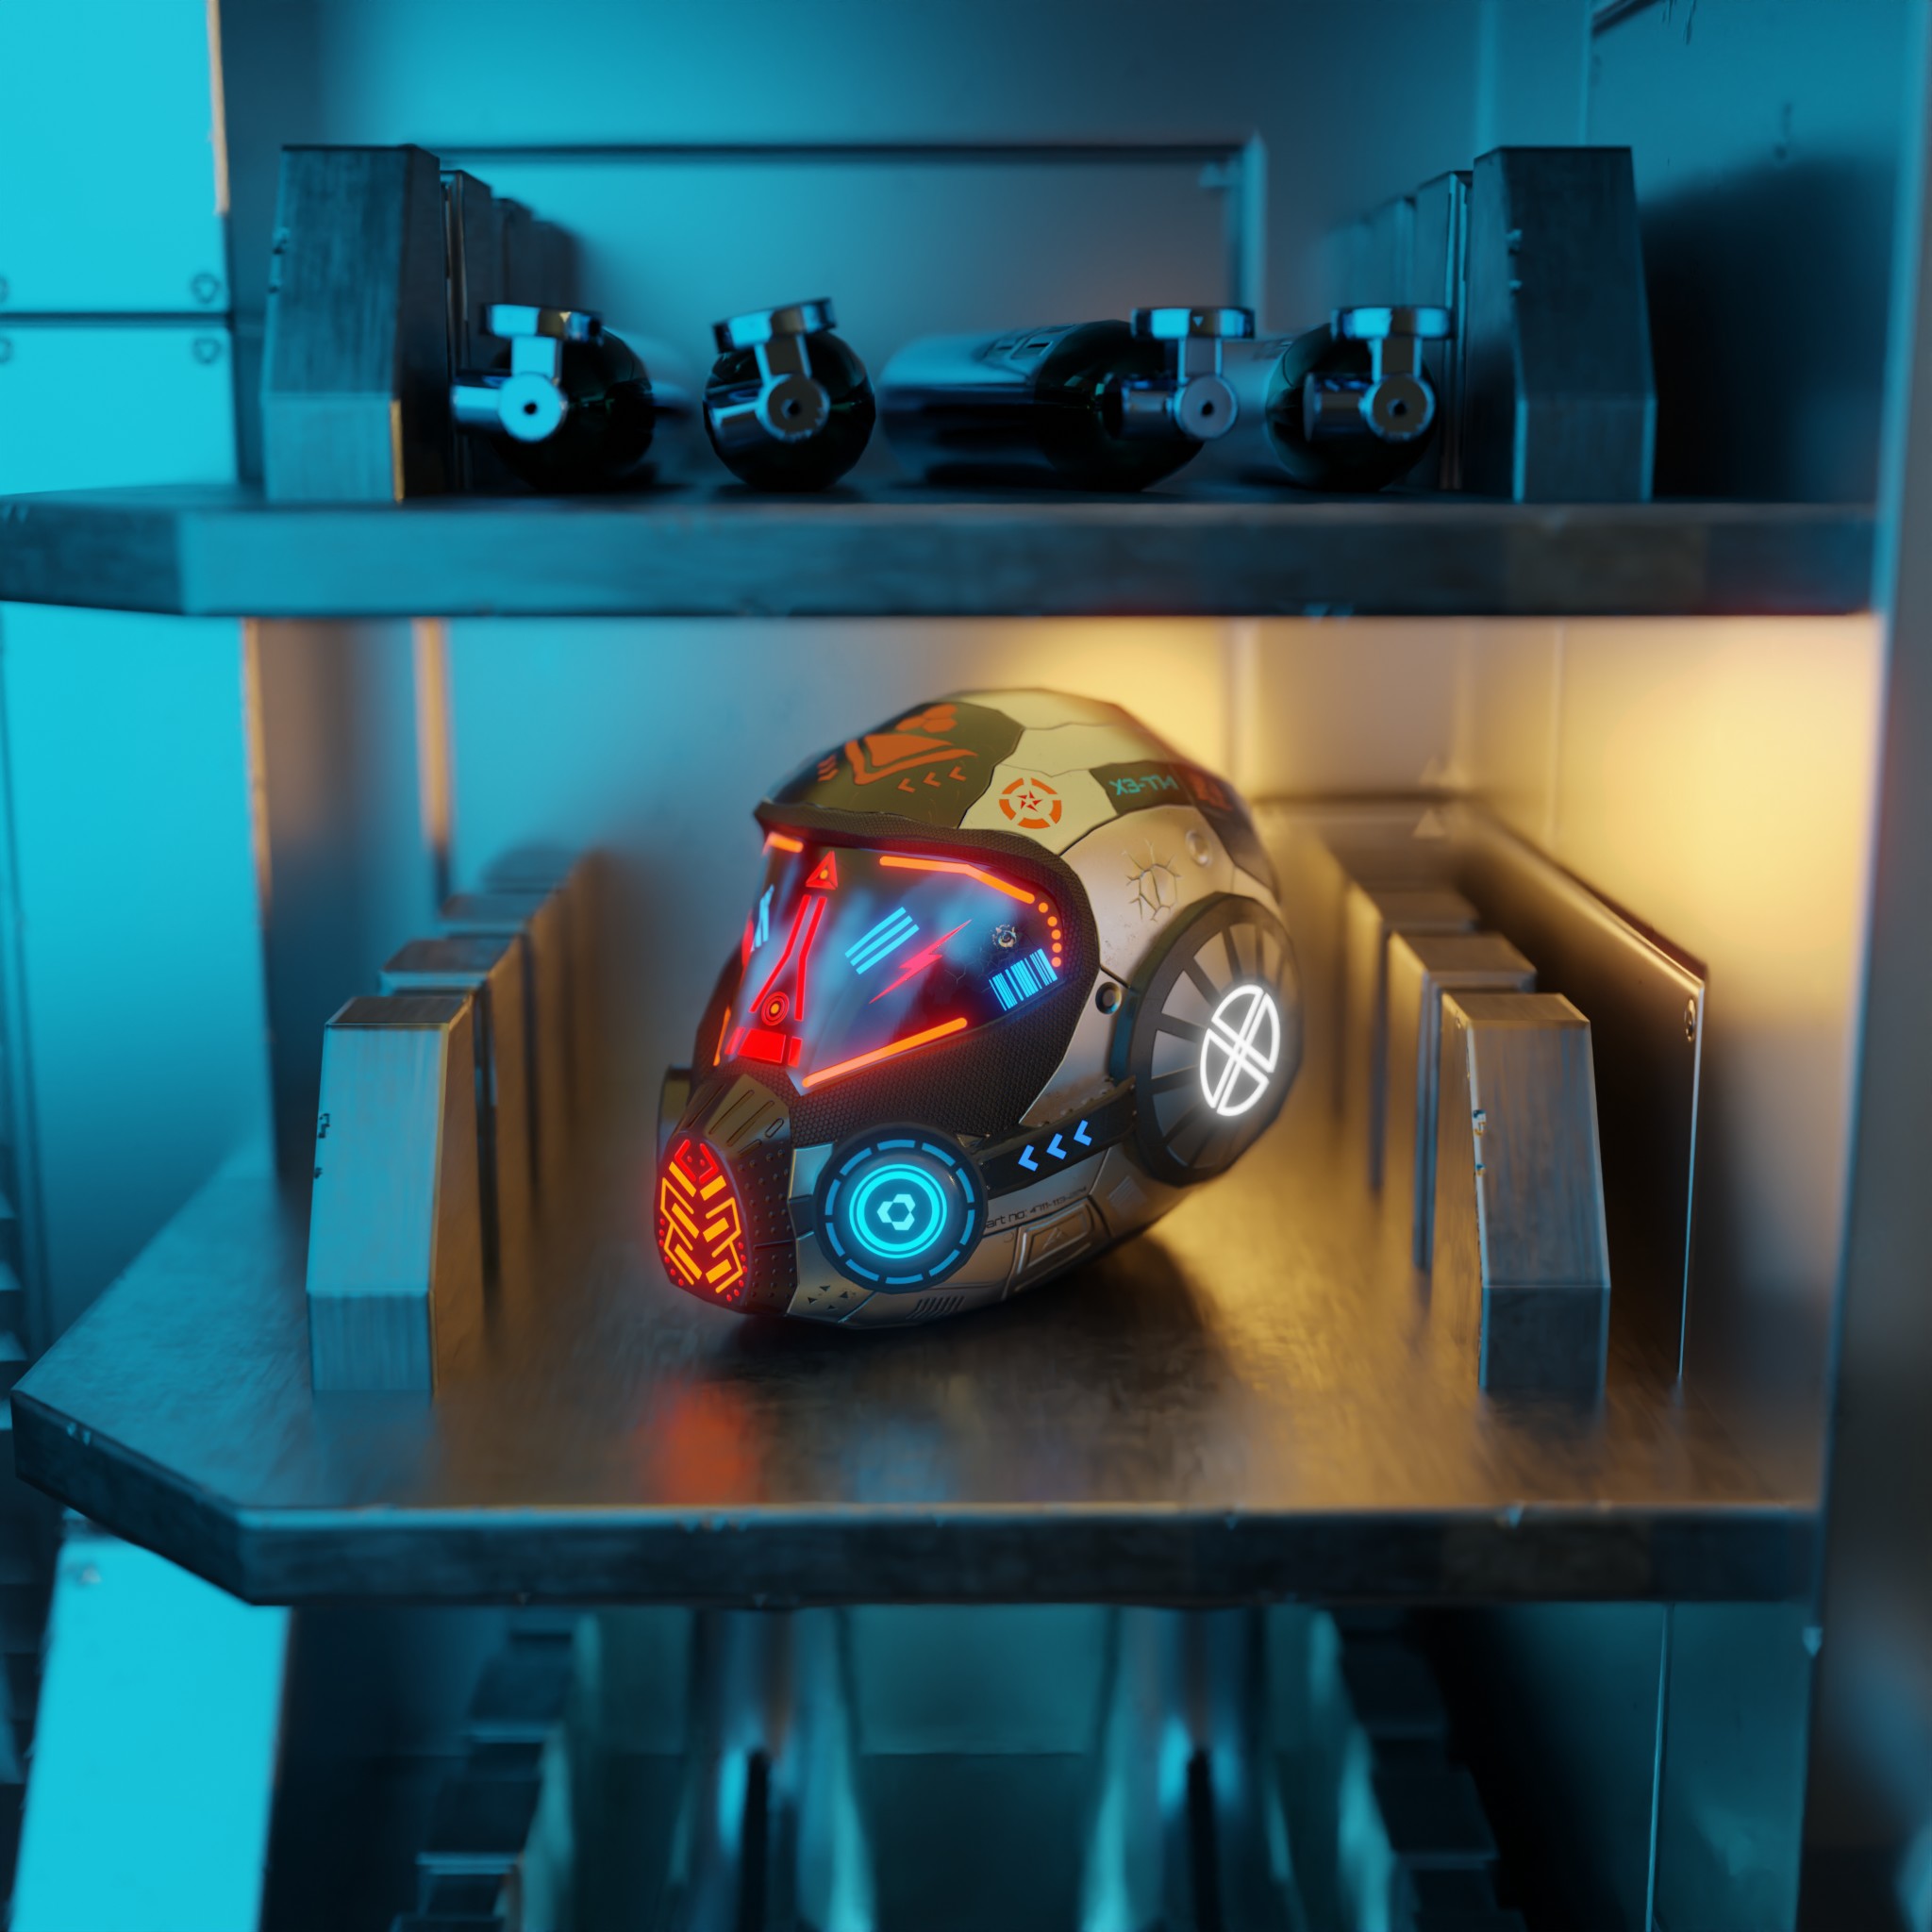
After I got mostly clean bake I imported it to substance painter, gathered multiple references and spent many, many hours on texture painting.
Last, but not least step - I took it back to Blender. Made a final scene, added lighting, choose camera movement and rendered. And I was liking the result well enough so I even rendered a video of it . And the final result is as you can see at the top of this post :).
We @BlenderCollab have a few days to vote. You can vote fast but also think slowly about design, colors, technique, difficulty, subject, realism, etc. Choose consciously and not on your own entry.
And the new subject week 17 " Character & Posing ” has already started. The winner of this week’s “1,000 Tris” challenge may select a subject for week 18.