
Hello there,
since people seem to like my walkthroughs of how I make things in Blender, here we go.
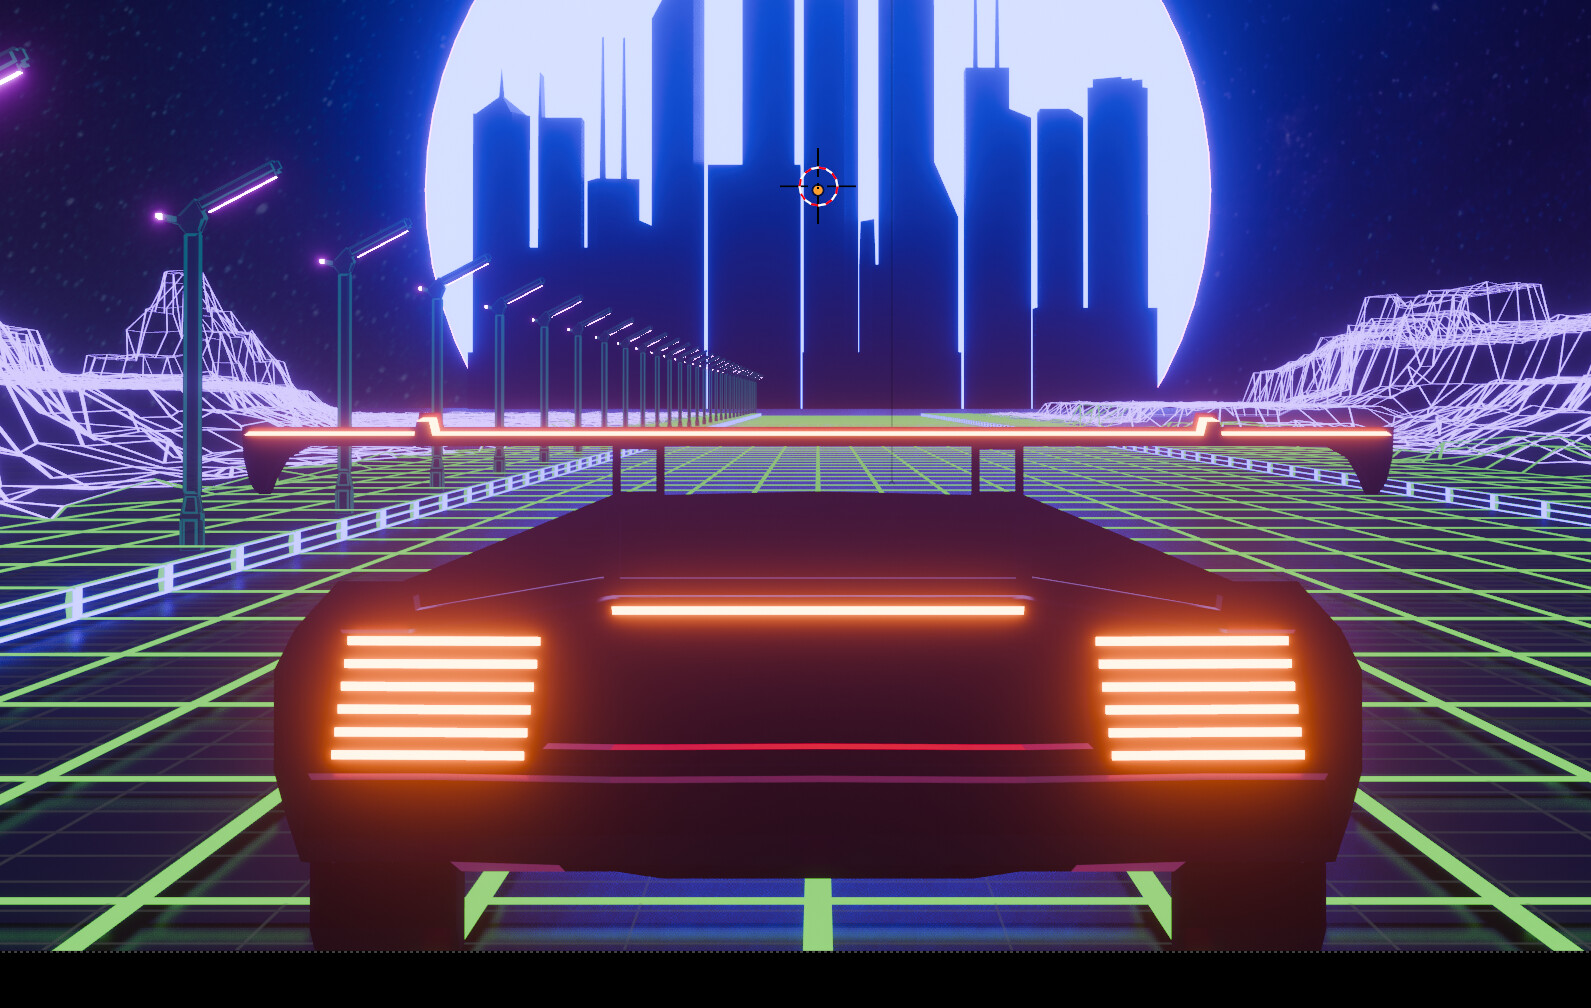
This time I’m breaking down my submission for the Synthwave collab challenge.
Inspiration
I started out searching for images and collected them in PureRef. Then I Frankenstein’d an image in Affinity Photo.
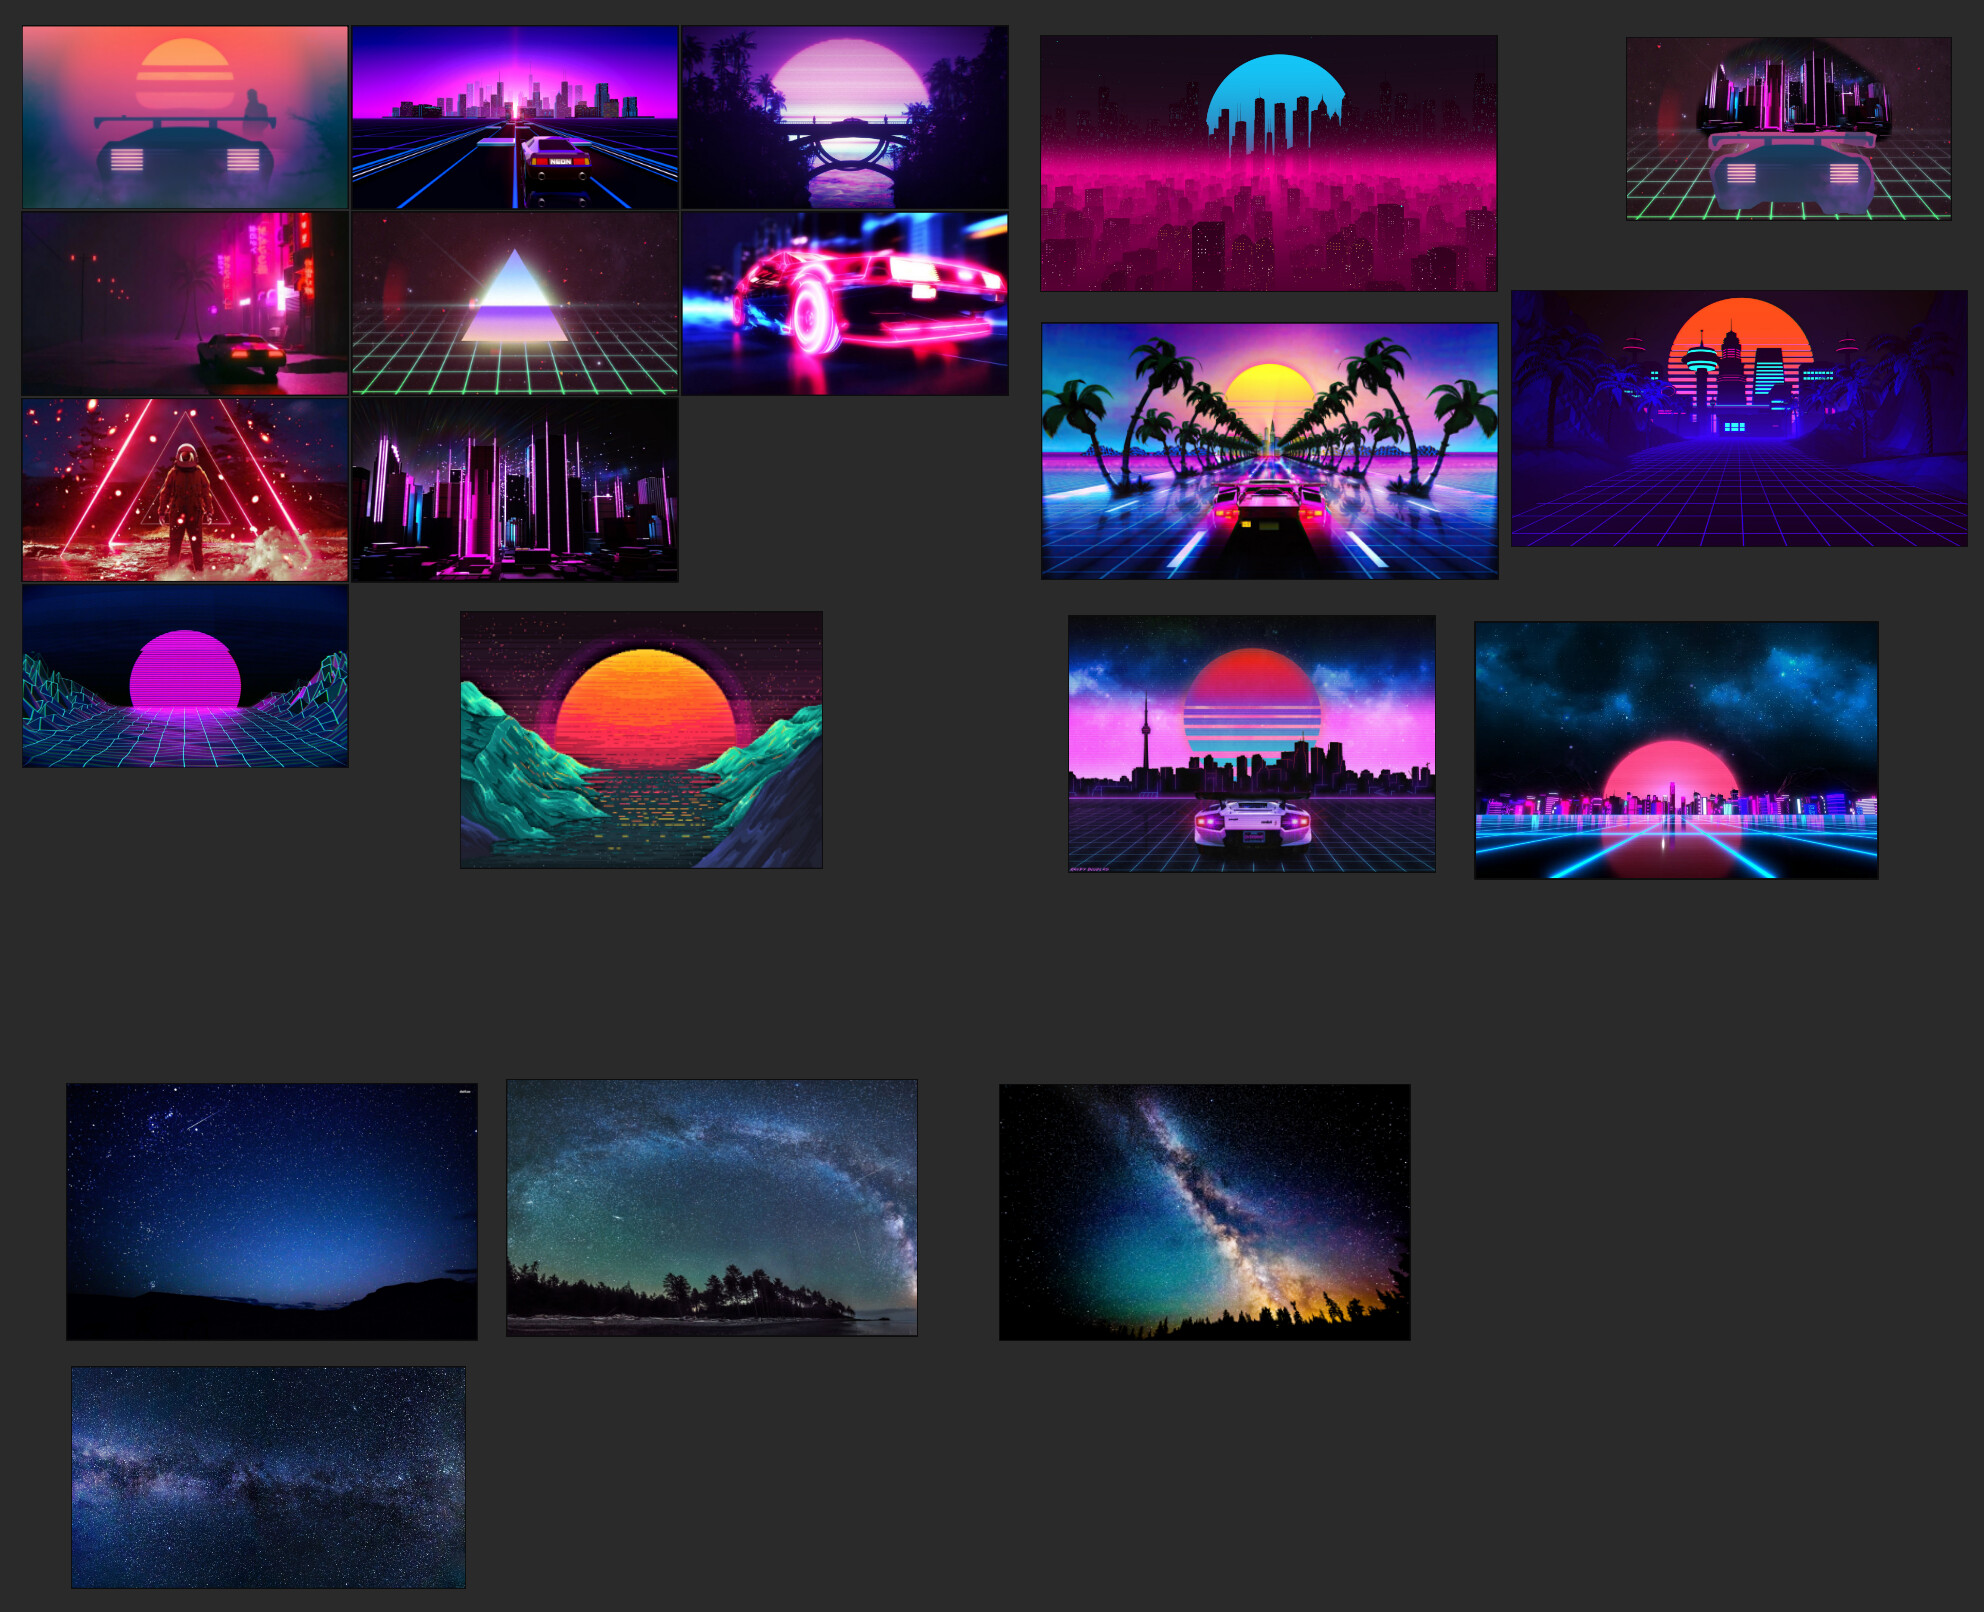
Frankenstein …

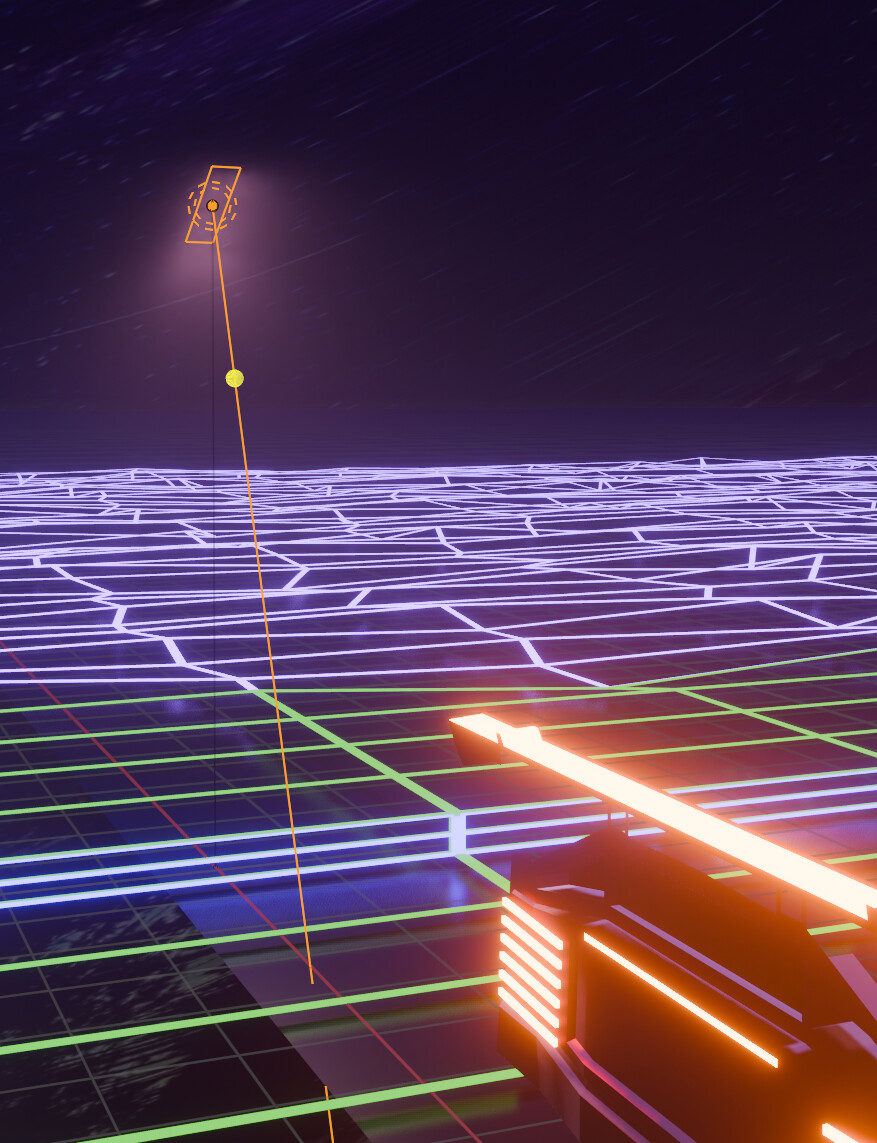
Now, Blender
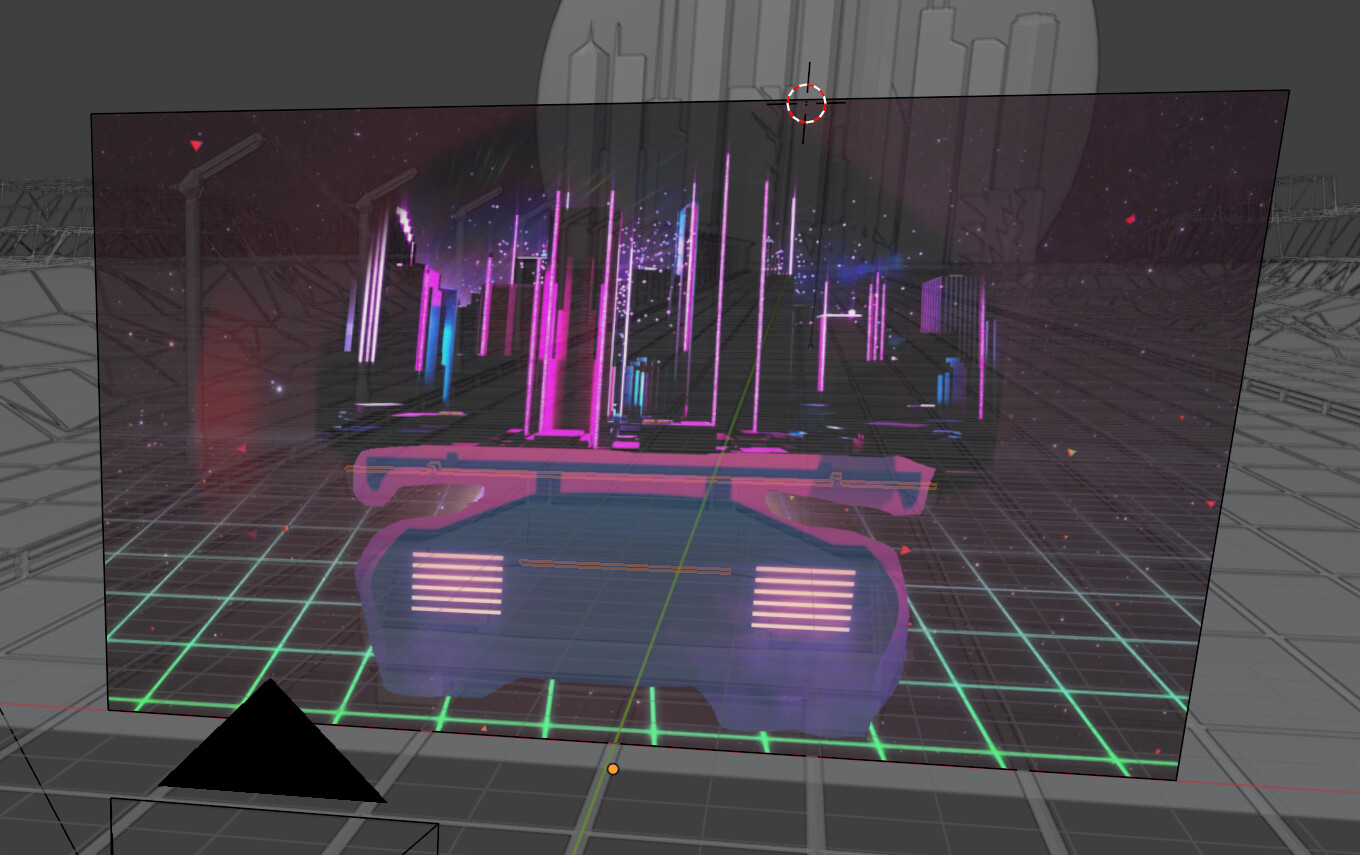
The image was added as an empty. And a camera was placed and positioned so the image fills the view port.
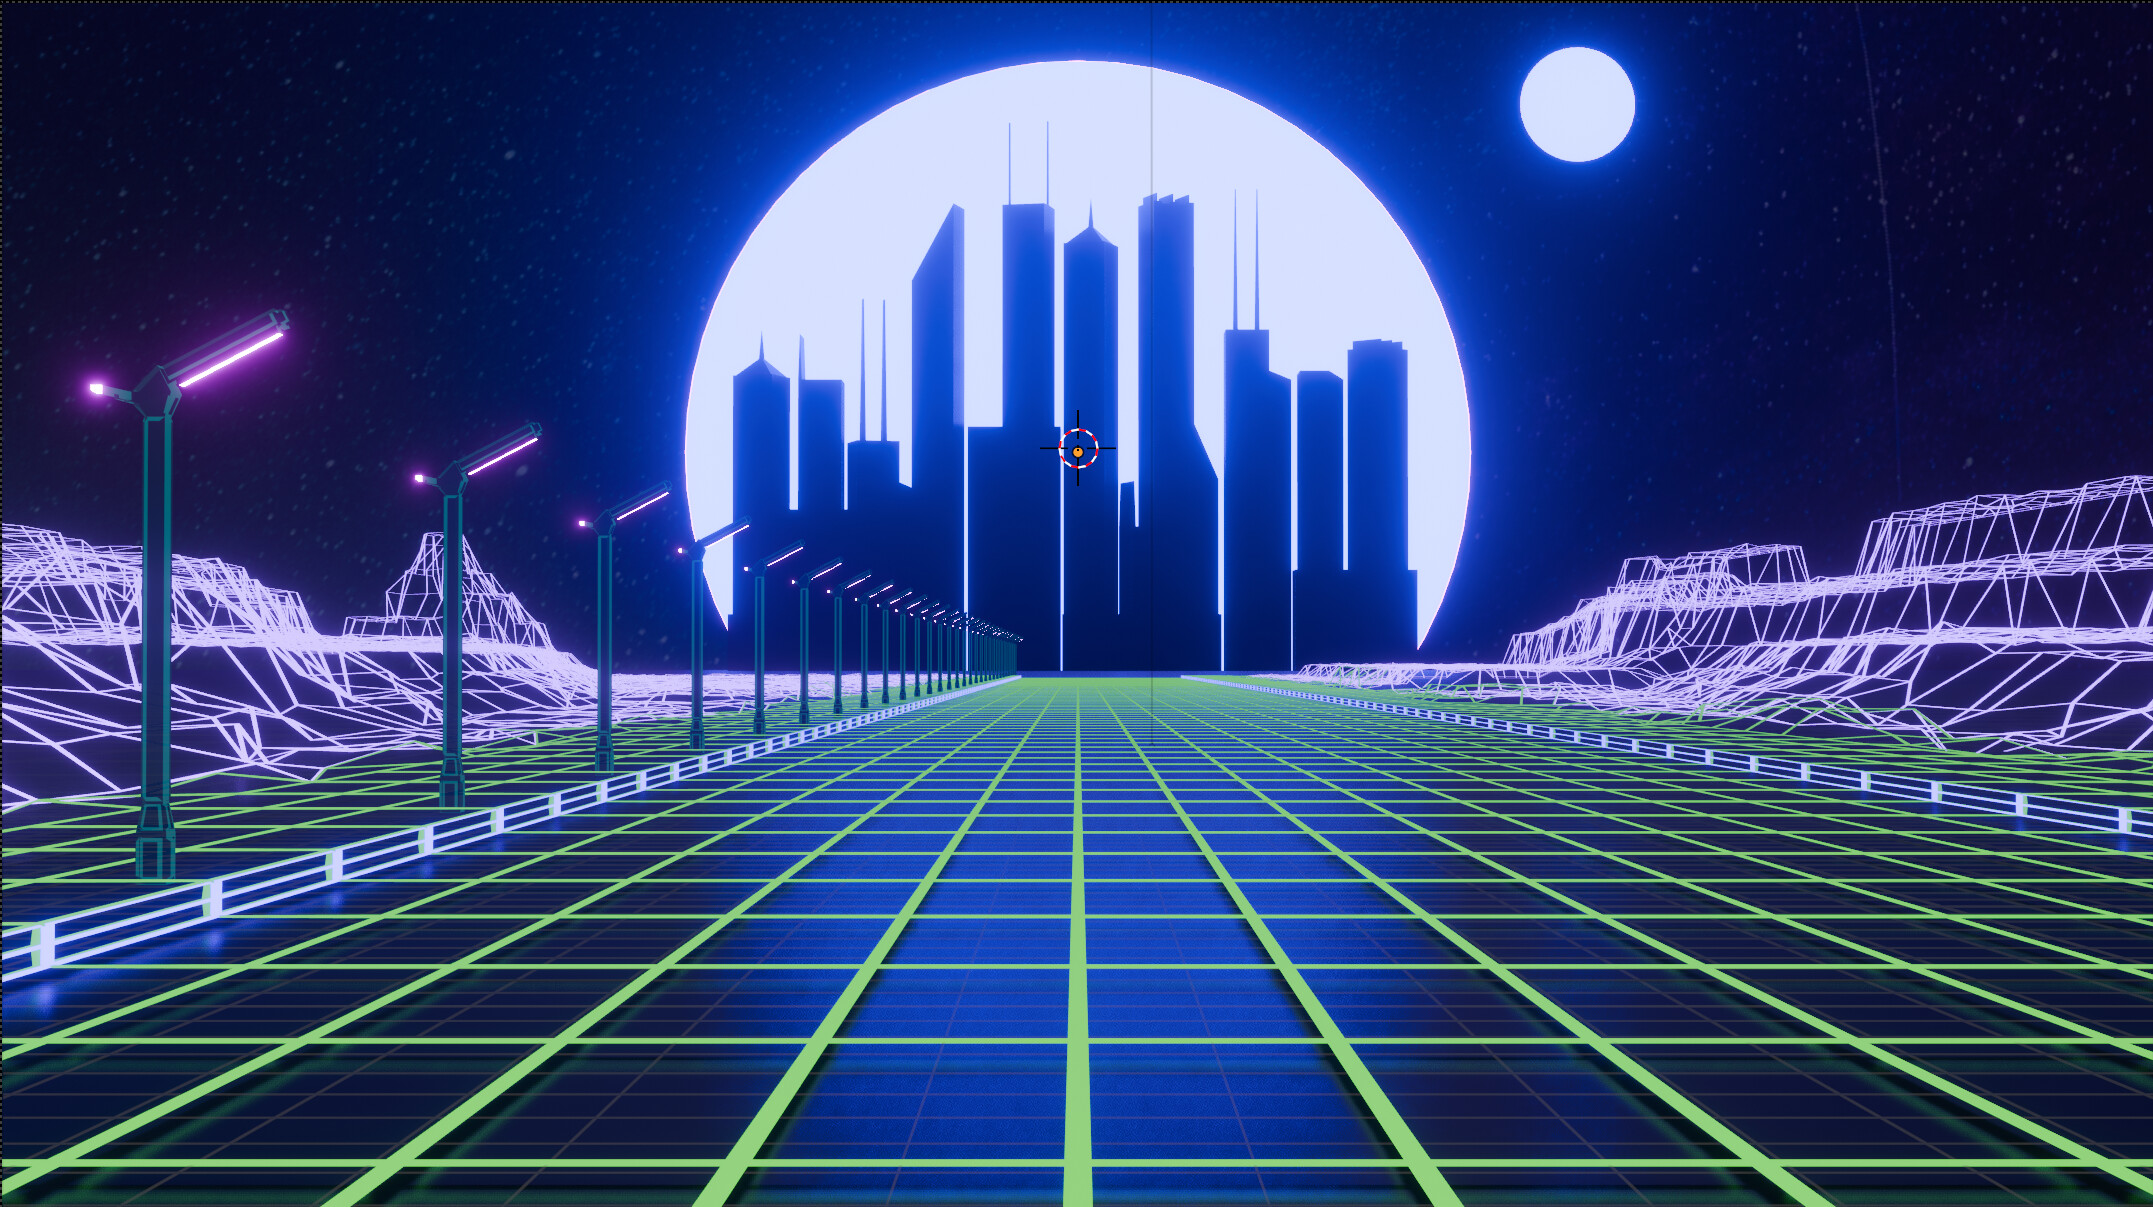
The Street and Landscape
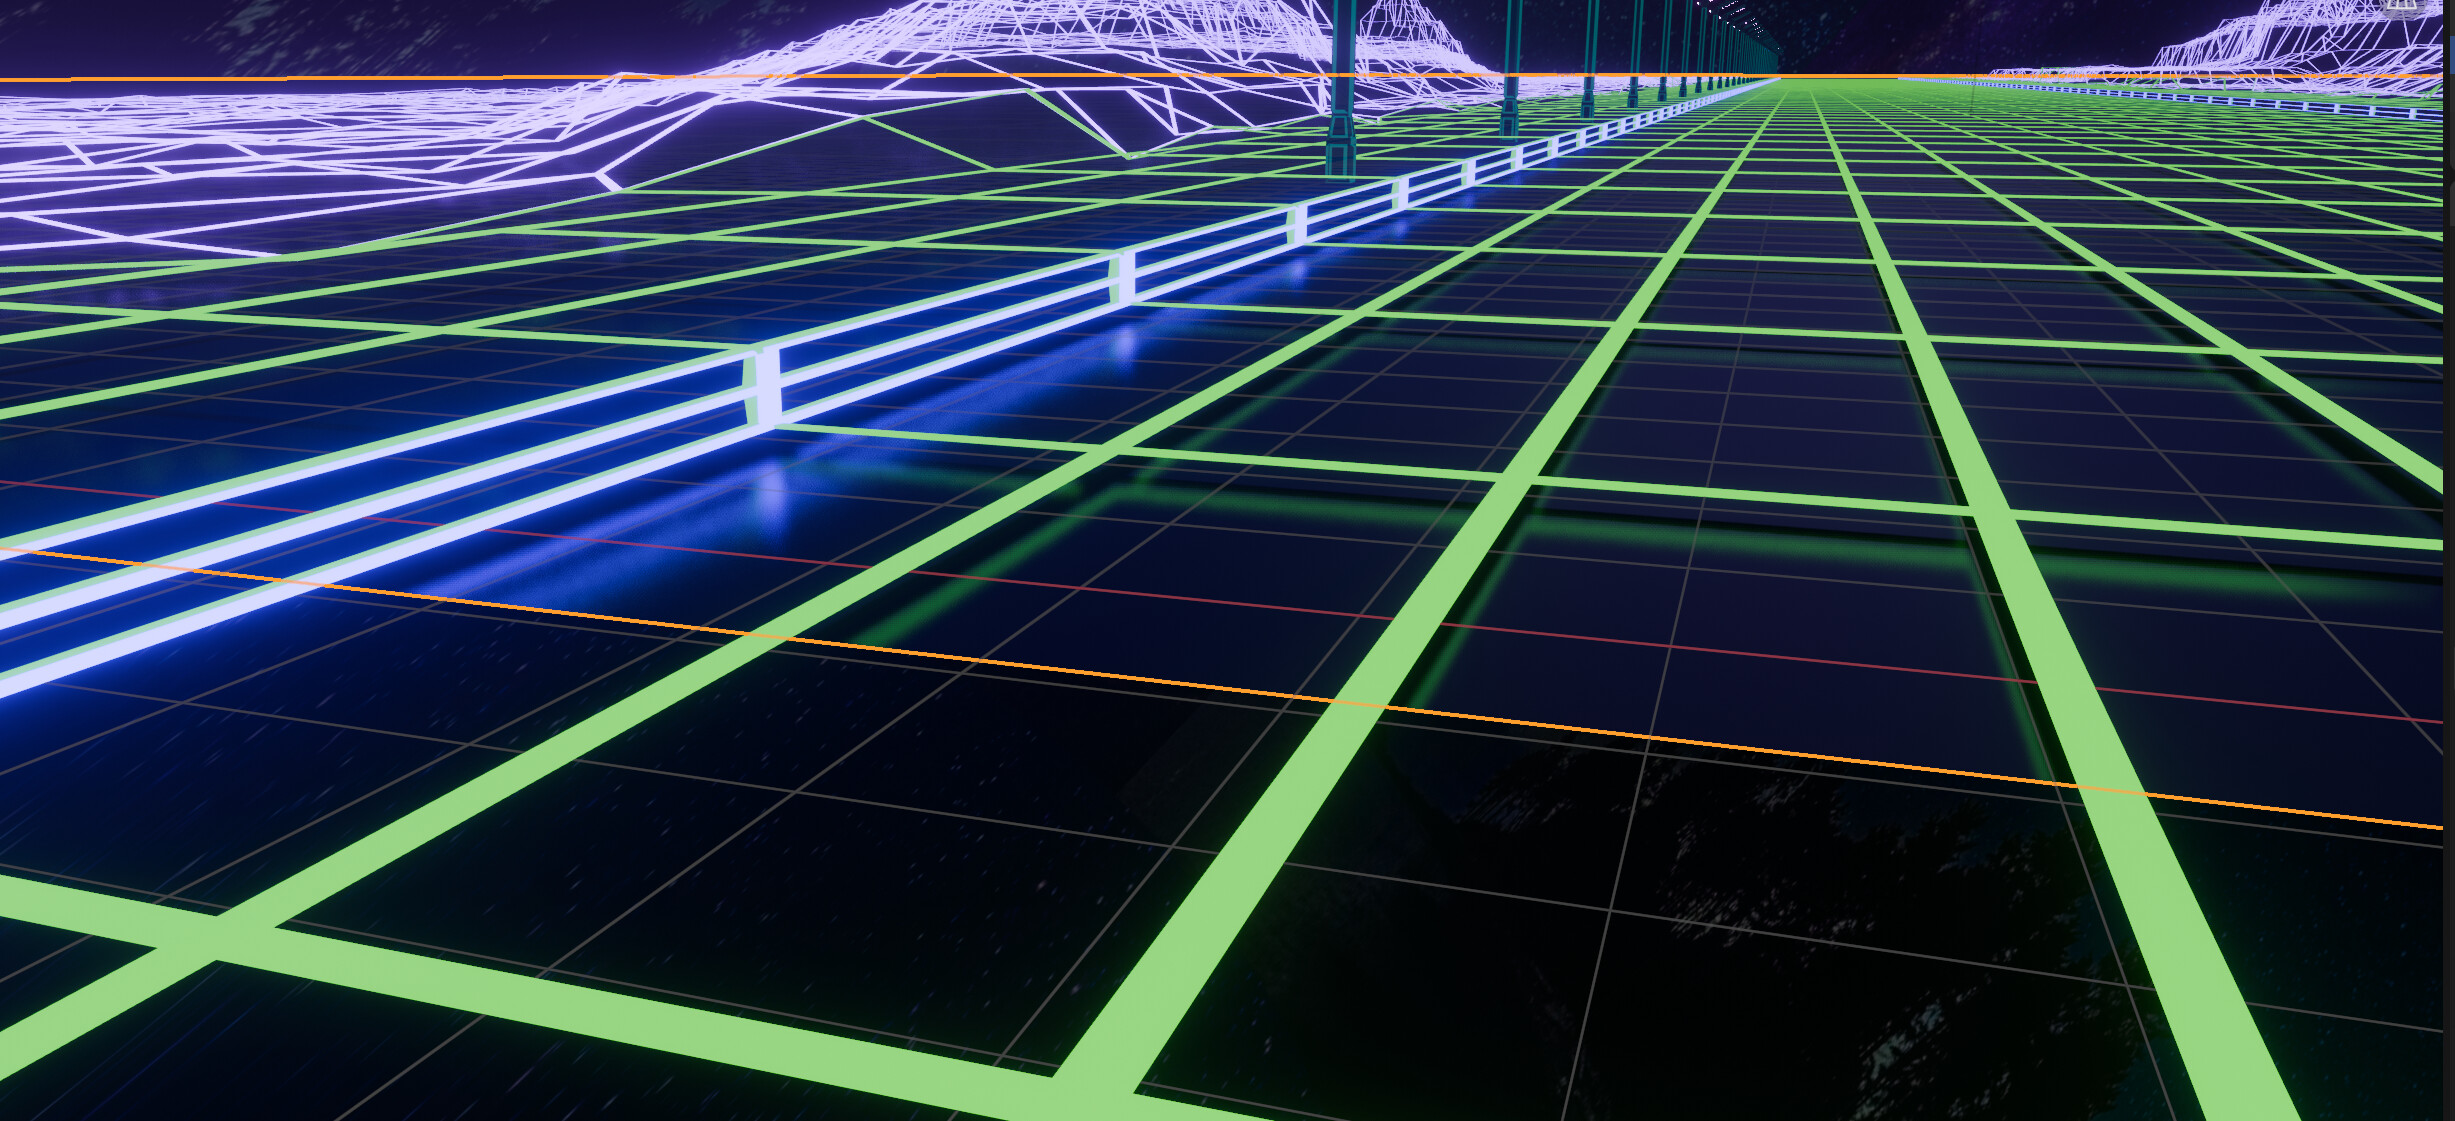
The grid is a plane, which has been subdivided a few times. A wireframe modifier creates the grid.
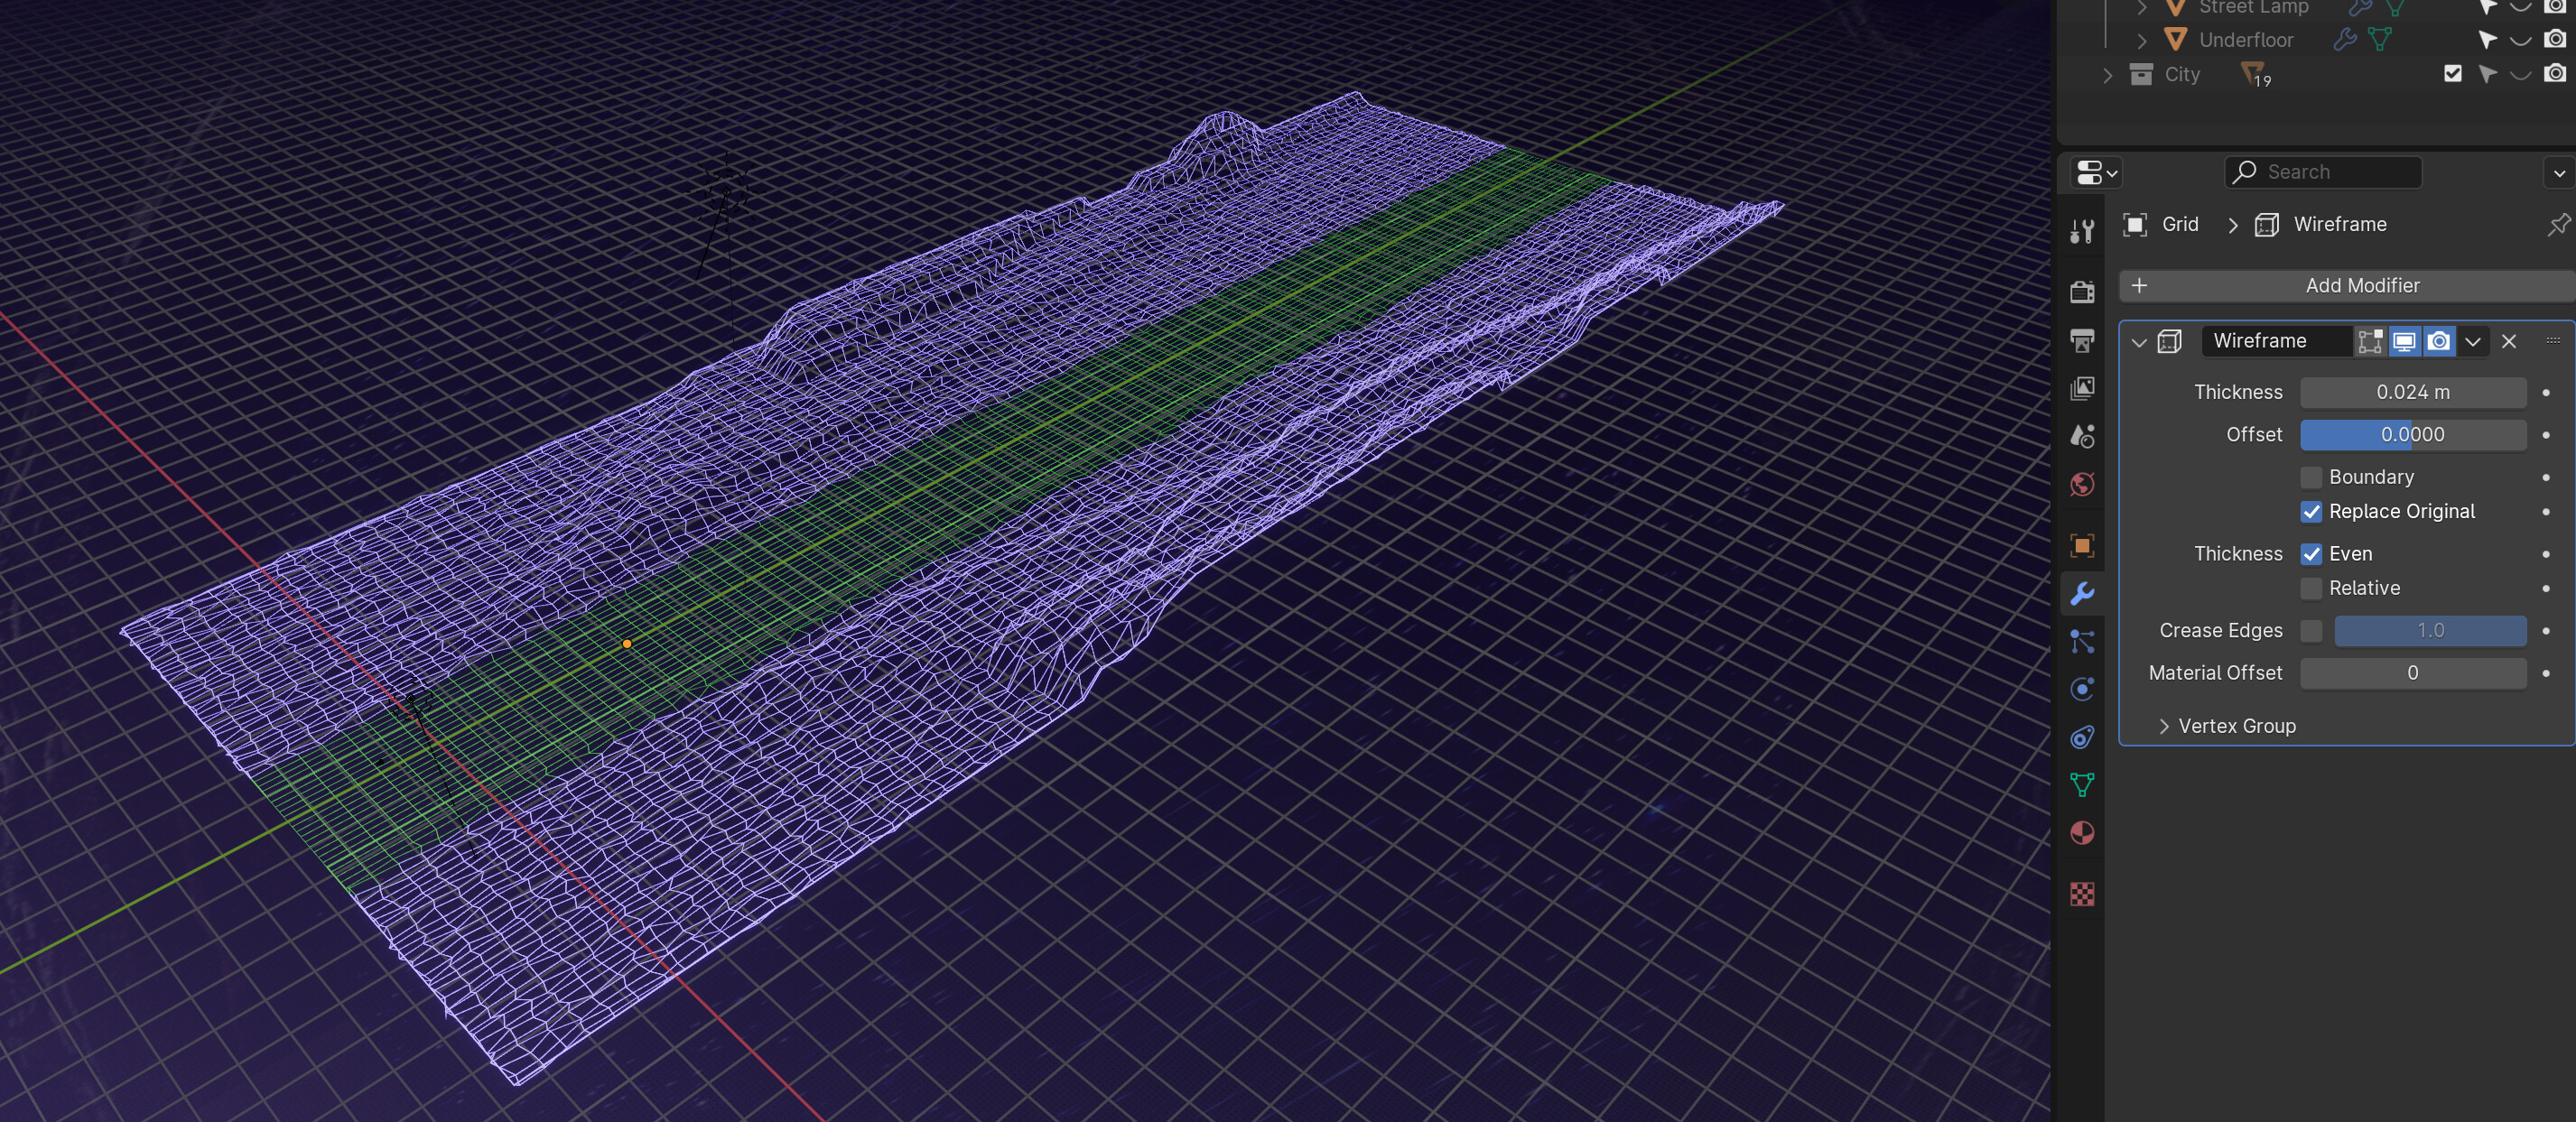
The Green mesh is the street, the purple mesh the surrounding.
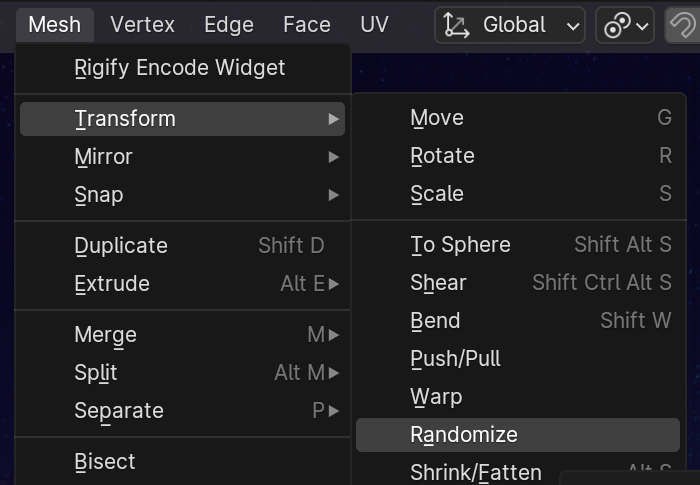
The mountains are vertexes of the same grid I shifted in the z direction. To make them look more natural, I used the randomize feature in edit mode.
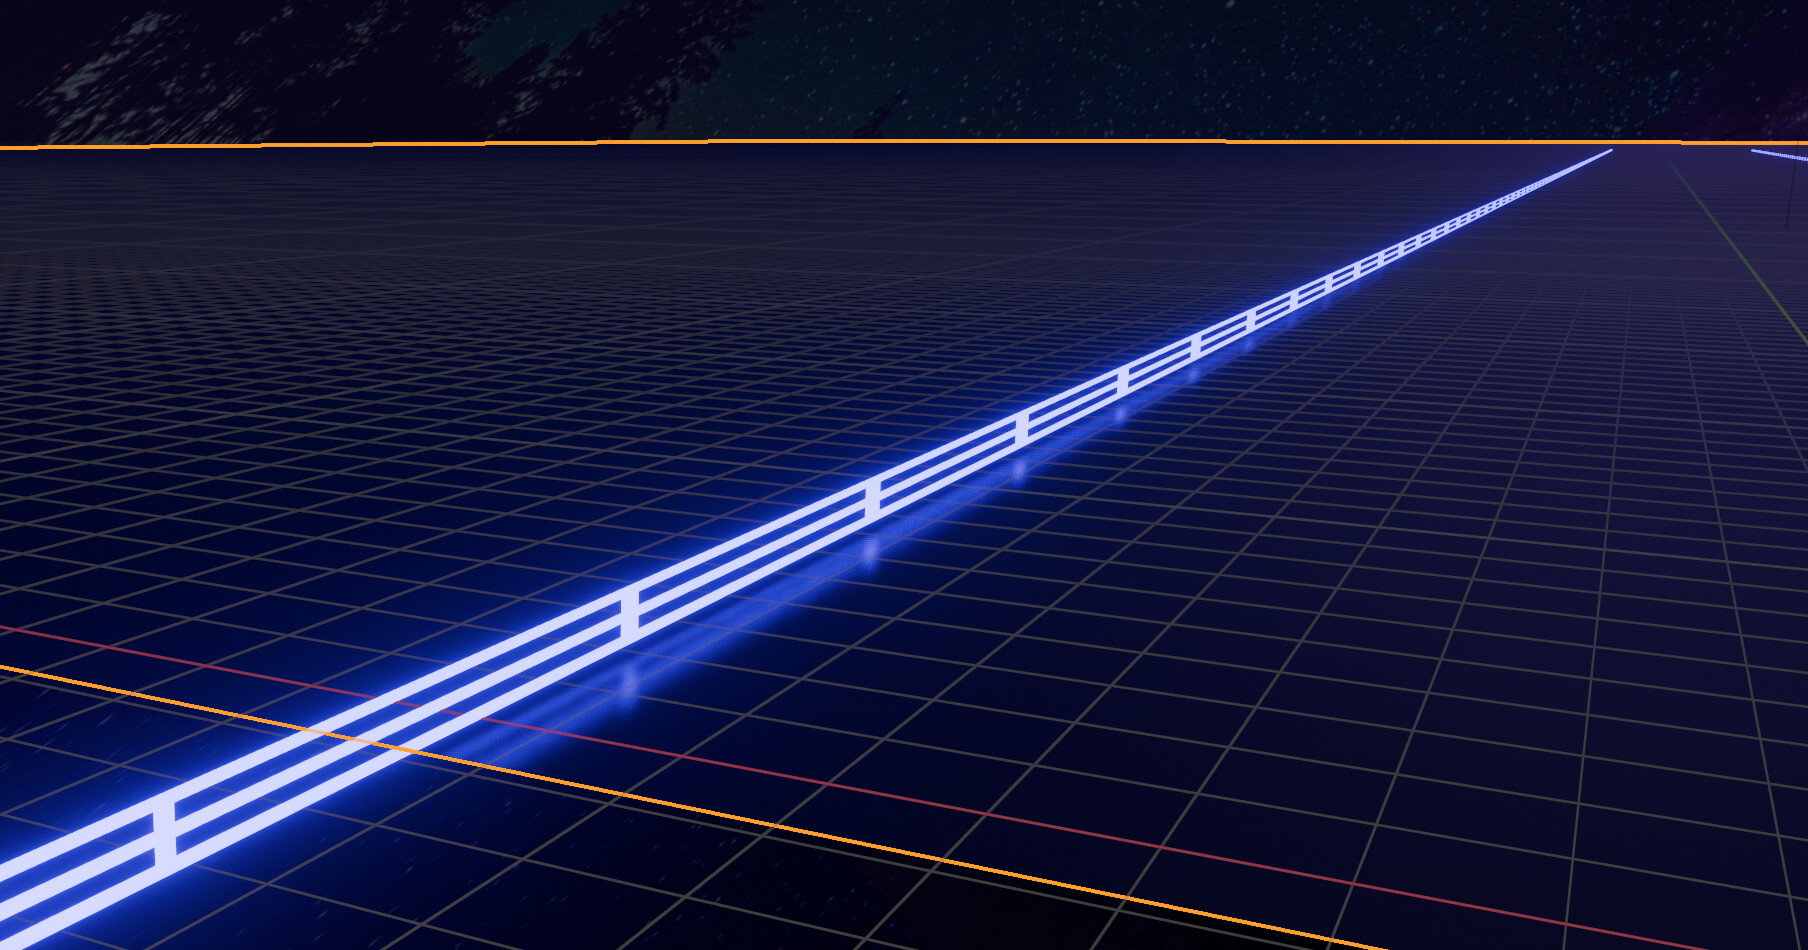
The curb is a mesh I separated from the grid.
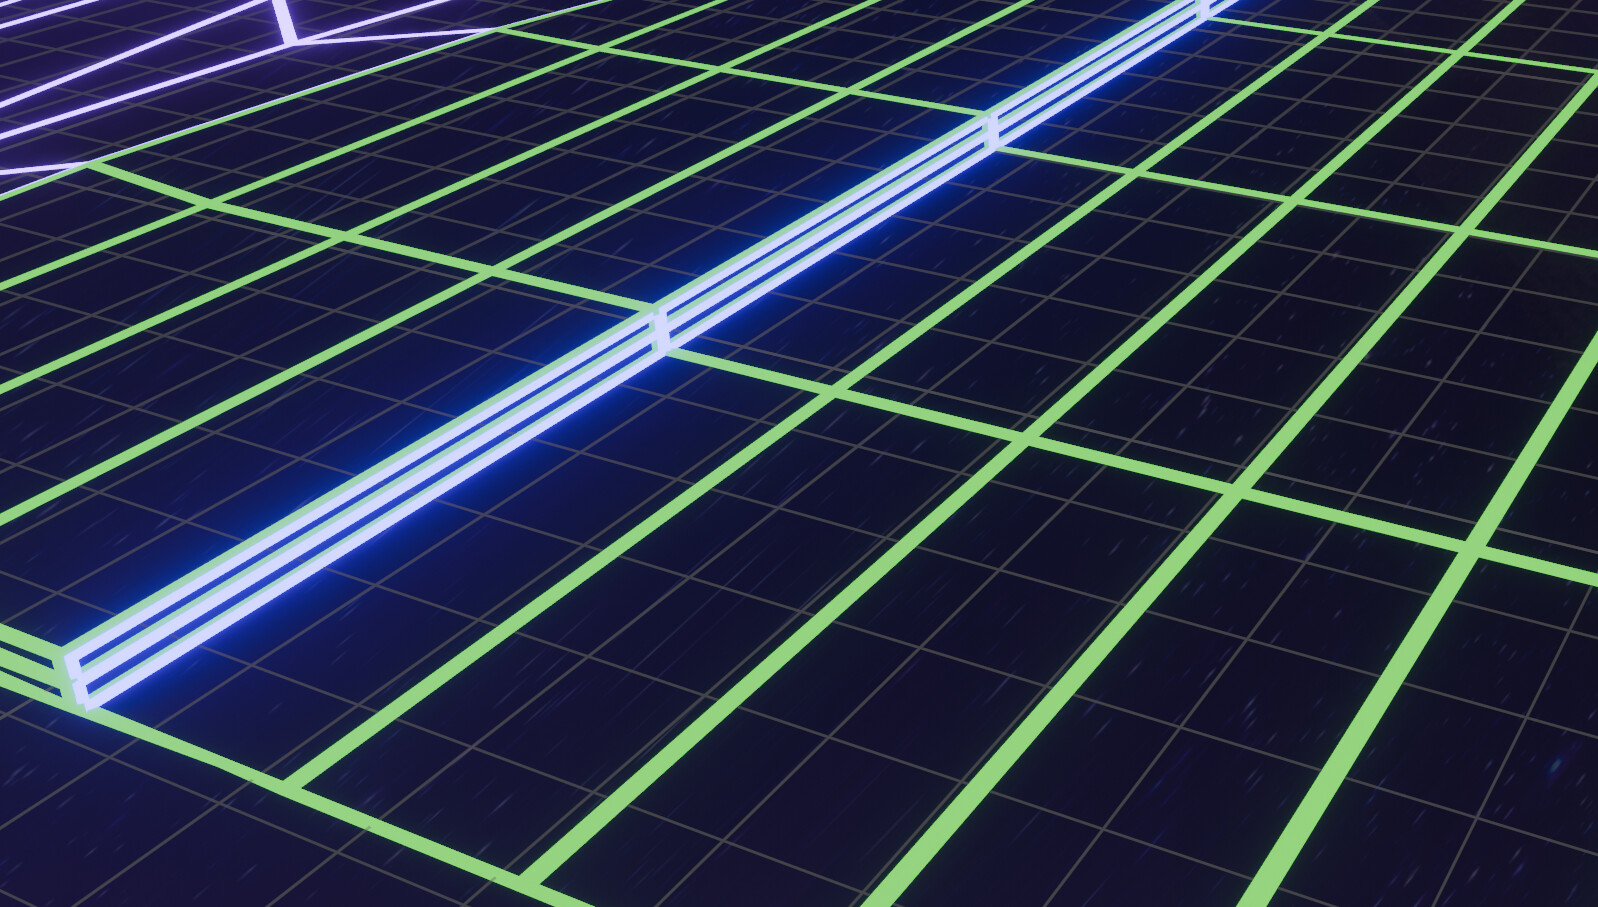
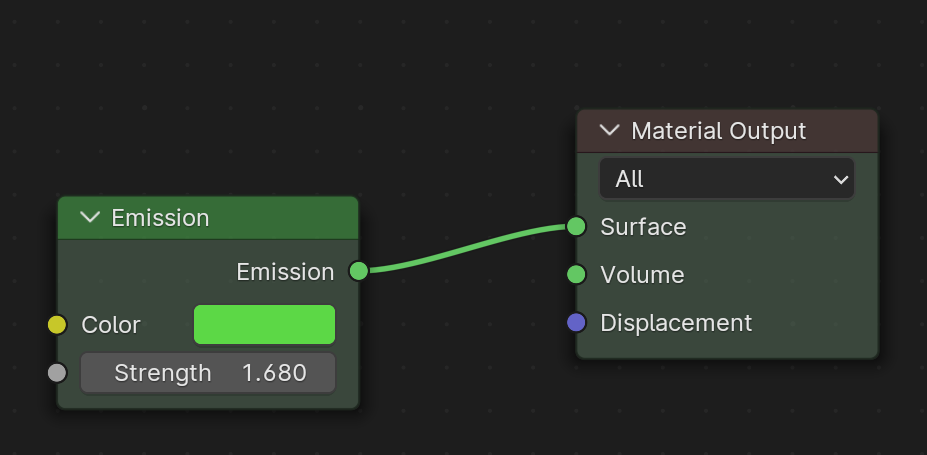
A simple emission shader creates the glow effect.
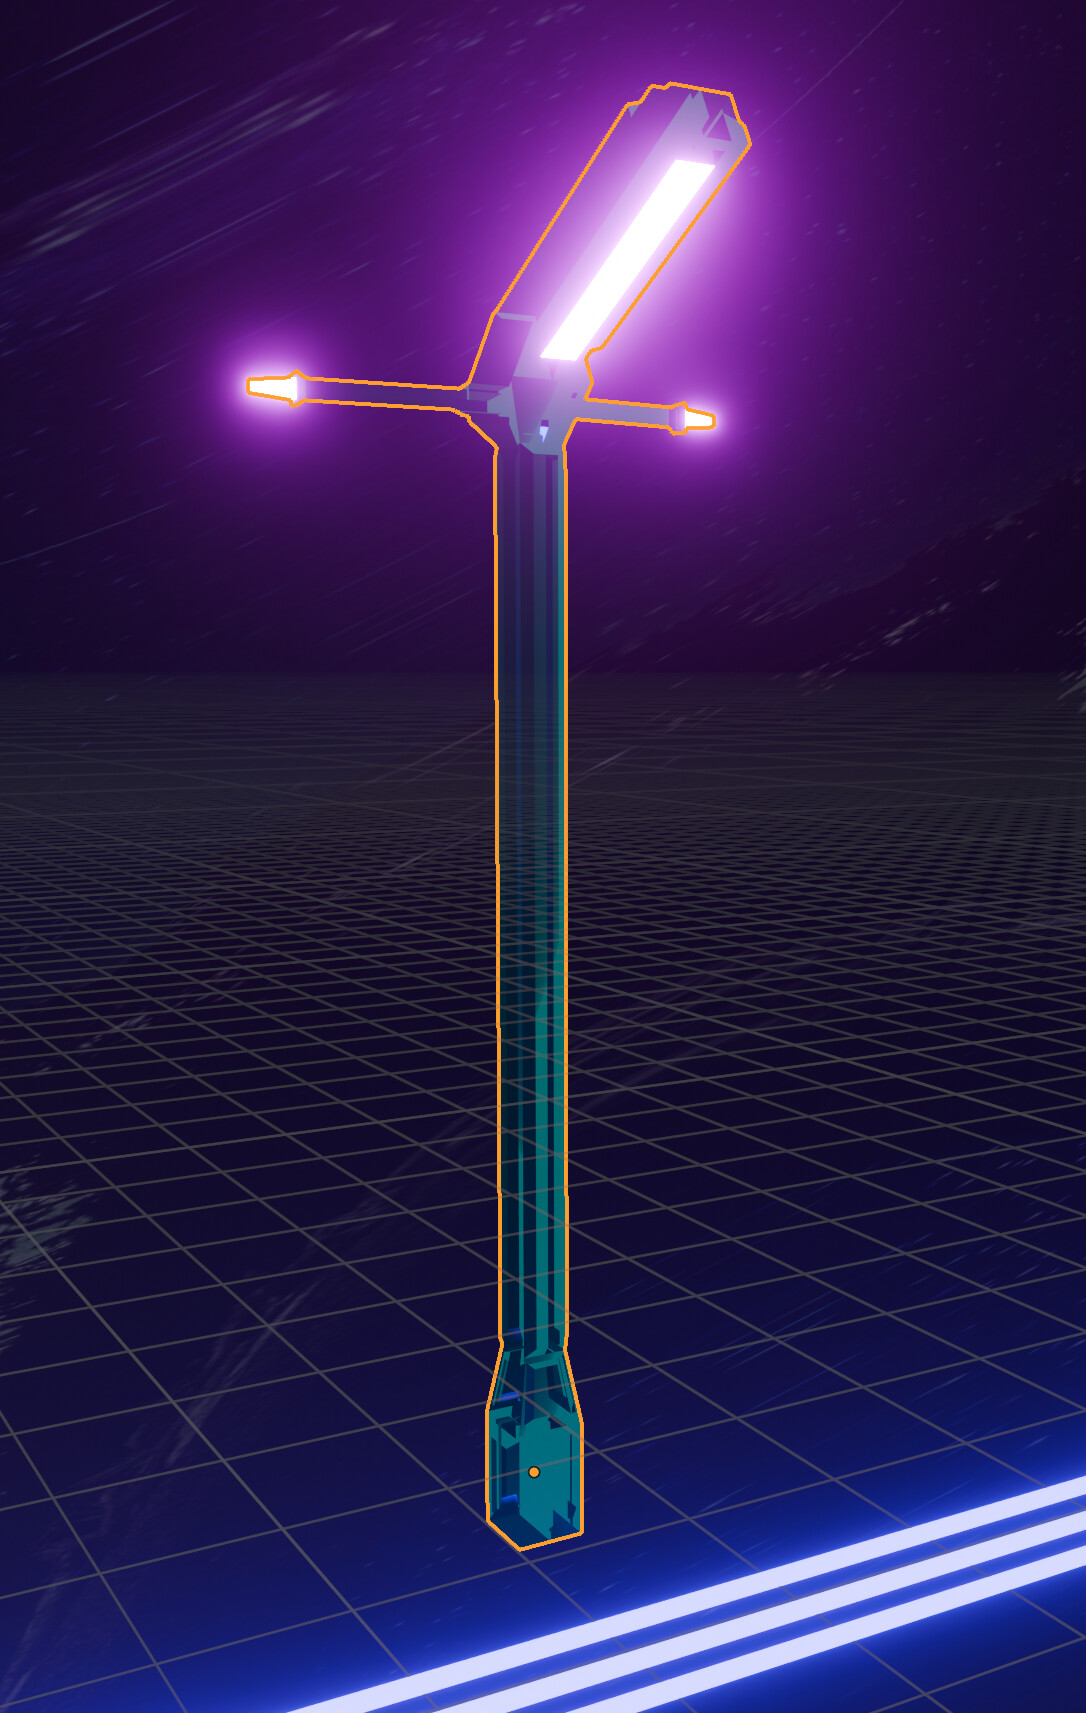
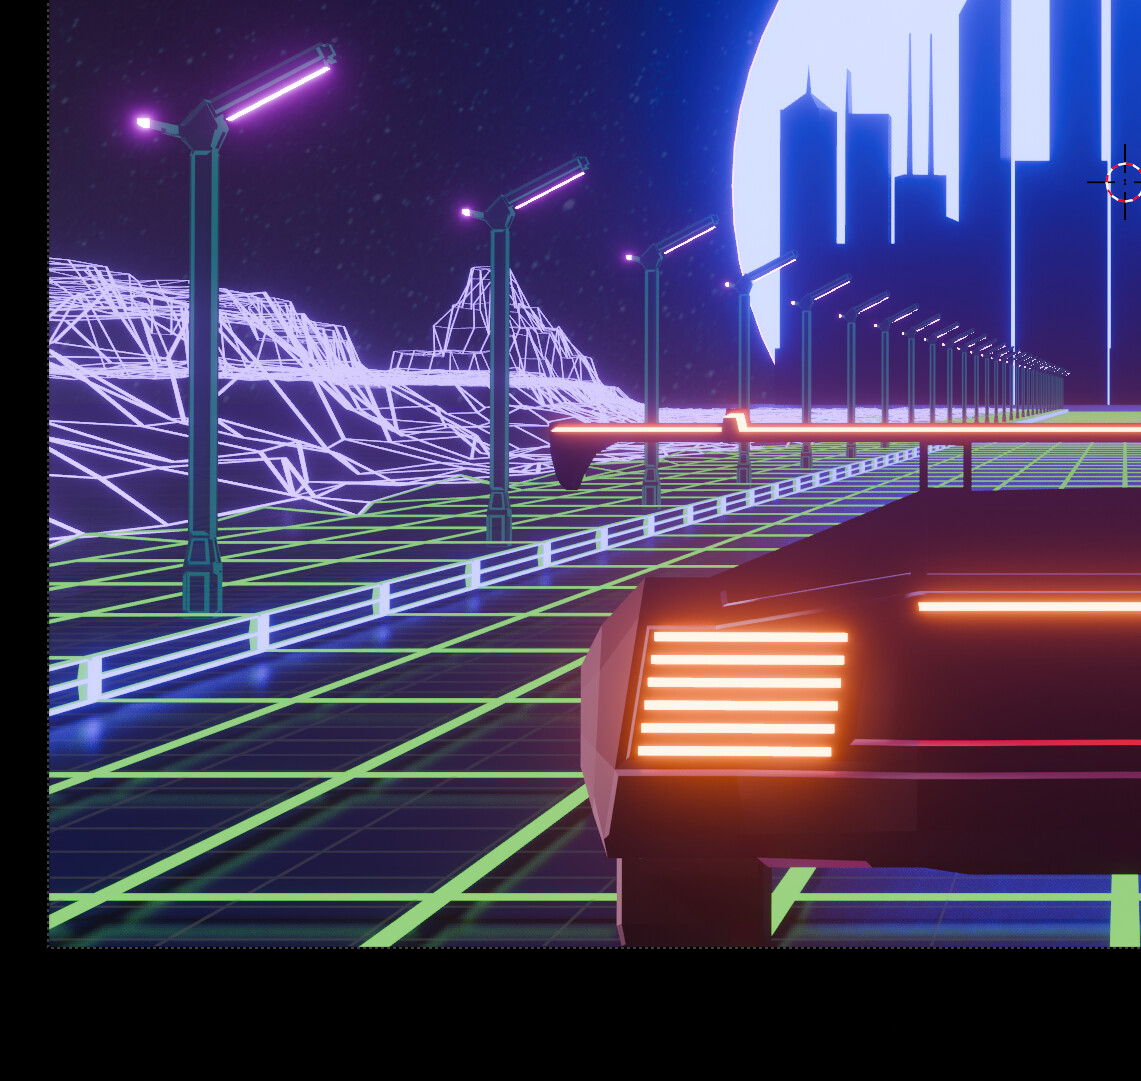
Lamps
Of course, synthwave images have either streetlamps or palm trees. I went for streetlamps.
A single lamp is a cube that got extruded, has inserts and extrusions.

I ended up using the array modifier to create the row of streetlamps. The array made it easier to adjust the spacing between streetlamps and match them to the grid.
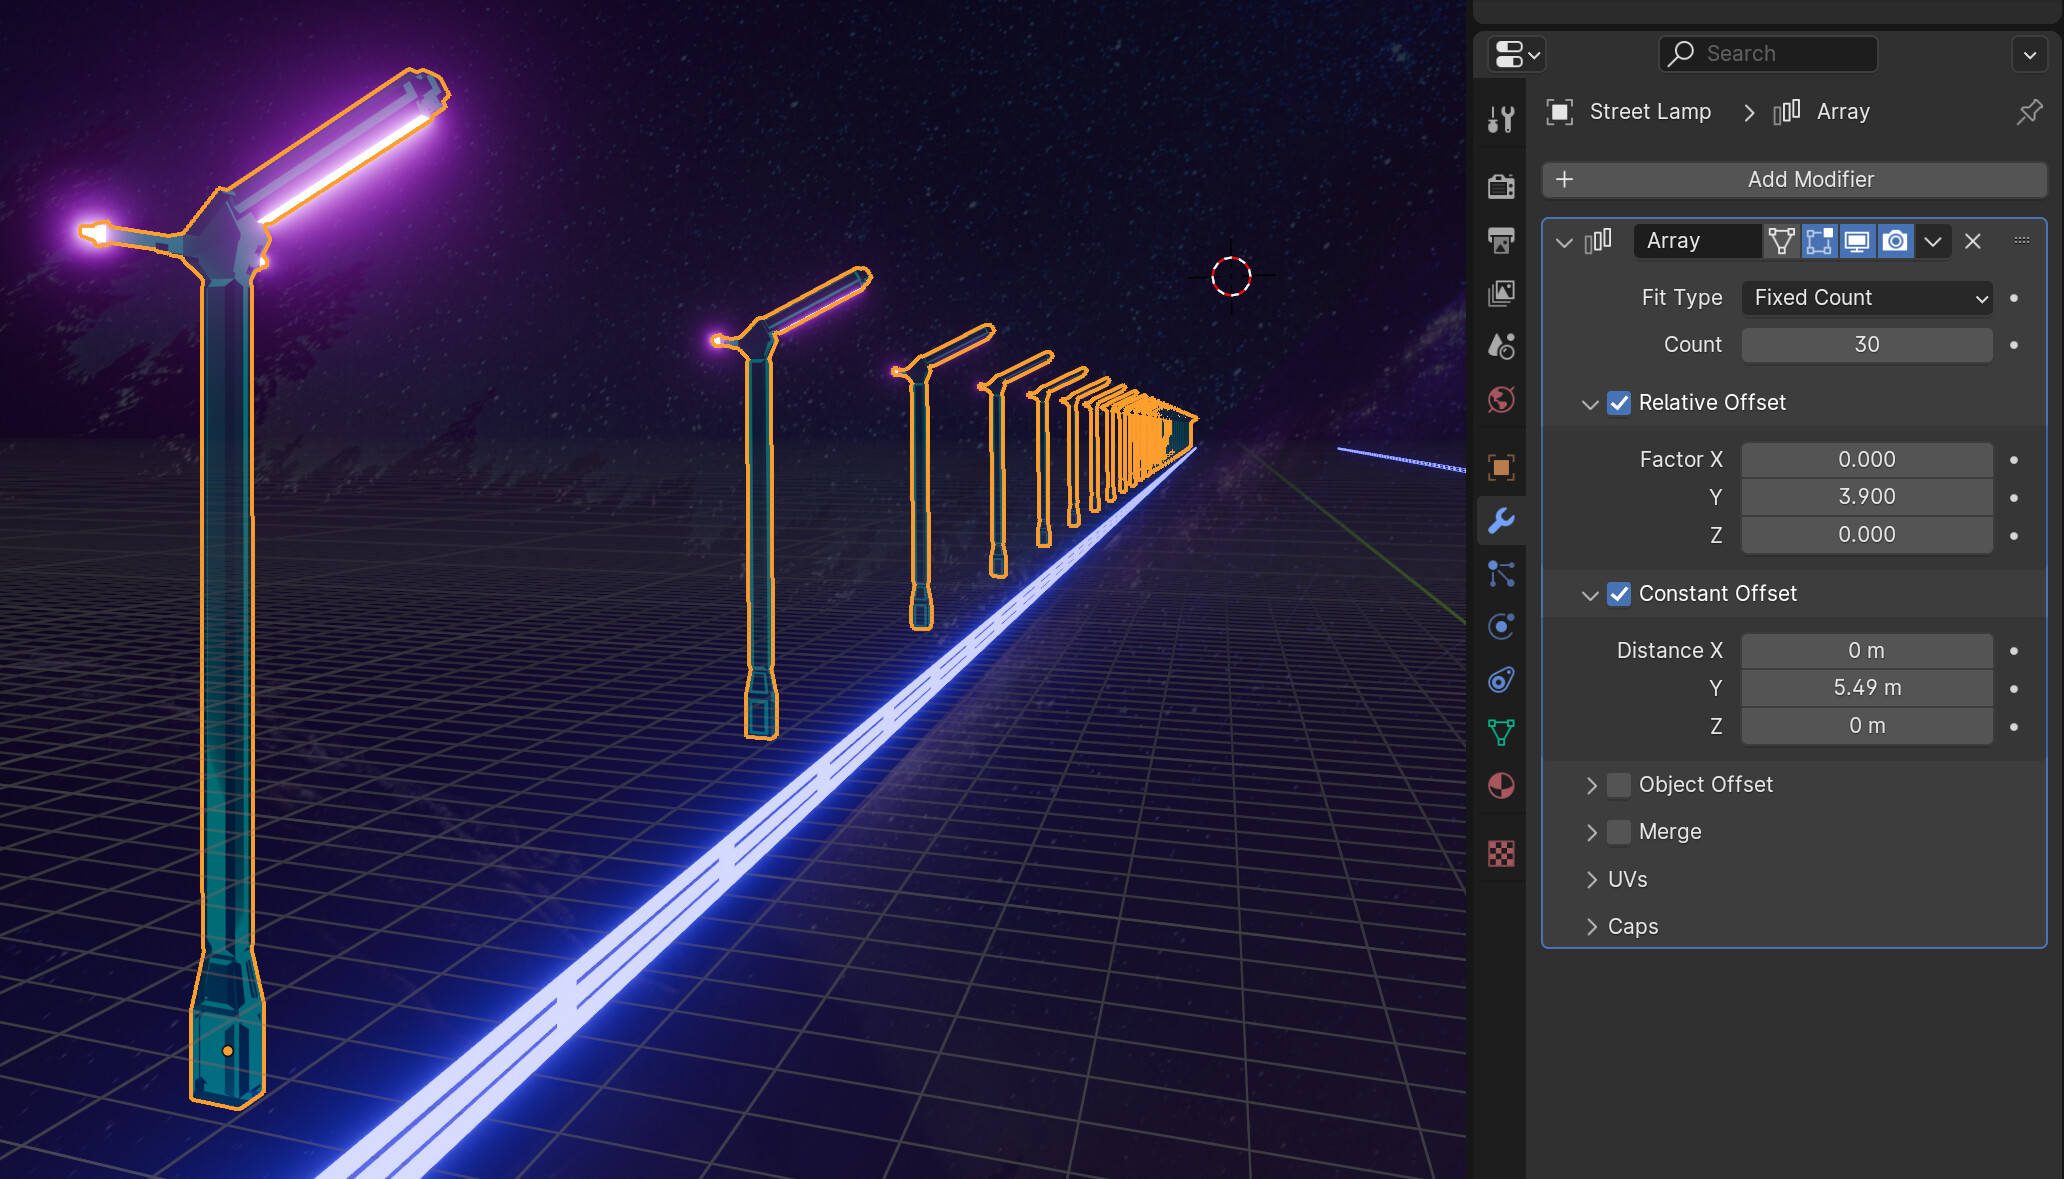
The material is a bit odd, but I like it. More about the Fresnel Node later.

Under the whole scene sits a large plane, adding an extra layer of reflection, like a large mirror. This adds some depth and later reflects the light of the moon behind the city too. And adds a nice effect under the car.
The City
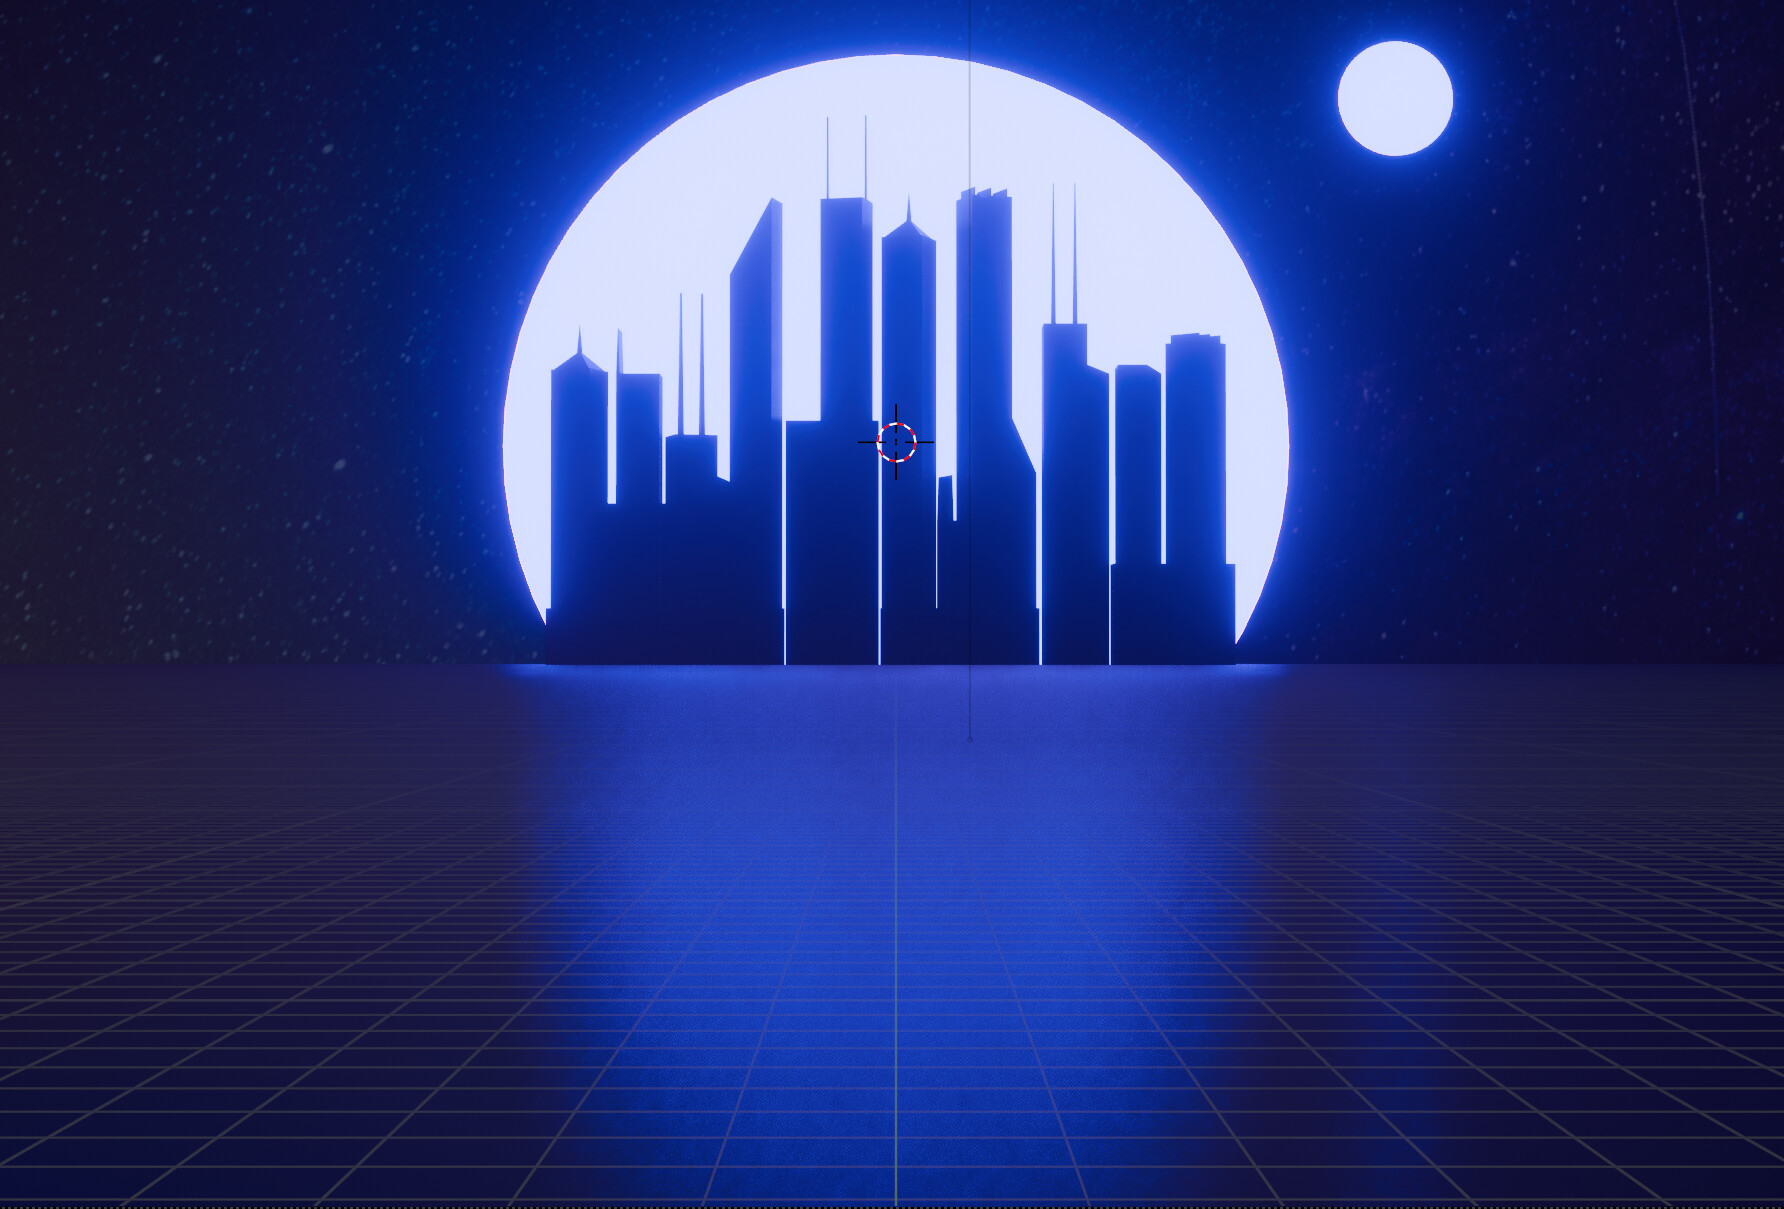
Look at that nice reflection the plane creates.
The city was straight forward to make. These are cubes with some extrusions, then placed and rotated.
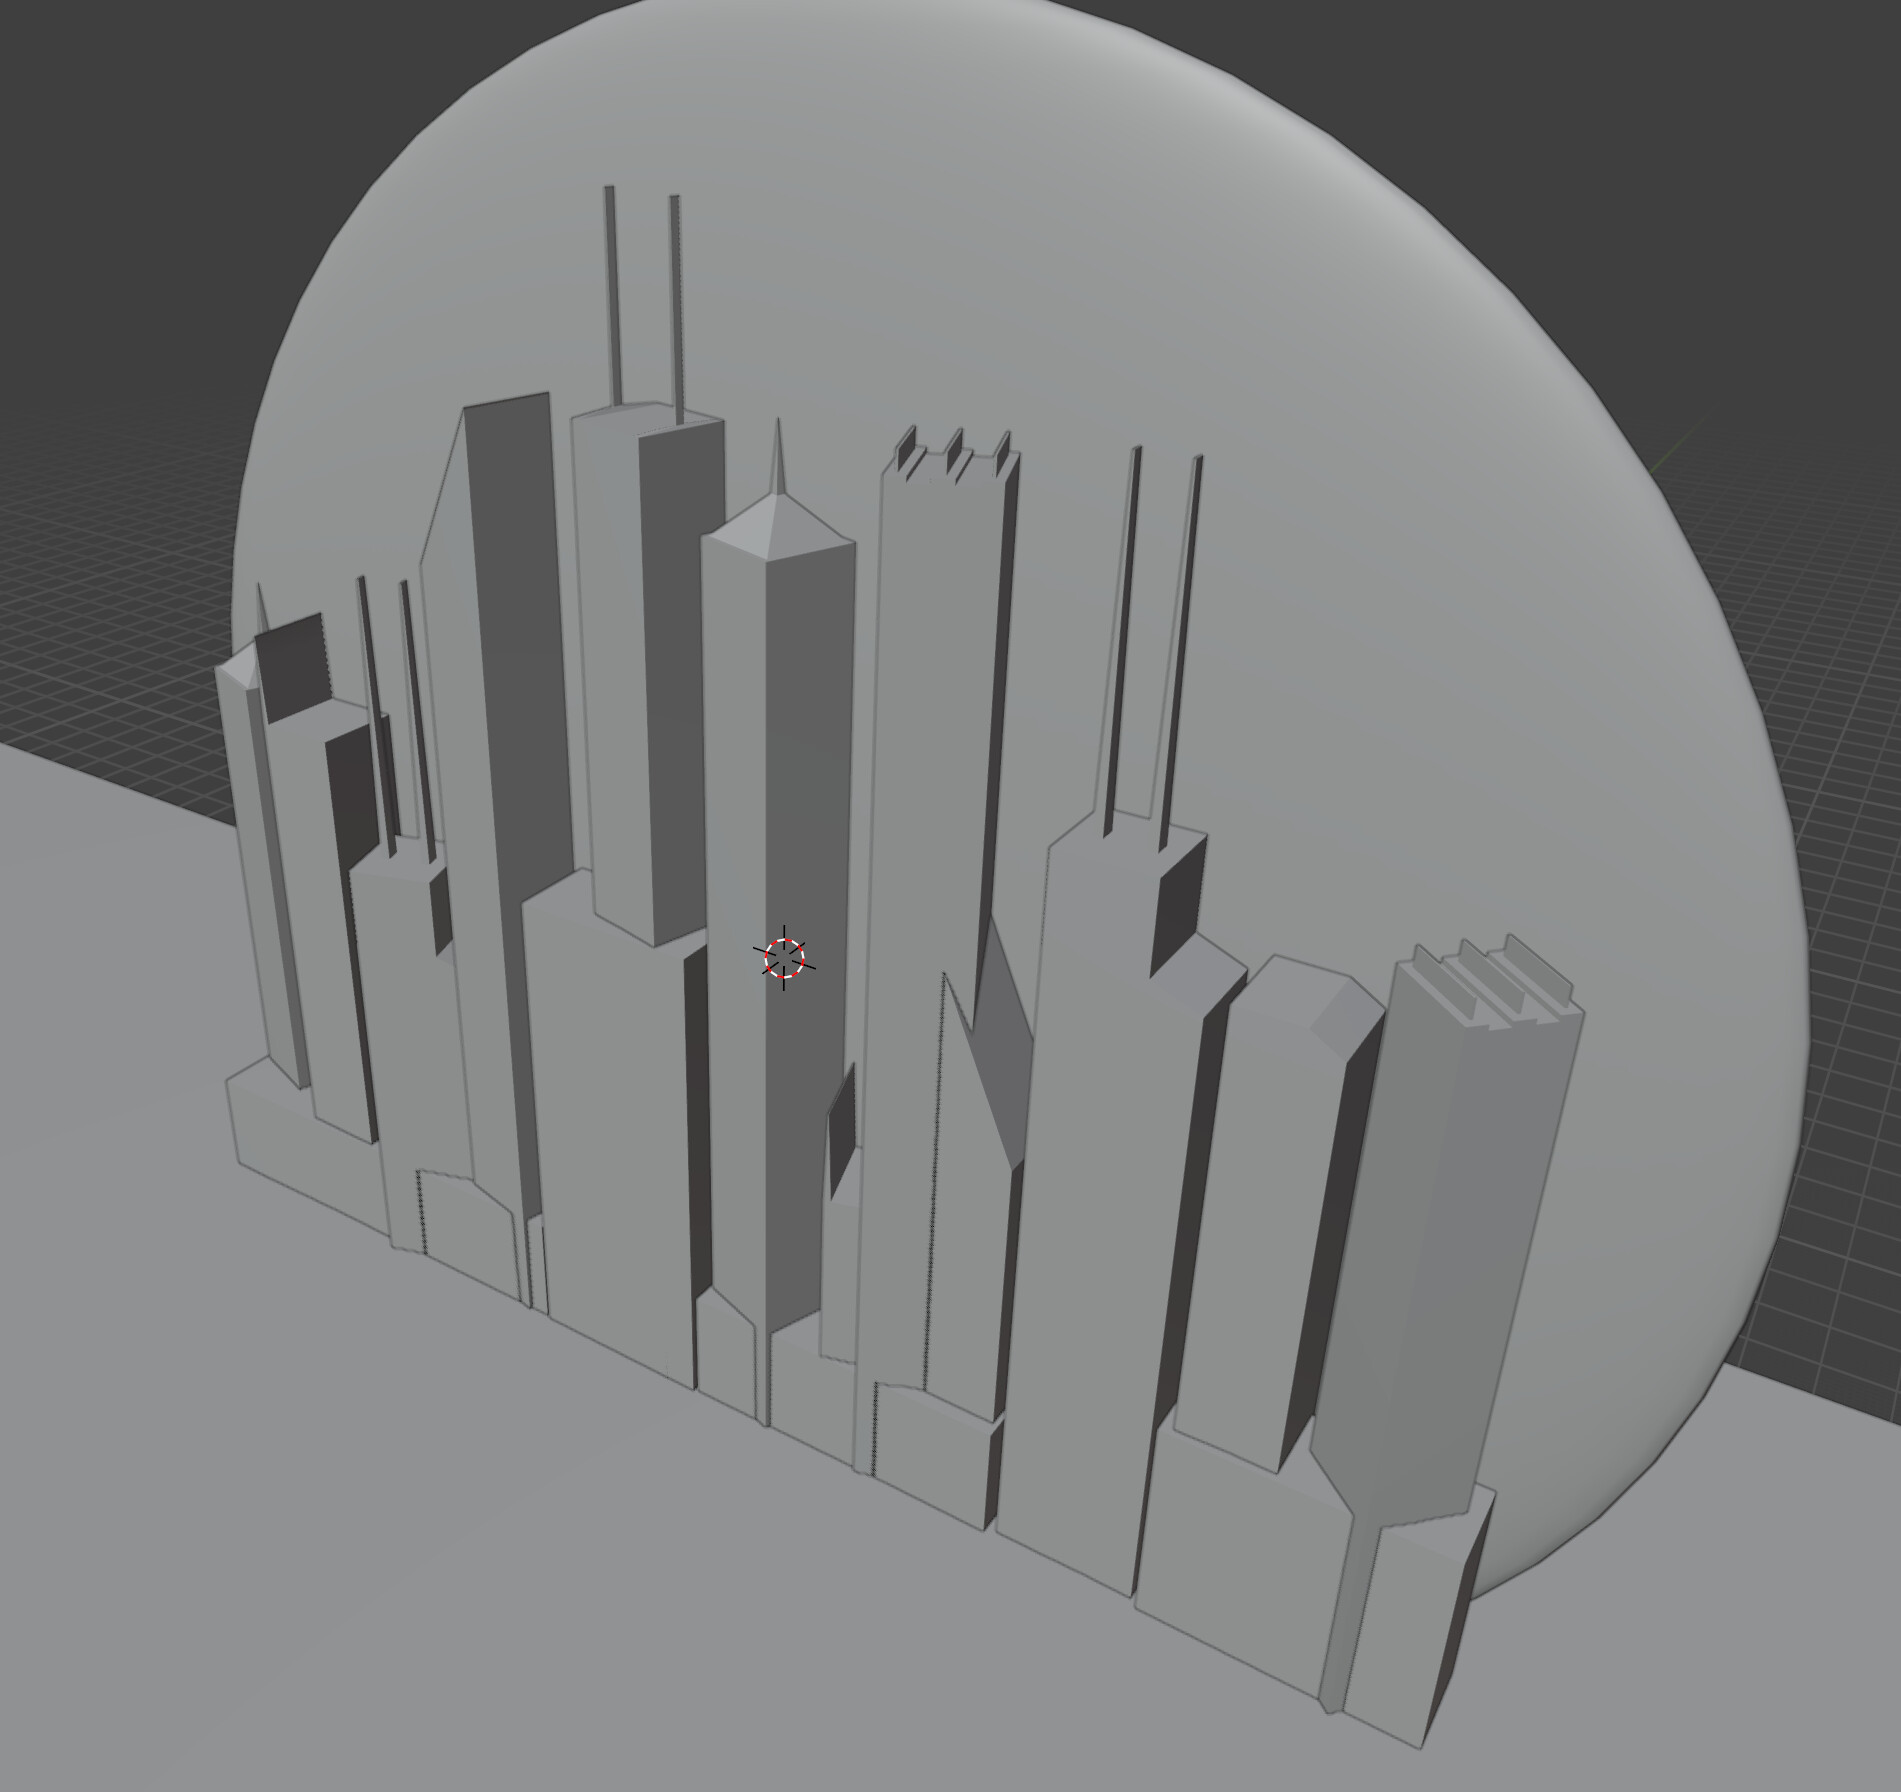
I scaled and positioned the building while in camera view, so they look alright.
G, followed by Shift + Y became my new friend to only move the cubes along the X and Z axis.
What is that disc? Well, that’s the moon.
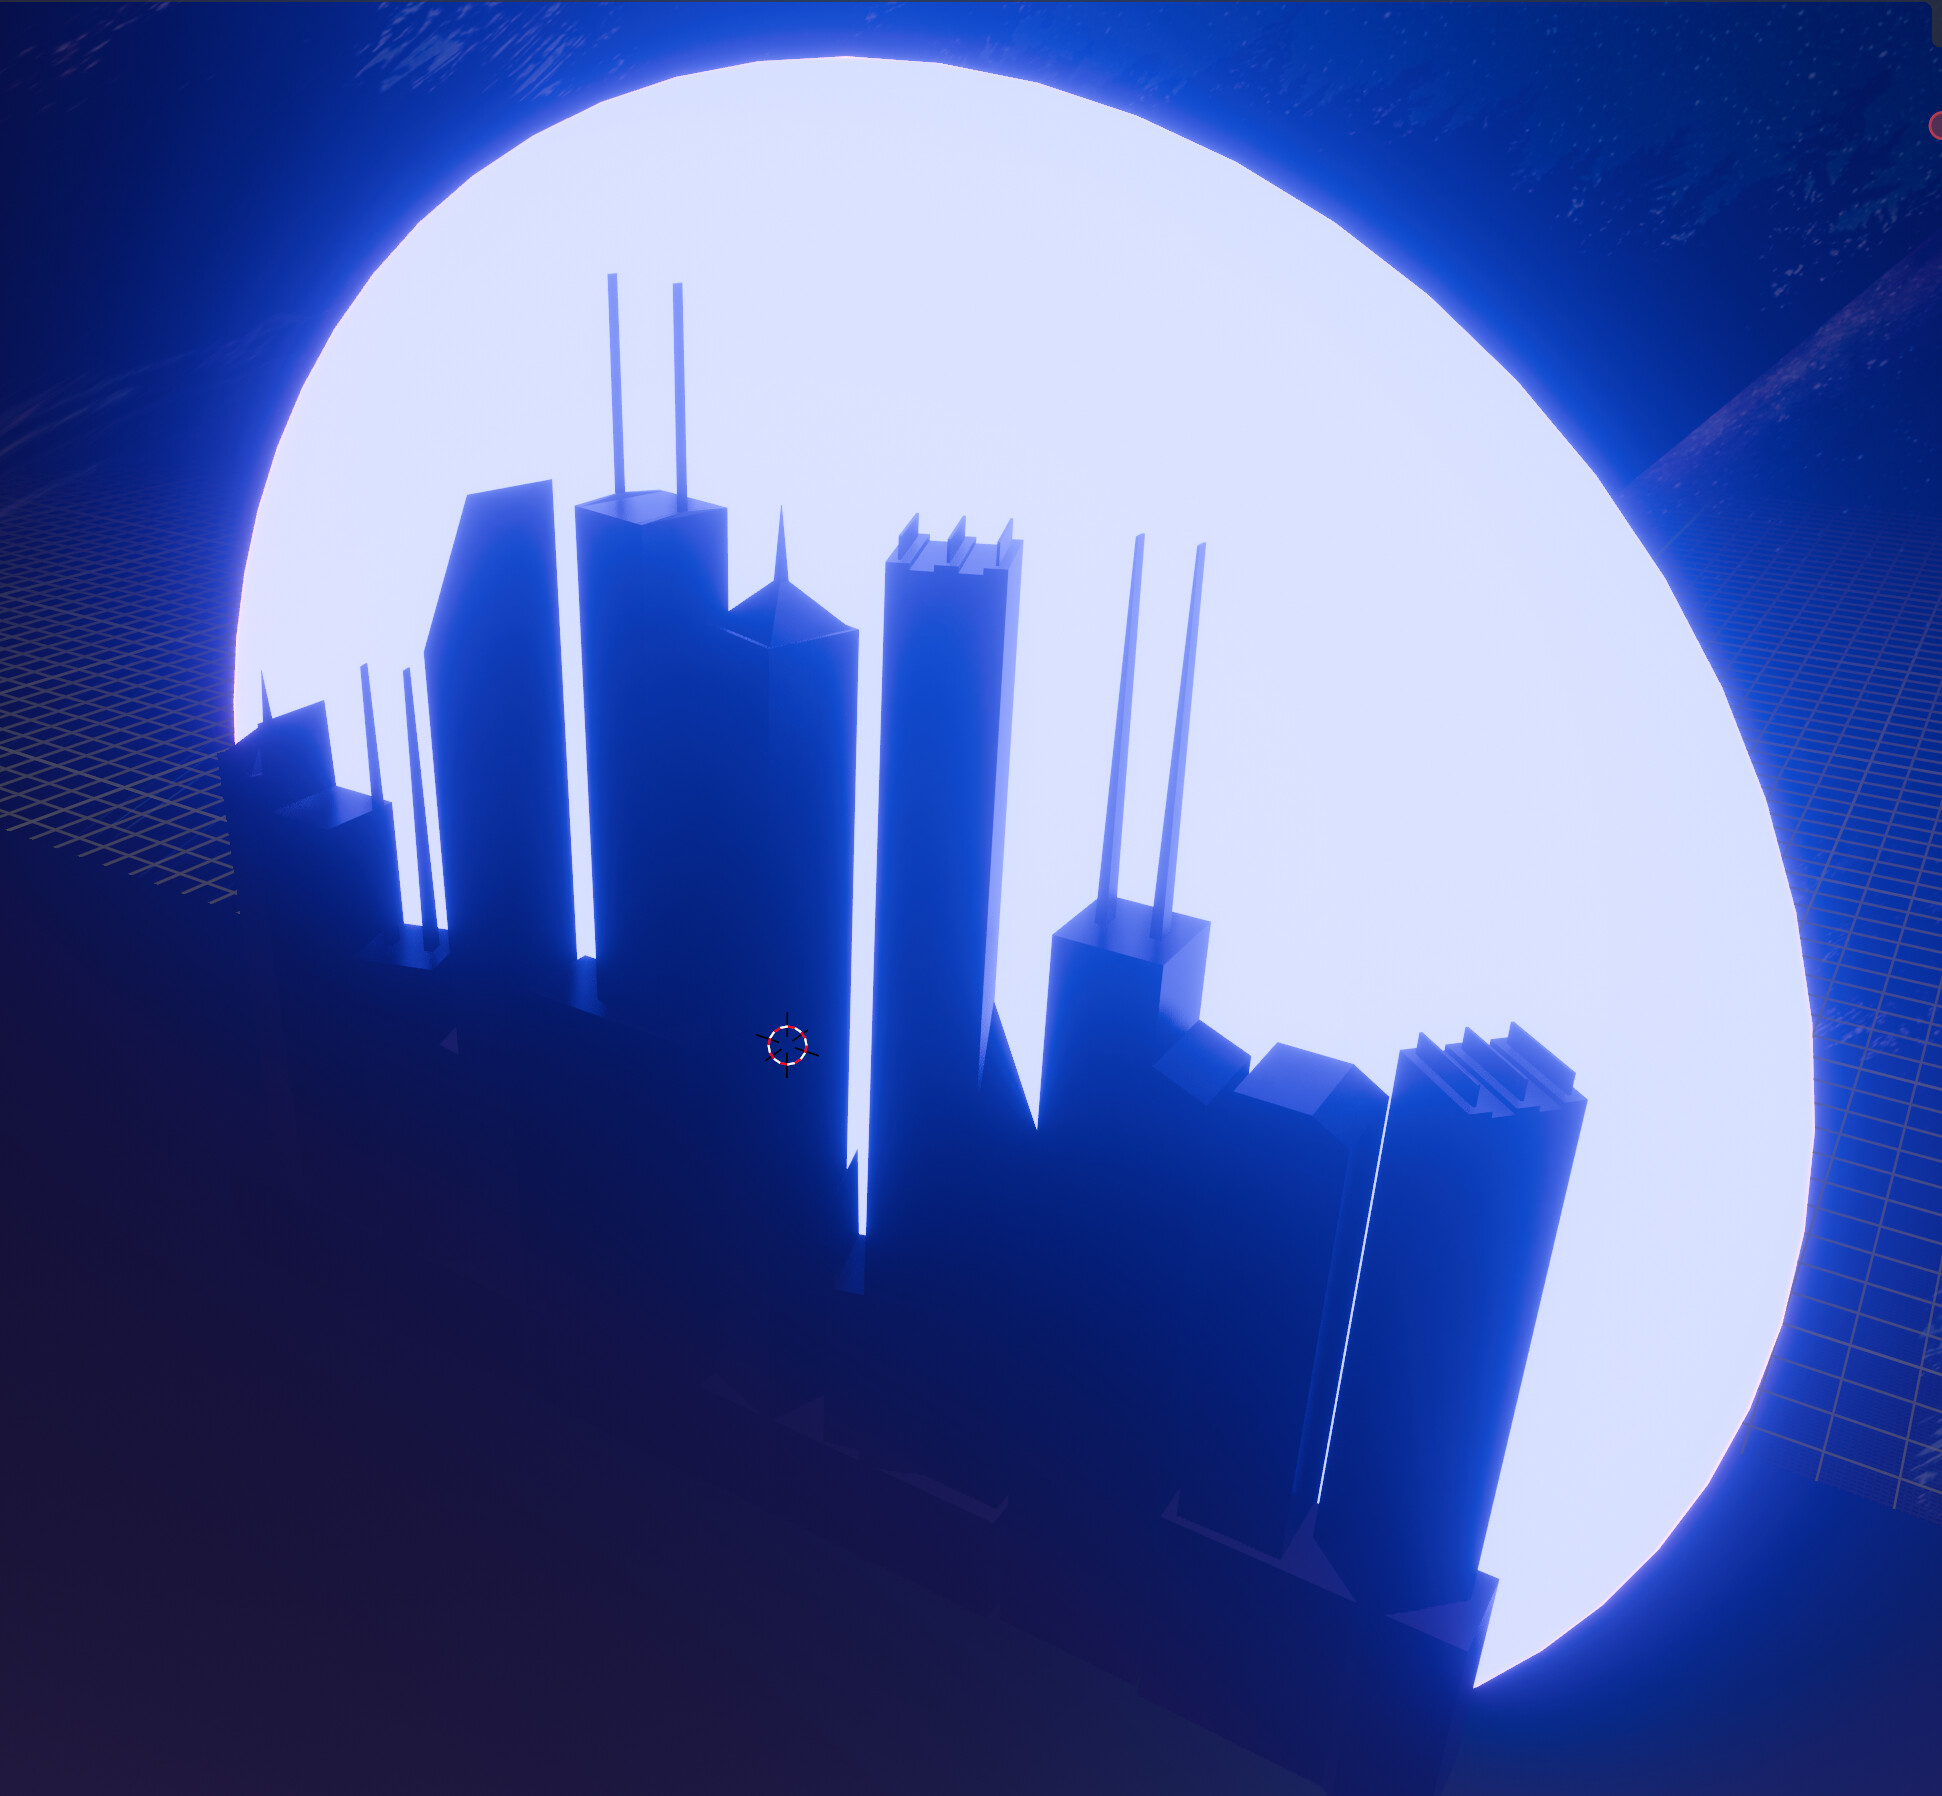
Initially the plan was to have an unusual color effect, more like this
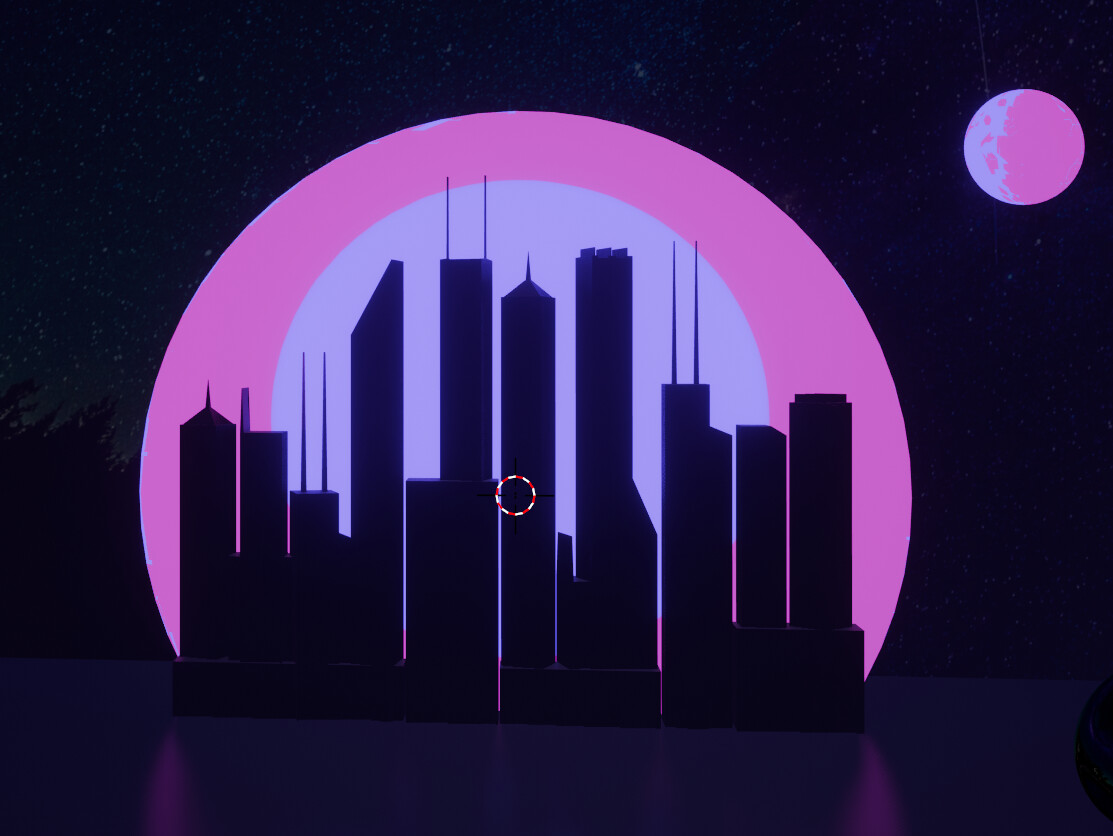
Thats where the Fresnel Node comes into play
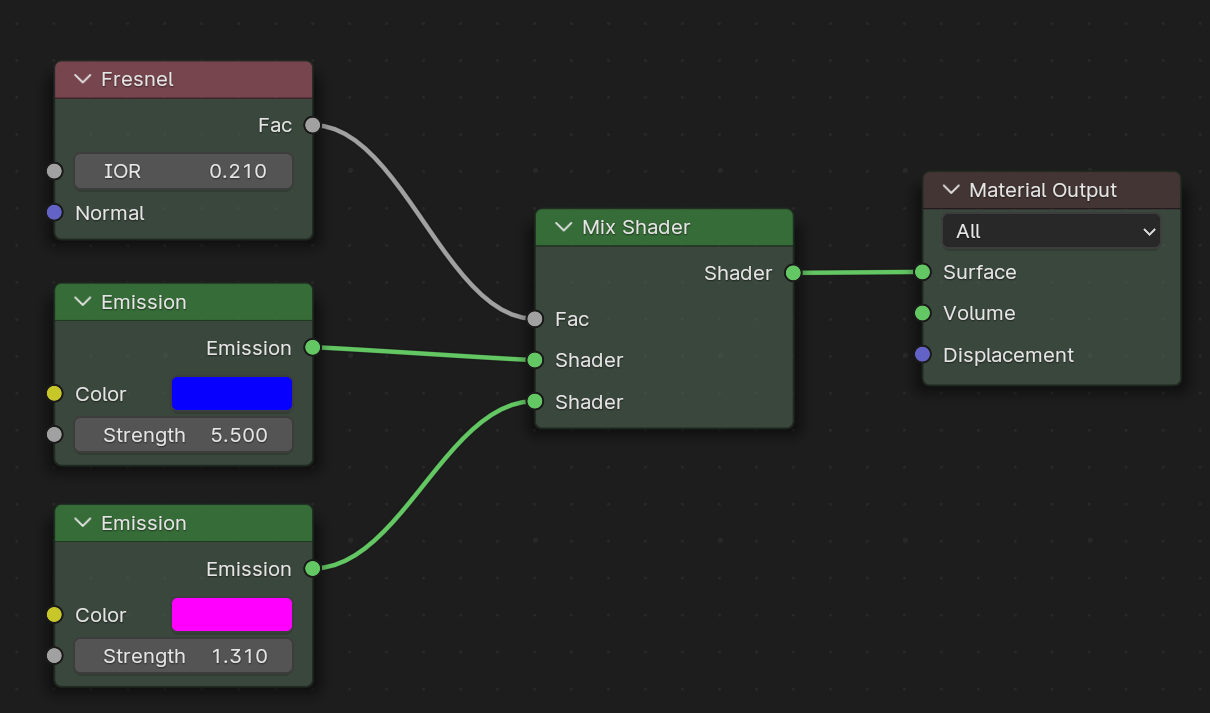

It allows you to make the dot in the center. Yes, I could have used a color ramp node too.
In the end I preferred the shiny moon.
Potemkin’s Car
Now that we have the scene ready, we need a car.
Since I had no time to build a whole car, I went for a Potemkin village approach.
From the back, the car looks like this:
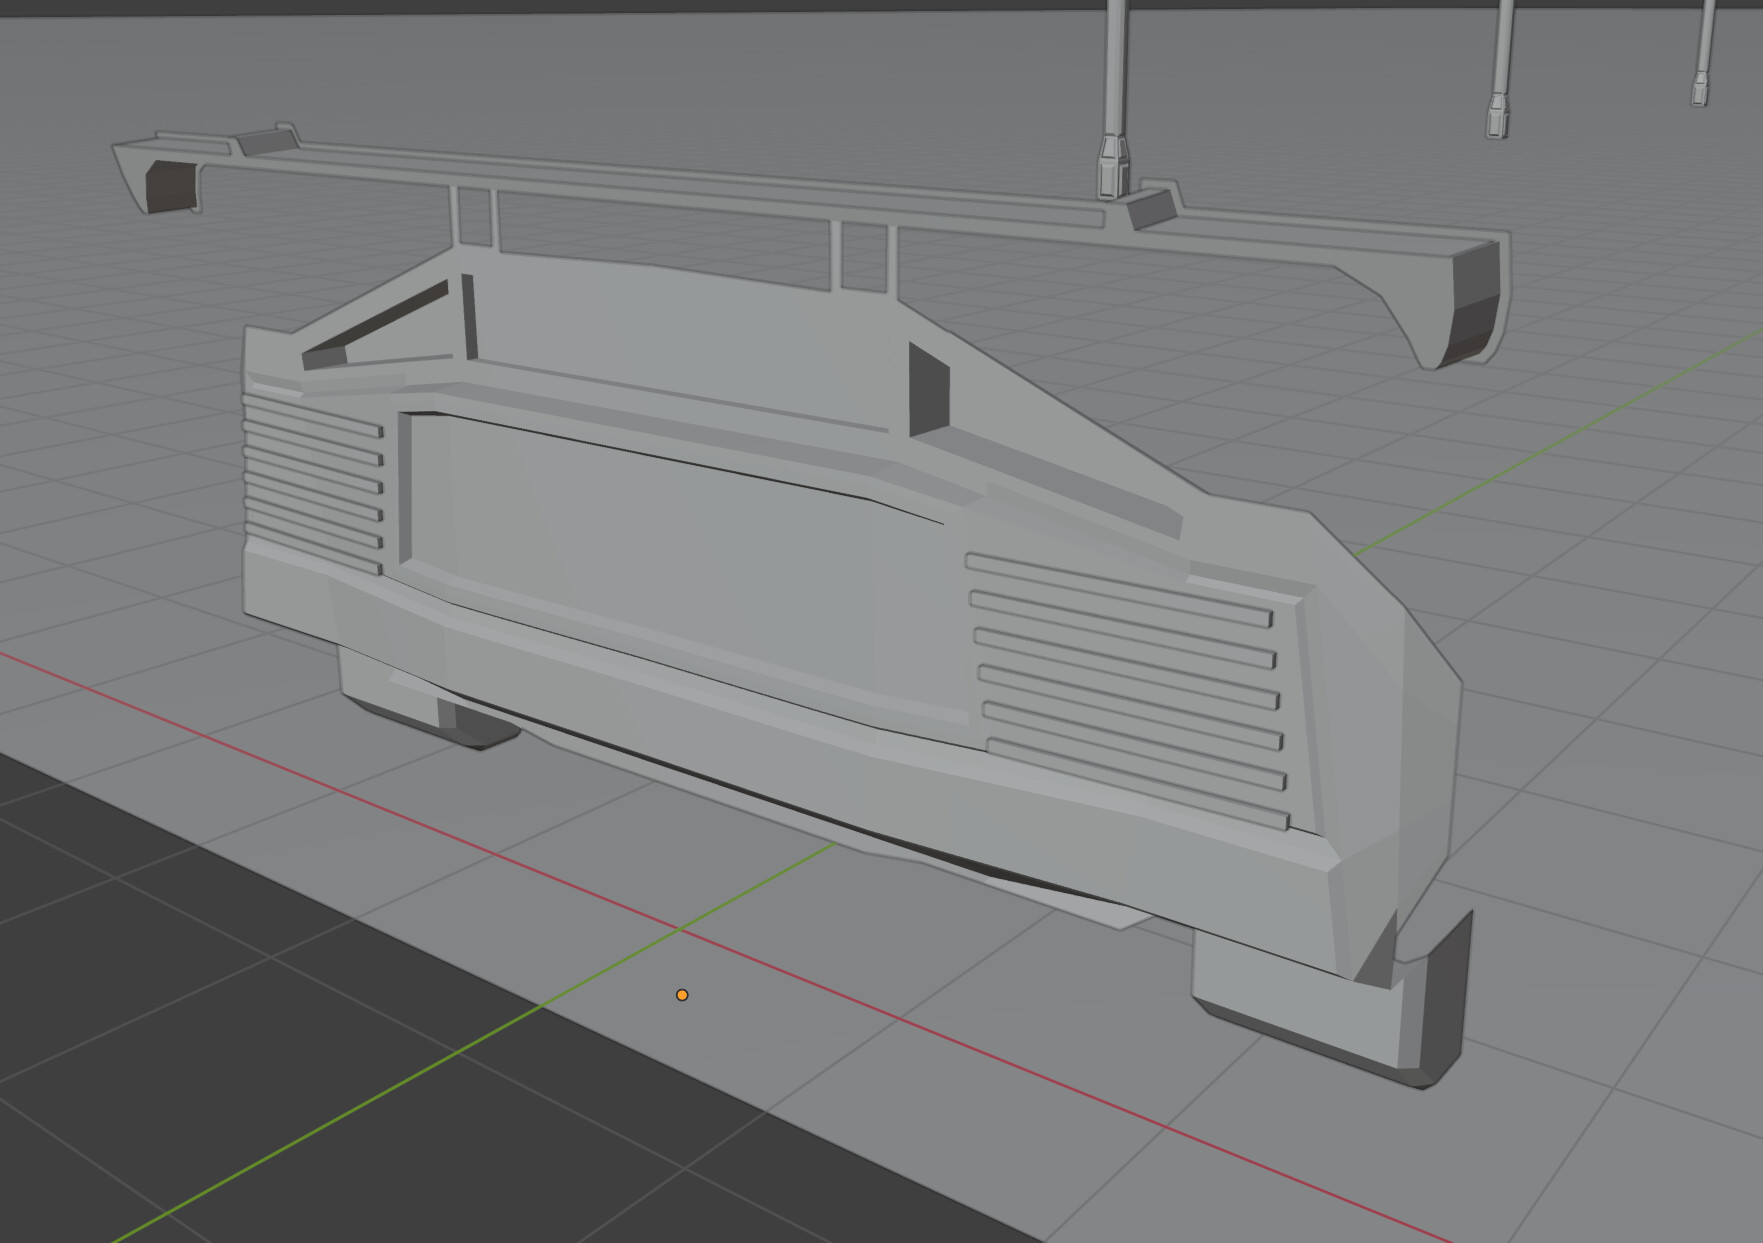
But from the side …
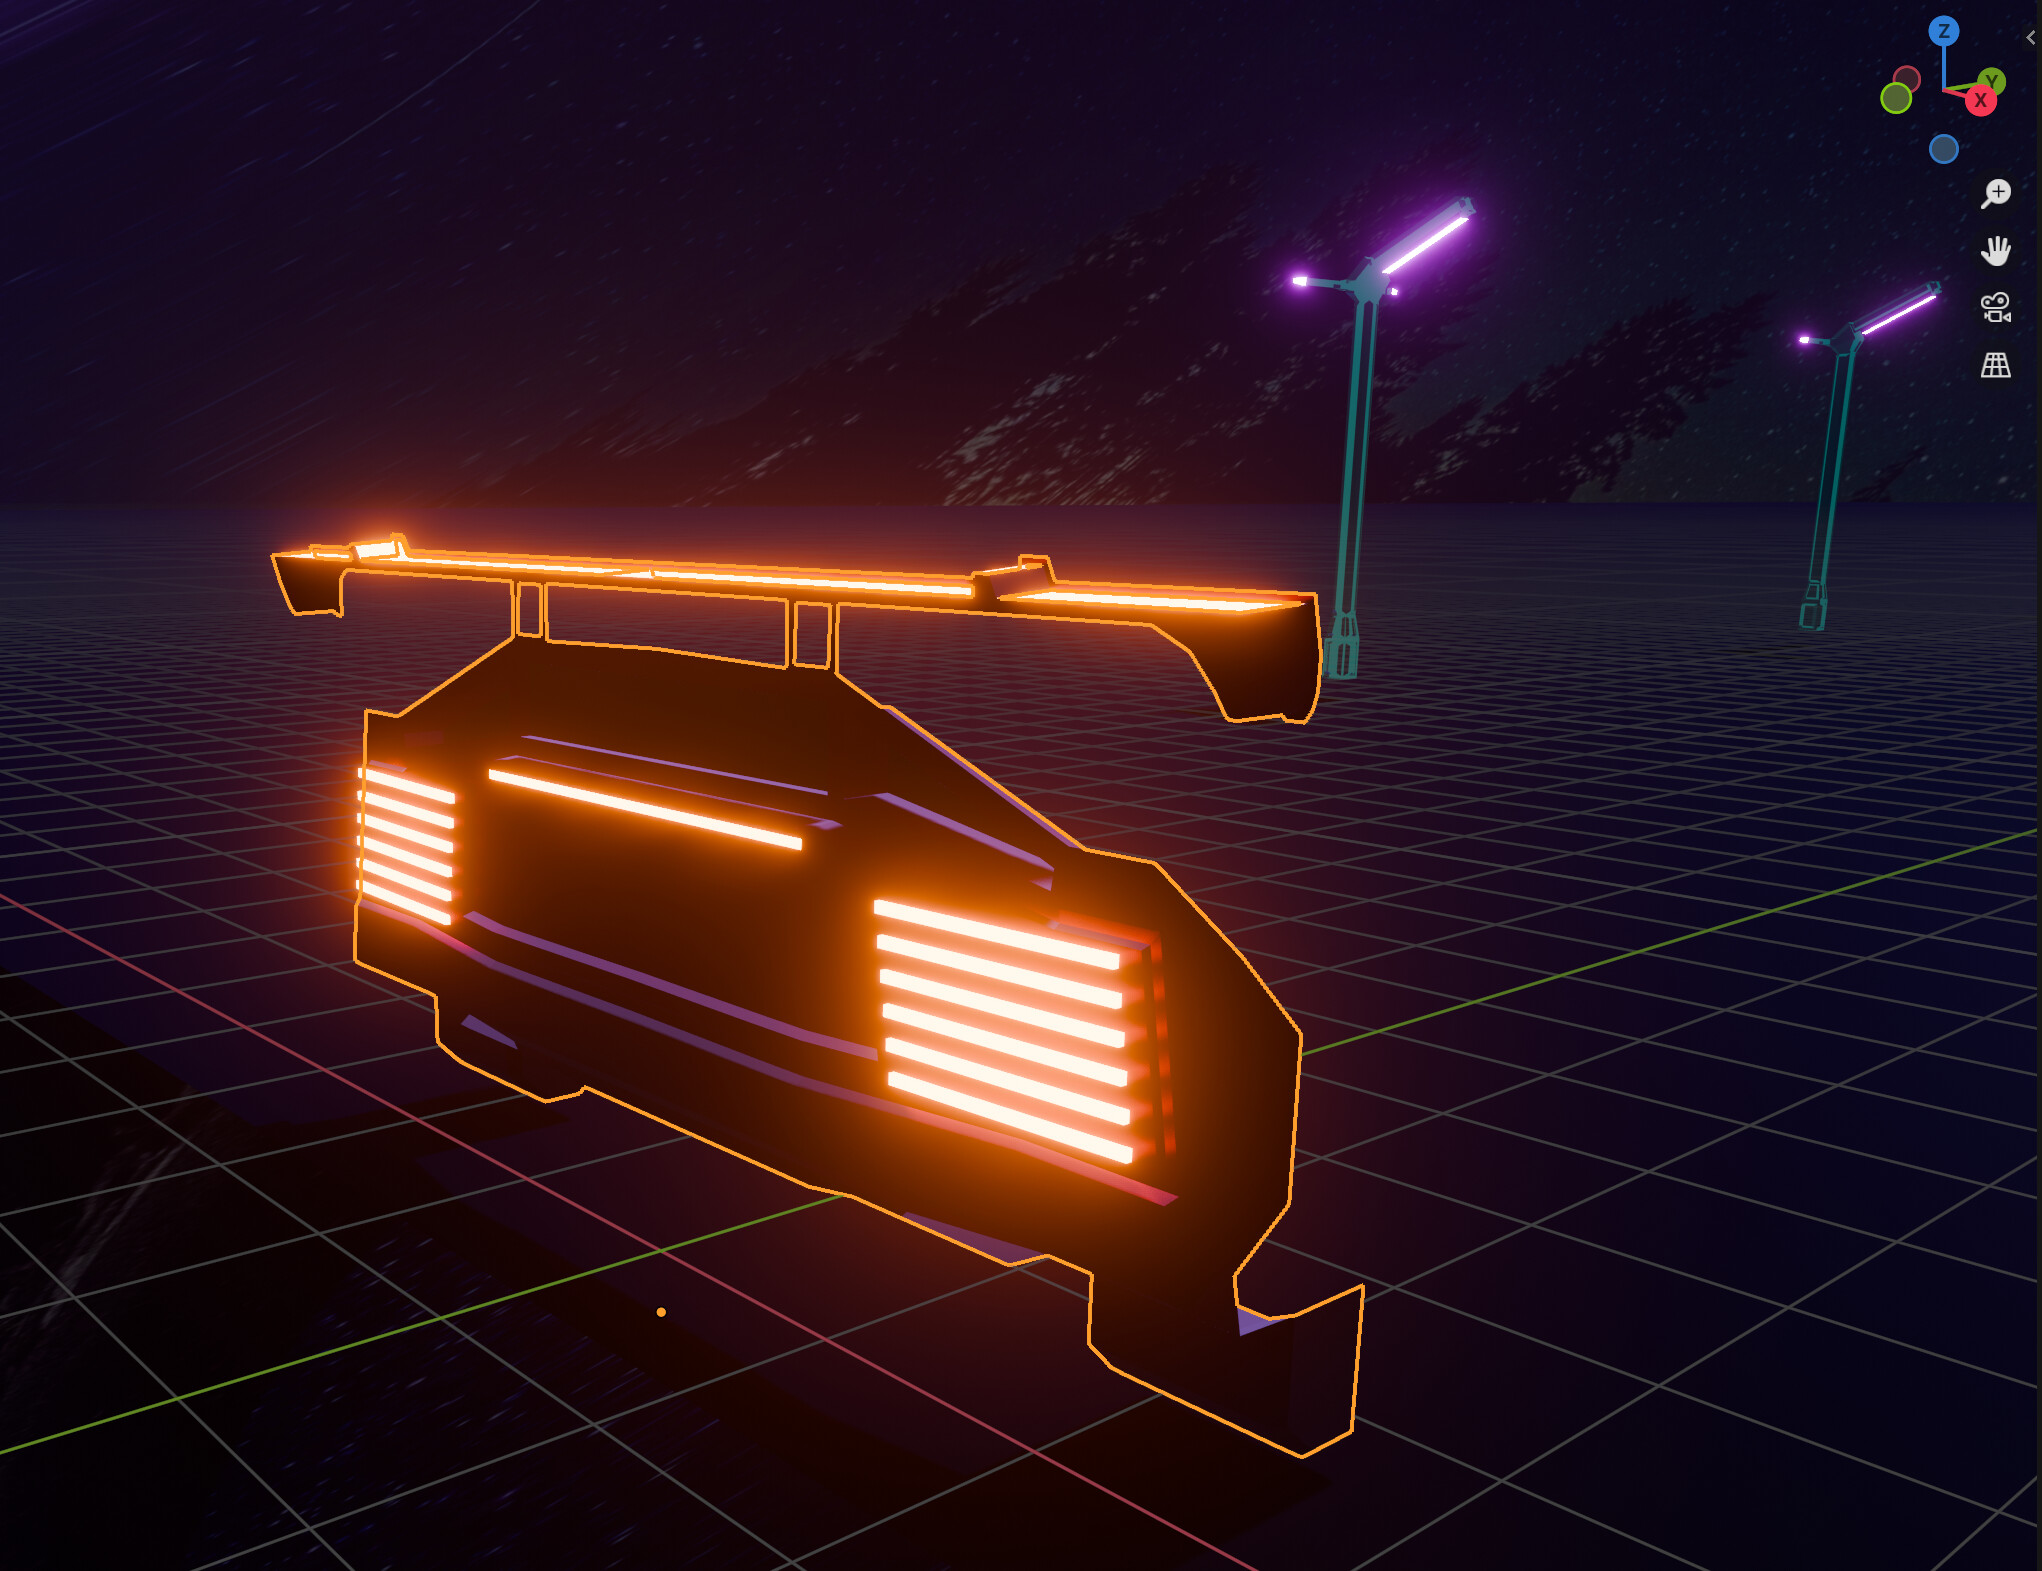

The car is a plane with some extruded edges. And to give it some structure, I added a few inserts and extruded them or moved some faces in position.
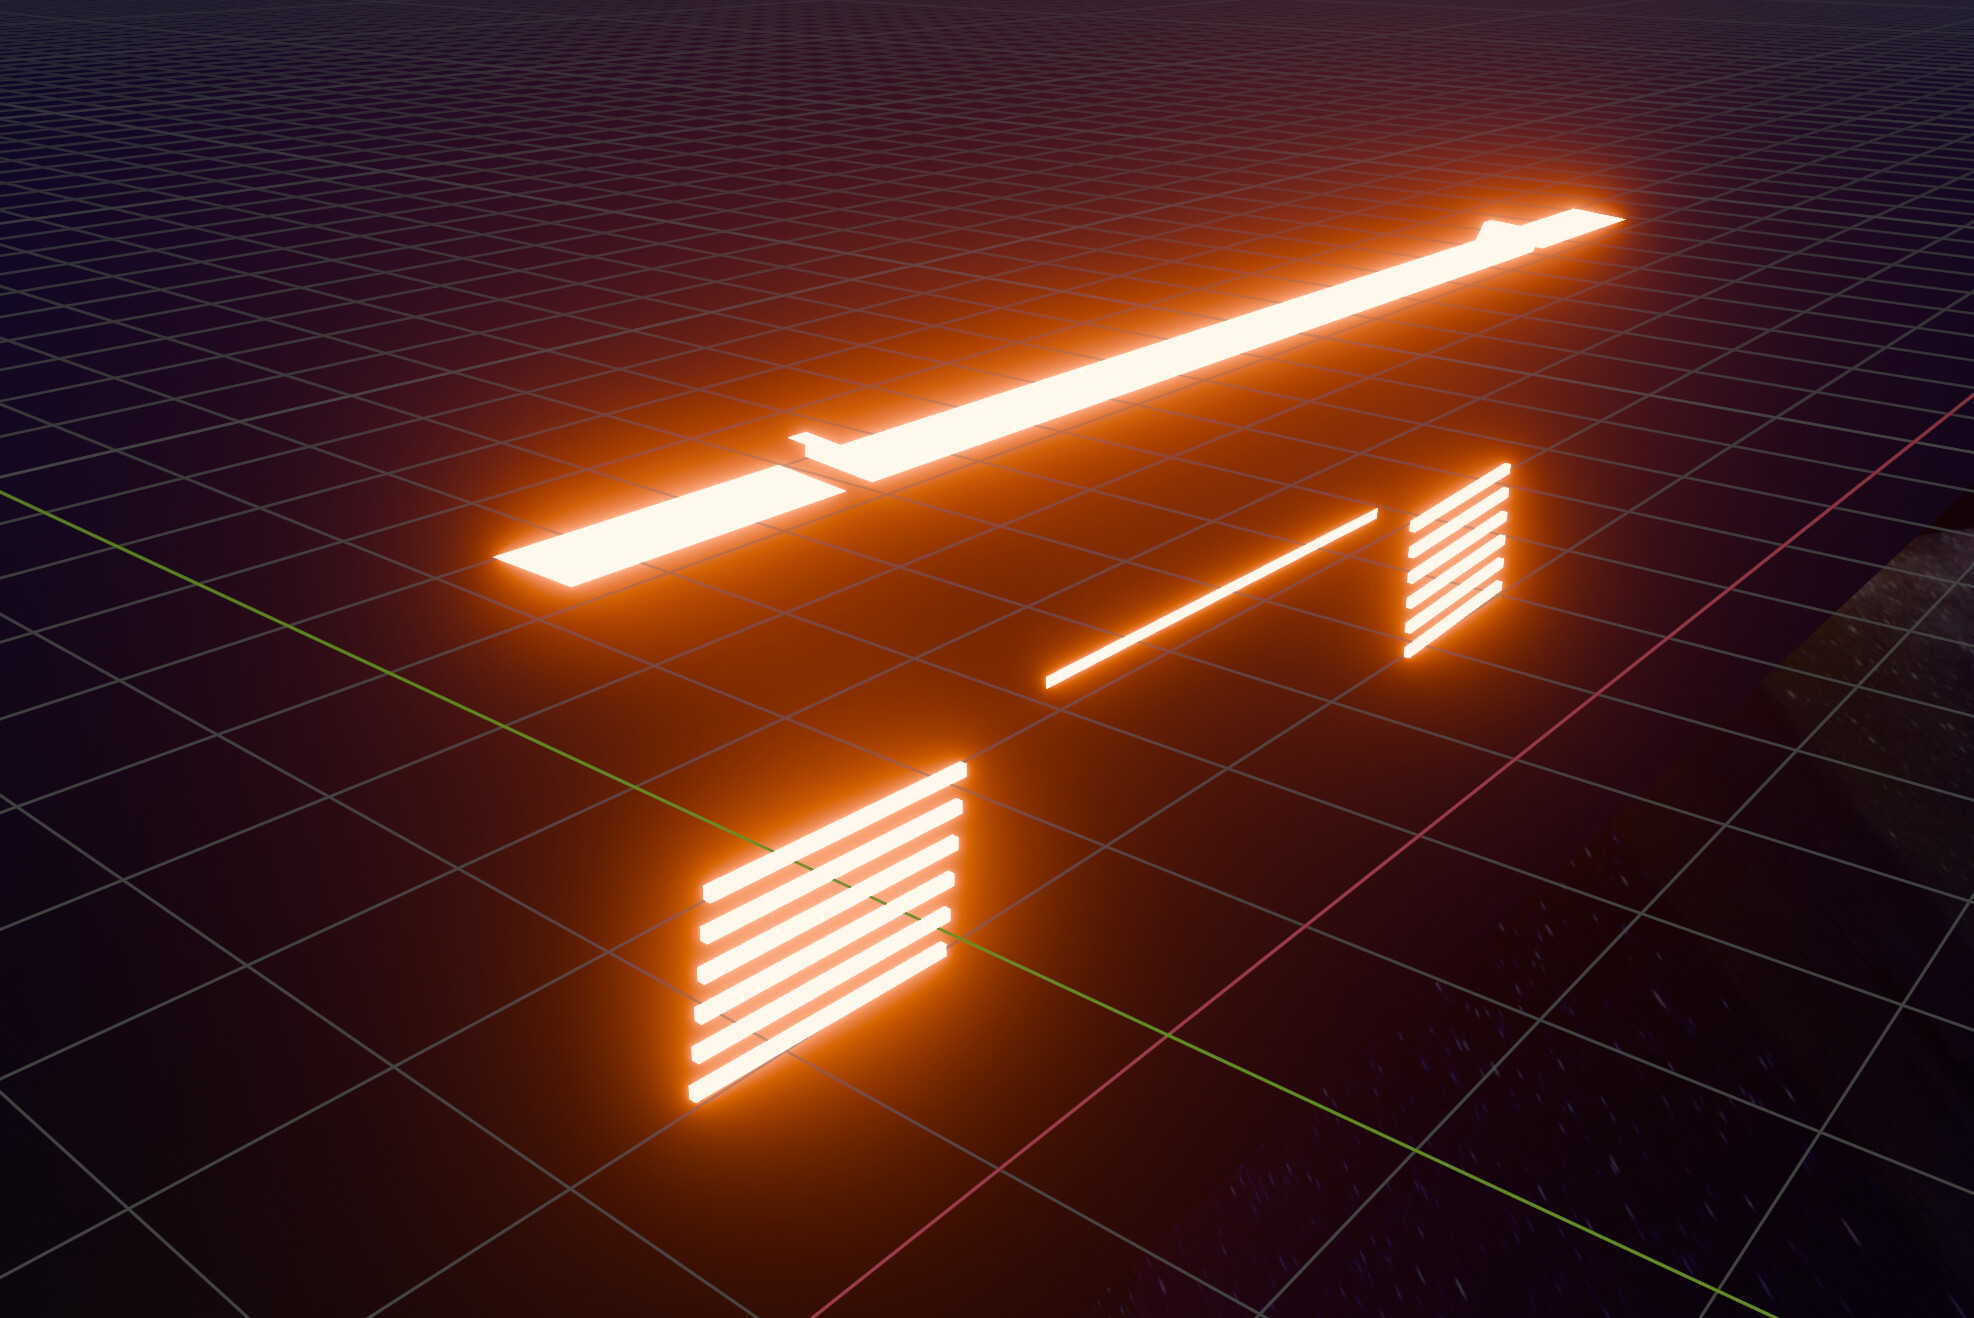
The backlights are separate objects and made of mirrored and arrayed cubes. This had a reason I’ll come back to later.
Using an area light illuminated the left side of the car.
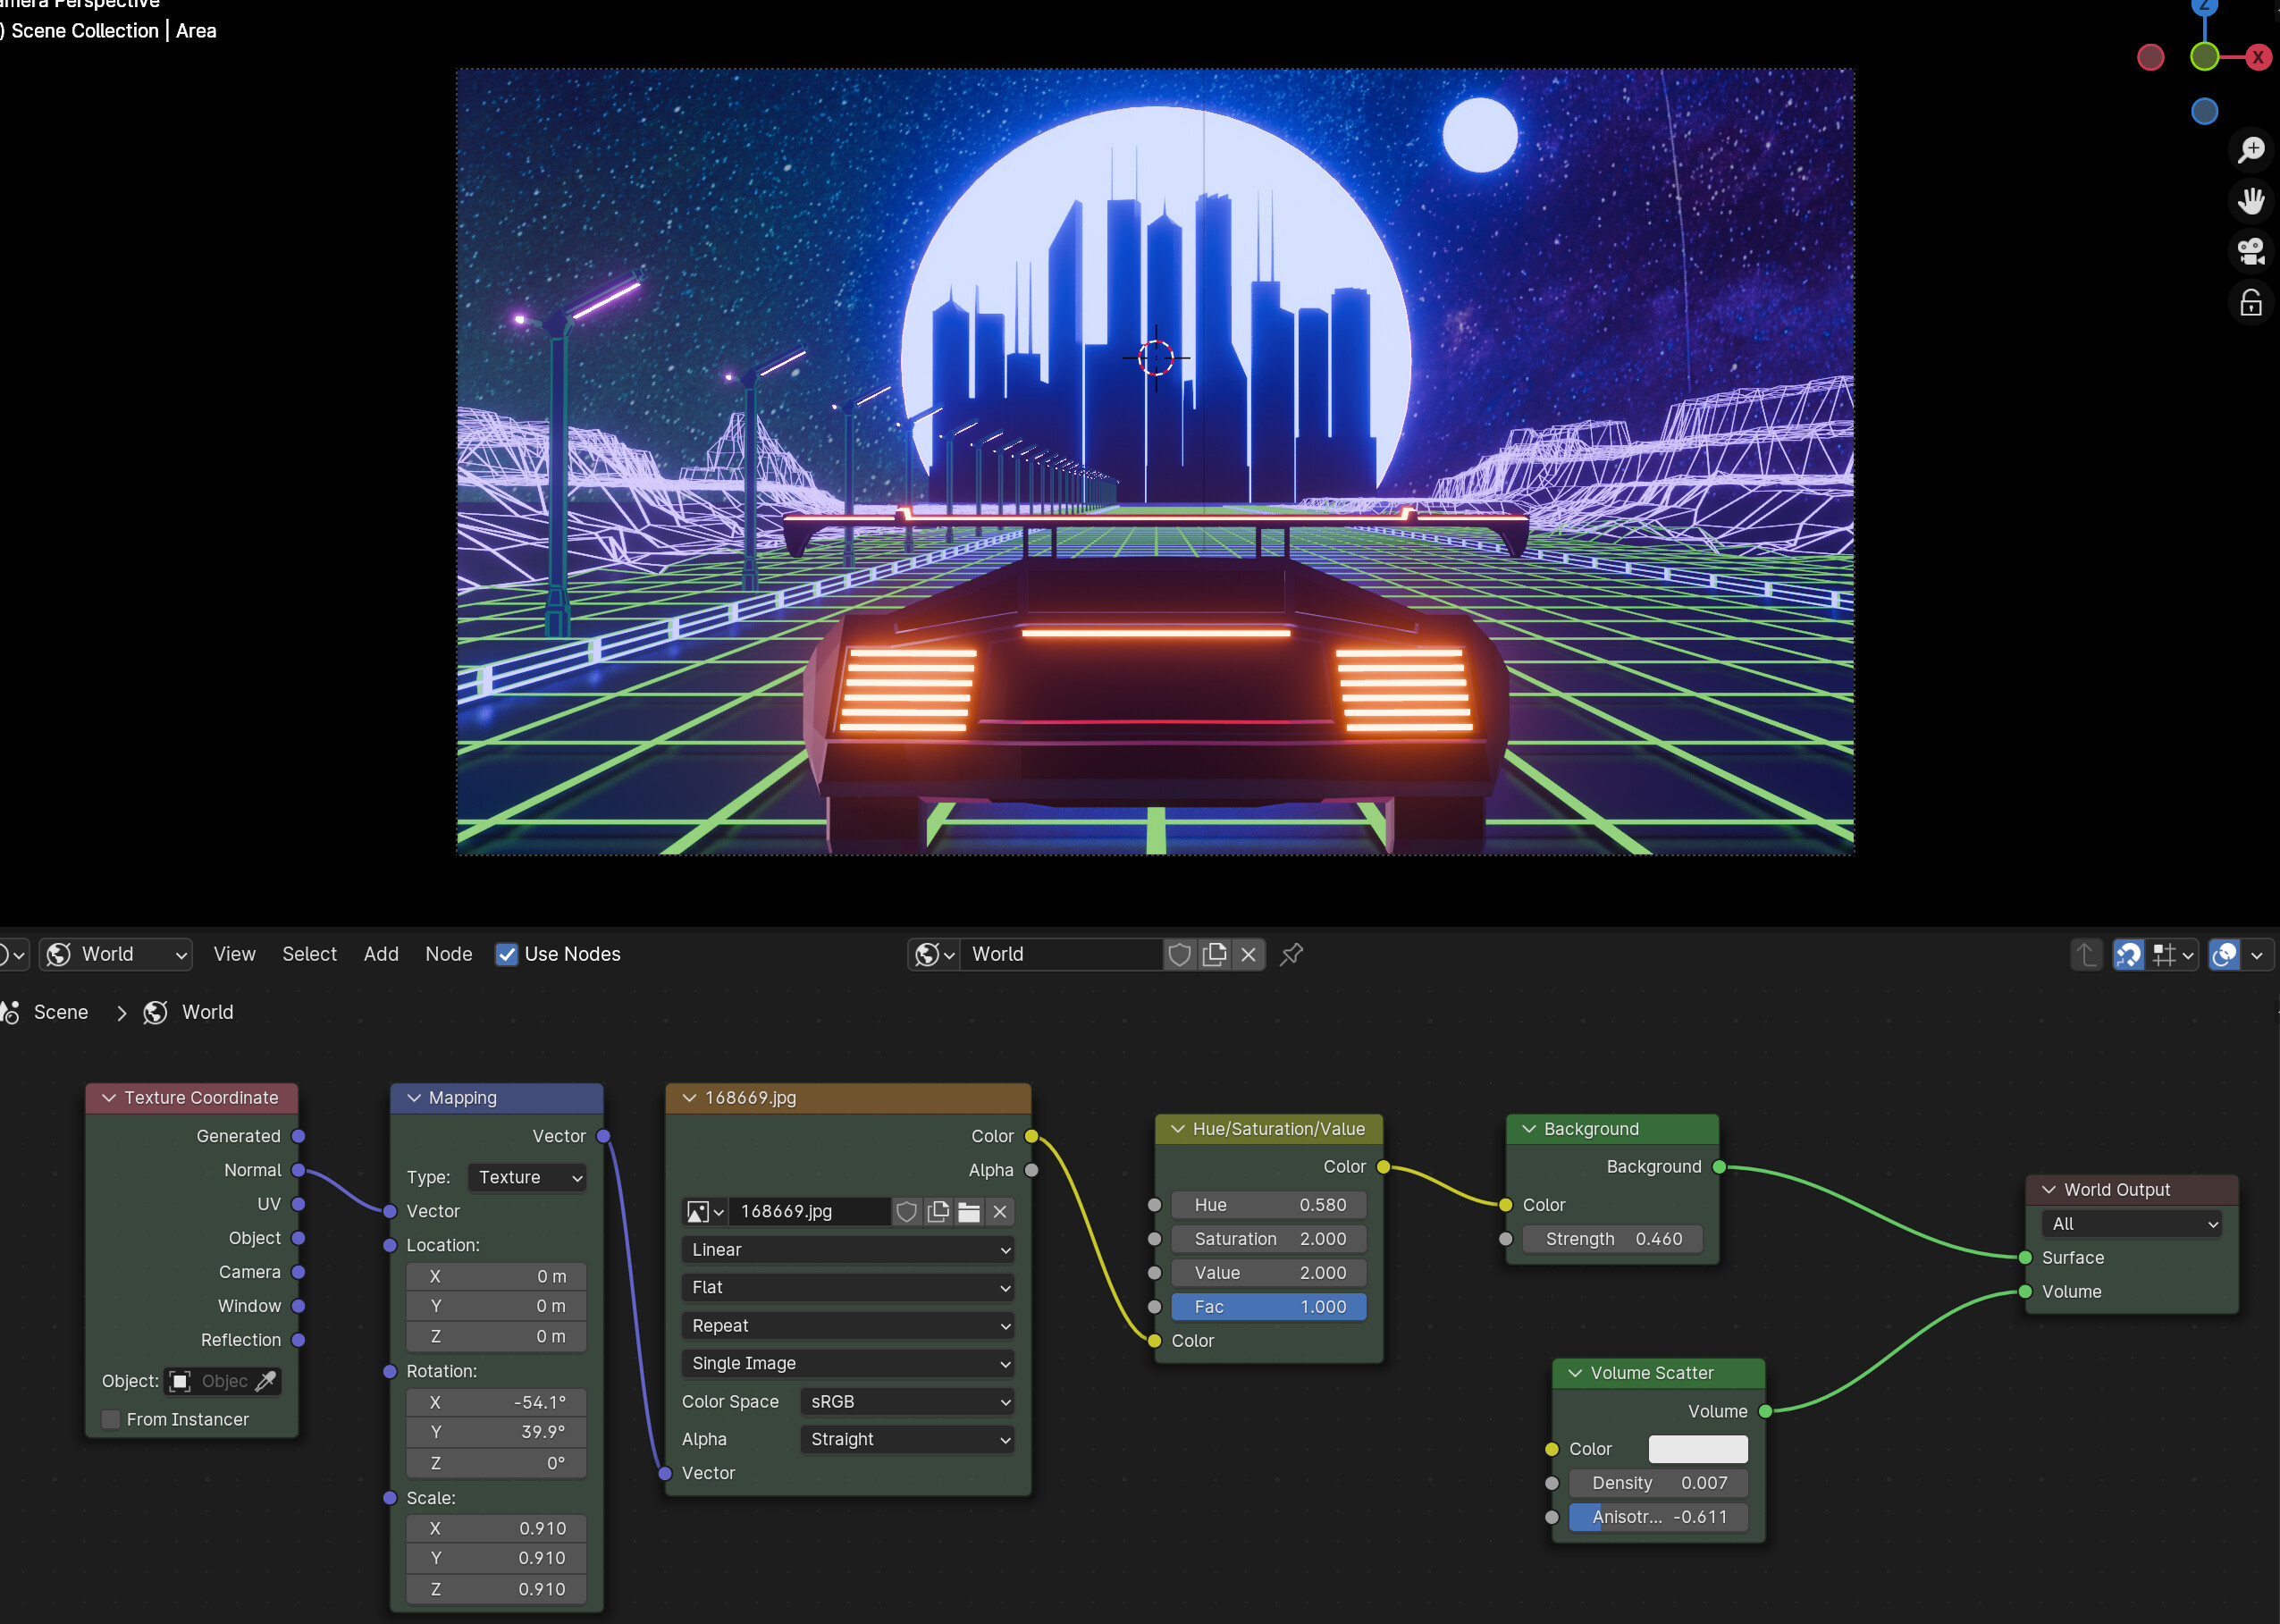
World tweaks
A Volume scatter Node added some atmosphere to the scene. The night sky is a simple night sky wall paper, with a bit of a hue shift. For this example here, I cranked up the background strengths. (Actually, this now looks better than in my submission. dang)
Post edits to get the glowing streaks
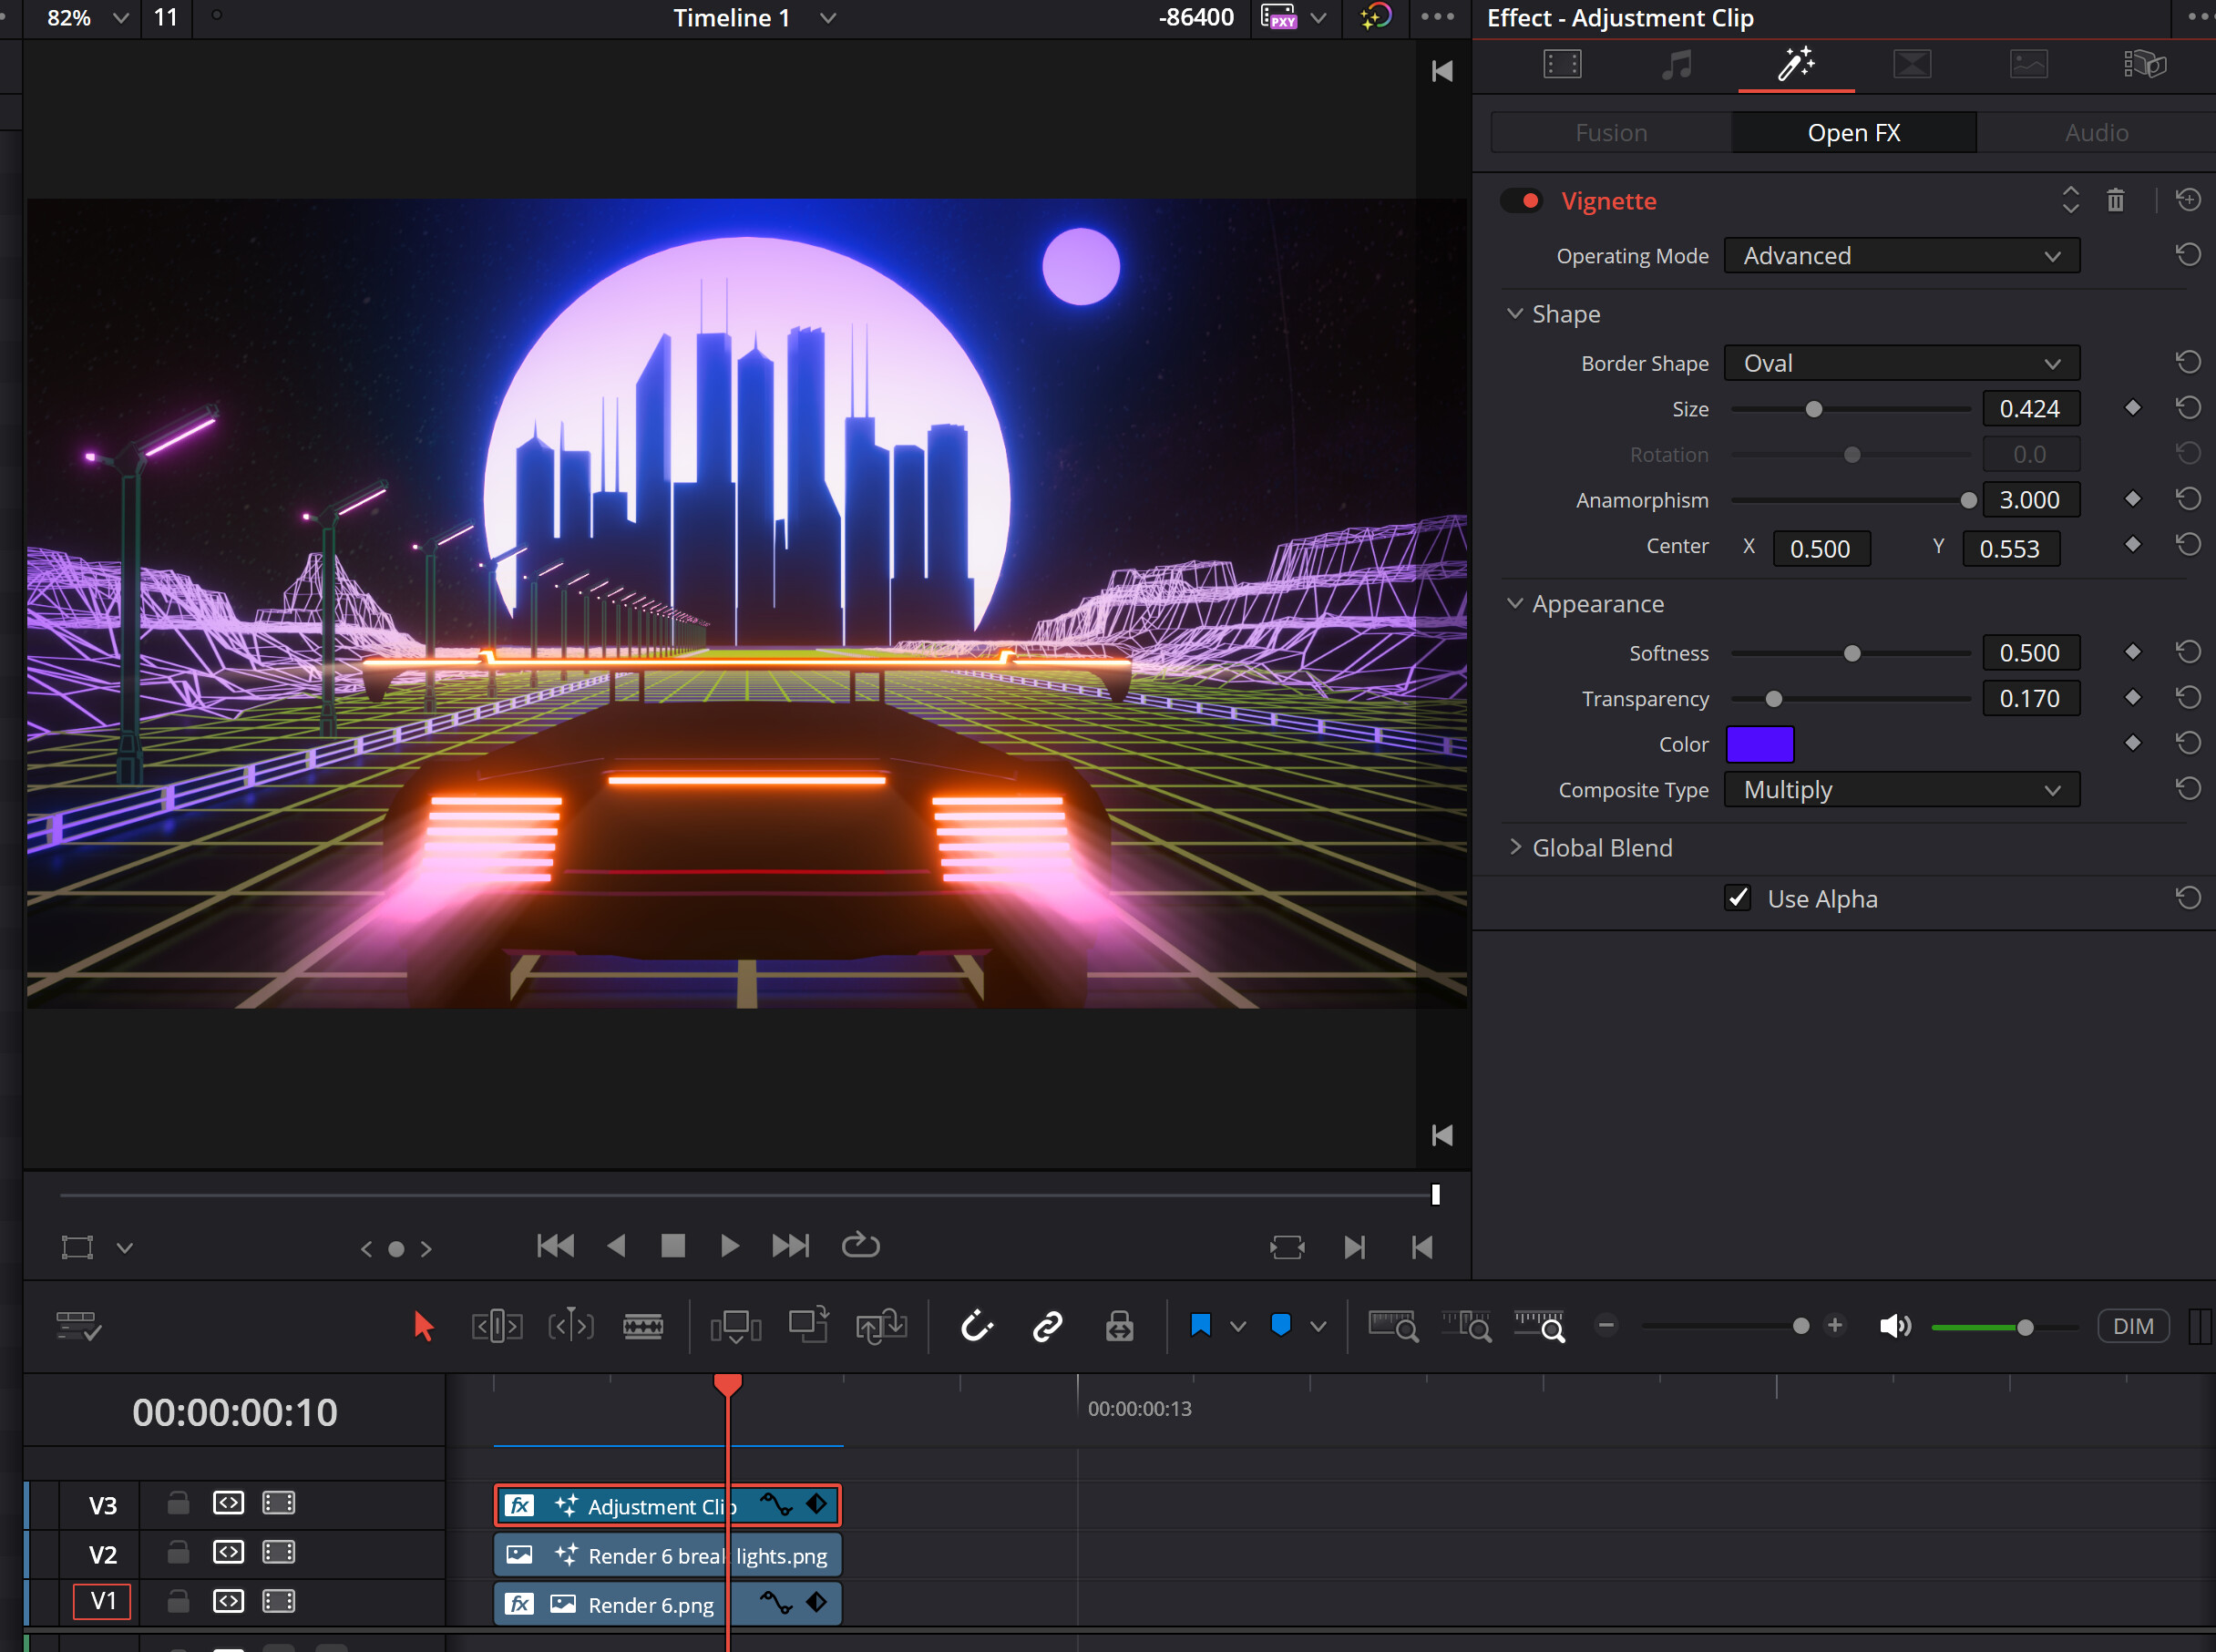
For the final effects, like God-rays and a vignette, I imported the renders to DaVinci Resolve Fusion.
To get the light streaks and not have to mask the lights, I rendered the car’s lights separately. This gave me more control over the effects while not having to worry about introducing artifacts elsewhere in the image.
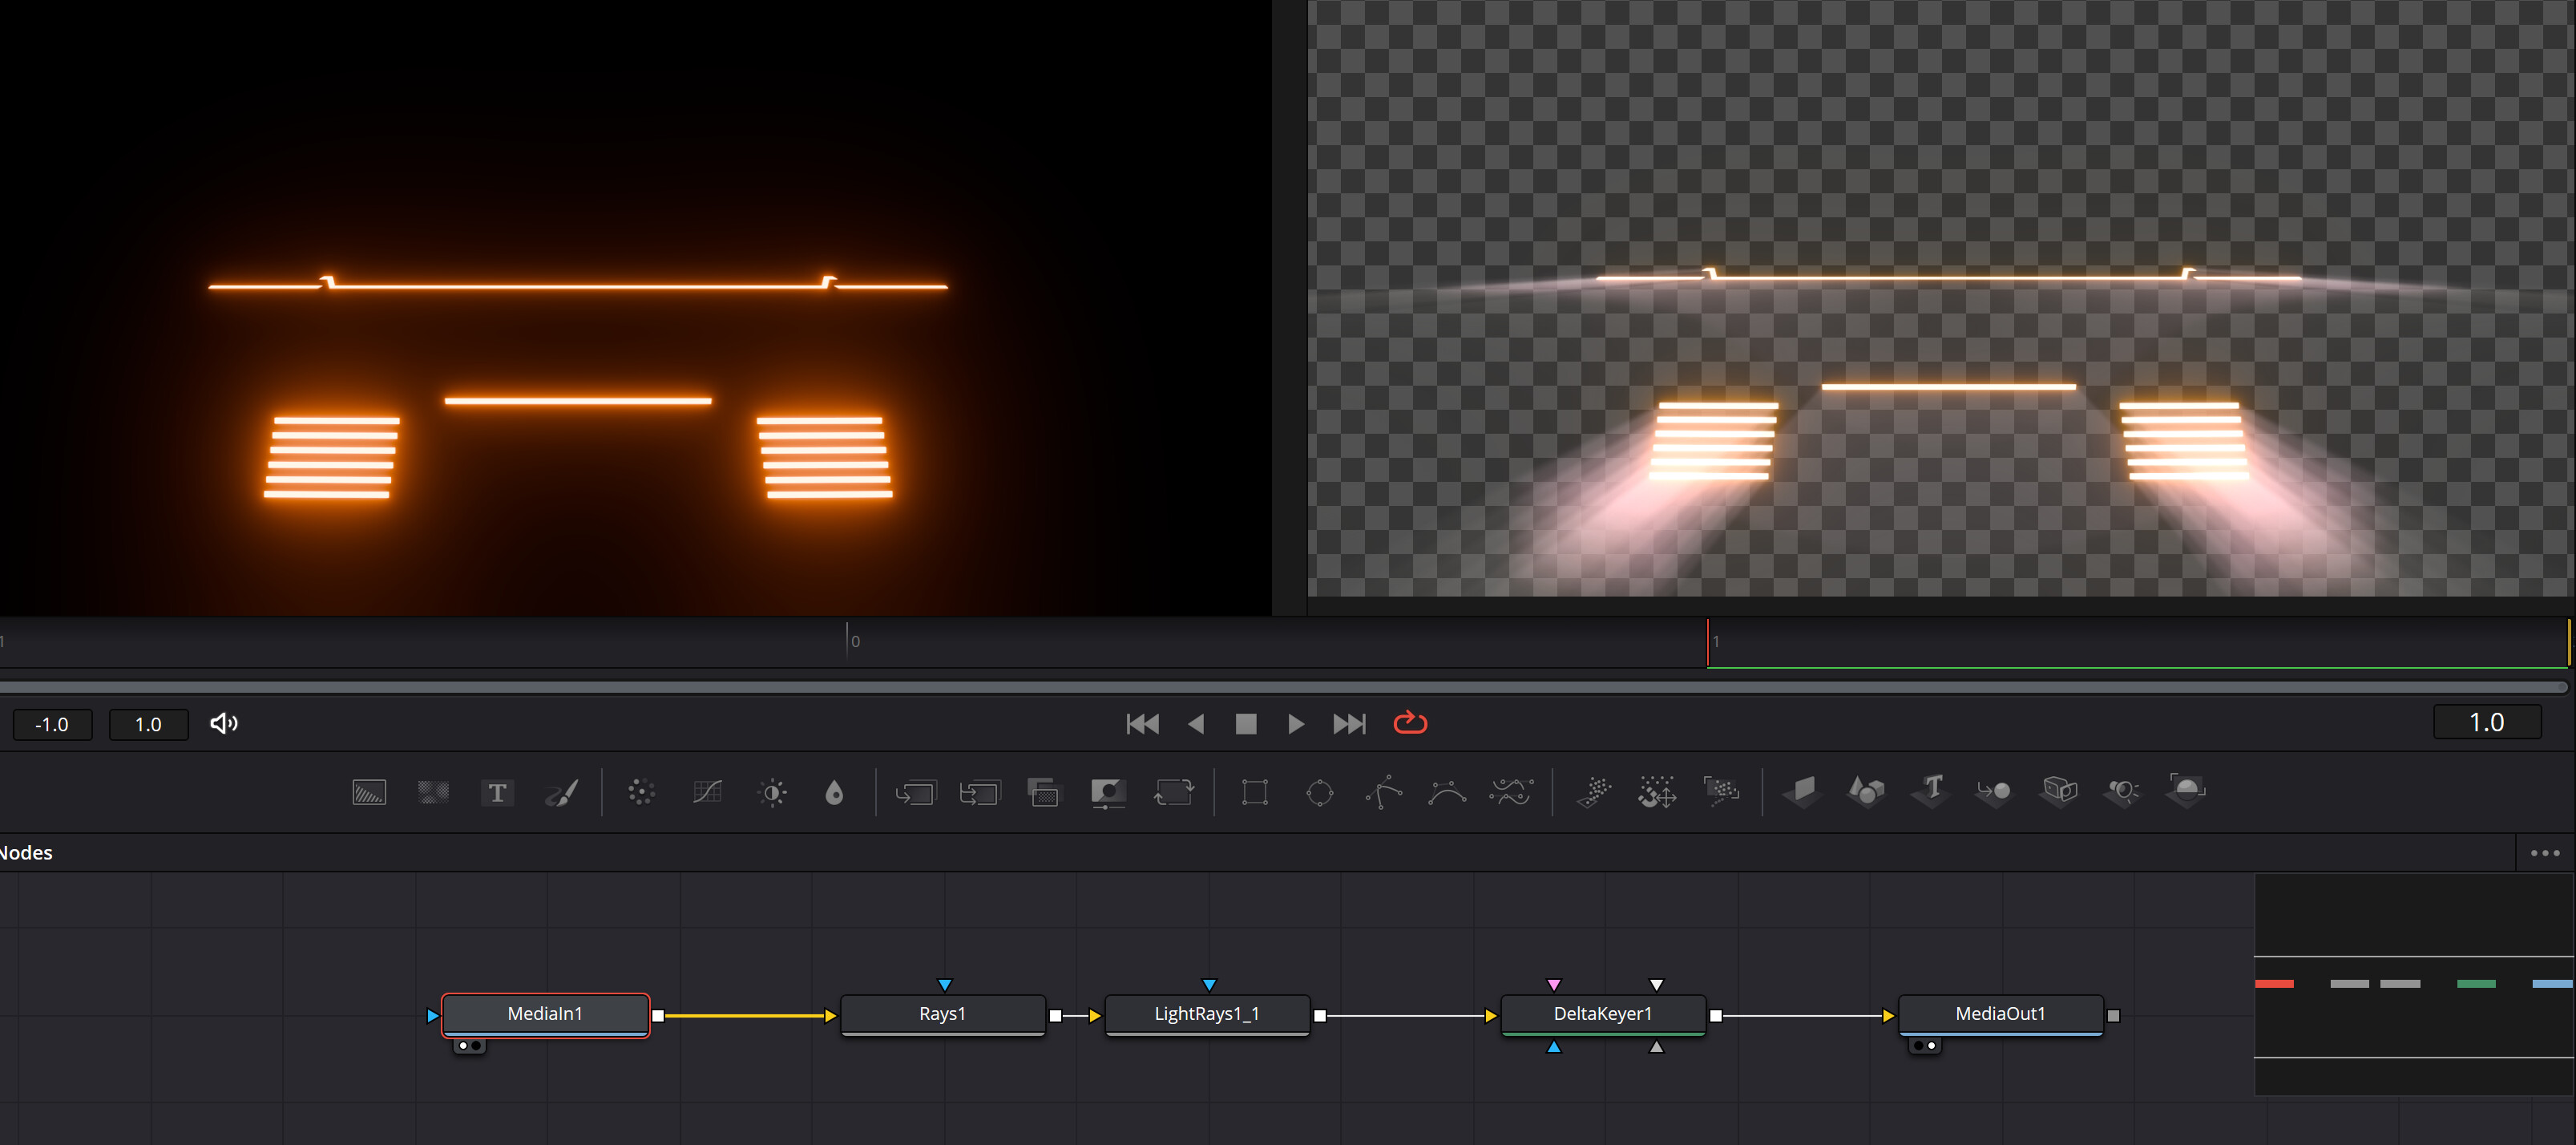
Stacking the lights on top of the rendered image resulted in the nice light streaks

In the last step I added a tinted vignette, resulting in the Synthwave style I was after.
I hope this walkthrough was interesting, and/or helpful.
Now, go here and vote 
Cheers,
Ray