I had so much fun working on this over the past few weeks, and honestly, I really just wanted to show in more places! Any tips are really appreciated.
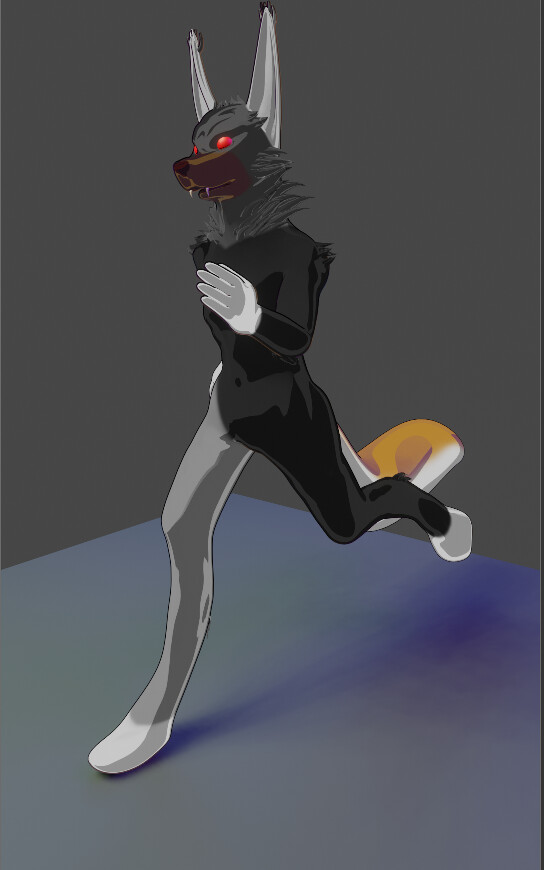
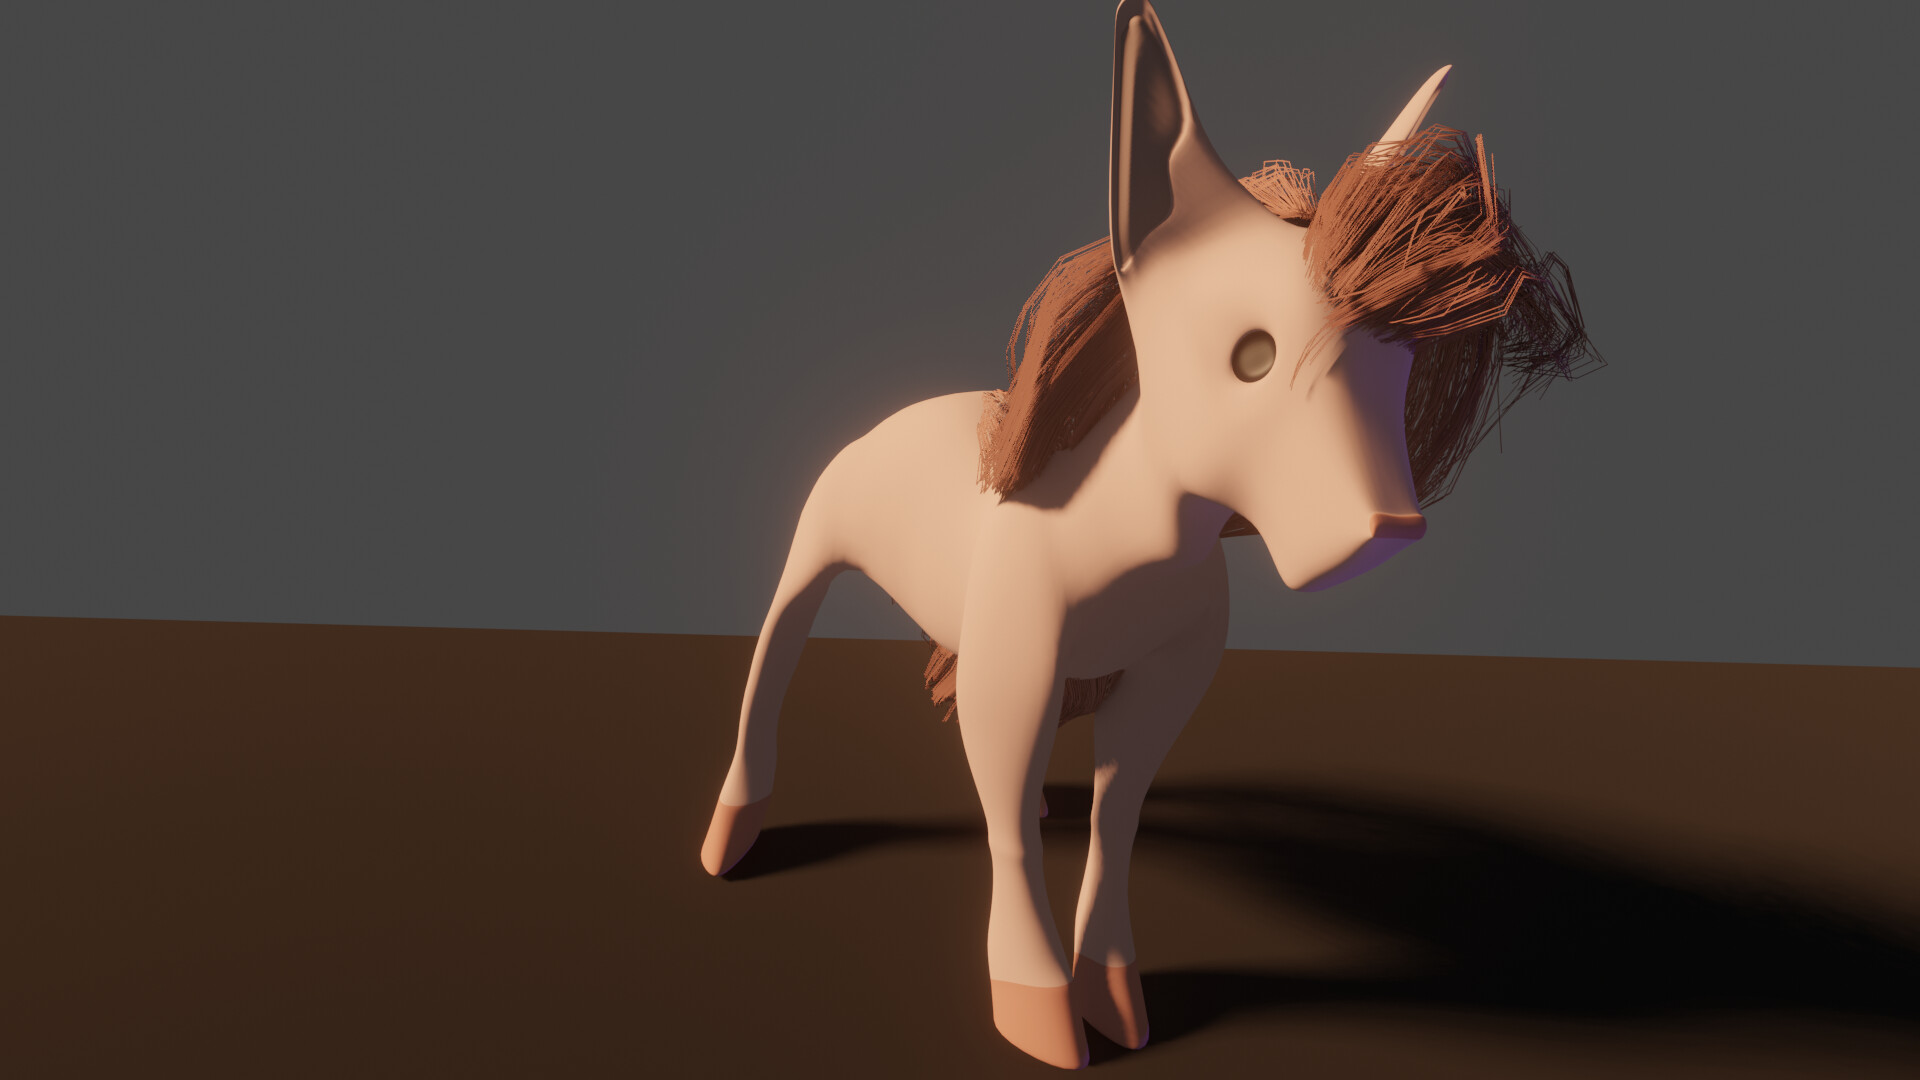
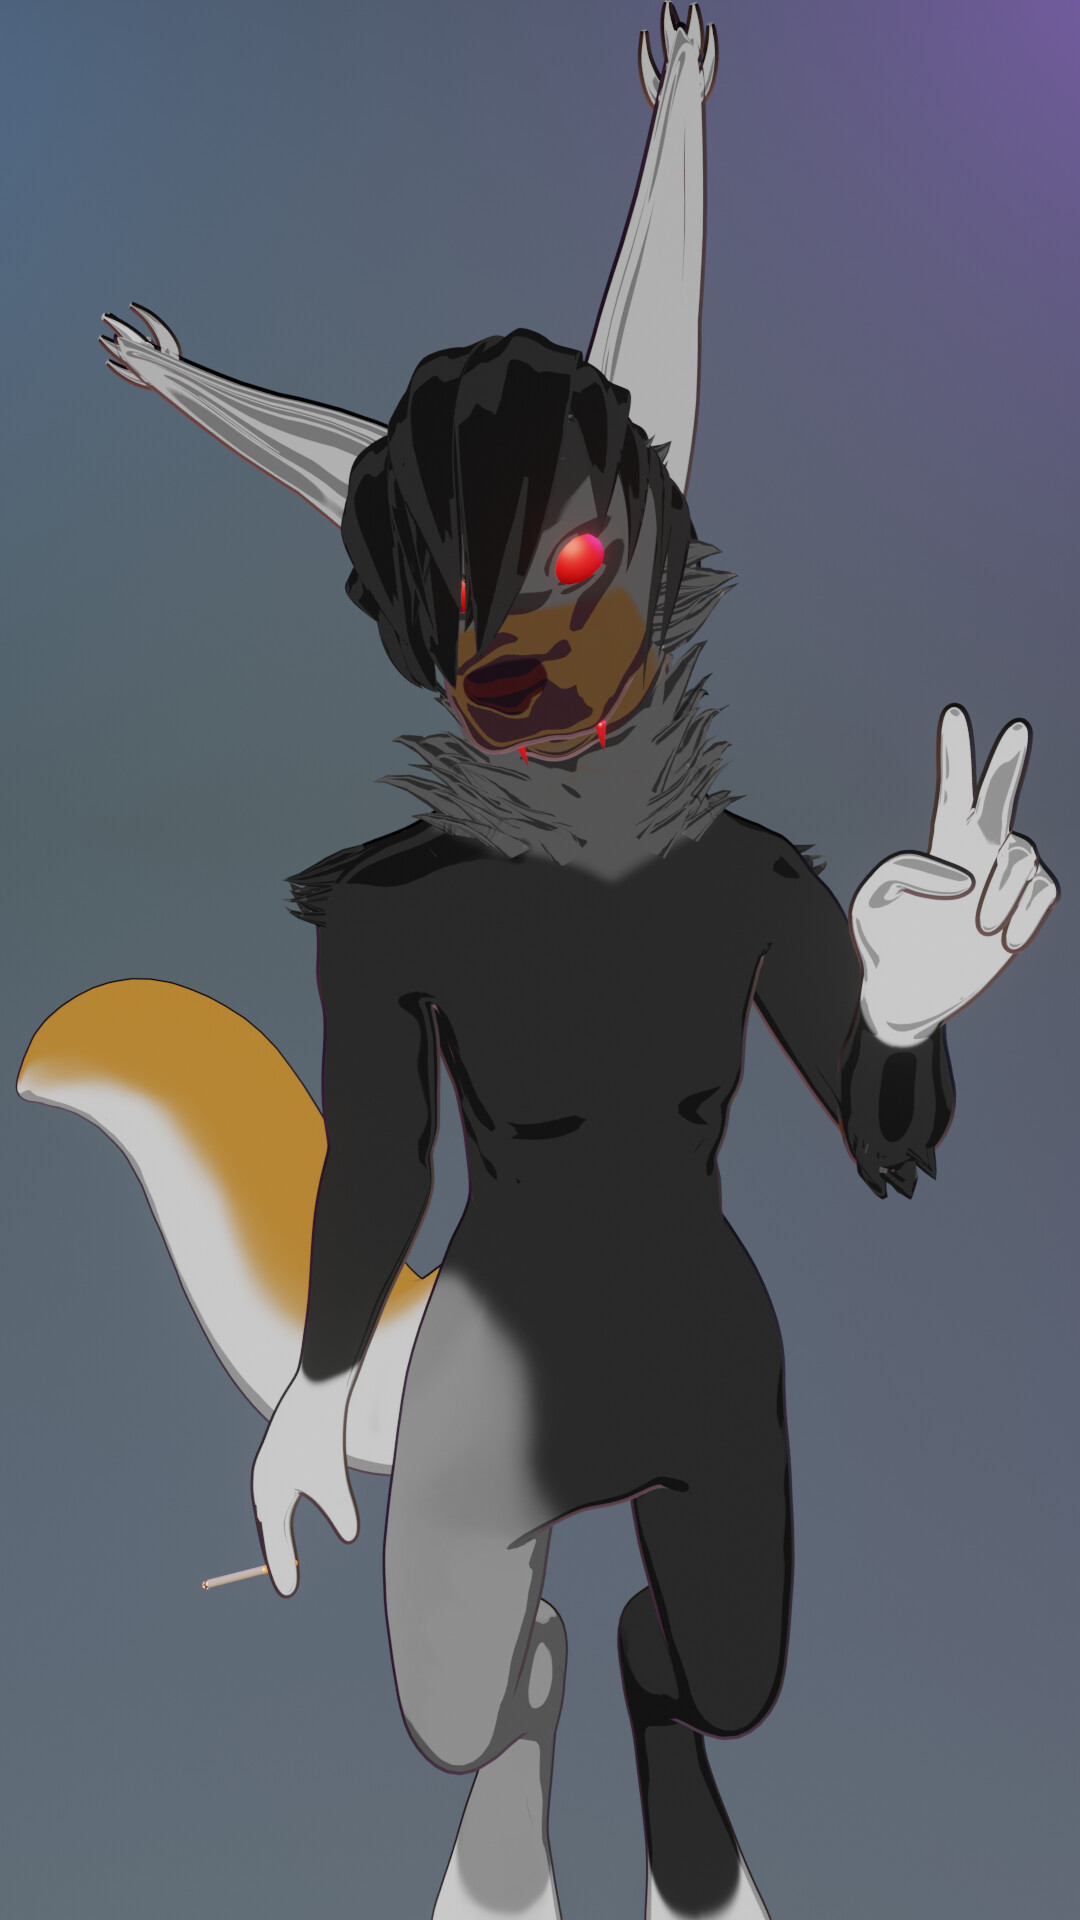
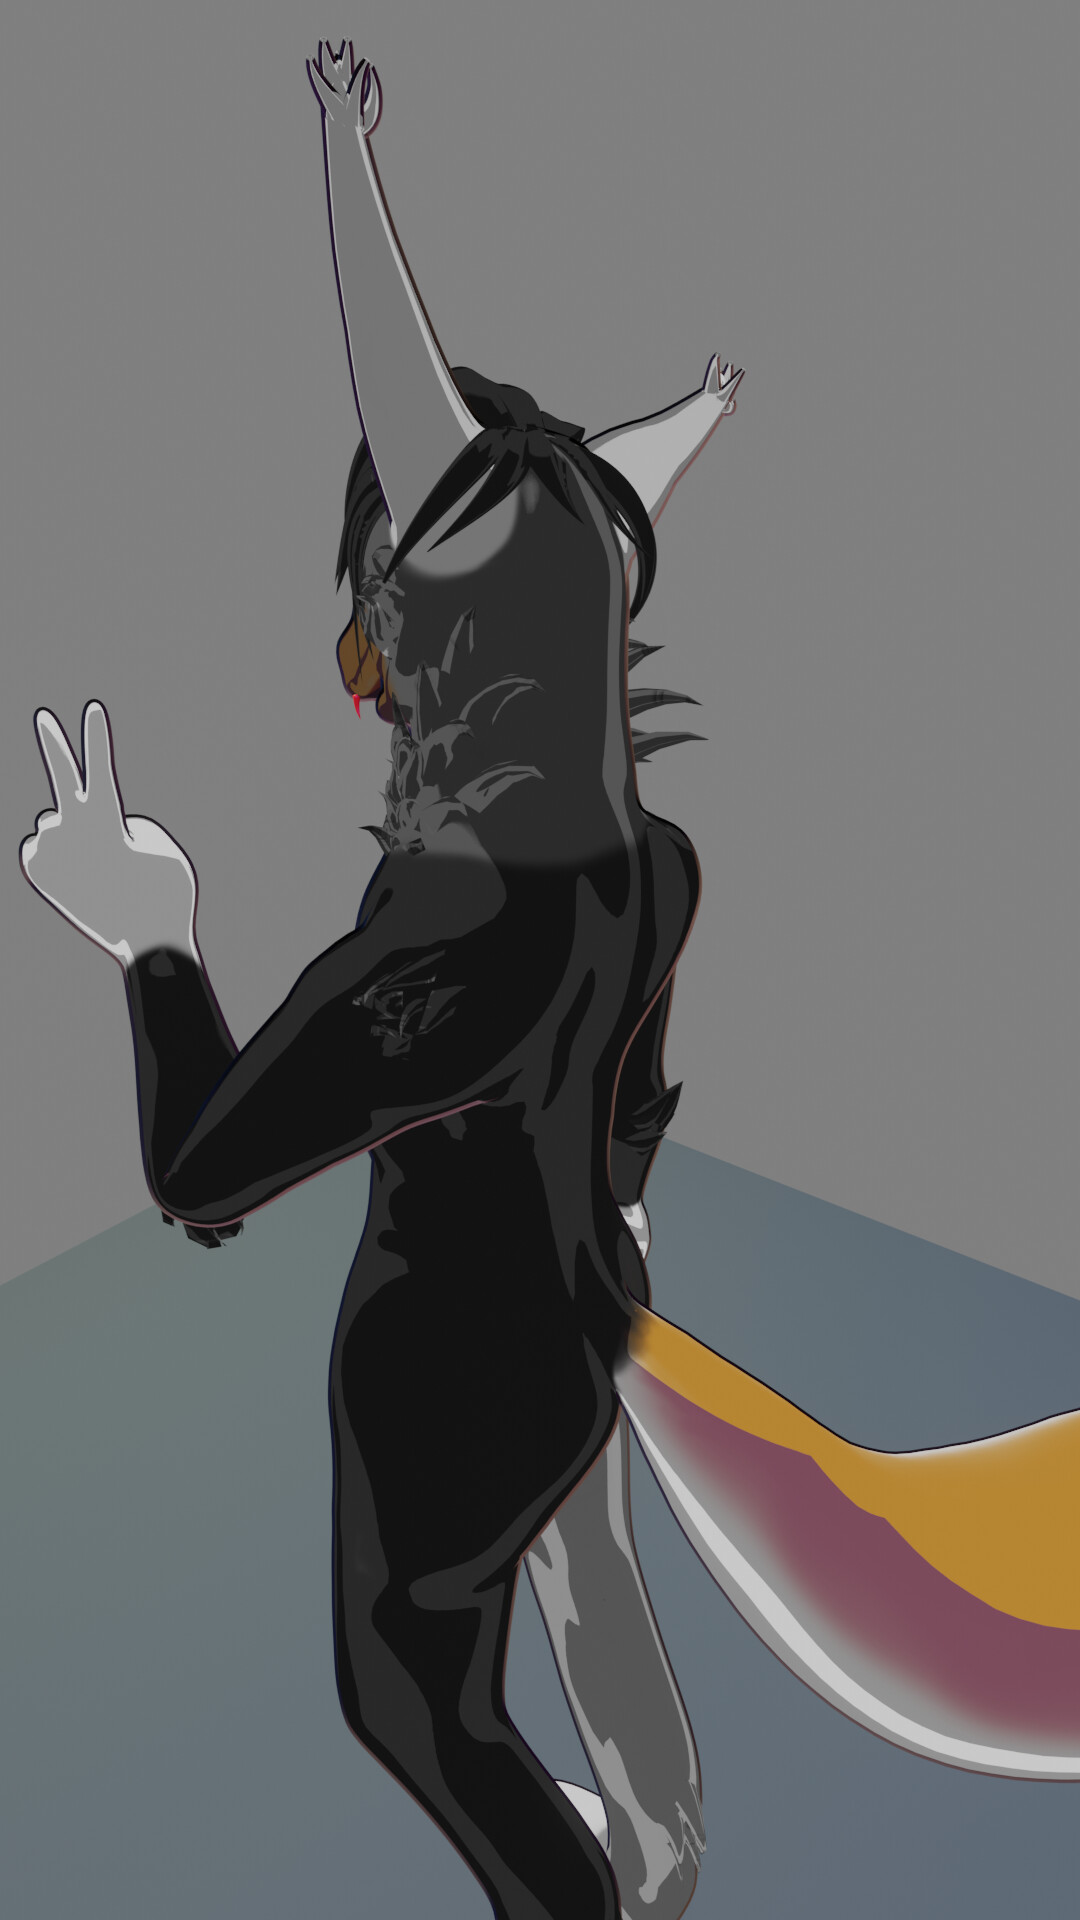
I’ve got him fully rigged, though I couldn’t get the IK on the legs to work, I believe due to the fact he is Digitigrade in the legs. I was able to learn Shape keys, Shaders, and refine more of my modelling skills for animating. Learning to use curves to mimic fur was my favorite, though I look forward to learning to sculpt sections too and shaping the curves for more detailed hair.
I created a run cycle of him as well to try out the legs, please watch it here: Sister 3D model RunCycleV1 - YouTube
I commented my own thoughts on the run cycle on the video.
I’ve had this character for over 12 years, so seeing them come to life in a 3D model after learning the program for the past year is incredible. I don’t think it’d have been possible without the courses here on GameDev and from Grant’s tutorials specifically. Their channel brought me here from youtube and I am really glad I found his videos to learn from. Big thanks to the community overall, this place helps inspire me daily. Fed and NP5 have been huge supporters and great help too for questions and not giving up when stuck. Thank you.
Looking forward to continuing to improve and refine this model. I plan on getting another reference sheet created this weekend or early next week. I look forward to creating the next personal character model.
I realized that the hips are pretty static too, but I’m not sure how to move the hips without the IK on the feet right now. I’ll play with it tonight to see if I could fix this.
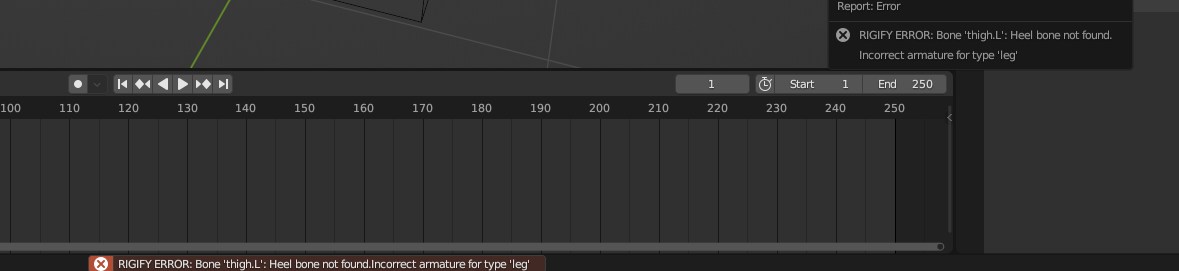
This is the error I get whenever I try to generate the rig, I started with a base from the rigify armatures available and edited it to get this shape of the character. Have I disconnected a bone?
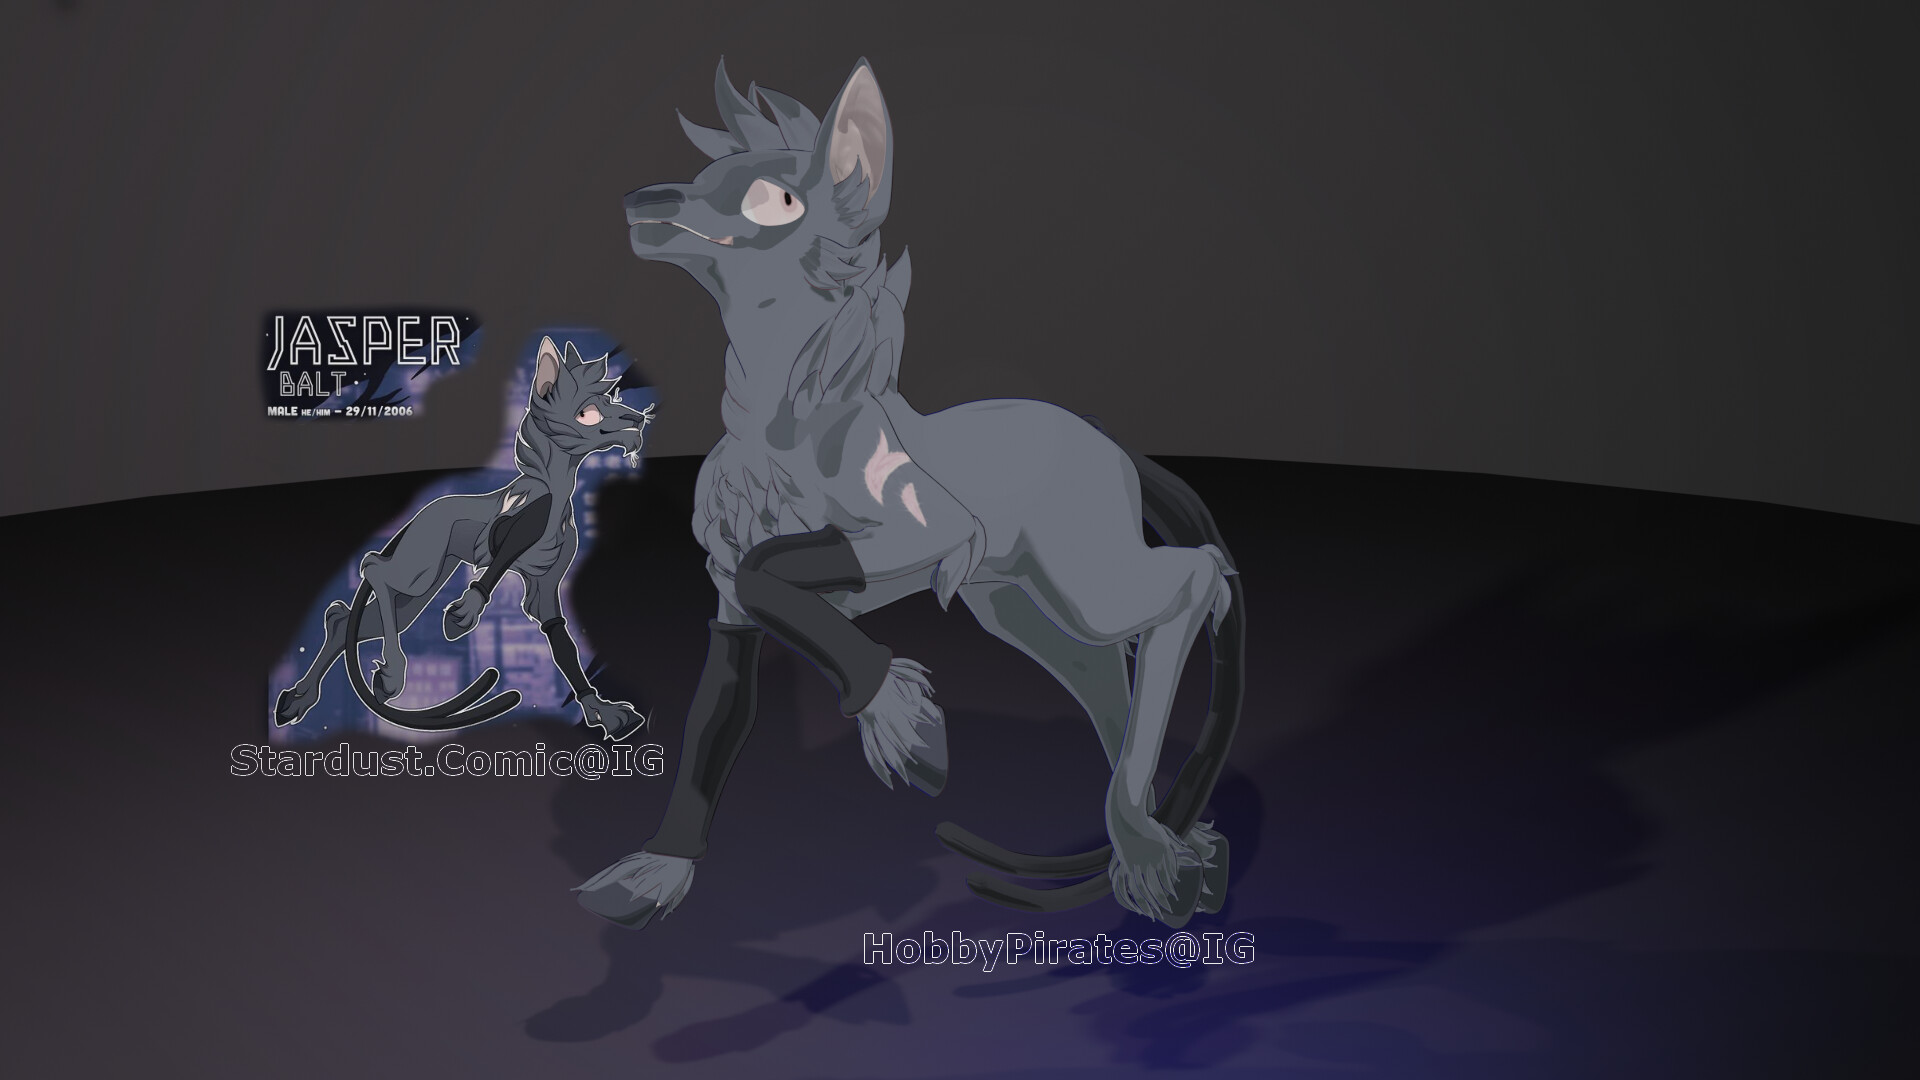
Similar to the sculpting busts thread we have open, I decided I’ll put our 3D original character models in this thread since we plan on making many in the future. This will help also keep track of growth and progress.
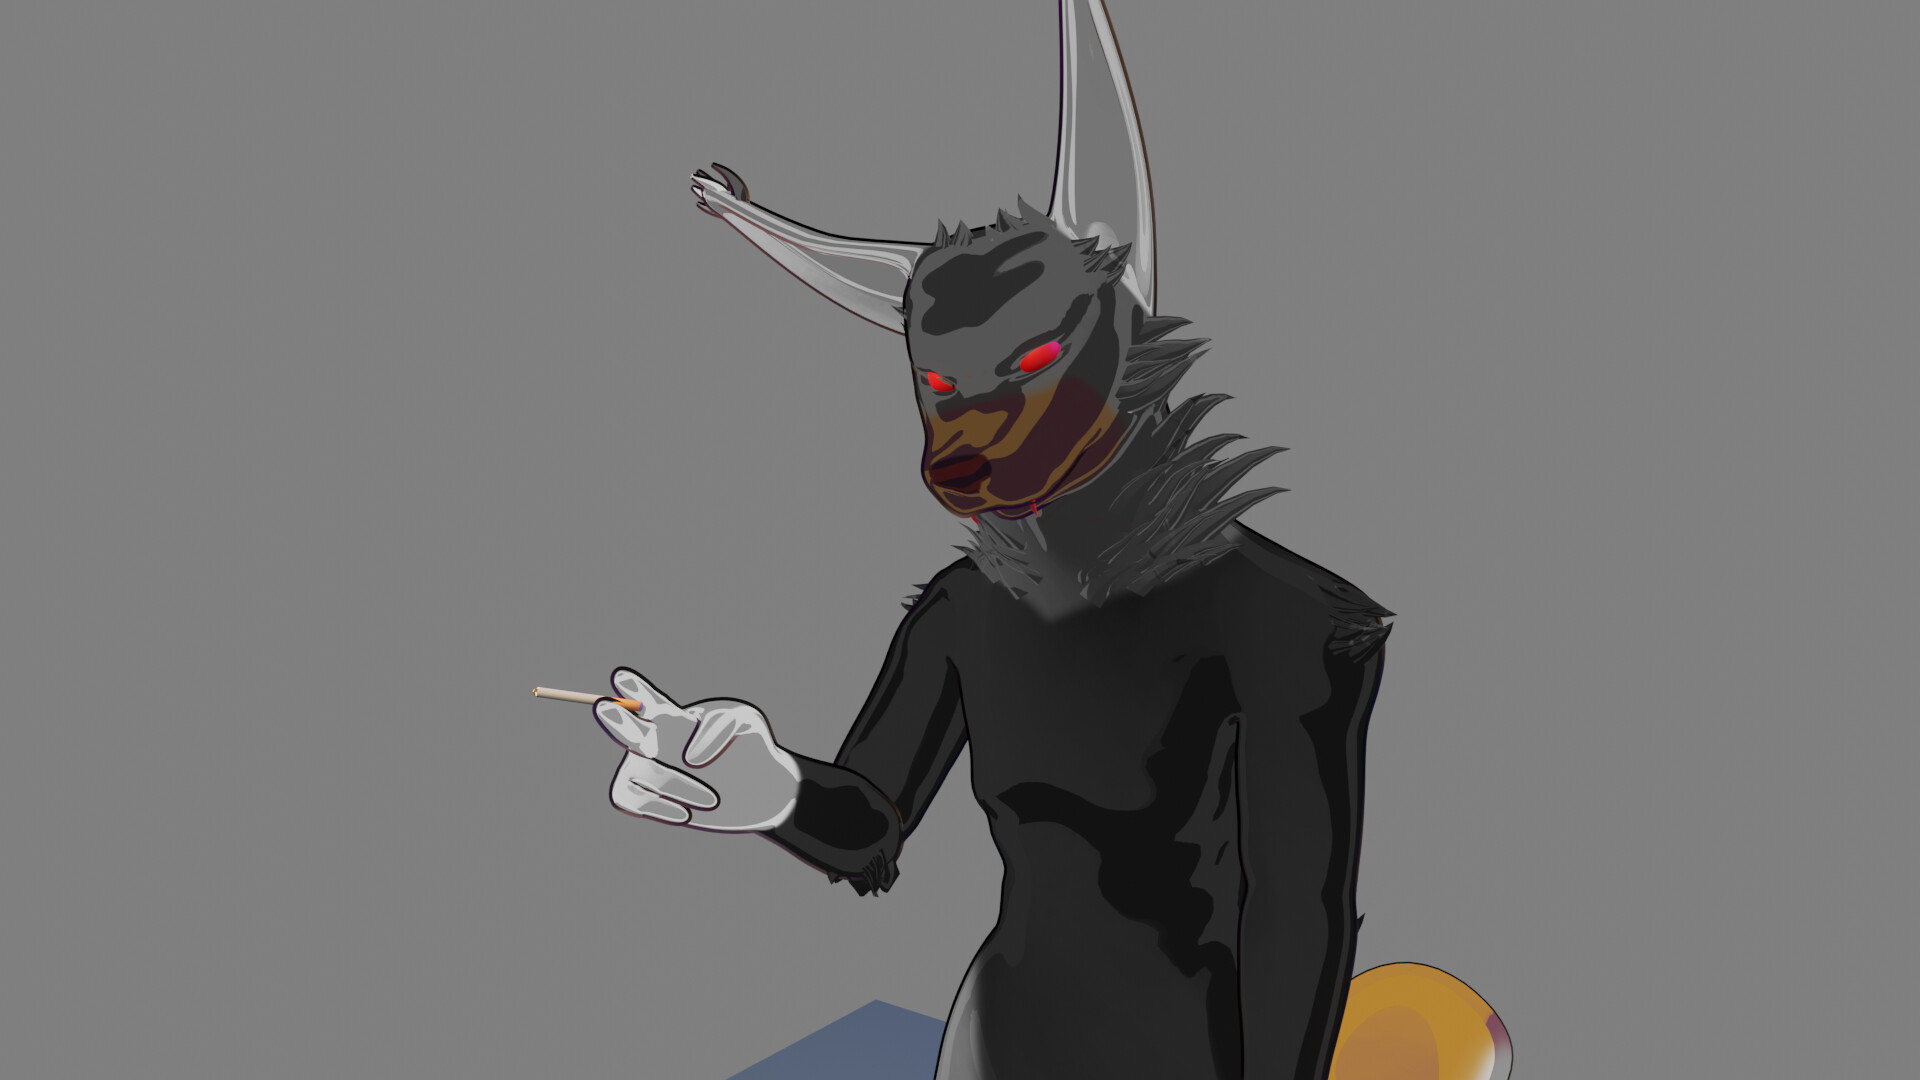
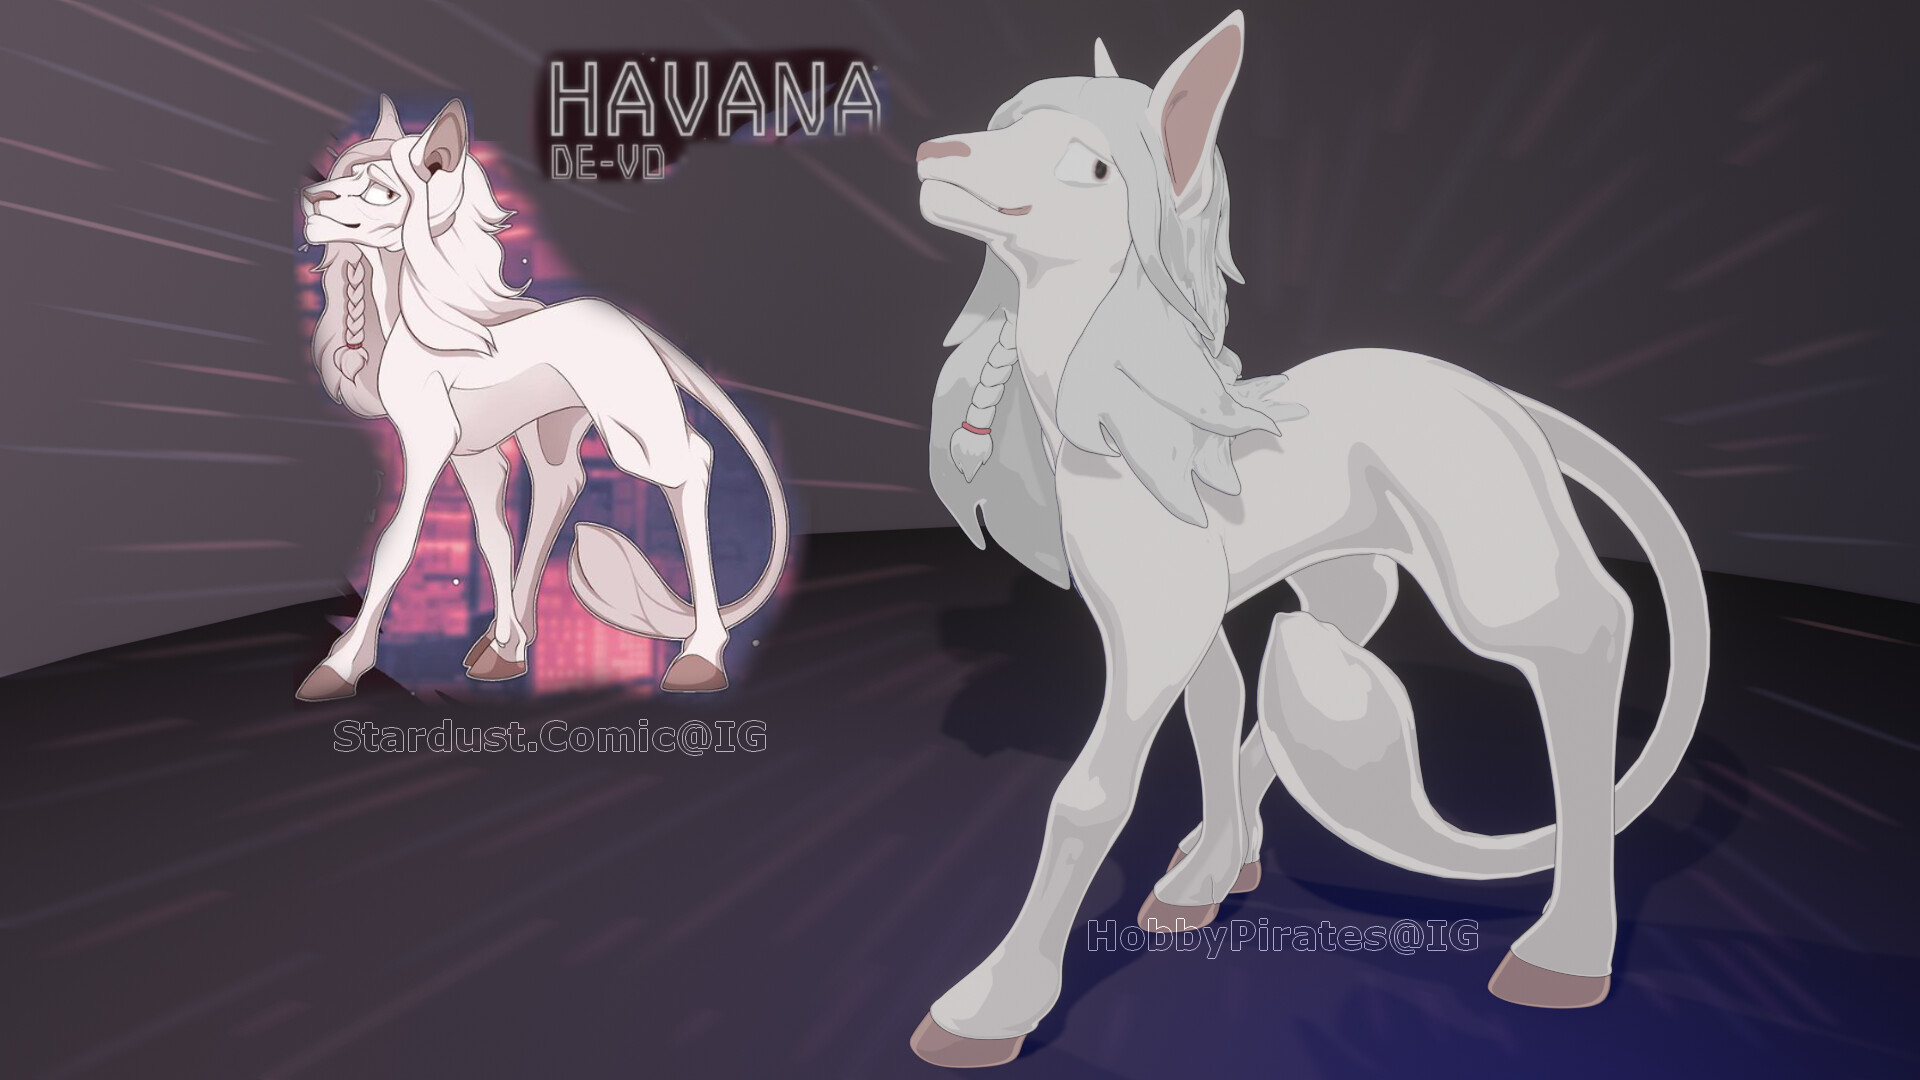
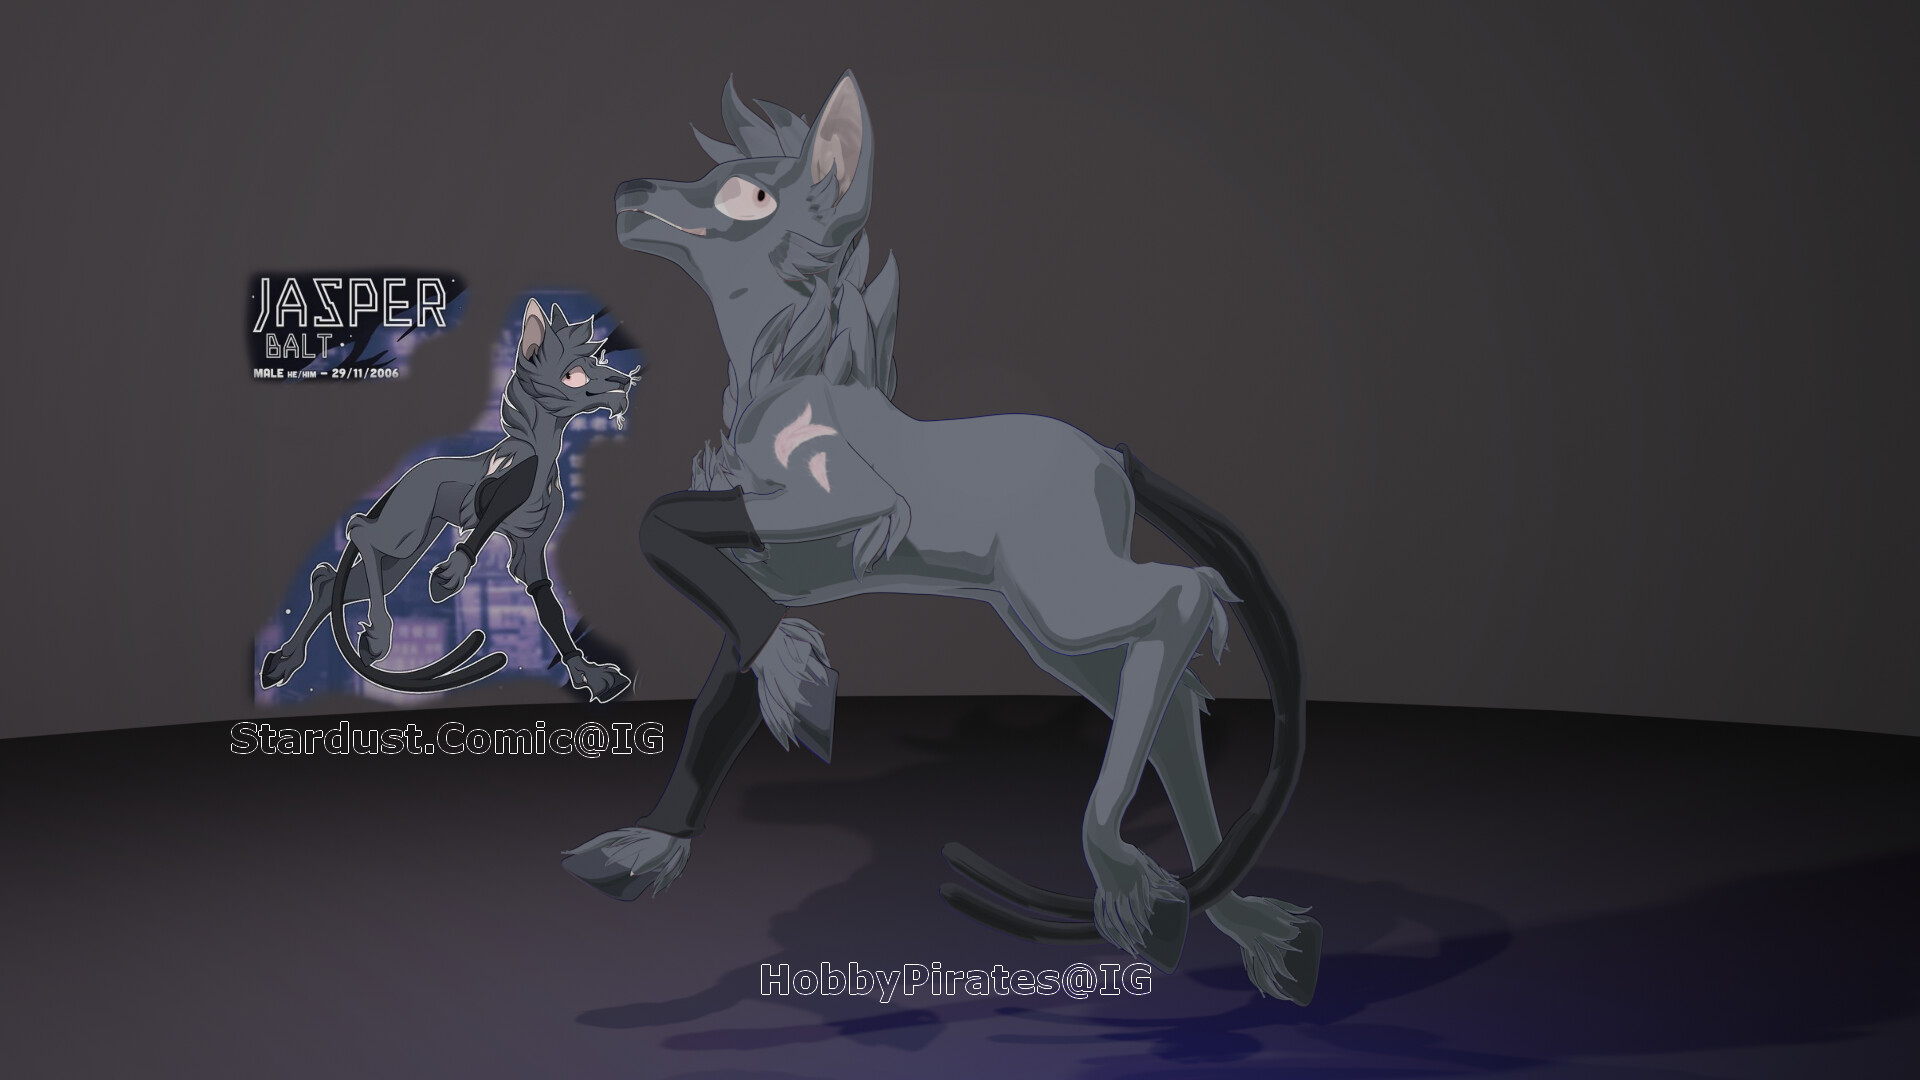
Speaking of growth, this model was finished around August 5th:
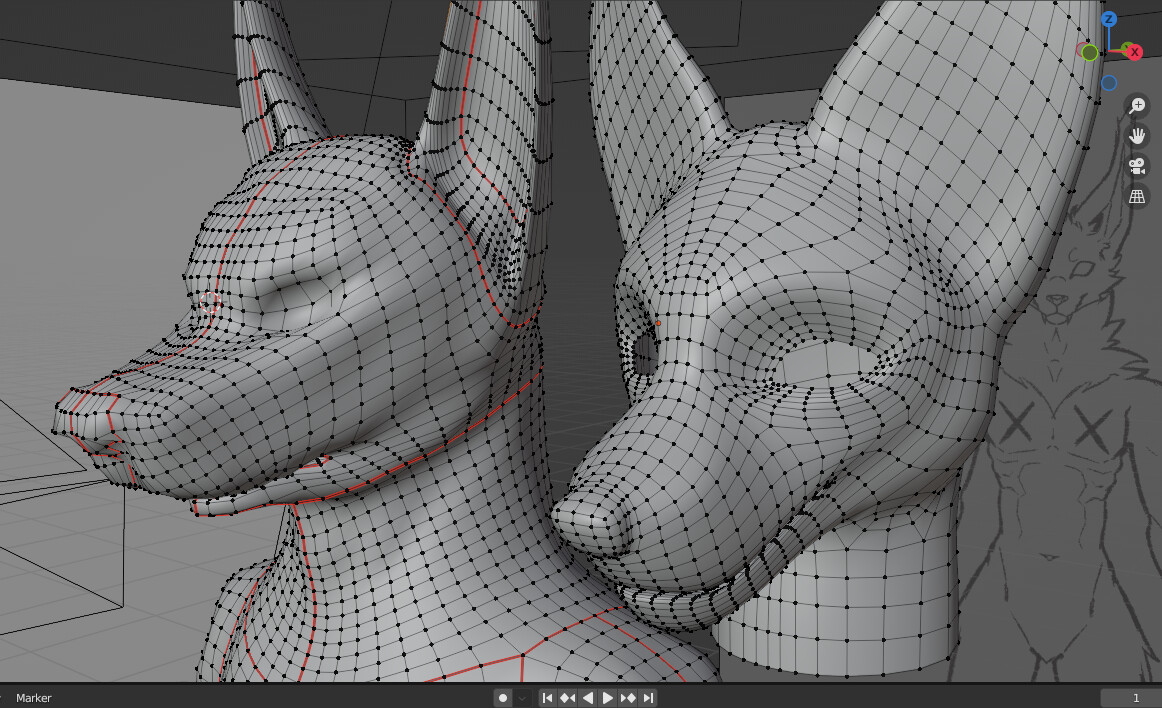
The characters are the same species, from the same comic story so it is easier to compare. Special thanks to the same pair who helped me as I got stuck a couple of times in the progress of this project. You guys help keep the small ones growing, and we appreciate it on my team. Gamedev has been great.
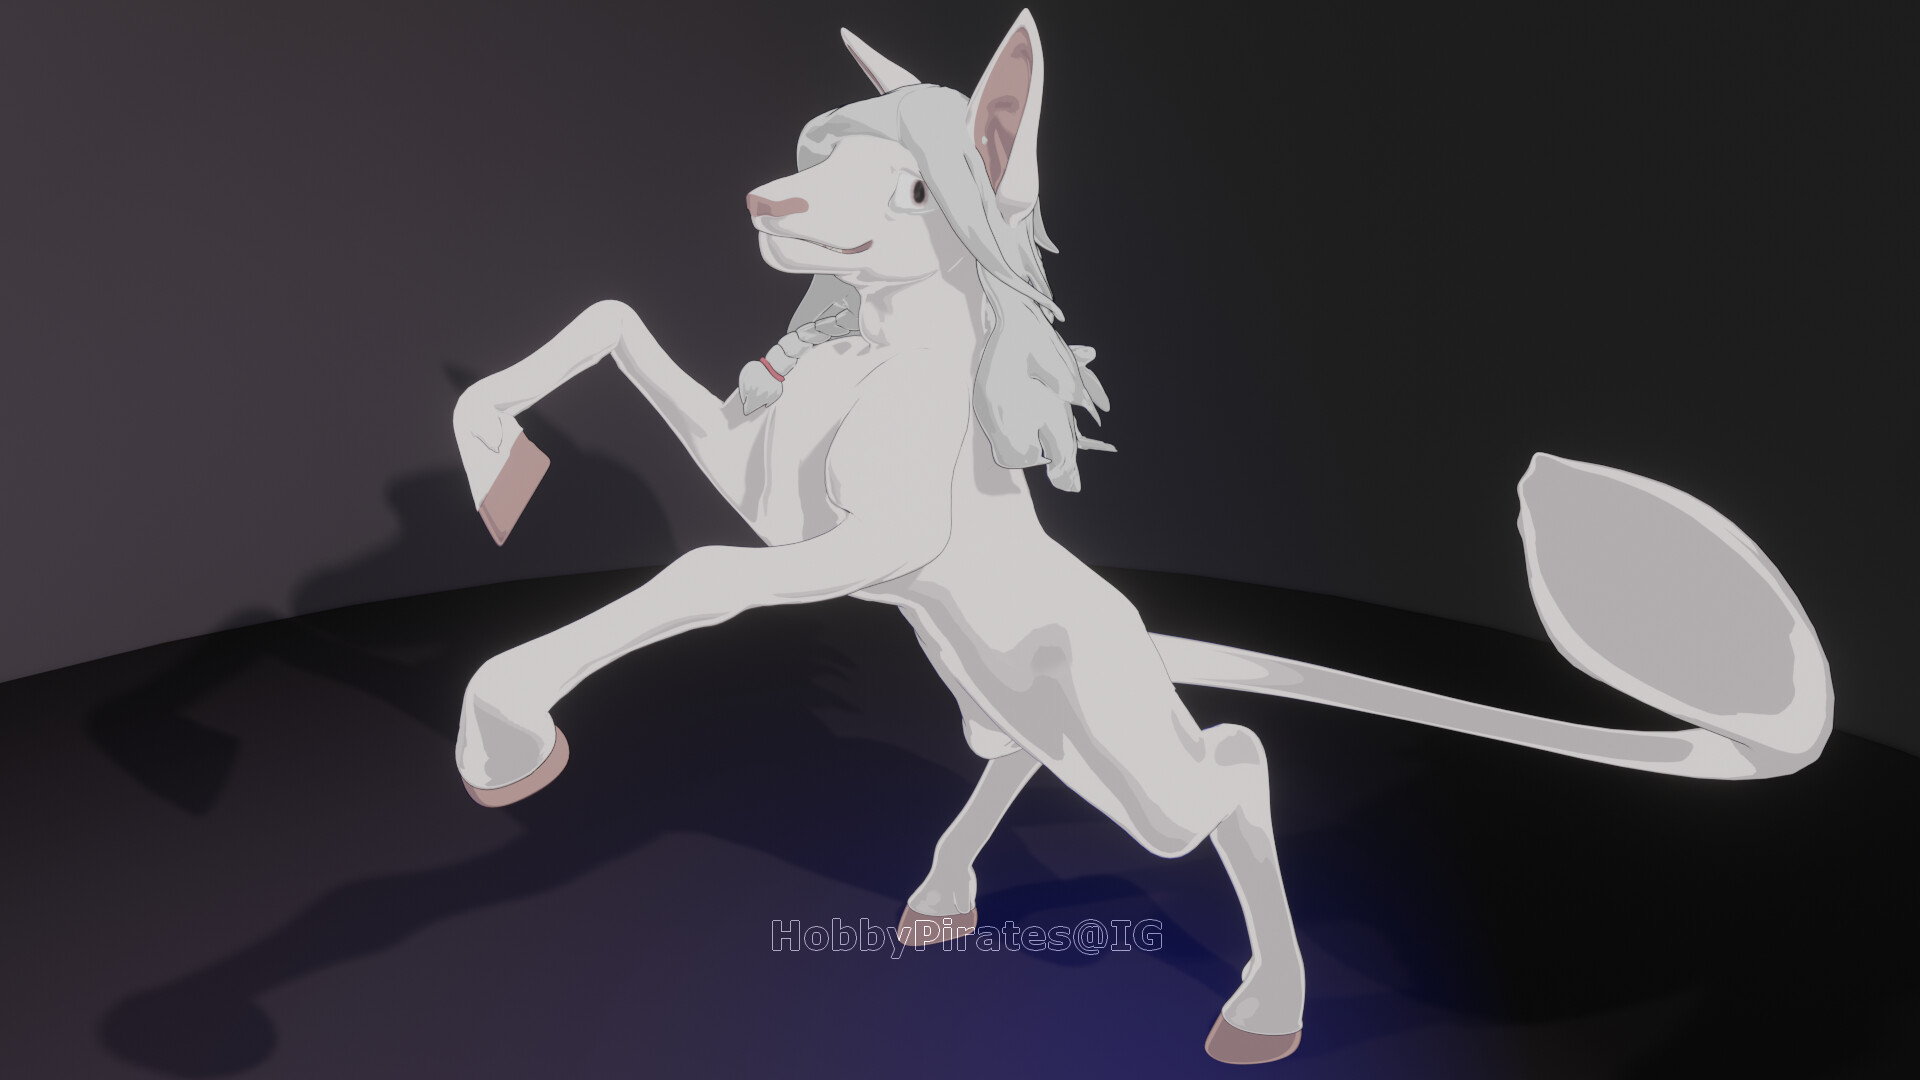
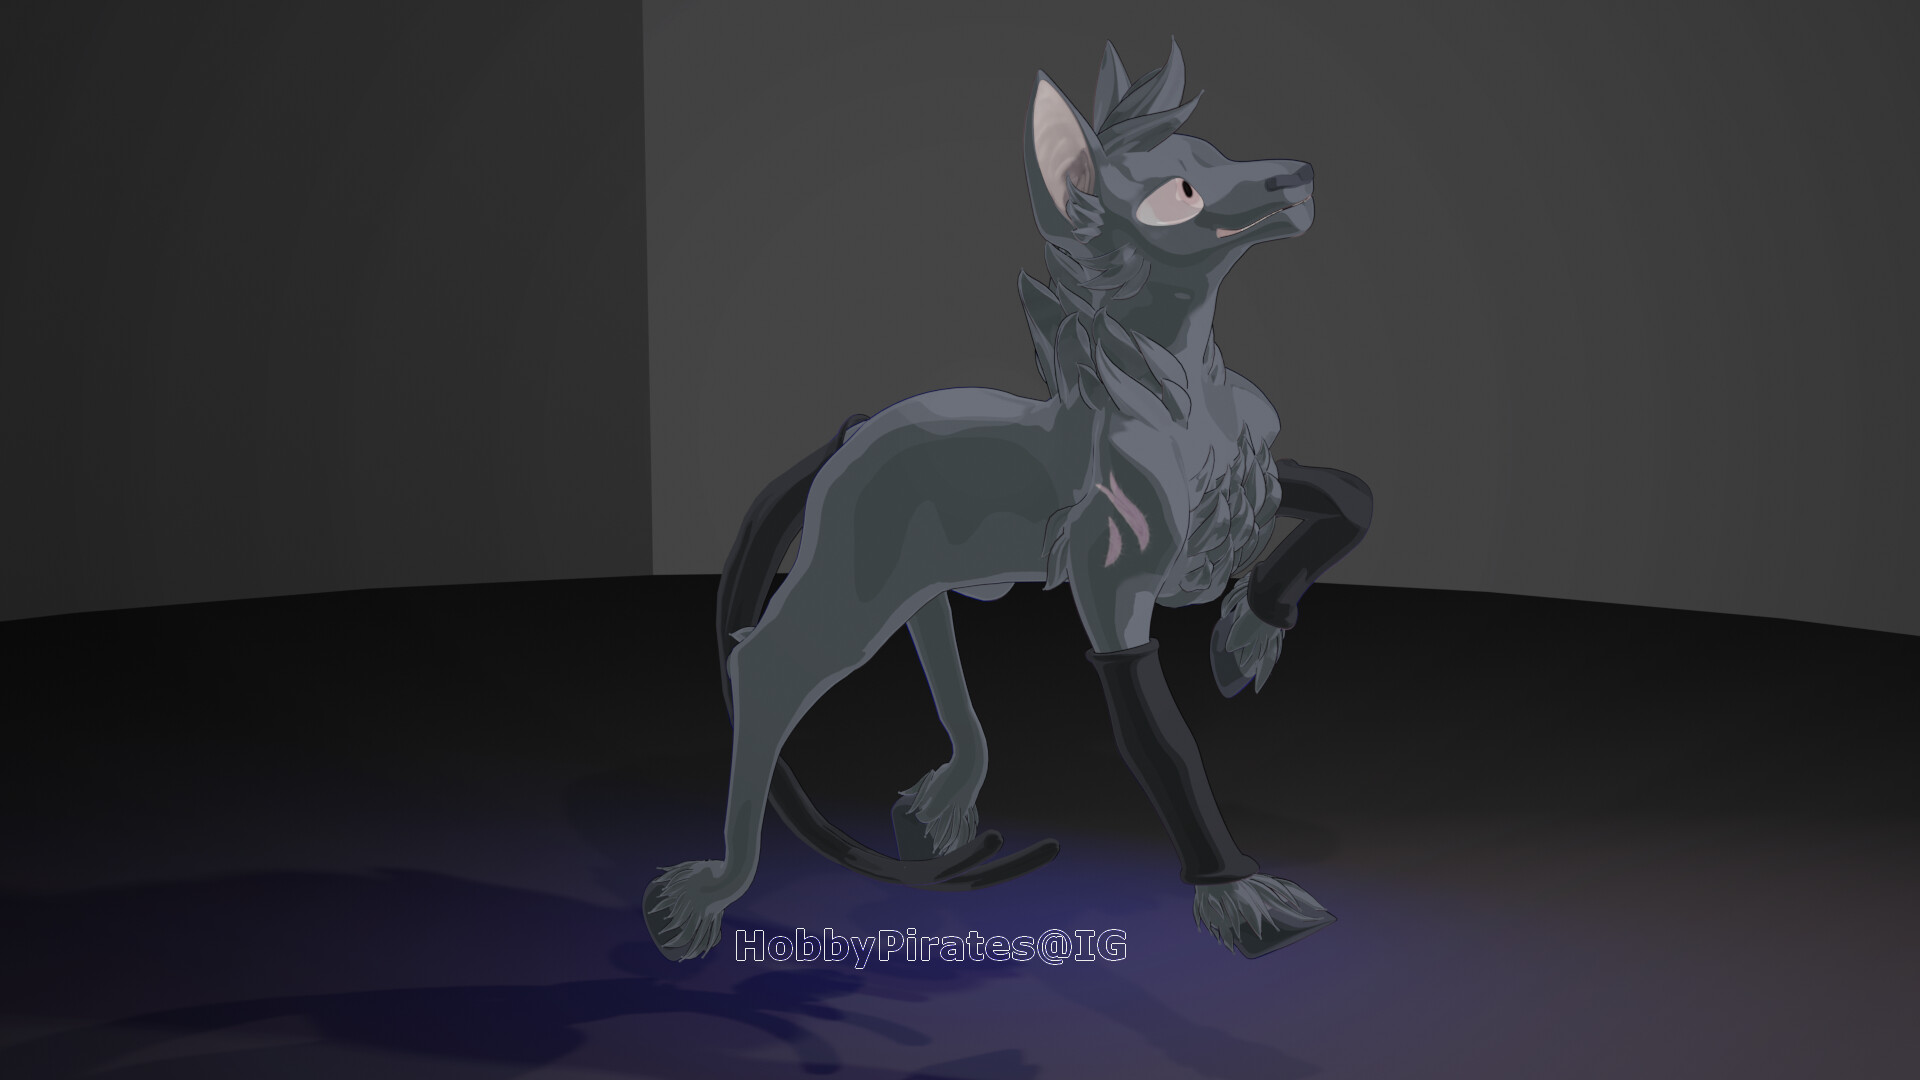
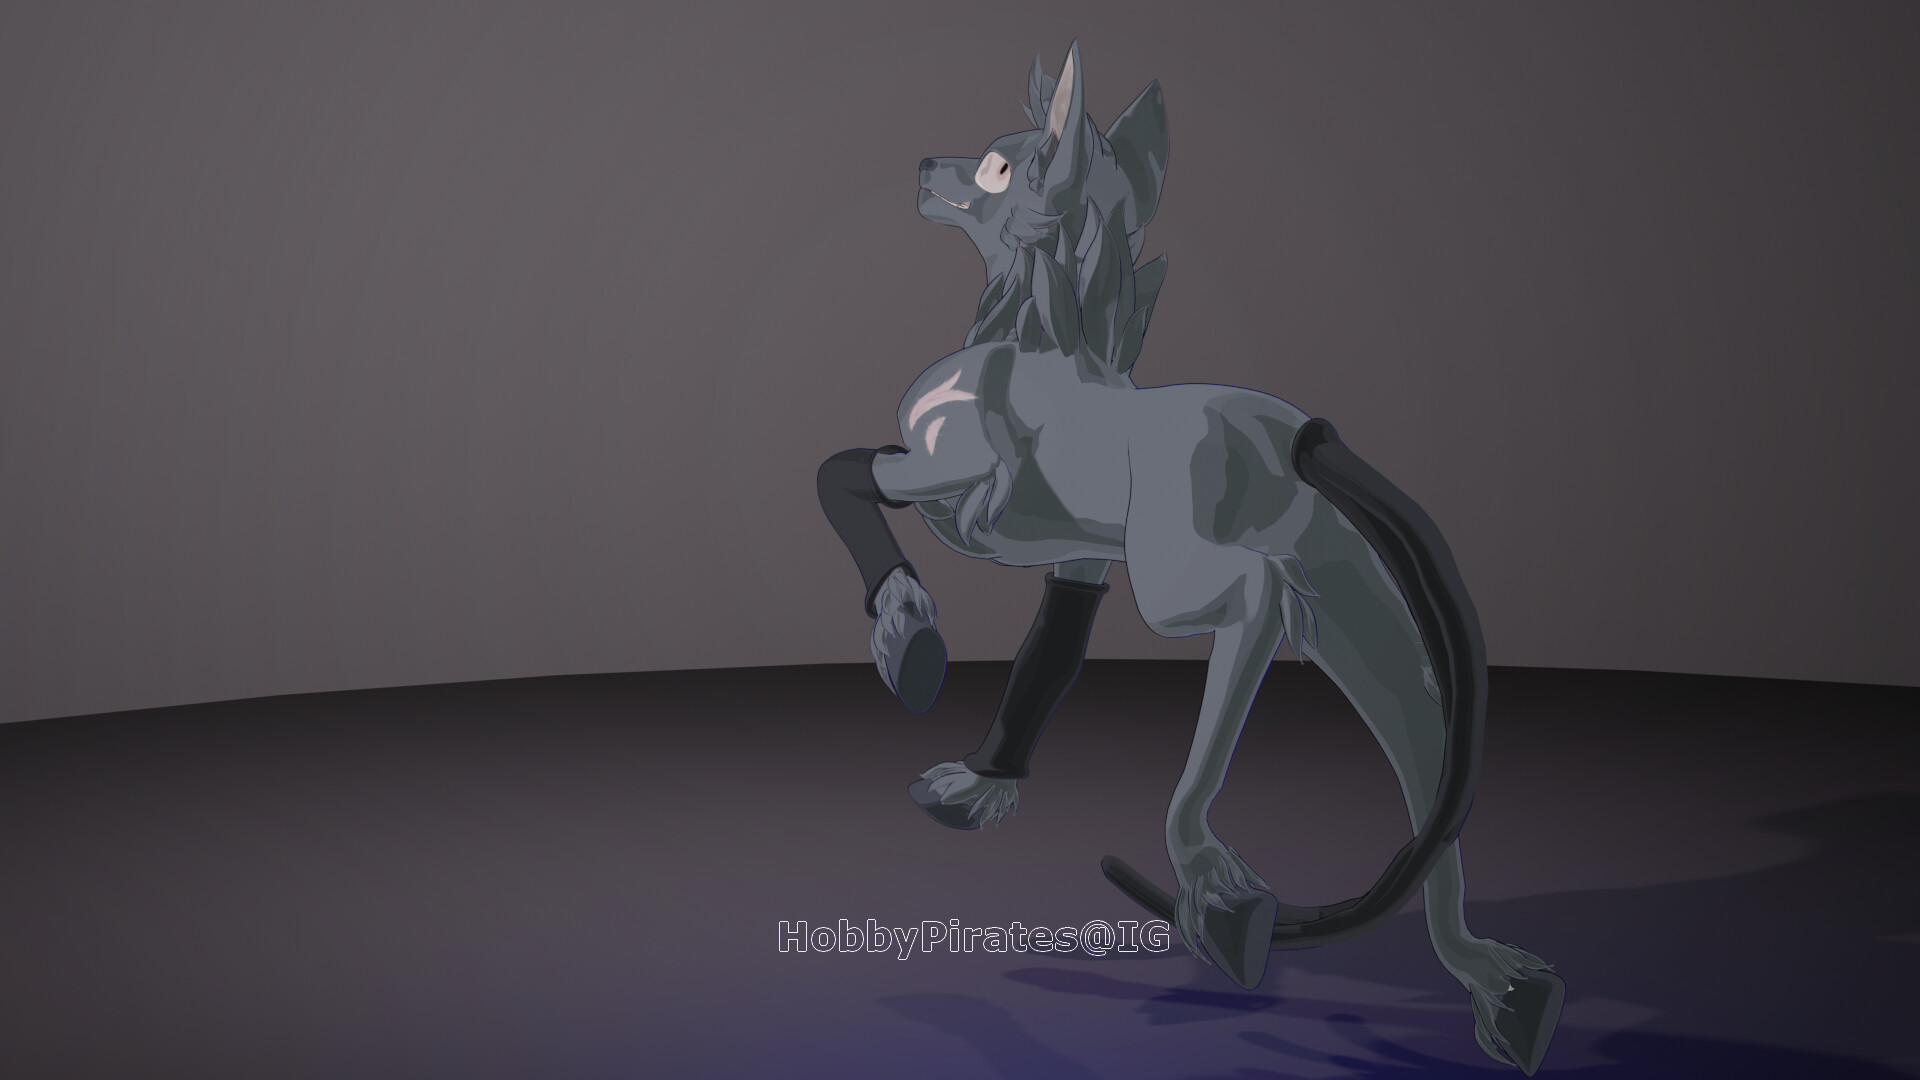
Personal notes regarding the project… I was happy I chose to model the hair this time it turned out nice, though it was super intimidating to start. The shader doesn’t look as nice as I’d like it to personally, so I may play with shaders again soon. Practice texture painting more is a must to get more familiar with the workflow. I’d like to work on small props and objects in environments for practice. We were able to use rigify and generate the rig, but there are so many pieces it’s a bit of a challenge to use and move still, so practice with that will be a focus in the future as well. Not certain we’re using all the pieces of it correctly yet.
Didn’t realize I never responded to this- I did check around and try to mess with those bones some more. I brought in a rig and then took it to edit mode and moved it around. I believe I used a human rig and may have added an extra bone to the legs which could be throwing it off. Thank you for the tips!
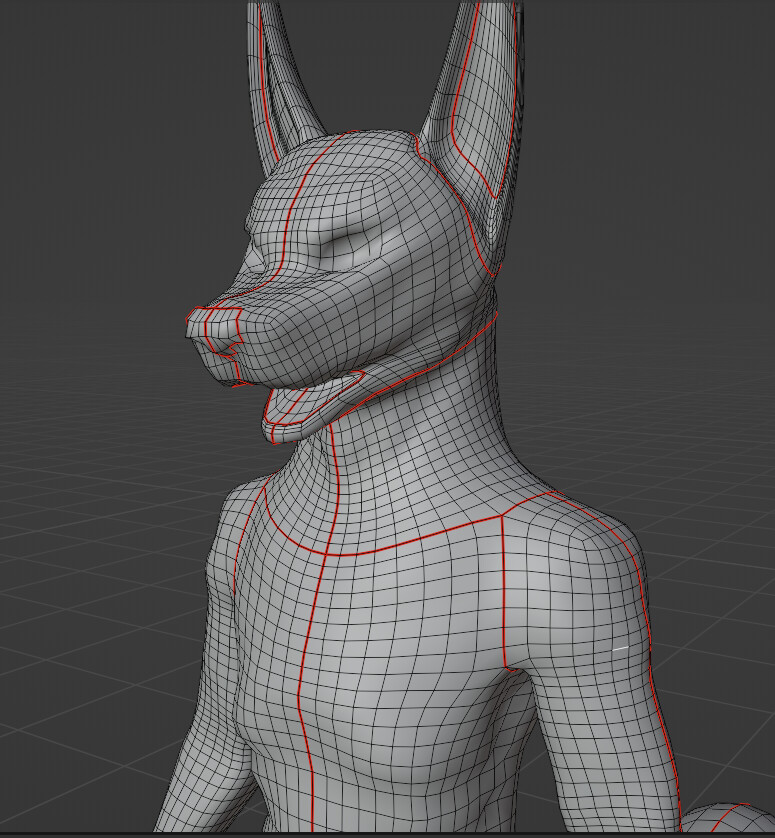
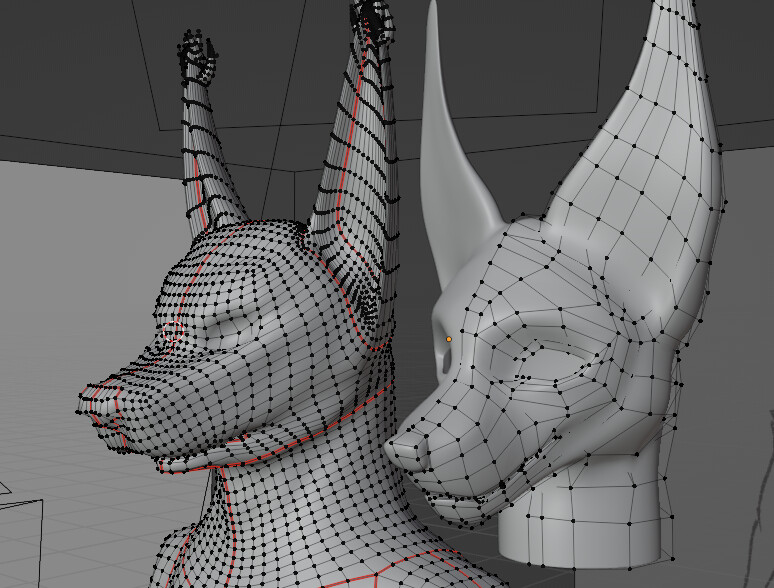
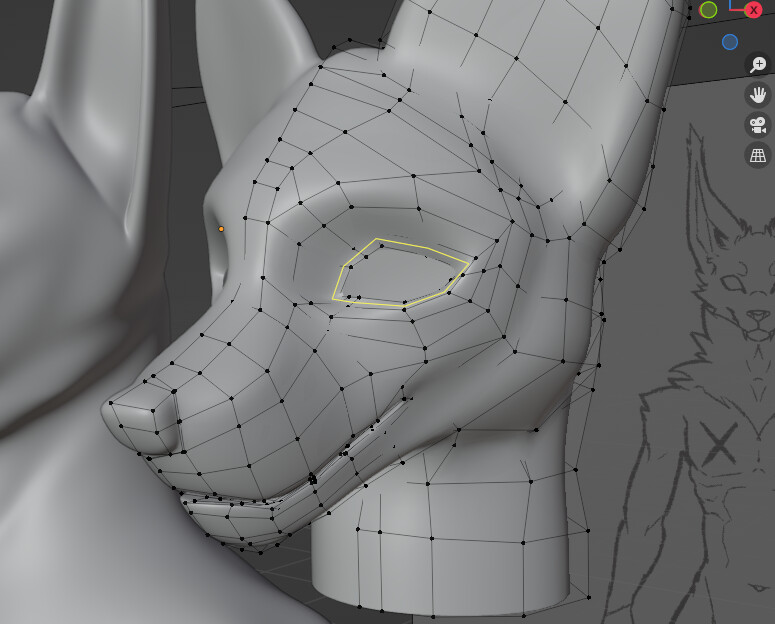
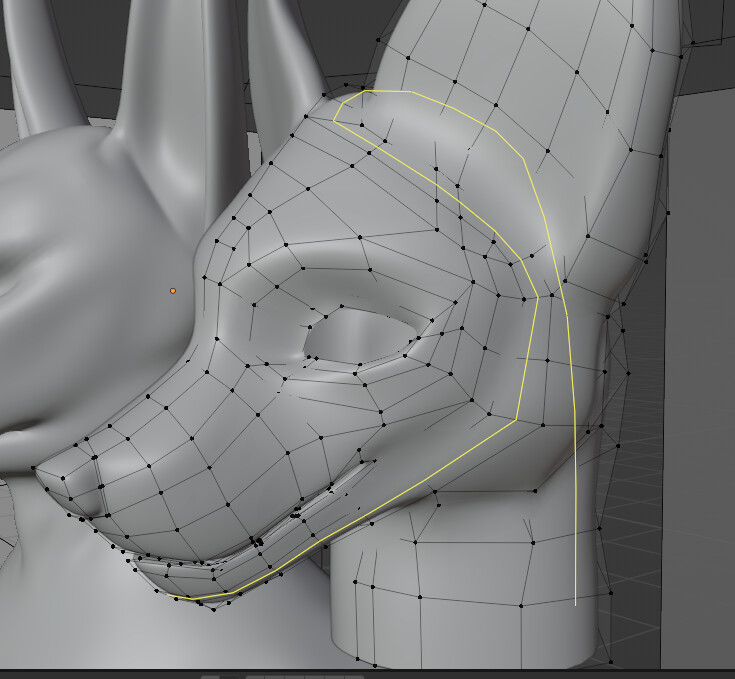
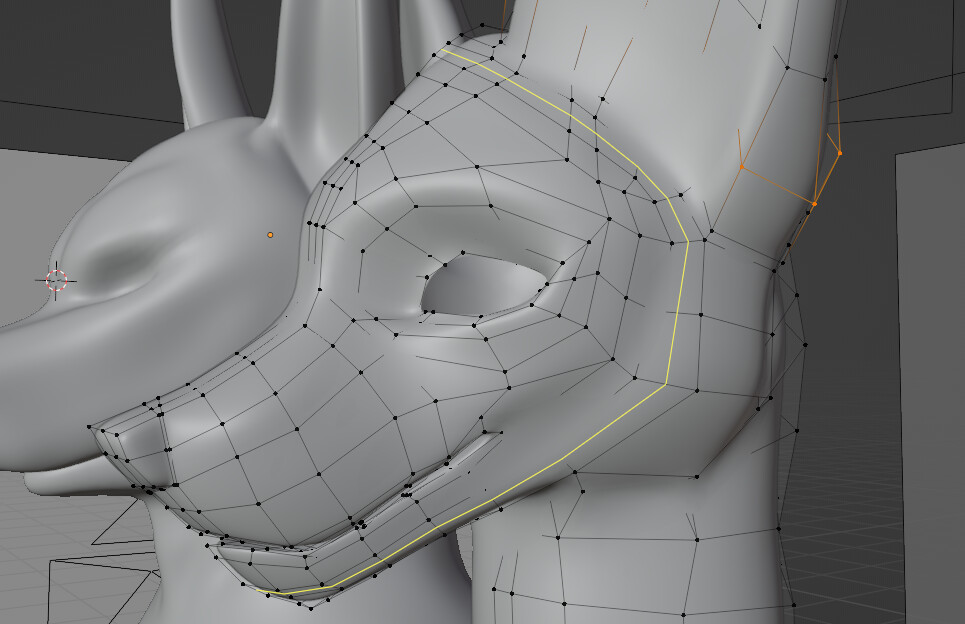
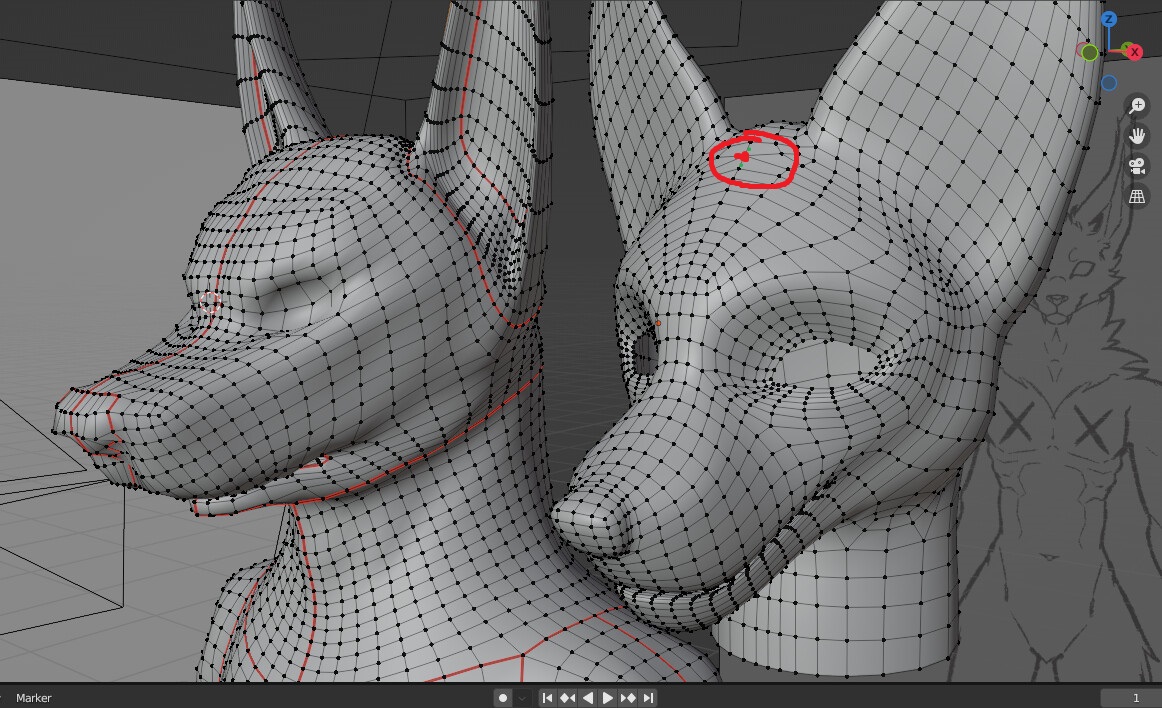
Now that I’ve been learning even more, I would like to go back to Sister’s model and re-topologize a couple of spots for better animating and detail. It isn’t the worst work, but I see that I do not have my proper loops around the eyes or mouth or around the face itself though I am sure the lay out will be different from human characters, for expressions I think these will still be necessary. I noticed this issue in the mouth when I was trying to UV unwrap it but didn’t understand what I had done wrong.
Thankfully I still have my low poly unsubdivided versions so fixing him and getting him back to this point shouldn’t be too difficult.
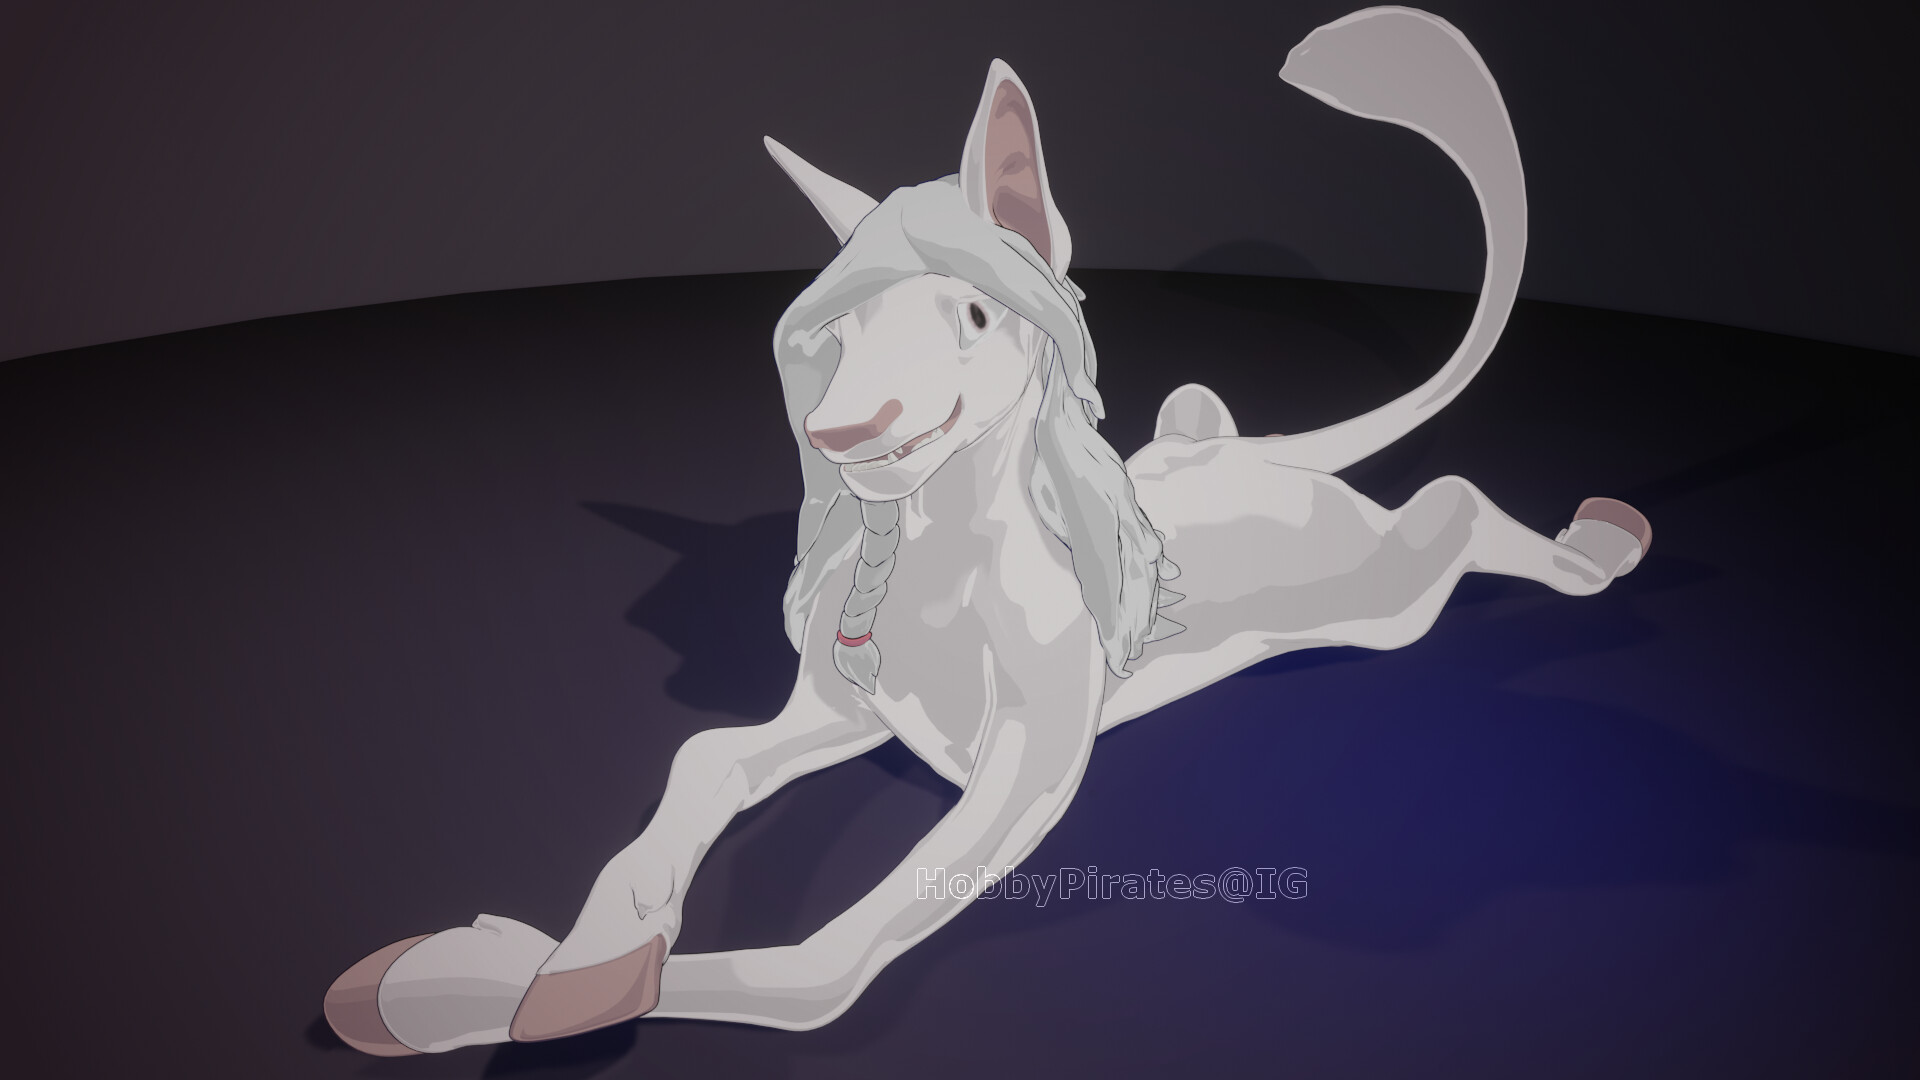
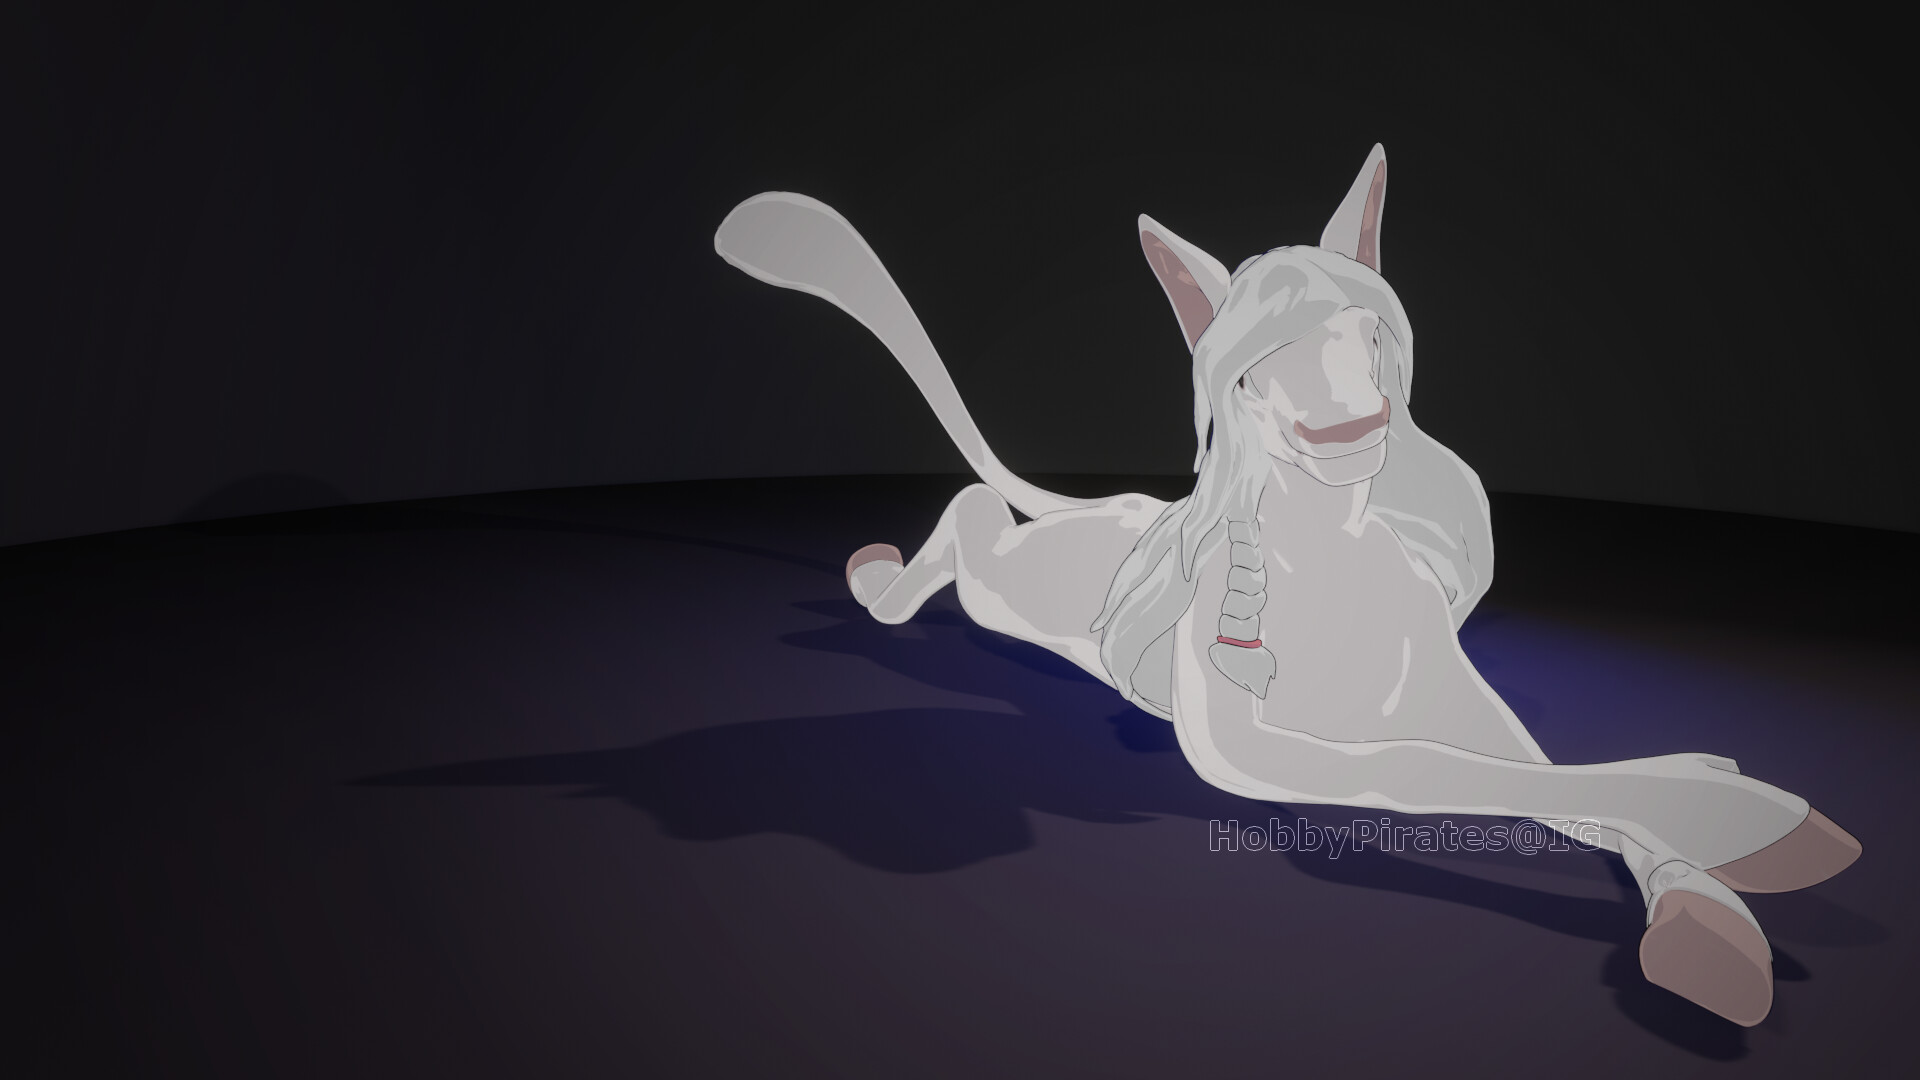
I got the rig working for his legs though and that feels great! I’ve actually worked on his walk cycle since the last post and will try to share a video of it tonight. Here’s a couple more images of him. I am finally learning stylized hair and decided to put his on! Could still use some more tweaking but I’m excited for him to have it.
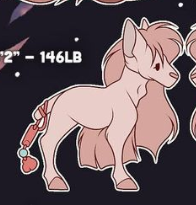
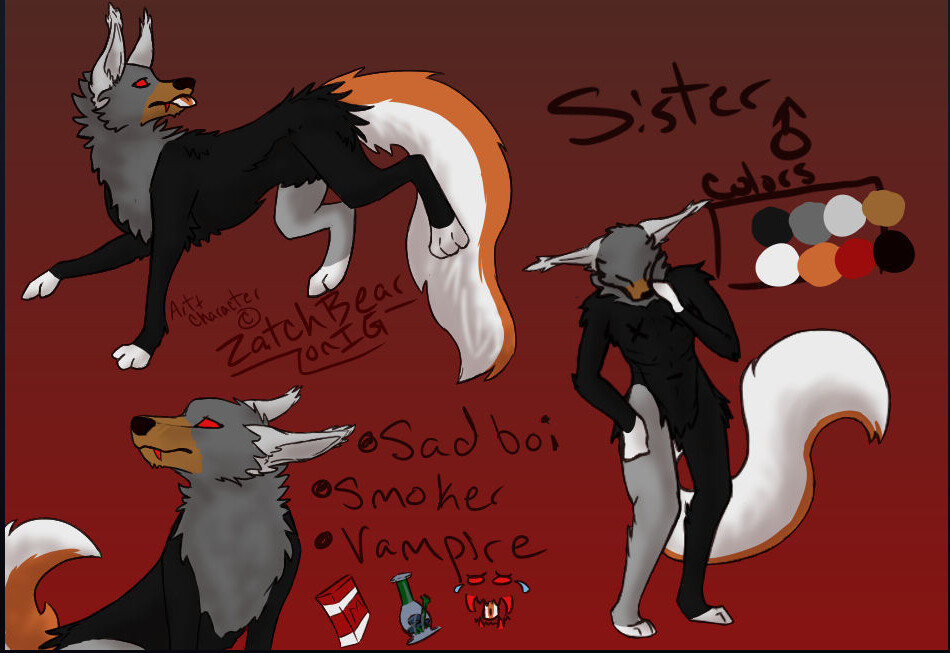
This was his original reference sheet from when I was doing 2D art years ago. I actually commissioned another artist to give me flat front and side views when I created his 3D model.
Just trying to get back into the swing of things and remind myself of where I’m at with my projects and goals. Let me know if you have any notes or advice!
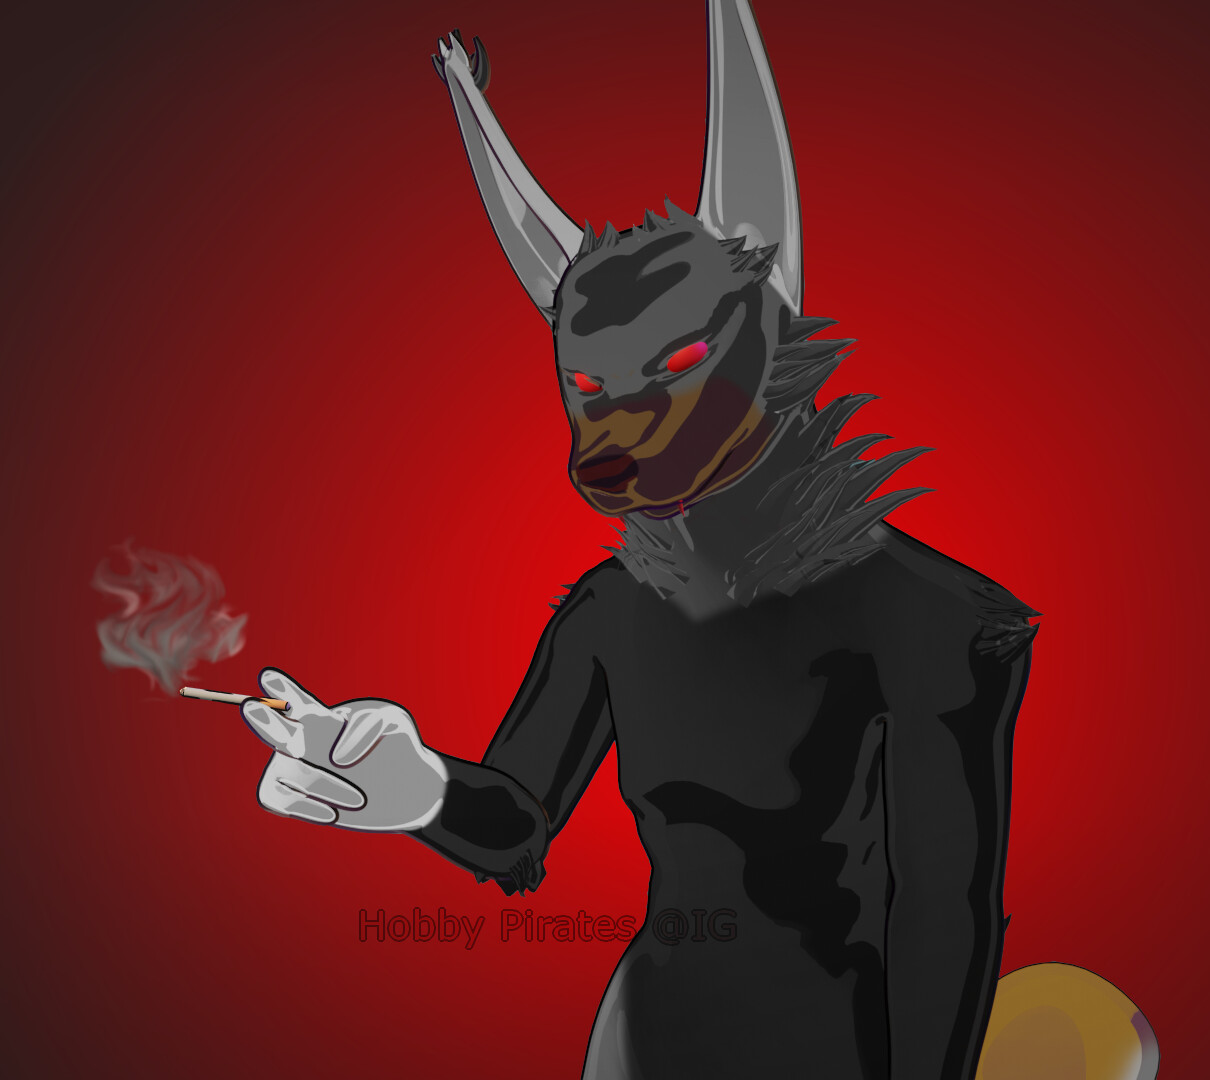
I learned more while creating this, it felt great. I will create the turntable and take some more pictures later in the week as I’ve currently been working on this way too long this weekend.
Notes… Loved using curves for the hair instead of trying to model it out, but rigging it still needed shape keys to move instead of the bones and it was much higher poly than the body mesh. I never attached the hairs to the body; I left them separate unsure what the proper workflow would be. I felt much more confident using the rig itself after some time trying to pose it and look forward to playing with it more. I haven’t taken time to learn better shaders yet, and I still don’t like how it looks in the photos so far.
Thanks for viewing! Feedback is super appreciated <3
The Stardust comic has eight main characters in season one and nine main characters in season two, though there are some side characters becoming more intertwined with the main cast too.
My personal character Sister is one I’ve had for so long; I like to think of him as a ‘multiverse’ character to some degree since he’s in stories but also can be in different settings as desired. He is part of a story I’ve been working on for over 7 years with two other characters of mine. I look forward to making their models, and maybe getting to start a comic or animatic of story chapters.
I won’t be finishing it this week most likely, but I’m already so excited to see how much better his model and topology will look when I’m done.
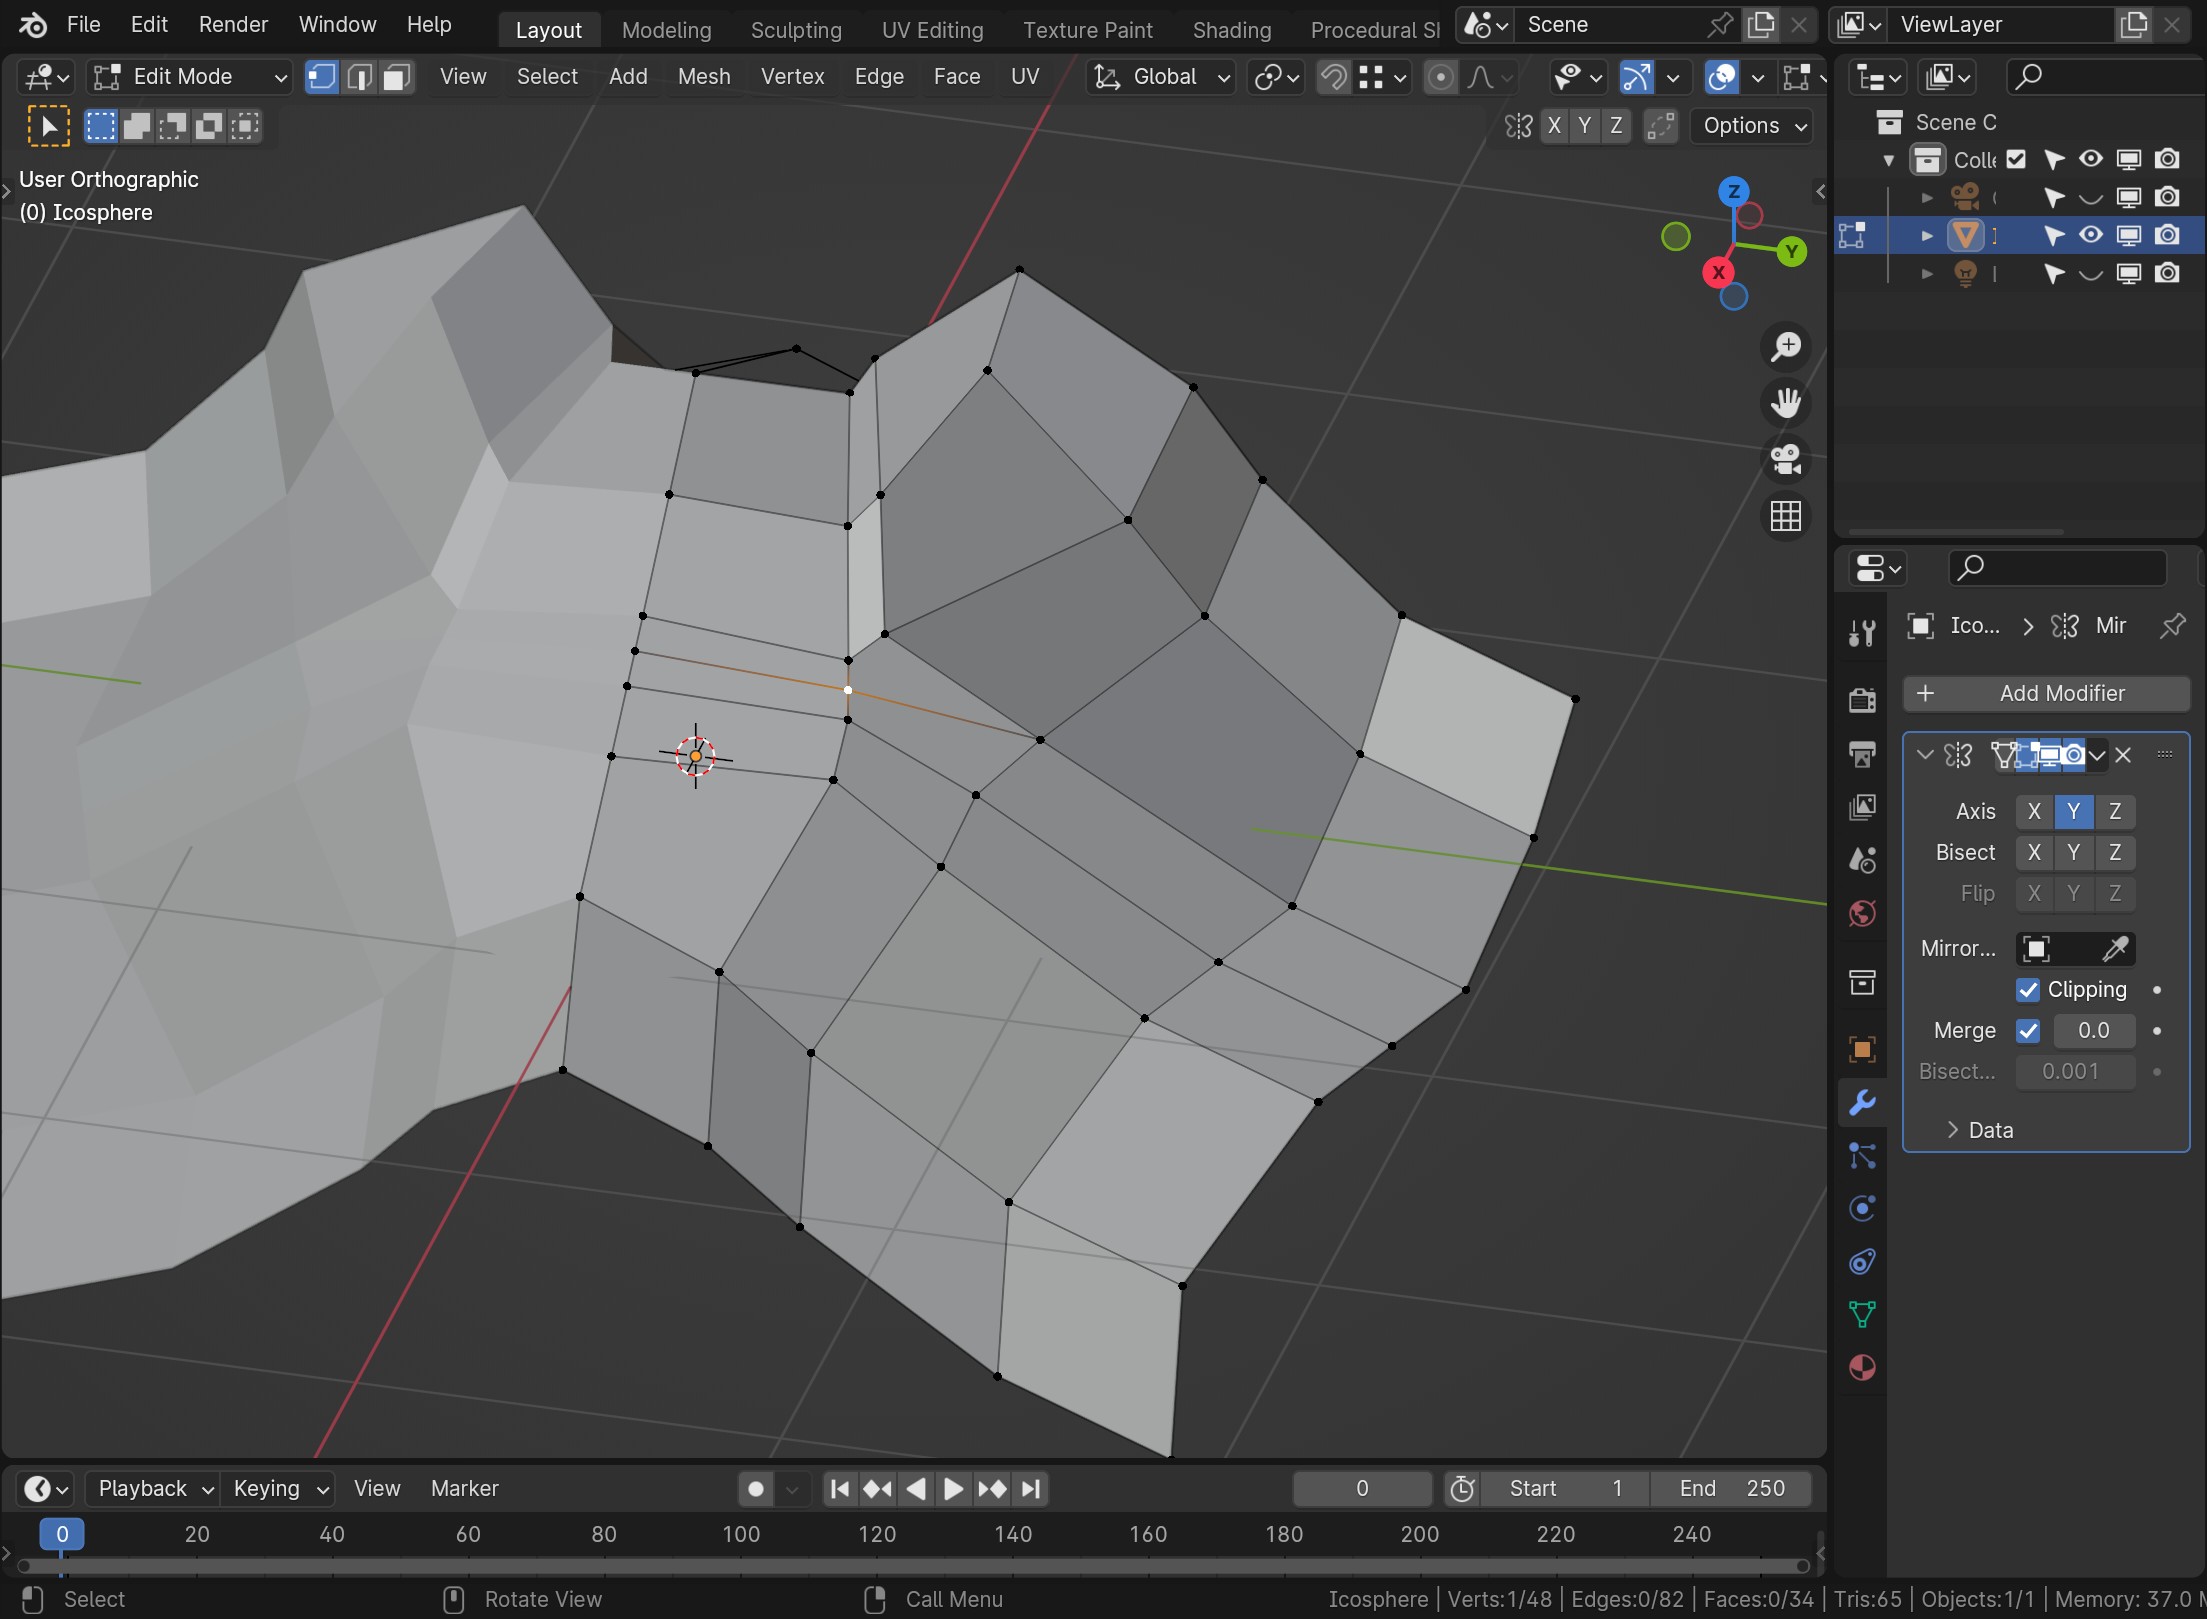
Here’s a preview since I feel like I want to still fix a couple of spots. I’m not sure if I should be trying to keep the loop cut that usually goes from the forehead to under the jaw, and I wanted to try and add a ring around the ears, but I can’t quite get them to work yet. Any thoughts?
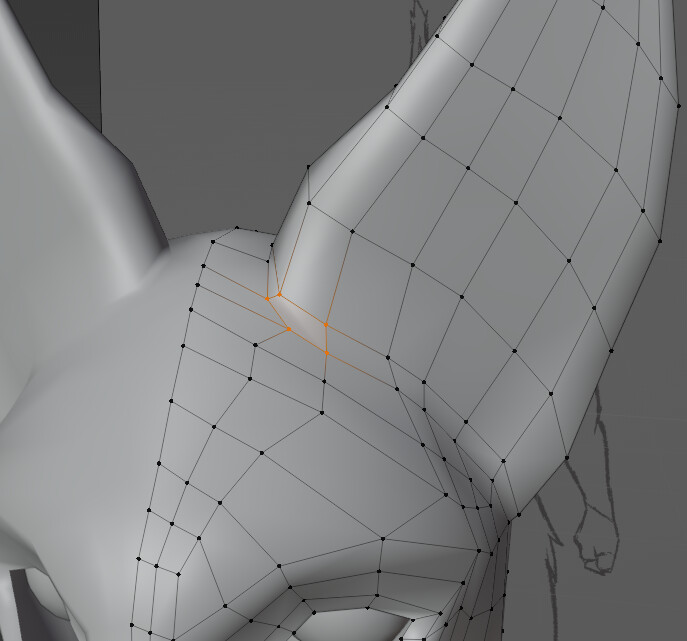
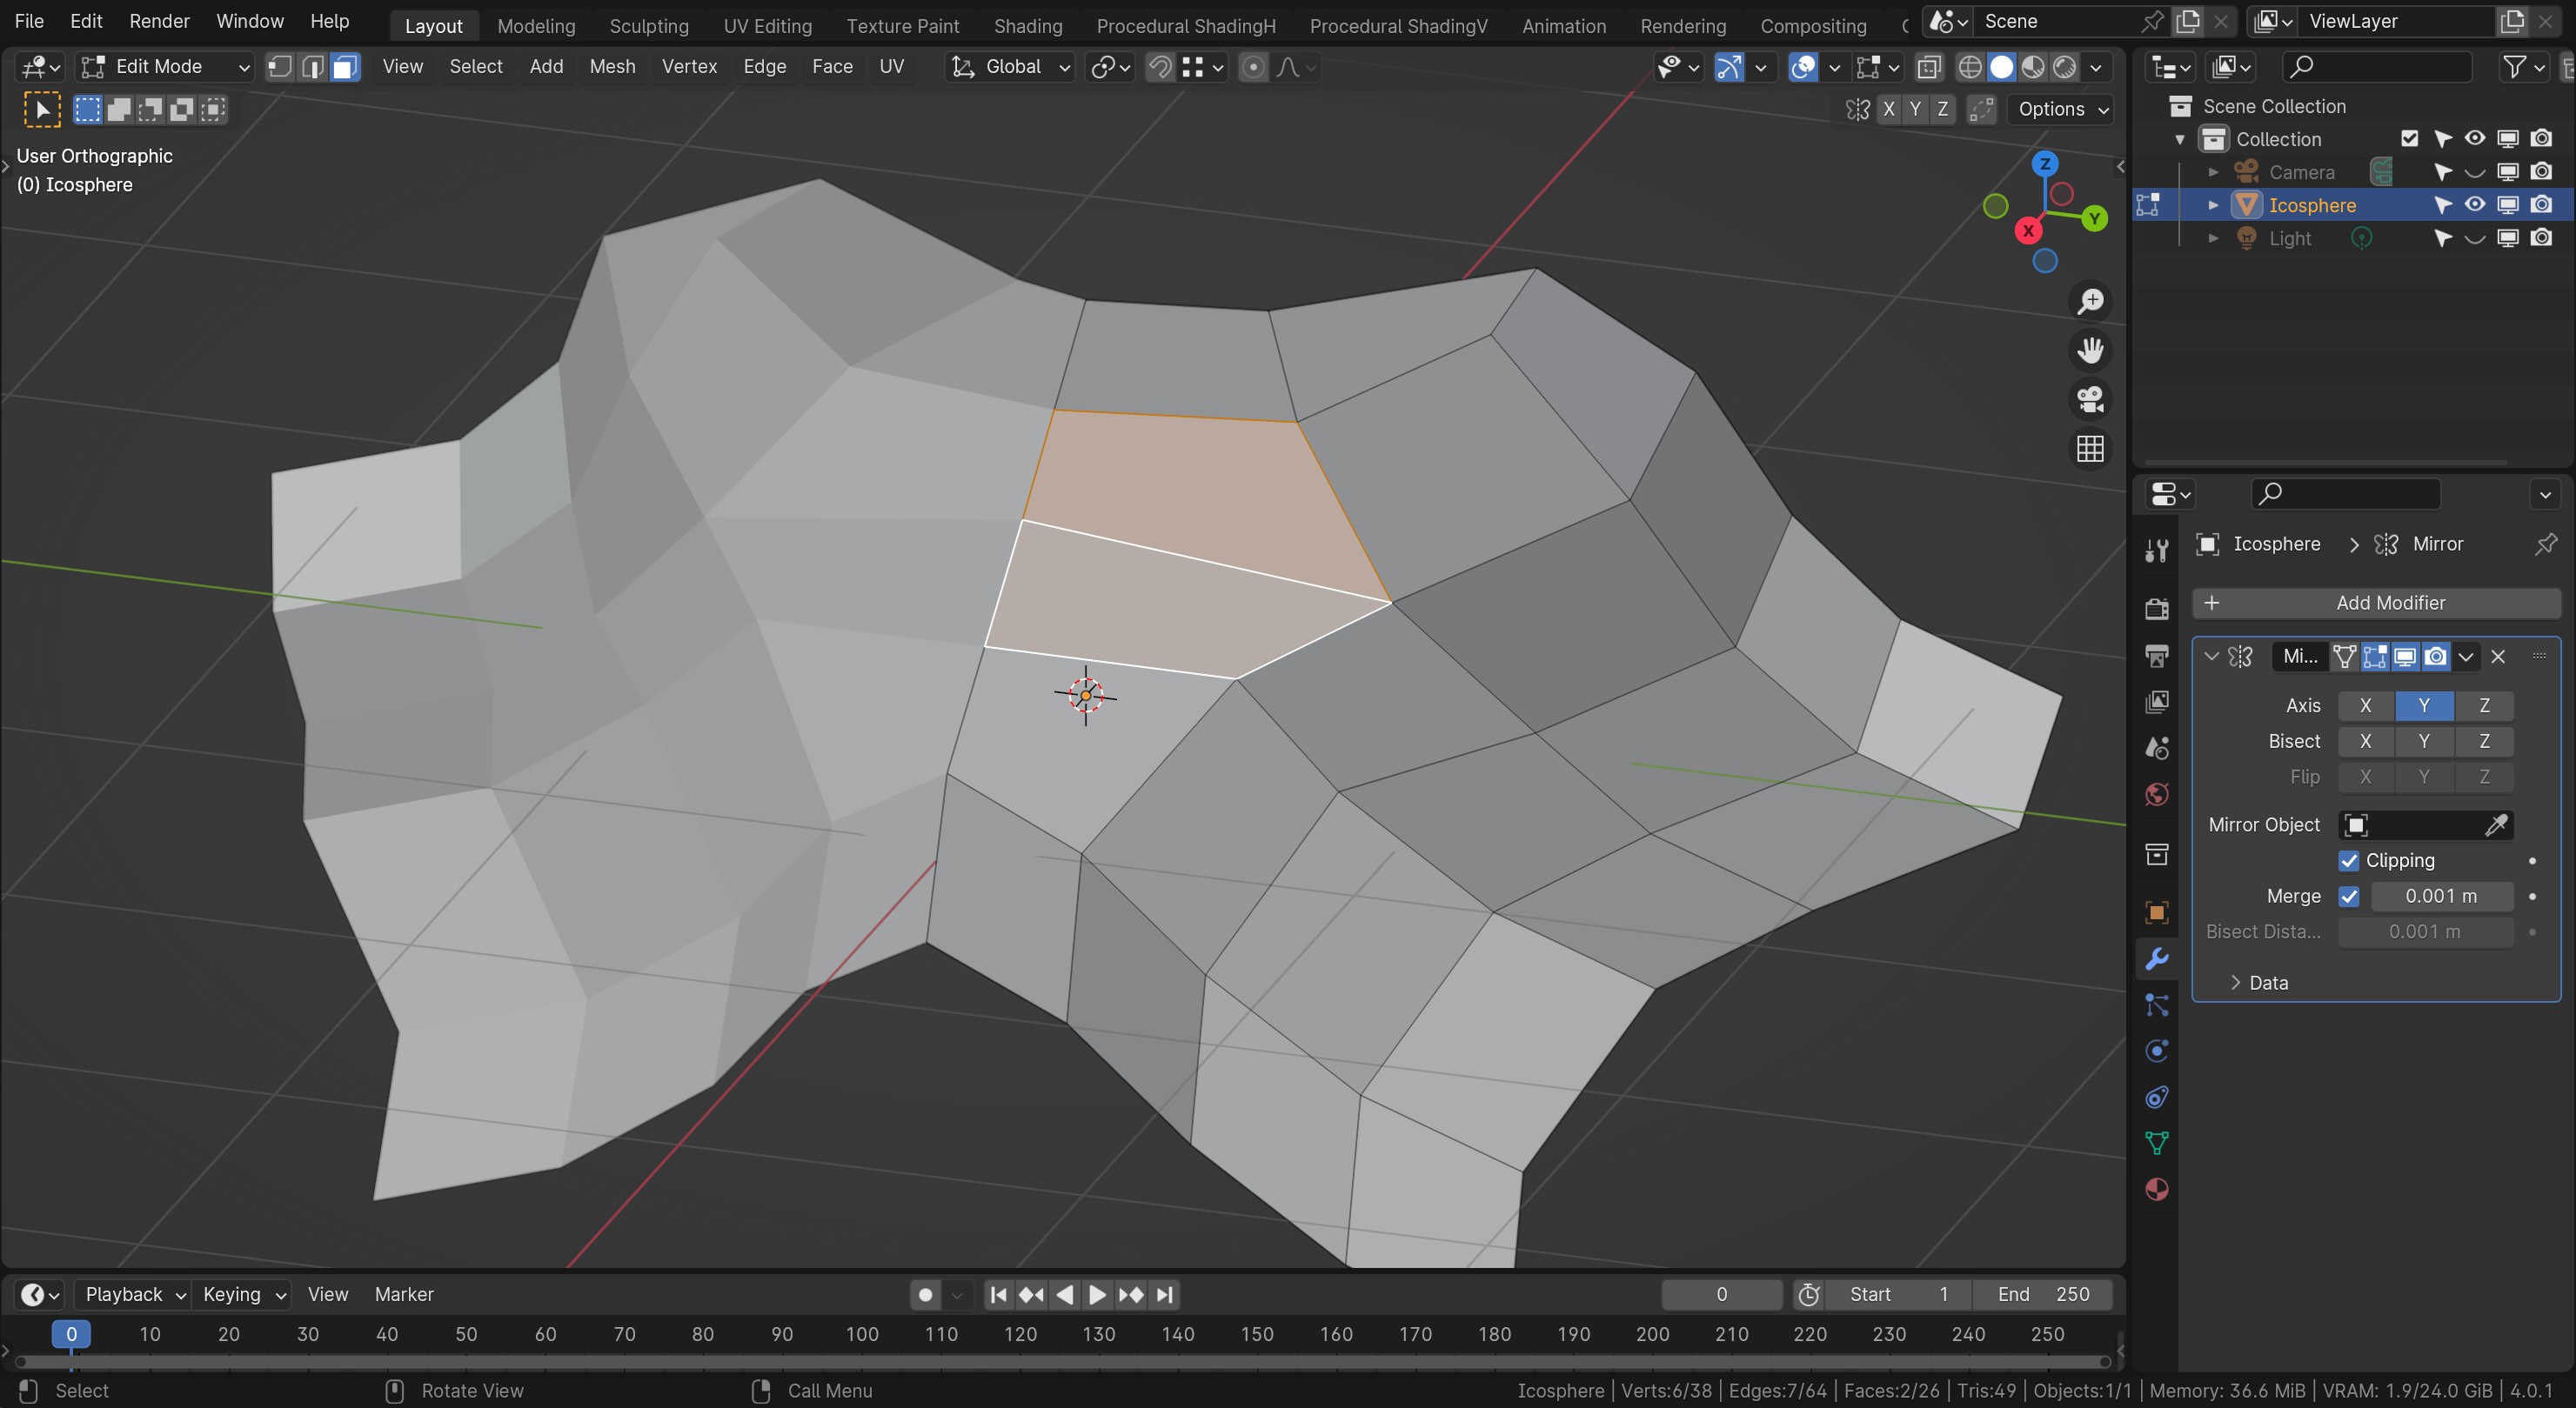
This is the only face with more than four points* I could find, I do have one more triangle that has shown up on the bottom of the foot. Would you mind confirming if this is the pole you’re referring to or do you happen to see another? I’ve been trying to figure out how I could fix this face still. Thanks for your time NP5!
I realized after making my comment that ‘poles’ referred to vertices points, not the n-gons, thank you for pointing this out and providing details to fix it!
I can’t find that spot now that I’ve modified the topology more since that original post was made, maybe it’s better following the changes?
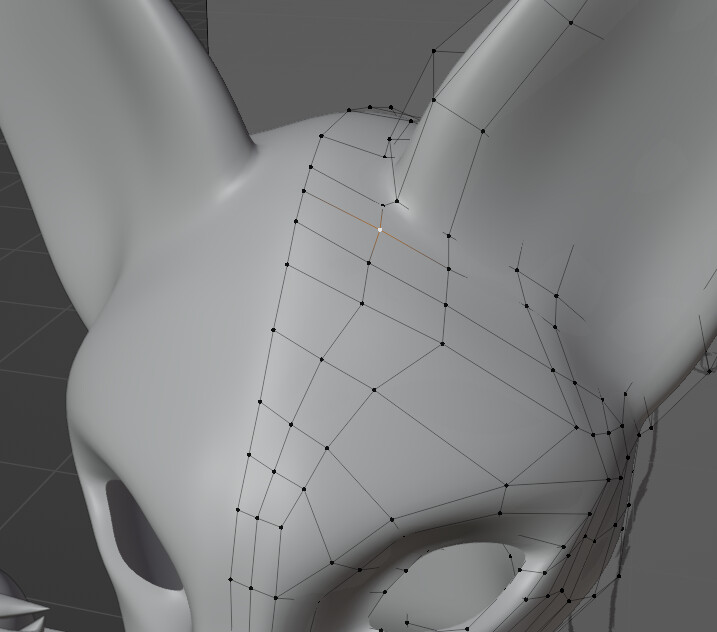
subdiv not applied:
It occurred to me at one point while working on it to try using the knife and doing this actually, but I wasn’t sure if I should be open to creating the pole or trying to avoid creating them as much as possible. I just keep looking at your post and the verts and thinking ‘genius’ thank you again, so much!


 thank you again, so much!