Diary of My Animated Lamp Journey

So here is the layout for my Animated Lamp,
The plan is to have the lamp jump from the bookcase ,
onto the ball, bounce off and then somersault landing on the stool taking a bow .

Might be a bit ambitious , but if you don’t push yourself then how can you improve lol.

7 Likes

Carrying on ,
Converted the grease pencil lamp to 3D Geometry,
added a yellow sun lamp , I had to fiddle with the default settings
to get a recognisable shadow. Dropped the strength down to 1.5.
Then rendered with cycles.

Follow my progress …

3 Likes

Well I’m progressing through the lectures.
It was interesting when the difference between eevee and cycles rendering times.
EEVEE 4mins and cycles 40mins. I rendered my bowling animation in cycles in under 5 mins.
Certainly goes to show the power of the newer graphics card . I have RTX 2080Super.

Anyway here is the latest render , where Ive added in a bulb using emmision material and an area light.

5 Likes

This is impressive! :star_struck:

Working on the Lamp Base.
Decided to go with something similar to an antique lamp base , i saw last week , But now cant find lol.

4 Likes

Continuing my Animated lamp quest (sounds better than Journey lol)

Ive added the steel lamp pivot/stem. Im really loving the Green texture , think Im going to have it as my main lamp colour. Also added a wood texture to my book case and inset the shelves.(not that you can see that from this picture)

5 Likes

Carrying on with the lamp.
Sharpened the edges up , added in a little bit of geometry to act as a coin tray on the base :laughing:

2 Likes

Did some trials changing the render settings with results that differed from the vod.
Using Blender 2.91

Tile size Sampling Reslolution De-Noise Render time.
512x512 128 1920x1080 (100%) None 73secs
512x512 128 1920x1080 (50%) None 66.2secs
512x512 32 1920x1080 (50%) None 16.4secs
512x512 32 1920x1080 (50%) Y (NLM) 28.5secs
16x16 128 1920x1080 (100%) None 11.2secs
16x16 128 1920x1080 (100%) Y(NLM) 29.5secs

Best time vs image quality came at
64x64 128 1920x1080 (50%) Y (NLM) 4.3secs
Tile size of 32x32 was 1/4 second slower which on a 300 frame animation translates to an extra 75 seconds.

4 Likes

Things are progressing on well.
Added the lower arms and the pivot point.
Took 5.5 seconds to render , just adding those arms in increased render time by approx 20%
One thing Ive noticed is that everything just seems a little darker. Ive moved the Area lights in and even added a spot light to illuminate the lamp . Might just be my imagination lol. What do you think ???

2 Likes

Ive just realised my initial lamp bases were rendered whilst on a wooden texture block
The last on was on the dark place floor.
So for comparisson, Ive textured the floor with the same wooden texture and it looks bright again :slight_smile:

5 Likes

Sometimes it is better to move a lamp away and then increase the wattage.
Light strength diminishes at distance. So closer by, makes all other parts relative darker

1 Like

Things a moving along well.
Adding the armatures and parenting the parts.
I had an issue with the two lower arms mirroring along the x instead of the y axis,
So I ended up with a Y shape. Easy fix , just changed the axis in the mirror modifier

4 Likes

Things a flying now :-), Made the upper arm , couldn’t live with my self if I didn’t model the pin on which it pivots lol.
My only issue with it at the moment is , I think the lower and upper arms need to be longer , as they dont seem to be in scale with the base. It may all look better with the Lamp Shade on at the end.
If not I reckon ill have to Extrude the arms and them move the armature ends to the new correct locations (???) .
Anyway here is what I have so far.

3 Likes

Yes, a good solution. Better do it in this stage of the project.

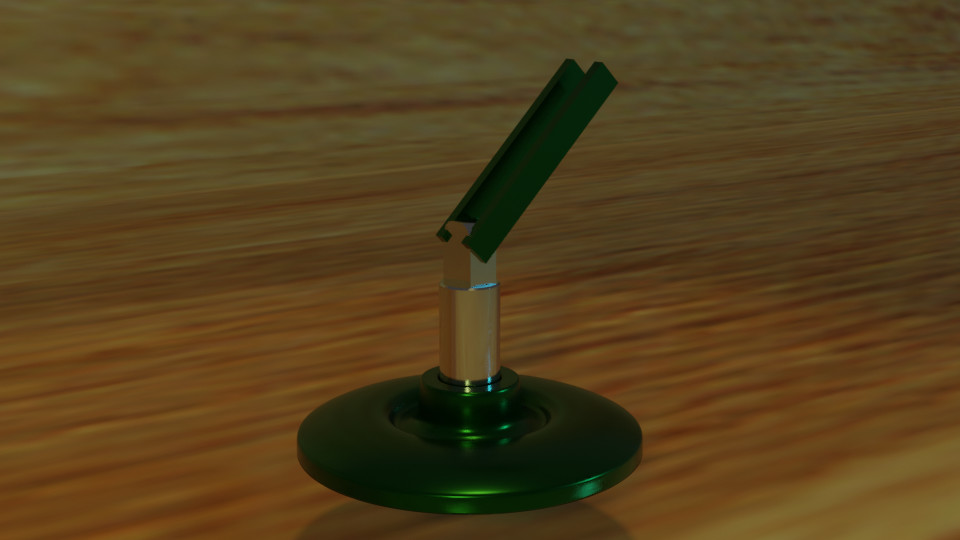
Thanks for the reply @FedPete, After considering and measuring a couple of lamp at home , I found that the length of the arms were either the same as the base diameter or in one case 25% longer. I decided for what little id get from this extra work , I’m going to leave the arms as they are.

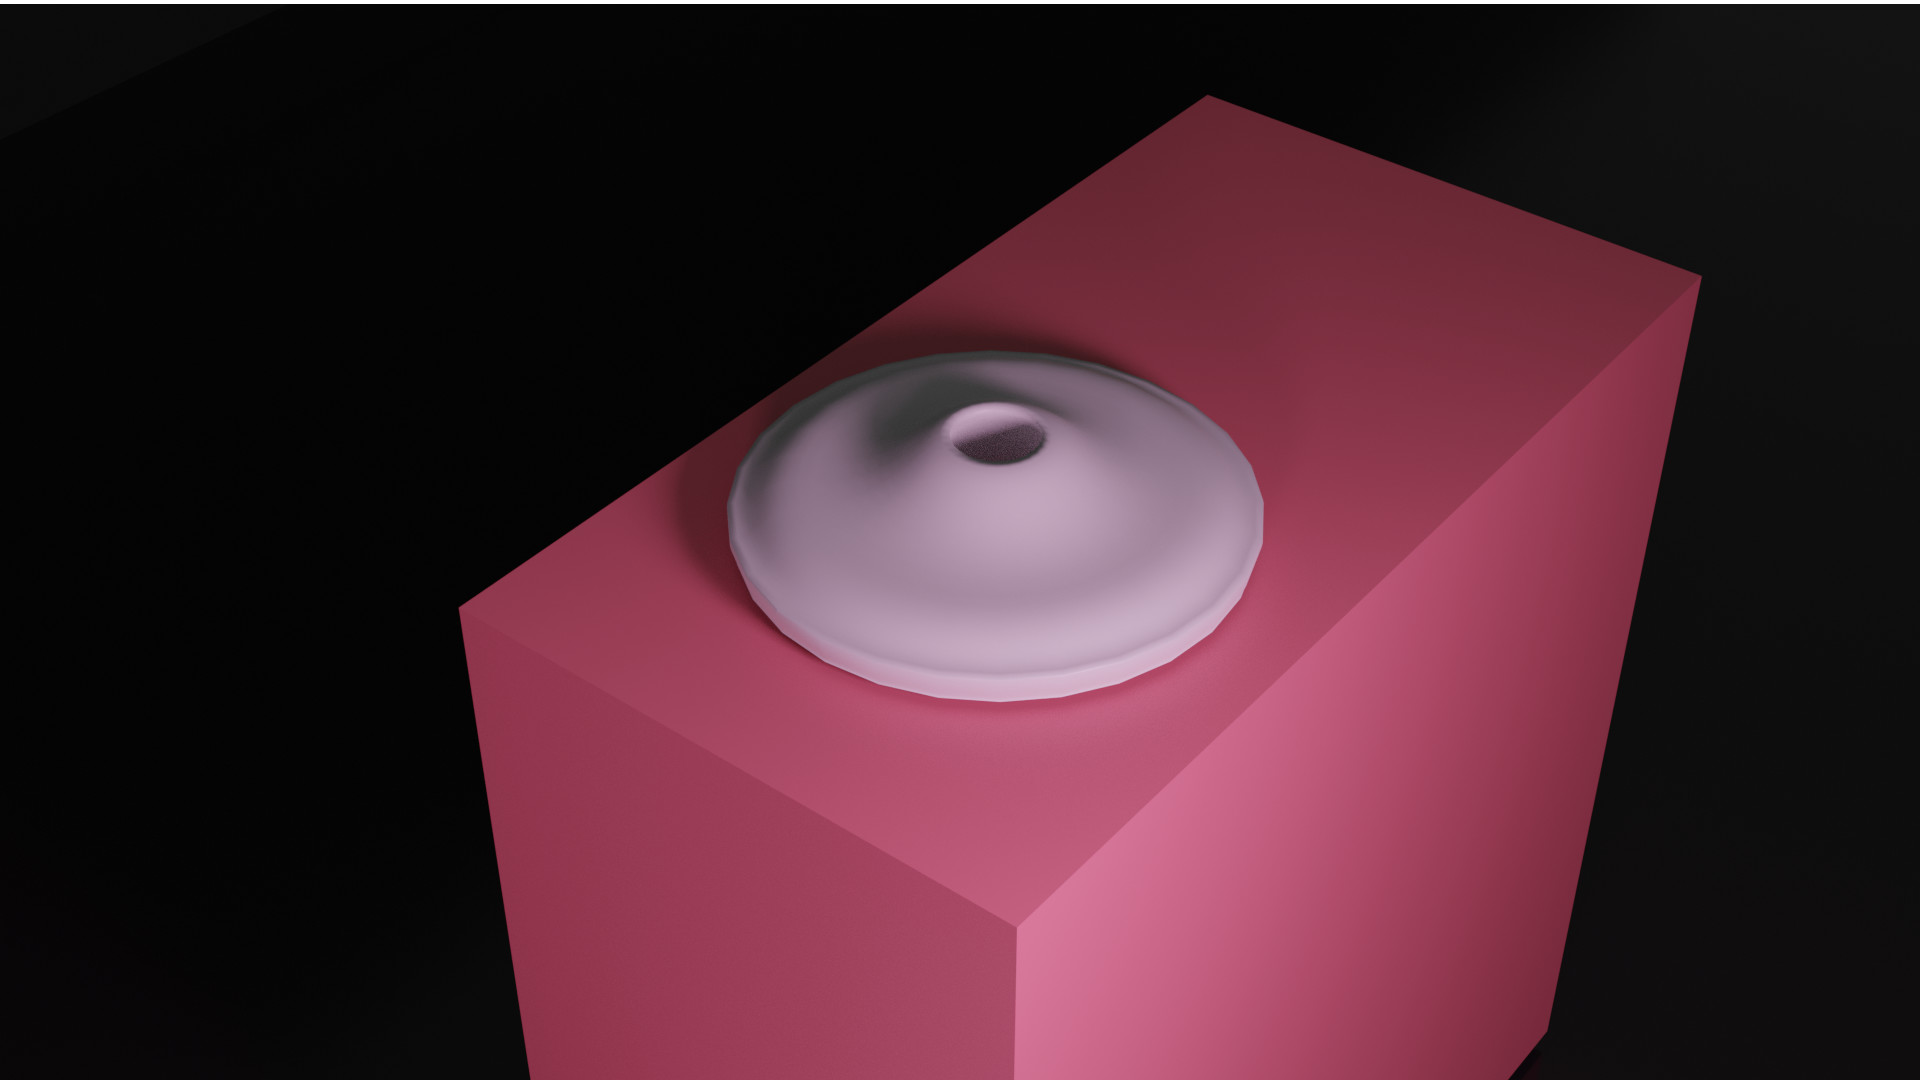
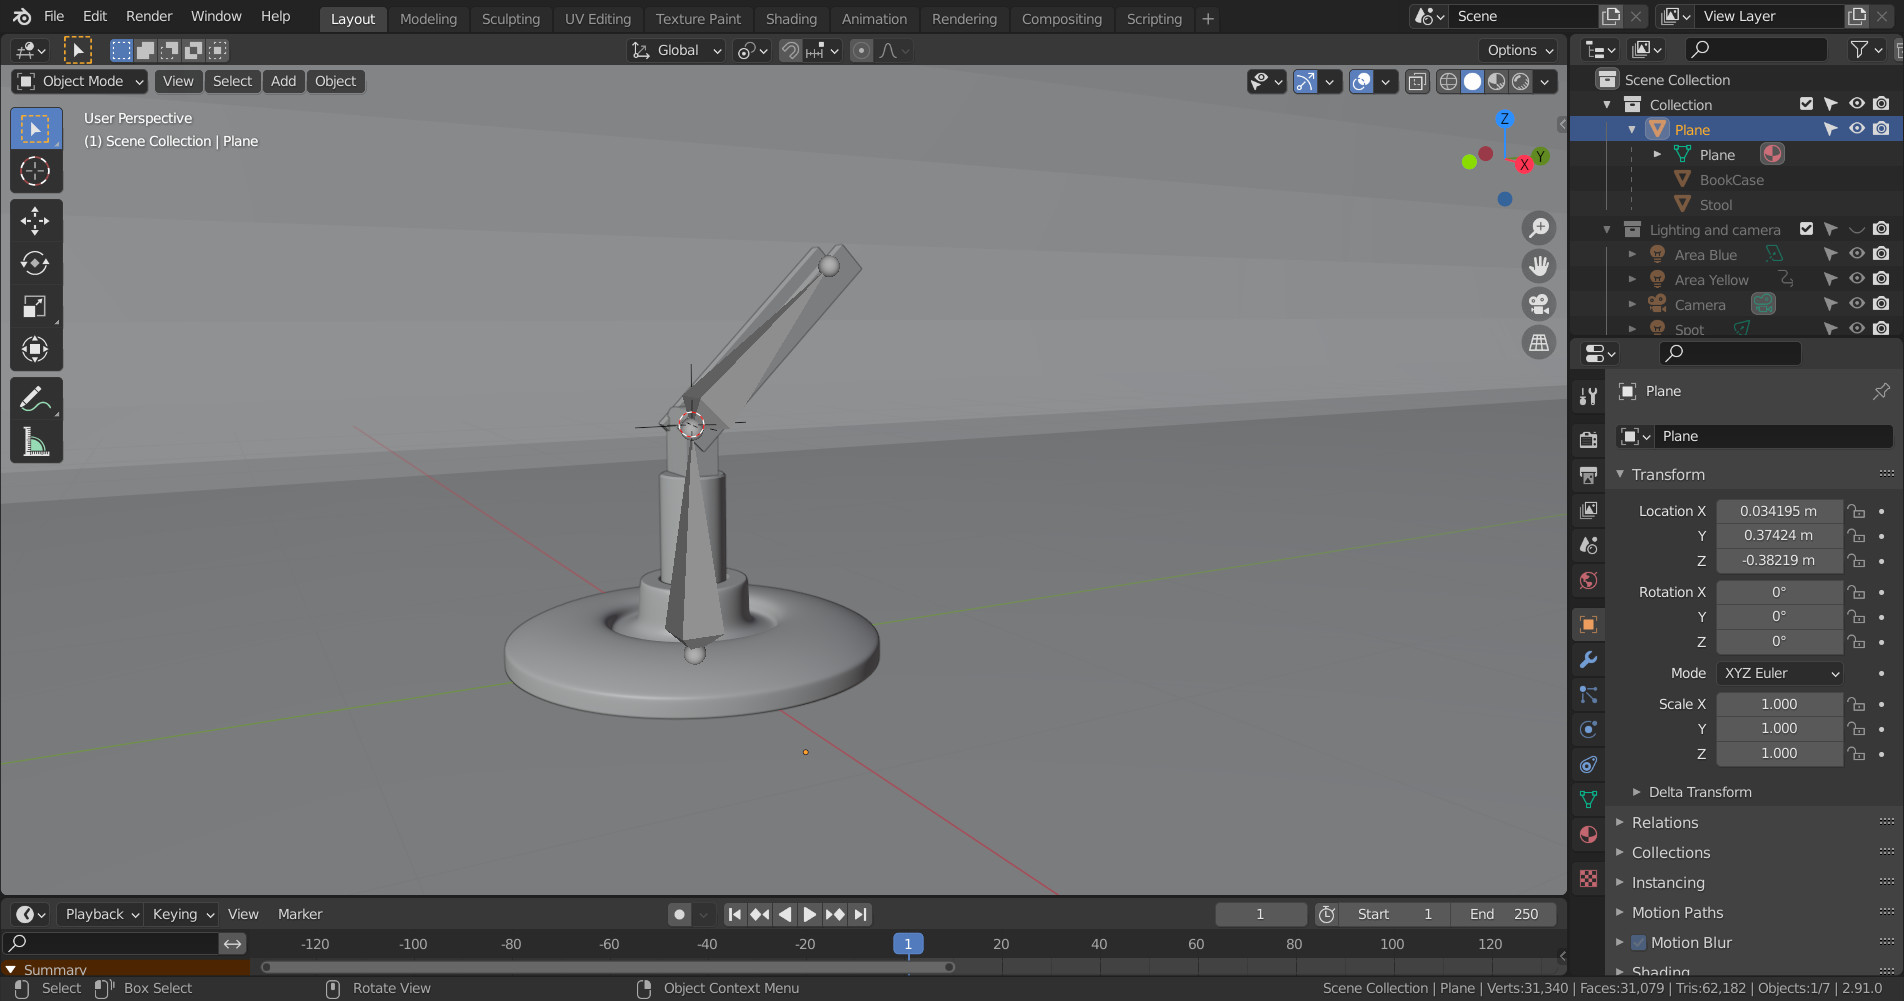
Okay onto the addition of the lamp shade.
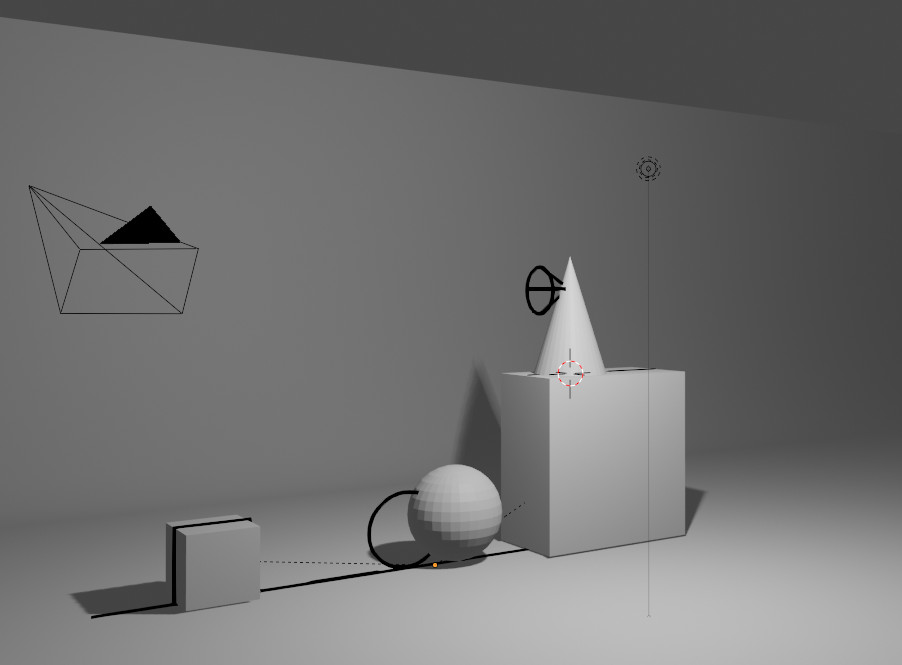
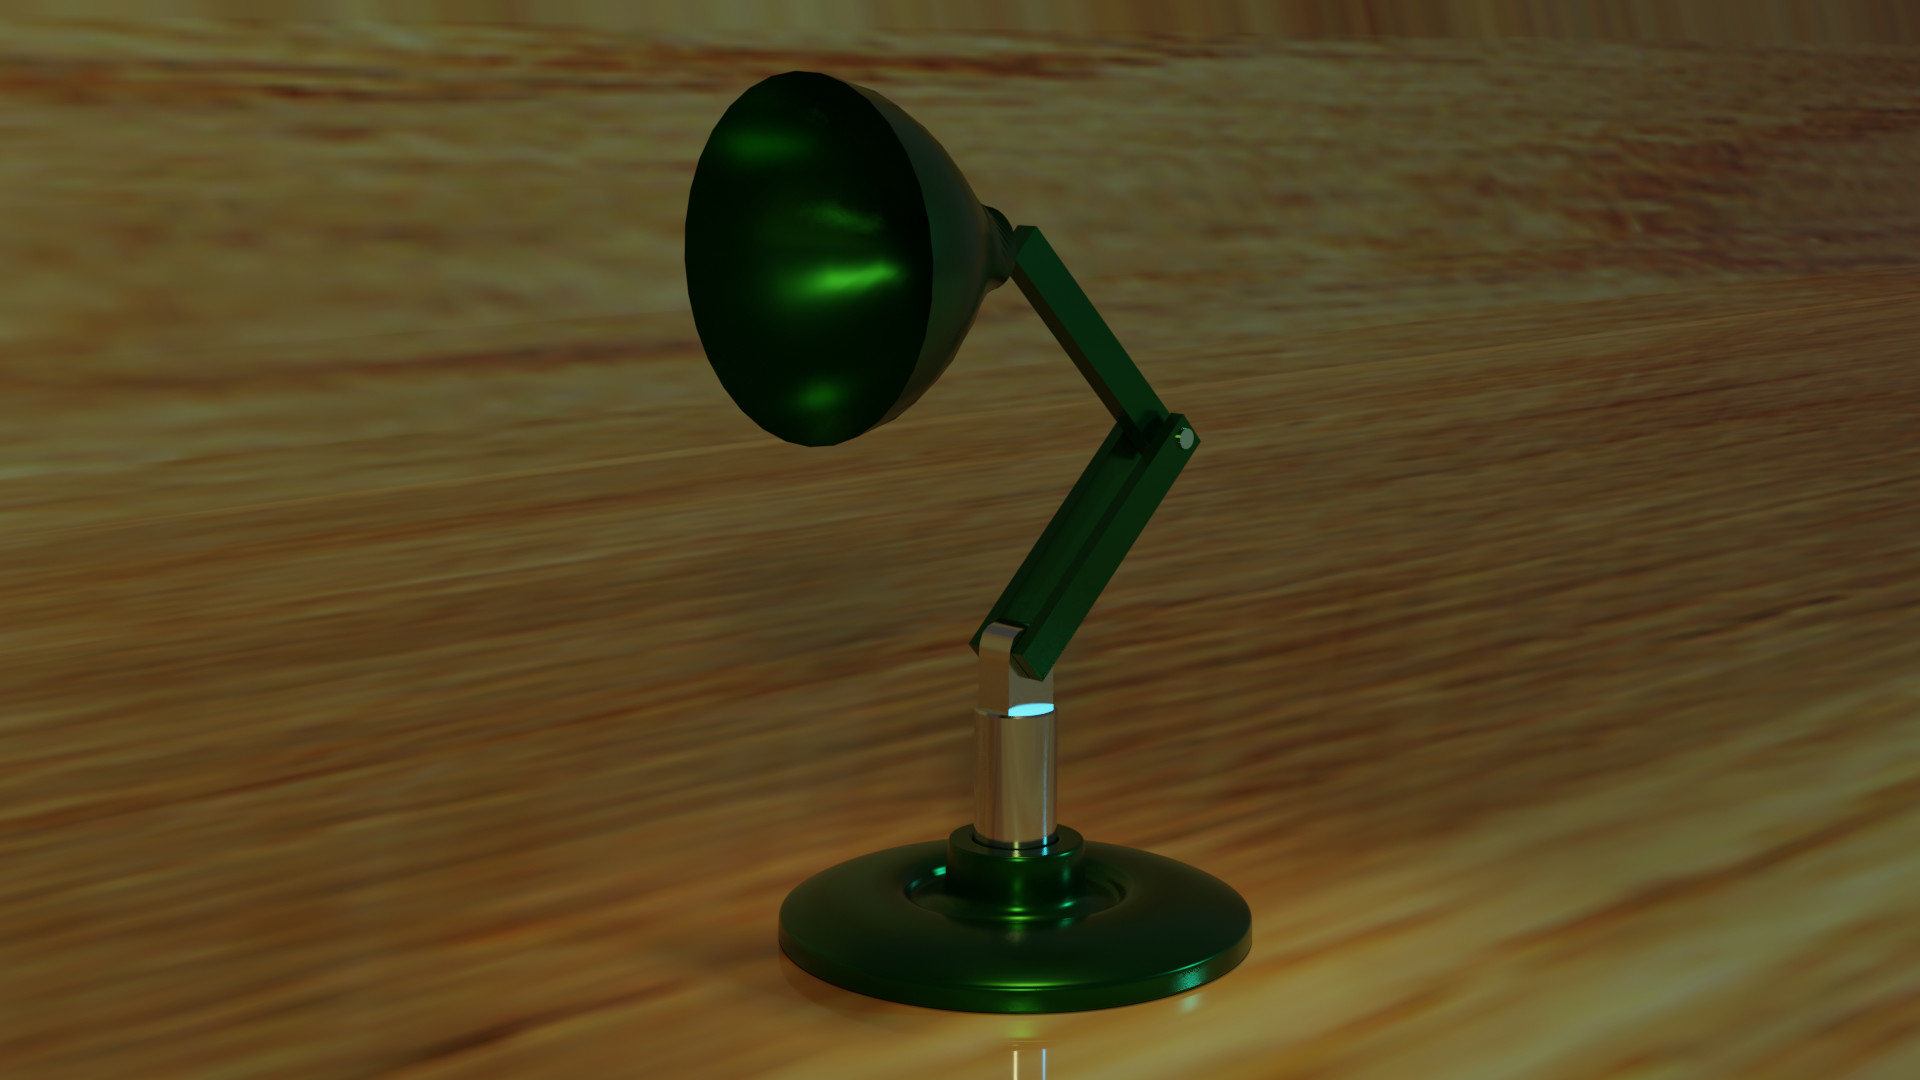
One thing I noticed when creating the shade, the statistics shown at the bottom of the screen were the stats for the ‘whole’ lamp model. so where the VoD was showing 4000-6000 triangles I was showing 60000 ish triangles. The only way I could work out the stats of the lamp shade was to ‘hide’ everything else in the viewport. Is there something I can do to show just the selected items stats ??
Secondly , I wanted to colout the inside of the lamp shade white , but cant seem to select the faces, hopefully this is something thats covered in the future :slight_smile:

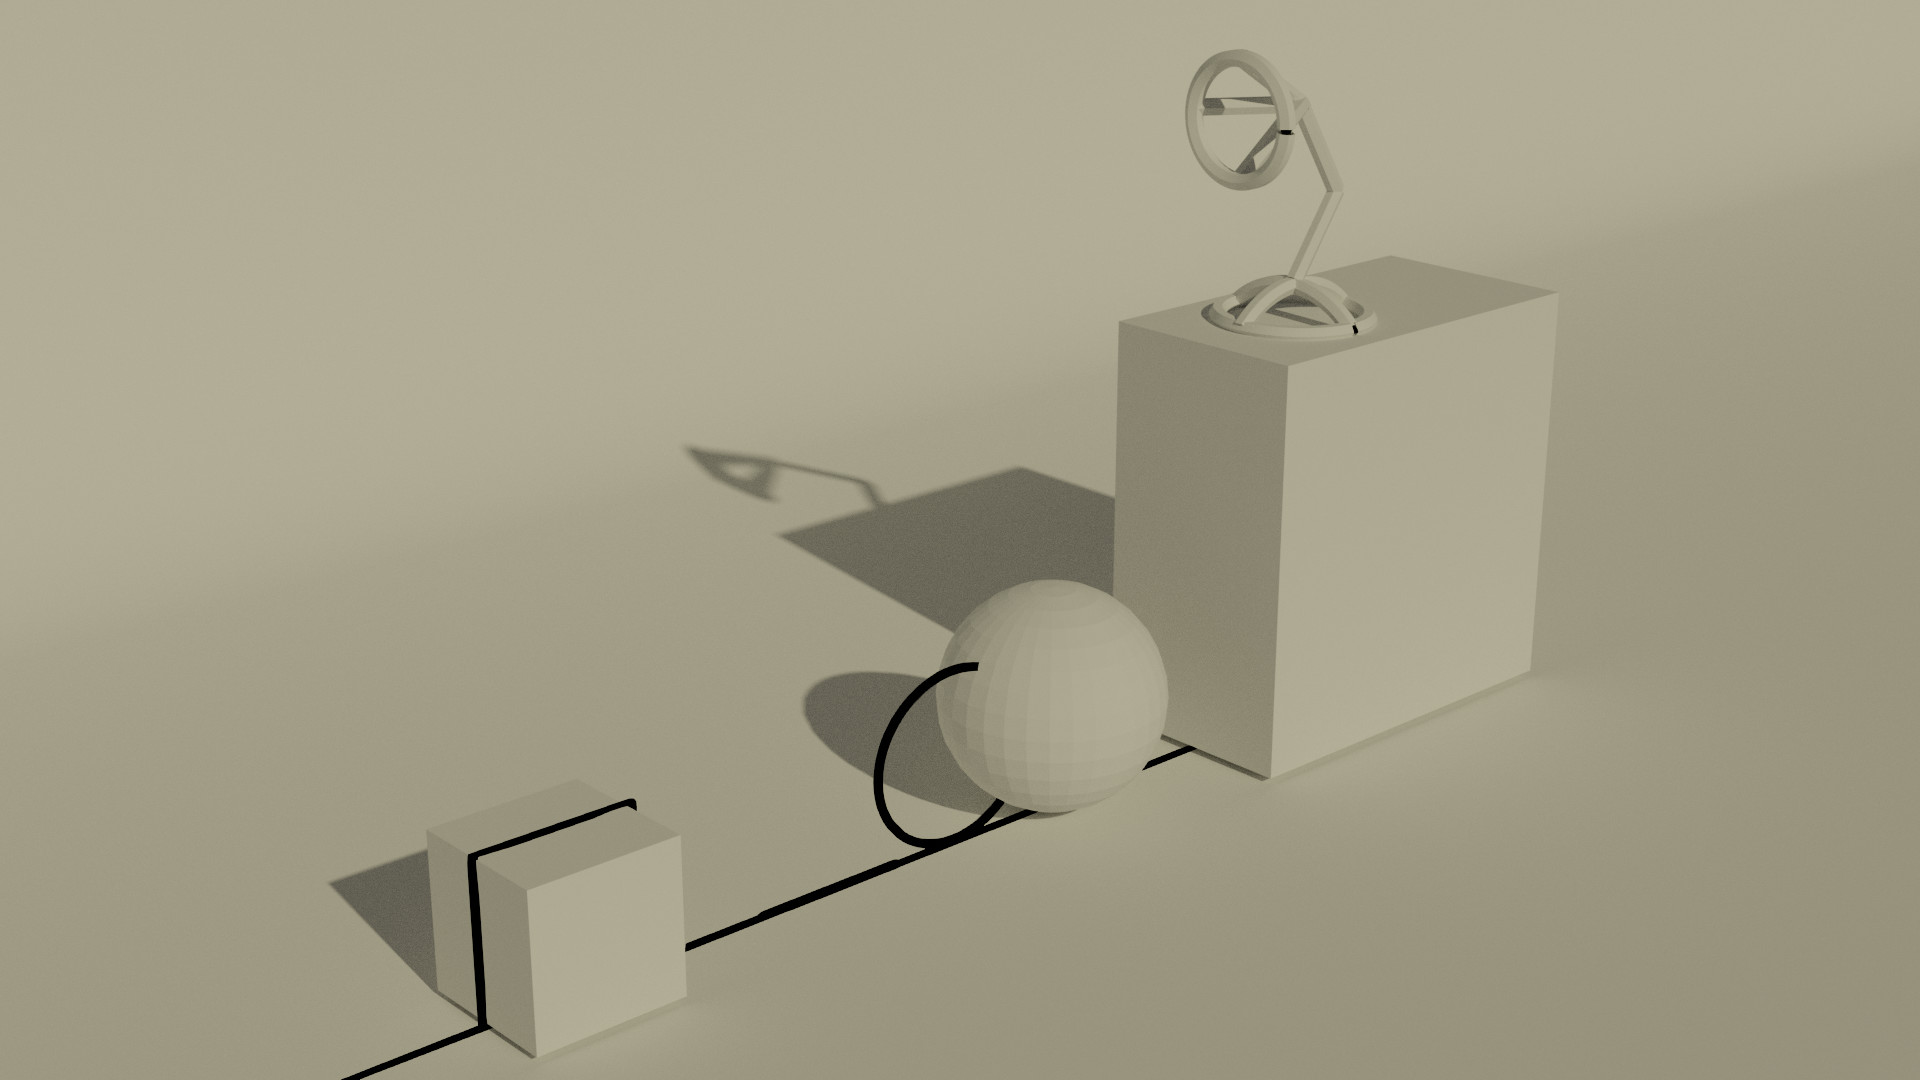
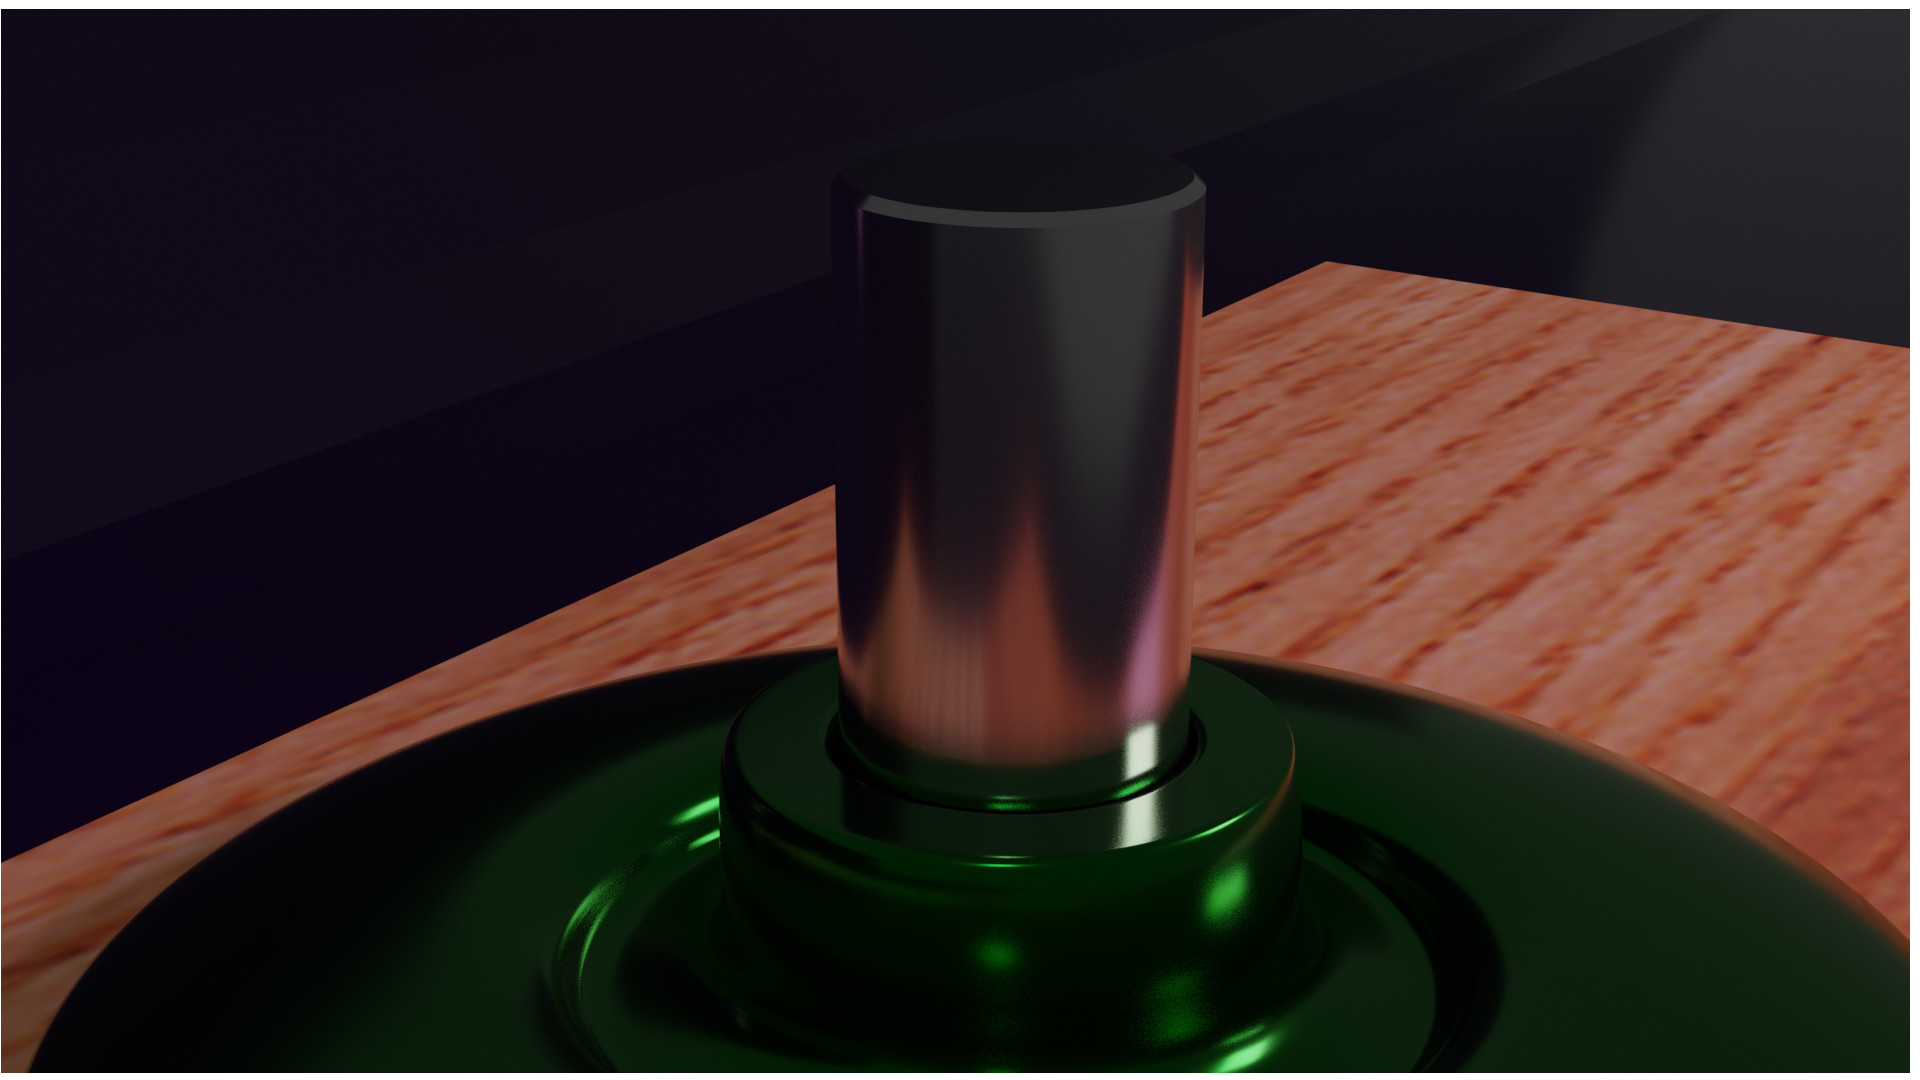
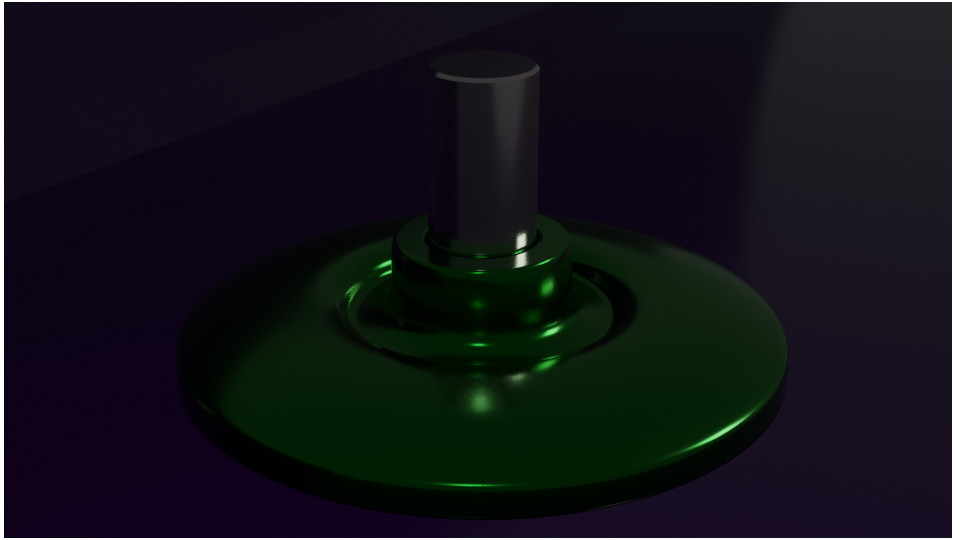
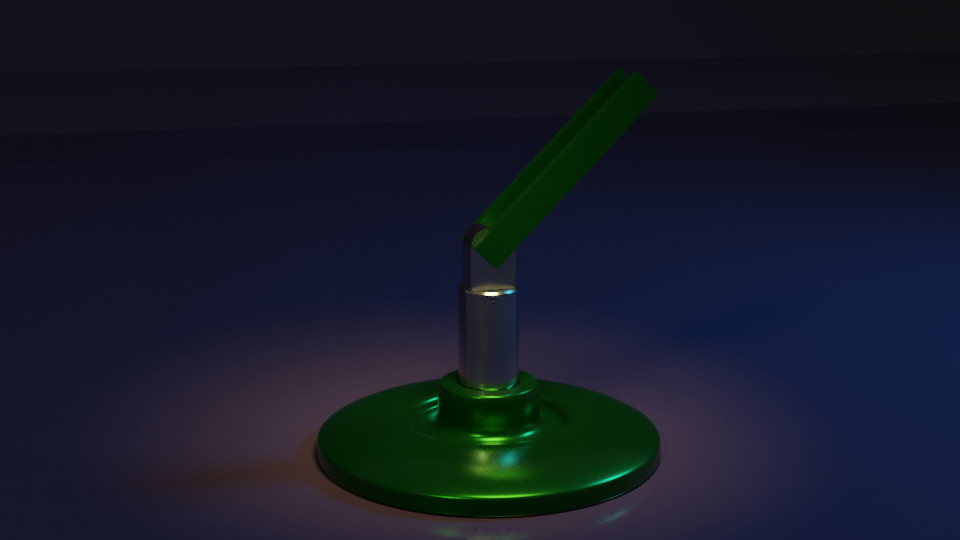
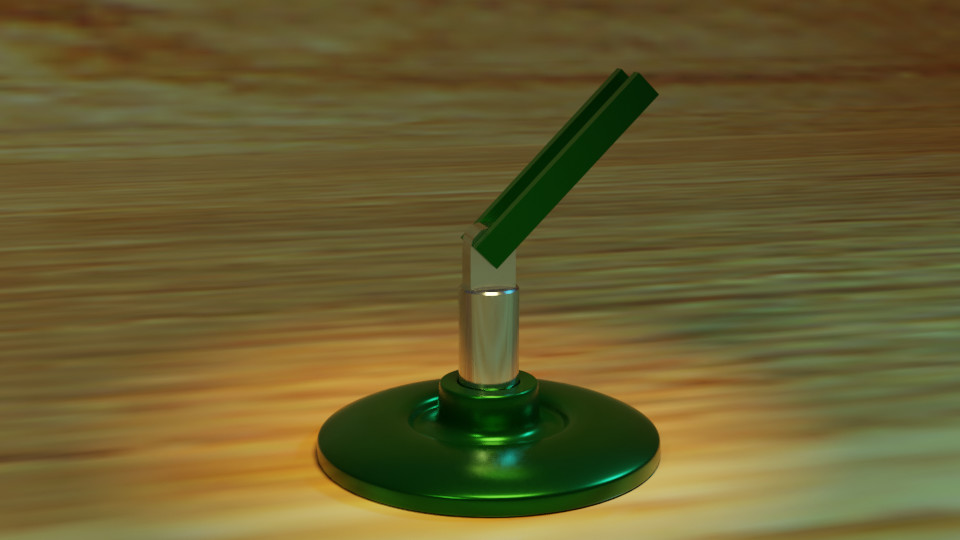
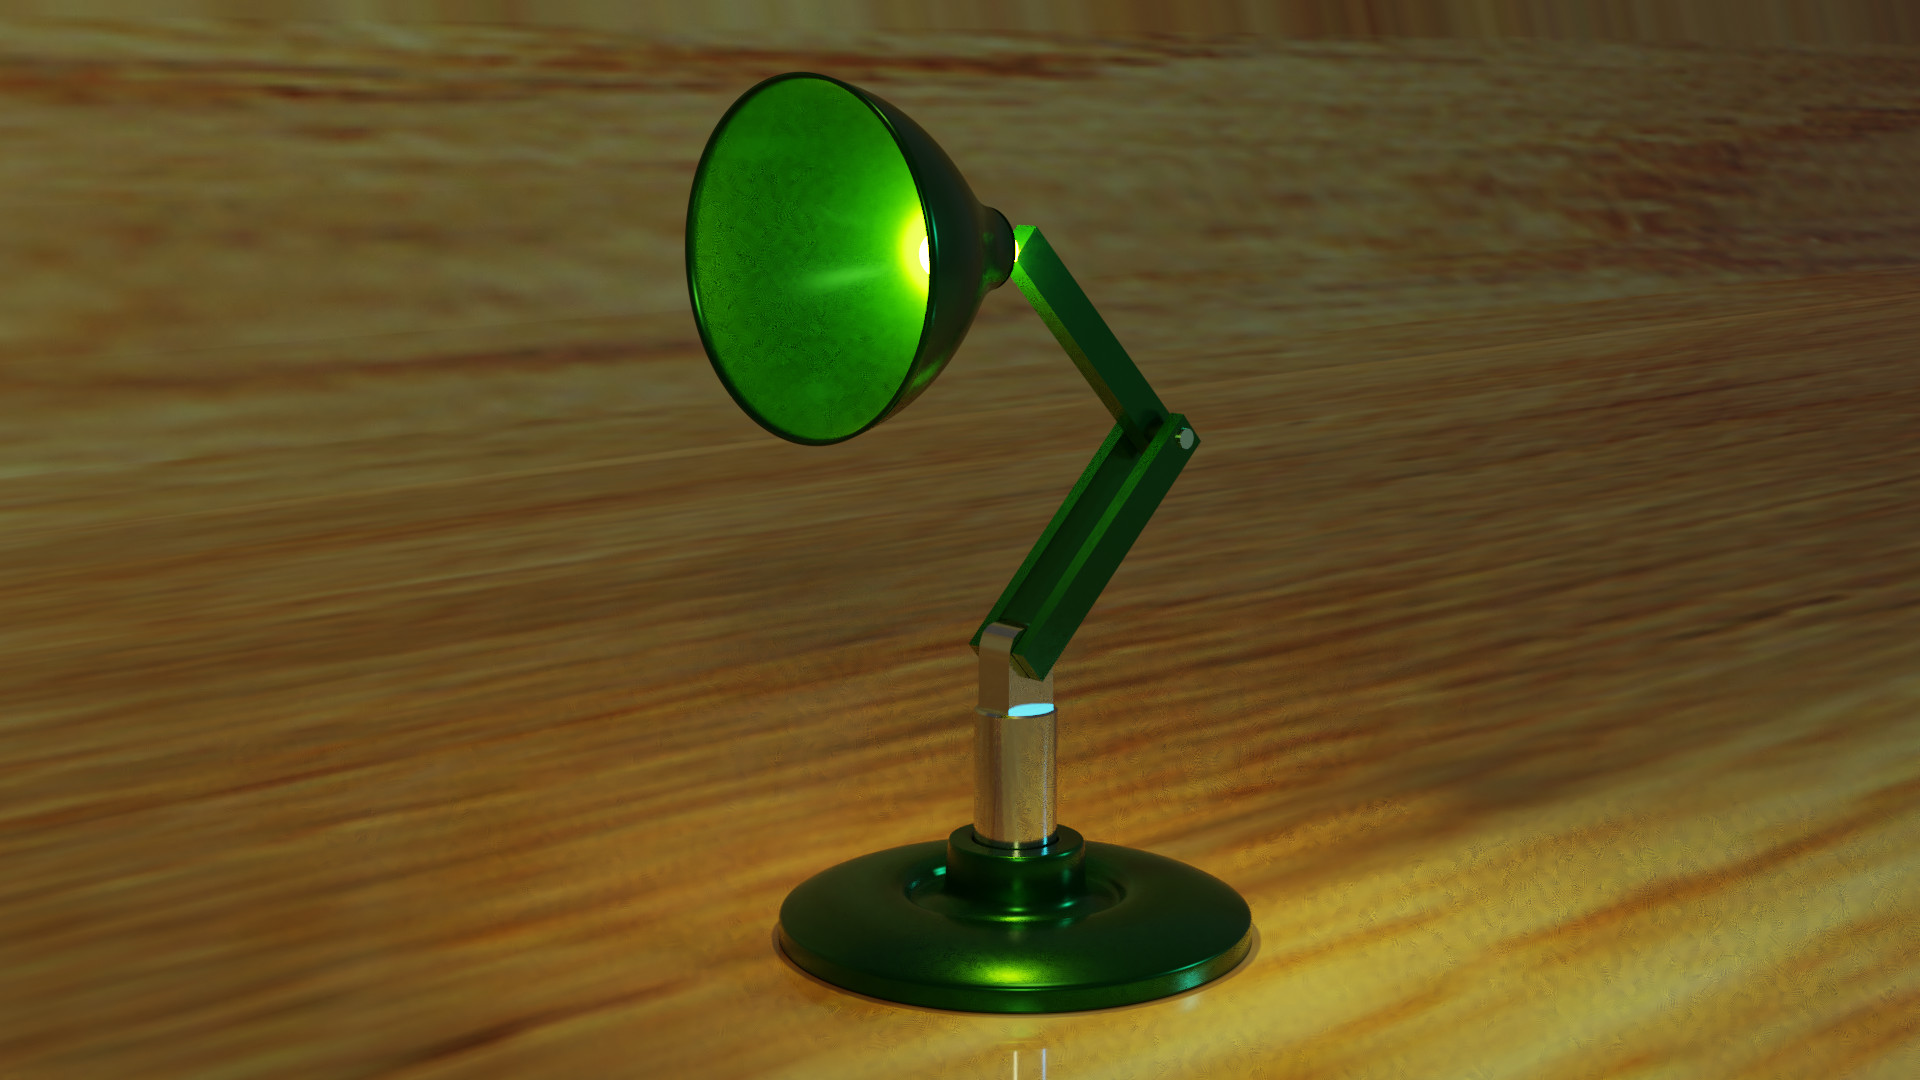
Okay so all that siad here is my latest render.

1 Like

So have added in the solidifier modifier to the lamp shade. I probably could of worked it out myself if Id read the modifier list properly lol. Anyway I decided to add the emmision bulb to the scene. Still not able to select the inside of the shade , Wondering if I need to convert the curve to a mesh ?? Like we did for the base.

4 Likes

Having an issue while making the bulb holder portion of the lamp.
Ive removed the unwanted vertices but when I try to extrude the edge on the z-axis it went off at an odd angle. I have the same setting as shown in the VoD .

In the end I went back to a previous save, followed the steps and again, similar thing happened, but this time I found I could extrude the bulb holder on the y axis.

Not really sure what’s going on here

I do not know how you made the shade. But you need probable apply a modifier!

Always begin with gathering examples, references before modeling real world objects.

I use numpad ‘/’ to isolate objects.
In the newish Blender versions there are more options to see more data about you model/project. I never used it so can’t recall how to see this.

1 Like

Privacy & Terms