Let me introduce you to Mount Complication.
This was a little exercise in modeling with particles.

I’ve decided to run through the whole course again to really give myself a chance to learn some more of what Micheal was trying to teach us and will be posting those results to this thread. I’ll try and post all the pics for a given section at once so as not to create a shipload of posts as I go through this process.
The first challenge was to play with the layouts and come up with one that we feel comfortable working with. Having been through the course, I’ve more or less become comfortable with the default layout. However, in the later sections I often found myself looking at a screen like this
The next major challenge was the section challenge from lecture 11. The first time through I did exactly what the challenge said (stack a cone, a cylinder, and a cube). This time I built a simple castle
Finally, lecture 12 challenged us to make a bunch of different models out of primitives. I don’t even remember what I did the first time through but this time I decided to create an object for each of the 19 working layers in the file (Layer 20 being reserved for cameras and lighting). I’ve got more to do in this one but, here are the first four.
Updated Mon Sep 18 2017 16:19
Here are four more for the Extra Modeling Challenge 
though I’d put all my collab peices in 1 location
week 24
https://community.gamedev.tv/uploads/short-url/hBoHoF5WMd8bl851ZMYTW12nRli.png
week 29 - 30
week 30 - 31
My Section 2 Challenges for Round 2
Lecture 22
I wanted to challenge myself this time through so I decided to do this
Lecture 27
Lecture 36
keeping to the idea of challenging myself I decided to model the Pyramid of the Sun
Lecture 39
Finishing out Section 2 for this round are these three updates to my Section 1 Extra Activities
Been a bit since I posted my work here. been working on a model for the Unreal course lately… well more like a couple dozen models… and thought I’d go ahead and post the progress here.
Been a while since I last updated this but I’ve been trudging along and after a bit of reworking and rebuilding here is the current look for my Damien 8
Finally made it back to working on this and have some updated pics for the project
Updated Wed Feb 14 2018 08:46
Entering the final stages for this model so here are some of the final stills.
I decided to revive this thread to keep all my stuff in one place rather than add a couple of hundred new threads to the forum. The next few posts all contain images that have already been posted in other threads so I’m just copying and pasting the existing uploads.
Blender Environmental Artist
Section 1: Getting Started
3-gs-bec Adding Objects
4-gs-bec Transforming Objects
6-gs-bec Boolean Modifier
8-gs-bec Appending a Blender File
9-gs-bec Array Modifier
10-gs-bec Duplicating Objects
11-gs-bec Setting Up the Camera
13-gs-bec Repeating the Last Operation
14-gs-bec Snapping
18-gs-bec Mid-Section Challenge
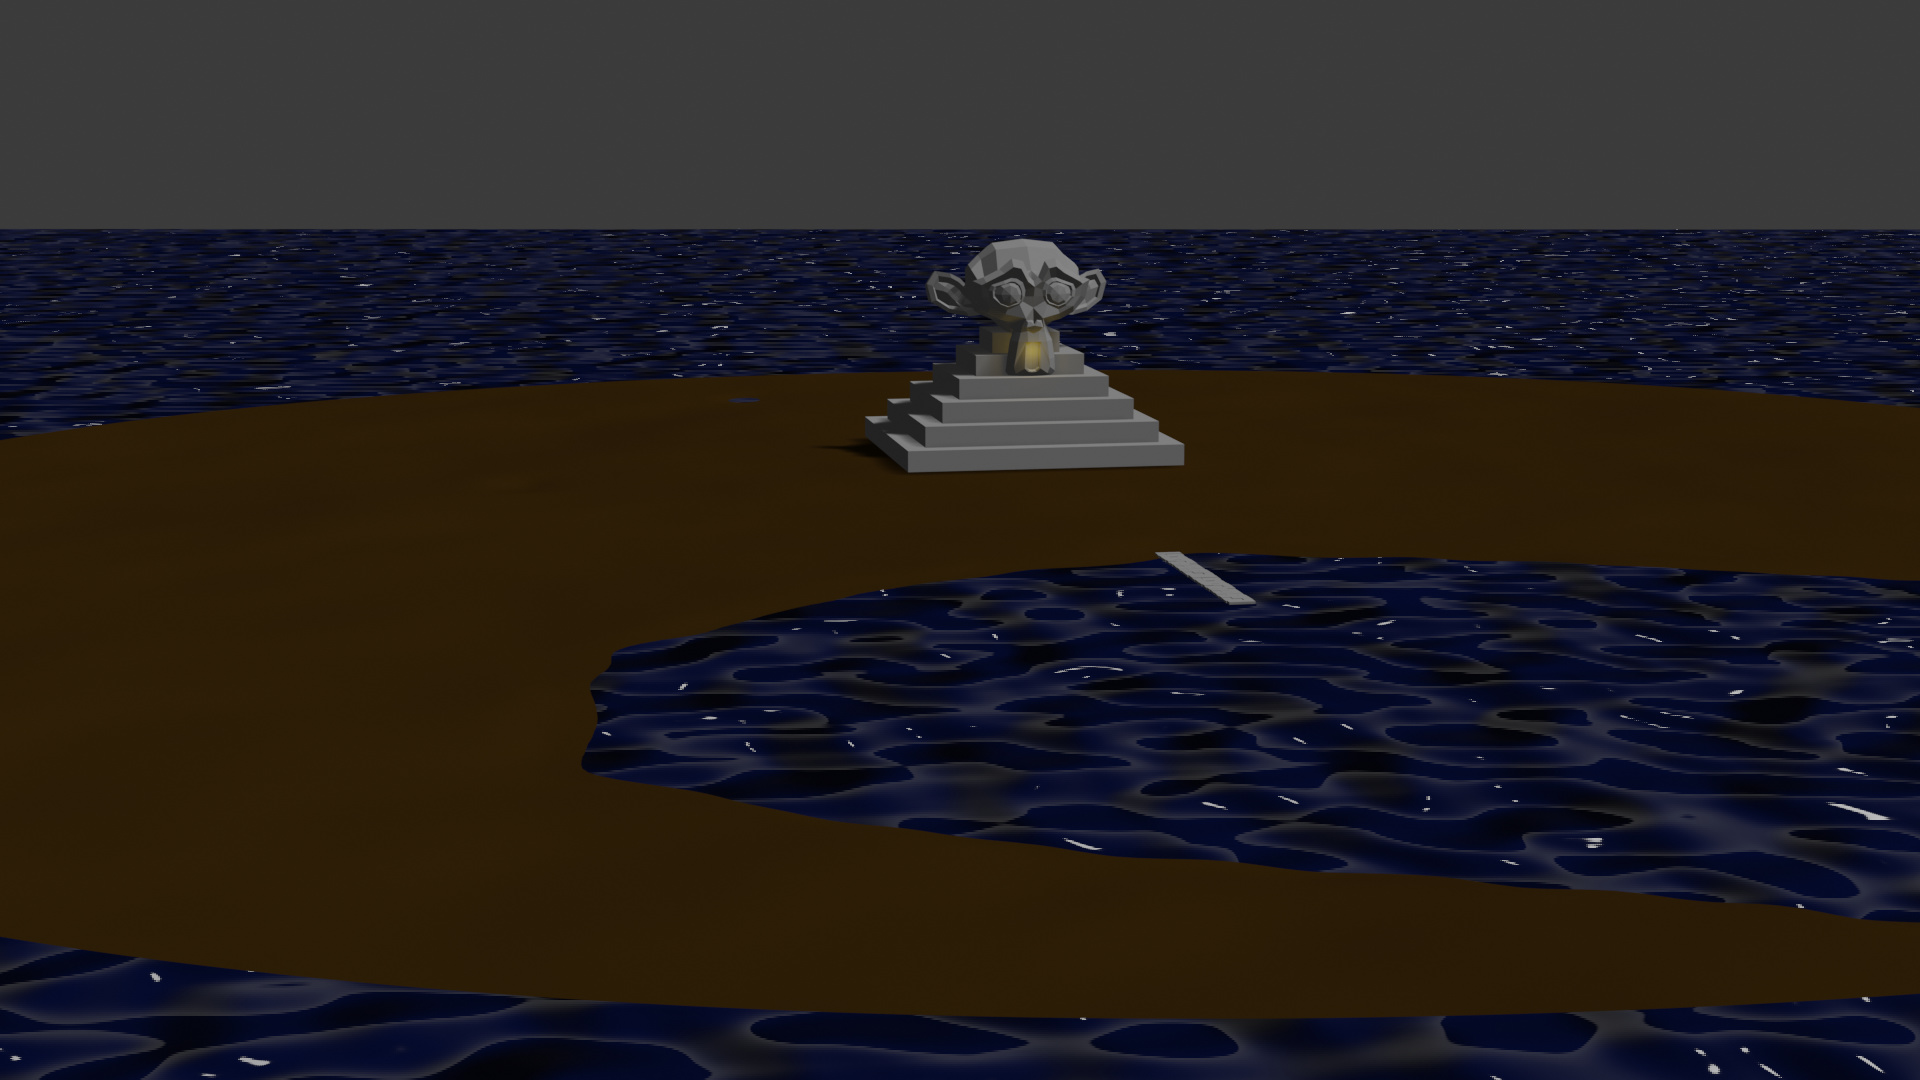
19-gs-bec Reflective Materials
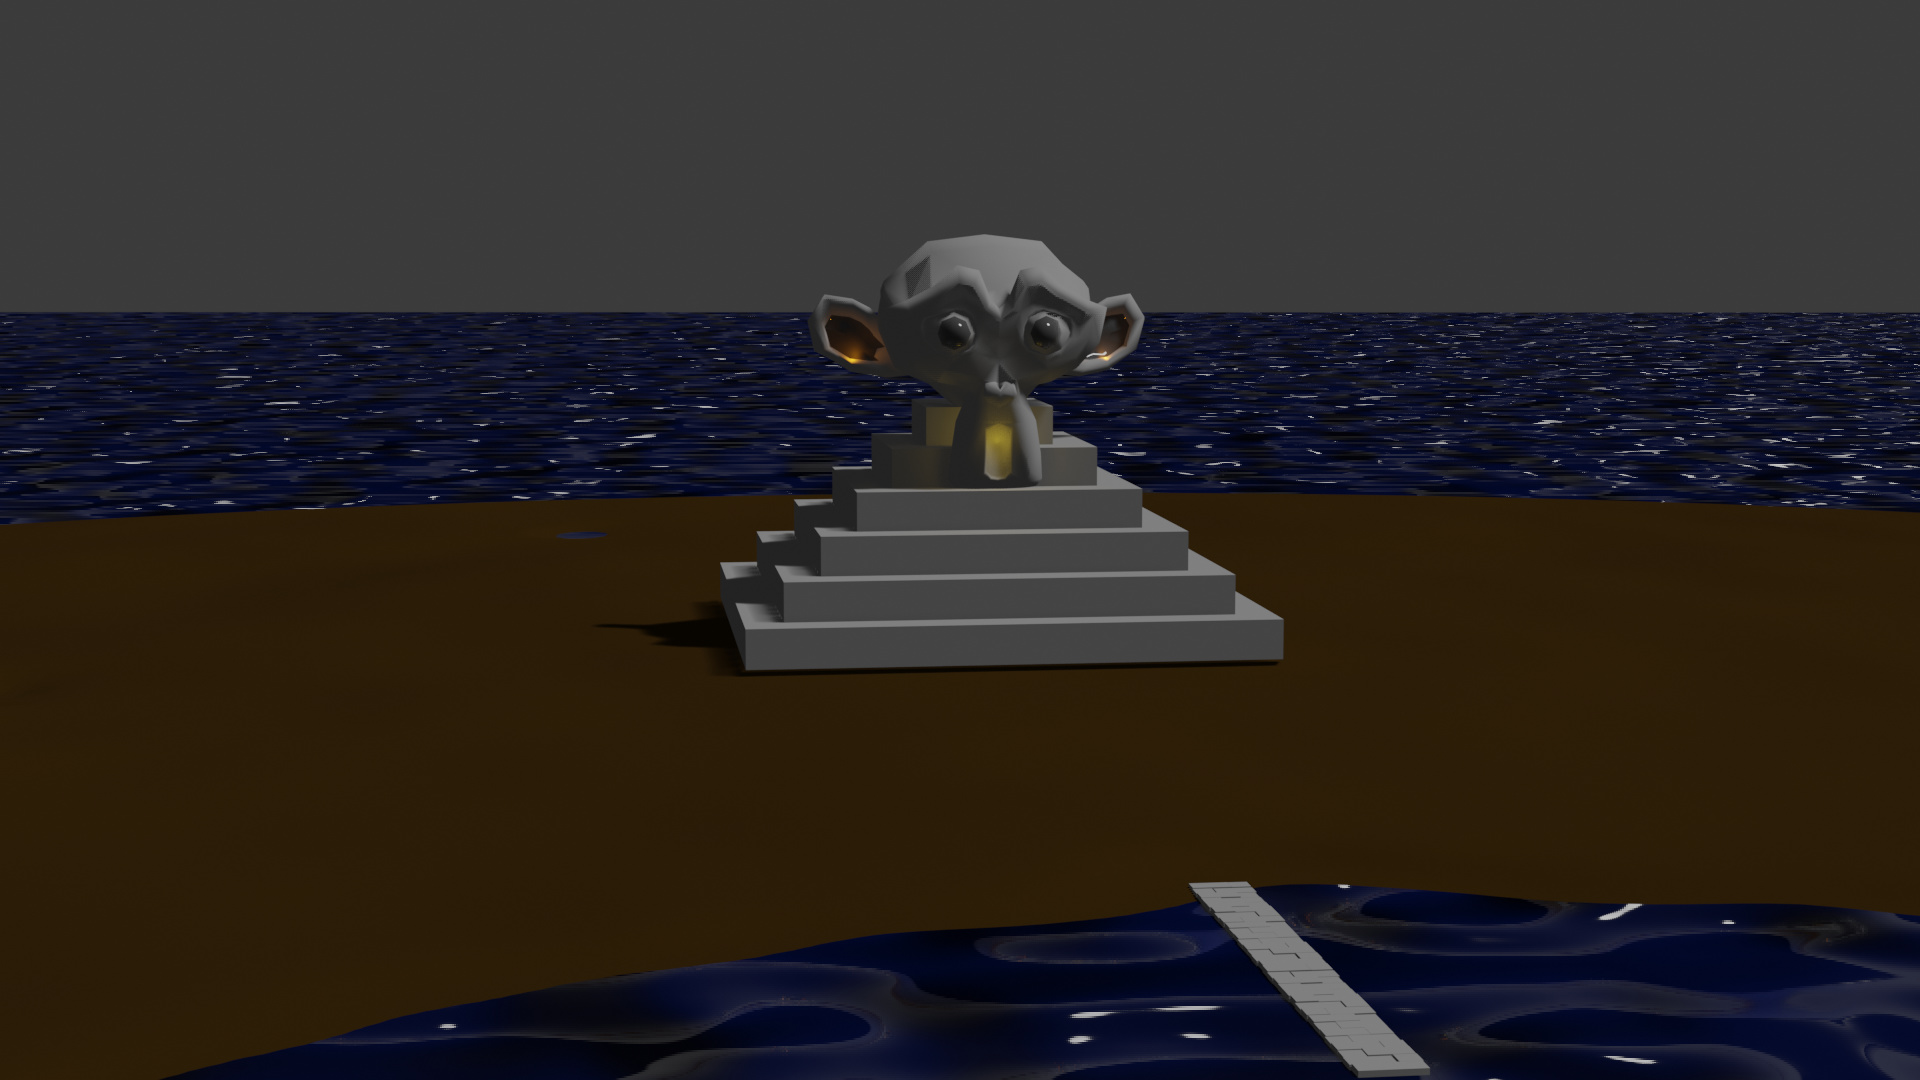
22-gs-bec 3-point Lighting Set up
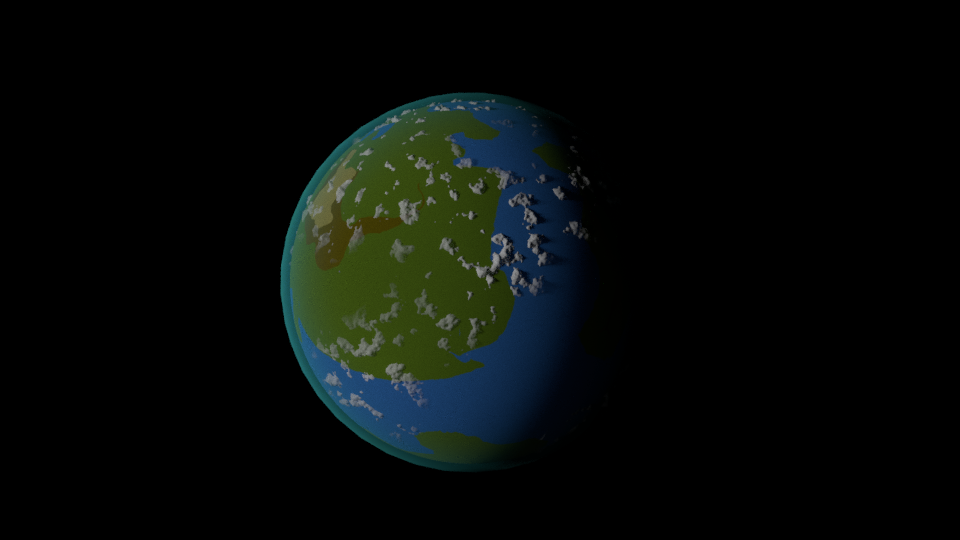
24-gs-bec Volumetrics Basics
25-gs-bec End of Section Challenge
Blender Environmental Artist
Section 2: Texturing Basics
7-tb-bec Material Studies
8-tb-bec Using a Height or Displacement Map
9-tb-bec Making Links
10-tb-bec Normal Maps
11-tb-bec Height Map from Color Map
14-tb-bec Introduction to UV Unwrapping
15-tb-bec Checking UV Mapping
16-tb-bec Transforming UV Maps
17a-tb-bec Pivot Points and Snapping UV Maps
B2-80_BE_Challenge_25_(UVUnwraps_PivotPointsAndSnapping)_Continuity|690x388
18-tb-bec Online Texture Sources
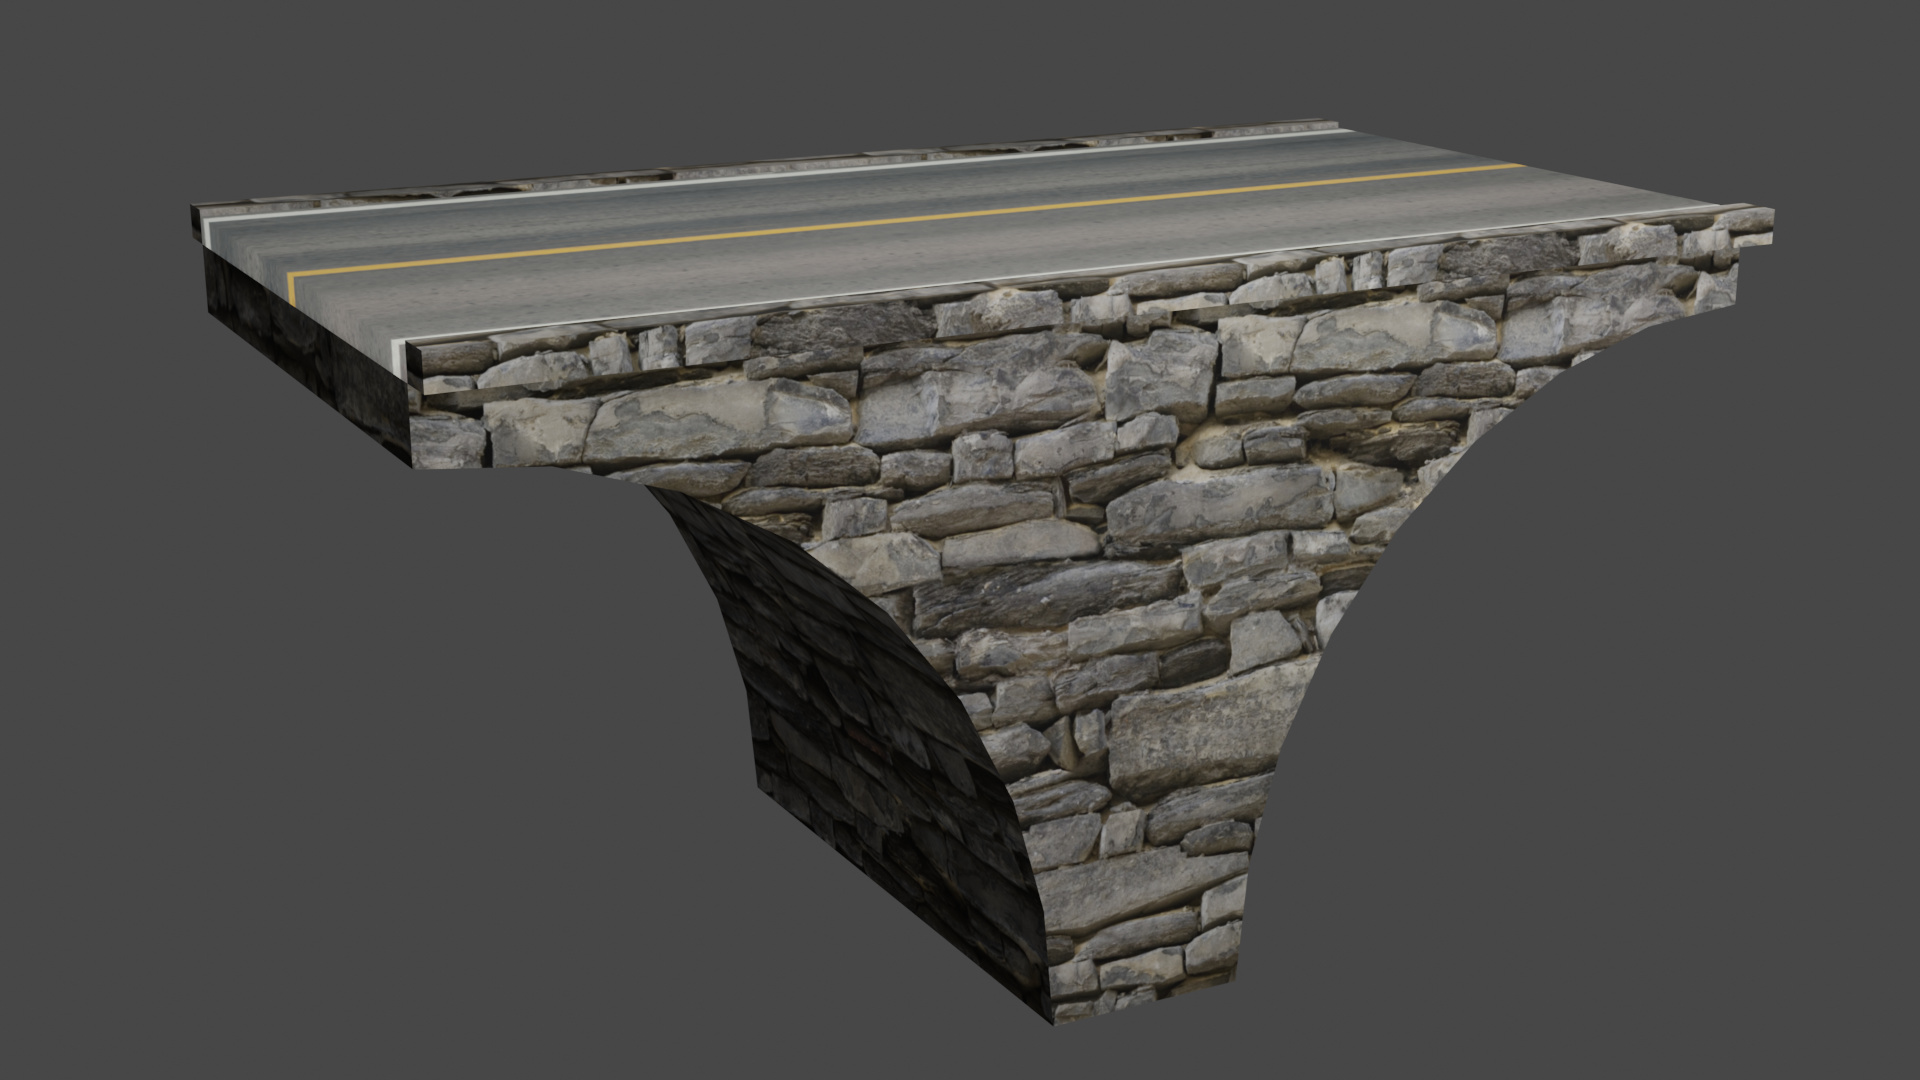
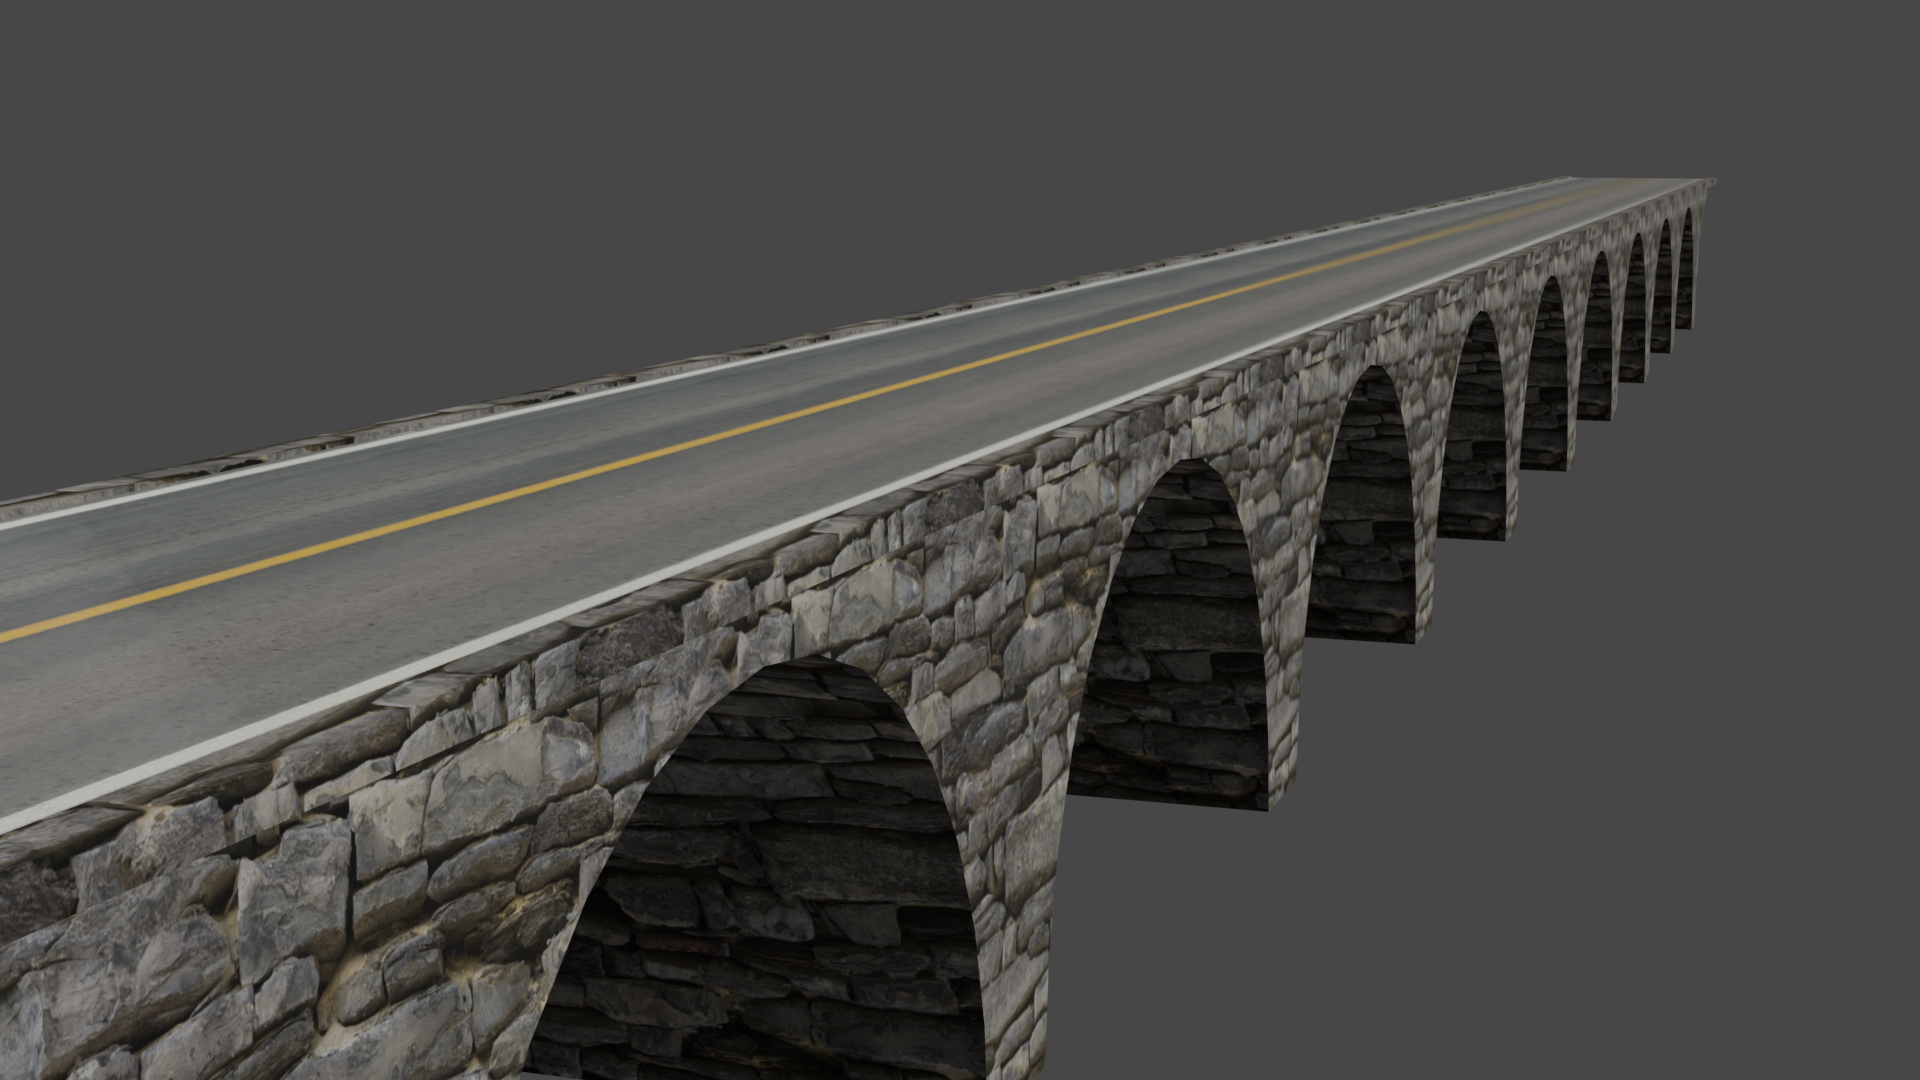
21-tb-bec Baking Base Color to one Texture
22-tb-bec Multiple UV Unwraps
23-tb-bec Generated Textures
25-tb-bec Mixing Nodes Together
27-tb-bec The Colorramp Introduction
28-tb-bec Introducing the Bevel Modifier
29-tb-bec End of Section Challenge
Blender Environmental Artist
Section 3: Procedural Worlds
3-pw-bec Generated Textures are Different
4-pw-bec Real Displacement Using Textures
7-pw-bec Procedural Study Spheres
8-pw-bec Layering Displacement
9-pw-bec Vertex Groups
10-pw-bec Weight Painting
11-pw-bec Smoothing Out Details
12-pw-bec Empties and their Uses
13-pw-bec Projecting Textures
15-pw-bec Material Inputs: Object Info
17-pw-bec Material Inputs: Texture Coordinates
 )
)
18-pw-bec Masking with Textures
19-pw-bec Deciding How to Mix Materials
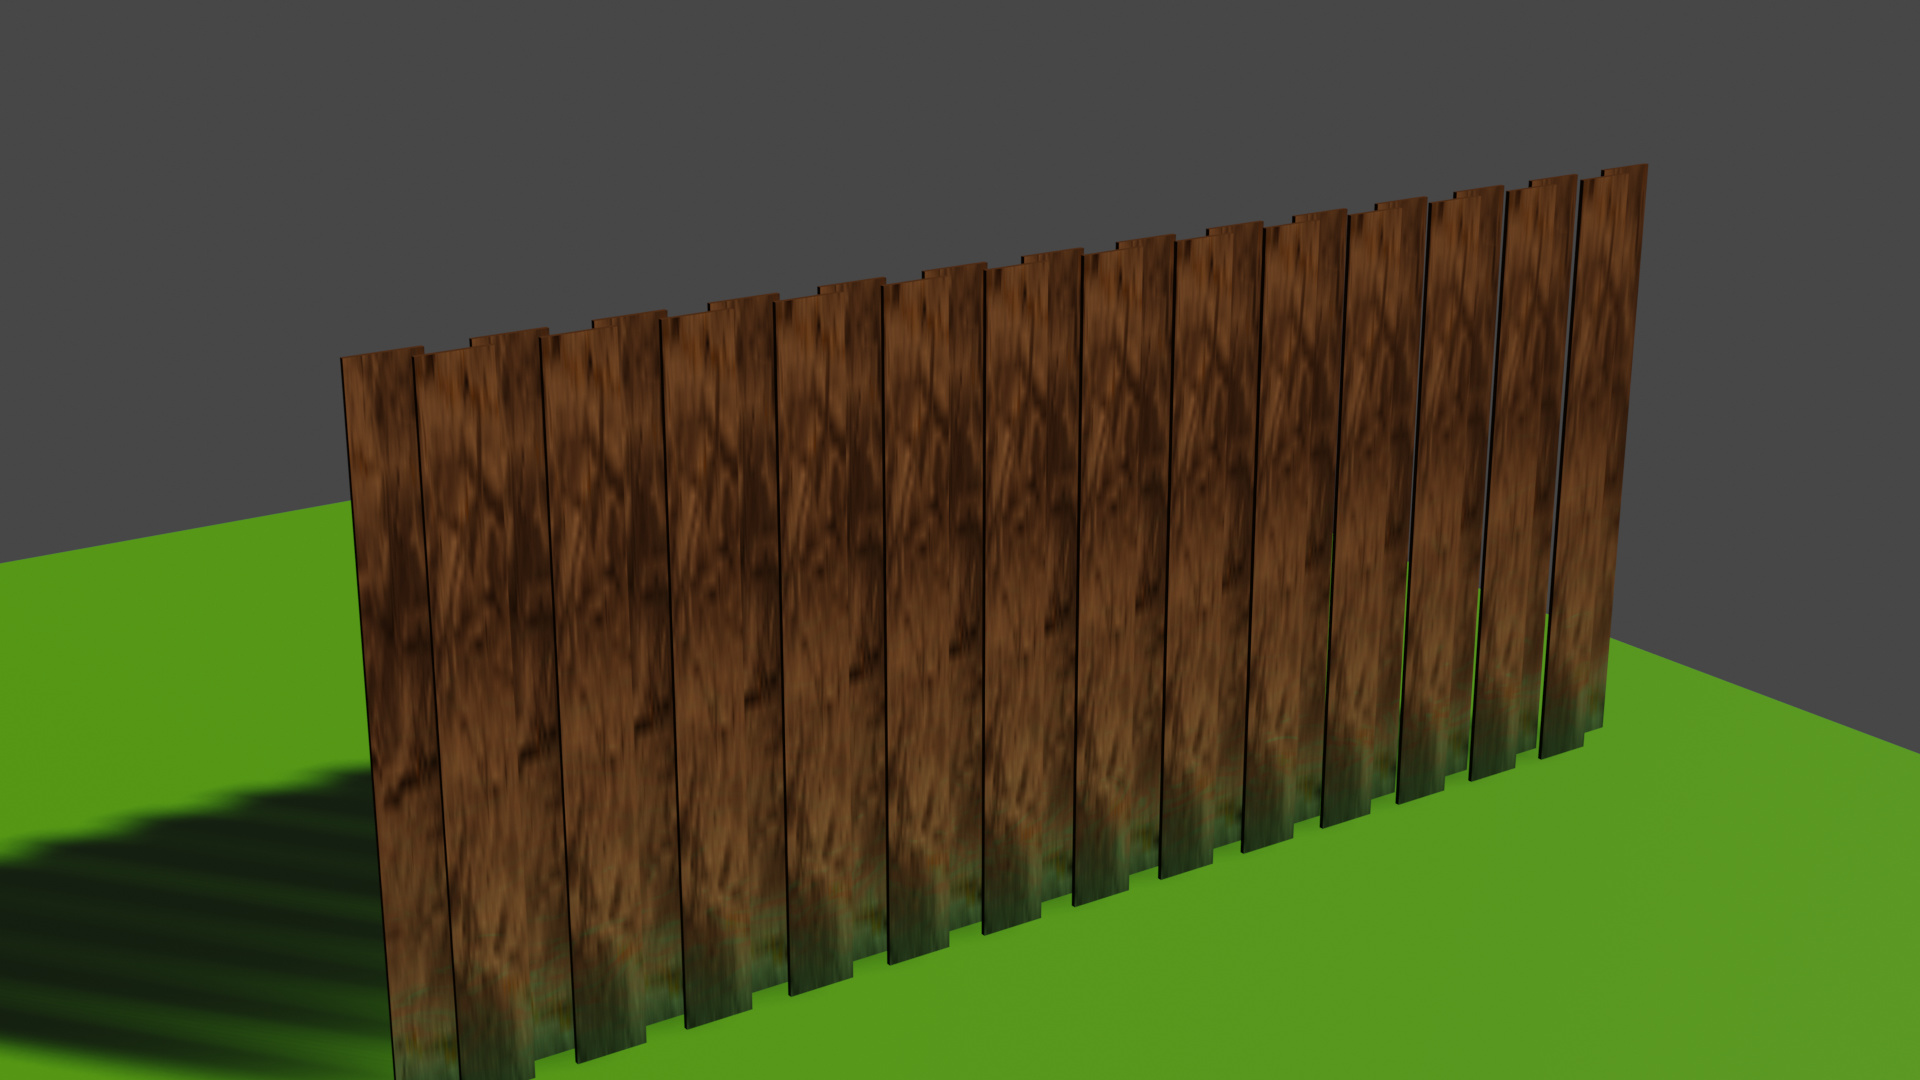
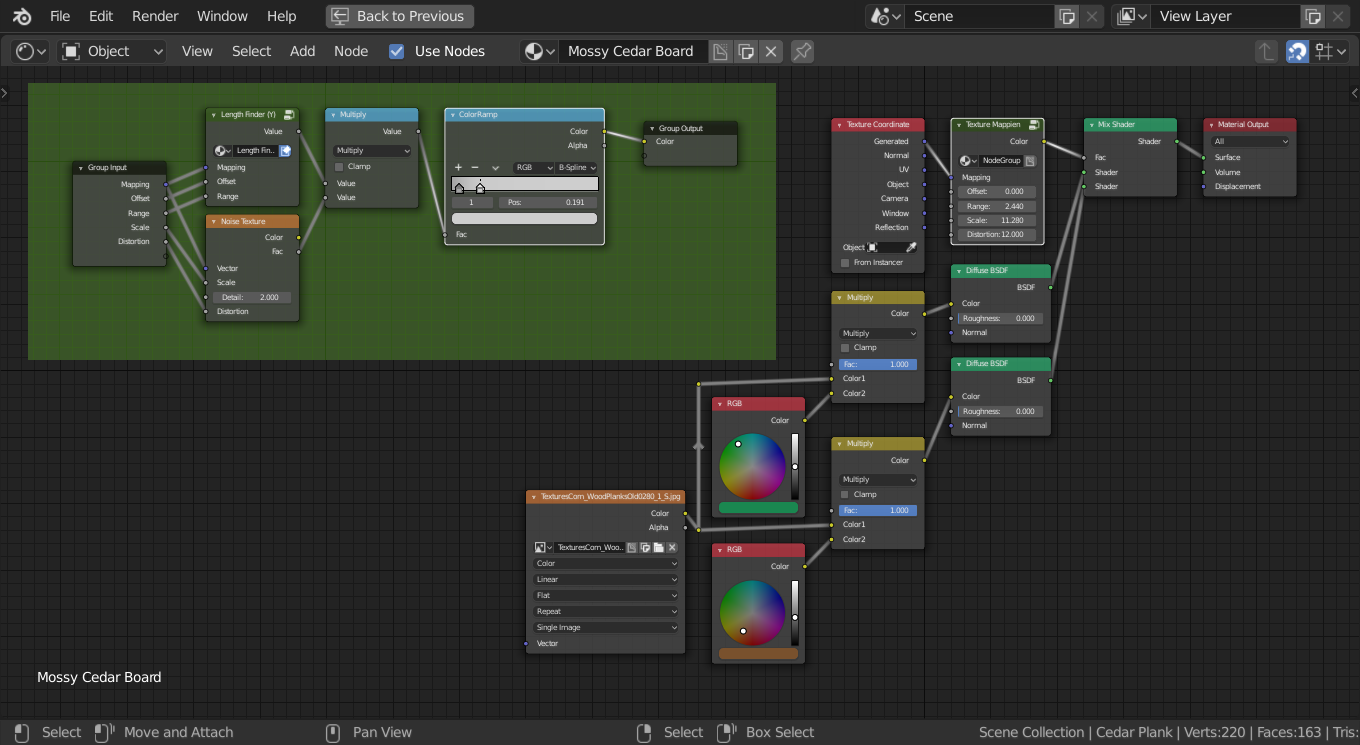
20-pw-bec Repeating a Generated Texture
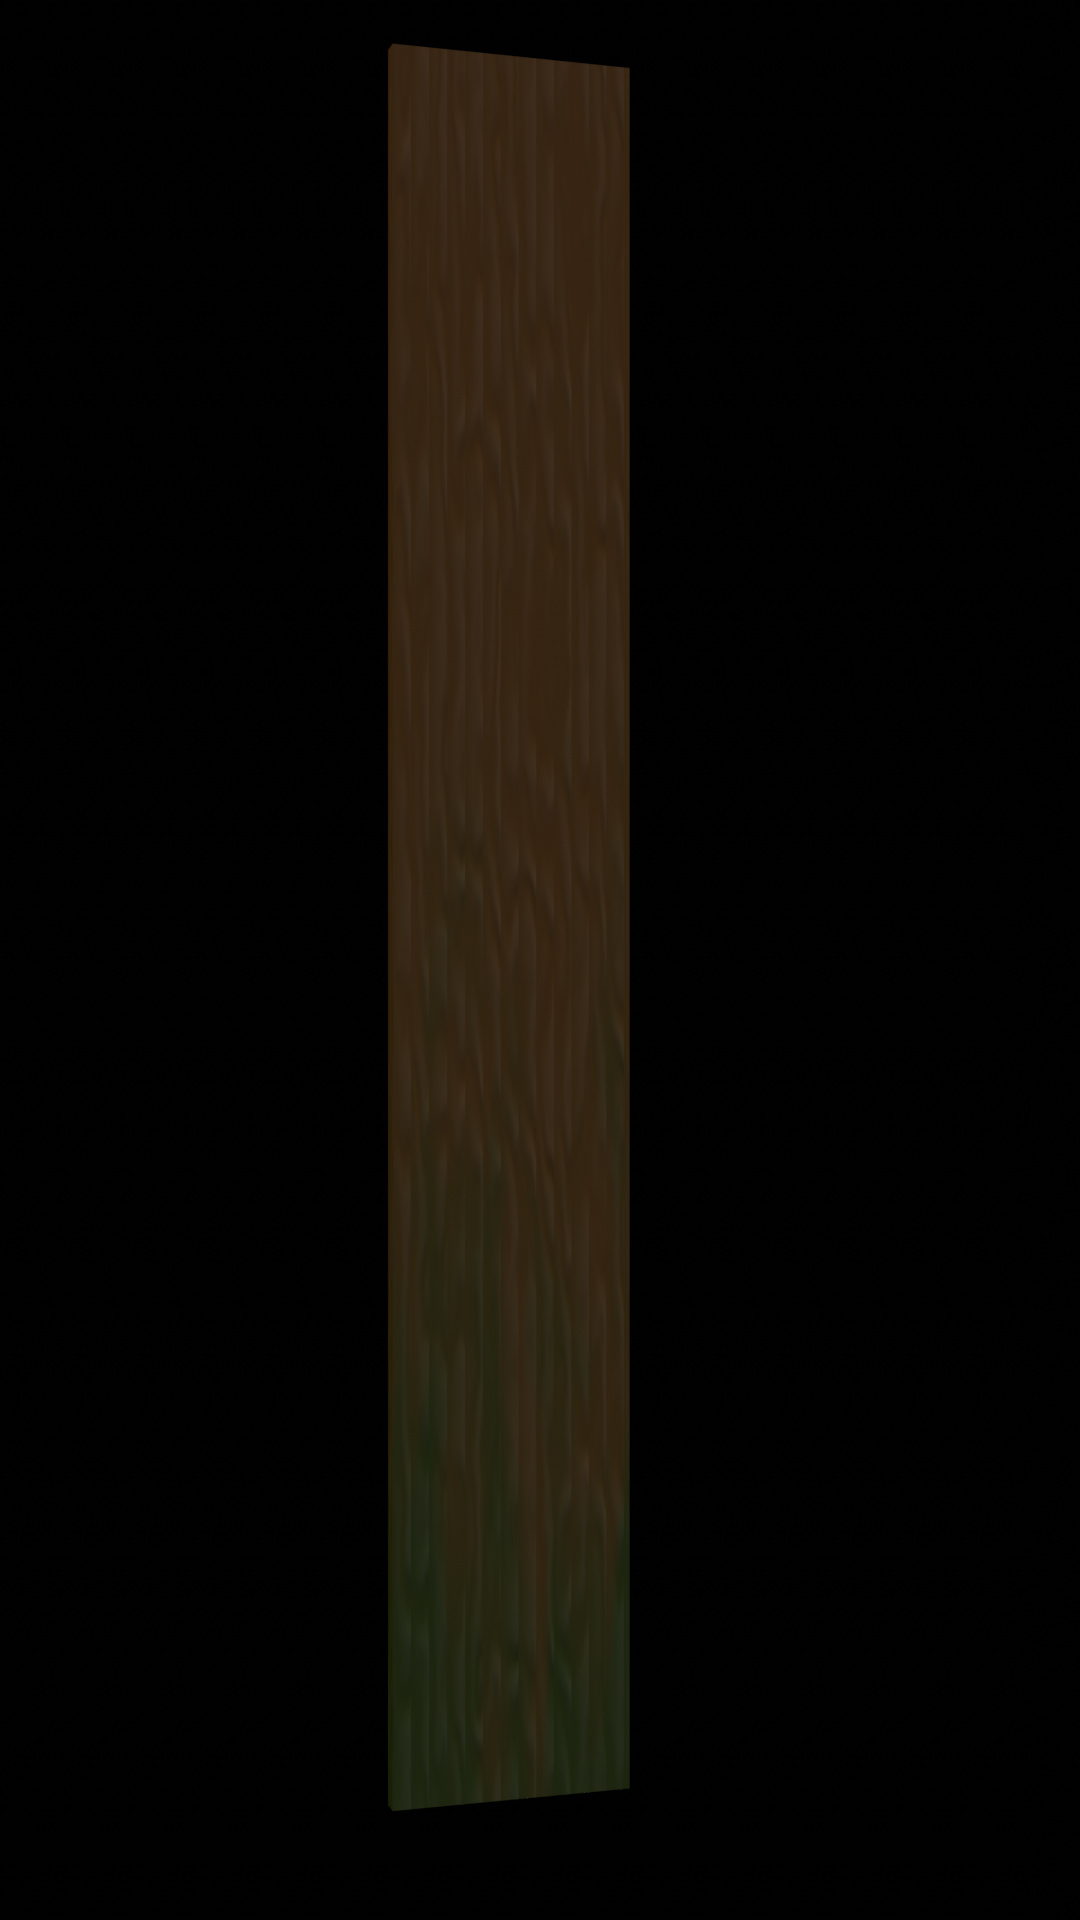
22-pw-bec Finish Off Our Plank
Some really amazing work here, i’m curious how you got those amazing water effects under the bridge and on the beach renders (especially the bridge)? Also is the water a model/particle effect/simulation?
Blender Environmental Artist
Section 4: Sketching Geometry
2-sg-bec Adding a Grease Pencil Layer
with mouse
with Graphics Tablet
5-sg-bec Converting Your Sketch to a Curve
4-sg-bec Editing Grease Pencil Strokes
6-sg-bec Making a Curve 3 Dimensional
8-sg-bec Subsurface Scattering in Eevee
With the Cycles Engine
With the Eevee Engine.
9-sg-bec Drawing on a Surface
11-sg-bec Snapping to the Grease Pencil
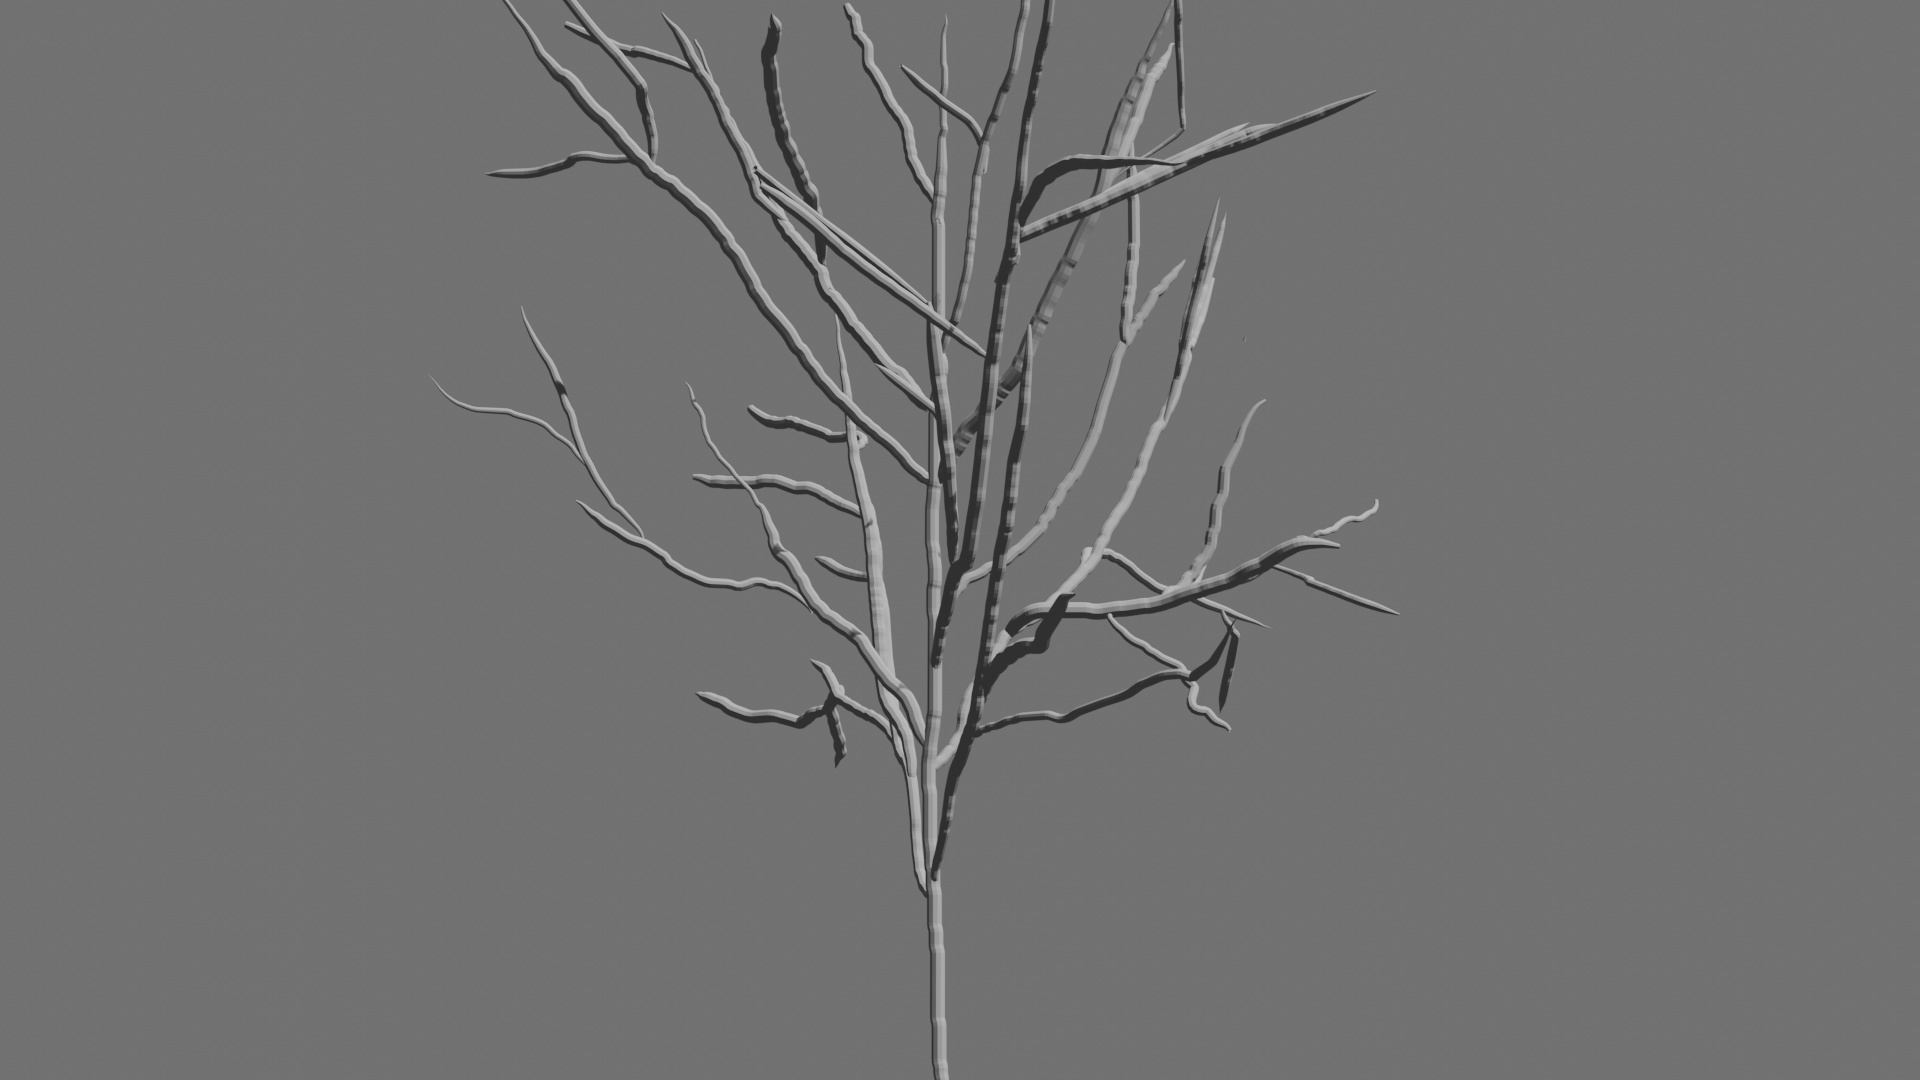
12-sg-bec Bend Angle
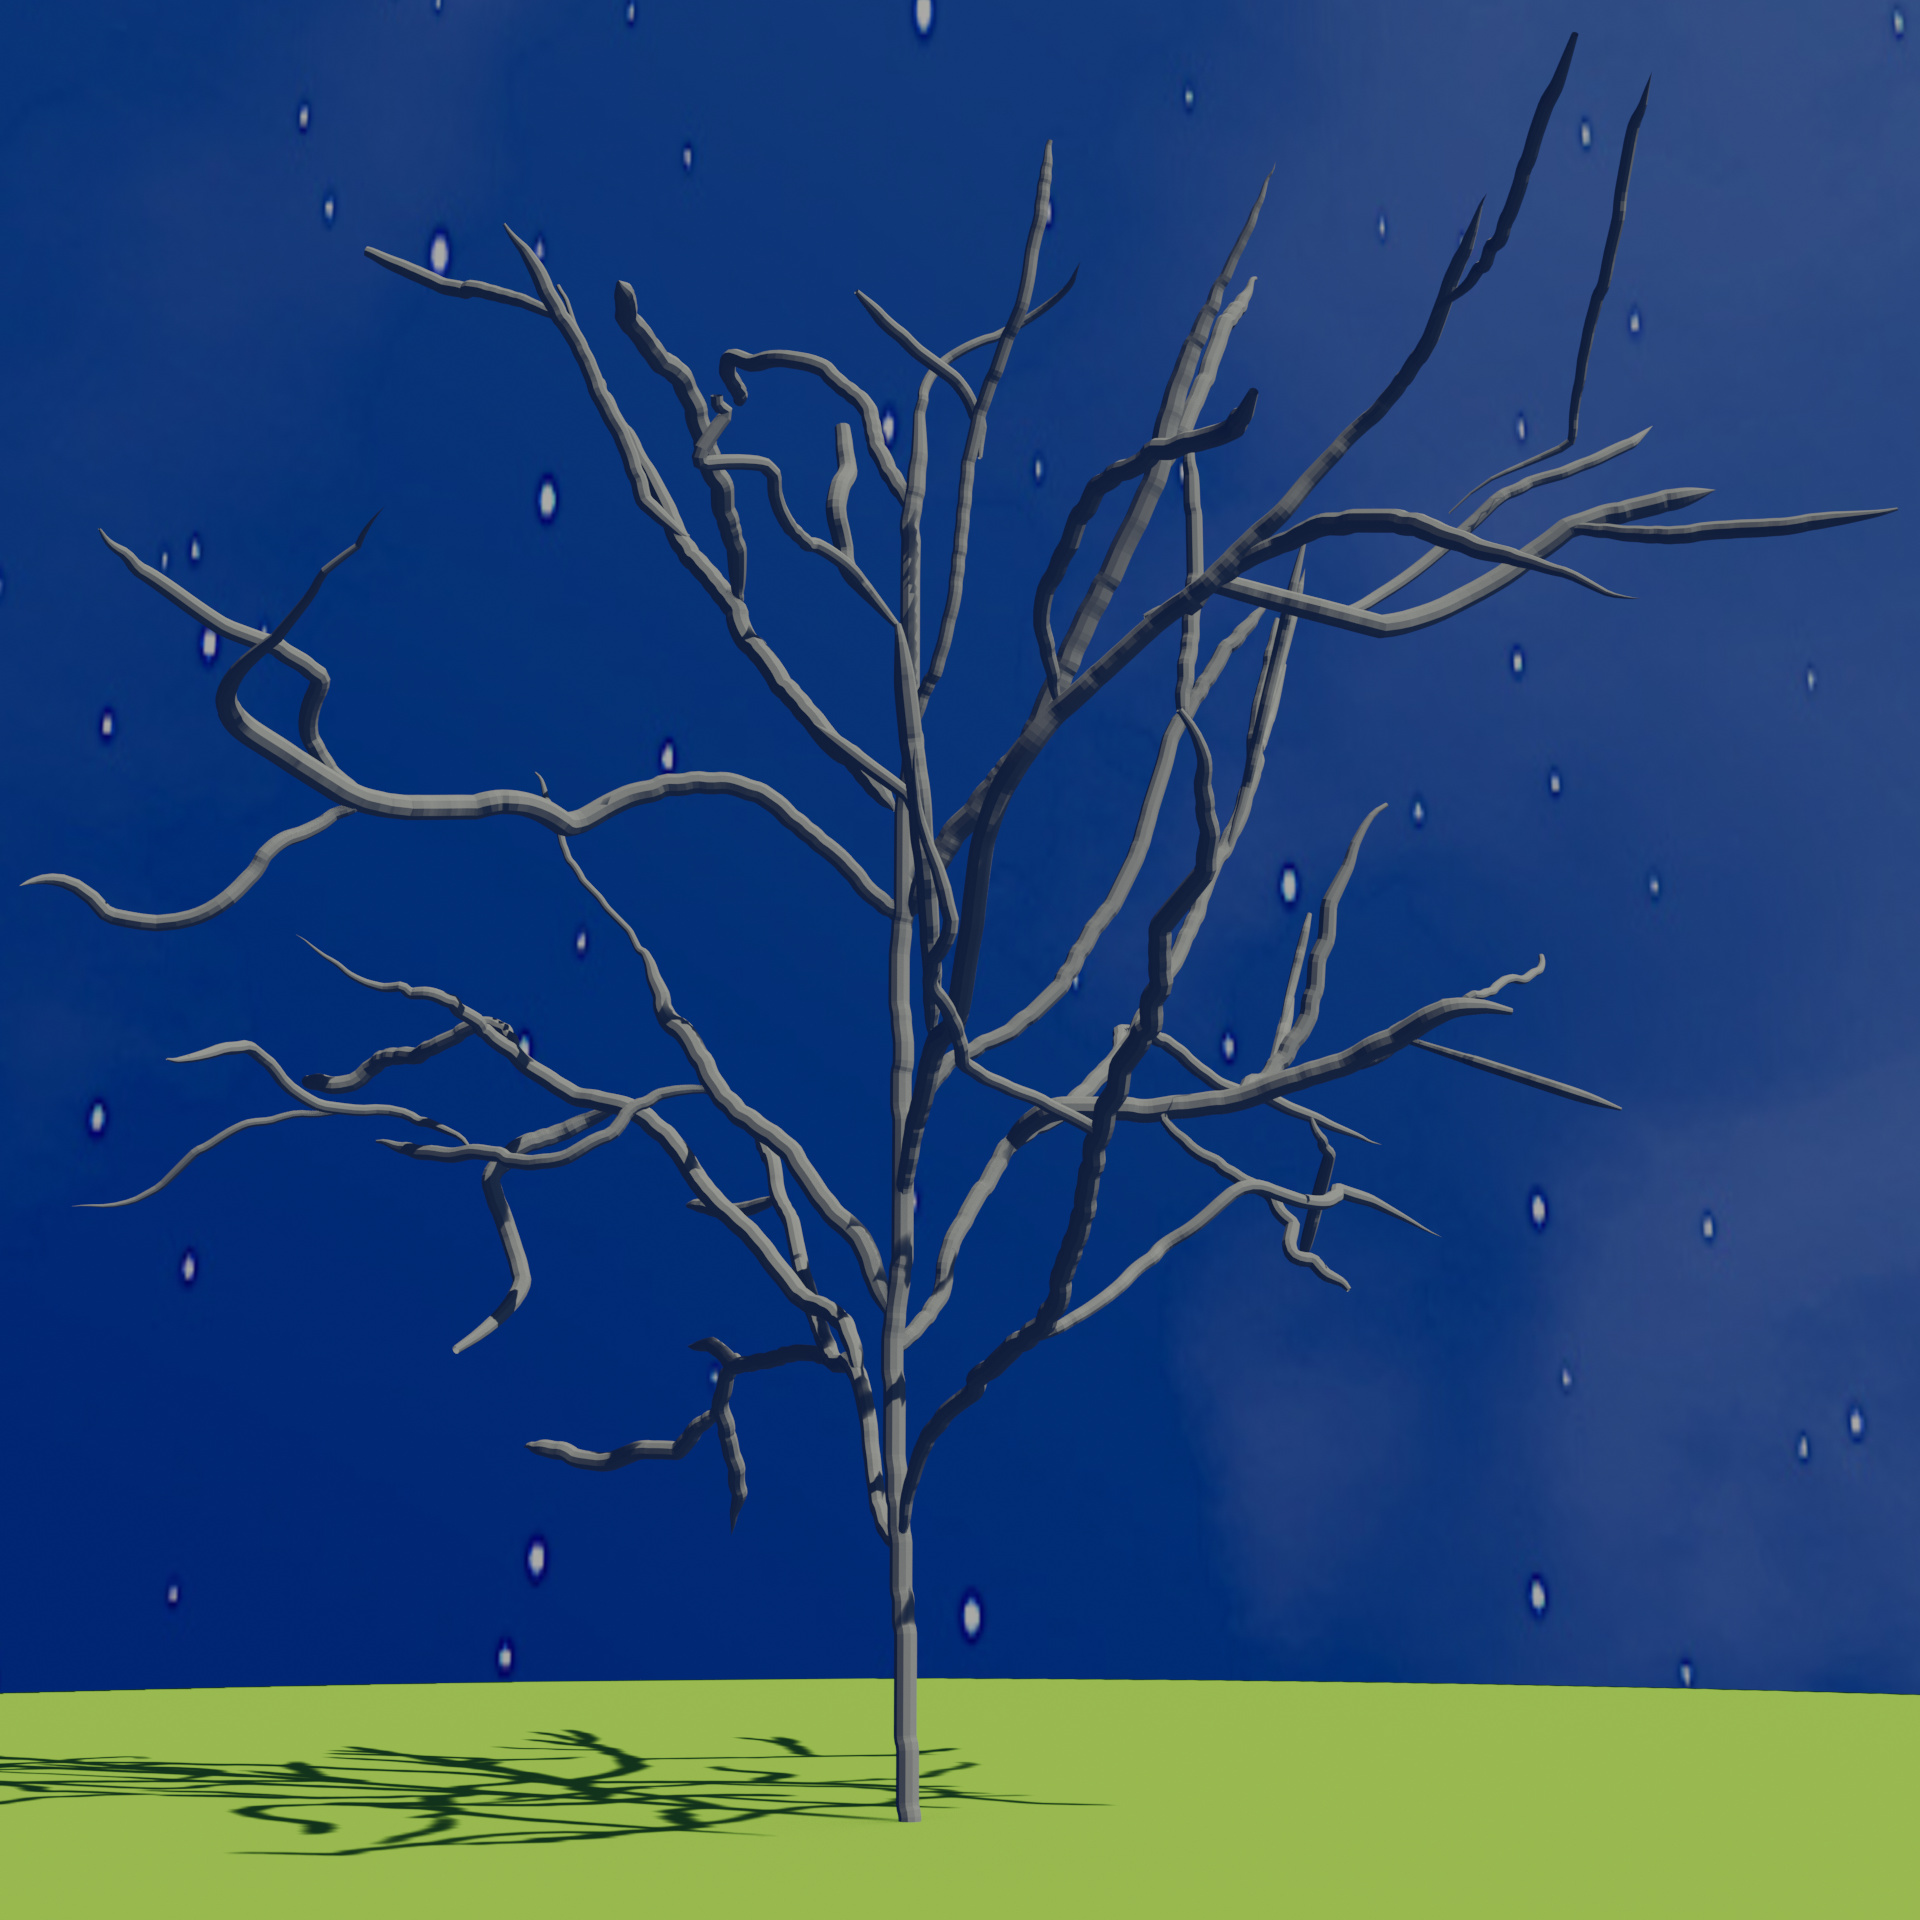
13-sg-bec Optimising and Clean-up: Disolve
15-sg-bec Joining Curve and Mesh Data
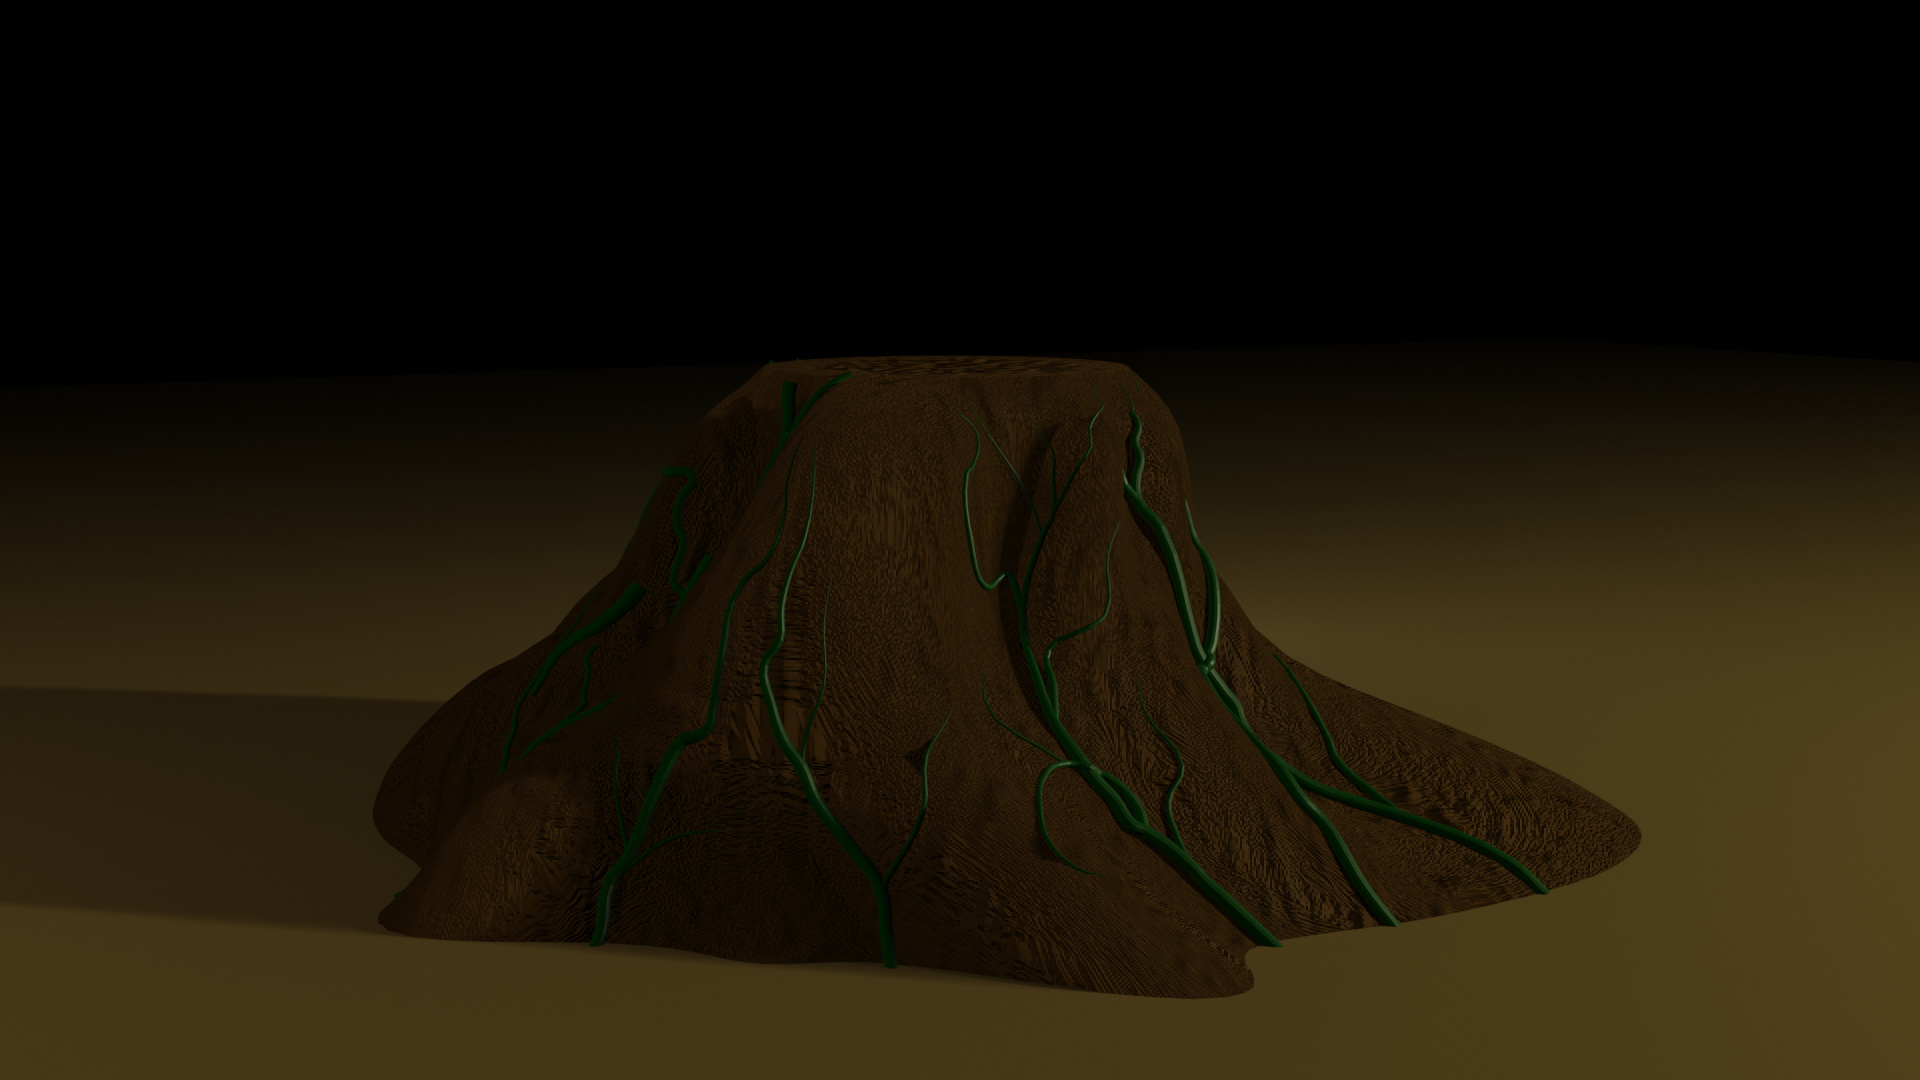
16-sg-bec Fun with Arrays
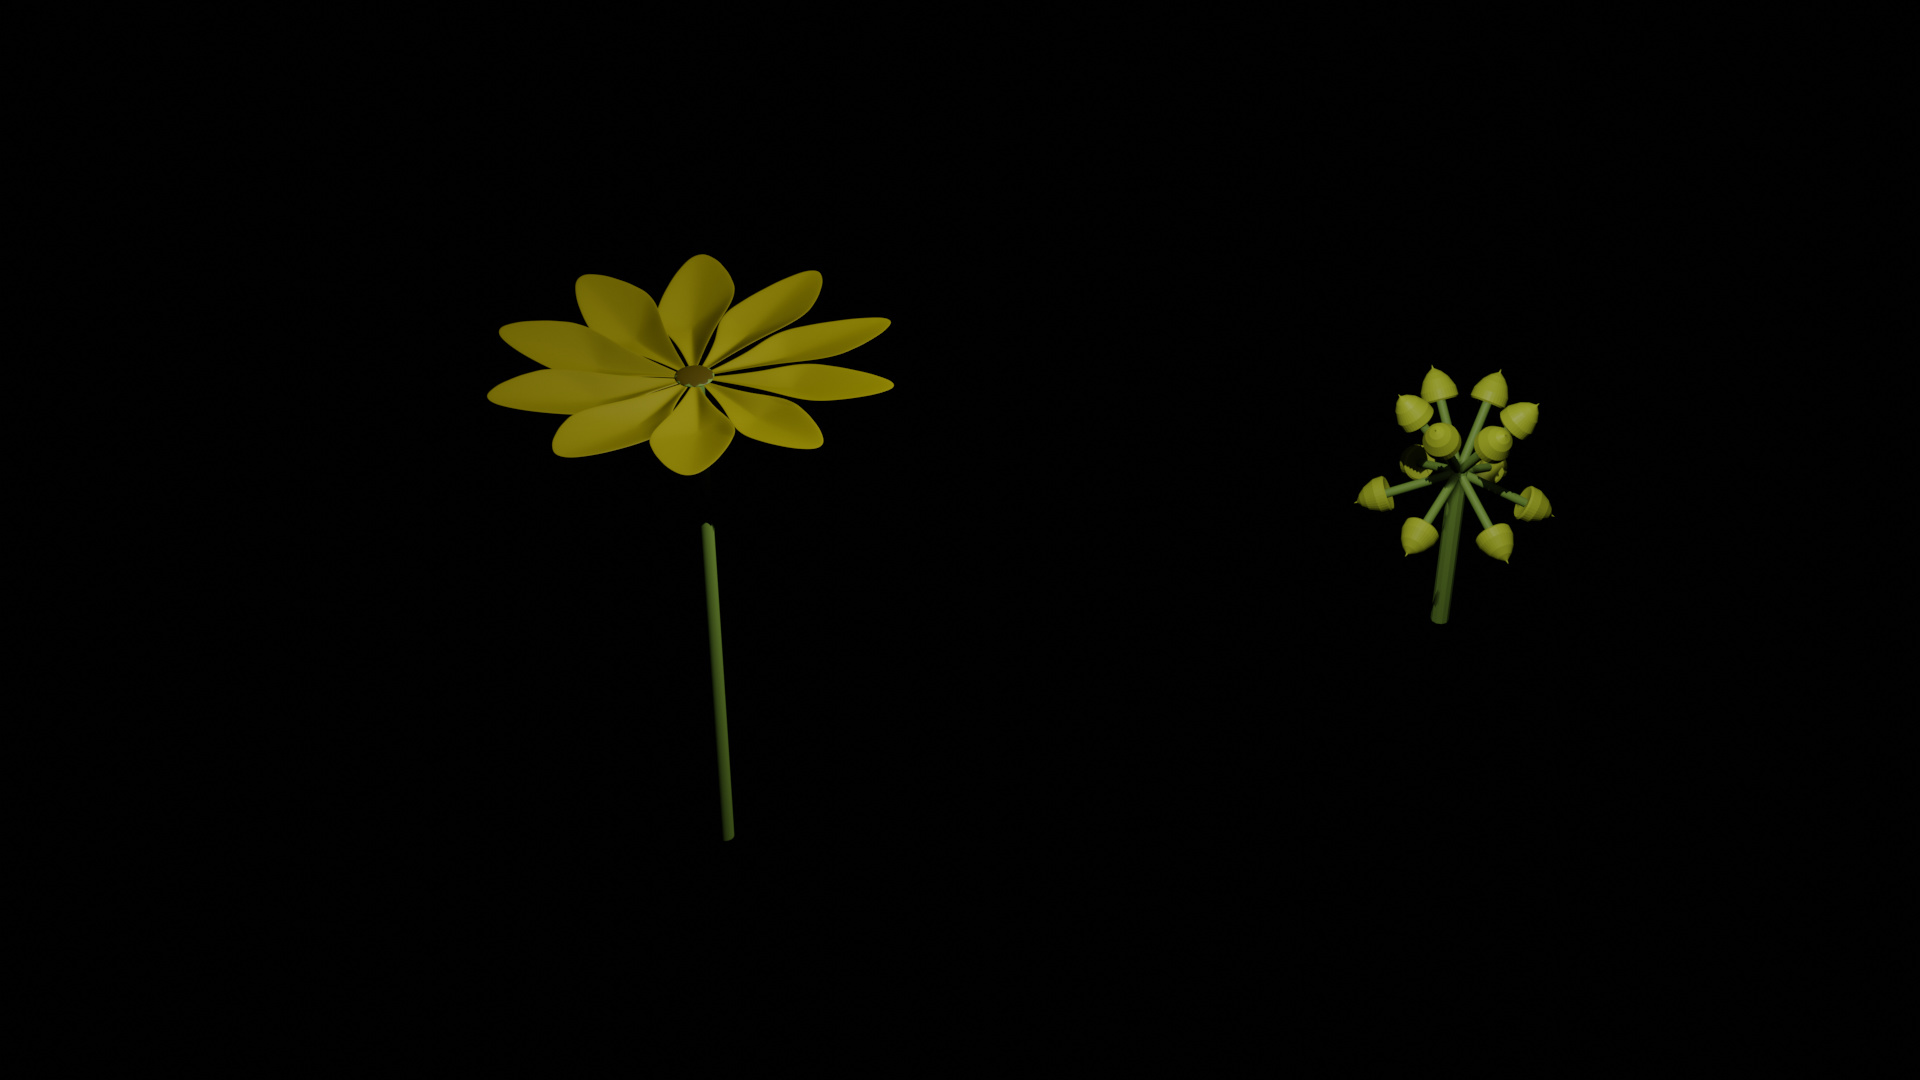
17-sg-bec Particle System Basics
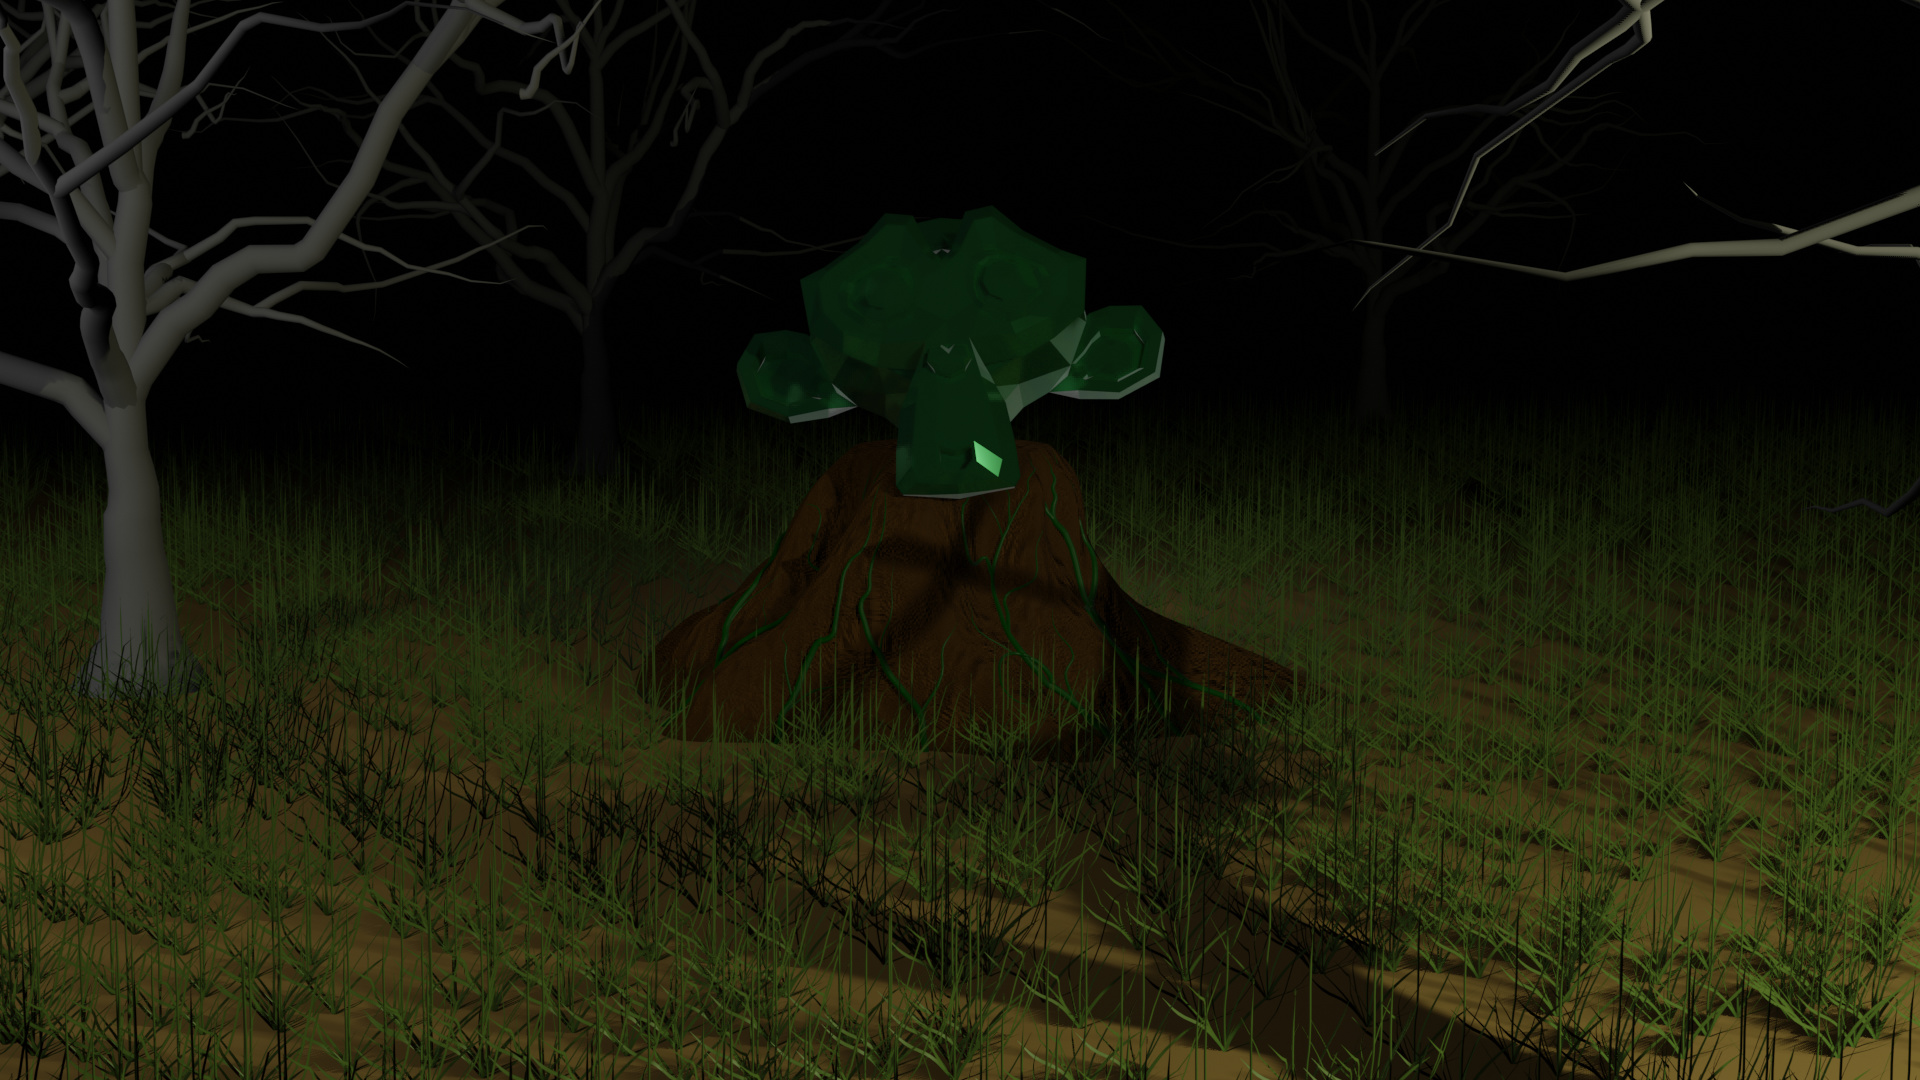
Thanks, I’m linking a lot of posts into this thread to bring it up to date.
The water is a simple plane with some displacement modifiers.
Complete Blender Creator - v2.8 Remaster
Section 1: Getting Going
4-gg-cbc Object Transforms
5-gg-cbc Duplication
5a-gg-cbc Your First Materials
Complete Blender Creator - v2.8 Remaster
Section 2: Your First Model in Blender 2.8
6-bk-cbc Extruding in Blender
7-bk-cbc Pivot Points
9-bk-cbc Mid-Section Challenge
15-bk-cbc Mistakes When Subdividing a Surface
17bk_cbc The Snapping Tool
19-bk-cbc Using the Array Modifier
_21-bk-cbc Finish Your Mayan Pyramid
The 2D Game Artist
Section 1: Emotion Icons
7b-ei-gmp An Outline Story
![]()
![]()
![]()
9-ei-gmp Introduction to Value
![]()
![]()
![]()
![]()
Complete Blender Creator (v2.8 Remaster)
Section 3: Bowling Ball and Pins
Bowling Pins
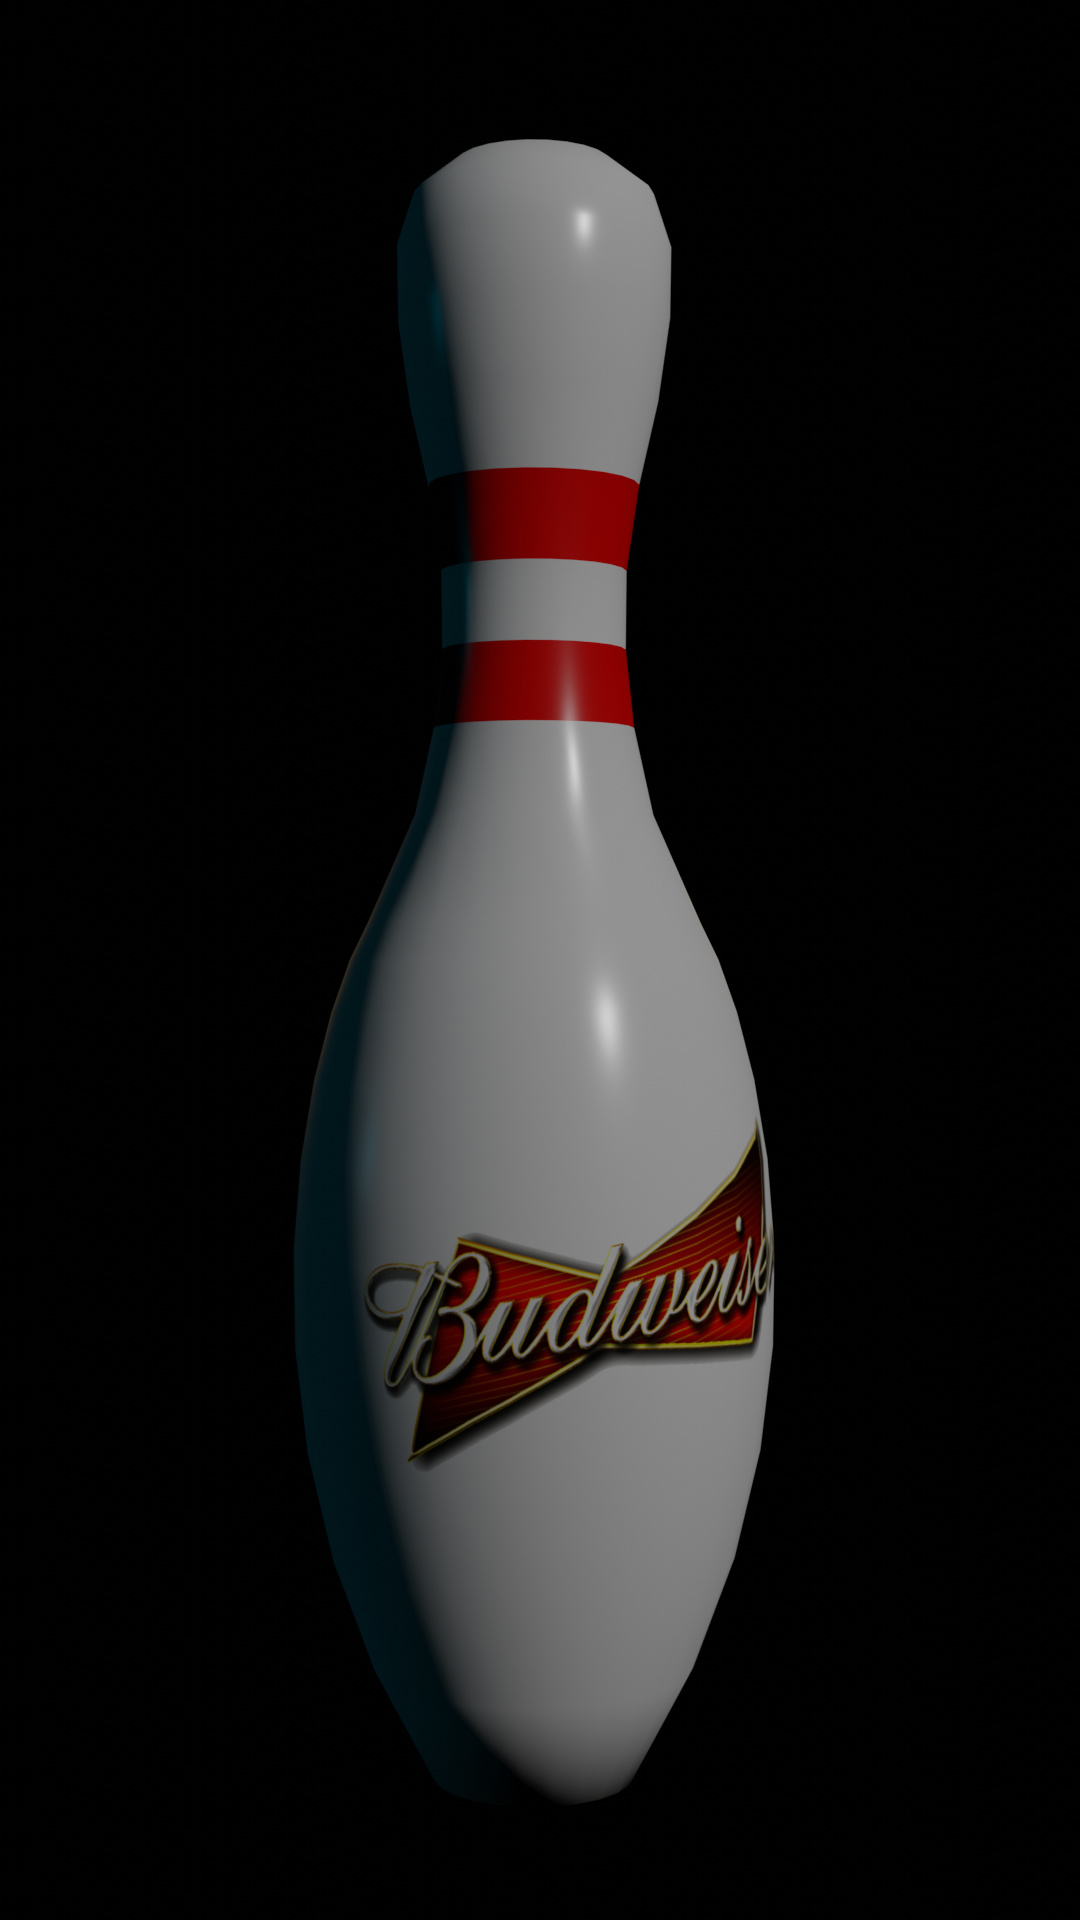
Bowling Scene
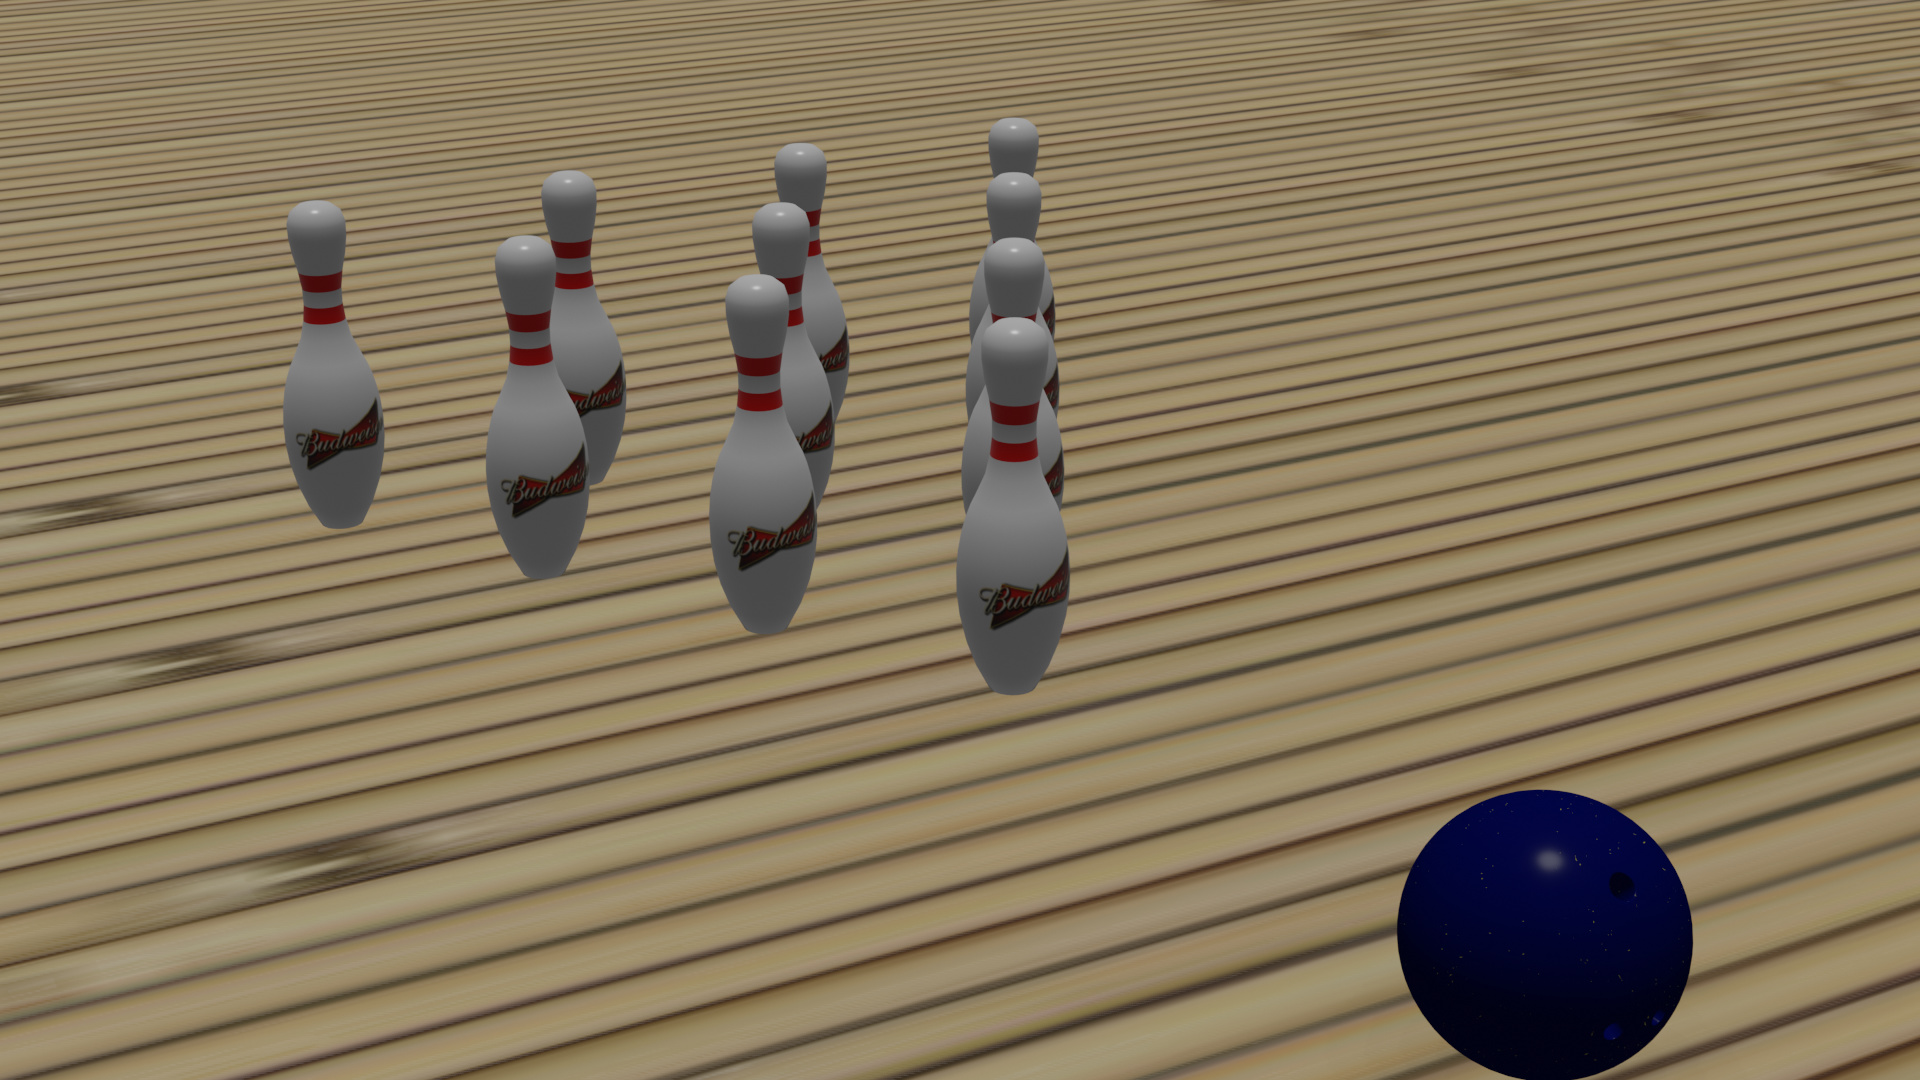
*** NOTE: This post brings the thread up to date ***
Challenge 32 from Complete Blender Creator (v2.8 Remaster)
17-ba-cbc Adding New Scenes_
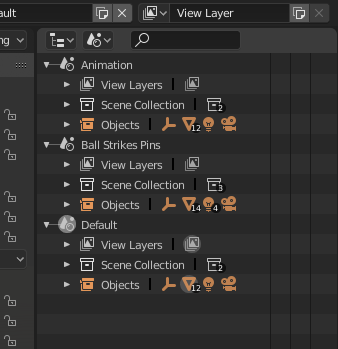
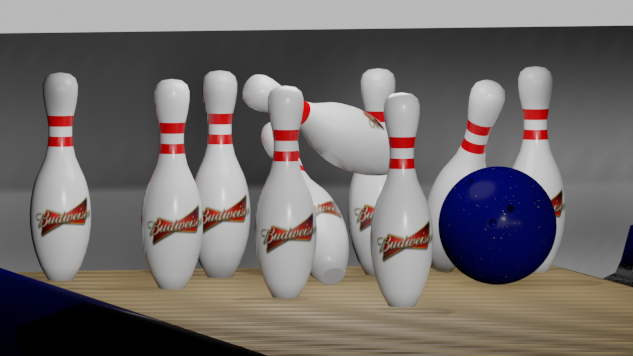
for this challenge, I started out by copying and pasting the info from my animation file into a new scene within the main “Bowling Scene” File. Once I had that done, I renamed the two scenes “Default” and “Animation” then created a 3rd scene for the actual challenge assignment and named it “Ball Strikes Pins”.
Render of Default Scene:
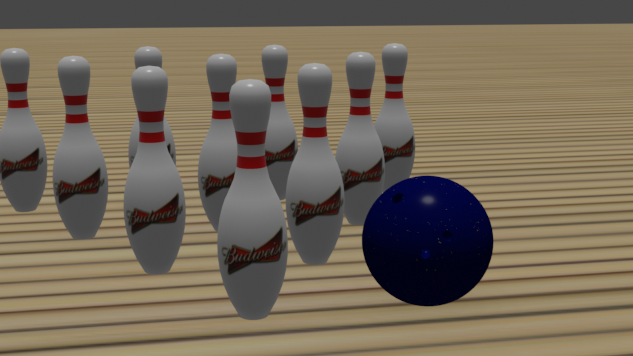
Render of Ball Strikes Pins Scene:
Outliner at end of Challenge
