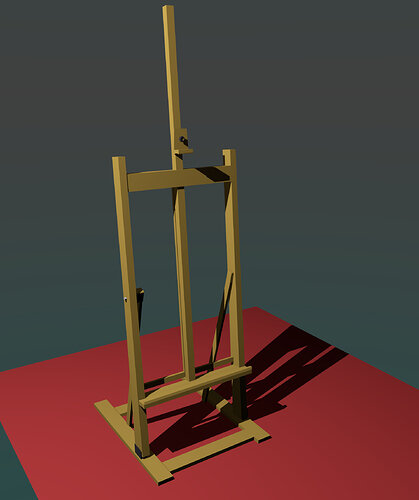
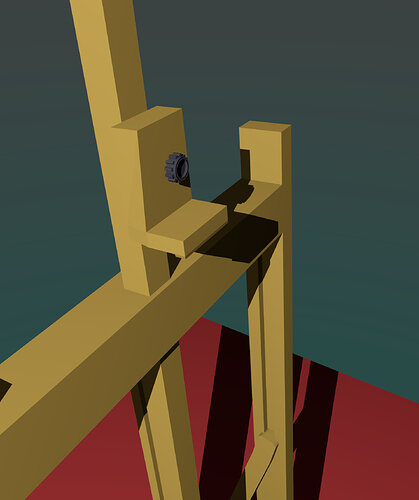
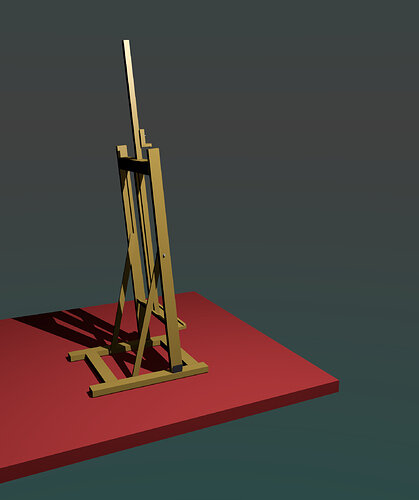
the little easel in my studio, a table-easel. I have paid attention to the details and the functionality. I know that I have to rig it, but that is a little bit to complicated for now. I take care of the clock and my aim was not to spend more as 60 minutes on modeling…!
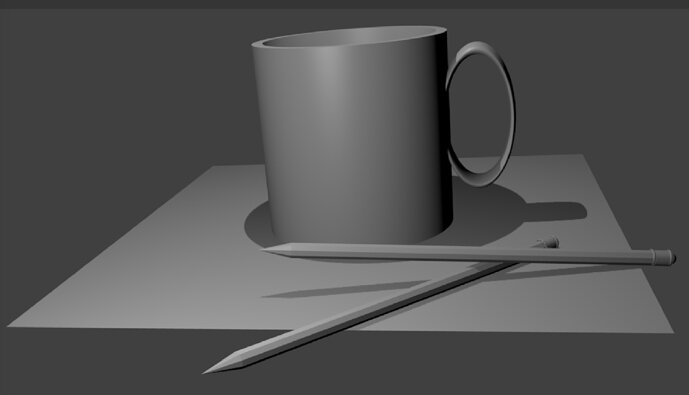
This “low poly” still life still has 47k verts, according to Blender :-o
also I am really struggling with positioning the camera.
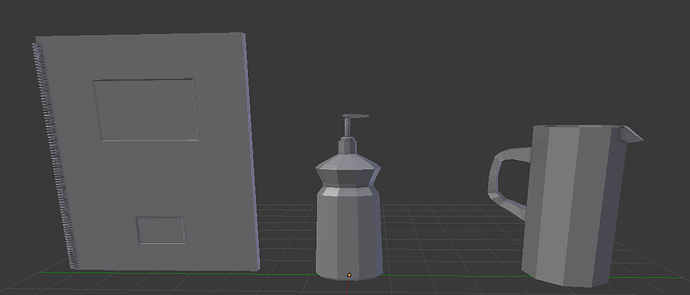
Here are my three extra challenges. Going from Left to right: Notebook (the only object I could think of to use an array modifier on for practice), a squirt bottle, and a pitcher.
Few objects made  still feel like a beginner but I feel like im getting there slowly
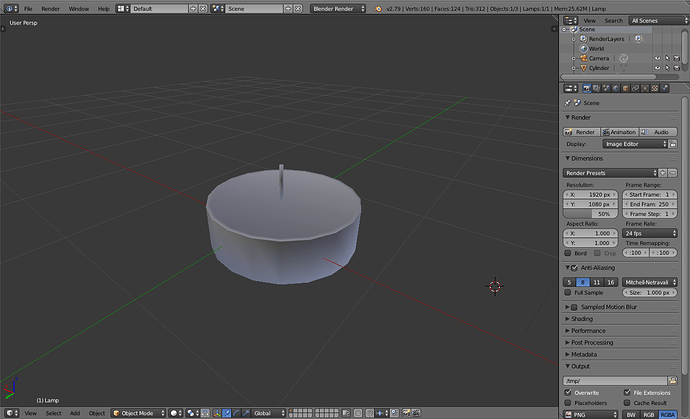
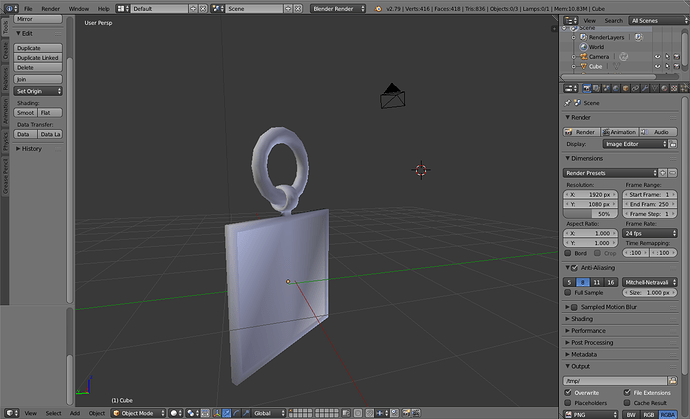
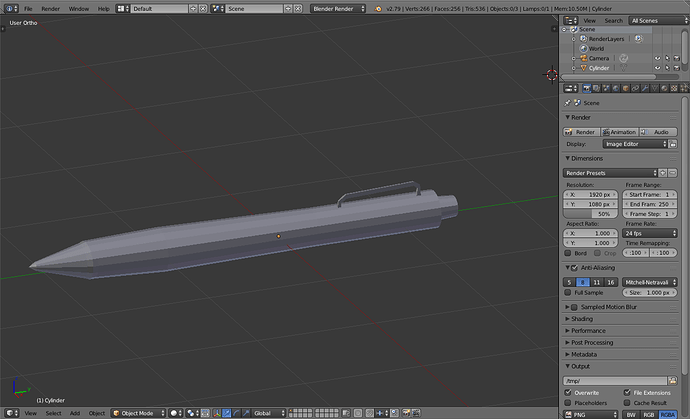
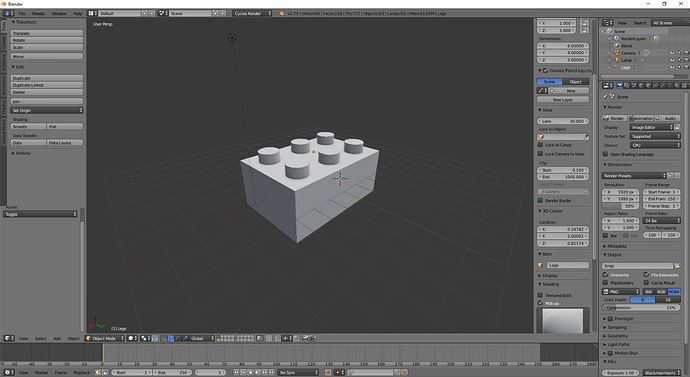
Candle, Keychain, Pen 
notebook: cool idea
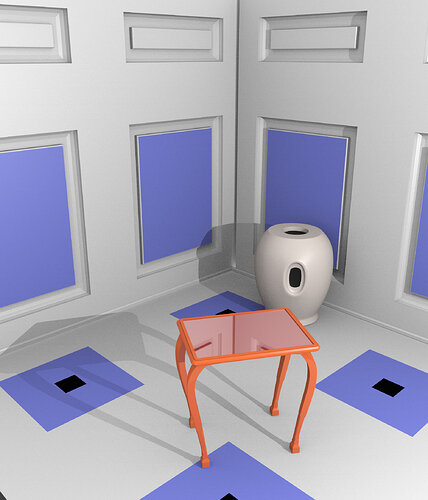
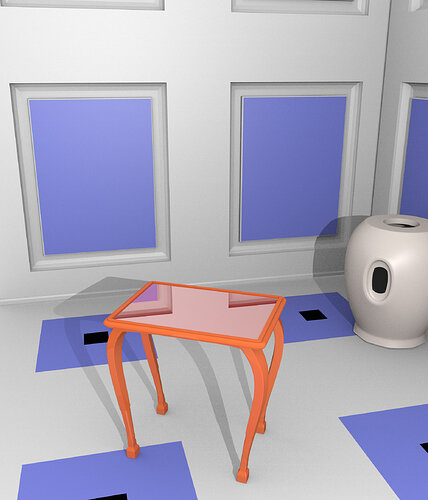
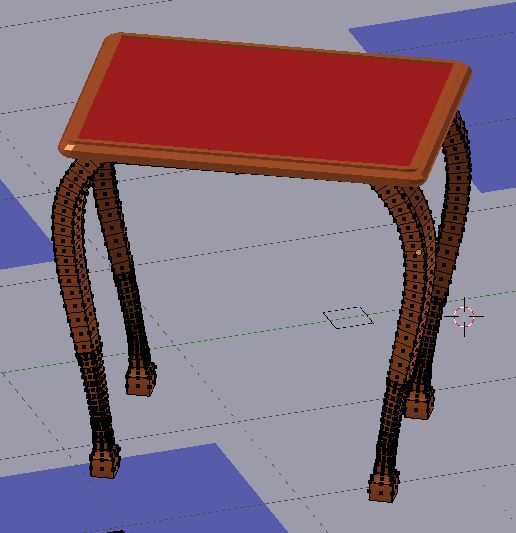
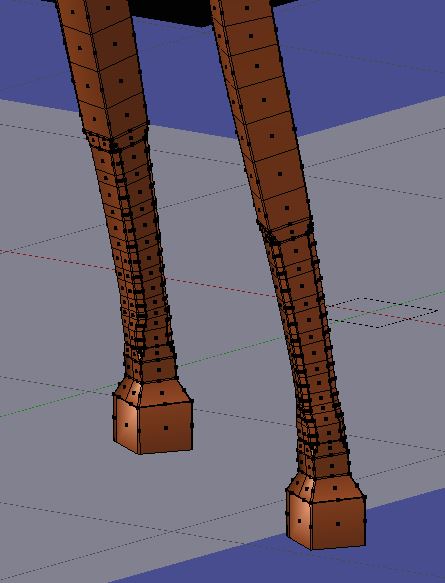
Today I have repeated this exercise with new 3 extra objects, combined in a small scene to see if I have improved my modeling skills in the last 4 days. I have challenged myself with a difficult small table and a room. The vase isn´t so good…But I like the result of my 3 objects challenge. I have experienced in these scene with the subsurf modier, beveled a lot of edges, worked with curves (table legs). I used inset individuals ( ii )at modeling the walls.
Details:
- Total Time Amount for the scene (incl. rendering time 3 hours)
- Light: environment lightning (1) and a light in the scene
- I have made the patterns only with techniques like inset faces and beveling and made no unwrapping thing or texturing thing.
looks really nice.  such a cutie. what do you mean with f-joints? connecting edges with the shortcut f?
I made a few simple objects and played around with some lighting & render settings (ambient occlusion, world background, a white sun light and a yellow spot light and altered the quality of each one).
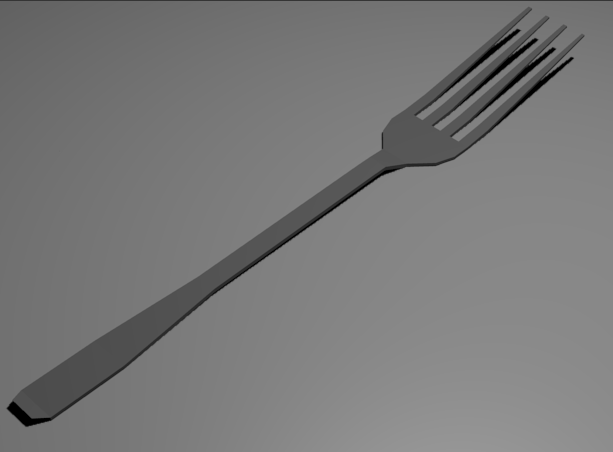
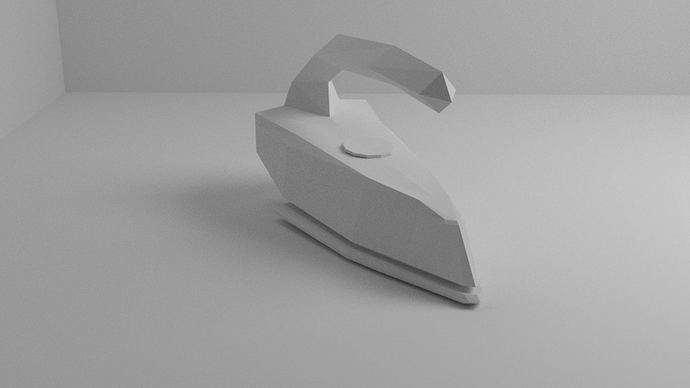
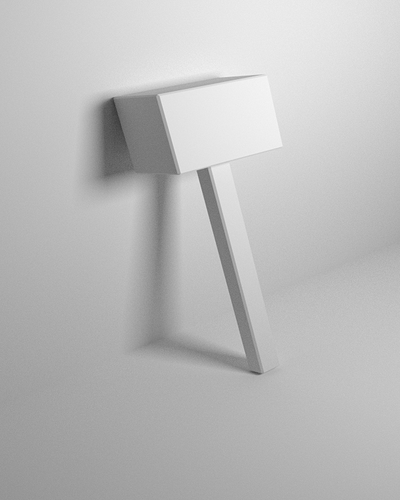
BARREL, BACKPACK, BOTTLE, POT, CAMPING “SPORK”, BOOK, HAMMER, COMPASS
I haven’t yet found out how to smooth shade low poly objects but I think they still look pretty neat this way??
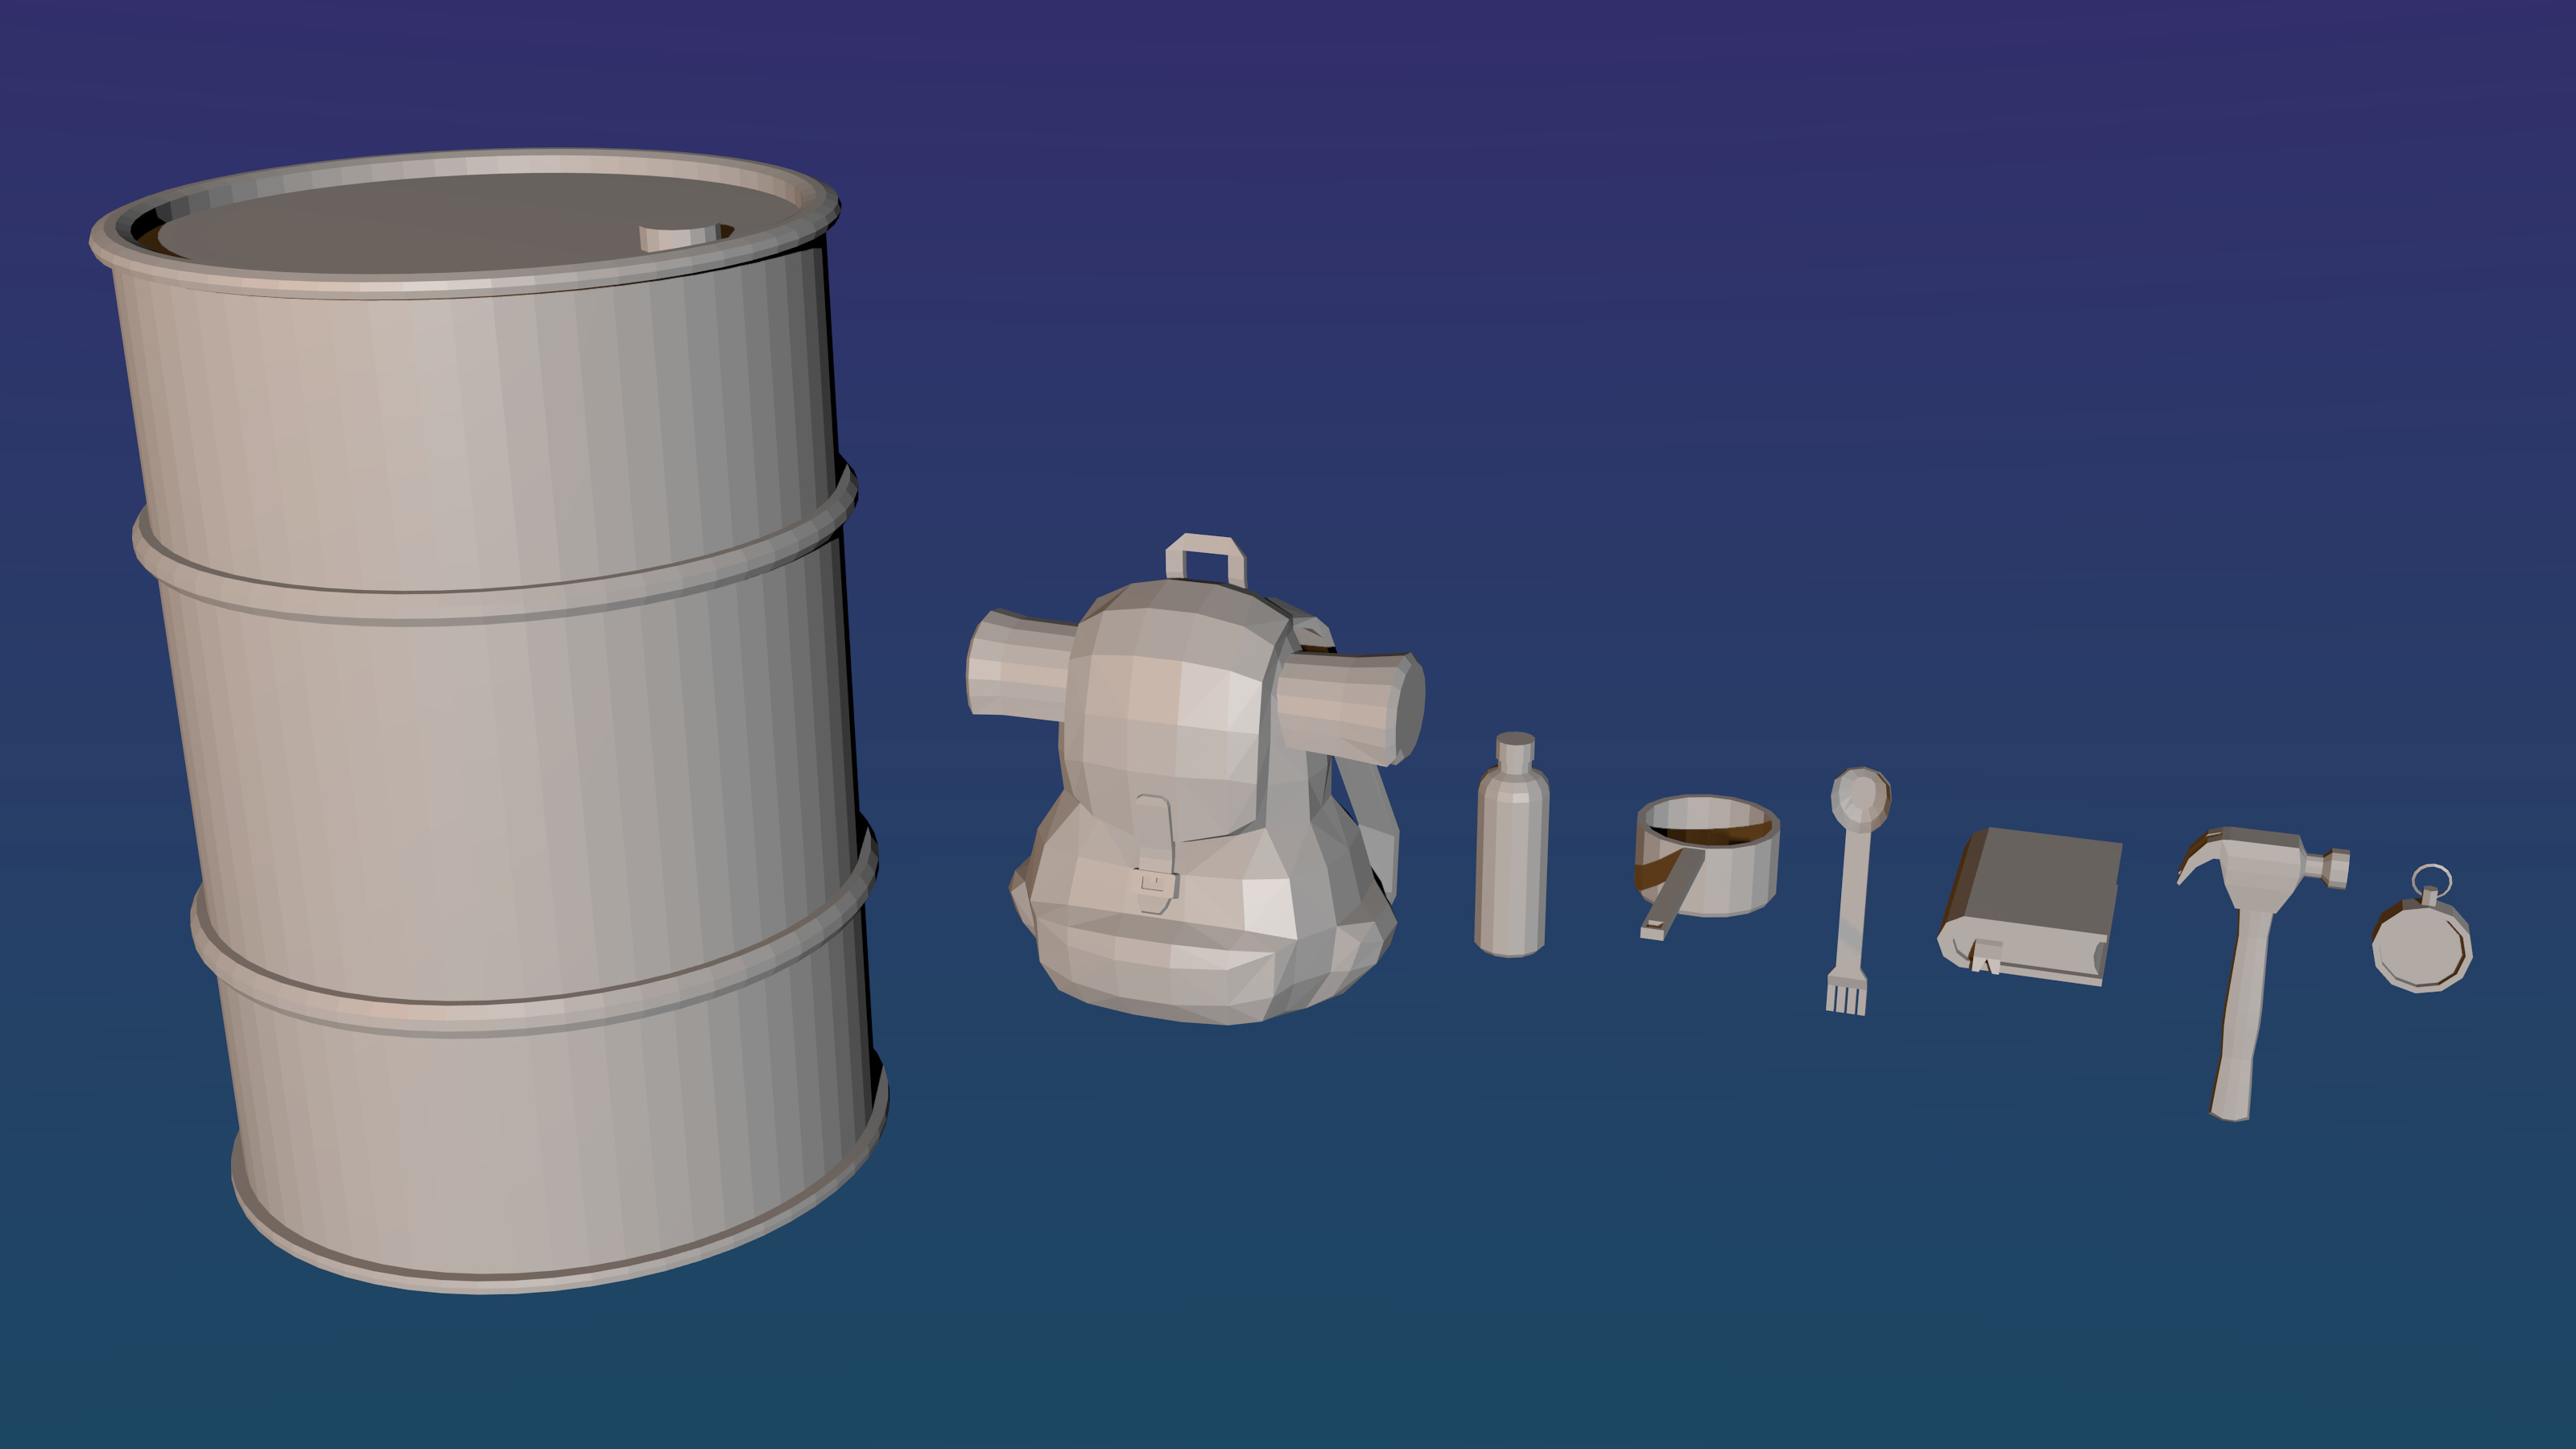
looks very neat. I like that you have challenged yourself with so many objects with complex details and that the proportions look convincingly.
smooth low polys: you can use smooth in the t-panel in object mode.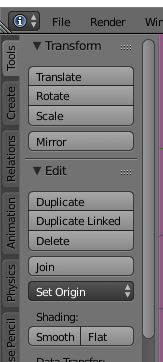
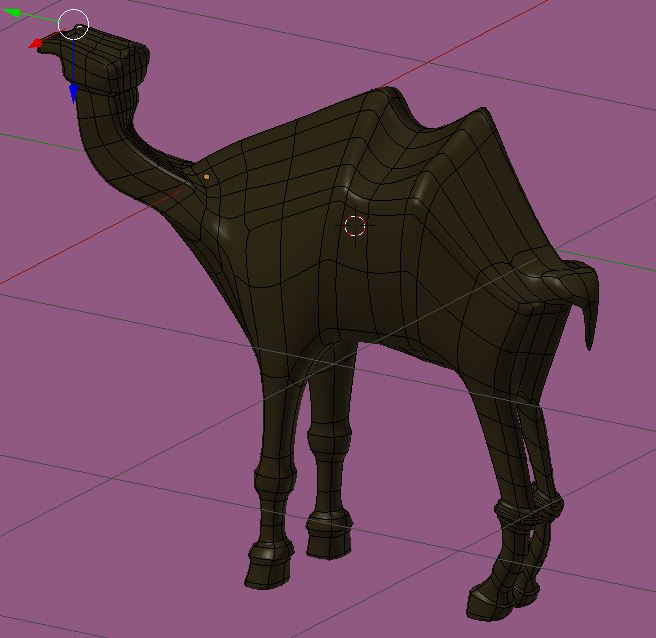
I have tried pure boxmodelling. Moving edges and vertices and planes. Rotate and extrude them, make loopcuts, scaling the new geometry, for example a single edge and so on. I am not a fan of boxmodeling, but it was interesting to overcome the dislike and give them a go.
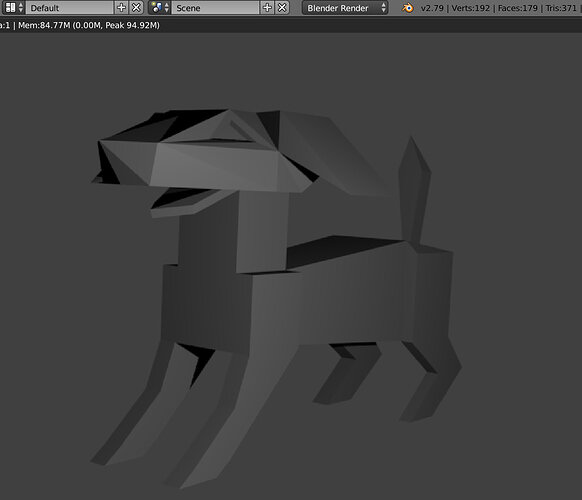
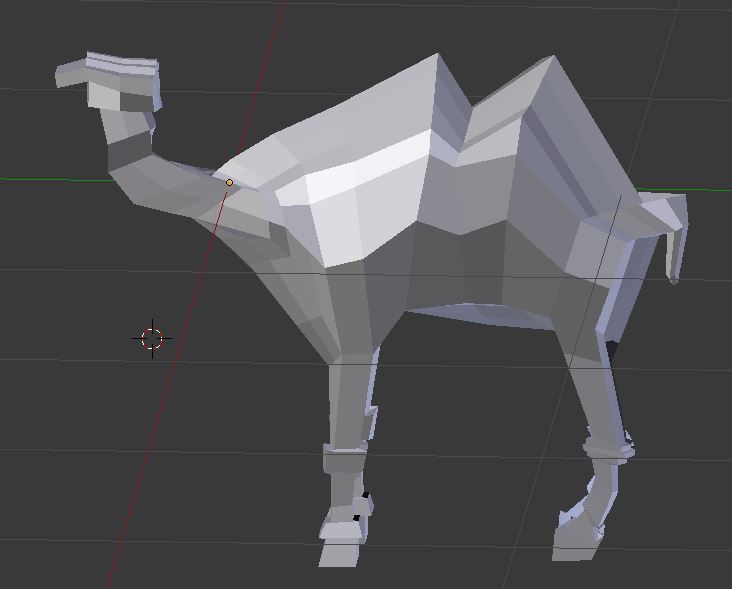
I have found a toy animal and tried to model it…
 ![kamel%20r|514x500]
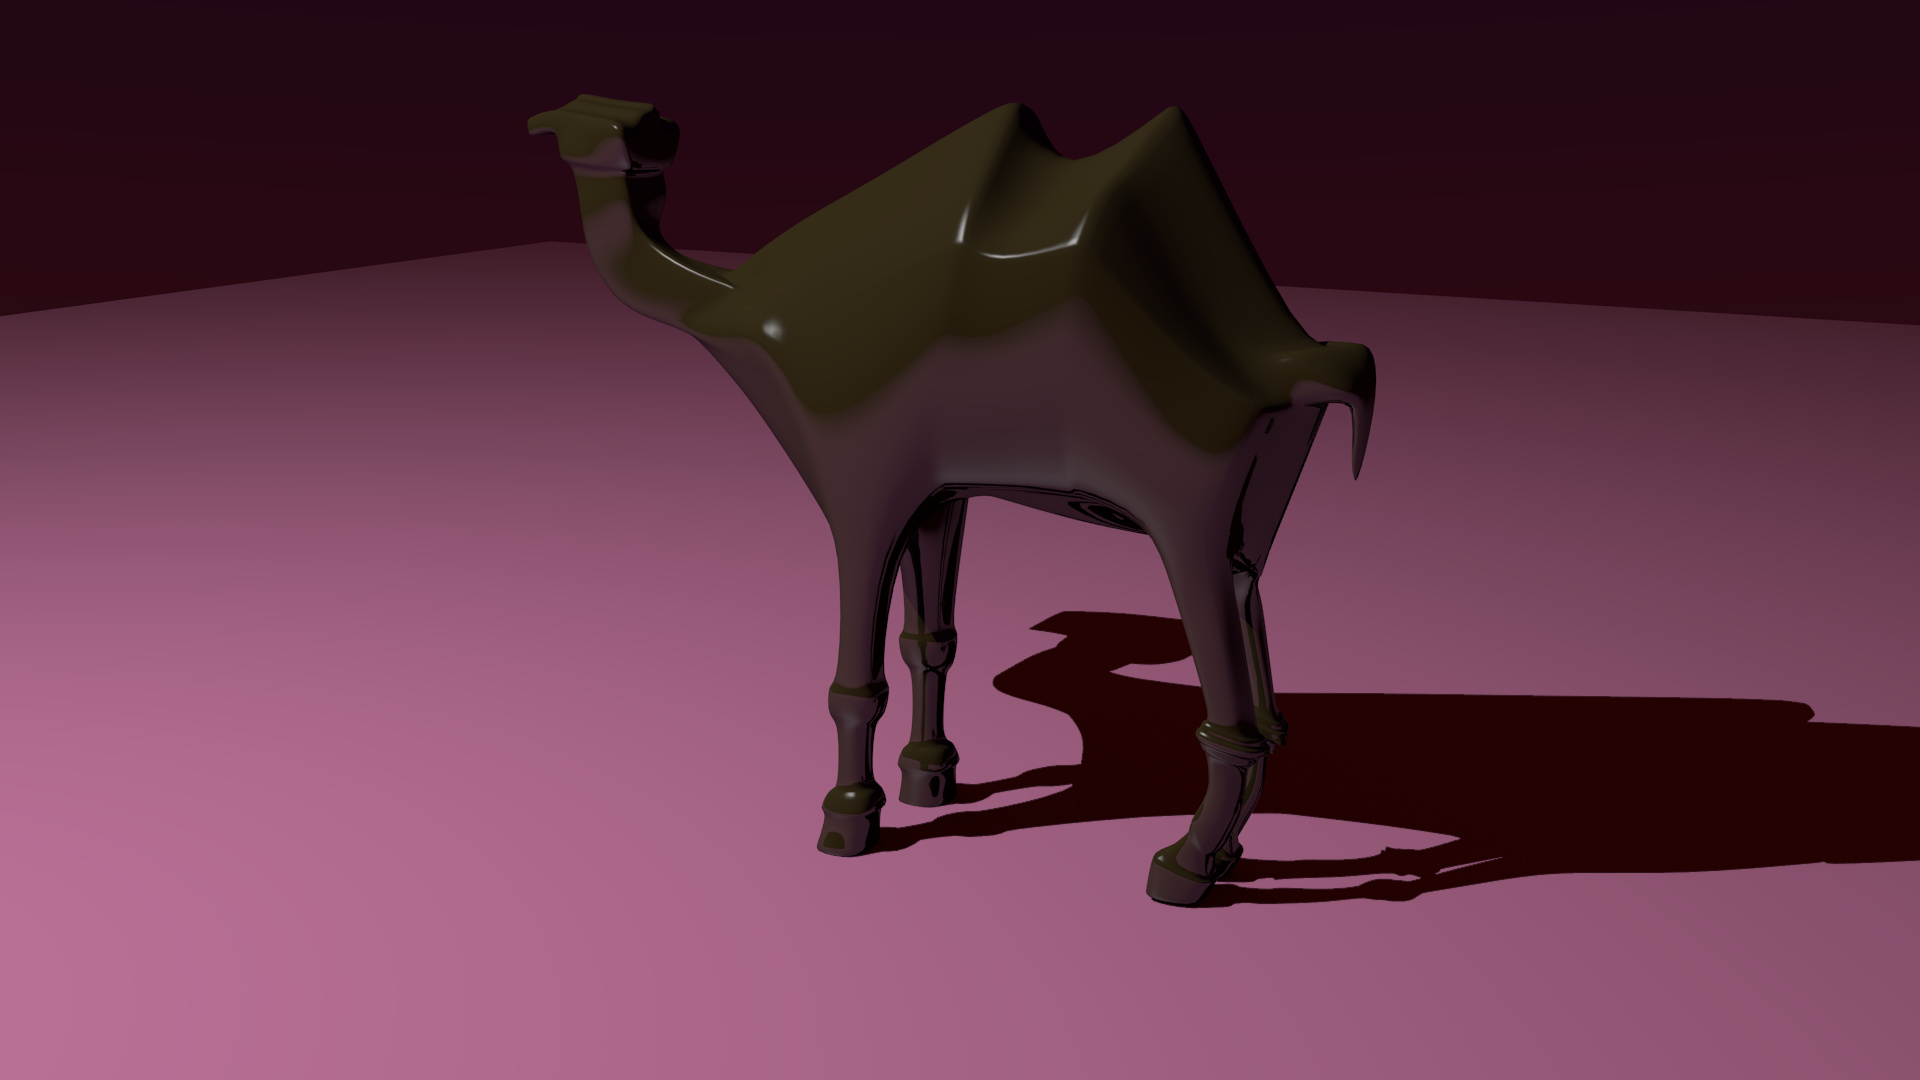
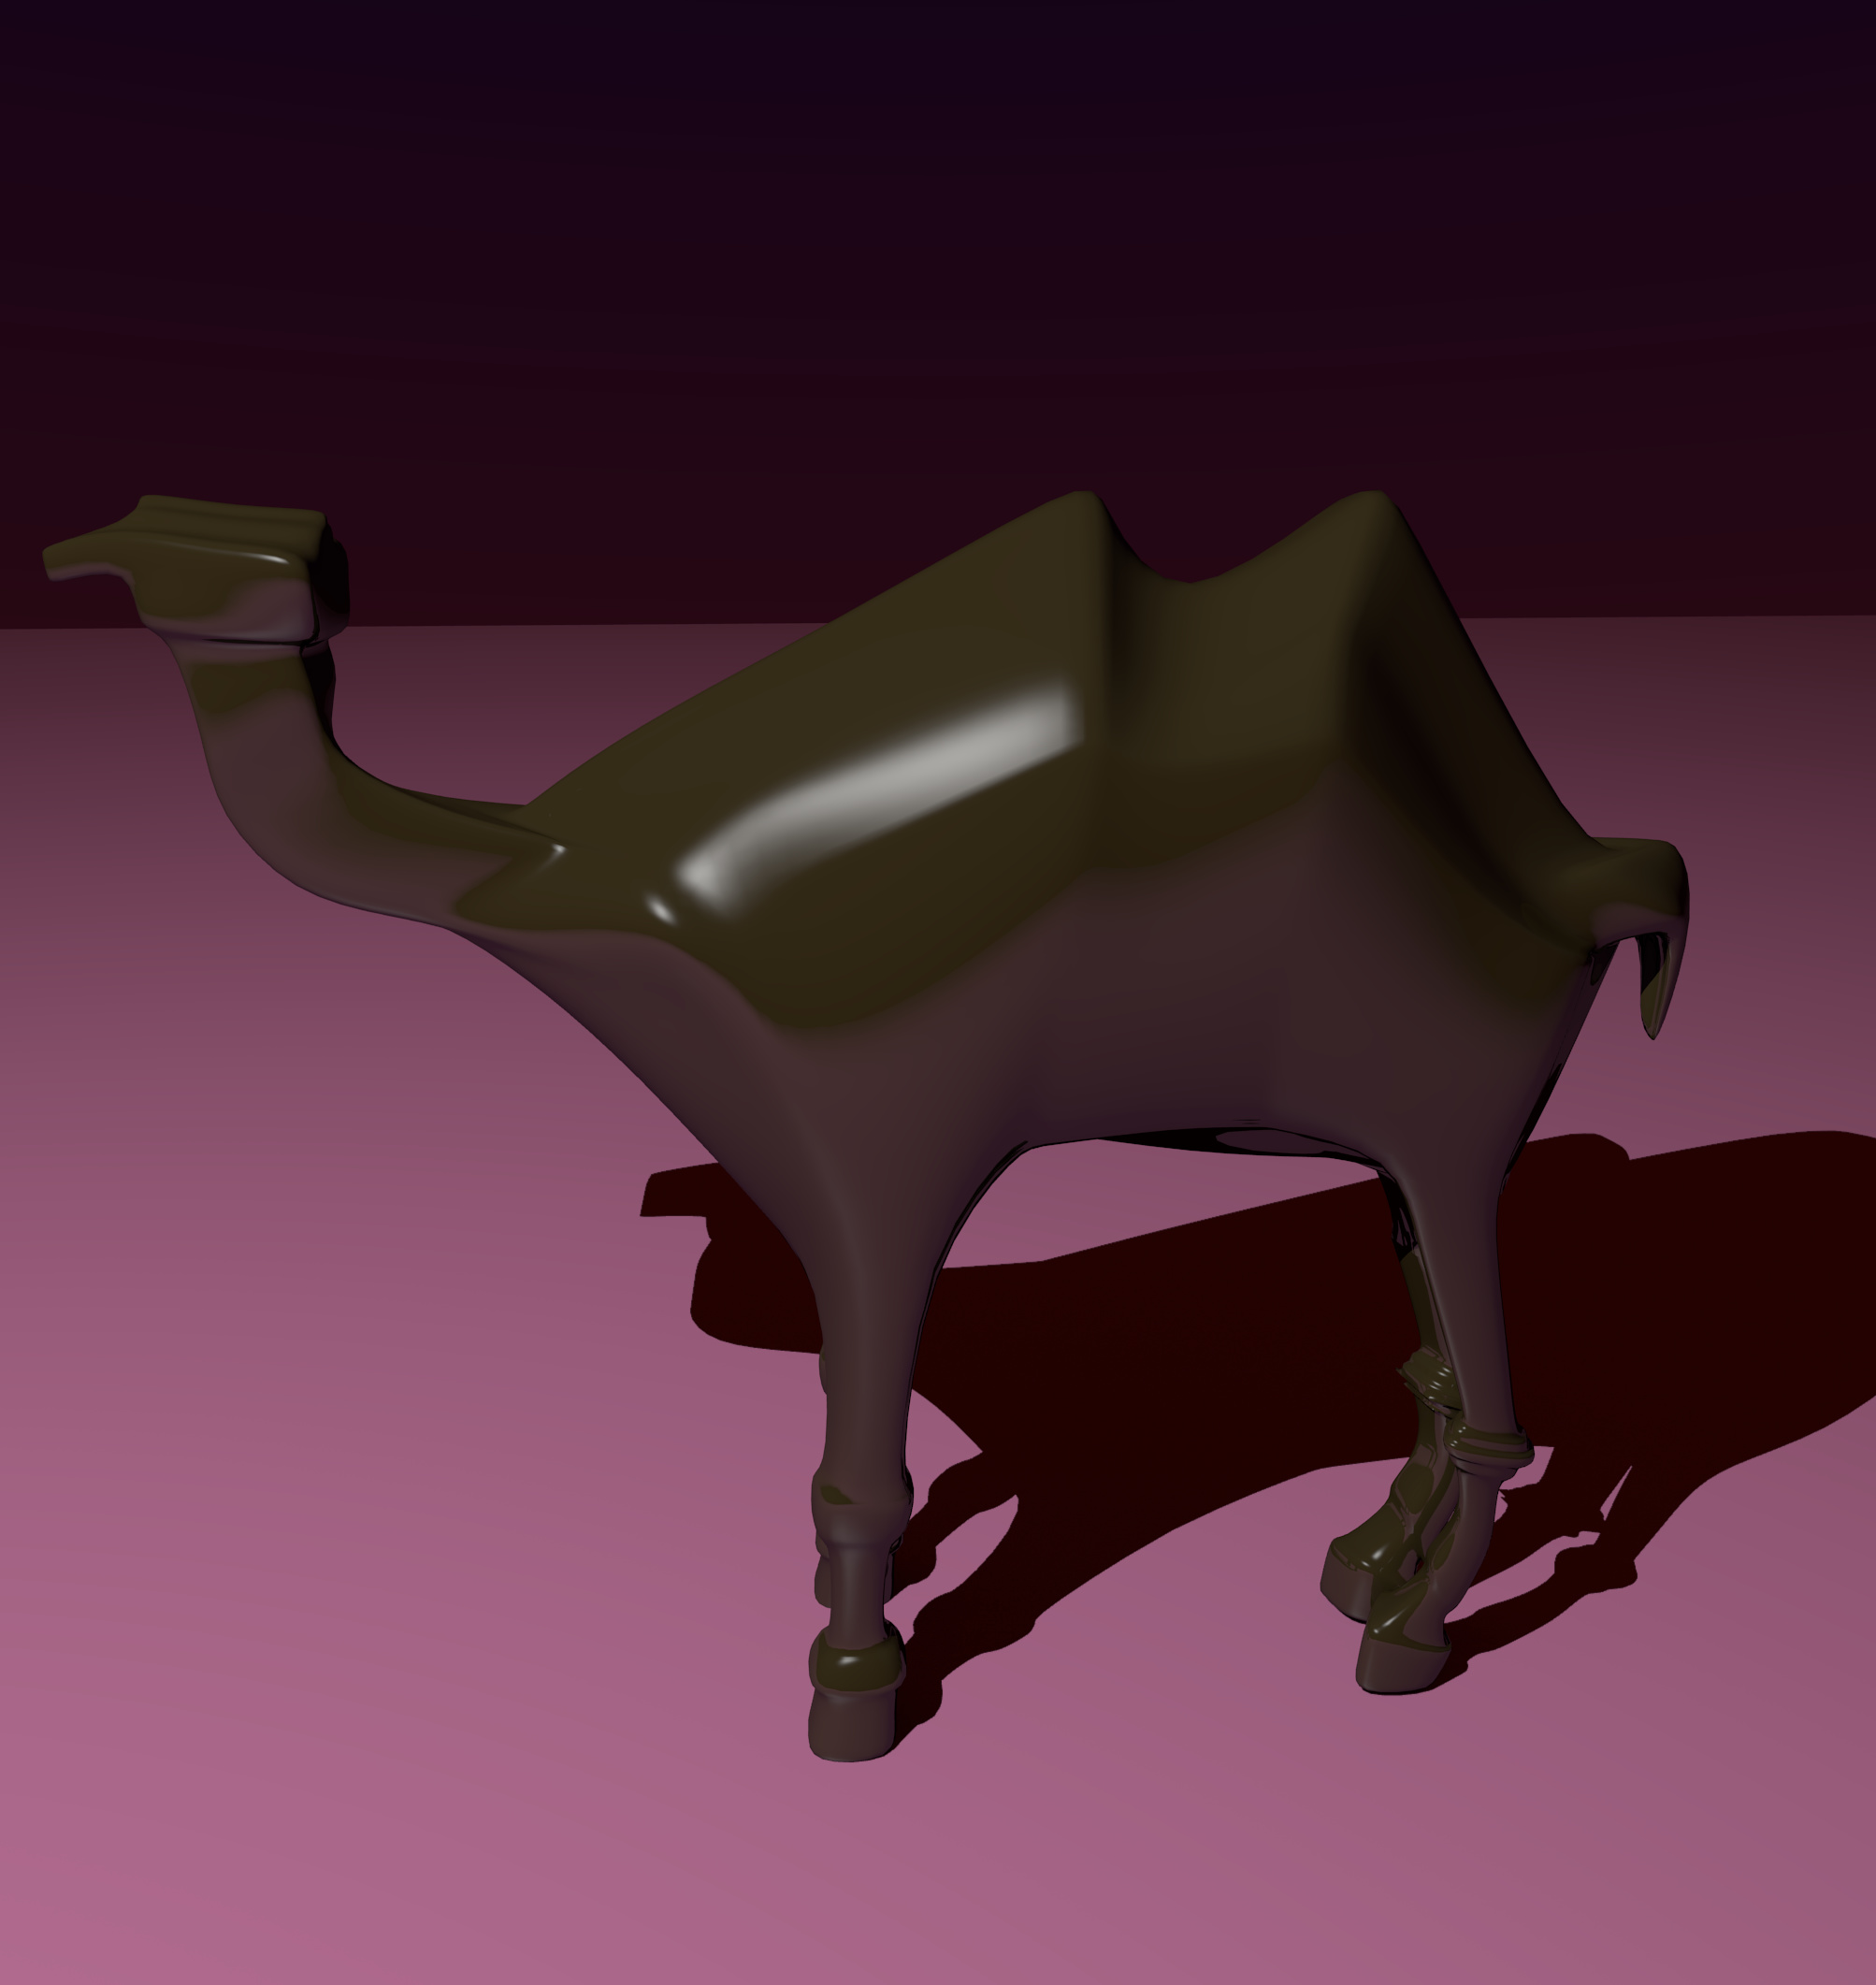
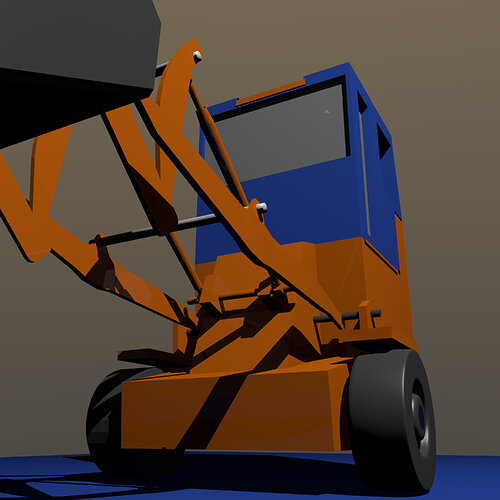
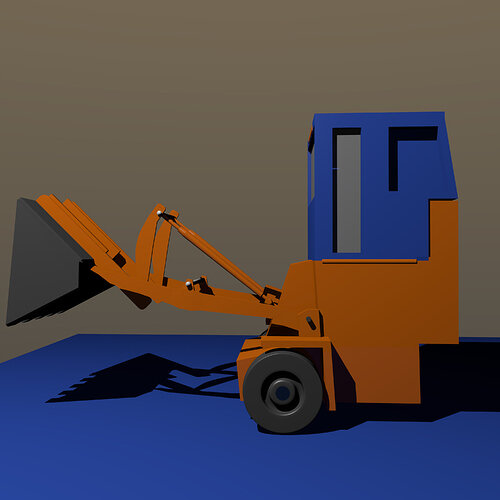
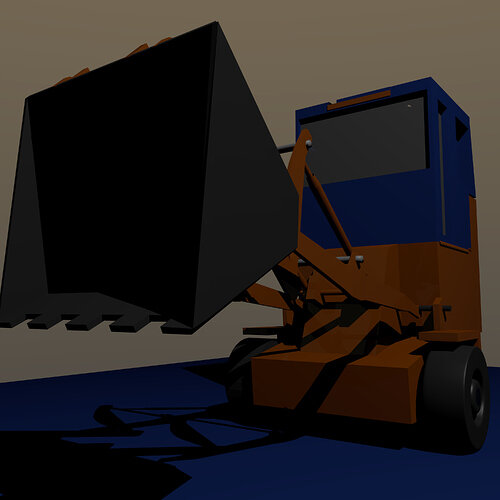
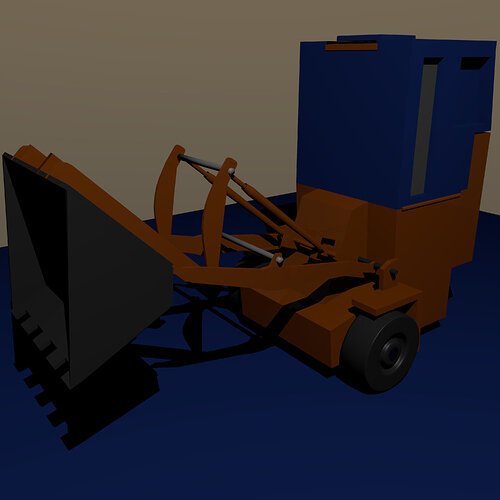
object Nr 5… I have spend on modeling 2 hours and 10 minutes. I have used a real car toy as an inspiration and no photos or sketches… I have loved to look at the details, holding the car in my hand. It is still a basic model and not very perfect, but I am proud to have learned a lot by making it. This is my actual modeling level without help of other videos, that is what I can do under a certain time limit with the techniques I know and like to practise… And there is so much more to learn…
yes, that’s exactly it 
Using the shortcut f
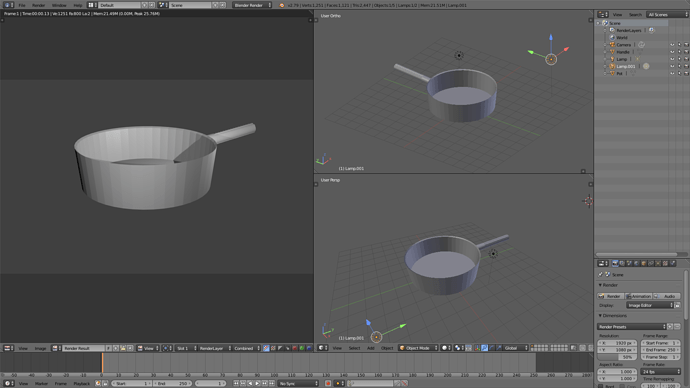
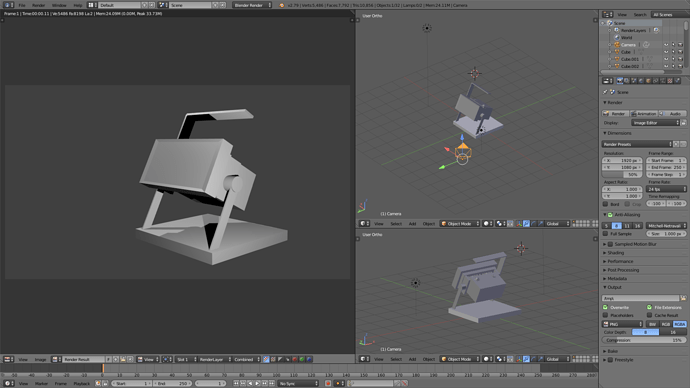
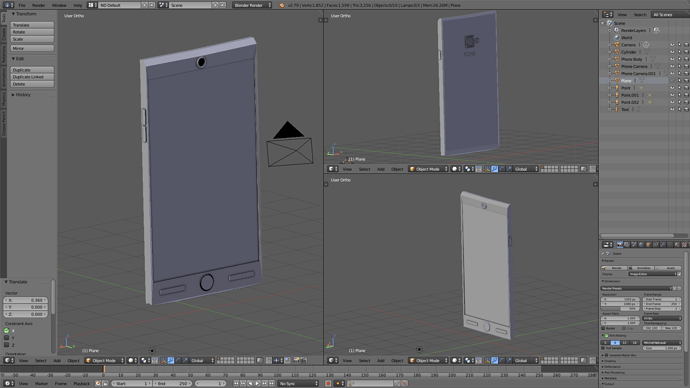
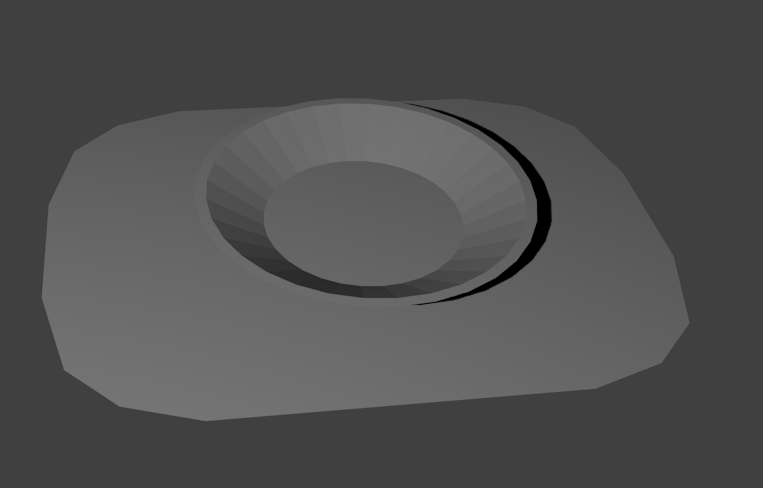
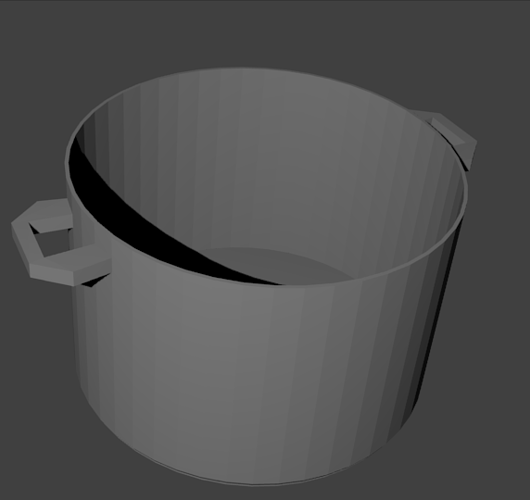
Here are 3 things i’ve made for this challenge!
- a cooking pot

- My dad’s high powered mini lamp
- smartphone
I didnt render the phone cause it no matter where i placed light, it ends up looking like its just a block with some bits on it, im sure i’ll manage to make it look good once i start get into materials!
Had the most fun making the phone personally 
EDIT: And yes, i’m still trying to get into habit of naming the meshes, it’s the same problem i have with photoshop, all my layers are just named…layer 1,2,3 etc 
I like your first pic and the lighting with its softness
I like how you used a glossy material and the background. And thanks for the hint about smoothing!
I did some furniture,
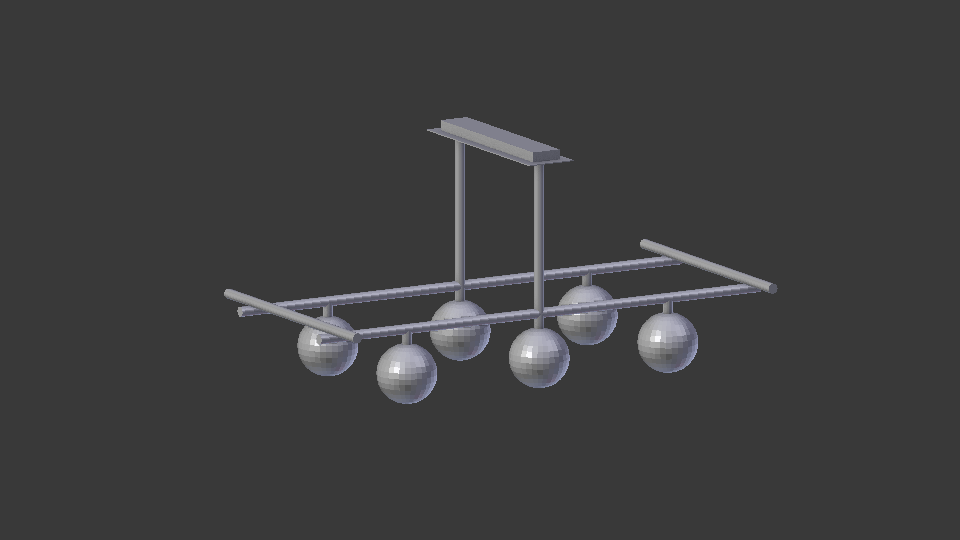
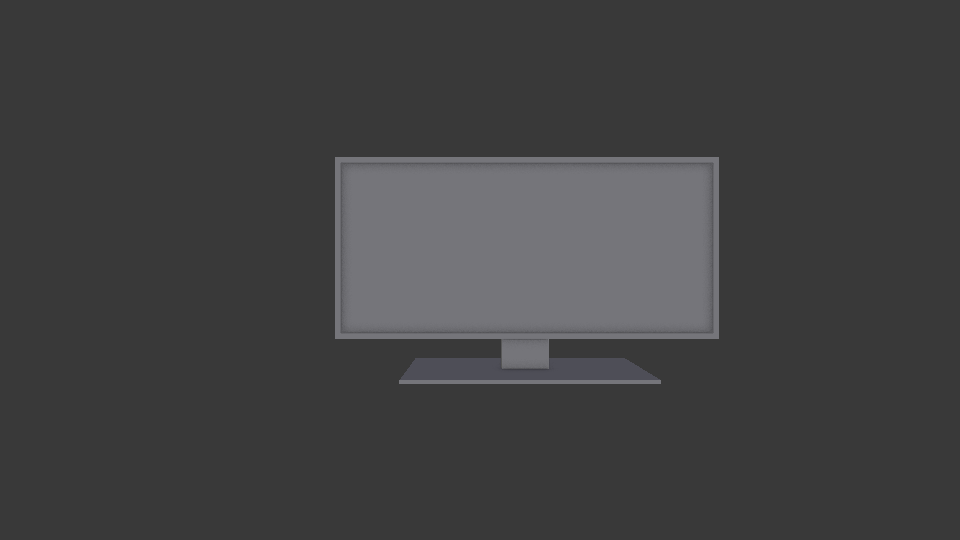
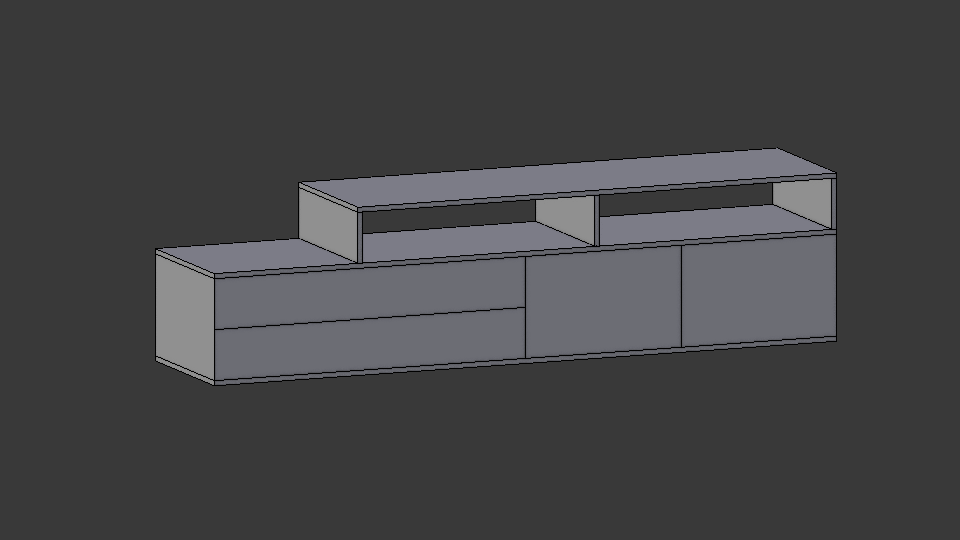
Hi, this is my first post here and these are my 3 real life low detail models for the challenge. First I did not think it was needed for me to do these extra models but during modelling I saw there really was the need to practise more using the complex blender UI. But it was fun anyway! Last time I did 3d modelling it was for Half-Life 1 maps in World Craft editor almost 20 years ago.
