Be the first to post for 'Advanced Layout Control'!

For me was a little difficult and longer, but here is what I did:
1.- On the header bar I clicked the right buttom of the mouse, and maximize area,
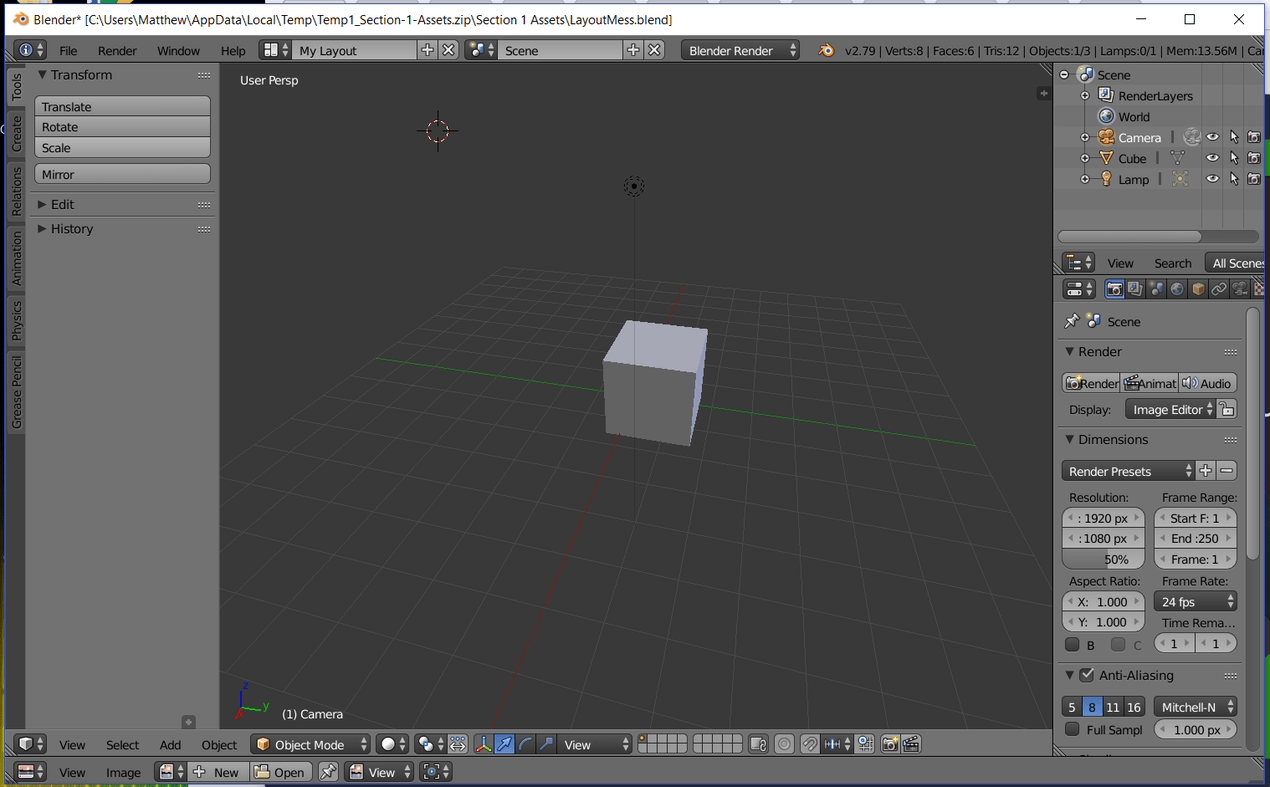
2.-Then, on the editor type that was original in Properties, I changed to 3D view, but I realize that was different than the default layout, so I changed it again to Info.
3.-On the bottom, I clicked Back to previous
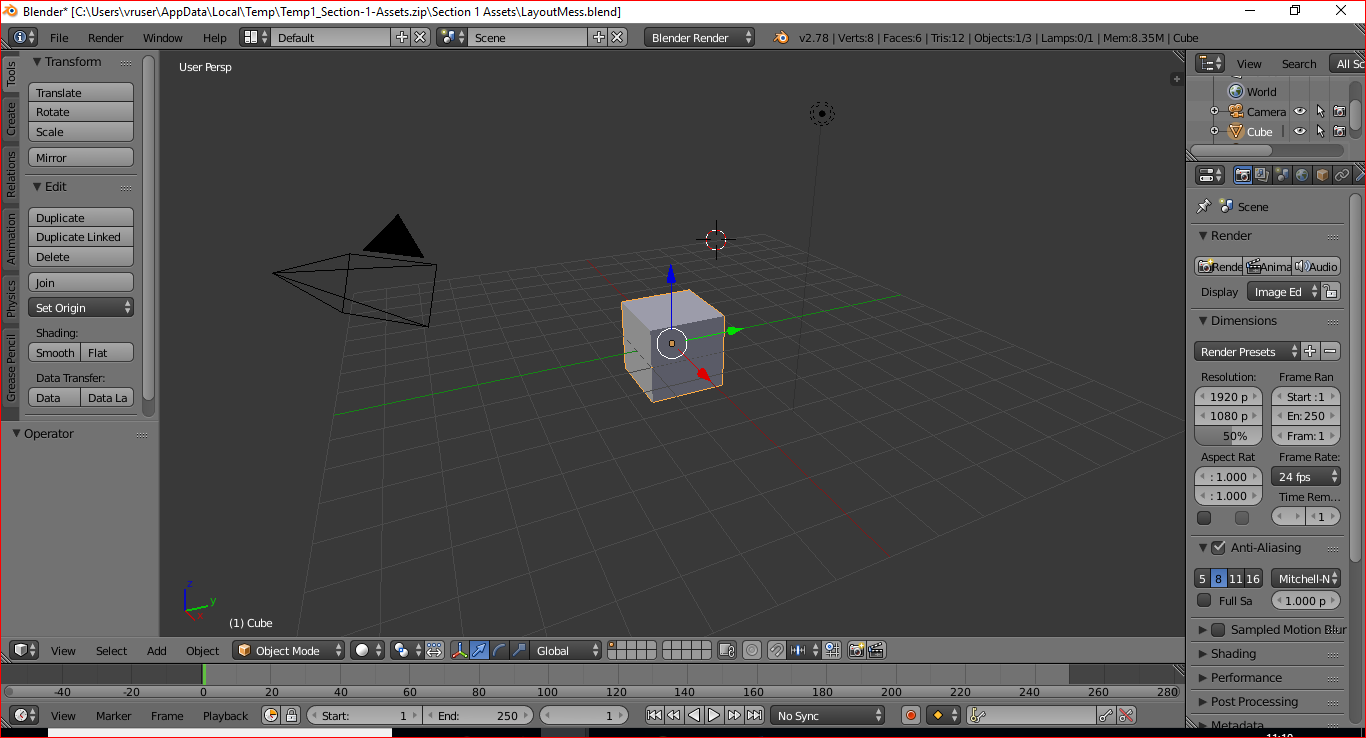
4.- at the section of Layout, I choose the option Default

and finally vualá!!! :grin:

[ success ] in getting the the layout mess . Organized i moved the screens to make new ones and changed them back to default spread.

  1. I switched the first screen to 3D view .
    2 . I created new outline and properties screen .
    3 . I moved on to the left side switched it back to transform and tools screen.
    4 . I used the triple line corner in the bottom on the screen moved up a small bit then i changed the very bottom back to time line and the one above it is the 3D screen .
  2. Lastly i changed the default on the info header from my layouts to default .

thank you

Hi I managed to solve the LayoutMess.blend challenge. It took me 2 tries thought. The first time I was fumbling with the settings and duplicate hashbars but to no avail. Once I closed the program and started it back up, I got it immediately. What I did was change the editor type to info first, then I noticed the layout was set to “my layout” s I switched it back to default and VIOLA!

YEahhhh !!! this is the closest I could get :blush:

HI, I fixed it too. But I in a different way at the end. I started to change for the 3D view, then I put the Header on the top and maximalized. Then File->New>Reload the start up file. I watched 2 times the video, I searched everywhere how to do it, and I did so… But how the instructor sais is much more easier… I have to listen more I think.

So, I pretty much knew how to do this and it was easy. The only thing that almost tricked me up was that the Properties bar had the Tools flipped so I almost screenshotted it without flipping to top. Then noticed the small mistake. So the above is my layout and I’m pretty sure that’s the standard.

Got it

i separate the different windows and then put the appropriate mode in each one of them

Challenge completed via second way by moving things around, though first one was cool and fast, nice trick to remember

How does I return to the previous view after hitting SHIFT+FUNCTION KEY?

Was fairly straightforward - however on my Windows 10 machine I don’t see an option to “go back to previous view” on Blender v2.79 when I use SHIFT + F1, etc. Sometimes when I hit escape it goes back, but sometimes it doesn’t.

Here’s mine! I’m pleased to say I took the long way :slight_smile:
It was worth it. I remember the days I accidentally changed something and would have to open a new file every time :confused:

Took about a minute to find the info window.

Hi All,
it was quite easy. I’ve select “Info” in editor bar and select as layout “Default”.

so done.

Regards,
Sören

I did it with help from this forum. Thank!

LayoutMess|690x366

Don’t know if I’m posting in the right area but here is my solution to the challenge set in lecture 7.LayoutMess%20repaired|690x379
Just got the info header and clicked default.

hm. that is my best… i think

this is really hard challenge to me

first. i don`t well Eng . so every moments can be challenge.

Fixed default layout with not one, not two, but nine default cubes!

Fixed by switching to info window and selecting default layout.

My biggest problem was figuring out where the top bar went. Once I figured out it was just another window, I added it and was able to switch from My Layout to Default back and forth to compare my progress until I got it right. I probably could have also used the shortcut keys to compare to the Default setting.

Turns out all those tabs are just separate windows. Once I knew that everything else just fell into place.

Hi Blender People!

Here is my solution for the LayoutMess.blend task from the first Section

Looking forward for more! :grinning:

Cheers!

Privacy & Terms