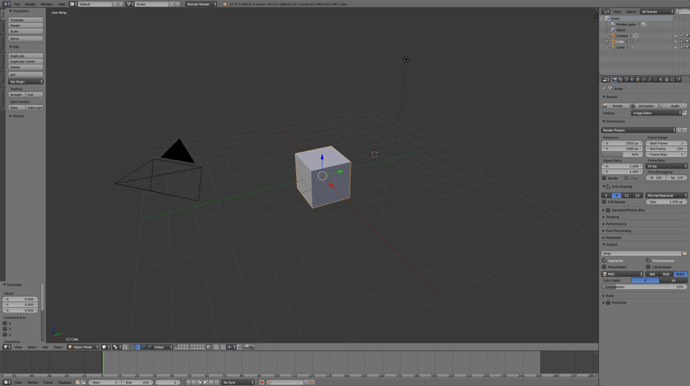
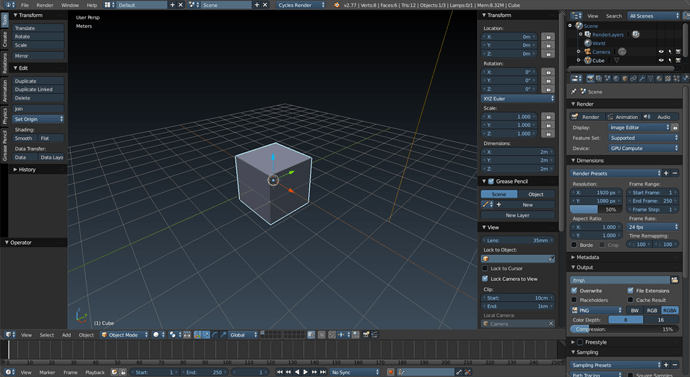
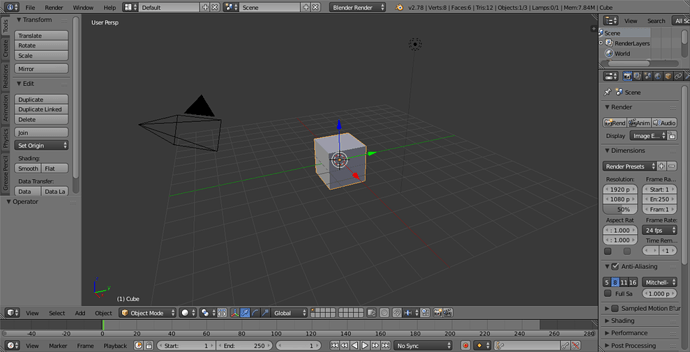
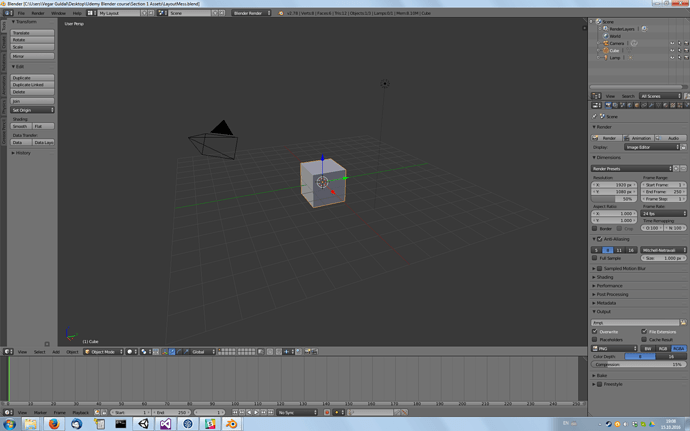
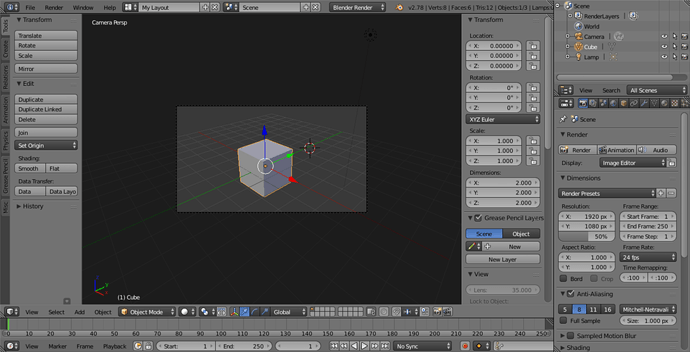
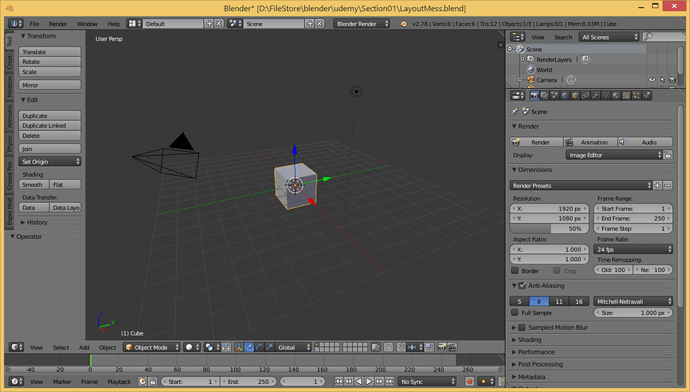
took me a bit a playing but reading how others did it will be more helpful than anything this noob can put down, just keep trying and read the threads, tricky lil buttons to find but got it in the end.
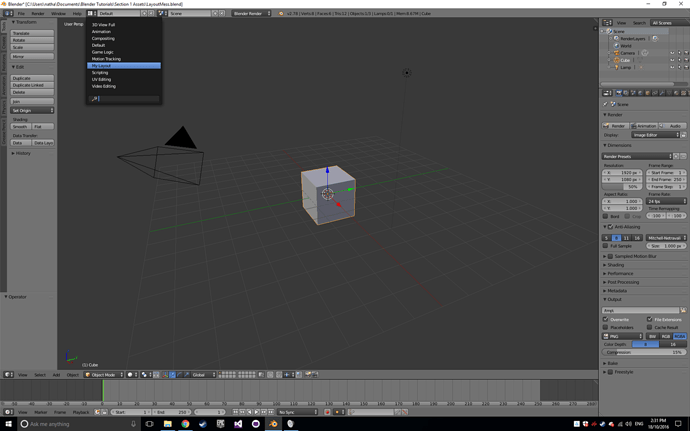
The default layout option was not visible to me. So I went to the Info section/menu and clicked File -> Load Factory Settings 
That is my solution to the default Layout.
I split the Proprieties windows to the right and get 3d view panel, then split 3d view in 2 one up for inf. and the lower is 3d view then go to default Layout from inf. header
I changed the view area to ‘info’ then clicked on the layout and selected ‘Default’
I did it the long way. Duplicated the window panes and got to the Default layout like layout.
Hi,
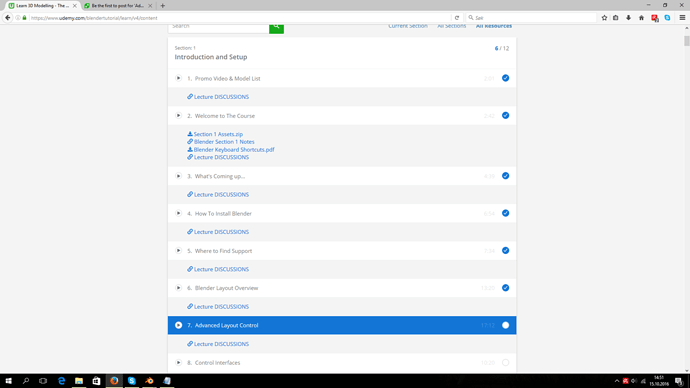
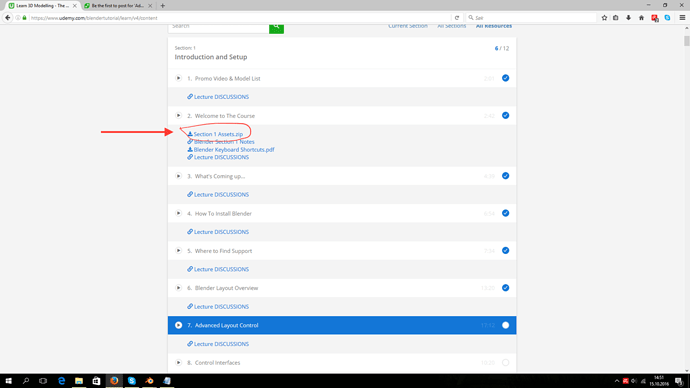
I didn’t manage to find “LayoutMess.blend” from resources.
I have Windows 10 Home.
Thanks in advance for help !
/Are.
Hi @are_yttervik. LayoutMess.blend is inside Section 1 Assets.zip. It’s there in the screenshot you provided.
Click the link, it should begin downloading.
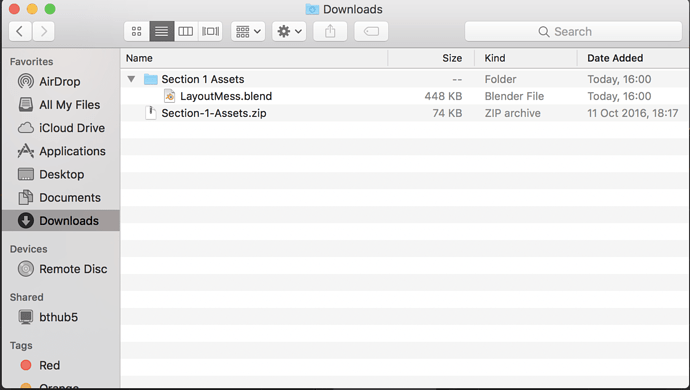
Once it has, locate the file, it’s probably in your downloads folder. Then unzip it.
Also if you have further issues, a good place to check for answers or post questions is Udemy Q & A
Hope this helps 
I did it two ways.
1st, the hard way where I created all the necessary windows and changed them to 3D, timeline, etc to get very close to default.
2nd, I realised I could change the window type in the messed up layout to info then select the default layout. Much easier.
Hi guys
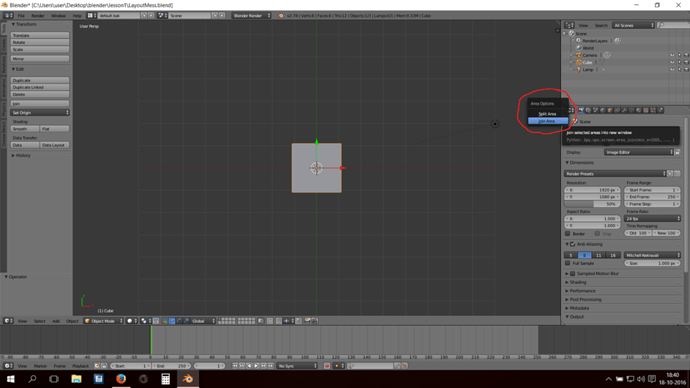
Instead of using the tiny buttons in the top or bottom corner you can just right click on the divider between two views to select split or join options.
i believe i got everything. my method was making the fist screen 3d layout and made multiple split screens to the right size for the other area then changed them to there corresponding screen type. the one i did struggle finding was the top layout bar then i remembered that was the header for the info screen.
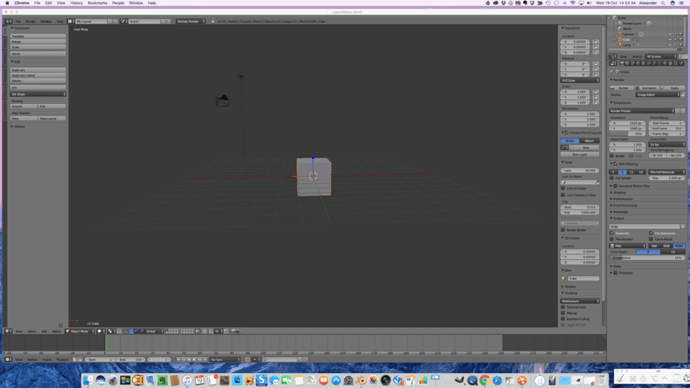
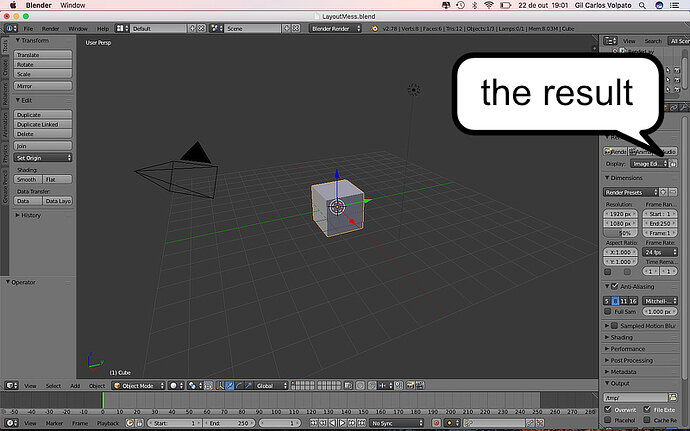
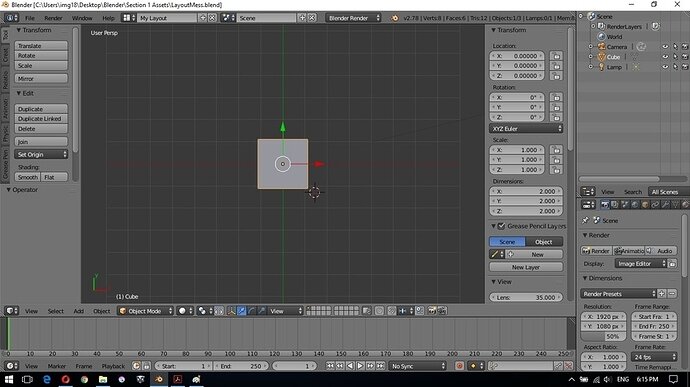
This is how I solved the Layout Mess Challenge of Section 1 Lesson 7, in two different ways. In the first case I changed the type of the area for Info and then I choose the Default layout. Very simple. In the second case I rearranged the sizes, types and locations of the areas. A bit more complex task with very similar results.
Hello  This is my fixed layout
-
In the beginning I collapsed the window in two, I used the top splitter widget.
Window 1 / Window 2 Properties/ Properties -
I changed the Window 1 from “Properties” to “3D view”
Window 1 / Window 2 3D View / Properties -
Window 1: I used the “+” buttons to make appear “Tool Shelves” on both sides (Left and Right) and the “Operator”.
Window 1 / Window 2 Tool Shelves (On both Sides)+ Operator + 3D View / Properties -
Window 2: I collapsed it again by using the top splitter widget, It appeared 2 Sub-Windows and I changed one of them from “Properties” to “Outliner”.
Window 1/ Window 2 Tool Shelves (On both Sides) + 3D View/ Outliner + Properties -
Window 1: I collapsed it two more times.
First Time: I used a Bottom Splitter Widget (located on the left side) to create a Sub-Window, I changed that Sub-Window from a “3D View” to a “Timeline”
Second Time: I used a Top Splitter Widget (located on the right side) to created a Sub-Window, I changed that Sub-Window from a “3D View” to an “Info Bar”
And that is how I finished it  hope I did the correct procedure
Here’s my solution to the layout mess challenge.
Simply switch to the Info tab, then select “Default” from the list of layouts.
This UI remembers me of cgcookie community. Here’s my layoutmess screenshot.
As stated in above post by Firefist270, to select the Default layout in info header, it’s easy yes but where’s fun in that. So I opted for the splitting and assigning the windows.
Hi,
The fastest method I found was to switch the Editor to Info view, then select Default layout. Don’t need to duplicate or create new windows 
Hi guys,
Here what I came up with! I did have to go check blender.org forum for some additional info like Ctrl Arrow up so I could get the header back…

