
This was a fairly tough section and I have a feeling it will be revisited many times lol, in a good way though.
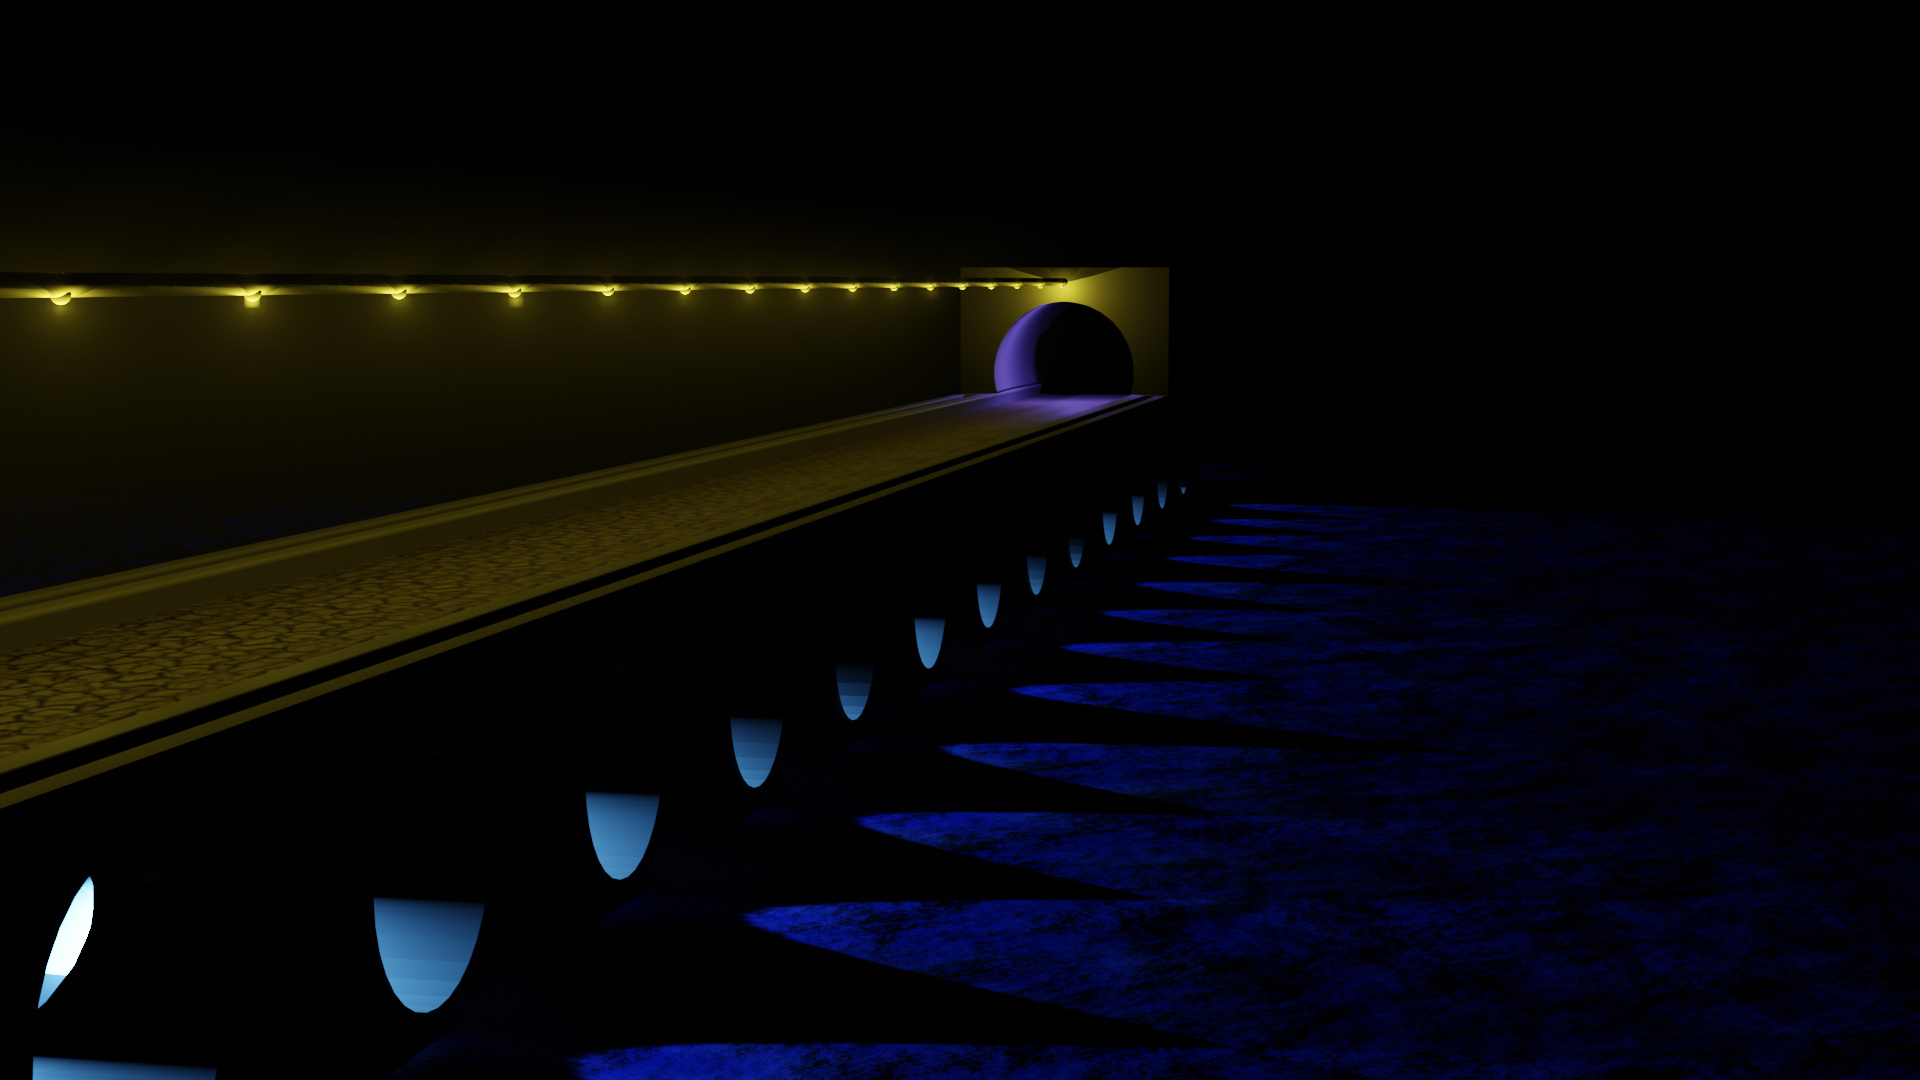
I ended up really diving into the generated textures and made these 2 projects (one in Eevee and one in Cycles) from more than half custom generated and a few downloaded textures from online. Spent well over the allotted time, but It was fun and worth it! (However, I did mock-up these scenes fairly quickly… its always the detailing that you can sink your life, your kids life, and their kids life into and still not be happy with lmao).
A lot of the objects are created in an array or randomize transform etc for simplicity, the scenes are really simpler than they look when you break it down lol… I hope we delve deeper into learning about creating texture maps (Normal, Disp, etc) as I felt there is so much more to learn about creating textures on par - or close to - the downloaded ones (could just be my lack of knowledge at this stage of learning though, still got way too much to learn haha). Same with volumetrics, it seemed to be drastically different in the different rendering engines - especially when layered or when texturing them.
In summery; Fantastic Section!, I learned loads - and from all the posts above, it seems so did a lot of others! Looking forward to more, and if you’re stuck… remember this simple tip I had to remind myself of; The hardest part is getting started!

EDIT: I decided to update the trees in the mountain scene as they were really contrasting with the rest of the scene.

Epic scenes. Well done for putting the extra effort in here, it really shows 
You are really making progress here.
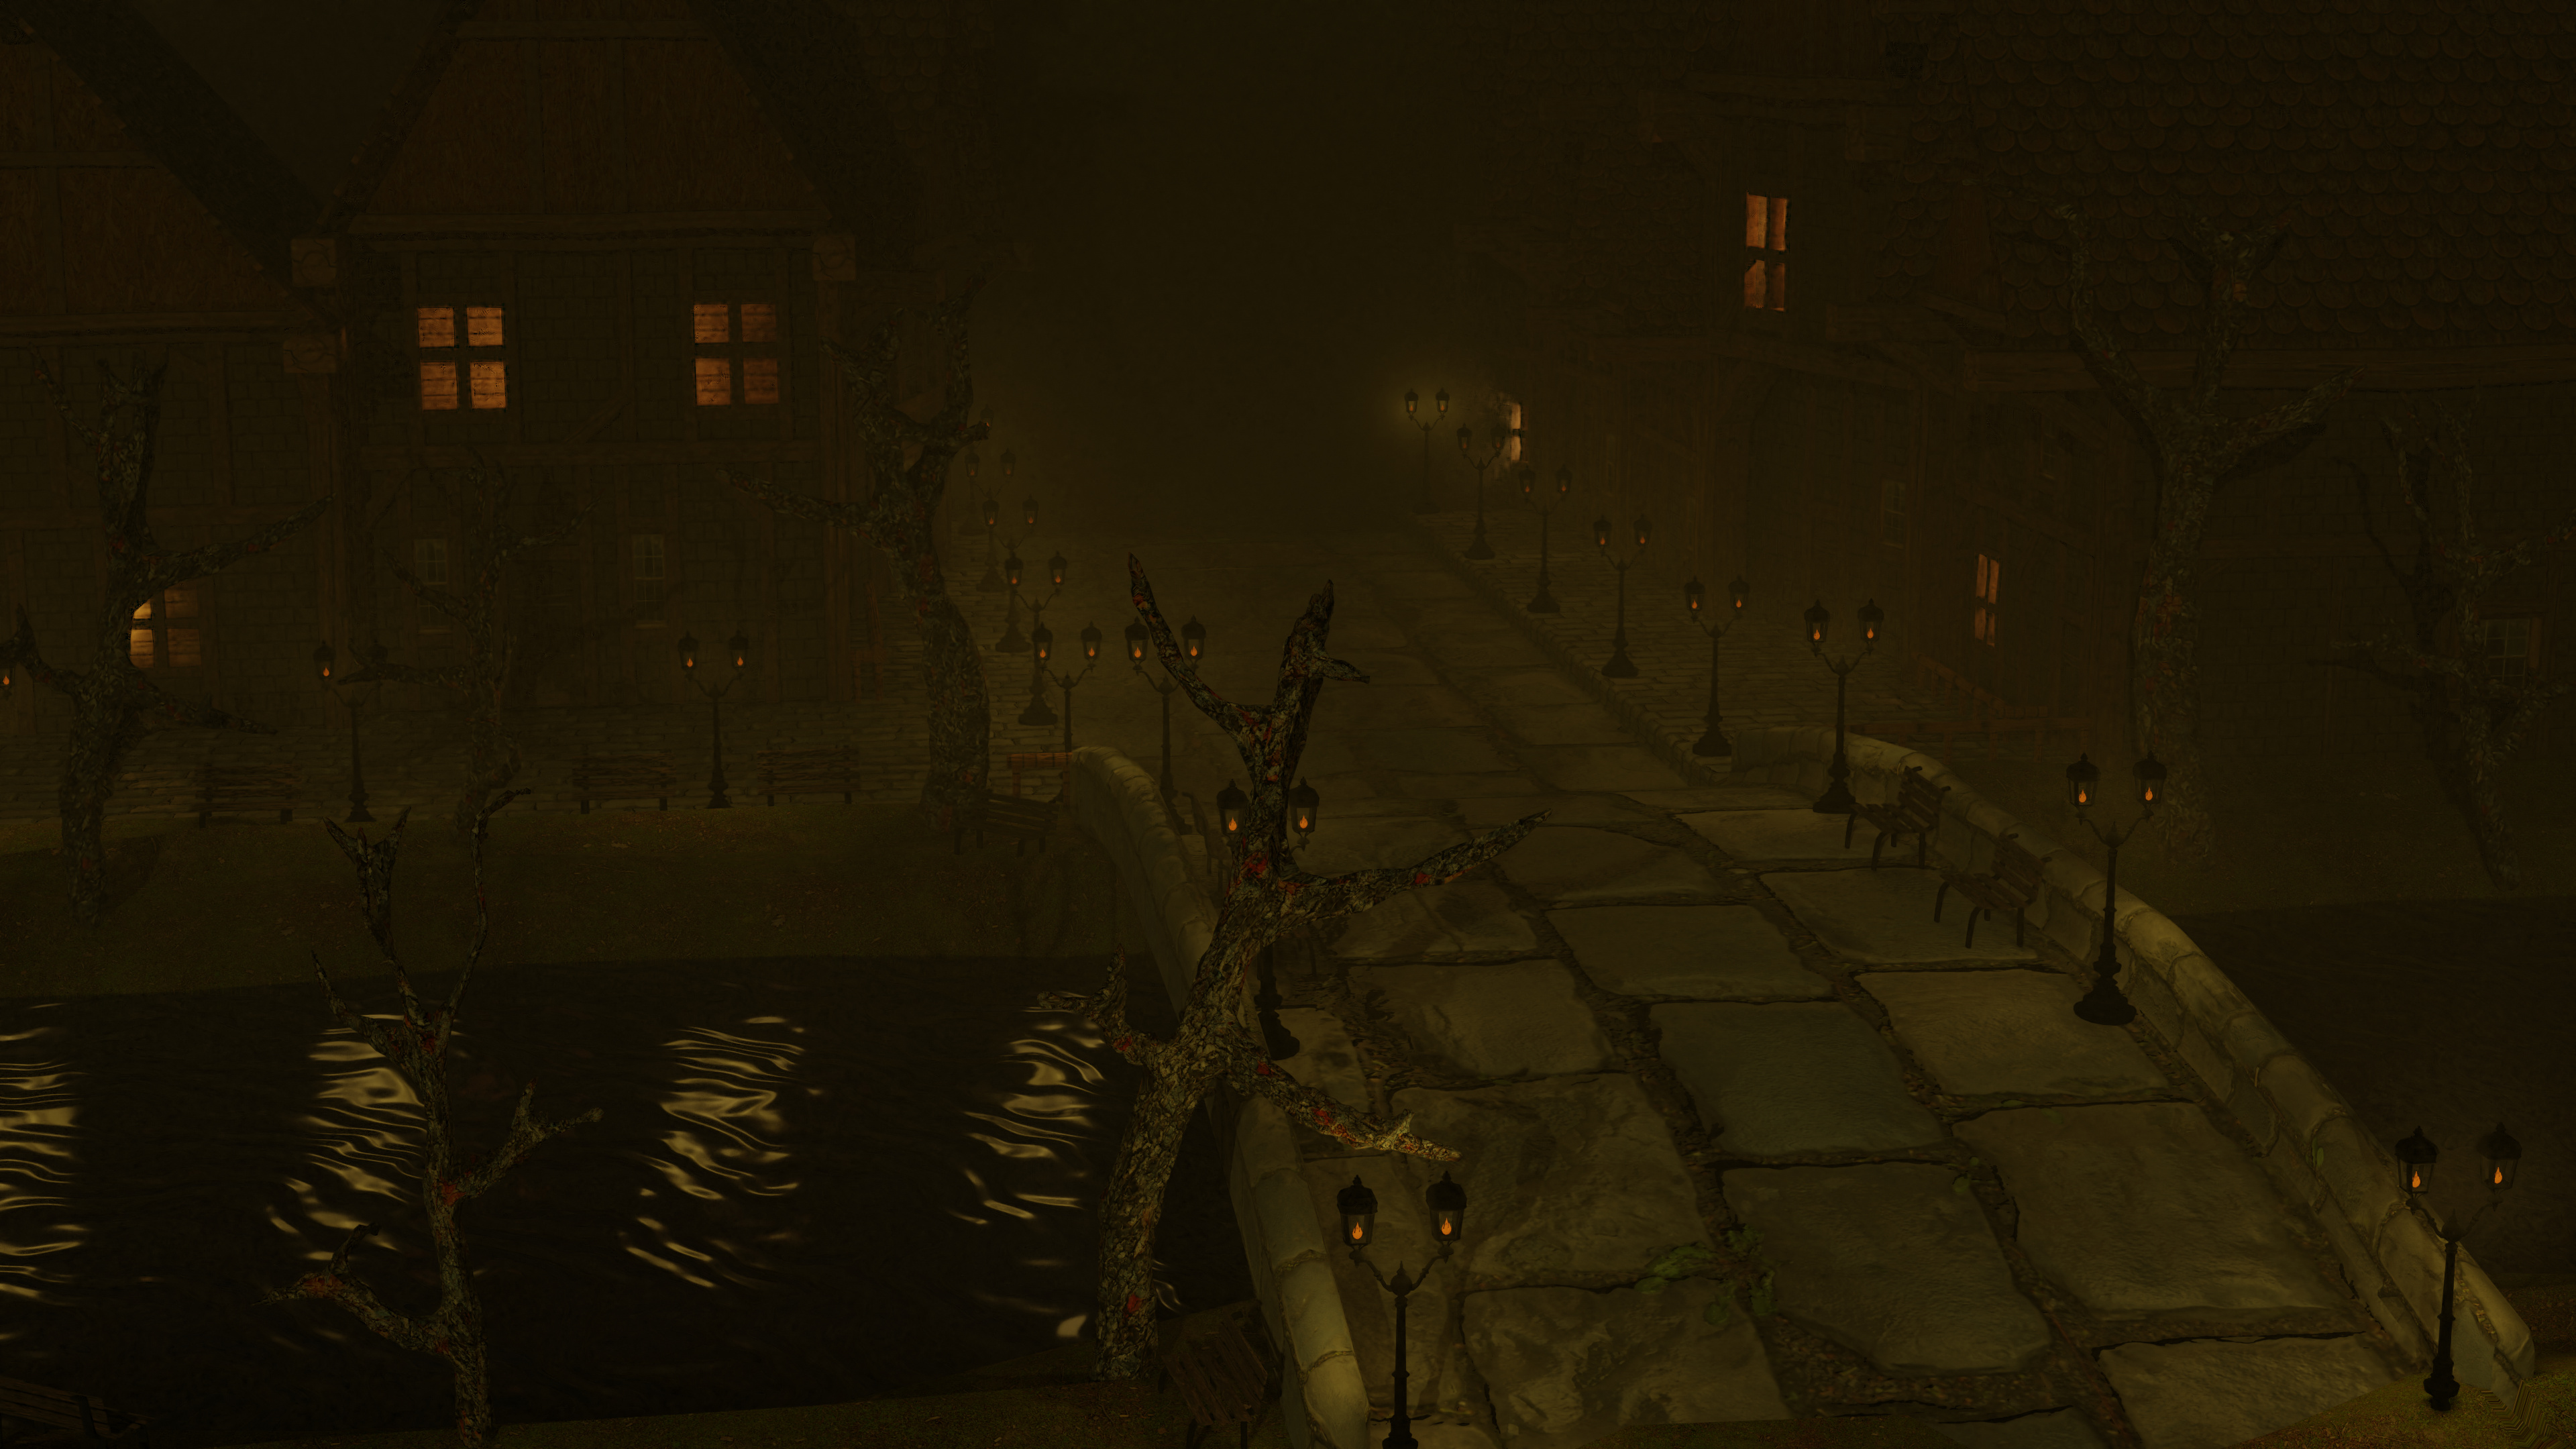
For me the last image has something magically. Charles Dickens like.
Great JOB! 
Thank you! The one main gripe I had left with these scenes was the trees are very lackluster and could use some love, badly lol. But I really wanted to continue on-wards and can always come back later to update them eh.
And thanks FedPete, I was definitely going for a ‘Dickens/Shakespearean era’ type of scene. Glad I nailed it!
So, I’ll see you in the next section!
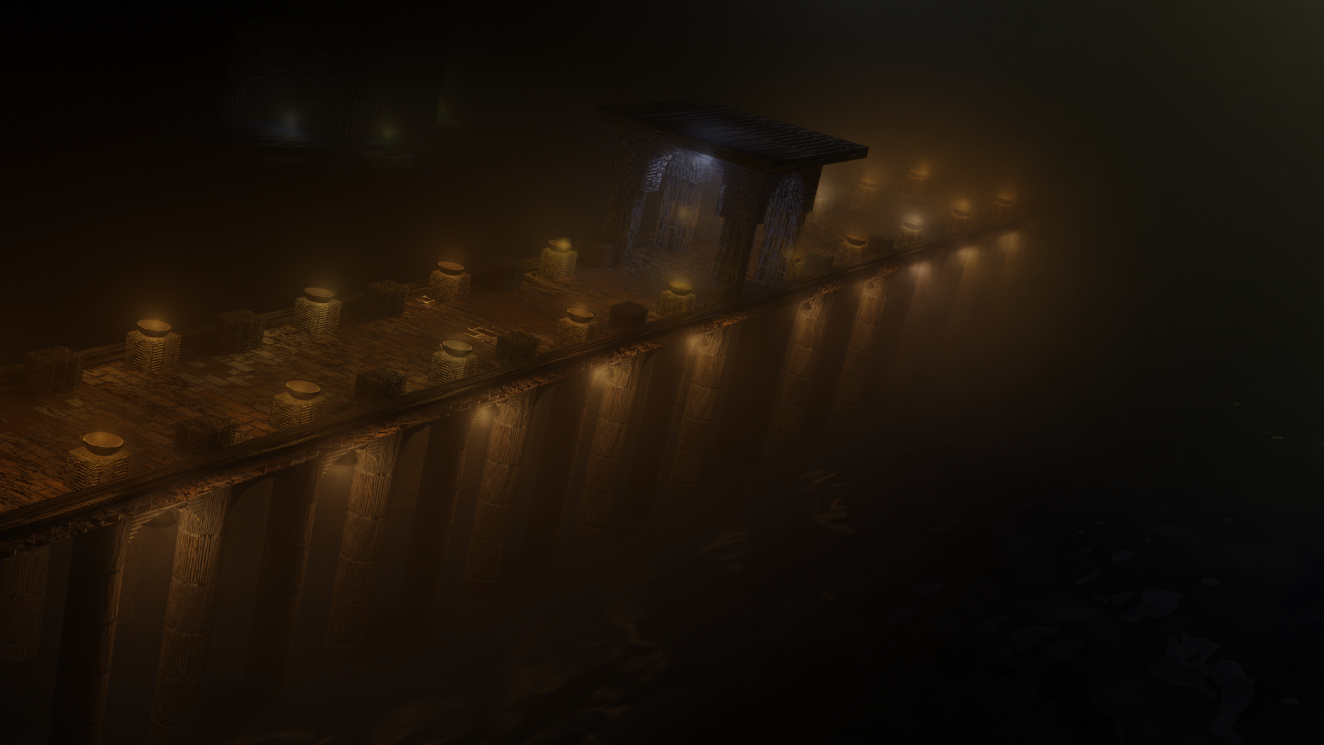
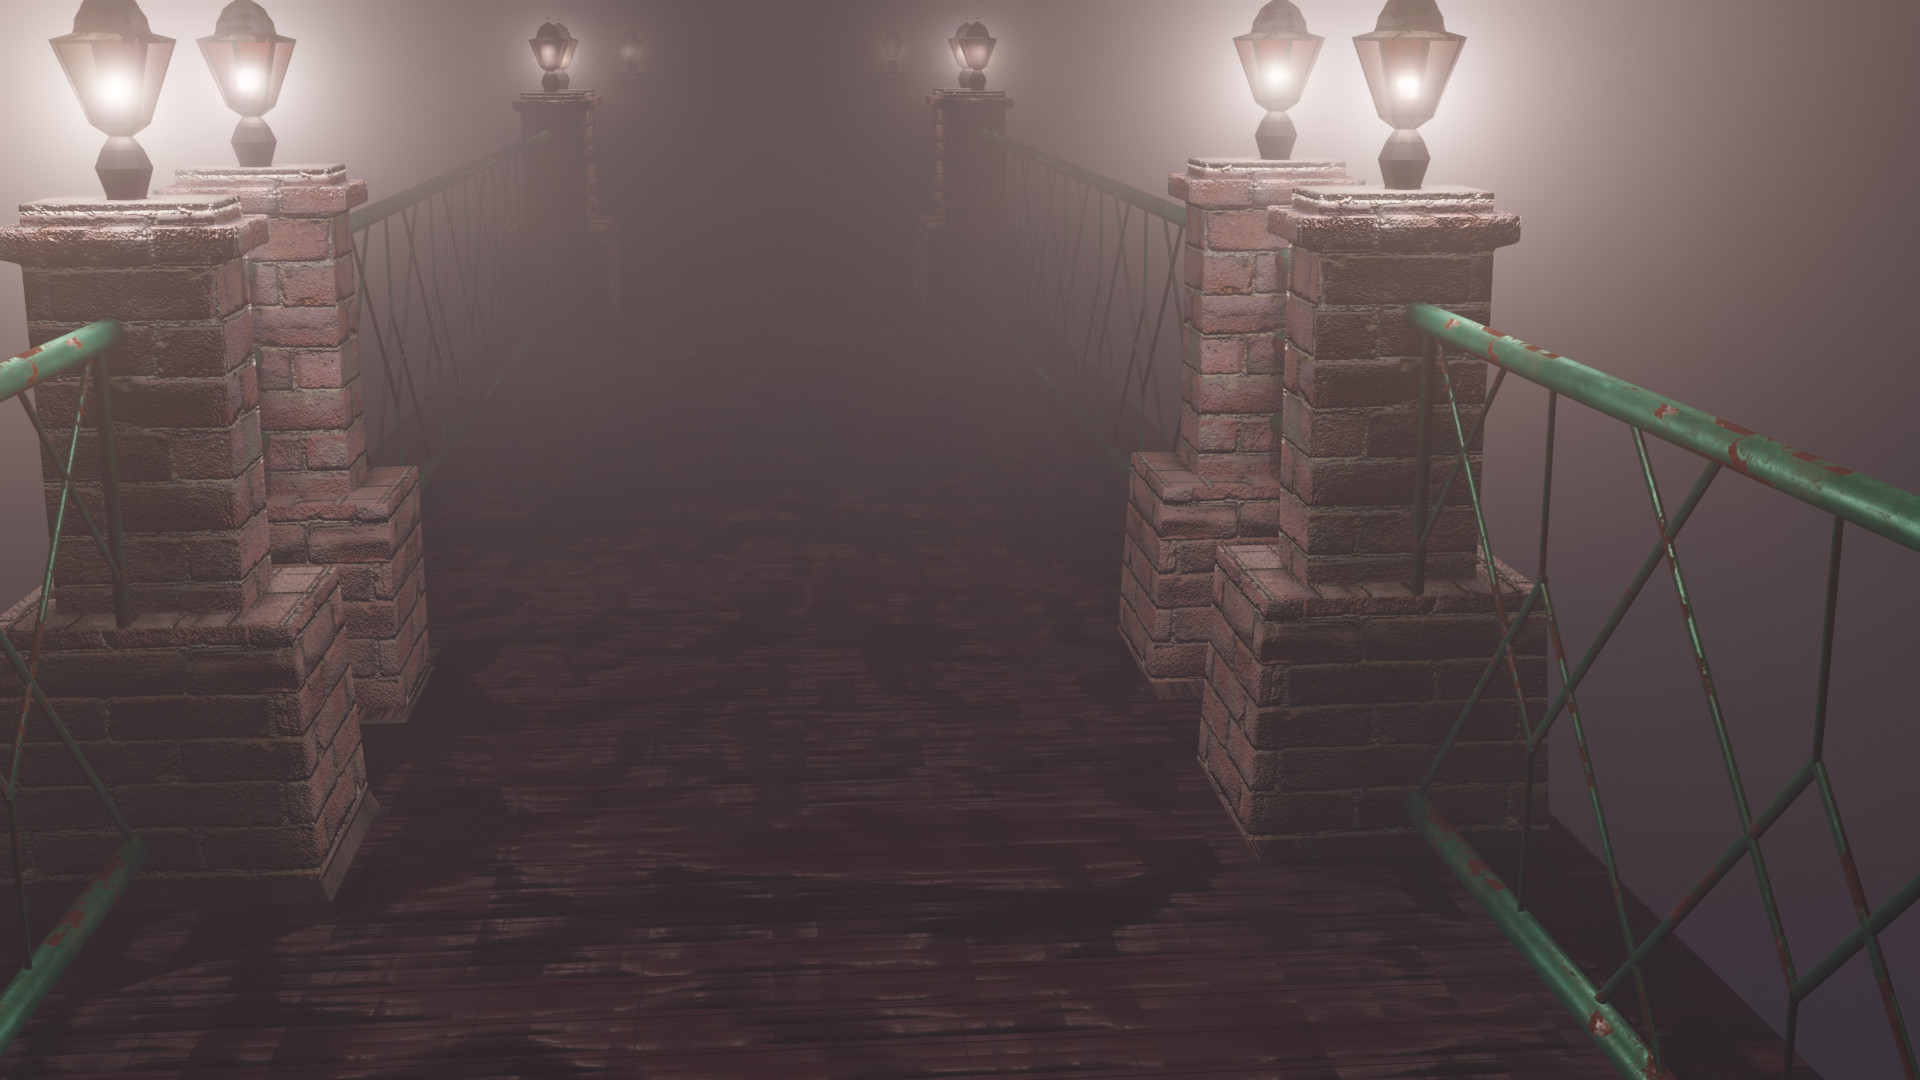
I went with the well and am kind of OK with it. Not perfect but much better than before.

The next thing missing (and I didn’t find it e.g. for textures) is randomness, as each brick is exactly like the other. But that will probably be part of the Complete Blender Creator course. Maybe I should do that course before finishing this one. Any thoughts?
Hey bmartin, I hear ya with the repeating look of objects. Its something Im still working on as well… but one way its possible is to select a group of objects and try doing a “Randomize Transform” (Object>Transform>Randomize Transform) then changing the settings in the operator panel that pops up. As for randomizing textures… Off the top of my head I think you could just move your individual UVs around in the UV editor? If you want to get more complicated, you can start layering textures and creating multiple UV-maps for each object, using vertex groups for mapping… Hopefully someone more knowledgeable can help here more than I can.
As for the course, Id say it depends what your goal is… but if you’re feeling comfortable in the pace of this course and what you’re learning, id suggest continuing at least until you finish the procedural worlds section which has a lot of great info about texturing. The complete blender creator covers everything like basic animation, rigging, modeling, file organization etc etc. Its a great course as well.
If you’ve completed this course you might find the beginning of the complete blender creator repeats a lot of what you know, but there’s still loads of good info (good time to practice what you learned here!). Don’t let that stop you though as there is lots in that course that is not covered here.
Good luck man!
There is a feature in Blender, to generate a texture based on location, position of the object.
Use this to transform your texture; Texture coordinate (generated) and node Mapping, you will learn.
But simplest way for now, is just JOIN al stones (apply arrays first) into one Object.
Having lots of crashes with the Lego - redid the scene with a simpler model. Learned a lot Thank you!
Looking forward to the next section. Great work by other students - WOW
Like your post. It’s mystical, like flying a dragon, looking for something …
A lot of work and patience.
Thank you! I appreciate your feedback - always encouraging and helpful.


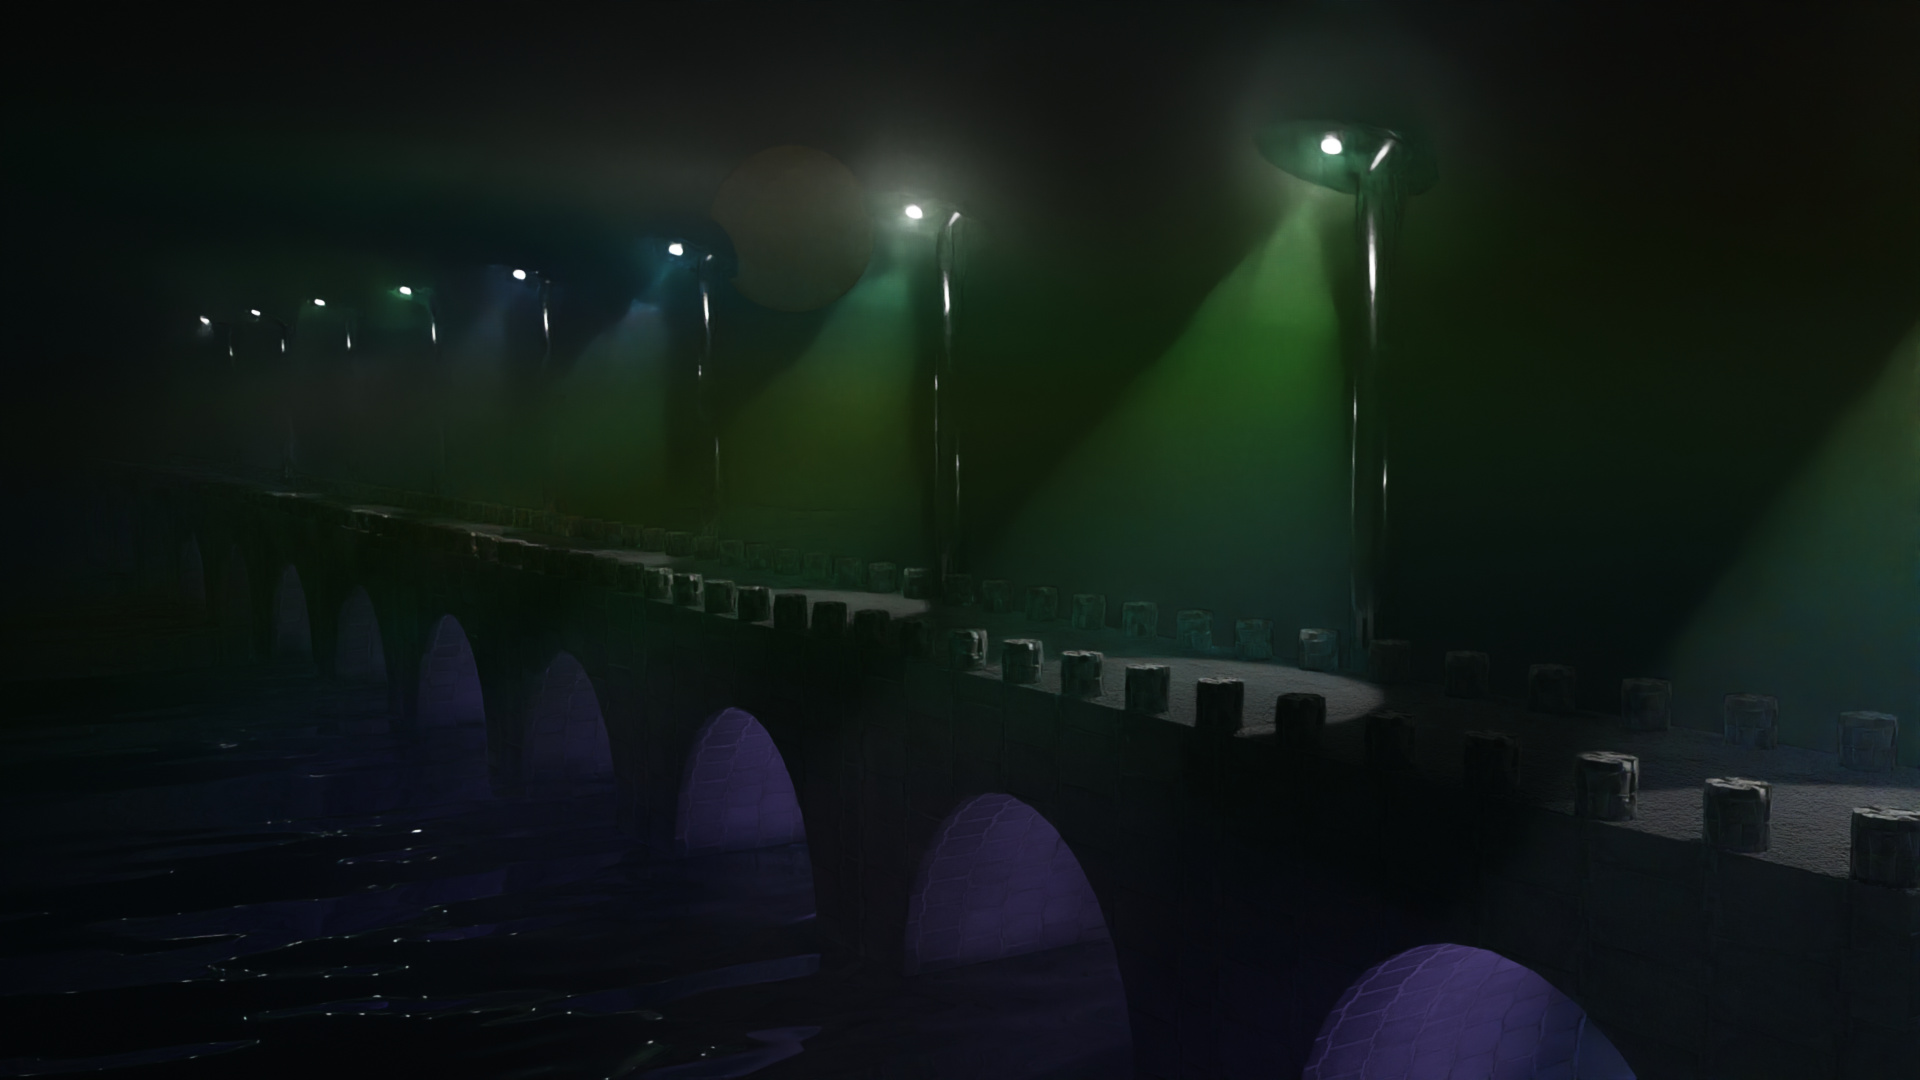
Poisonous fog …

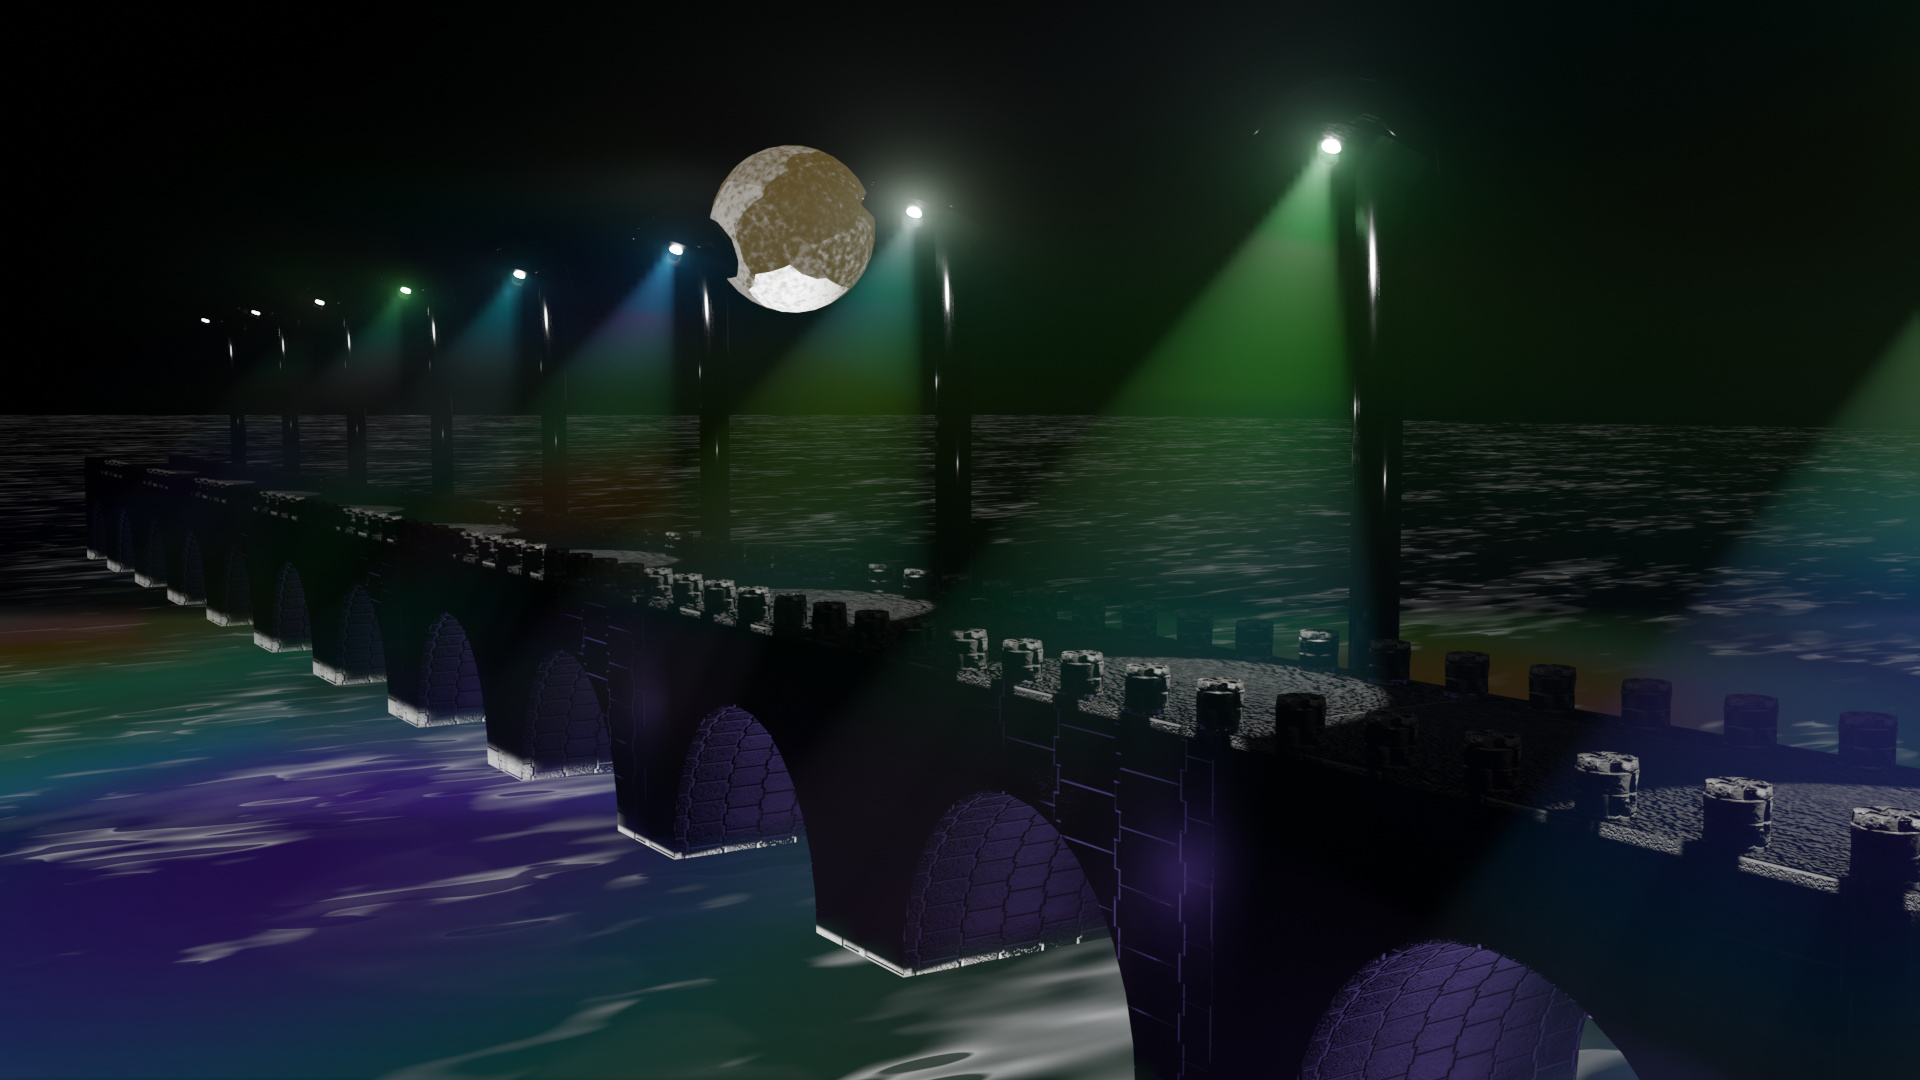
So i finaly finished my bridge- texturing was really fun- but till to this part, it was quite challenging- espeacily the unwraping part- i had to remodel the bridge 2 times.
quite happy with the end result…
(changed the light to more red- so it fits the sourrounding)
at the end, my bridge got older and older.
How about using UV-Maps and manipulating the UV mesh …?
A very beautiful scene, with really nice visual effects.
Thnx a lot-
well, my first bridge was ment to be a metal bridge but construction was very bad. I was able to hide the holes of the model in the fog, but later on, i was compleatly lost in uv editor with all the parts. Most of the edges didnt fit together. my secound bridge was 125m long and it was only one object- with a lot of boolean cuts, which unfortunatly added strange geometry to the mesh- so uv maps was as well confusing. with my last attempt, i constructed it closer to the tutorial. still- uv mapping seems quite difficult and not perfect but i am quite happy, how it turned out…
Very atmospheric result. I like that in some of the lamps the bulb had broken too.
Okay, now I understand your UV problems better and therefore a different bridge design.
Good to hear you found a solution on your own.
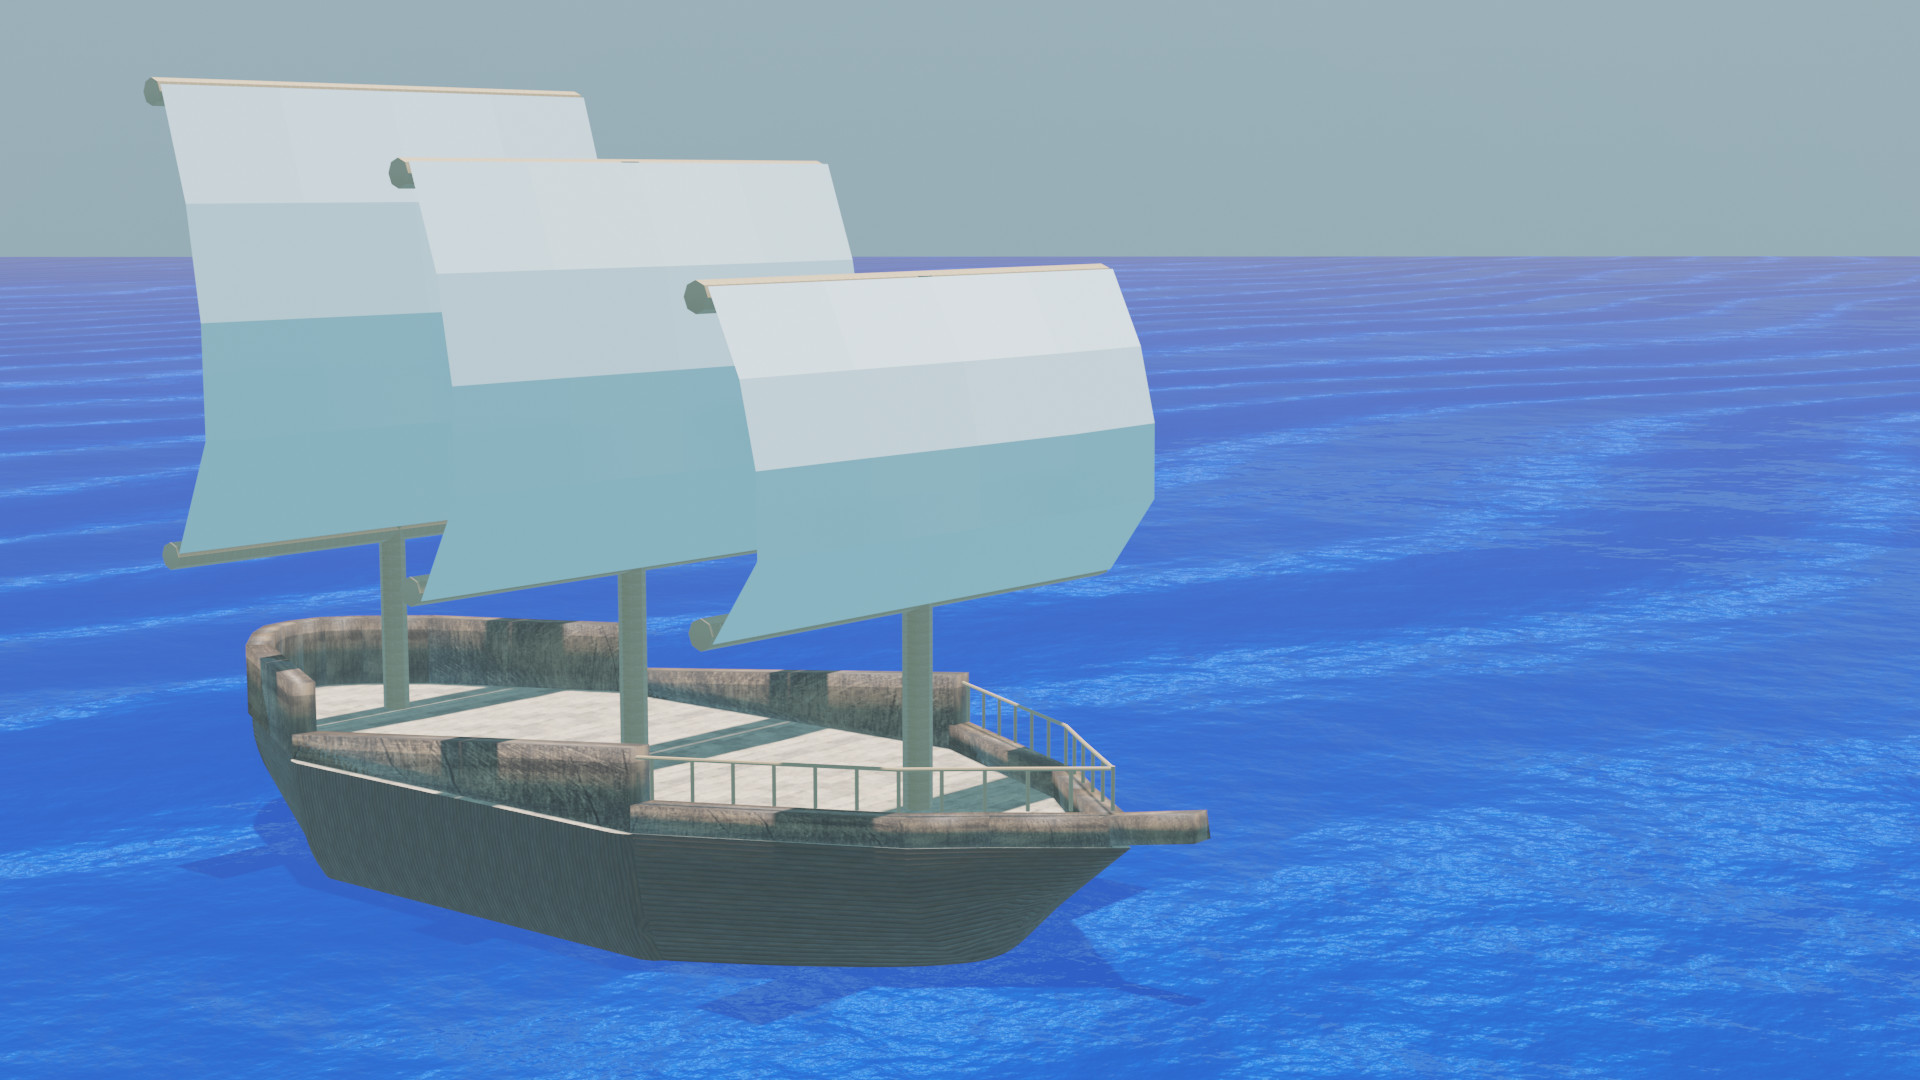
for my attempt, I made a boat.
I drew a displacement texture for the sail to make it look like the wind is pushing it.
Eevee:
Cycles:
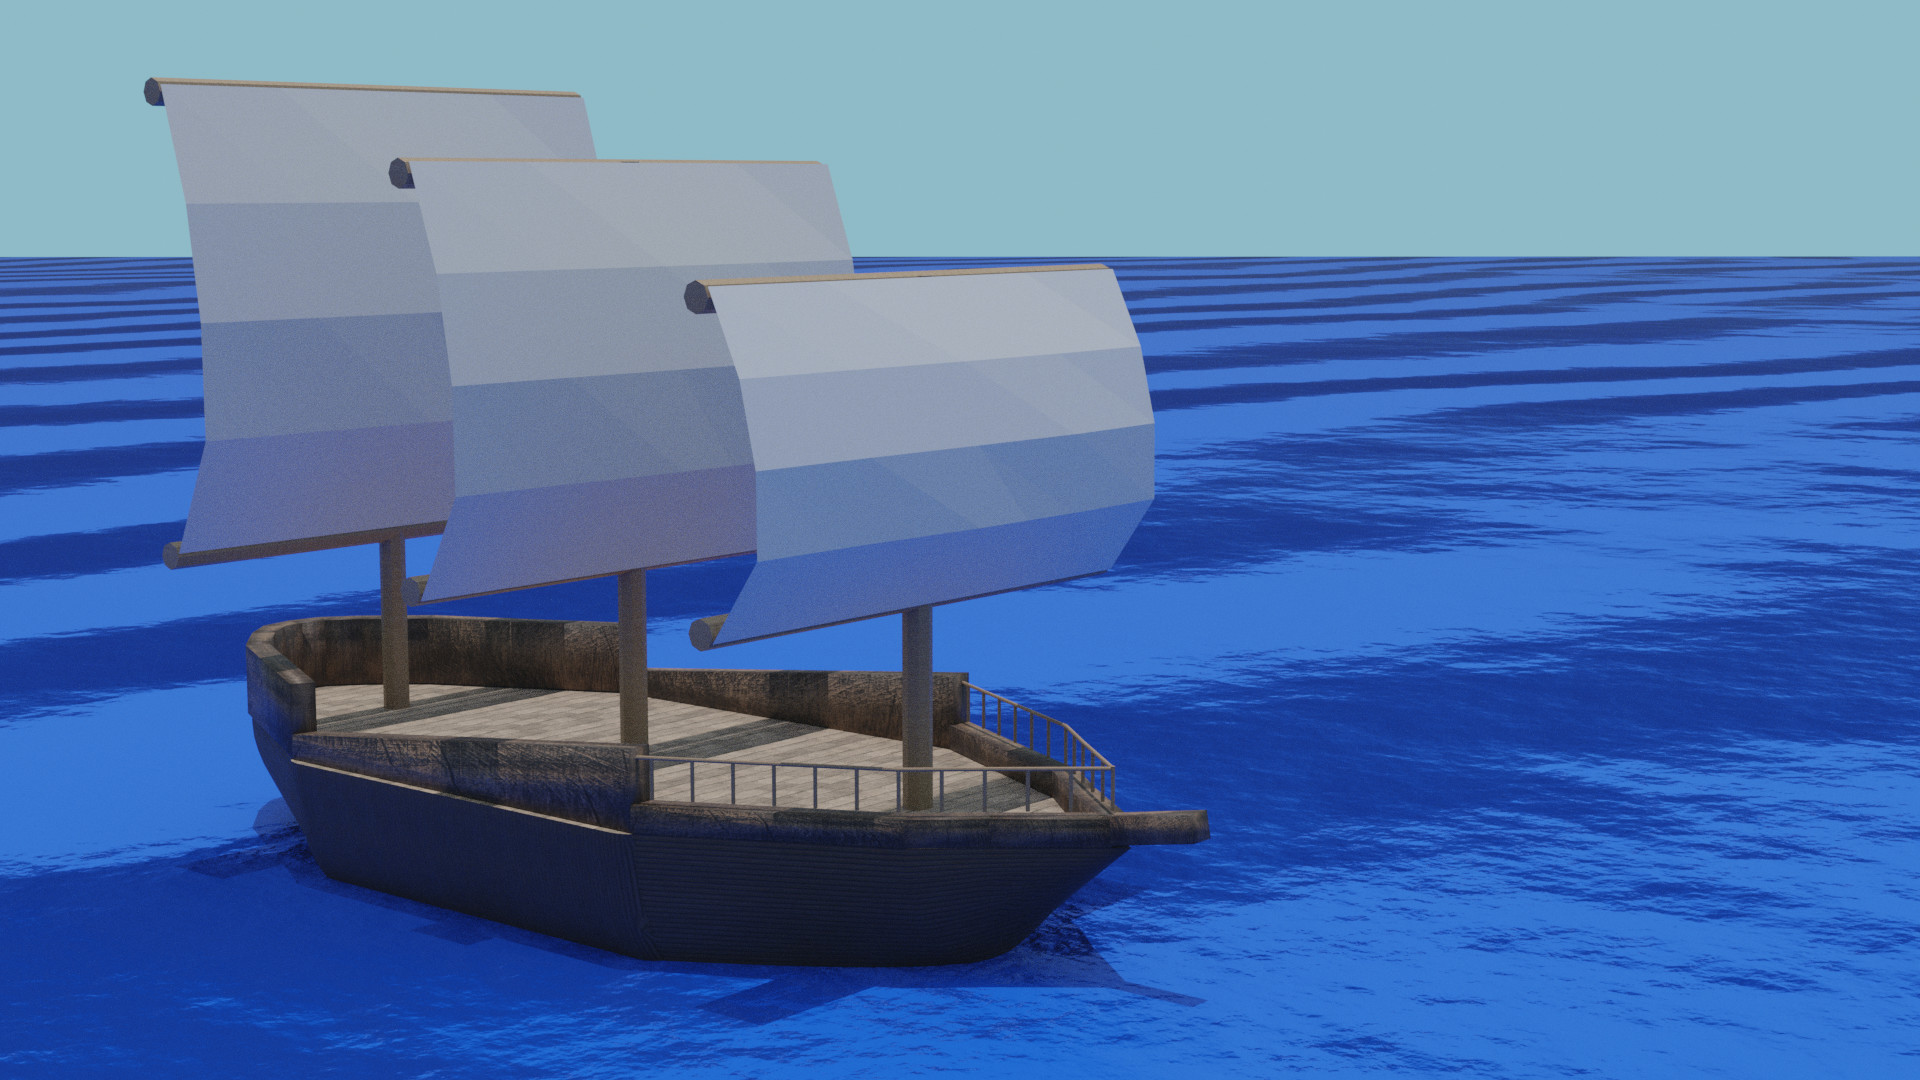
Focus on modeling, like more vertices, edges for the sail, it gives more details.
Like adding the smooth option. Now you have high details sea but low poly level sails.