About 'Node Wrangler Introduction'!

In this video (objectives)…

  1. Install the Node Wrangler Addon
  2. Explore some of the features
  3. make sure it starts every time with Blender.

After watching (learning outcomes)…

Understand that add-ons like the Node Wrangler

(Unique Video Reference: 19_TB_BEC)

We would love to know…

  • What you found good about this lecture?
  • What we could do better?

Remember that you can reply to this topic, or create a new topic. The easiest way to create a new topic is to follow the link in Resources. That way the topic will…

  • Be in the correct forum (for the course).
  • Be in the right sub-forum (for the section)
  • Have the correct lecture tag.

Enjoy your stay in our thriving community!

That is pretty amazing. To be able to set up a complete node system with everything plugged in correctly and quickly is very impressive. Thanks for the tip.

Here is a quick example I did from the lecture’s challenge. The textures are from Texturehaven.com which gives you access to free textures and all the types of maps needed with color, diffuse, roughness, specular and normals.

Sect_2-49%20Wrangler%20Node%20Texture%20Challenge

1 Like

Pretty useful addon

3 Likes

Cool add-on. Tried my hand at making my own texture and displacement-to-normal map via a phone picture and some brush work in Photoshop. not seamless, and definitely not perfect, but turned out reasonable I think. I did try to UV align the cube, but everything else I left the default map on, so there are some nasty seams on some of the other objects.

1 Like

1 Like

Lesson%2050%20Node%20Wrangler%20Into

Excellent examples here.

Ooo love the rocky Saturn like planet :grin:

very useful! thanks!

here’s github site with clear functions overview

http://gregzaal.github.io/node-wrangler/

1 Like

Great lecture, super, helpful tipps, thanks, Michael!!
grafik

2 Likes

Your textures look great! Did you also use some kind of texture painting besides the procedural textures?

In fact, these textures are not made in a blender, but from my project, right there I just watched how they would look.

Unity Project

Section 1 p12 extra. Some poly invasion
They made by B2M where you take your albedo/color map and program generates normal map and all other maps

1 Like

Thanks for your answer and the helpful information. Besides your project looks awesome!!

1 Like

I had no inspiration here. Just using node wrangler, which has a huge load of functionality as must say.
In my version of Blender the preference hotkeys are working for reference.

beach%20-%20torus%20-%2004%20-%20Cycles

Have fun.

2 Likes

Your sand material looks great!! Where did you find the texture? Or is it procedural?

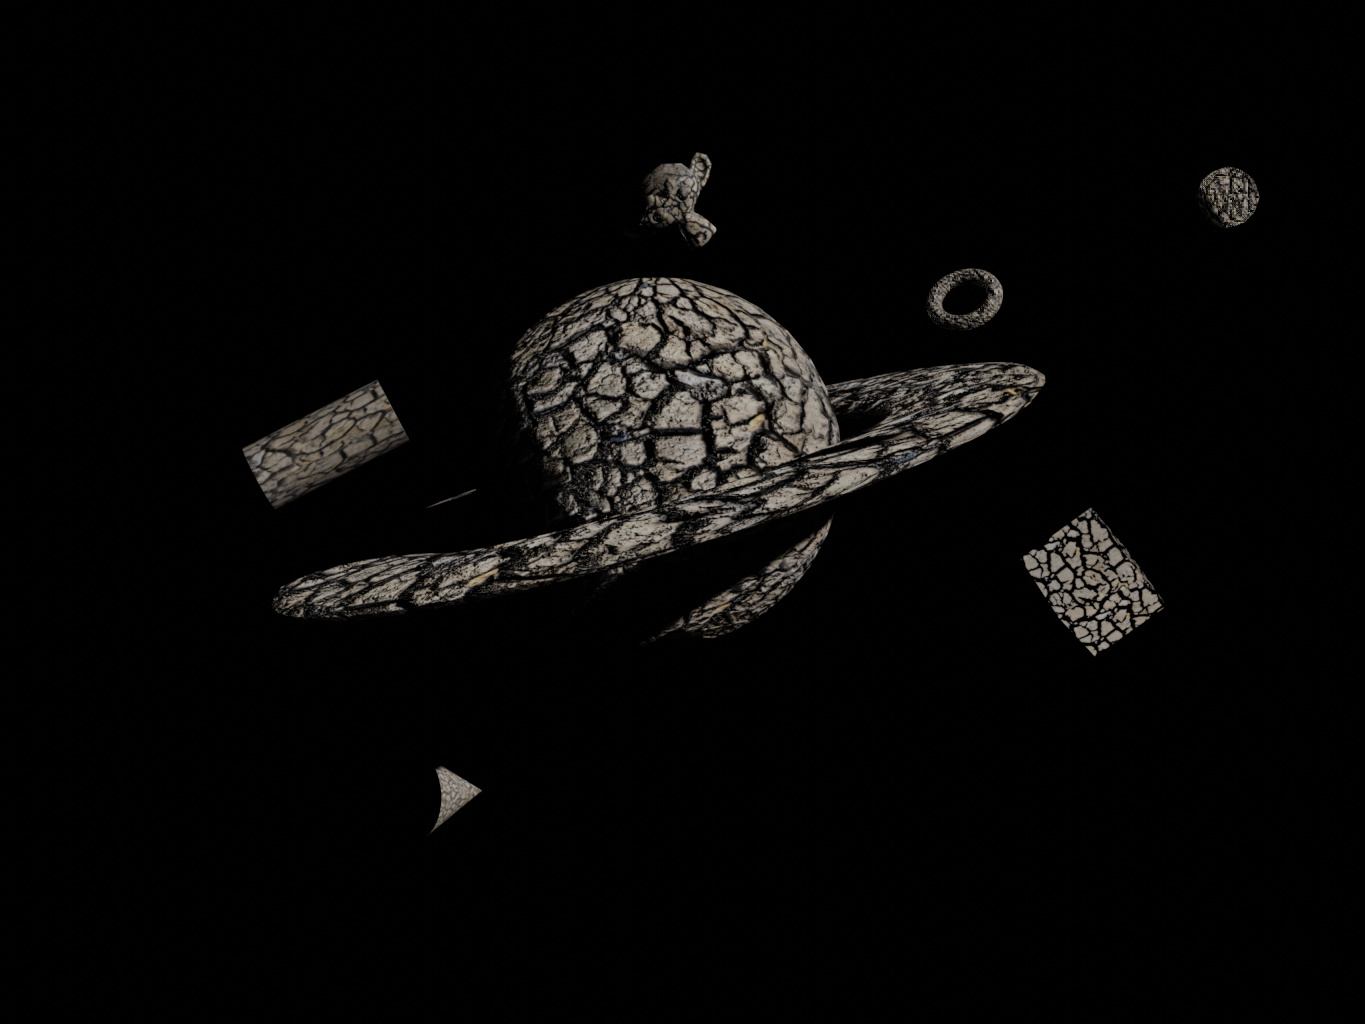
What I did was creating 10 different low poly sand grains (colour, shape). And making them member of the same group! This is important for particles.

Then apply a particle modifier to a basic plain surface. Where the hair particles are coming (random) from the sand grain group (it’s a property in partciles). Then I rendered this flat plane with the camera heads up (frontal). Goal is to generate a texture map. In GIMP I made from this texture a seamless tile.

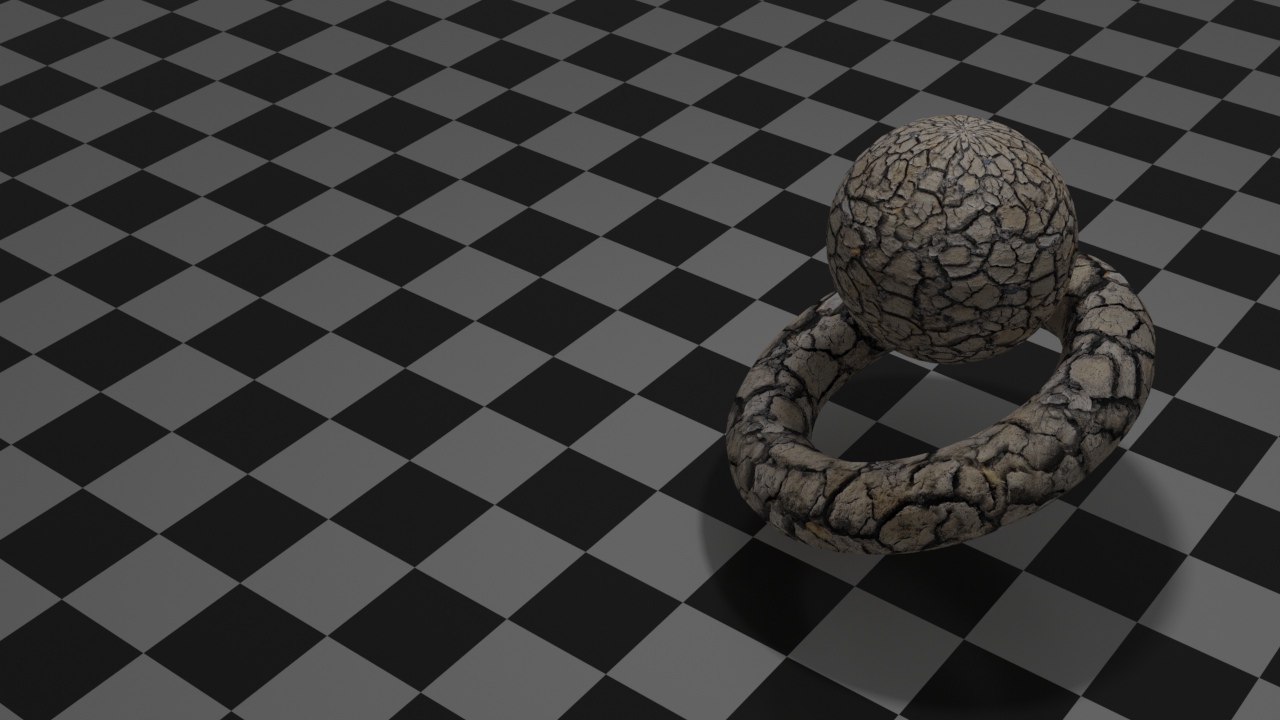
So now I have a sand texture in the same colour structure / texture!
Also in GIMP I created a NORMAL map from my texture.

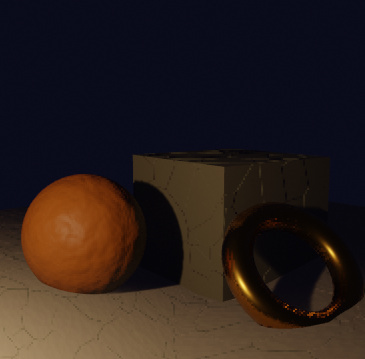
The reason for this approach is that if you want to have a sand look-and-feel like this, totally done with particles. You need billions of sand grains (computer crash probaly). Where the ones in the back have no real value except of the colour and texture.

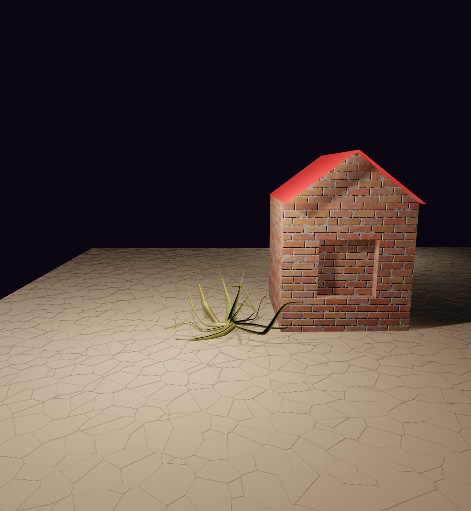
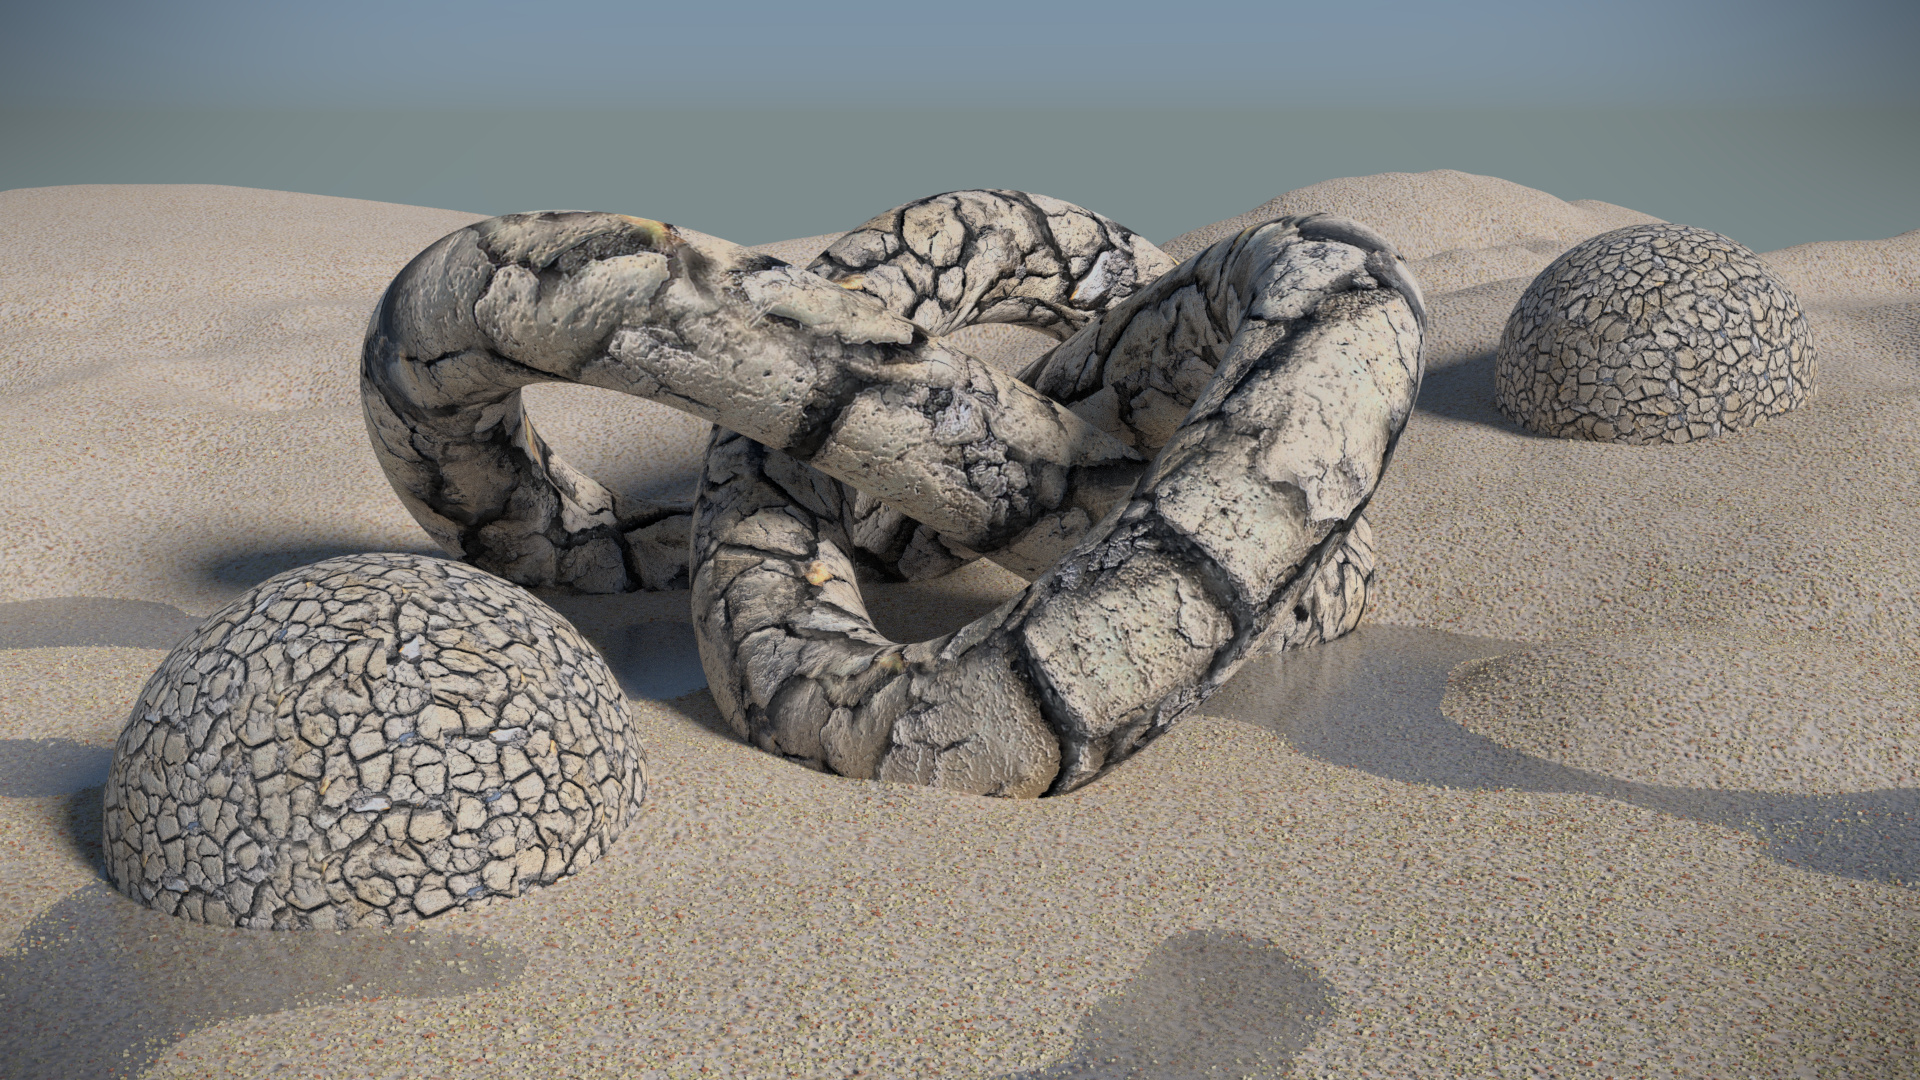
My final sand (dunes) floor displayed here. Has the generated sand tile map and can be seen at the back, behind the objects. In front (water pools) I applied the same particle system as I used for the sand texture.
But under control of a density vertex group. Many particles it the front. Less in the middle, None at the back.
The final result is that the front has real (particle) objects. Interacting with water, etc.
Gradually shifting to the basic sand texture in the back.

I hope I explained it well.
Have fun, be smart, use Blender :wink:

PS. this was the original project Cube dude beach ready

1 Like

Thank you very much, Fed Pete for your helpful explanations and your time to write it down. :slight_smile:

1 Like

M

made with node wrangler

2 Likes

Hell there !
Just a quick suggestion / tip (because i’m not sure it was mentionned)

Since we’re using jpg and png provided by our instructor or found on the internet, you might not bump into this litte problem.
But it is important to respect the naming convention of the source file, otherwise Blender will not recognise the file and won’t be able to plug it.

Let’s say I want to use a color map and a normal map for my brick texture, both files will have to be name:

  • Brick_NORMAL.png
  • Brick_COLOR.png
    I don’t think it needs to be in capital, but it definitely needs the “_NORMAL” and “_COLOR”

Hope this helps!
See ya
Francis

2 Likes

Privacy & Terms