I have been having a lot of headaches following the video course using the 2019 versions of Unity. I am now on the LTS version 2019.4.1f1, but started on an earlier 2019.3 version. Here is what I have run into. Sorry if this seems a bit long, but I hope it helps others that are using 2019 versions of Unity.
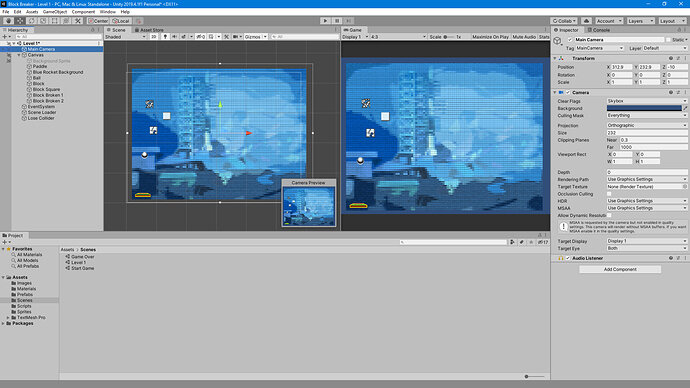
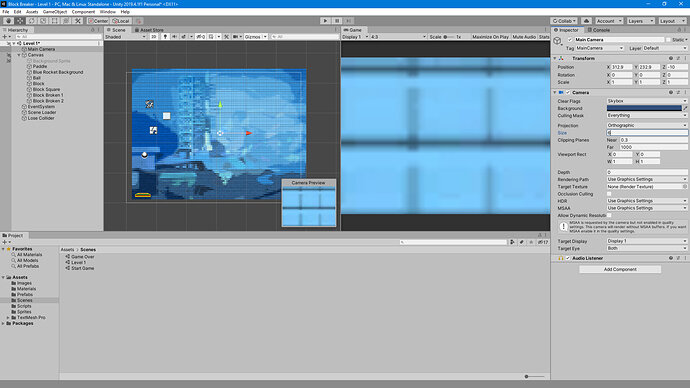
When I create the initial camera view with units of 6, everything seems fine.
I tried using my own image for the background, but what I generated did not match the properties of what was given to us, so I am not sure what UI object was used for the Blue Rocket Background.
I would like to suggest that when things are renamed you keep the object name as it was given at the end of the name, so an Image has " Image" at the end of the name, a Panel has " Panel", etc. it will make things easier in the lessons, and in your projects, to know from the name what the base object type was.
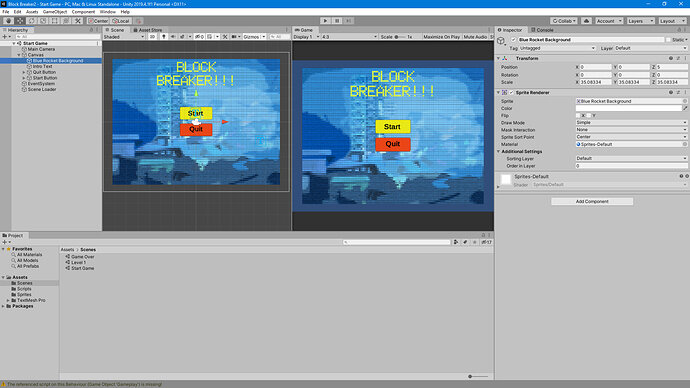
Where things really went wonky was when I imported the 3 scenes from the Number UI game. Those canvases were 1920x1080, but when you look at what the 6 unit camera size is it is a very small corner of that 1920x1080 canvas, way down in the lower left. The 1920x1080 canvas you get from the import is close to 10 times the size of your 6 unit camera.
The same goes for the buttons and text you imported.
The interesting thing was that it all displayed fine if you ran it. I would like to know why that seemed to work, even though it was outside the camera dimensions.
The fix I used was to duplicate each button and text item I wanted to use from Number UI and put it in a new canvas I created for it. The new canvas I set to have a Render Mode of “Screen Space - Camera”, not the “Screen Space - Overlay” as shown in the video lesson. This makes it fit the size of the camera view in exactly the same location.
Once the new canvas is in place you place each of the duplicated elements in it and size them down to fit it. Do a Reset to get it to the middle of the camera view.
Before I did this I was having all sorts of problems with the sprites not being viewable when I dragged them onto the scene window, unless I moved them below the background image. It was not a Z axis issue in that case, since my background was set just as was shown in the lesson. I think it might have been how I created my custom background image, which had different properties than the one we were given. I also couldn’t clamp the paddle using the method given, although I figured out an expression that worked eventually. So World Units simply did not work as was being shown int he video and I went back to square one to figure out why. My process as outlined above is what I came up with.
My question to the group is: Did Unity change that much going from 2018 to 2019 that the video lesson is now wrong or am I doing something wrong that is causing this problem?
Mike Riley


