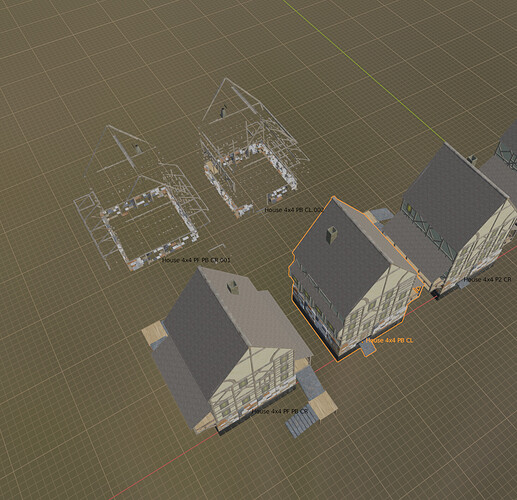
A hard problem seems to be making the houses like in the Environments course, but making them for use in game engines like Unity. Removing interior polys is really helpful, but the available tools don’t do so well with these models. “select interior faces” gets confused because the houses are made from beams, blocks, panels, etc. Even 3D print tools try to remove too much.
I found one way to do it. It’s manual, but not “as” manual is clicking on every relevant face and deleting it.
So, the steps are the following:
-
Select the object (I assume it’s joined into a single object). Enter the edit mode (tab), and make sure you are selecting faces (top row 3). Clear out the selection so no faces are selected (Alt A). Note, using the keypad “/” to get into “local” mode (show only the object you are working on) is helpful if you have other things in the scene.
-
Now, from the outside of the model, use “C” to activate “circle select”. Adjust the size of the circle so it’s a good fraction of the size of the house or whatever.
-
Use the circle to select all faces visible from the outside. You have to hit escape to get out of it, rotate the view, and hit C again. This has to be done many times. 100 times isn’t too unreasonable. Keep rotating (after hitting Escape! I keep using middle-mouse rotate while still in circle select and that undoes some of my selecting!) to make sure you get everything. It is easy to miss something!
-
If your model has openings (e.g. on the bottom), you have to be careful not to select over those openings. Maybe a temporary plane on the bottom will help.
-
Eventually, you will be convinced you have selected everything. Now hit the magic key “H” to hide all the selected faces. All that’s left are interior faces!
-
Here’s a good time to check you didn’t leave some exterior face. If so, just Alt-H to unhide faces and go back to circle-selecting and try again.
-
It’s tempting to select all and delete all these interior faces, but I suggest a safer way: select all and hit P (separate) and select “Selection”. Now the interior faces are a separate object from the exterior.
-
Hit Alt-H to unhide all, hit Tab to return to Object mode, and now you have two objects: interior and exterior.
-
Select the interior (I have to click lots of times in different places before the selection “takes” because the interior are hidden behind the exterior) and then move them a fixed number of units. E.g. I would select it, and type G Y 50. Thus they would be moved 50 blender units back. Enough to separate them from your main exterior object, but 50 is a nice round number so if you made a mistake, you can move it back to the exact location (G Y -50) easily.
-
One final check. Make sure the main exterior object has no holes in it. If so, gotta fix it with faces from the interior object. Remember to “merge vertices” (M key on Blender 3.5 but something else on eariler versions!) to weld the face in.
And let me show you what it looks like:
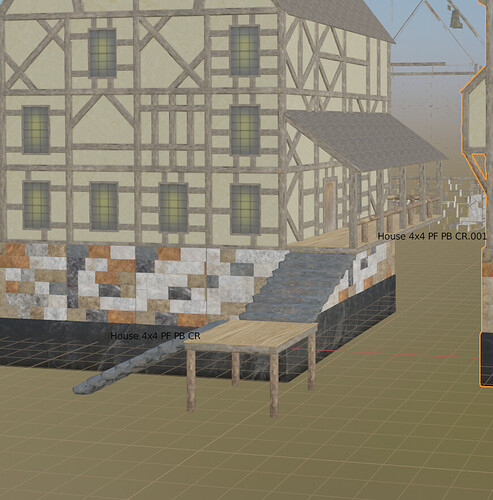
Like I say, not a simple push a button and it’s done, but easier than trying to select faces individually (which I have been doing…painful…), especially when the particular file I’m working on has 350,000 faces distributed among 7 houses (so removing interior faces makes a huge difference!). (note I modified the Bay Window and added sculpted steps to make…a porch! someone else might like that idea)
Better view of the porch:

