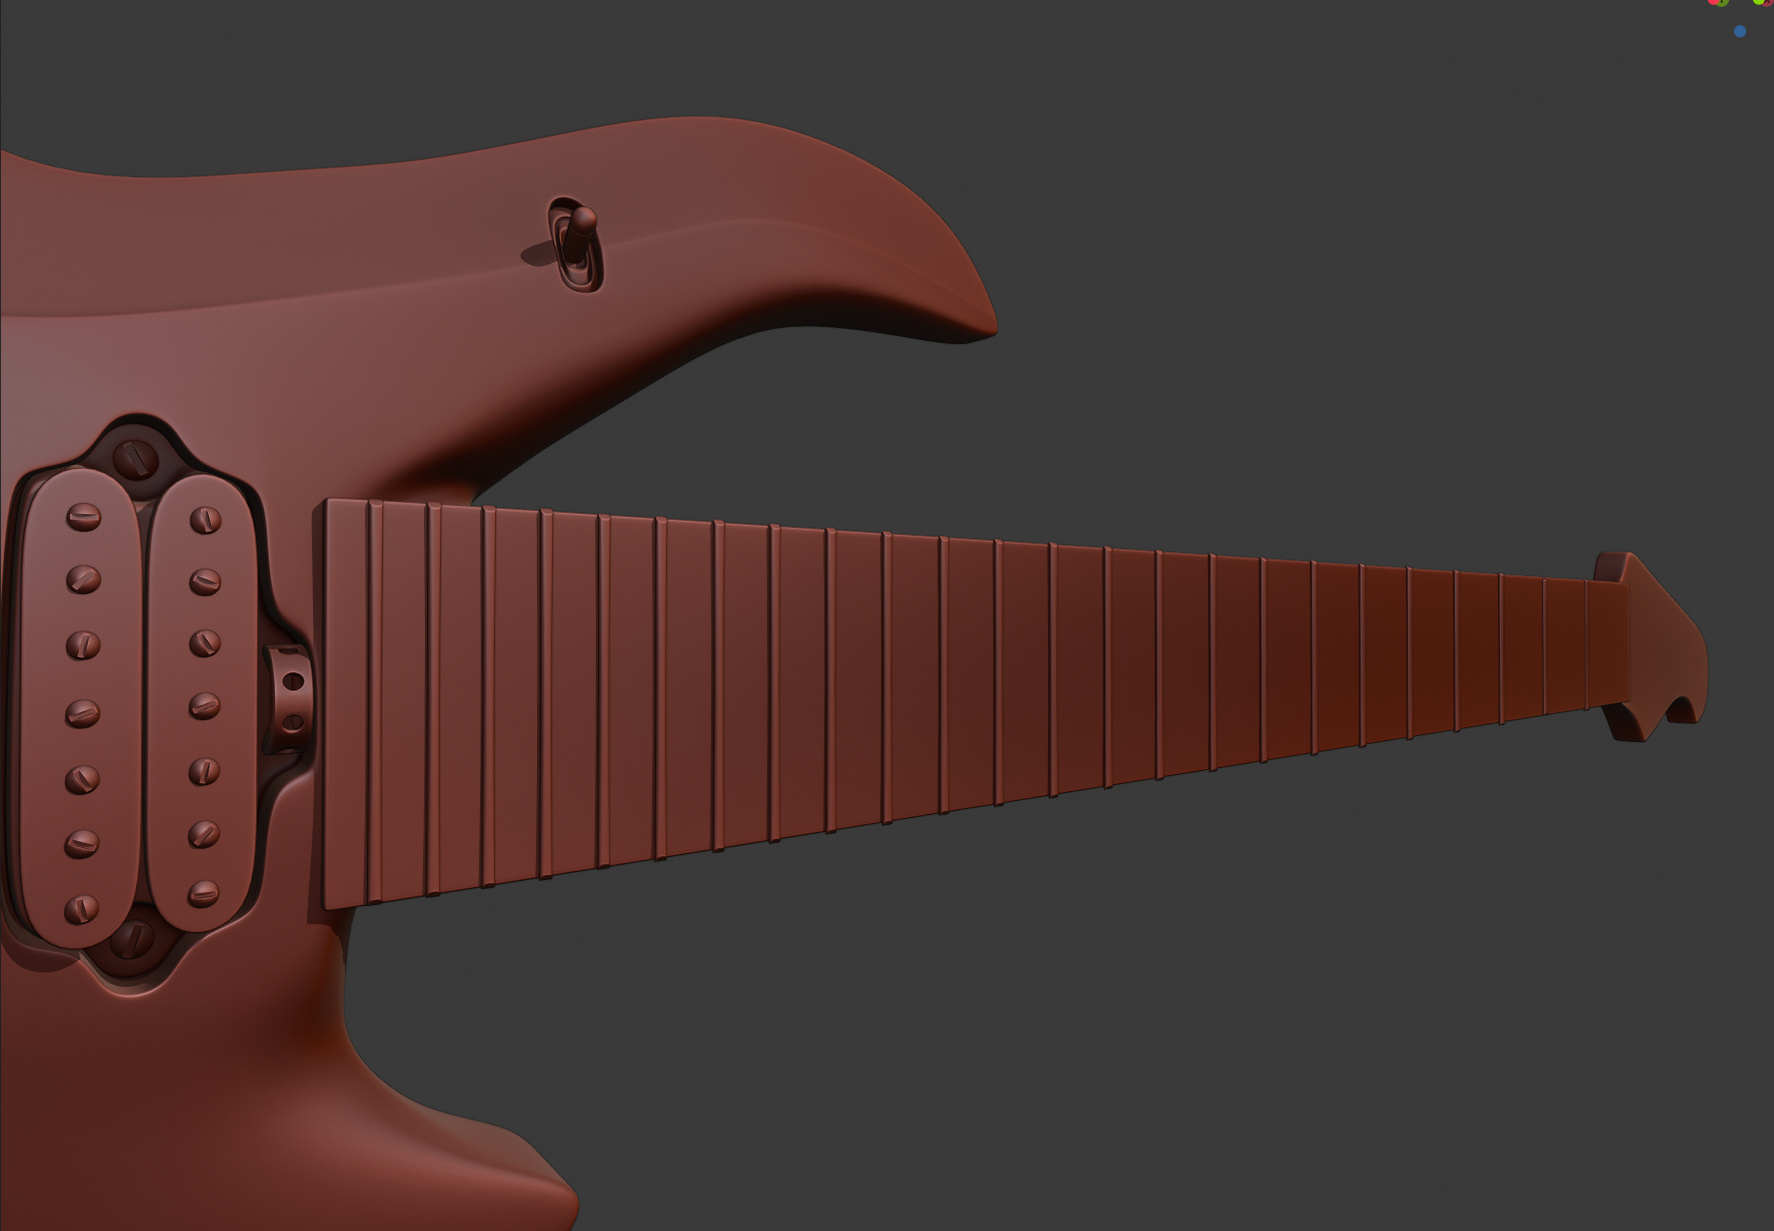
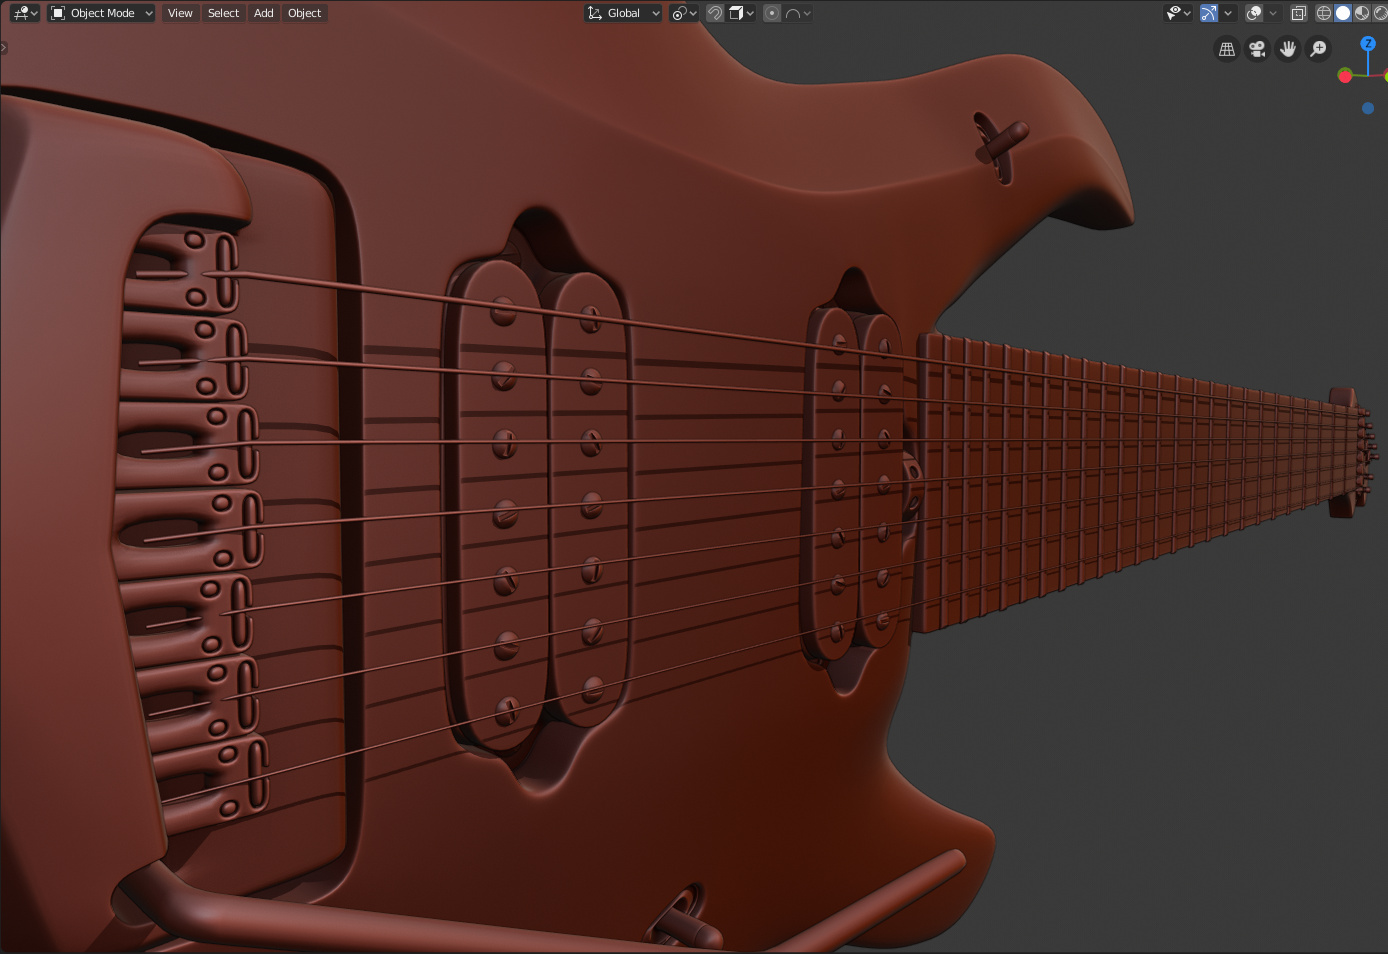
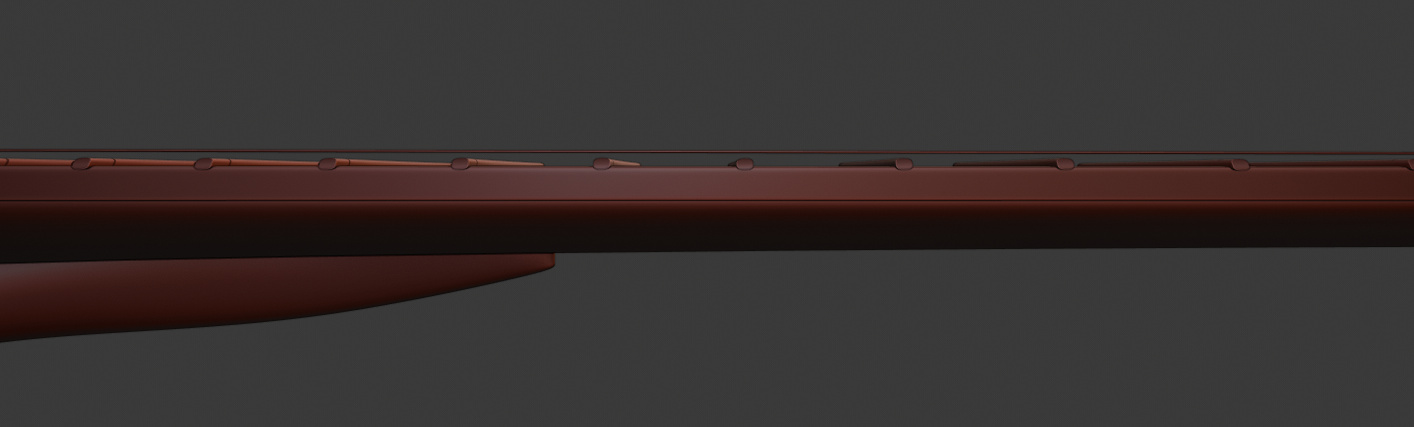
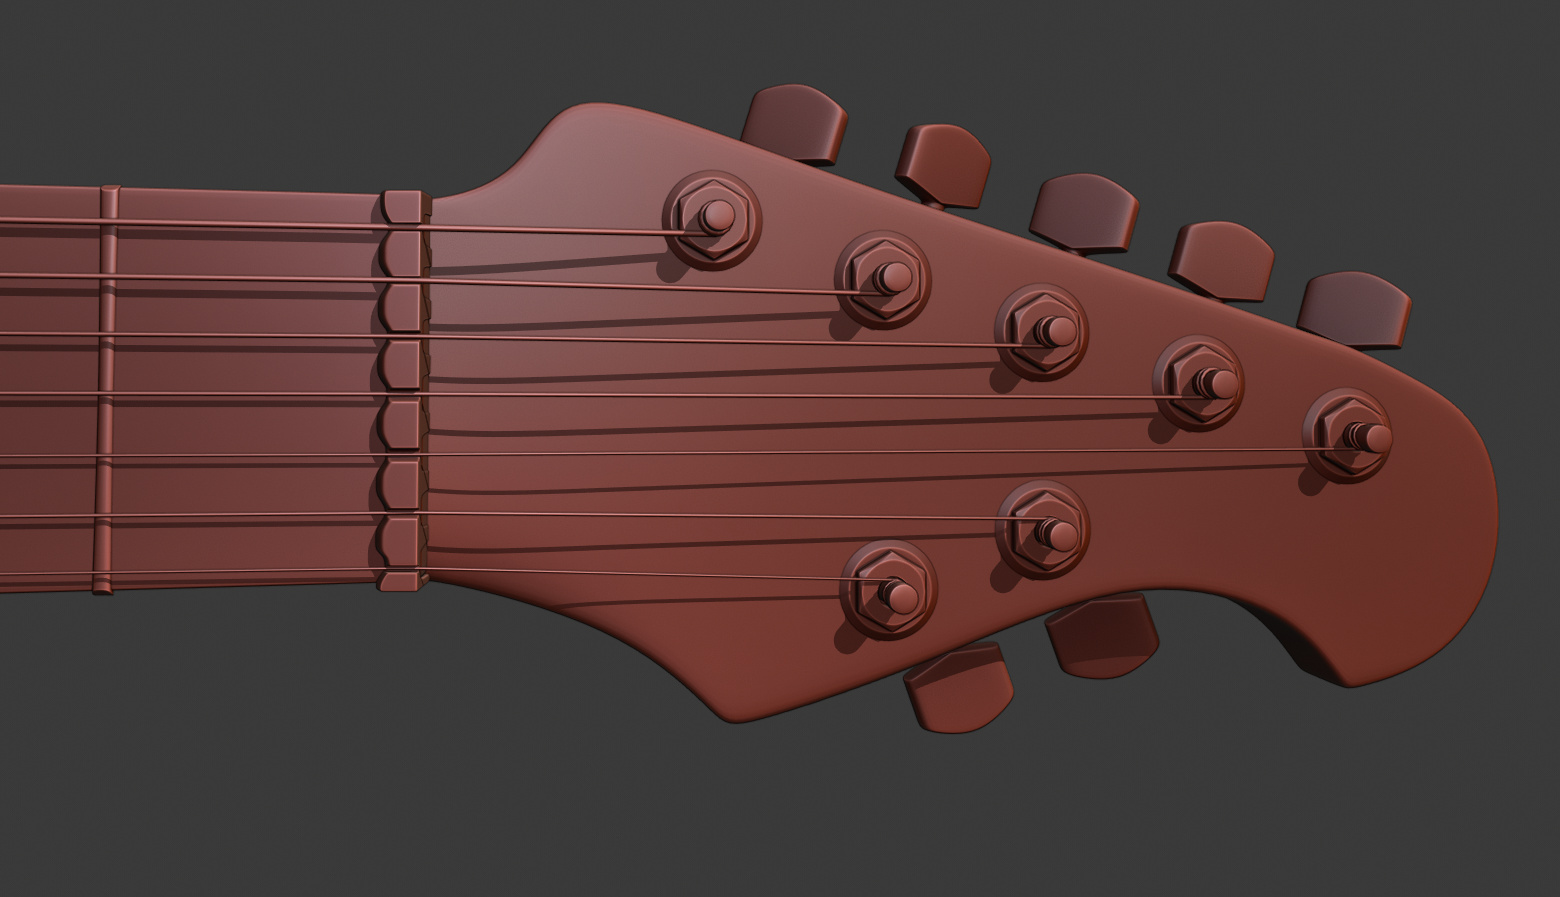
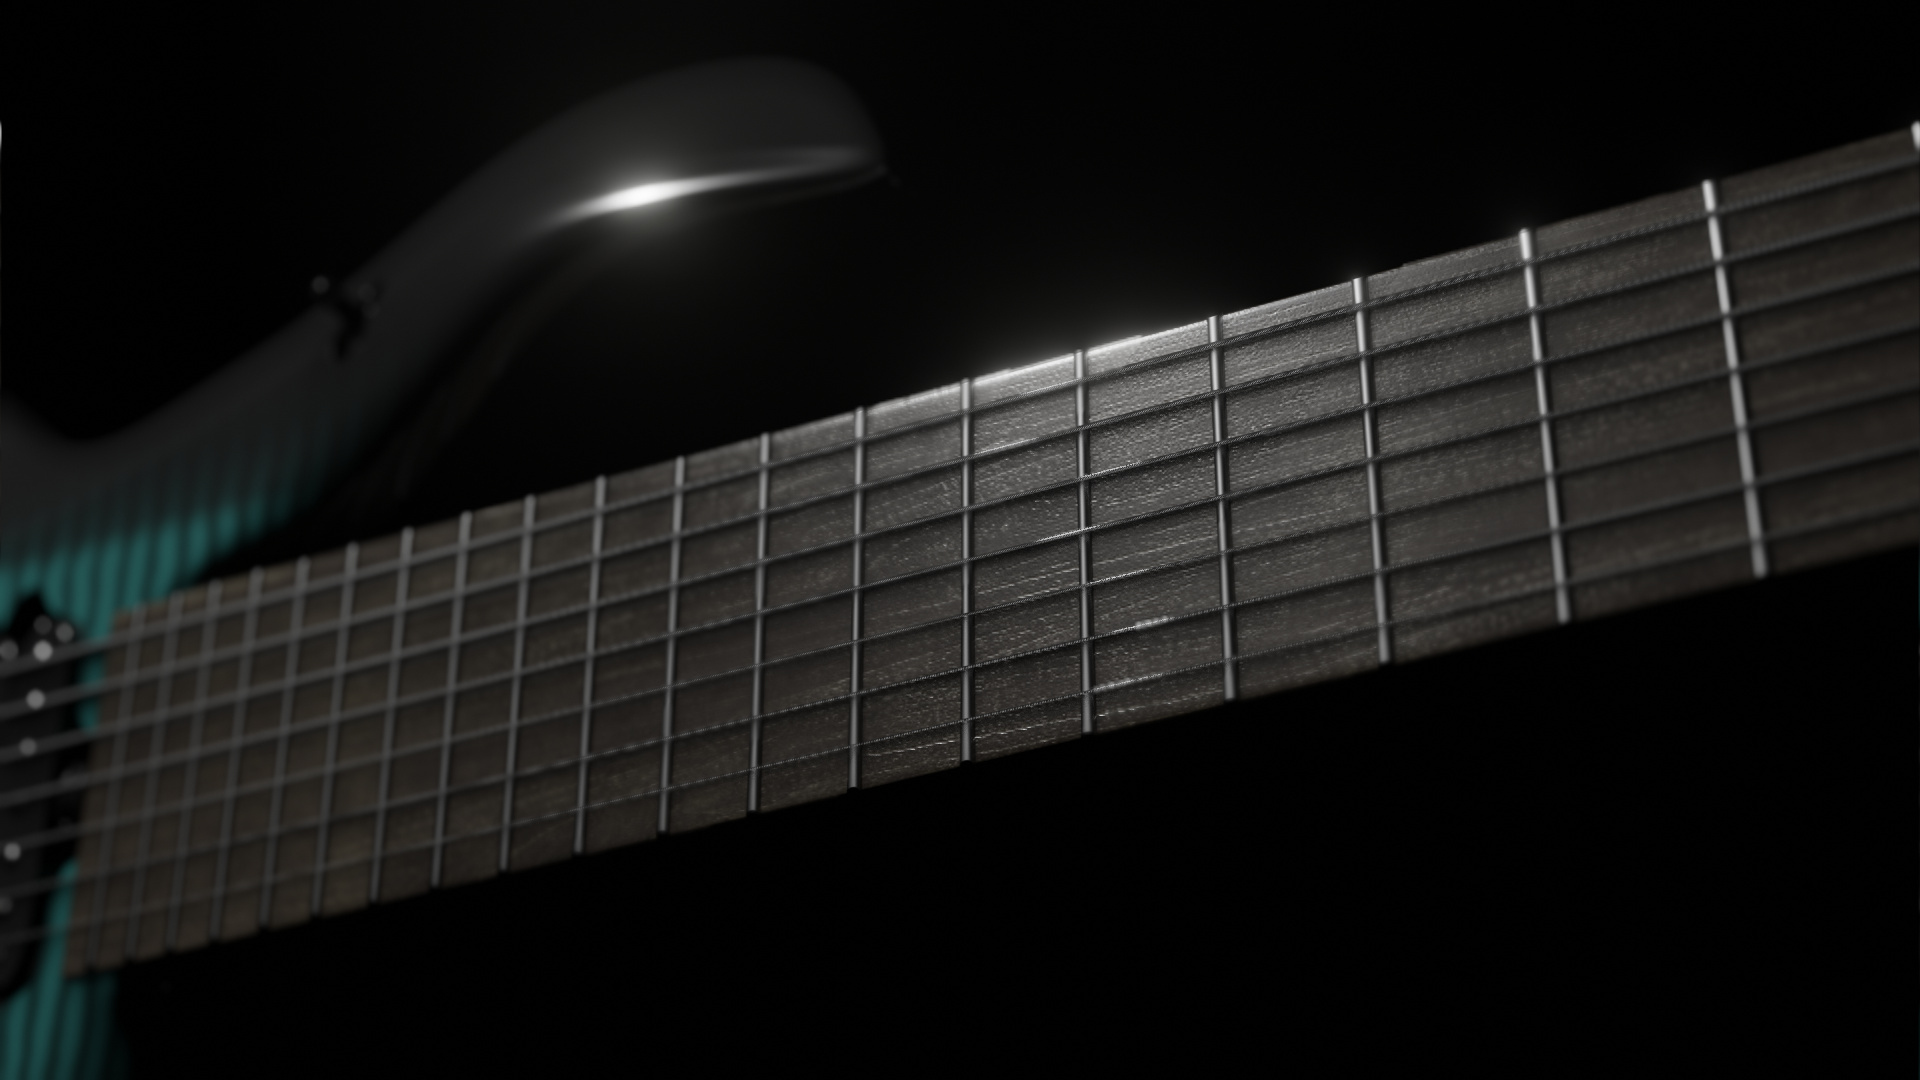
Modeling a Guitar - Music Man Majesty 2019

I’m trying to model John Petrucci’s Music Man Majesty 2019, thought of posting the progress as I go :slight_smile:

Took me more than an hour to get the body shape “right” lol
Man… this crease… even with planning the topology before gave me some trouble…

Topology with Reference image plane:
image

10 Likes

Michael always says ‘Reference’, ‘Reference’ !
And it show off!
I like the shape. It’s a good starting point. Go on!

1 Like

Well… these holes…

Look Ok?

It’s really not… lol


Some Tris and ugly topology :frowning:
Not sure I’ll be able to fix this

Boolean was not behaving nicely, so I used Knife Projection, but to make all faces quads… well nightmare

4 Likes

Another Round of holes… another wave of topology…

Starting to realize that having a few tri and ngons is not that bad!
It all depends on where they are and if they will disrupt the flow of edges!

Also started working on the neck and headstock

It’s all part of the body object… looking at reference images they don’t seam to be separate pieces

4 Likes

Humbuckers installed!

Better shape for the Headstock


7 Likes

Volume Dials and that “V Shaped thing where the string connect”
I don’t know the name and it put up a hard fight, but think I won in the end!


Reference:

##########
Edit:
Still fighting with that piece… needed to make the hole for the whammy bar and then there were some more holes to make…

image

1 Hole Fixed… 6 to go (regret of doing a 7 string right now lol)
image

… Wheew… that was tiresome… There should be a better way of doing this…
image

5 Likes

Some more updates :smiley:

Now… how cool is this?

Subsurf modifier
image

Reference
image

With this the body parts are almost done

6 Likes

Frets!

Man… what a deceiving thing to do. Well, the fret itself is easy the problem is the spacing between each!
I thought, well an array with an empty + scale should give me the decreasing spacing and size I need…

Pam! Nope…
An array just give me equal spacing using constant, relative, object offsets doesn’t matter…

Trying adjust the scale of the empty does scale the spacing too but also changes the shape of the dups… I would have to change the X size of each fret back to it’s original size.

Tried to rotate the empty on the Z, and looking from the Front view it would make the progressive decreasing spacing, but of course the frets dups would rotate as well… and I would end up having to rotate them all back after applying the modifier…

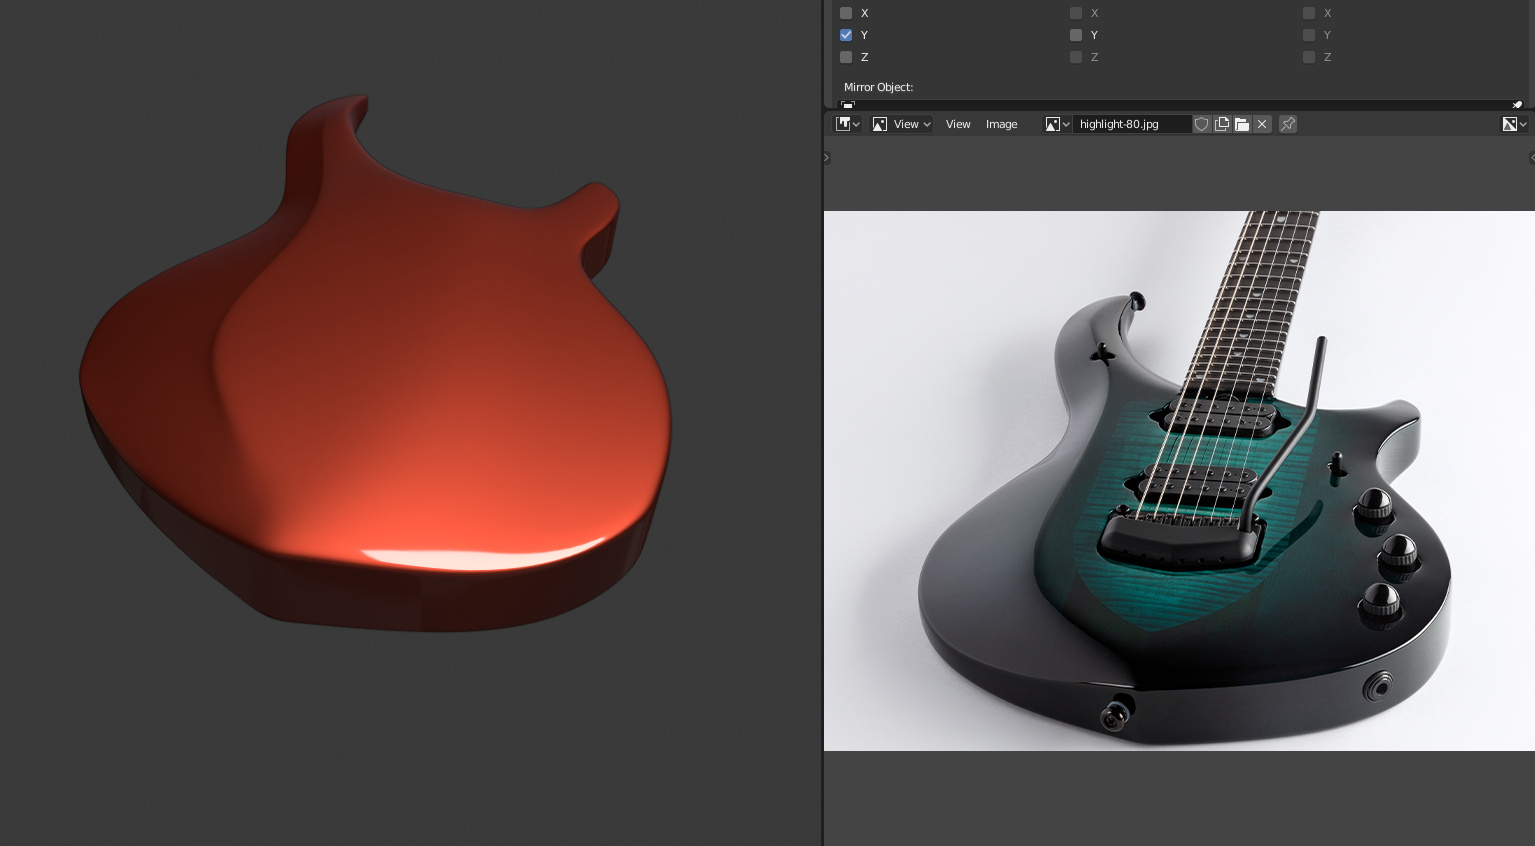
Even if the methods above managed to create the spacing needed, I still had the Neck inclination, so every fret has it’s Y.

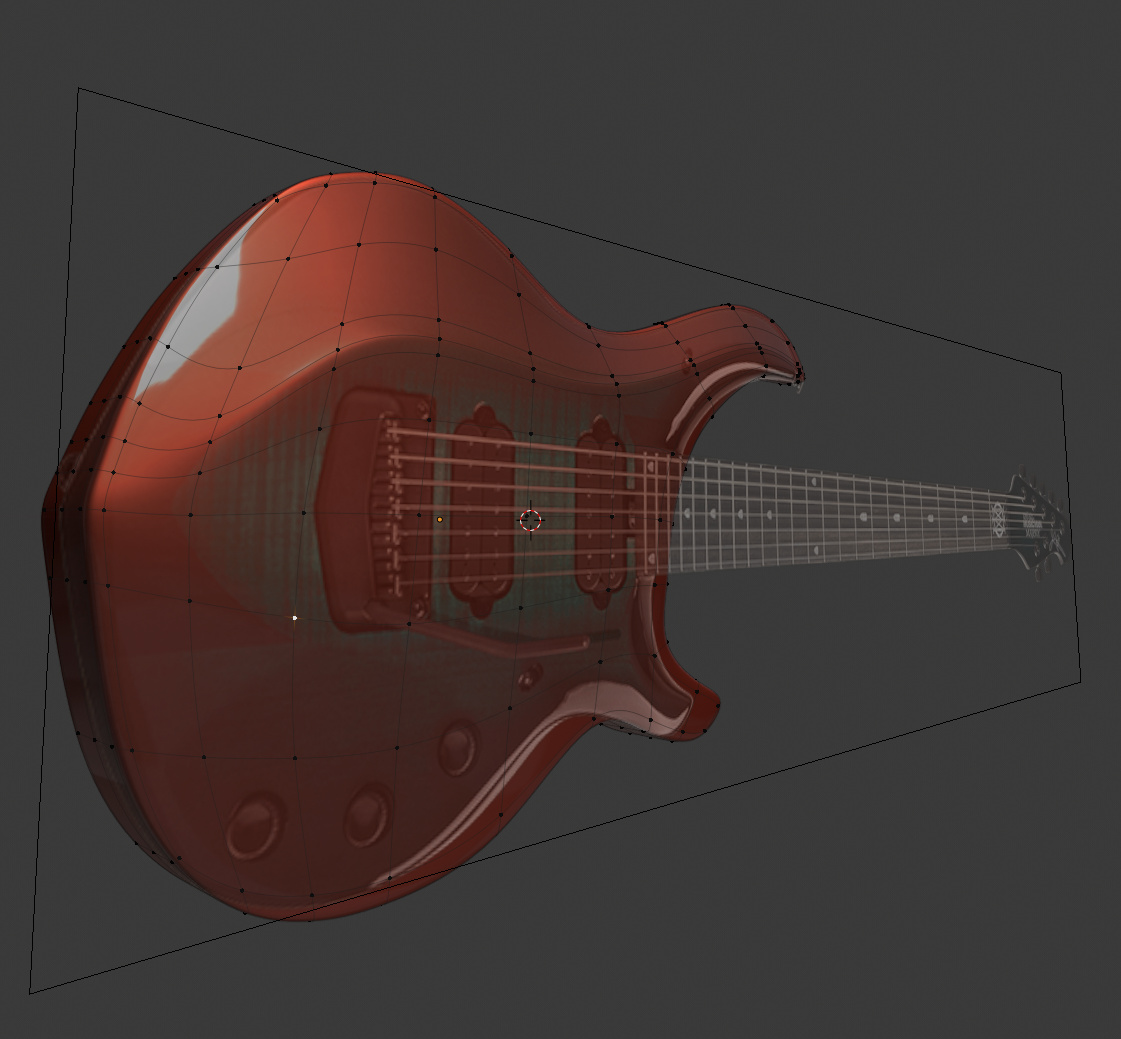
In the end felt like a Luthier placing the frets one by one using the reference image as guide…
Grabing on X and Y and Scaling on the Z…

Making this manually took a lot less time than the researching on how to make it easier lol.

4 Likes

Working on the headstock pieces.

Not perfect but doesn’t look too bad right?

Did you know that you can now snap to the orientation of the face?!!
Look at this!
image

It helped a lot! Because the headstock is tilted, so I didn’t have to move and rotate every object…

5 Likes

I really enjoy your daily progress. It’s a super tight mesh!

1 Like

Strings!

Got lucky and they lined up pretty well just needed small adjustments…

However… this is a Path Curve which is mostly straight… so making curves out of it it’s not easy…
There is a Bezier U checkbox but then there is a problem, the curve will bend of all the sections are not the same angle… So left it unchecked.

And then there was another problem…
Making the strings go around those:

And then came the idea :smiley:
Start the string from the twisted part… With a simple circle and Screw Modifier which I can also control the thickness of the strings by adjusting the size of the circle!
Then I will apply the modifier and extrude the rest of the string without worrying about it bending because it just wont :wink:

Looks like we are going to have a pretty low Action

8 Likes

Fantatstic work, I’m really enjoying watching it come together.

1 Like

Schallers (learning a lot o guitar components with this project lol)

I’m really proud of myself on this one, I managed to make it super clean!


7 Likes

My brother is a bass player so I can really appreciate this. Excellent work.

2 Likes

Very small update…(not because took long just I didn’t have time :frowning: )

Schalers installed

5 Likes

Trying some stuff… this is Eevee btw…

4 Likes

Was testing Vertex Color as a mix factor and this came out

Still going to try to replicate something similar the original one… but too lazy to unwrap stuff and make a texture in gimp or so… lol

5 Likes

You have put a lot of work in the details of the guitar!
But with darkness of the scene, the dark and busy texturing, these beautiful and fine details disappear.
I know, it’s the creators vision and you have something in your mind. It’s all in the details :wink:

Don’t give up! :+1:

2 Likes

I’m just testing some stuff. This is not a scene :wink:

I won’t give up don’t worry :smile:

I’ll drop the lazyness and unwrap the top part of the body, make some textures to use as factor to the Mix Shader nodes. I will try to replicate the shapes of the original “skin” of the guitar.

1 Like

As planned a lot more like the original skin :smiley:

And since I made a material where I have a single “Main Hue” Value to change the color in 3 parts of the nodes… I can have it whatever color I like :wink:


7 Likes

Privacy & Terms