I’ve decided to take this course to another level by creating a side by side view of a low poly model and a high poly model, separate from each other. Unclear at the moment if this will affect the high poly model when it is time to lower poly count within the course, but it’s worth a try.
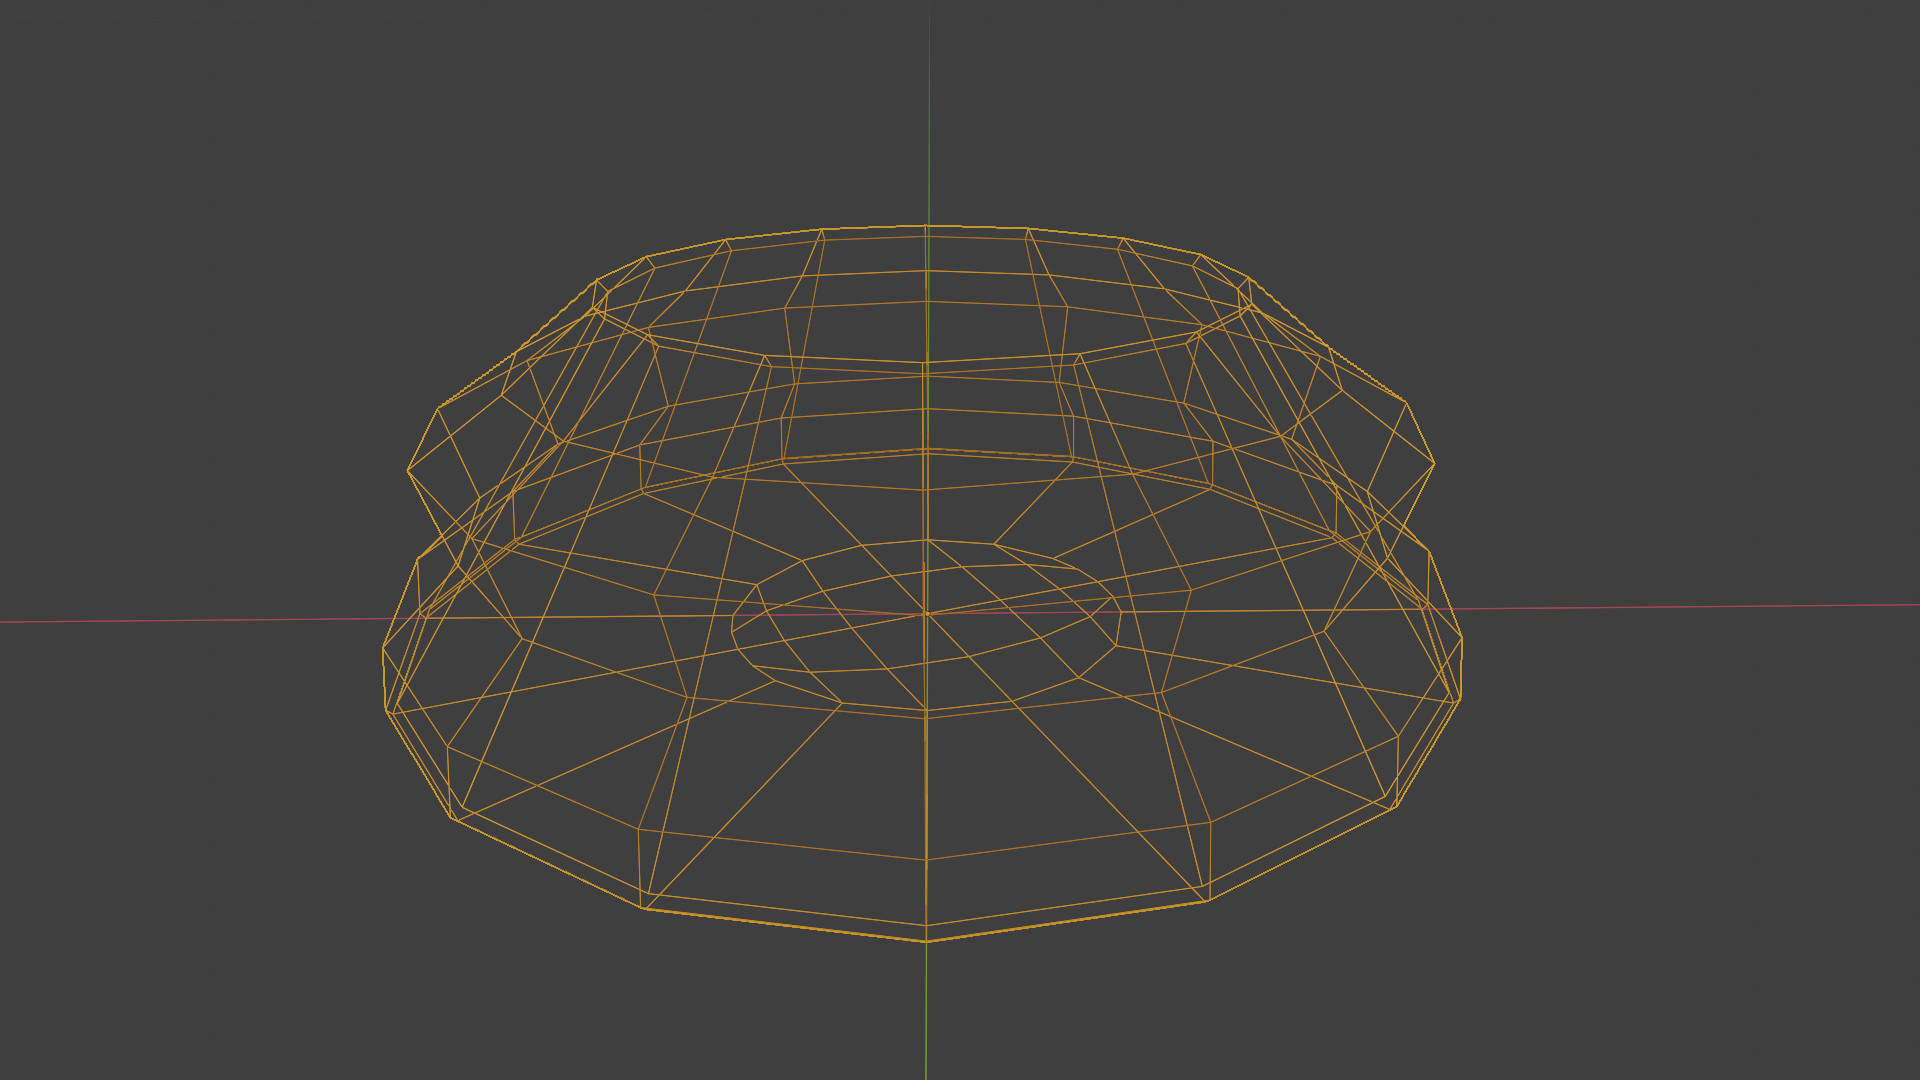
I reviewed some modeling videos and changed the “Bottom Face” look by turning it into triangles or 4-sided polygons. then deleting the interior face and using a option called “Grid fill” & changing the offset to fit better within the face more evenly. If I understood the how-to correctly, this process allows the user to control the distribution of geometry on faces, in most cases, that “wont be seen”.
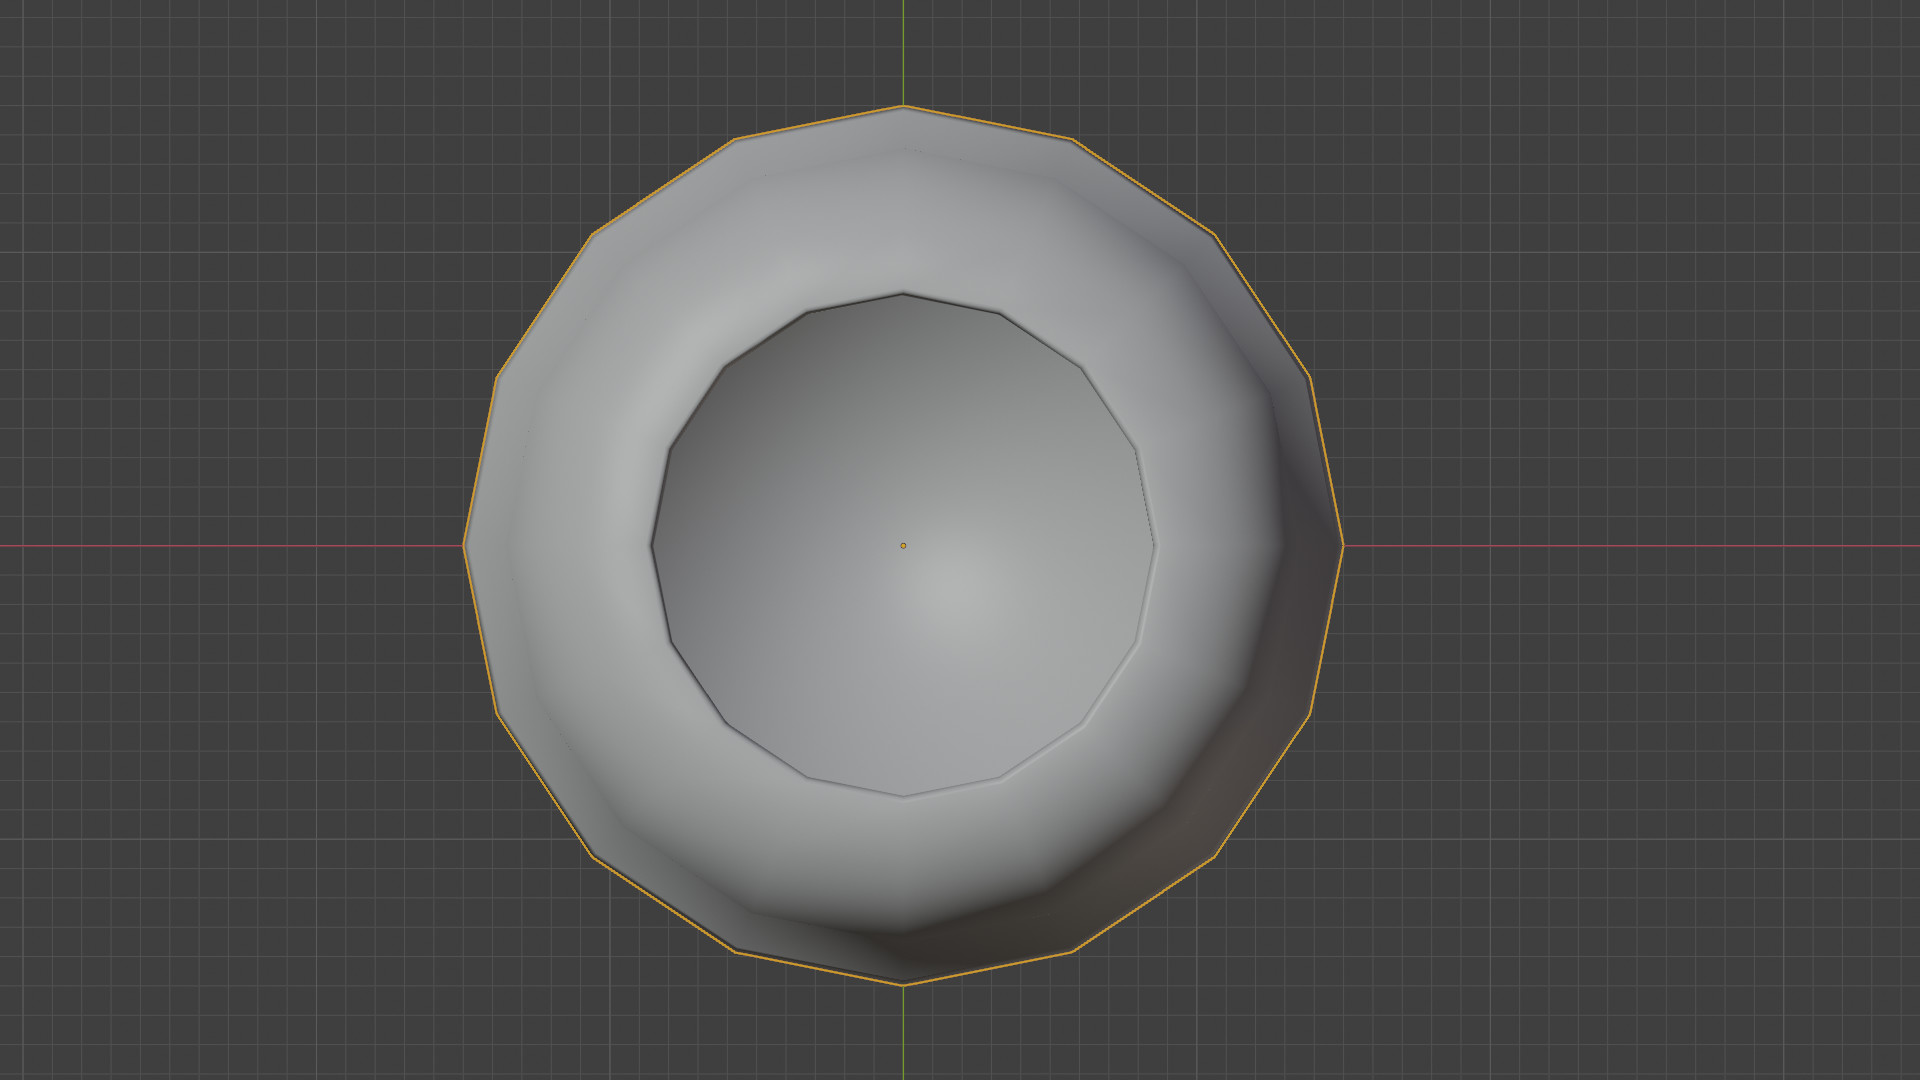
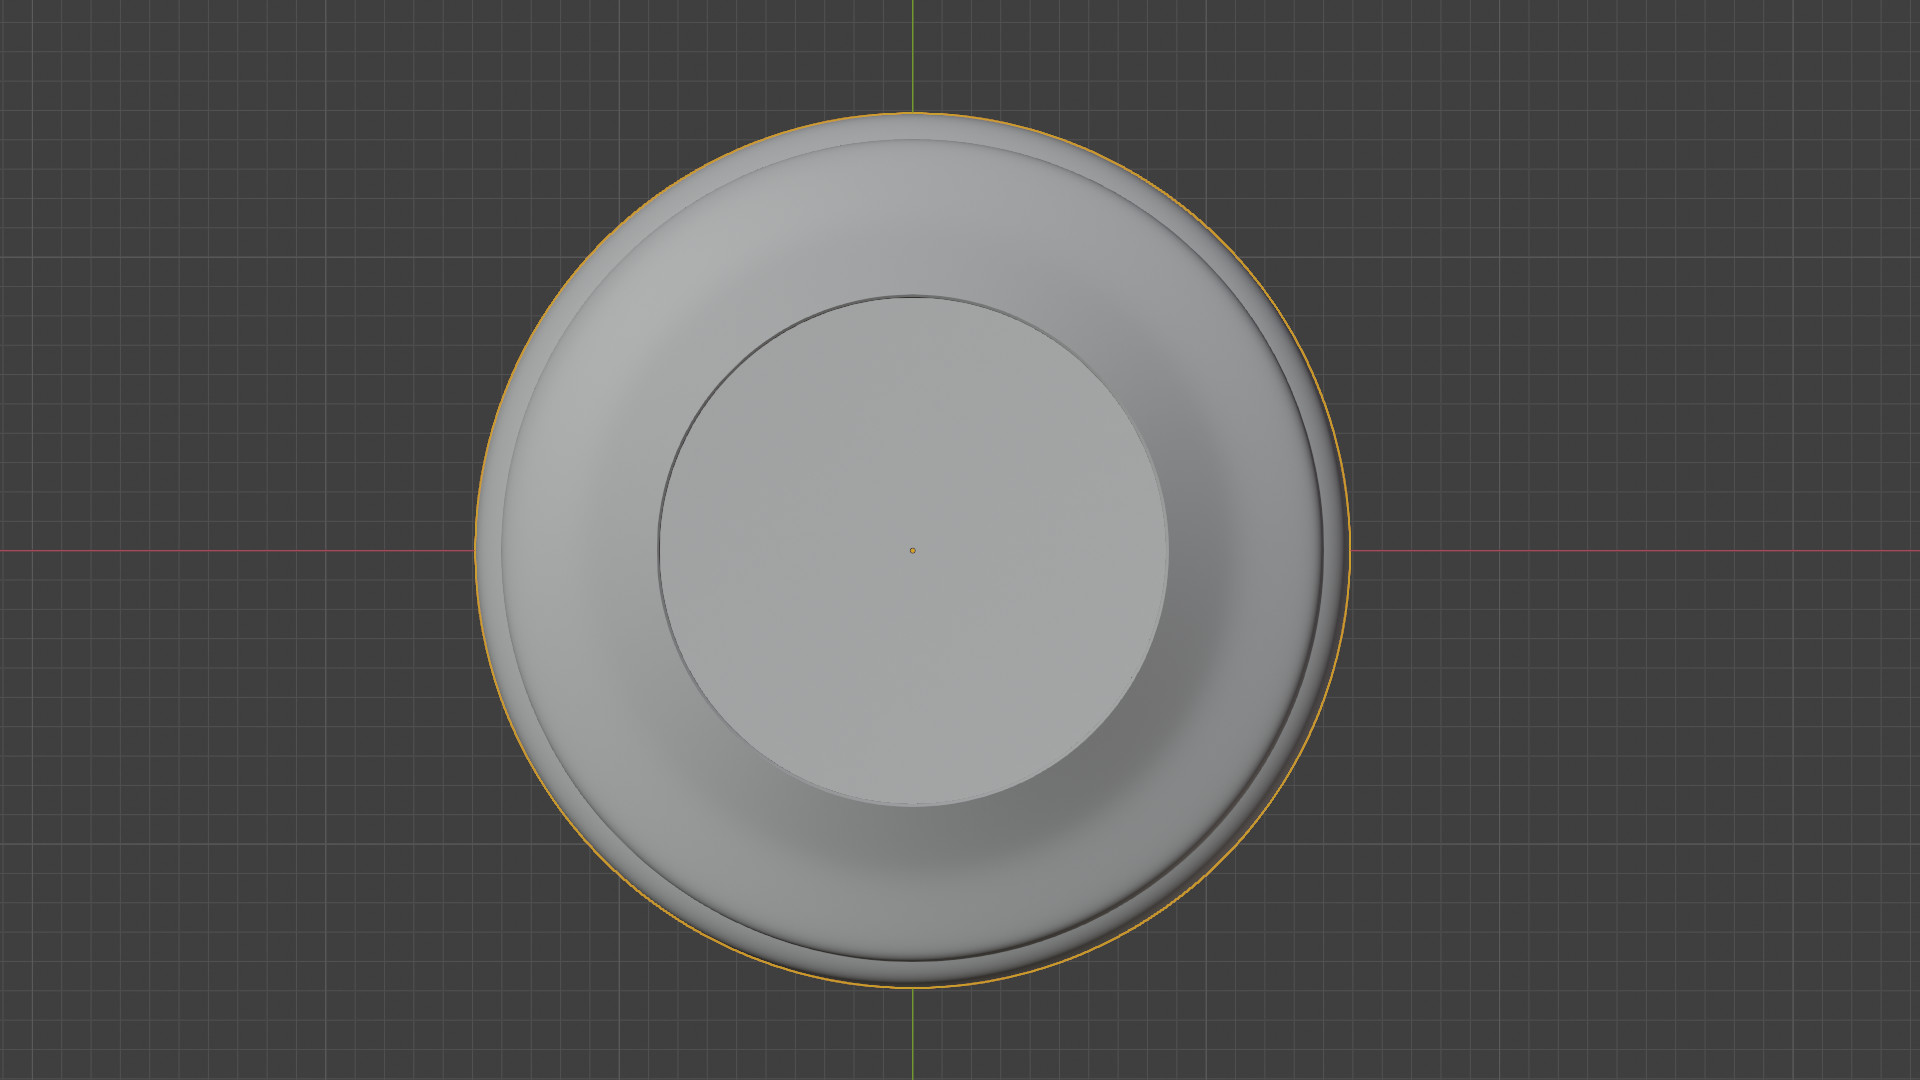
For the high poly model I subdivided surfaces by a factor of 3/ render of 3. allowing for a very smooth and continuous surface. After this i then selected all and added some depth to the model using “Extrude Along Normals”.
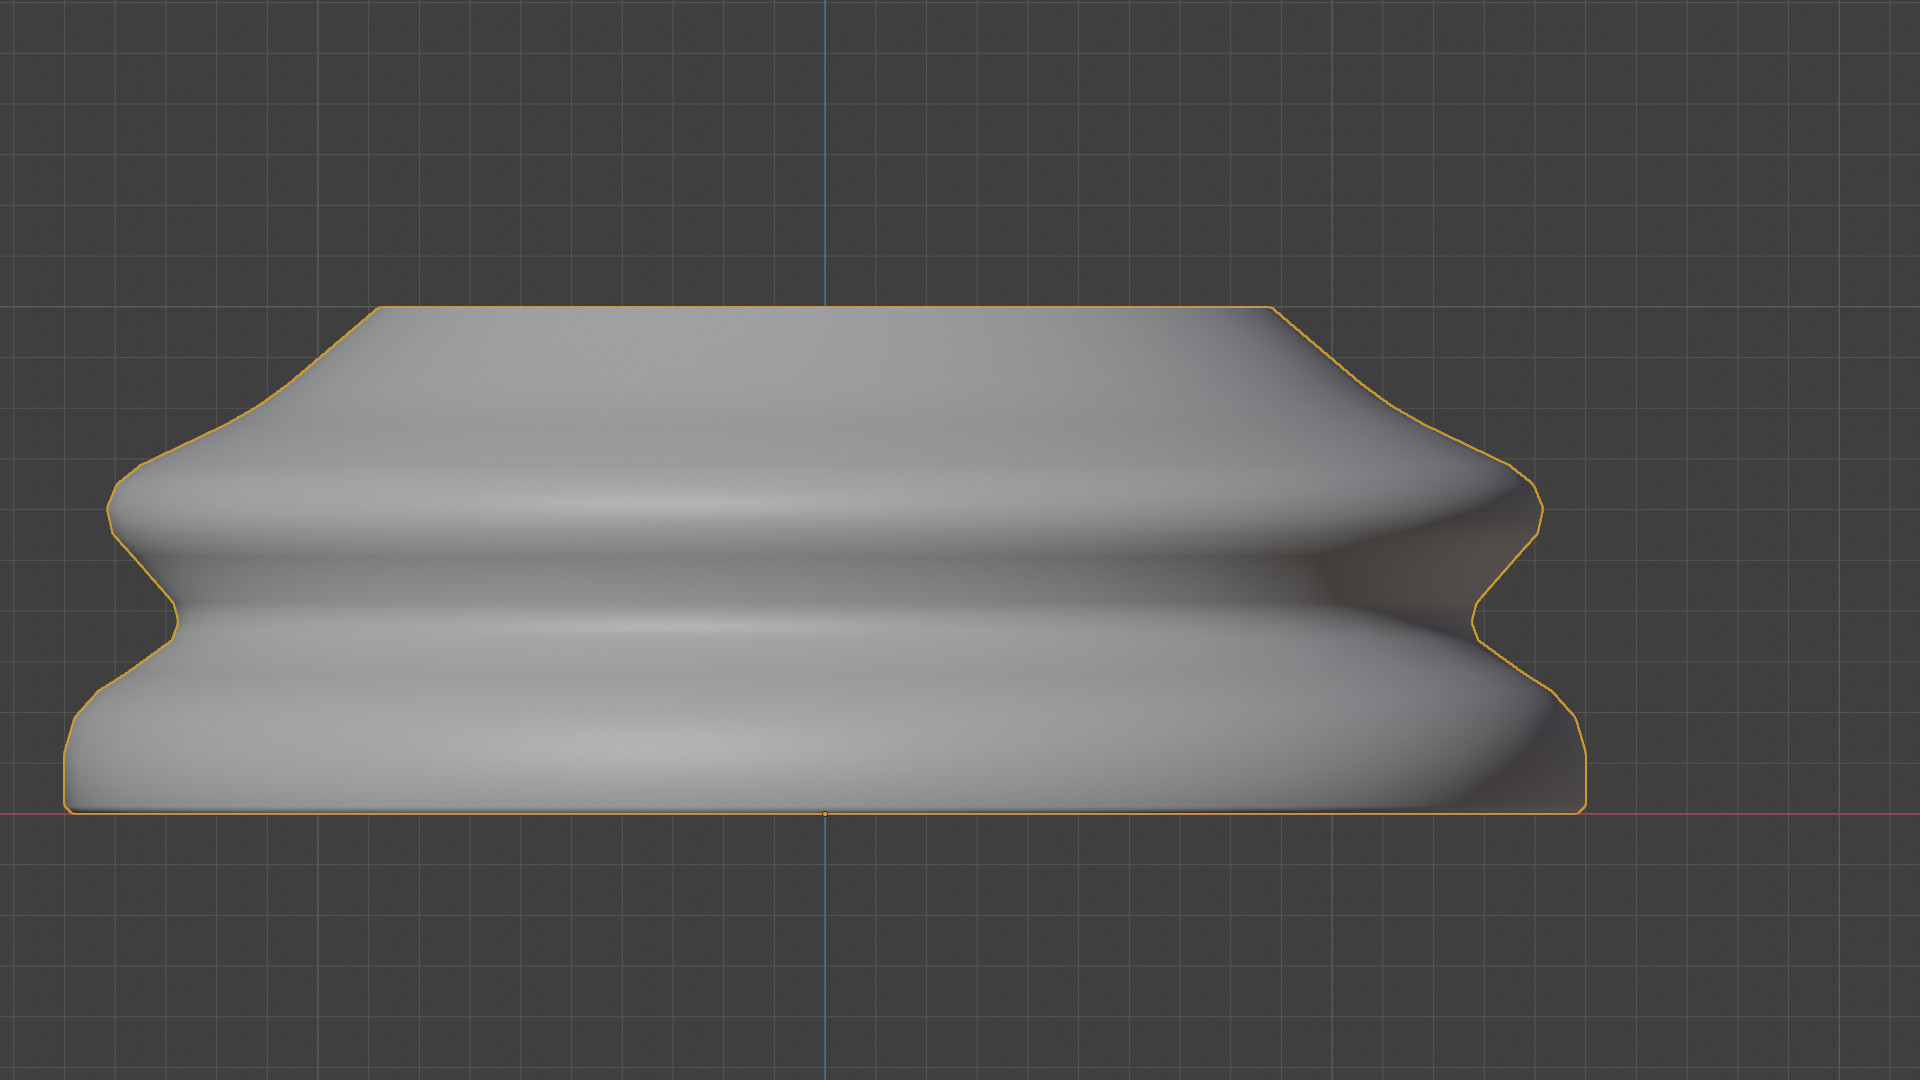
Following this, I proceeded with another technique called “Triple edges” on the top most and bottom most edges. This allows the user to mimic a harder surface or sharper transition giving the effect of a “Hard Surface” instead of a smooth transition. You can see the effect slightly on the pictures below. (Hard to see on nontextured or non material objects)
I will be continuing the double models throughout the course to accomplish two goals: (Excluding the Time Factor associated with either)
1- understand the differences of low poly and high poly
2- to see the differences between converting a low-poly -> high-poly and/or high-poly -> low-poly
Cheers!
LOW-POLY: [EDIT: This is still a higher poly model then needed- see further down post for updated pictures]
(I left these in original post to show others what @bOBaN was referencing in reply )
I agree. ill have to go back to an earlier version with out the beveling of some of the edge loops. I think since I haven’t reached the section to lower the poly count or remove un-needed geometry it is as you say, a higher poly model, then what we both know as a low-poly model.
I believe we both will benefit greatly from the course and helping each other out in such manners.
cheers!!!
FlippedNormals have lots of great videos. But as you said - they explained it there just slightly. The practical reason is that when you subdivide the object with such a huge ngon you will have shading artifacts, even if you somehow manage to keep your intended shape with some loop cuts…
For someone who’s exploring the high vs low-poly efficiency. You are using a solid model!
The model has an inner and outer side (a wall thickness). The inner side will never be seen!
So those faces do not help the low poly idea of having just the amount of vertices (edges, faces) to represent a model in the way it is used.
The whole idea behind low poly is rendering speed en accuracy in representing the object.
Render speed is important for game and movie development. But less for visuals
Accuracy is more or less fooling the brain with just enough visual information as if it was real.
Like a bird in the sky at a distance, do you need a high poly model with a high level of details? or a fuzzy black dot moving like a bird …
The work method of a high poly model mapping over to a low poly model. Is just the technical workflow to accomplish this.
For these lessons, there is no need for low poly vs high poly conversion. Because chess piece design can be anything. For example, your low poly model with flat sides could be a requirement when working with diamond/glass material.
A smoother surface, when a metal material is used.
So which is better low vs high poly, totally depends on how the model is used and what it represents!
That is what you need to understand. Not the comparison itself.
so ideally, I shouldn’t think about depth on low poly models if the model isn’t going to explode/ separate?
I understand what you mean about the draw distance and render times. I assumed since these objects weren’t intended to be utilized as game assets I would be ok. But what extra polys i have just make the render take longer to compose.
as far as the material specific parameters I haven’t tested or trained on that as of this moment. especially the glass materials/textures. But it makes sense to have the flattest surface to mimic the look.
cheers for the heads up!
The reason for the tutor is: low poly is easier to handle and to explain. Like the principles of Blender editor and modifiers.
You are free to choose the level of detail you want to do. But all lessons in the class have a purpose to learn you something. It will be done in gradual steps of difficulty.
But some students want to do the next levels right now. Instead of following a certain path where things will be explained on the basics what you have learned before. No problems at all! But you will probably do things in the wrong order, for the wrong reason.
I have been in your situation too. Immediately wanted to do things the right way! With each new step I had learned. But there are so many things to learn. And what you need to learn is for which task, layout, a goal lies ahead. Which Blender functions you are going use and how you are going to use them.
But what you need to learn are all the ins and out of Blender. Which is huge! Every new release new tools and tricks to perform.
Keep having fun, don’t stick too long on a subject. Do the challenges, move forward.


")