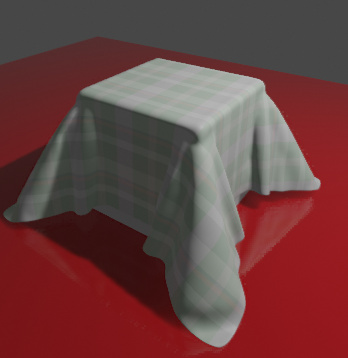
I like the cloth simulation, but I have a lot to learn…
These are my first trys.

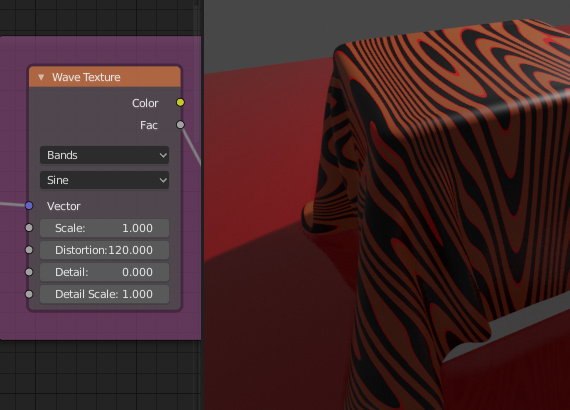
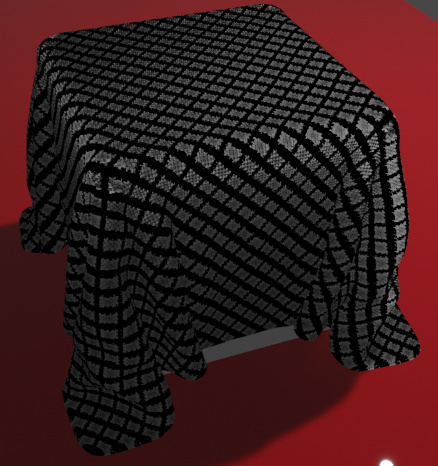
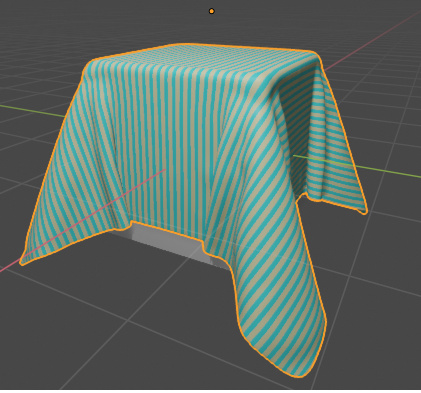
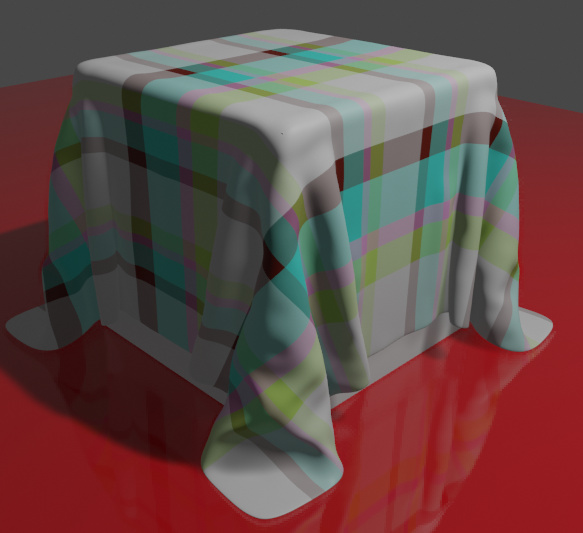
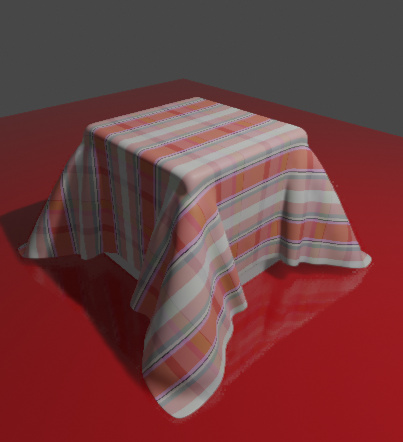
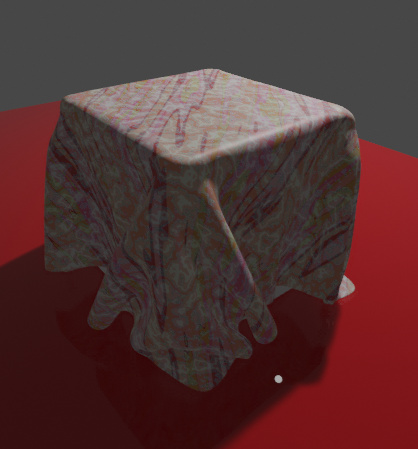
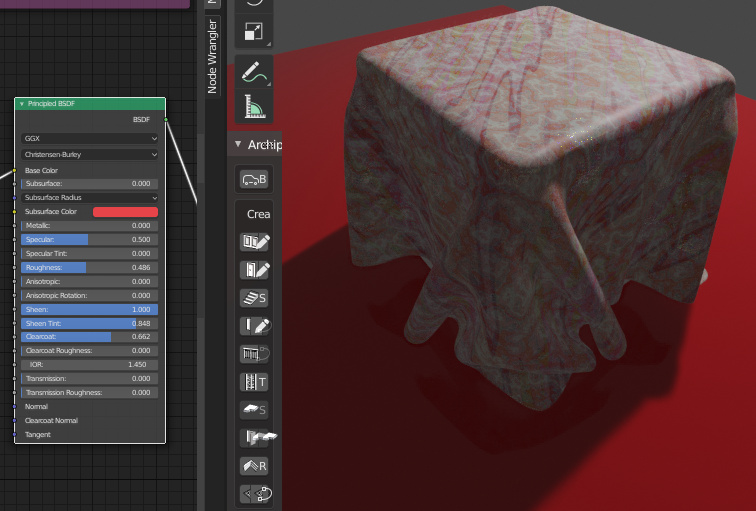
![checker%20texture%20problems|500x490]
(upload://wlHkPXDpxIM8BRTajBZh50ORP4N.png)
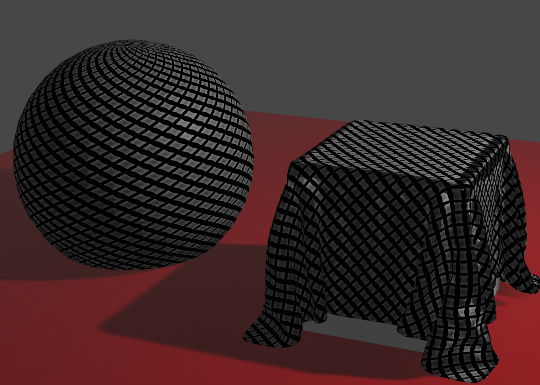
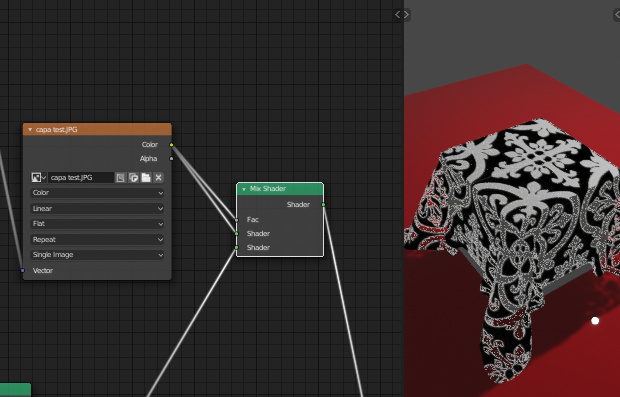
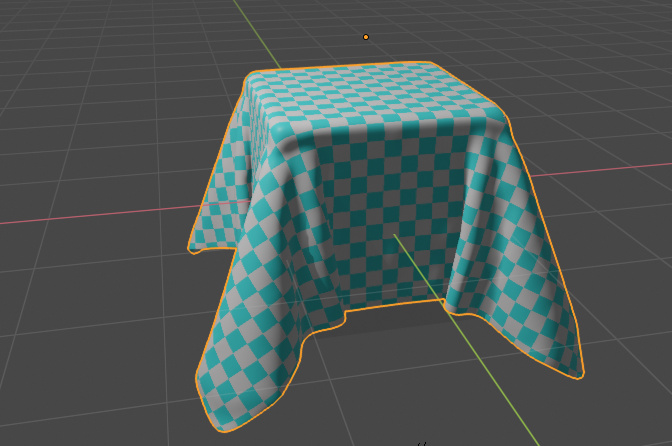
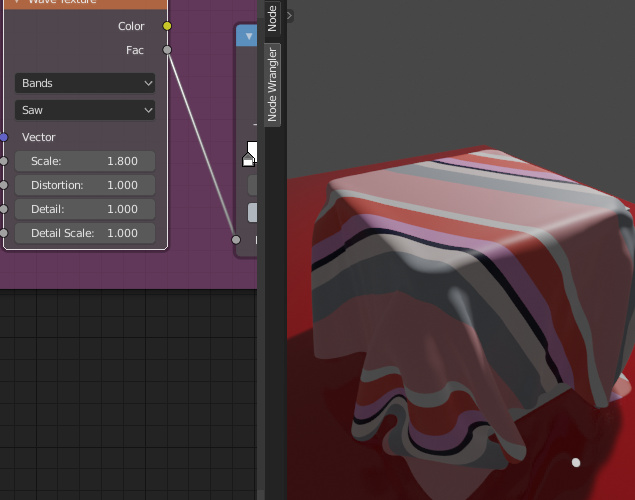
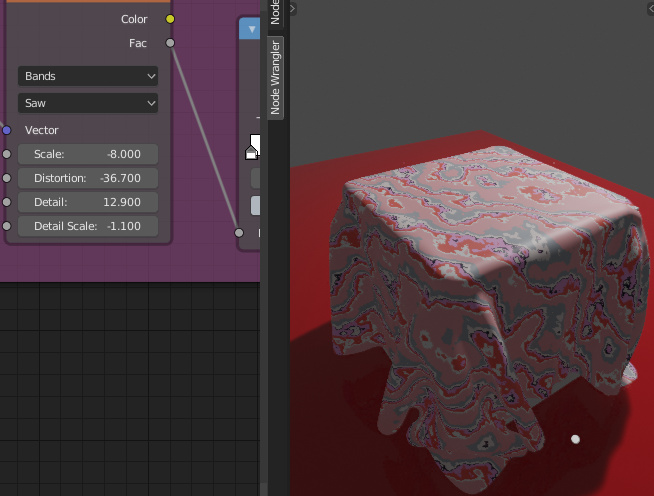
The checker texture causes texture problems…
/////////
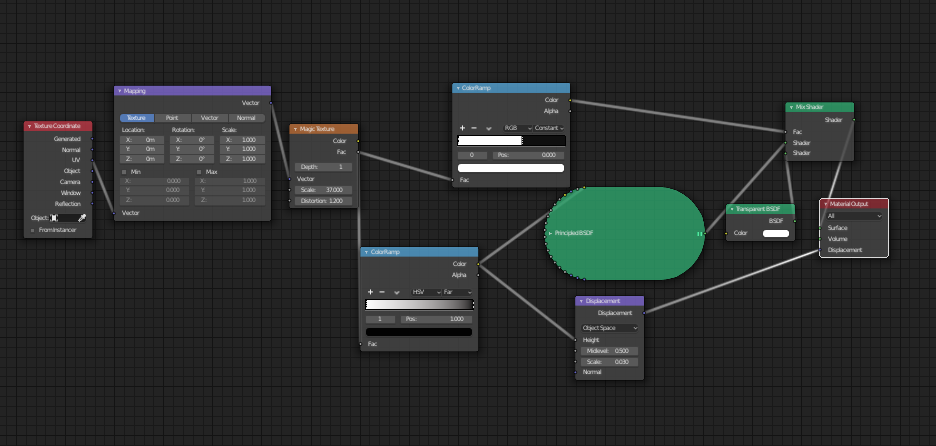
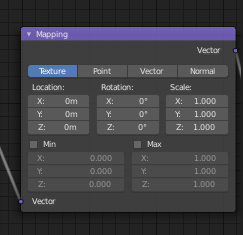
The solution was: one noodle in the shader editor was broken.
////////////////////////////
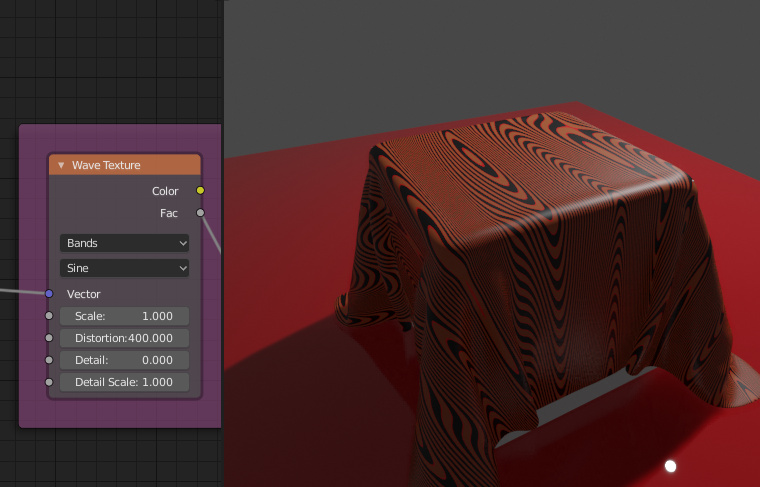
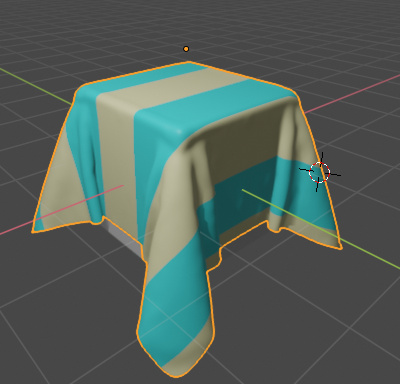
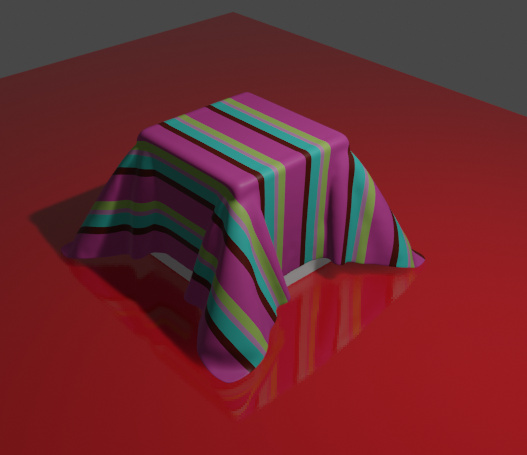
Variations:

/////////////
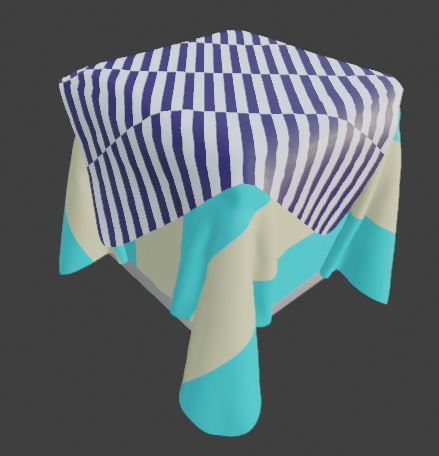
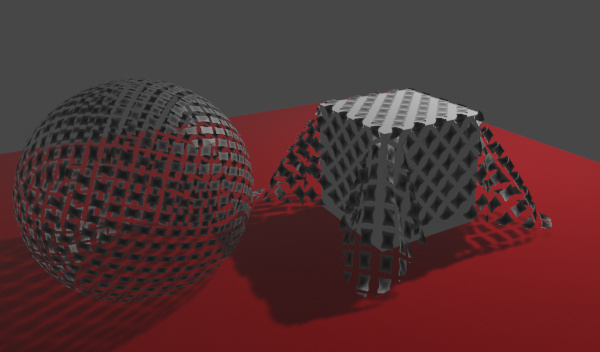
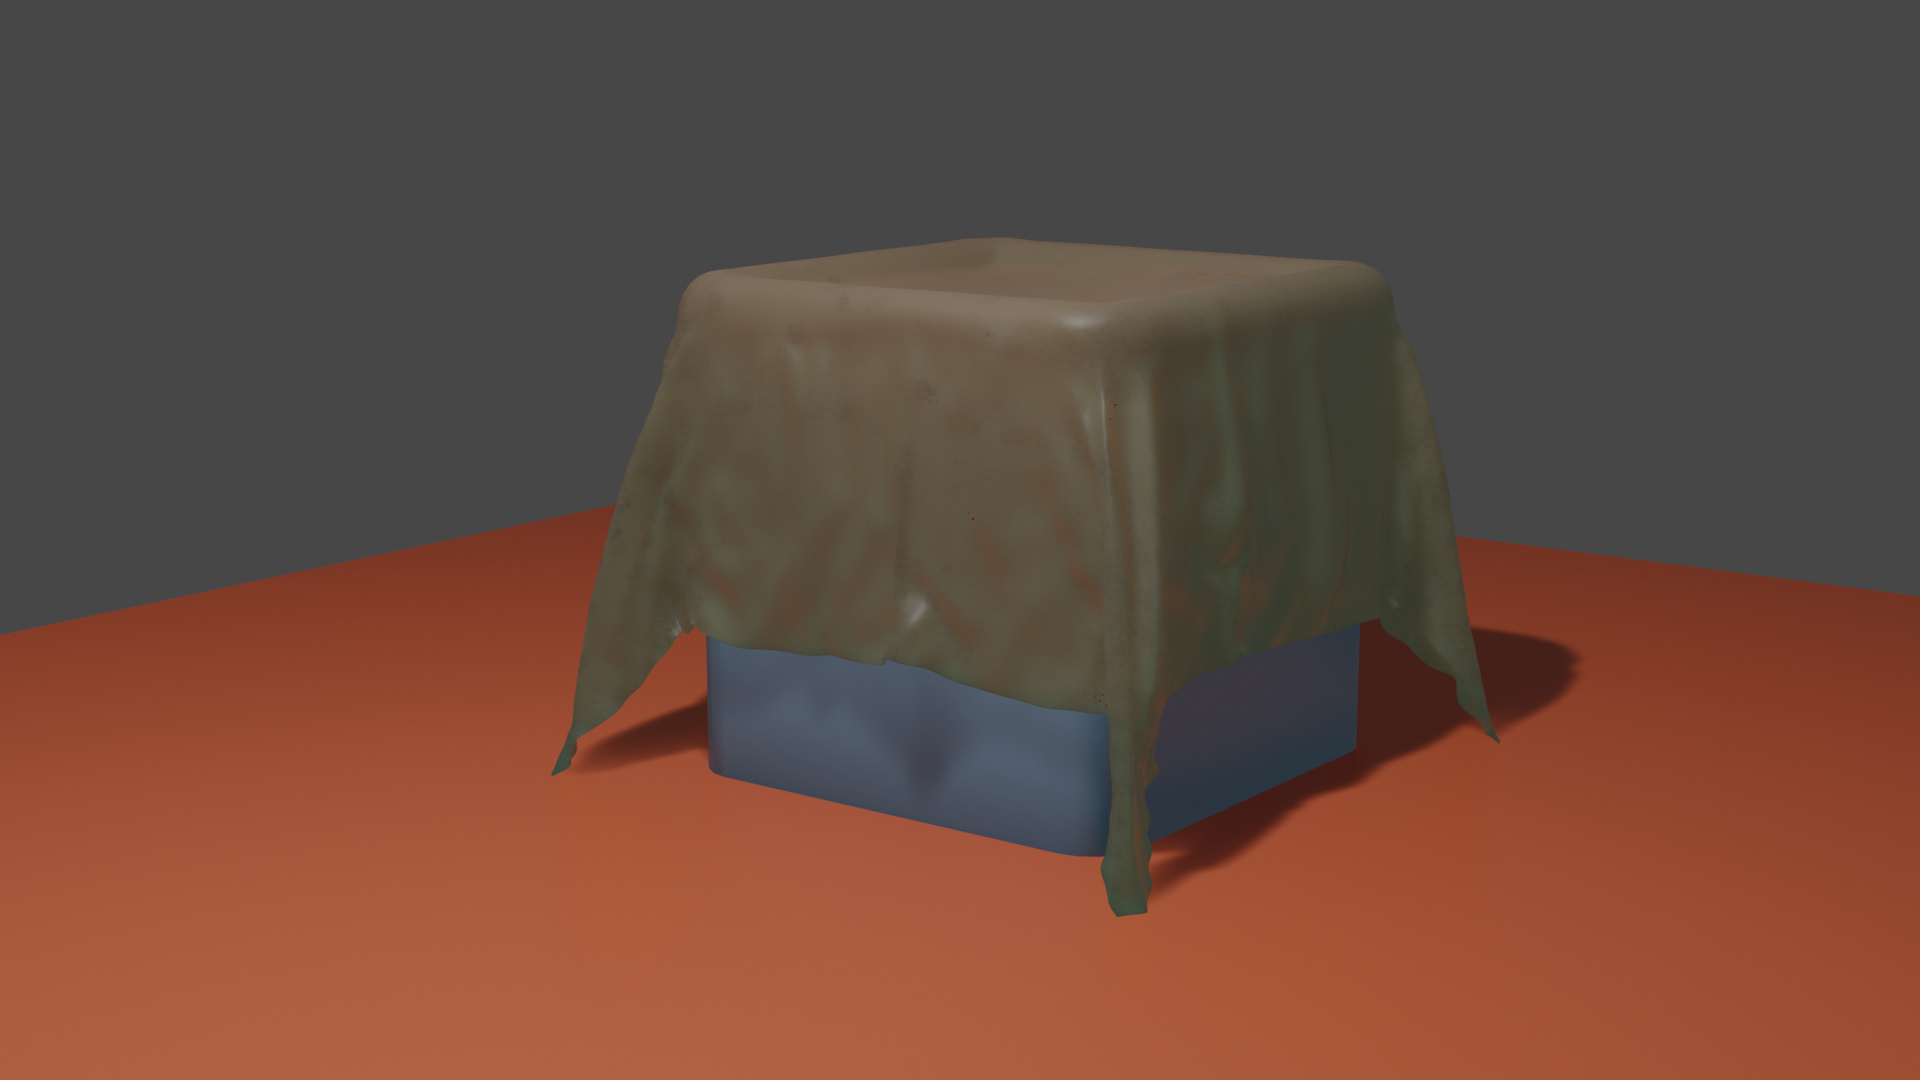
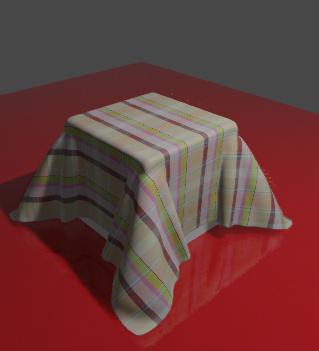
I found it very difficult to add 2 cloths above each other. The top one causes a lot of mistakes…
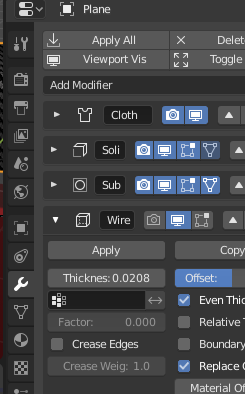
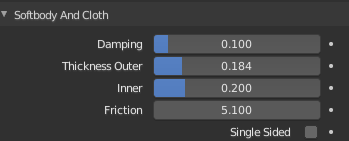
One solution to fix the problems was to increase the thickness outer of the underlying cube.
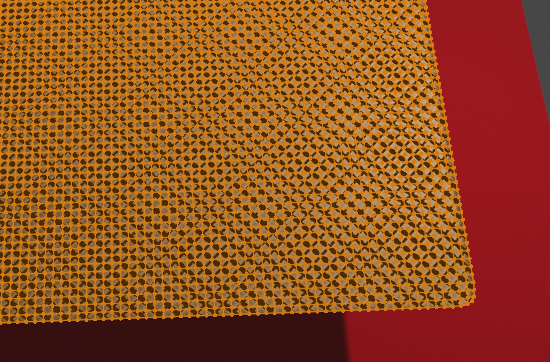
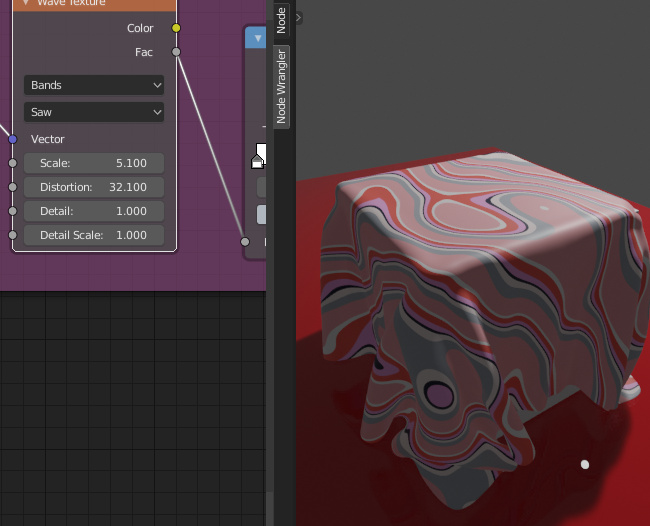
Unfortunately the texture doesn´t look perfect, but is a compromise.
///
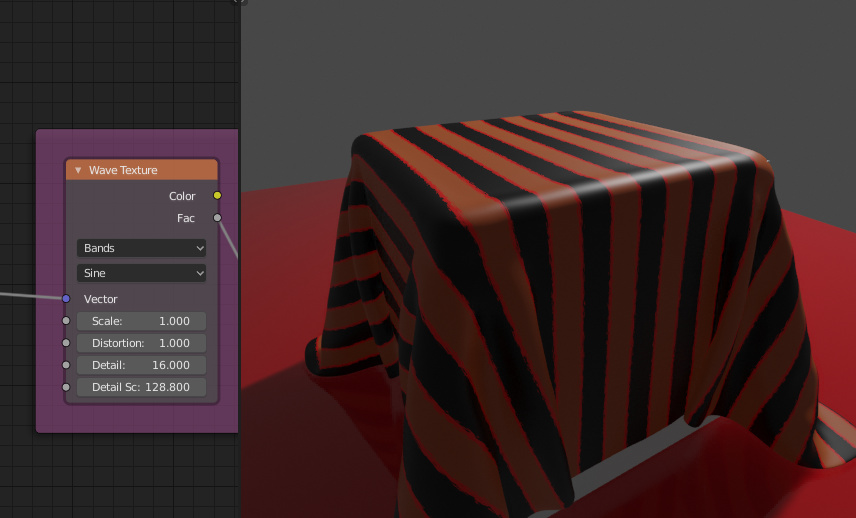
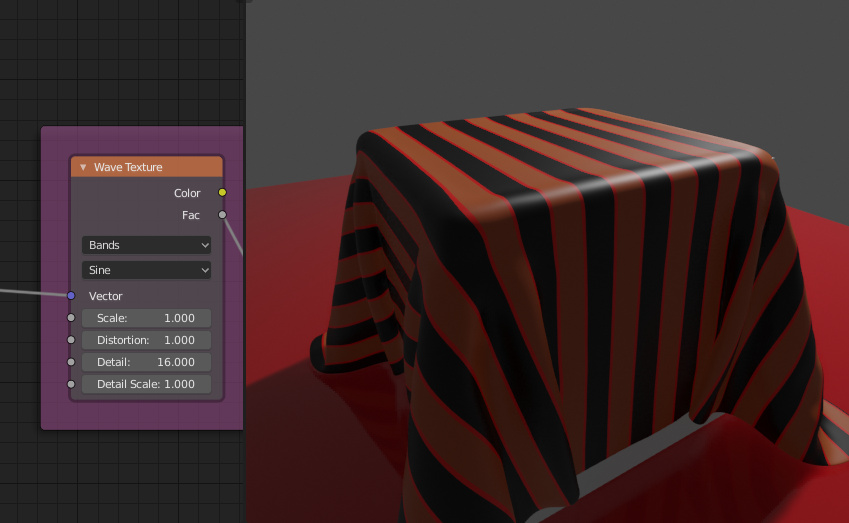
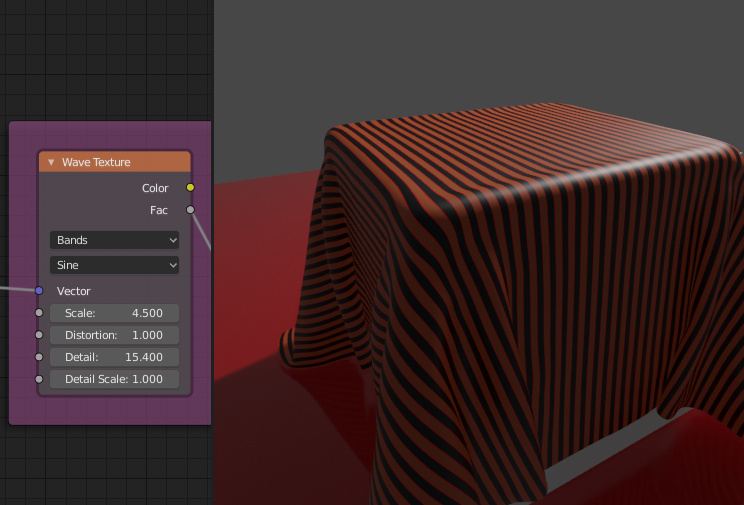
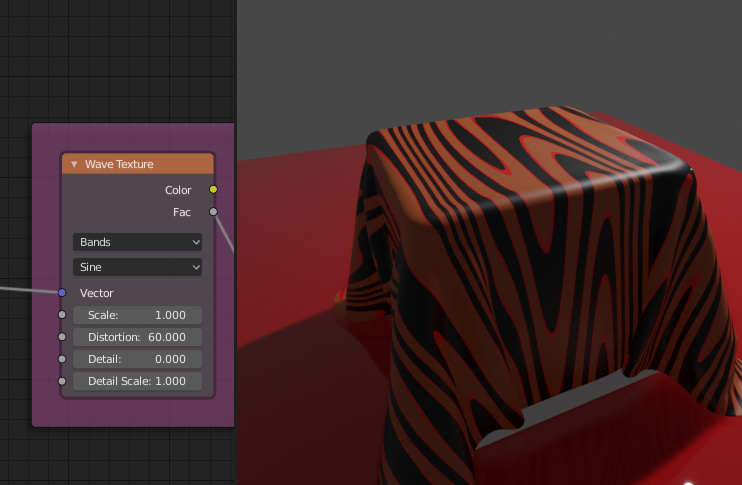
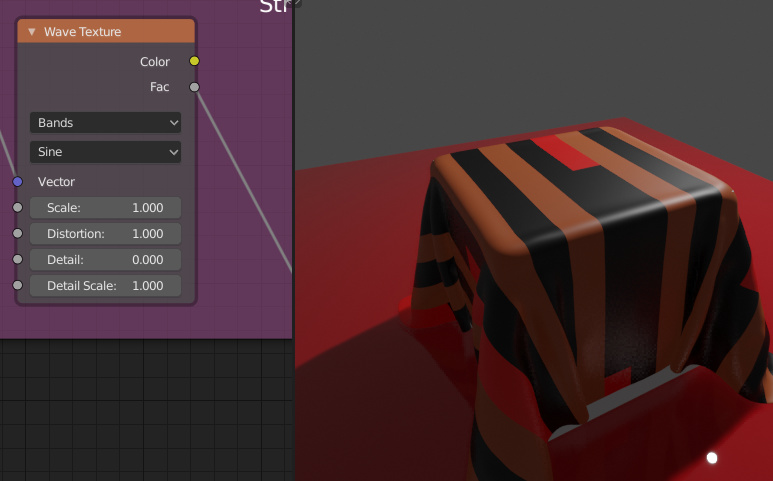
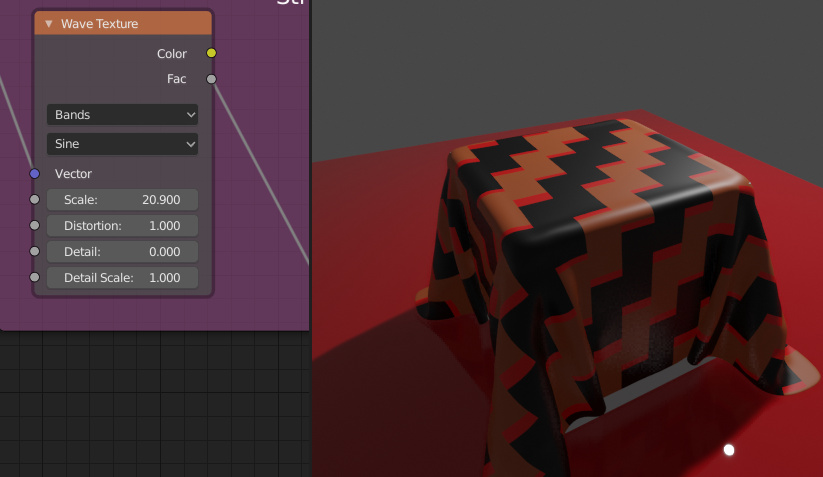
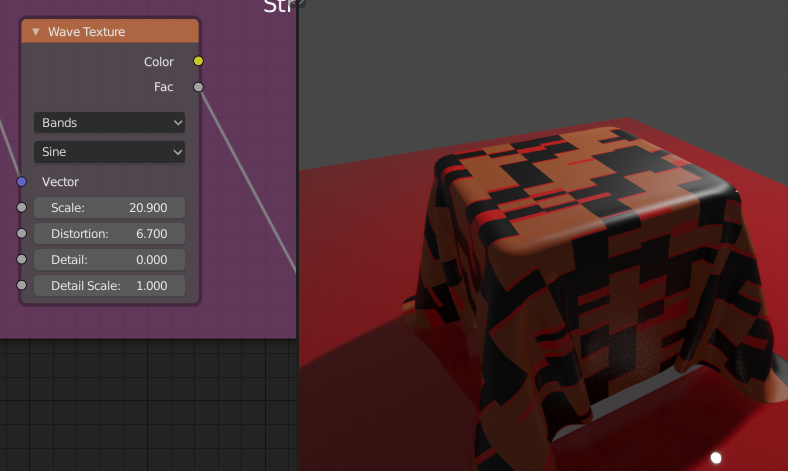
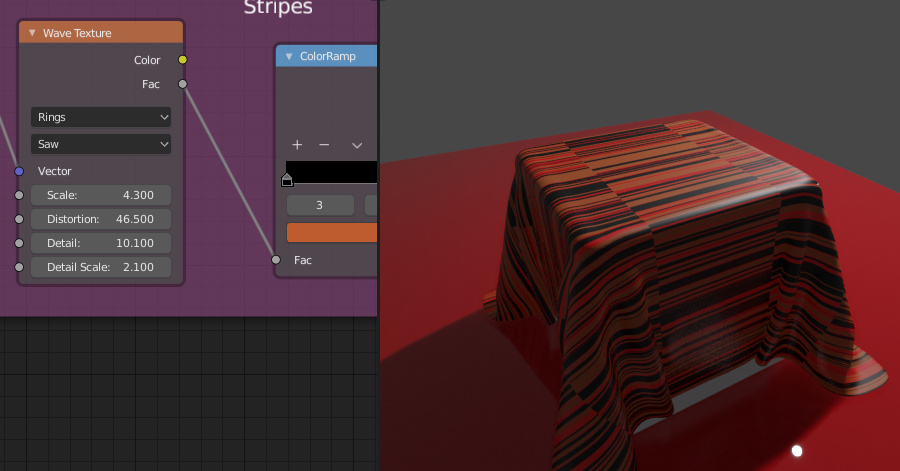
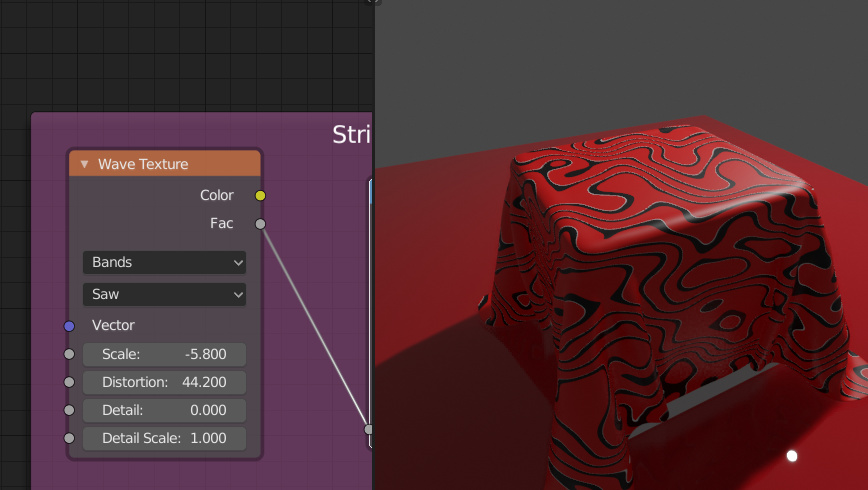
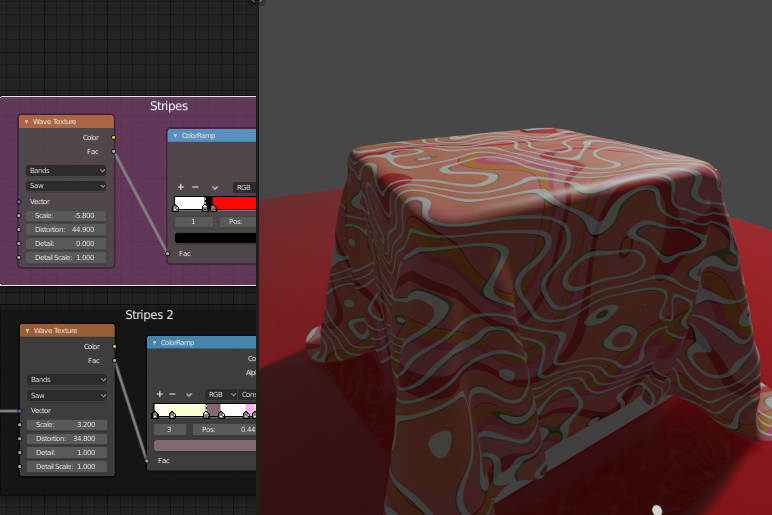
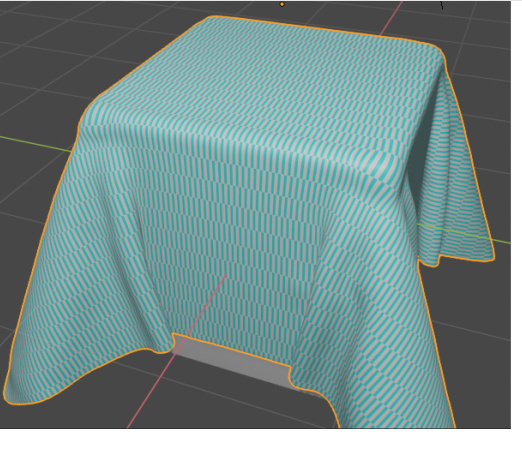
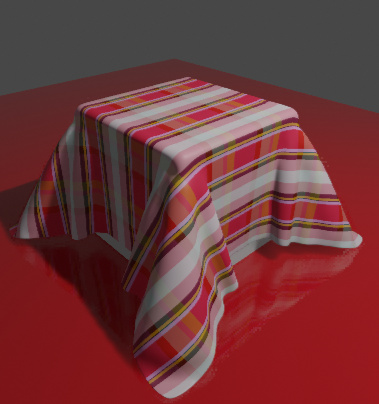
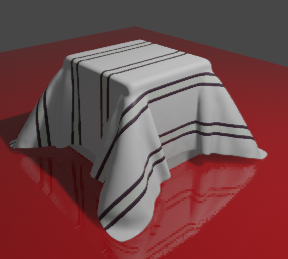
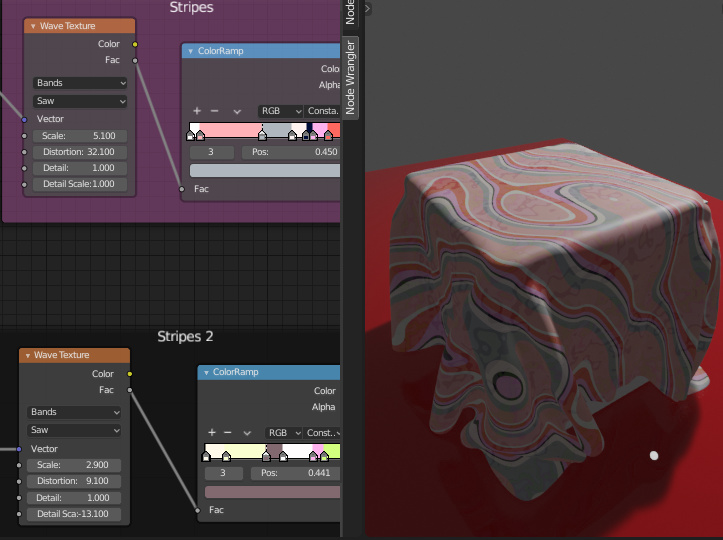
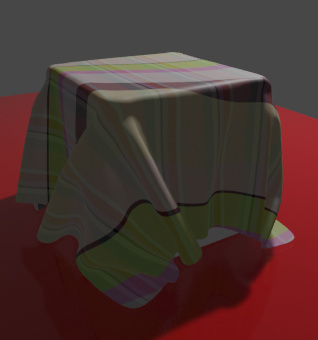
Experimenting with stripes with shader and texture and not some stripe image.
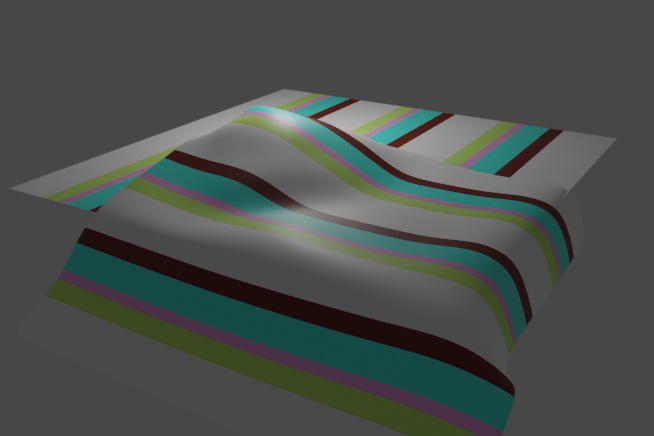

//////////
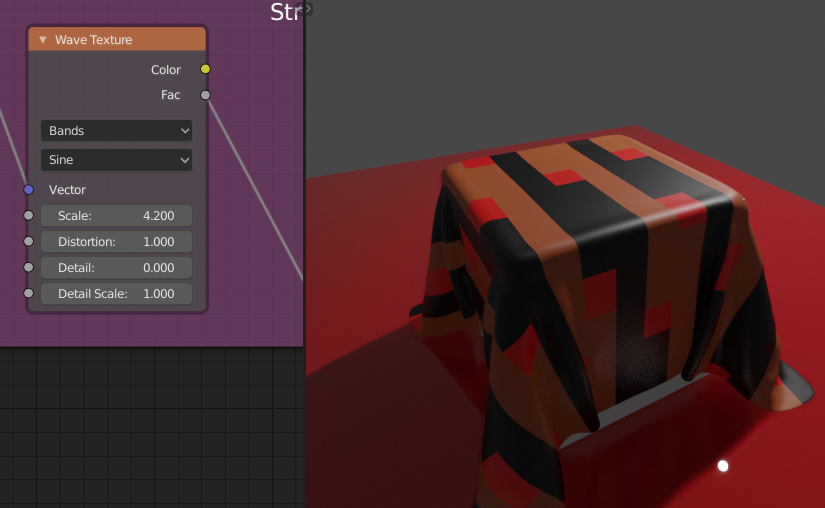
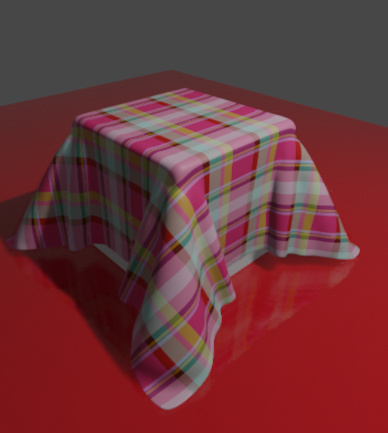
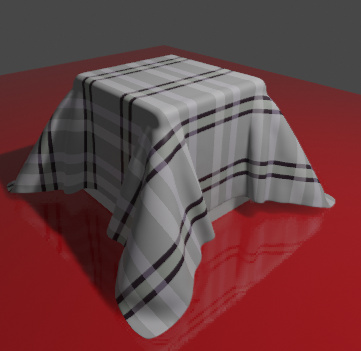
Duplicated the first node tree and rotated it.
 a little bit proud.
//////////////////////
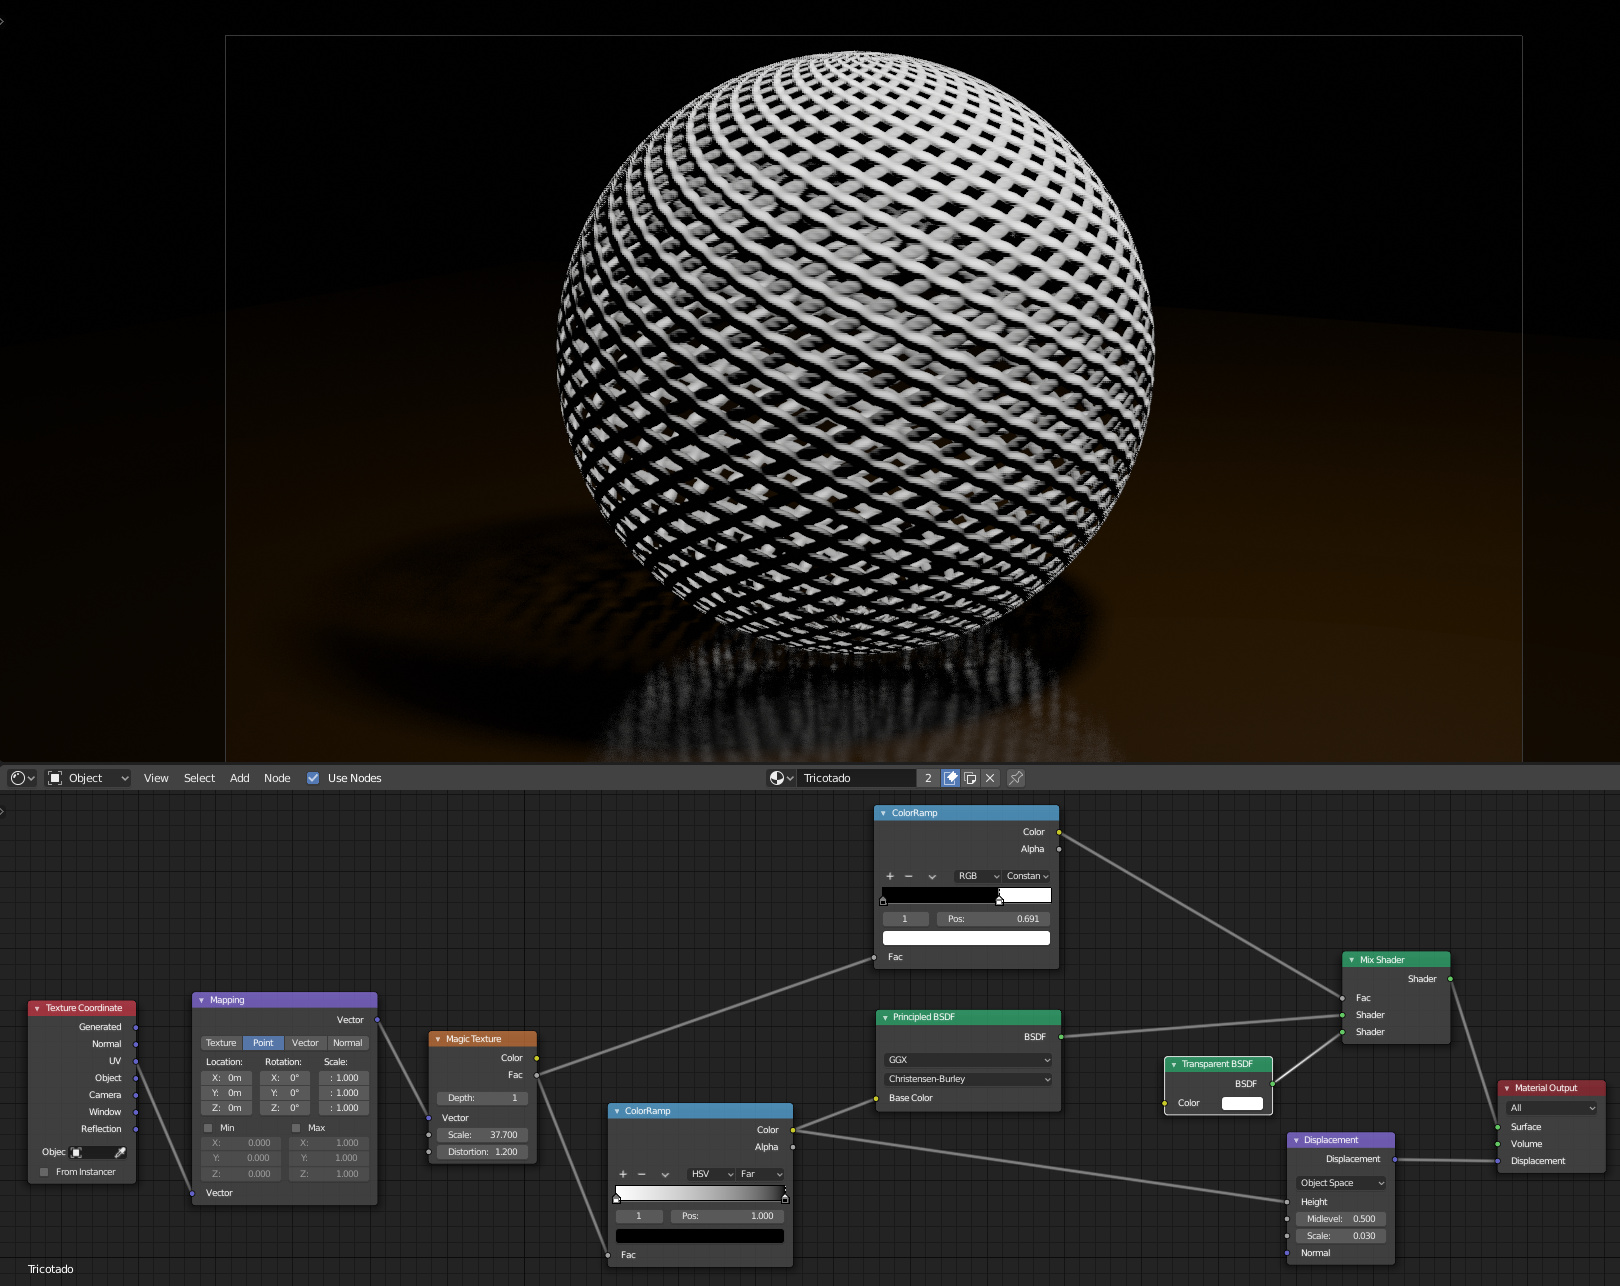
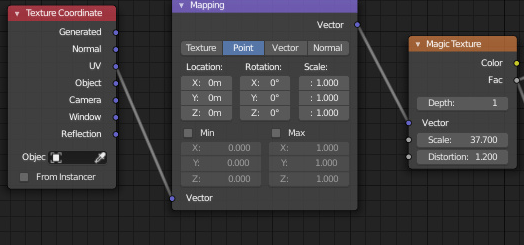
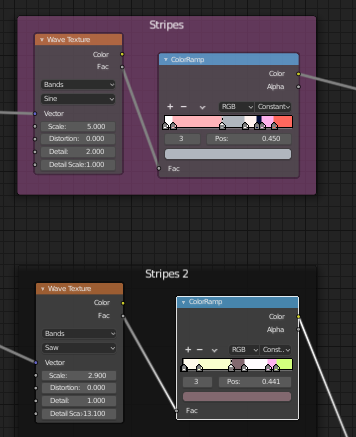
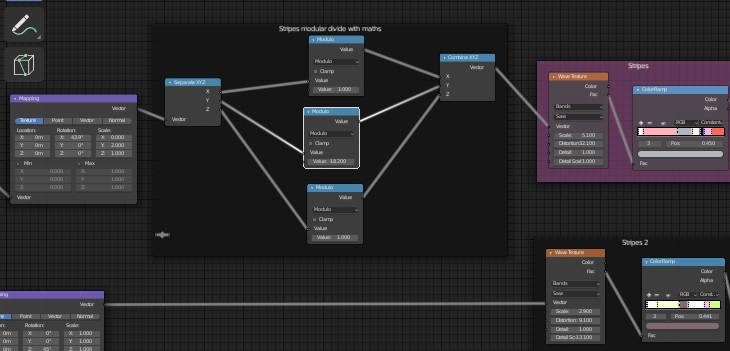
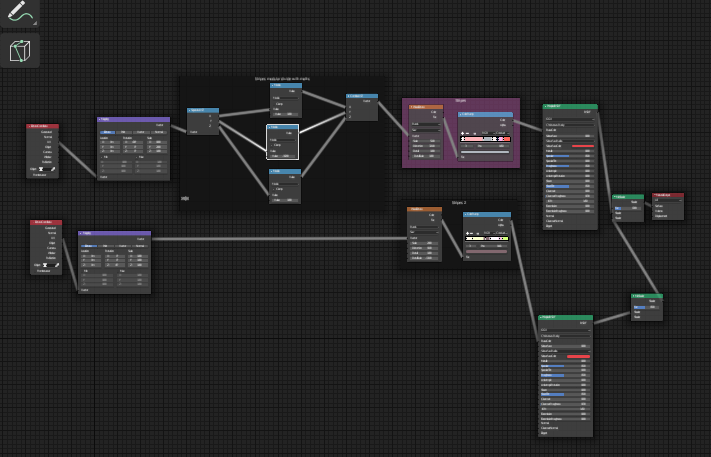
Experimenting with a node tree.
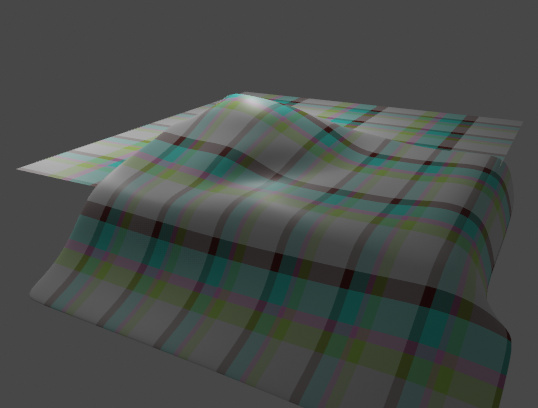
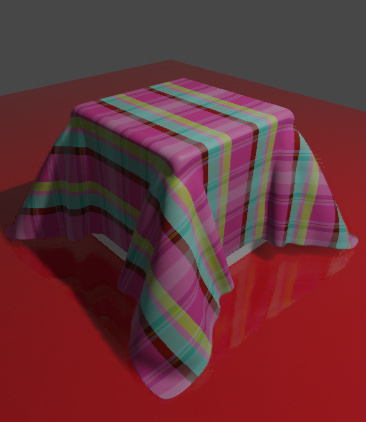
Those are stripes 2
/////////////////////////

Those are stripes 1
//////////////

That is the node tree. With the mix node fac before the material output I can mix them to a complexer pattern:
I love this technique, it is so creative. 
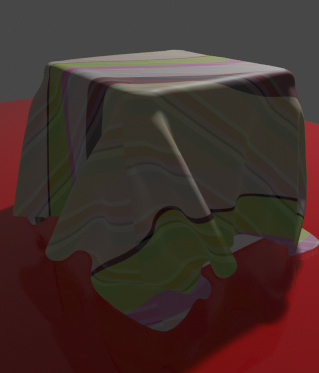
///////////
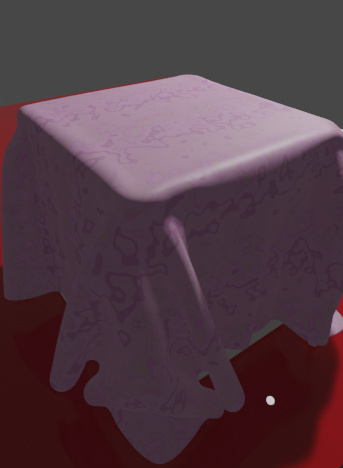
Another colour scheme
//////////////////////
//////////////
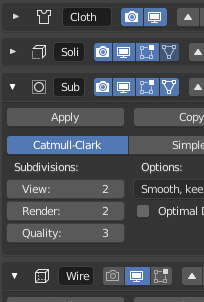
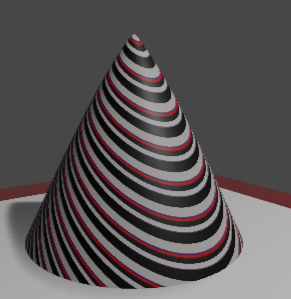
A cone with a stripe pattern

it needs a lot of subsurf 5, 5

 And your project idea is really exciting!