Ice and Fire Chess Set: first views

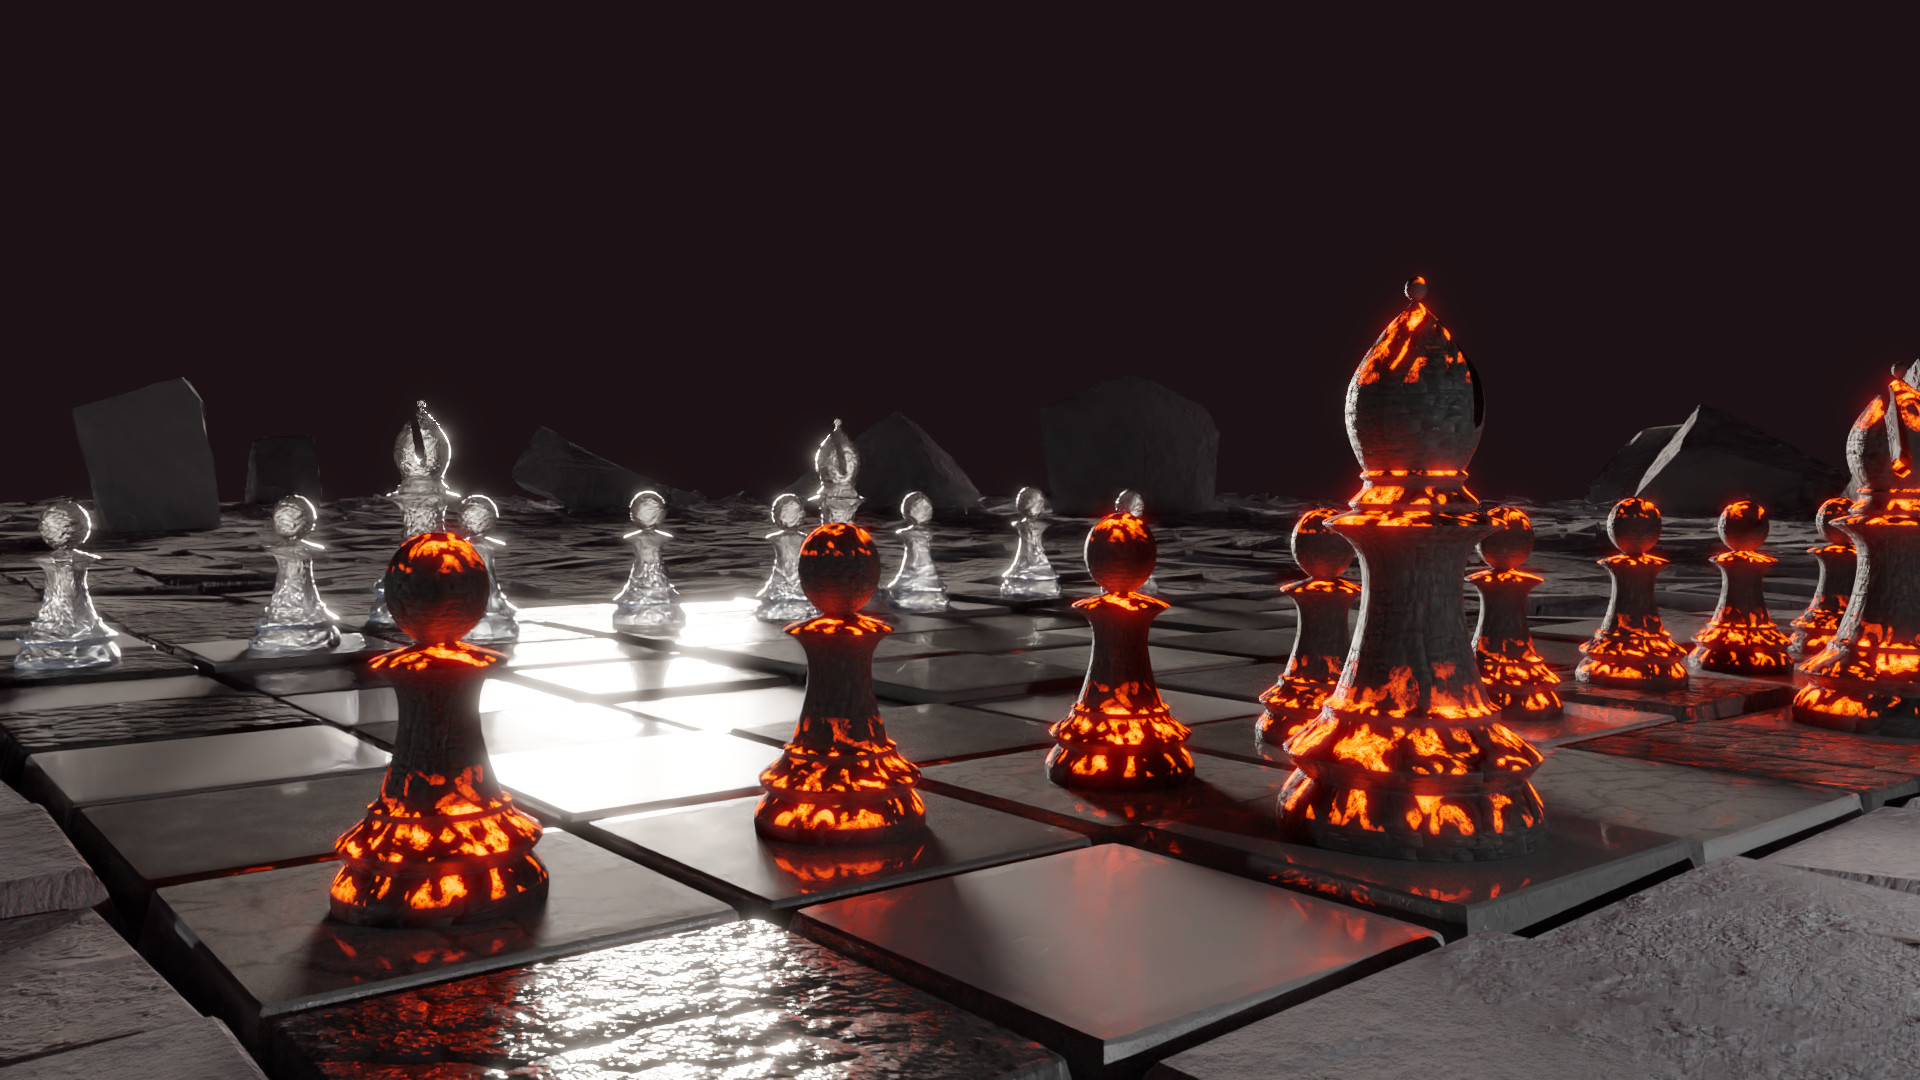
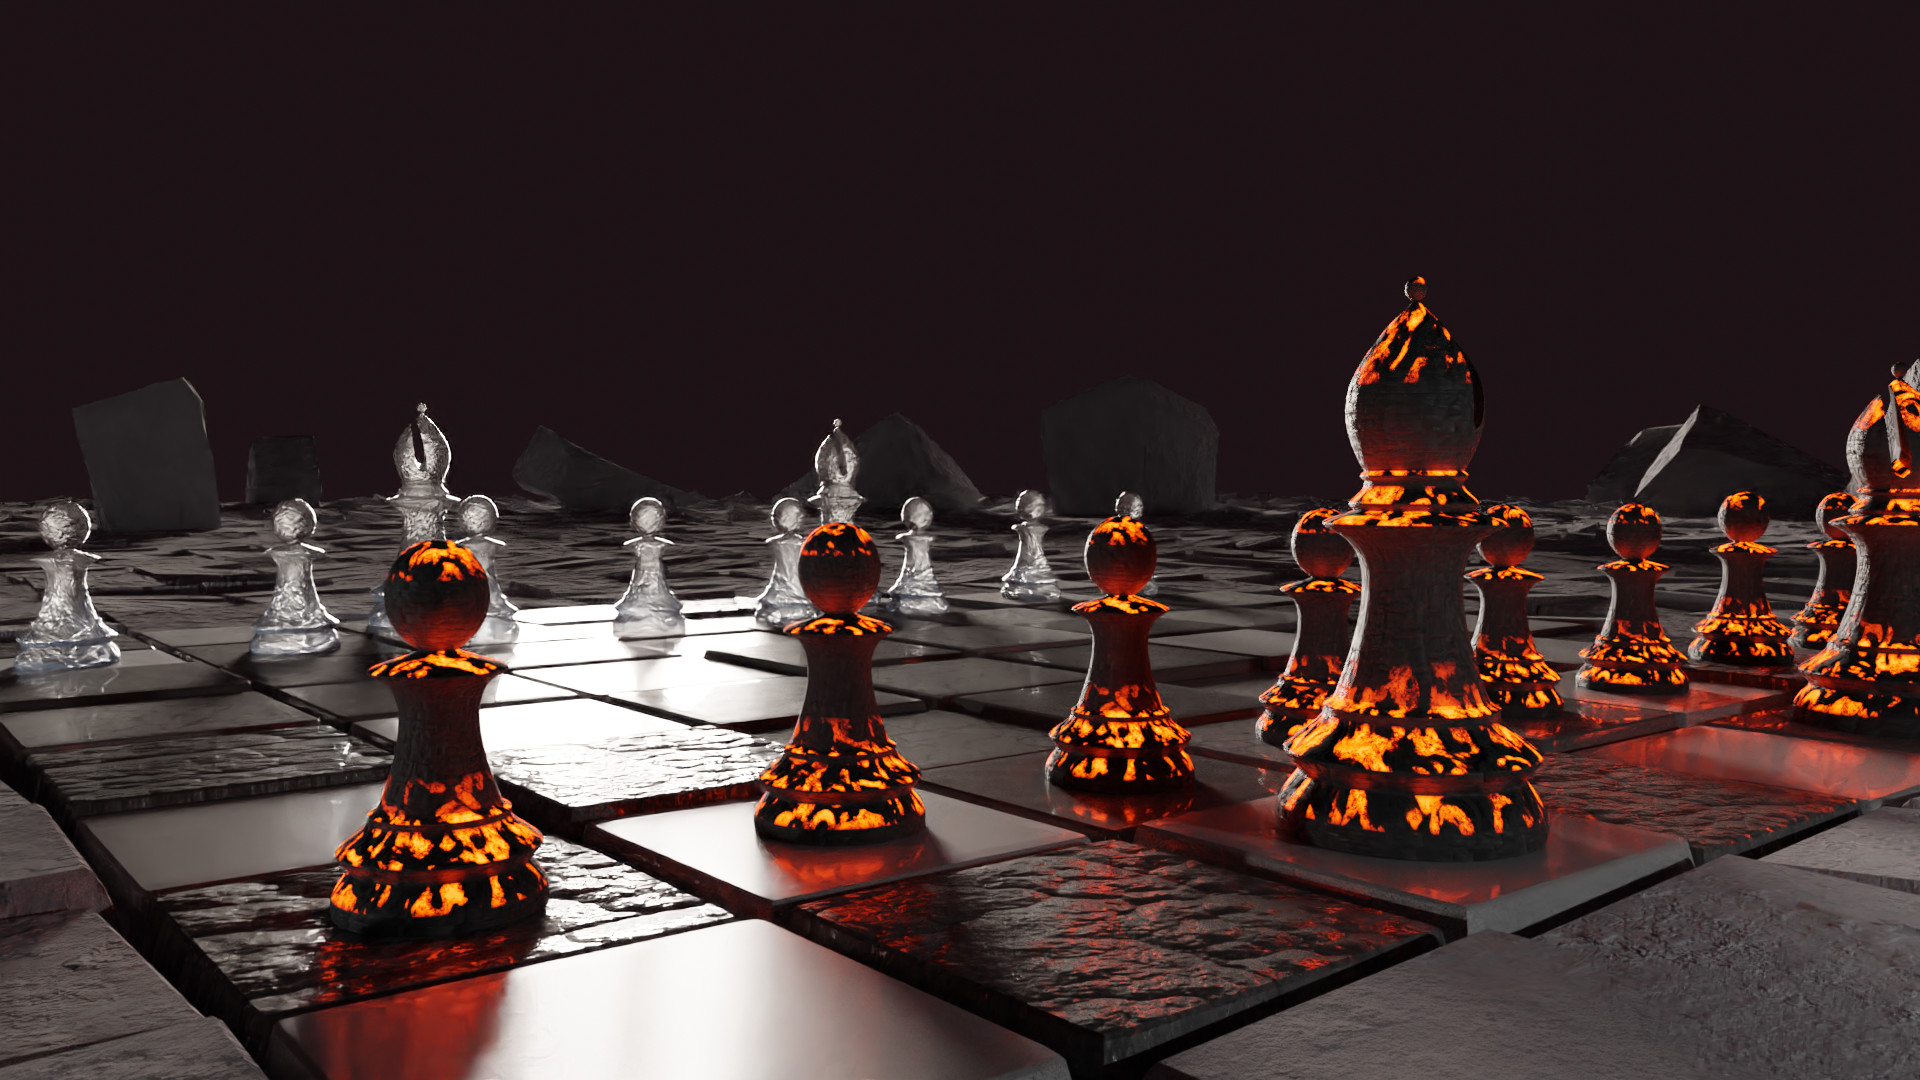
It’s slowly coming together. Not yet exactly what I imagined, but getting closer. No sophisticated effect in this first view, but the lighting and the surroundings are what I want. The Ice and Fire Chess Set is a monumental set: pawns are 6" tall.

The floor was built like in the course, then inset and raised to make tiles. Tiles were then separated in the same object using split, after selecting the bottom edges. They are non-manifold: just surfaces. Random motion is quite easy to achieve using the random selection tool and linked selection tool, followed by small rotation. Repeat from several angles turning around the board, and you’re done. Some tiles are slightly raised or depressed, including in the black and white game board part of the floor. For the larger expanse in the back, which was created using the array modifier, a wave modifier is used to shake the floor tiles. They are actually bent, but it’s too far to be visible.

Base textures are from BlenderKit, but colours have been harmonized in a very unsaturated tone. Randomly chosen board tiles are cracked. The cracked textures are similar to the smooth ones, with a cracked concrete normal map used to add the cracks. Around the board, the texture for surrounding stones is procedural.

Finally the camera is set to wide field of view, and there is a very light depth of field effect, otherwise the large distant rocks look unrealistically sharp. There is only one mesh for the rocks, which is rotated and slightly scaled to make different looking rocks, as seen from the camera. I discovered that, when linking a bishop with Alt-D, the notch is not duplicated. The boolean operation no longer works because it is done using the original notch object. If both are selected (requires that both are visible), then it’s fine. The notch shape is not visible in the render because it is a wireframe object.
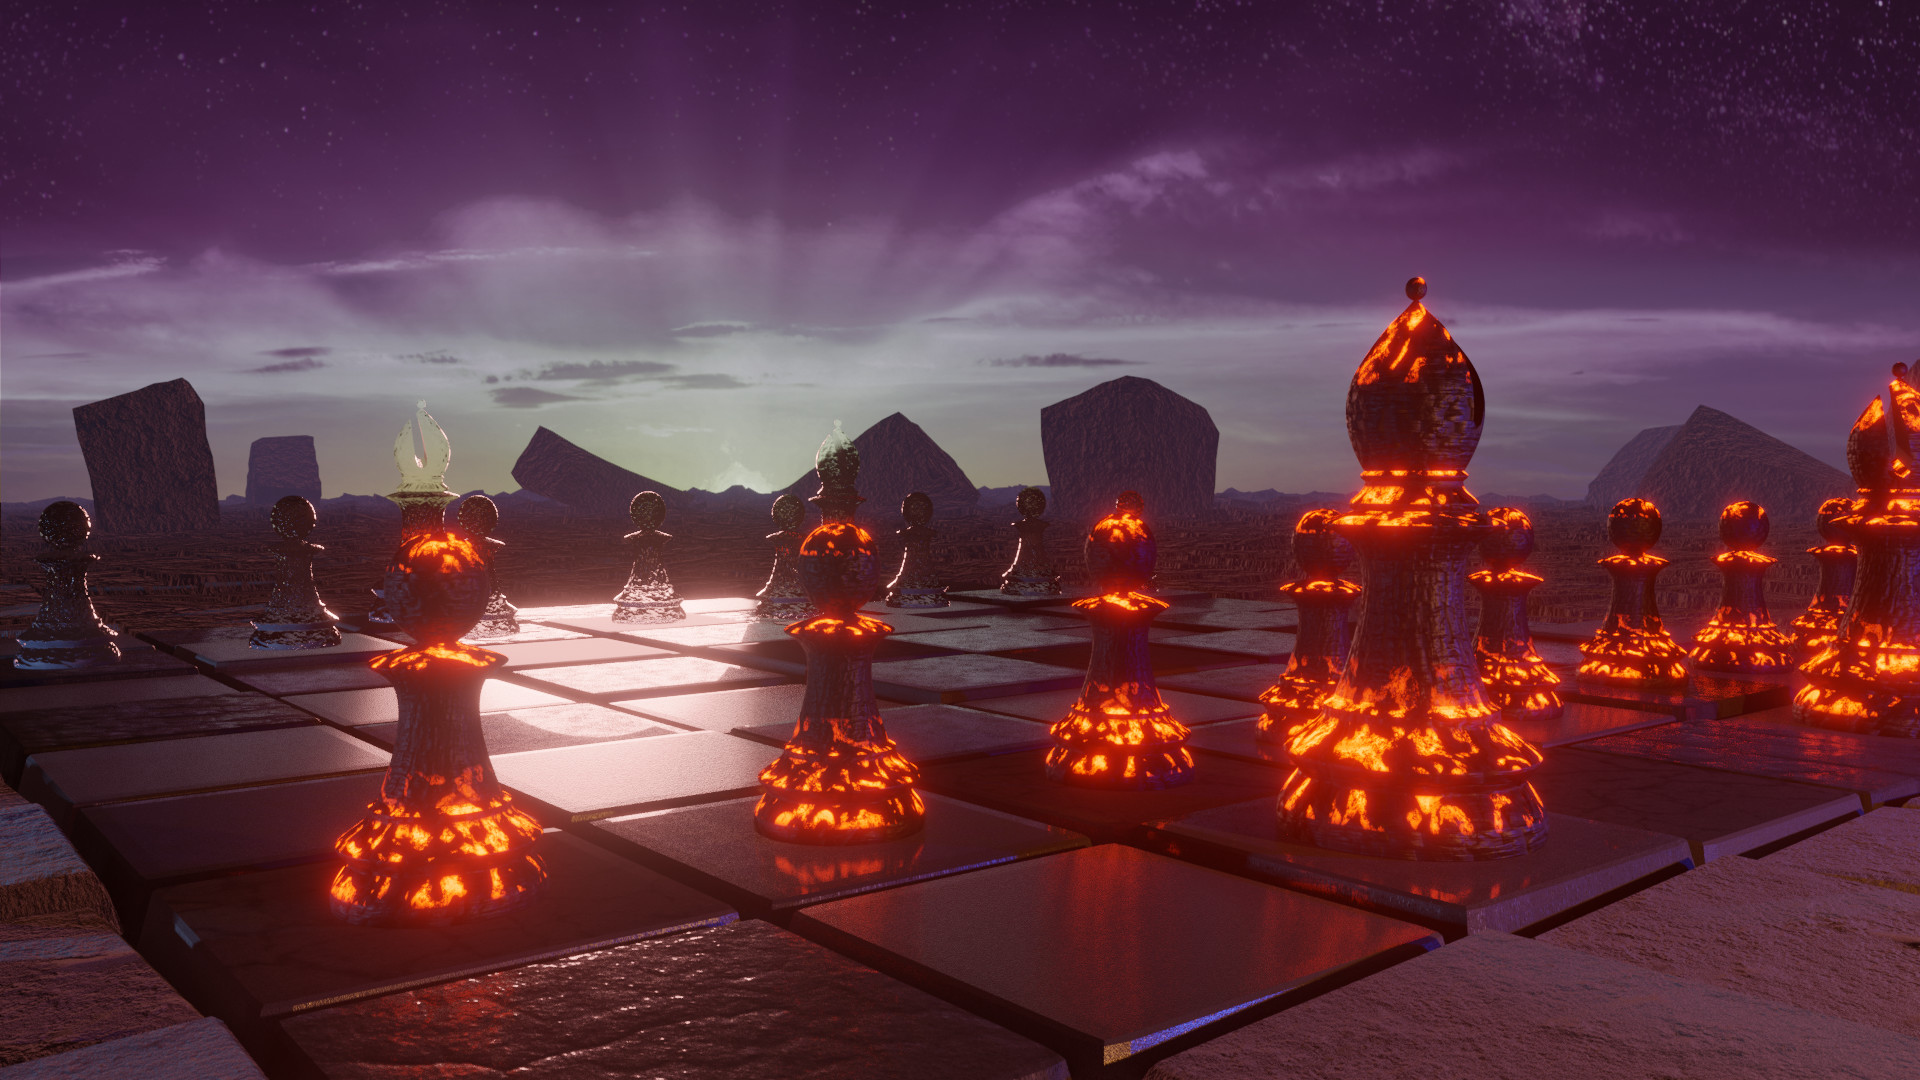
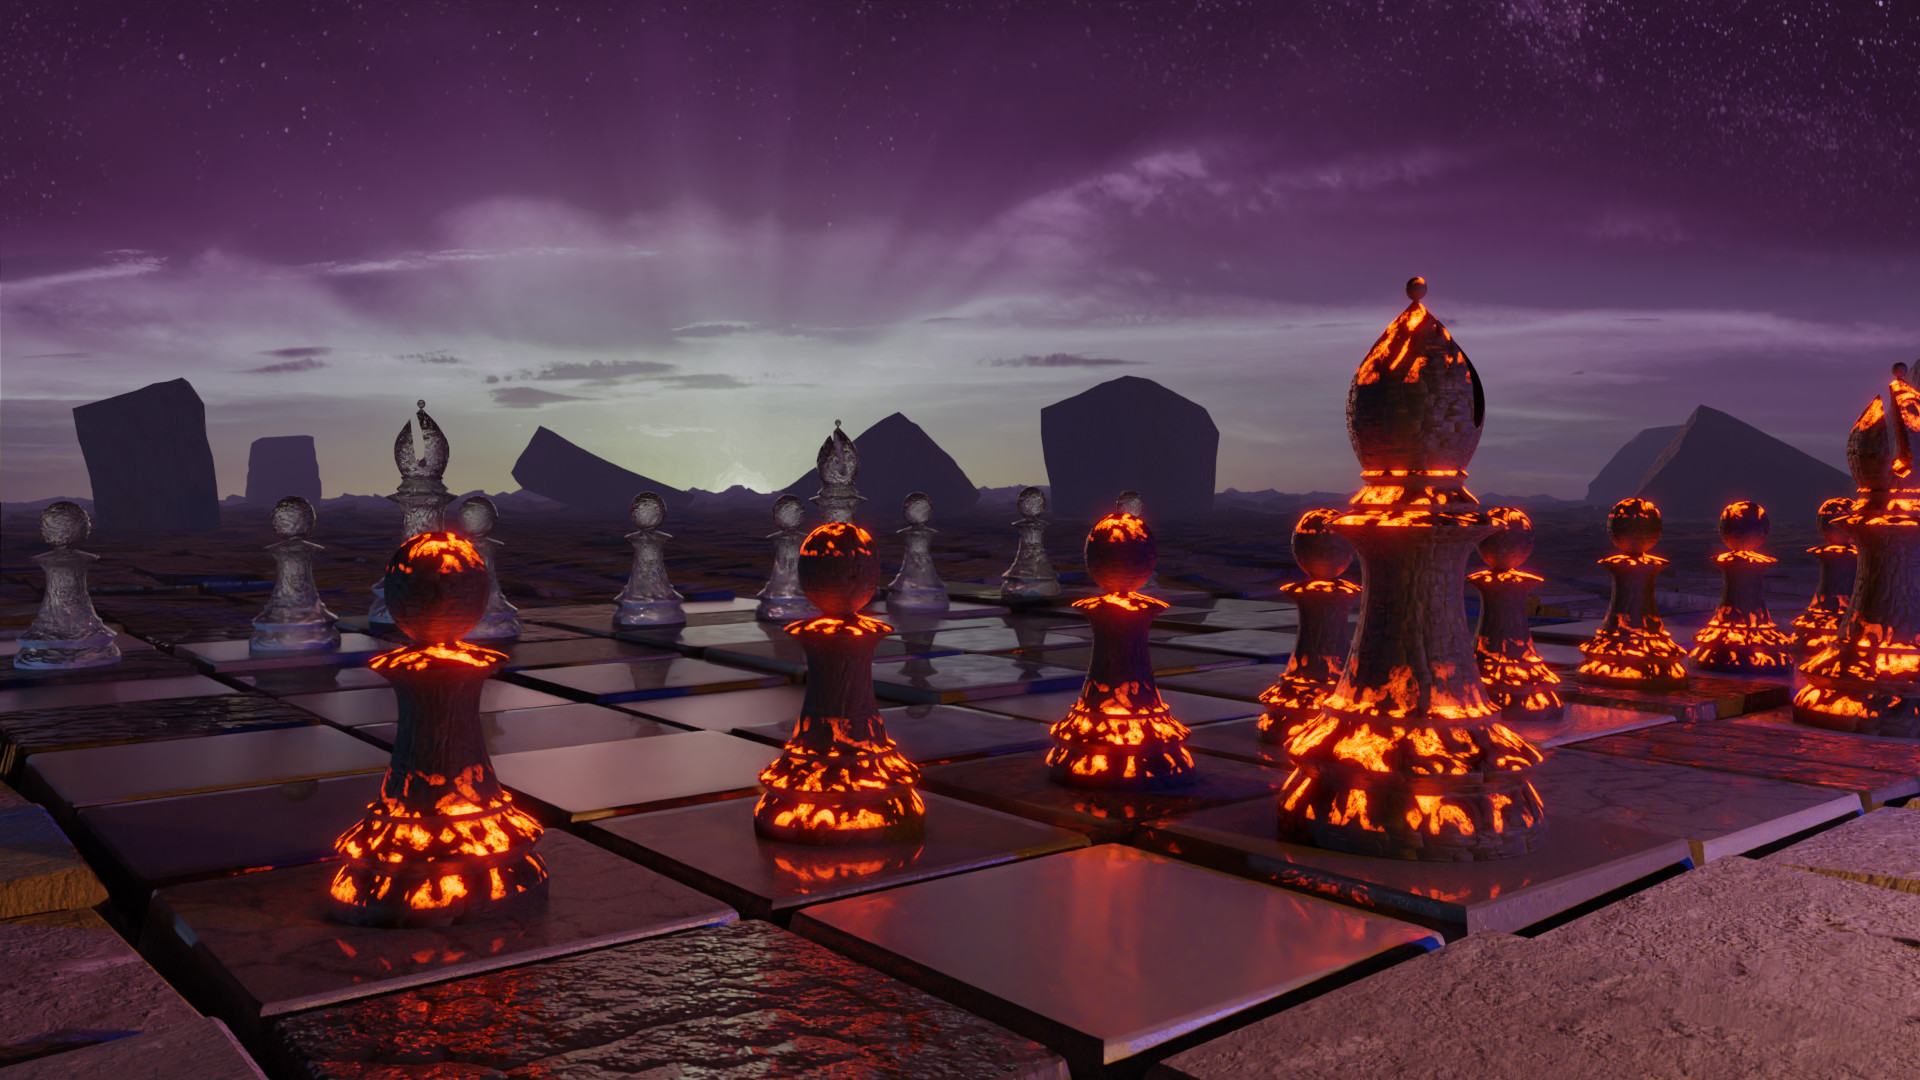
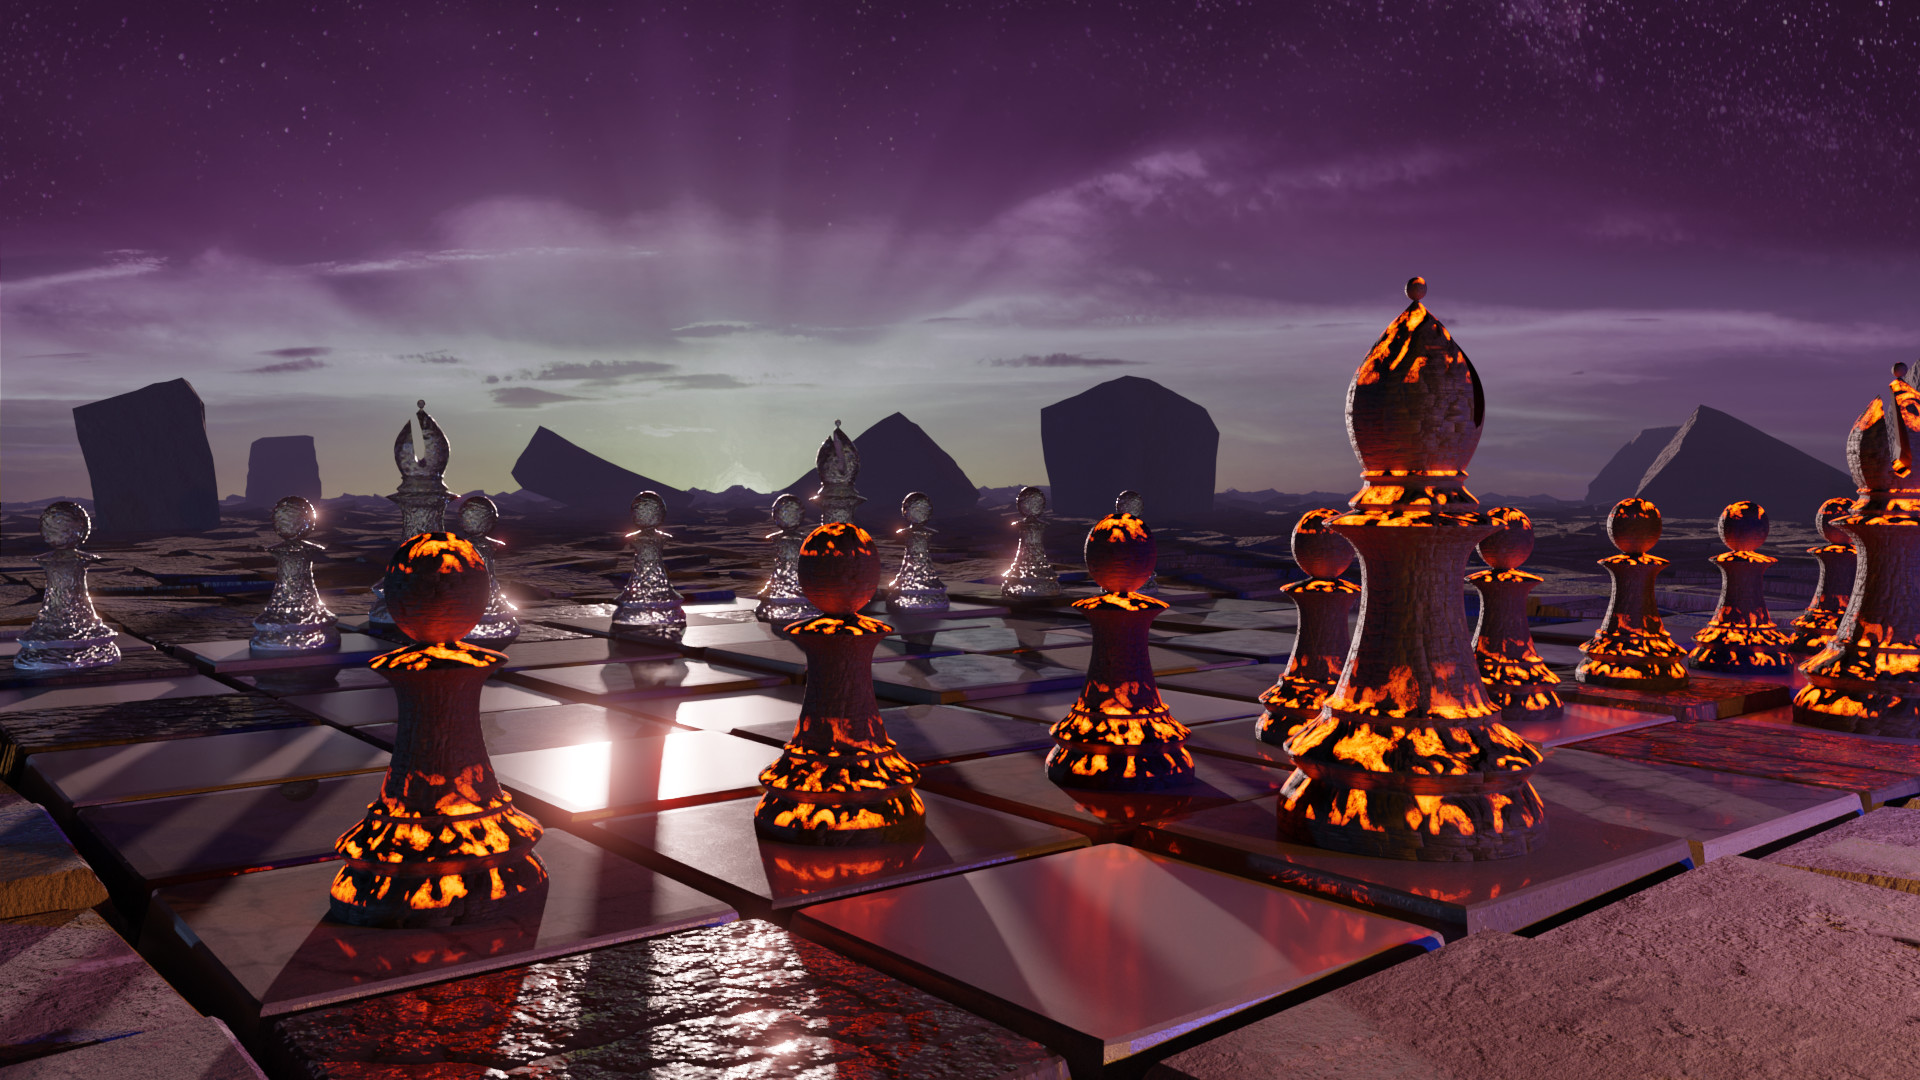

Updated image:

7 Likes

Looking fantastic.

Next course chapter was about lighting.

I seized the opportunity to work a bit more with eevee : baked illumination map, transparency.

One more weird discovery: apparently transparency does not work with eevee if the material is linked. Just assign the white pawn a local copy and it works! I noticed that because the bishops were ok, but the pawns looked black (they’re mainly lit from behind).

I used blue/orange lighting (visible in the shadows between the tiles) and more compositing : a mist is mixed with a custom box mask letting the stars shine. The background image is CC BY-SA copyright Vitalii Bashkatov and comes from Wikimedia Commons. It was heavily modified using nodes.

There is an eevee version:

And a cycles version:

The global illumination in cycles is more subtle, and the ice looks more like it should, but I love the bright specular sun shine in the eevee render. Which one do you prefer ?

1 Like

Looks very nice Cycles best, Eevee glows too much and too much reflection of the ‘sun’ on the board for me.

I actually “fixed” the sun, but not your way. Michael explains the differences between eevee and cycles regarding sun-type lamps. Cycles has an “angle” setting, which now matches the apparent size of the sun in the sky. Its default value is 11.4°, which matches the effect of previous Blender versions, but is unphysical since the real value is around 0.5°.

The consequence is penumbra everywhere, and projected shadows that are too short. In the eevee image the pieces do not have a shadow. Maybe I forgot to turn them on? In the cycles rendering, there are reflections, but no shadows either. The large rocks do have shadow, but they stop before the board.

eevee does not have the setting, and has hard shadow by default.

I reduced the sun diameter to 0.6° and also explored higher numbers of samples (up to 4096). The quality of the ice stops improving after 2048 samples. The sun location has not changed, but reducing the angle changed (improved) the image a lot:

Now the pieces have shadows! In terms of image composition, the shadow rays on the bottom half complement the sun rays on the top half. I like it!

Regarding performance (incl. 1 minute setup/load time without any GPU activity):

  • 4096 samples (HD) : 13 minutes (can be reduced to ~4 minutes by rendering ice in another layer)
  • 2048 samples : 7 minutes
  • 1024 samples : 3:40 minutes
  • 512 samples: 2:53 minutes (ok for final render preview, although it may lack thin sun reflections)
  • 128 samples: 1:40 minute
  • 32 samples: 1:12 minute (my normal work setting)
1 Like

Wow that is a lot of samples. Looks good though.

Privacy & Terms