Ice and Fire Chess Set: Bishops


Quick job, but not as quick as I would have wanted it to be.
I added to top UV sphere and cut off its bottom, leaving an edge ring to connect to. For some reason I cannot explain, it took much more time to cut off the tip of the modified low-poly pawn. I used Ctrl-R to get a new loop, but I could not place it very close to the tip.

I am also disappointed by the workflow when working with a reference image:

  • Z-wireframe

  • Select vertices/edges/faces

  • Z-textured to be able to see the reference again

  • Do your operation

Many times I used loop selection to avoid that, but my window manager intercepts Alt, so I only have Shift-Alt Left btn (modify selection) working. Is there really no way to force textured view of just the image when the rest is in solid view ?

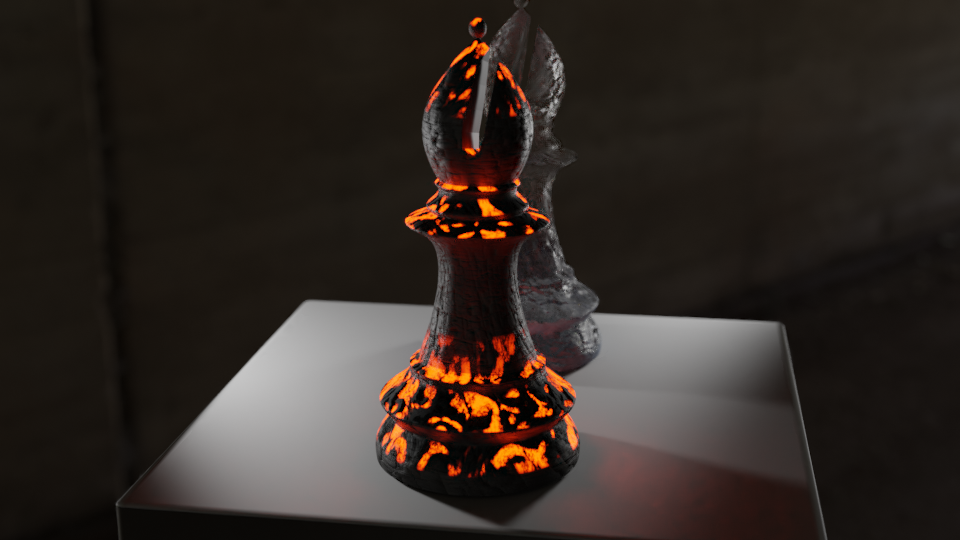
To end on a better note, I studied the Object / Object Data link for materials and I found it quite easy to share the mesh between the white and the black bishops. Unfortunately, applying object level transforms to the mesh no longer works. The workflow is impacted since my workaround is to make the mesh single-user, make changes, then update all the other references to use the new mesh. When all the other is just the black bishop, it is OK, but if a large model had hundreds of copies of an object (for instance identical doors in a large building painted in various colours), it would not be practical.

I imagine that scaling in Edit mode and thereby avoiding the Apply step would have worked.

And my daughter and I have committed to working two hours every day on our respective courses, so I’ll be regularly present again after a long break. She’s learning on digitalpaintingschool (in French we say “je fais du digital painting”, so this course is only in French).

No. But, the best way is to work in Eevee. But Eevee has more options to switch and configure, to make things work. You’ll get faster feedback.
But Cycles can be used too, Use camera view (0 on the numpad), then CtrlB to select a part of the viewport to render. Rendering only the cut off (faster response). Use Ctrl Alt B, to clear the cutout.

Not sure what you are trying to say. But there is a difference in working with materials based on image textures. Like stone walls etc. You need to learn/master UV-unwrapping …
Then there is procedural material texturing, using math as a source.
The first option you need your model finished before creating UVMaps.
The second, use a basic Cube, Cylinder, Susanne the monkey, to test the material.
Your model needs to be scale ‘1’ and its dimensions need to be the real world. Chesspiece king 7cm or so.

Then if case you have a reference photo, like your transparent glass. It is very, very hard to get the same output. Because you do not know under which conditions the image was taken!

  • How many light sources?
  • Intensity and color of those lamps.
  • Camera focus, shutter times, etc…

In movie footage, you see sometimes people using large spheres in the scene.
One acting as a mirror to see, measure the surroundings (sun, lights, …). The other, more diffused. for color balance, shadow …

2 Likes

Not sure I understand the images as reference issue. I think you are referring to doing Z in and picking a different shading view? (I should use that more often I tend to use the buttons top right)

Images as planes only show in rendered views, (viewport or full render). Added as reference, or background, they show up in ordinary viewport shading and wireframe in full colour.

I tend to use the buttons too, but Z is convenient.
I’ll investigate images as reference. Thanks.

Final bishops with the notch. Each notch object has the corresponding bishop for parent, and both share the same mesh. I still cannot apply the transformations to both at the same time. I need to make one singular, apply the location, scale and rotation, change the mesh of the other one to the new mesh, and finally set the transformation of that mesh to identity (zero location and rotation, scale 1).

2 Likes

Not sure why you are trying to link the two. There is no great saving on anything doing so, they are two objects with different textures. The mesh can just be a copy. Make one set, duplicate the other set, make textures for each set. done.

1 Like

In an ideal world with no rework, I’d finalize the shape and I’d make a copy. In this world, I share the mesh because if I change it after having built both colours, the change needs to be done only once on the mesh. In addition, modern ray-tracing shares meshes in the GPU. The mesh can only be shared for rendering IF the GPU knows that it is the same mesh.

1 Like

You can reuse different parts of an object. And linking them …

The command Alt D does it for everything, but you can manage it. It has nothing to do with GPU, only data management Blender. And how Blender does use the GPU.

1 Like

If at some point in the asset creation process, you stop telling the software that it’s the same mesh (and give indications to the contrary, possibly applying transforms for instance), I cannot see how later on the game engine will know that it’s actually the same mesh. If the game engine isn’t aware of the identical meshes, two copies will be loaded in the GPU resulting in greater memory consumption, and higher loading time. In current green architectures, it may even result in lower performance because applying a transform on-the-fly to a single copy of the mesh is a better use of limited memory bandwidth and cache than loading it twice from 2 distinct VRAM locations, even with the benefit of a precomputed transform.

In Blender 2.93, when a mesh is shared (i.e. 2 or more users), applying transforms is no longer possible. It’s a logical behaviour. If all the other users can be found, in some situations it would be better to adjust all the transforms when one is applied. That’s because in many practical cases, the mesh is a child of a similar object and the transform is actually the same for all copies. At this stage, I don’t think that it is feasible. I am also wondering if Blender offers mass-edit tools, for instance to adjust the transform of many objects simultaneously ? Maybe via a plug-in ?

Of course, there might be some clever production tools that analyse and merge identical or near identical meshes in game assets to minimize memory footprint and load time. It wouldn’t surprise me.

1 Like

I’m getting confused now.
You don’t want to link in the Blender way. But still, want to modify multiple objects (mesh data) at the same time …?

I think you’re looking at Blender as a developer. But Blender is totally different tool. And such not compared to development processes like objects, classes, inheritance.
Blender is just a tool to create a 3D environment. Which can be exported to other tools, like UE4.

As in many SFX movie departments, developers will create dedicated code (in Blender with Python), to do specific tasks. So yes, if you need something special, then you can create/search for a plug-in.

And with 2.93 we have geometric nodes. Which can manipulate the mesh data using nodes.

2 Likes

Yes I think there is some odd crossover. You clearly know all sorts of arcane stuff about rendering that no one ever thinks about, or knows about, using the creative making side of 3D. Perhaps they are things other specialists alter later in professional heavy big game pipelines?

Further Blender or any 3D software is Not only for games! So such high level concerns are not relevant to a wide part of the user base. Especially on a beginners course perhaps.

I am coming from high performance computing, simulation, AI and GPU computing, and I know quite well how the hardware works, with several parallel project to optimize resource use. I have worked on Crays, Convex, Silicon Graphics machines, and more recently clusters. One of my companies builds professional rendering servers (think at last 128 GB of RAM, five or six 3090 (or A100) and 64 cores). I design the beasts, and probably Blender can use all that power (I haven’t tested).

Learning efficient workflows on Blender is why I am here, and I have made enormous progress. Before the course I could just load a prebuilt scene and render it, or do simple editing on movies. I could hardly move the camera around to change the point of view, and if I clicked on anything, it was destroyed and I could not fix it :rofl:

I know how it works behind the scenes, including stuff like raytracing, because I studied what the hardware resources were and how they were used. I’ve been involved for over thirty years. A few new algorithms I don’t know have replaced some older ones I was aware of, but the hardware has only become more generic.

I have updated the chess set thread Ice and Fire Chess Set: first view

2 Likes

Maybe, your question is also related to this thread:

You could get hold of any 3090s! lol.

When you get to know Blender you can tell us how to get things to render faster!

Those GPUs have so many cores (and something like 16 active threads per core) that the key parameter is to use large tiles. I run with 480 x 540px tiles. Large tiles improve performance, up to a certain point. It is better if the X tile dimension is a multiple of 32.

Setup takes much longer than the actual rendering. When I render using eevee or Cycles, there is a first phase lasting roughly 1 minute during which data is uploaded on the GPU. During the first 40 seconds, only 2 CPU cores are used at 100%. Then for 10 secs, only 1 core is used. At this stage, the first rendering status message appears, saying “synchronizing object”, and all cores are used. The GPU setup phase lasts roughly 10 secs too.

I checked if Blender was running some simulation at the beginning, and applied the related modified, but it is apparently not the case. I have no idea what Blender is doing that is taking so long to setup the rendering.

The Blender rendering timer appears at the same time as the first status message. When it appears, it is usually showing 1 minute. The GPU rendering phase for the chess scene is only 10 to 12 seconds.

1 Like

Have you tried Cycles X? Still in the development versions of Blender. Supposed to be much faster. Being rewritten to take advantage of modern graphics cards. I think it will be in Blender 3.

1 Like

If you select GPU, not everything is done on the GPU card! And I believe Eevee only runs on CPU (was in the past so). If you have modifiers, materials nodes, animation data. It’s done on the GPU. So it depends on the scene you’ve created how much work is done at the GPU level.

Blender has Benchmark data. You can (Blender Open data ) compare your hardware performance with others user’s machines via the website.

It says that Cycles X improves volume rendering. I’ll try that later, when I enable again the mist, snowflakes and smoke in my scene (couldn’t get it just right). :grin:

1 Like

I should check what eevee is doing. Some people here wrote that it’s GPU only, not RTX, and that’s where most limitations (but also speed) come from.

I ran the open data benchmark. Apart from a pair of 3090, there’s nothing faster than a 3090. But fitting a pair of 3090 in most computers would be a challenge. The PCI slots aren’t far enough apart in mine. I was apparently only the second person to benchmark the linux + 3090 Optix + 2.93.1 combination, and my system ended up slightly faster then to other one (which probably has some kind of minor limitation). I get timings very close to the average of the Windows equivalent, within tenths of a second, sometimes faster, sometimes slower.

My company is building a prototype 6 x 3090 + 64 core Threadripper pro. A dedicated AI server that should also break records in the Blender benchmark. It’ll be running in a couple of months. I will need 6 identical 3090 before I can pass qualification and sell it, and that’s not so easy to find at an acceptable price. Building more will be a procurement challenge in the current market. I guess I’ll hire someone, if I get more orders.

More important, I noticed that the benchmark is always “warming up a scene” before benchmarking. This setup was particularly long for the fishy_cat benchmark (growing all the hair?).

1 Like

Privacy & Terms