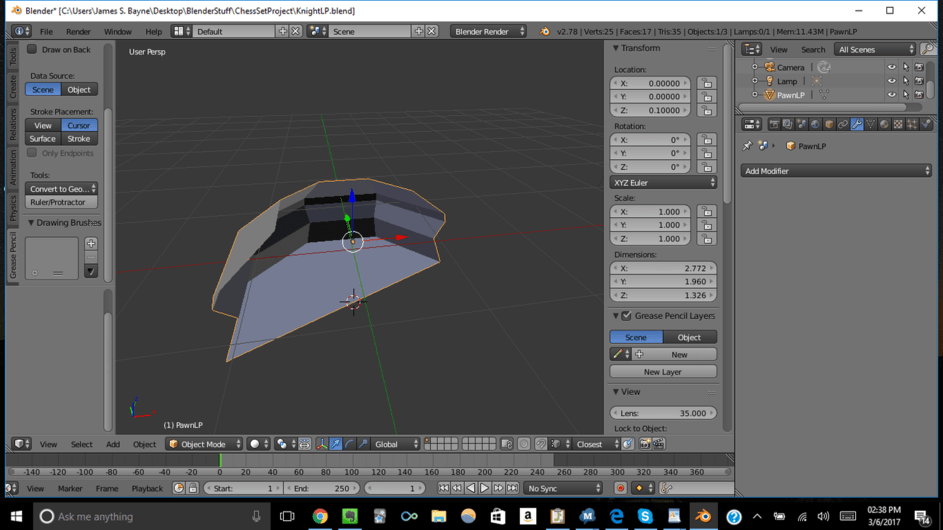
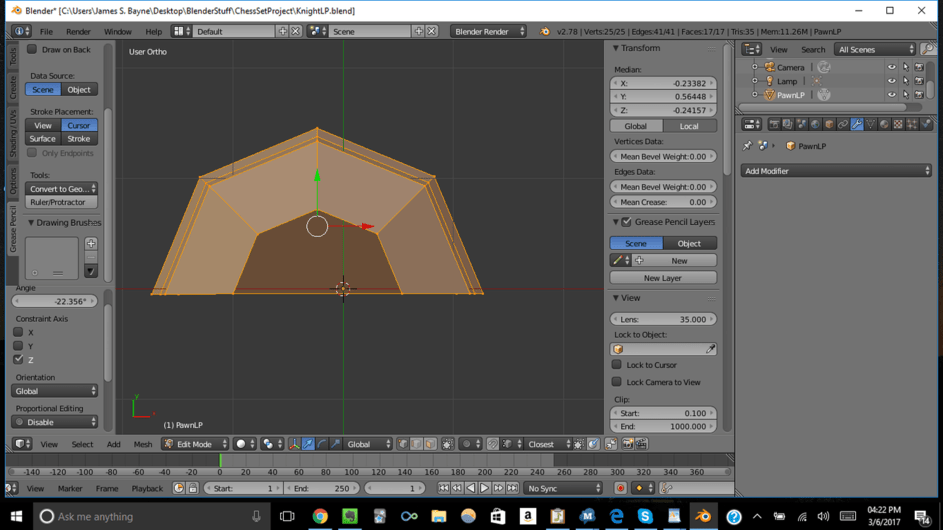
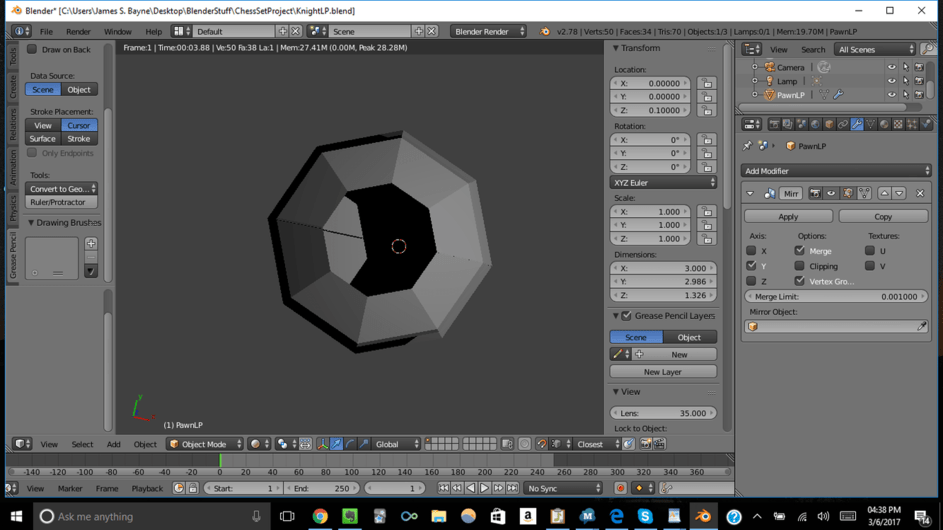
I am working on the mirror modify challenge and am having difficulty because there seems to be no way to exactly align the base of the knight with one of the axes.
The only other way I can think of the acomplish this task would be if there is a way to tell the mirror modifier to act along an axis normal to a selected edge. Or perhaps if there were a way to get an exact angle measurement of the angle at which I need to offset the base by. I have not been able to find clear cut answers to this on the internet so far. Any help would be much appreciated…
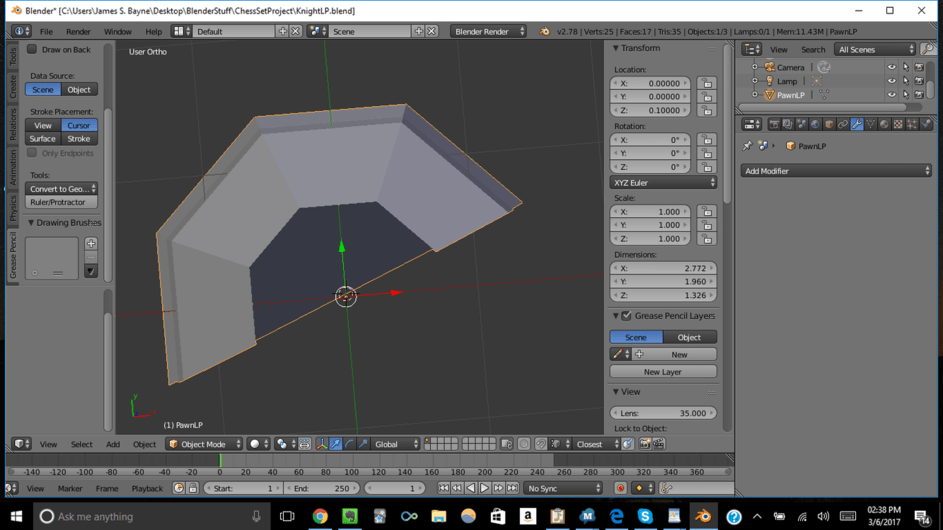
Without having your model I am just giving a go: Go to edit model and select all the vertices, go to top ortho view, rotate all your vertices (your pivot point looks good) in edit so your axis will align. Go out of edit mode. Use mirror modifier.
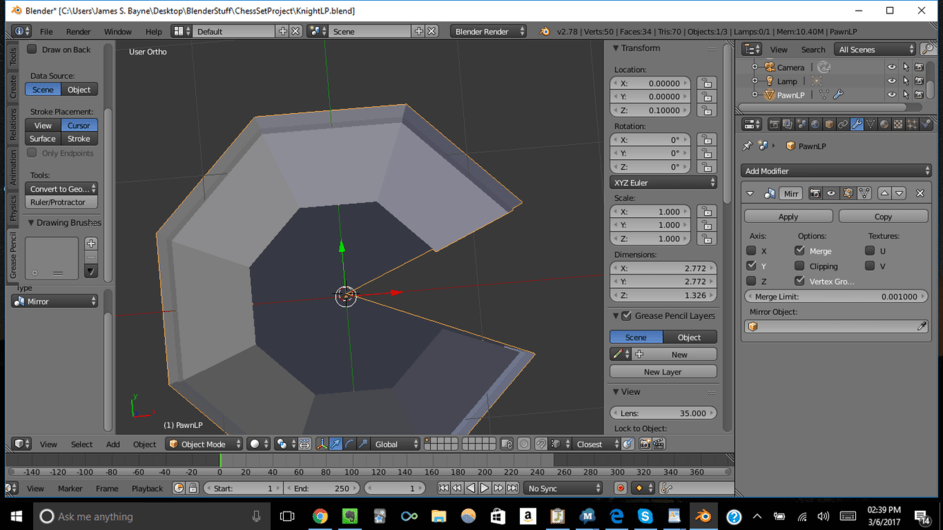
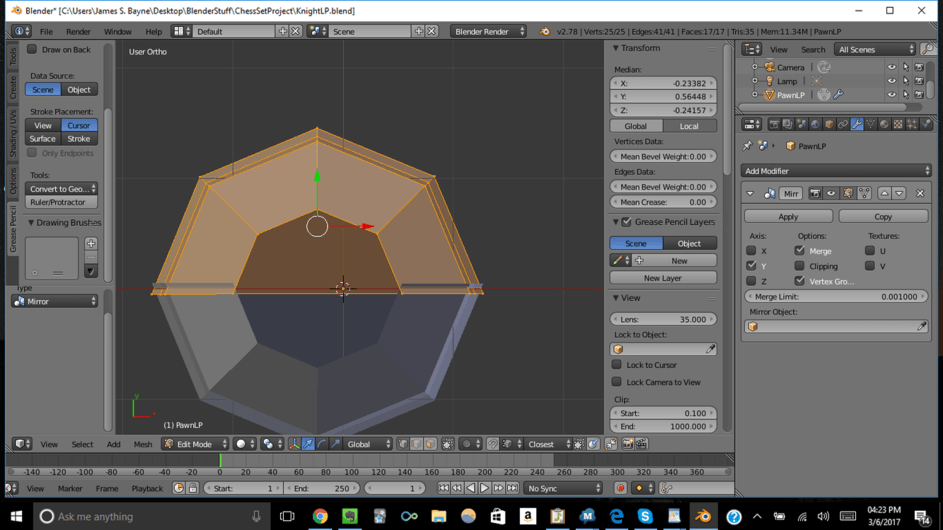
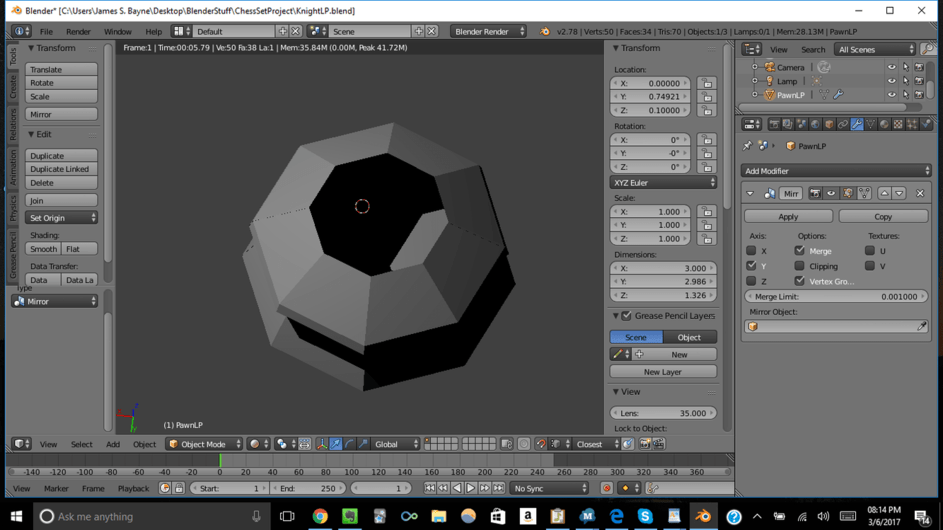
That advice (as I understand it) leads to a result which is very nearly exactly correct. Unfortunately the lack of precision alignment leads to the following situation:
The long and short of it is that while I can fiddle with it to achieve a result that looks acceptable to the naked eye, I have to wonder if there is a way to get a result that is exactly correct. I know Blender is not CAD software but being able to exactly and quickly align to a reference frame (like the global x,y,and z axes) seems like it would be a standard feature. There must be an easy way to do that or it’s equivilent. And if not some code guru must have come out with an add-on to do the job.
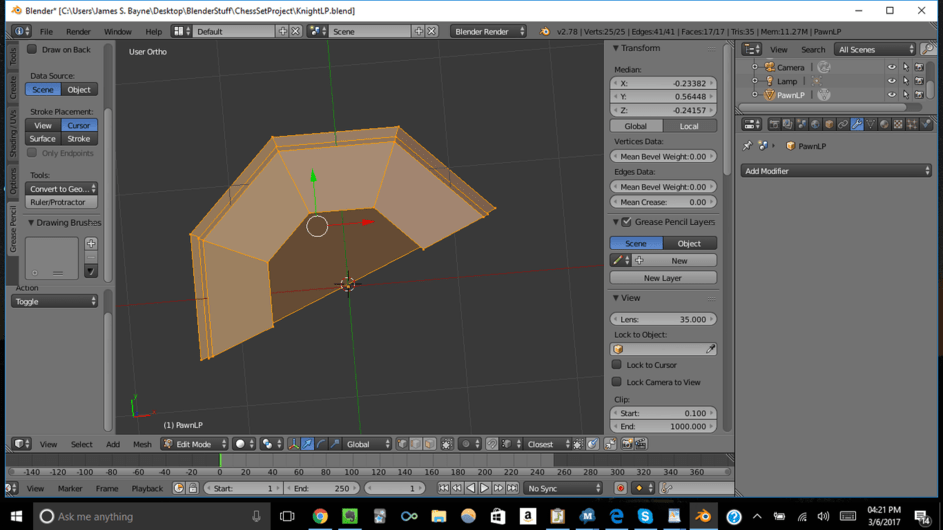
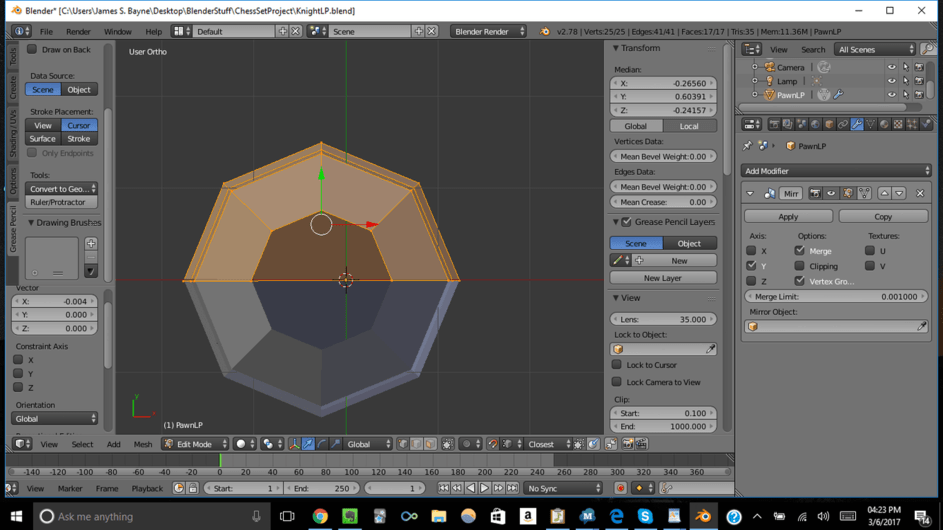
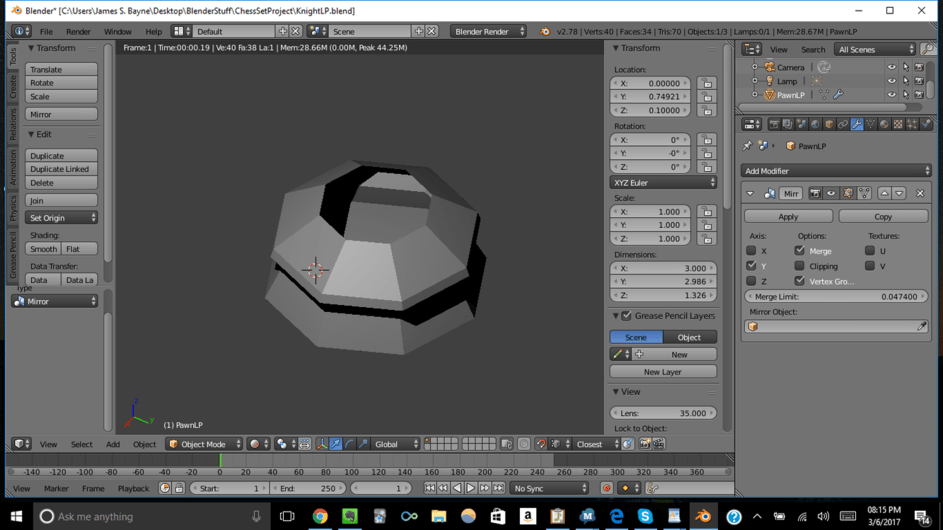
Ok. So I may have found a solution (provided it doesn’t cause unforeseen problems on down the line…) The trick to getting rid of that nasty line is to increase the “merge limit” until it disapears as shown below.
Did you also try to play around with Clipping option in the Mirror Modifier? That should prevent them from crossing over each other.
If you have half of a mesh, make sure the origin point is on the open side in the middle of that plane. Then simply change your Transform location of the object in the Properties Panel (Shortcut N) to 0, 0, 0. When you use the Mirror Modifier then, it should replicate properly according to the Axis you select for it.
I believe this was caused originally by your chess piece base being off center.
It might be worth checking that as well and sorting its position and origin out.
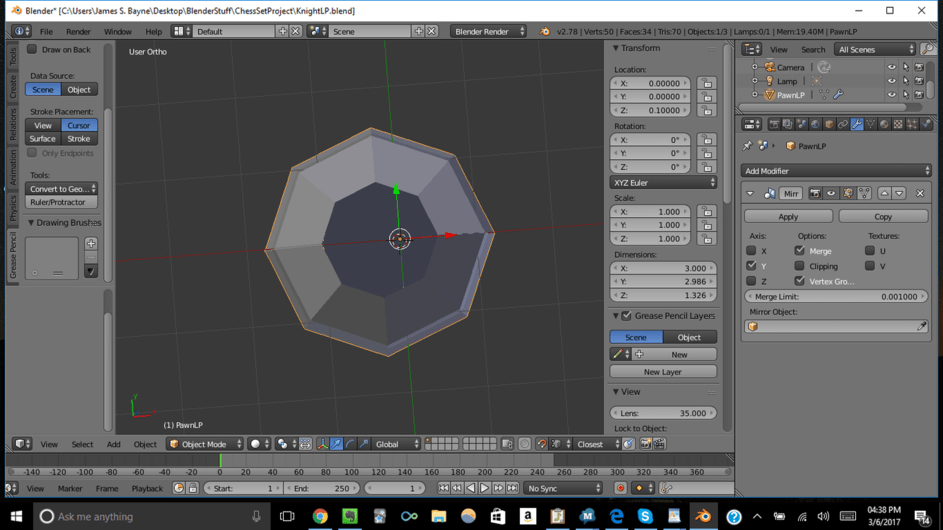
Thanks for the responses everyone! I have moved on passed this section since I did get an acceptable result from the solution I posted above. Is there any reason why the clipping option would be perfered over the “merge limit” one? I might experiment later if I am feeling rigorous.
Clipping is used to avoid crossing over the mirror line. So it prevents you from having mesh issues if you accidentally pull any parts over the mirrored center.
Merge Limit is enabled automatically due to the Merge option being checked. That will basically let you merge vertices the same as Remove Doubles allows you to do it with its Merge Limit in the Operations Menu. If you turn off the option, then the Vertices will remain separate from each other.
So I suggest you use both unless you have a reason not to.