Hair going inside for some areas

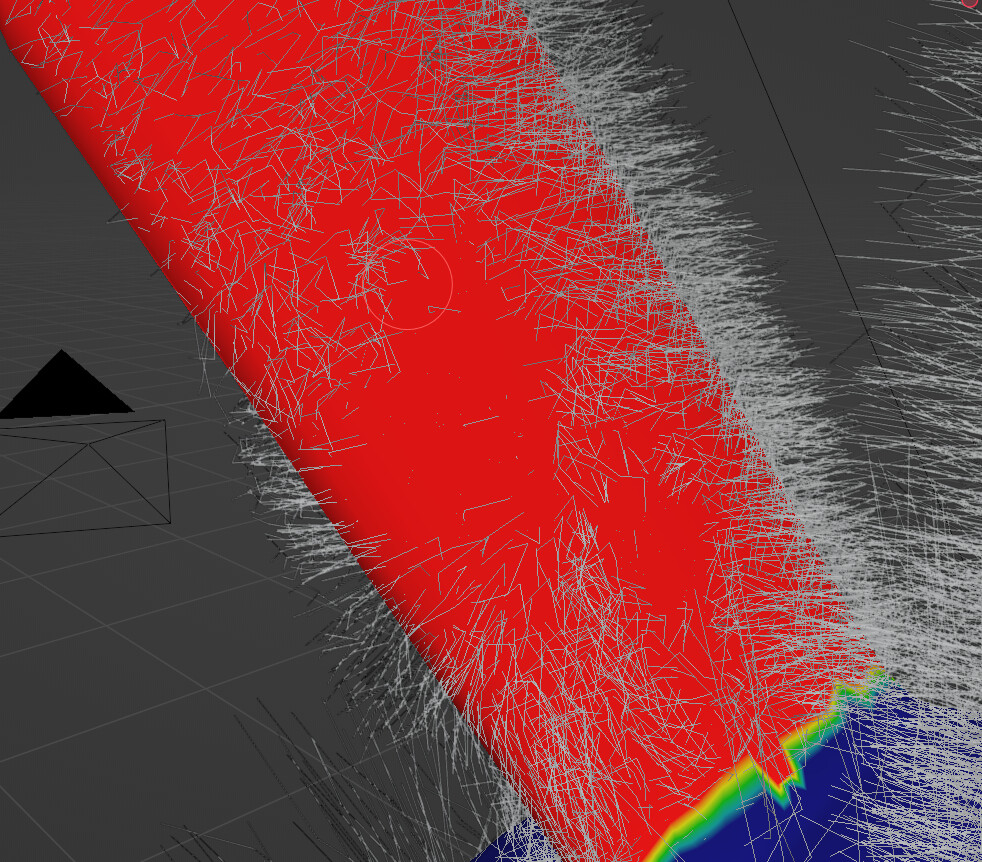
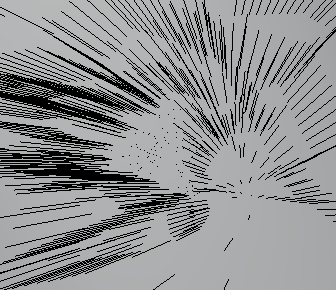
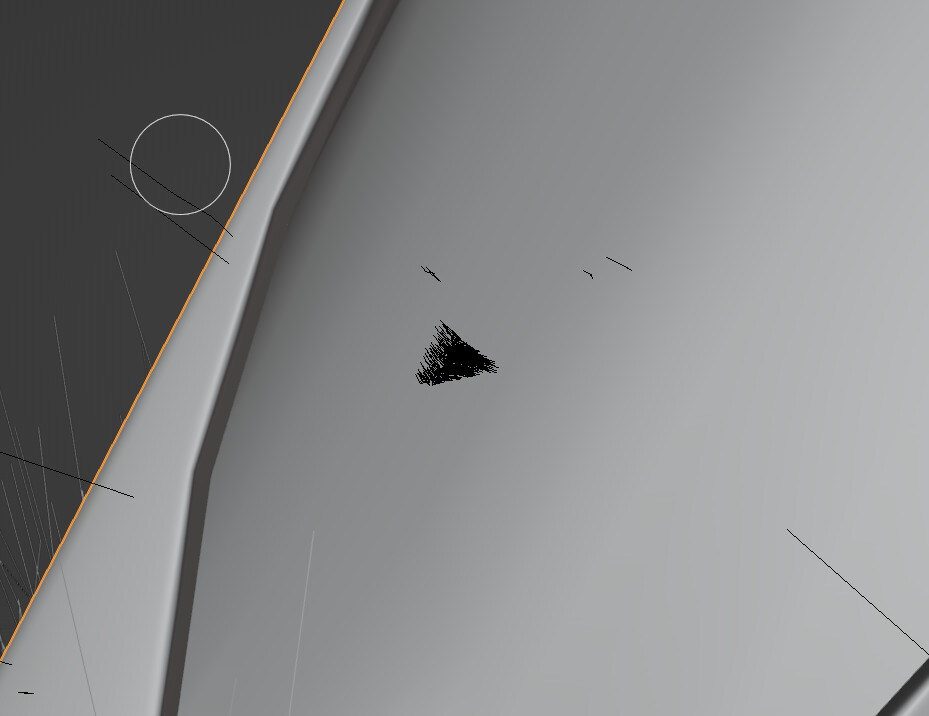
hello, i have some trouble with my ears. i found that some areas had the hair going inside the ear instead of outwards. while i can remove those hear by cutting it and not using children it would be a lot of work, and would still leave me with bald spots.


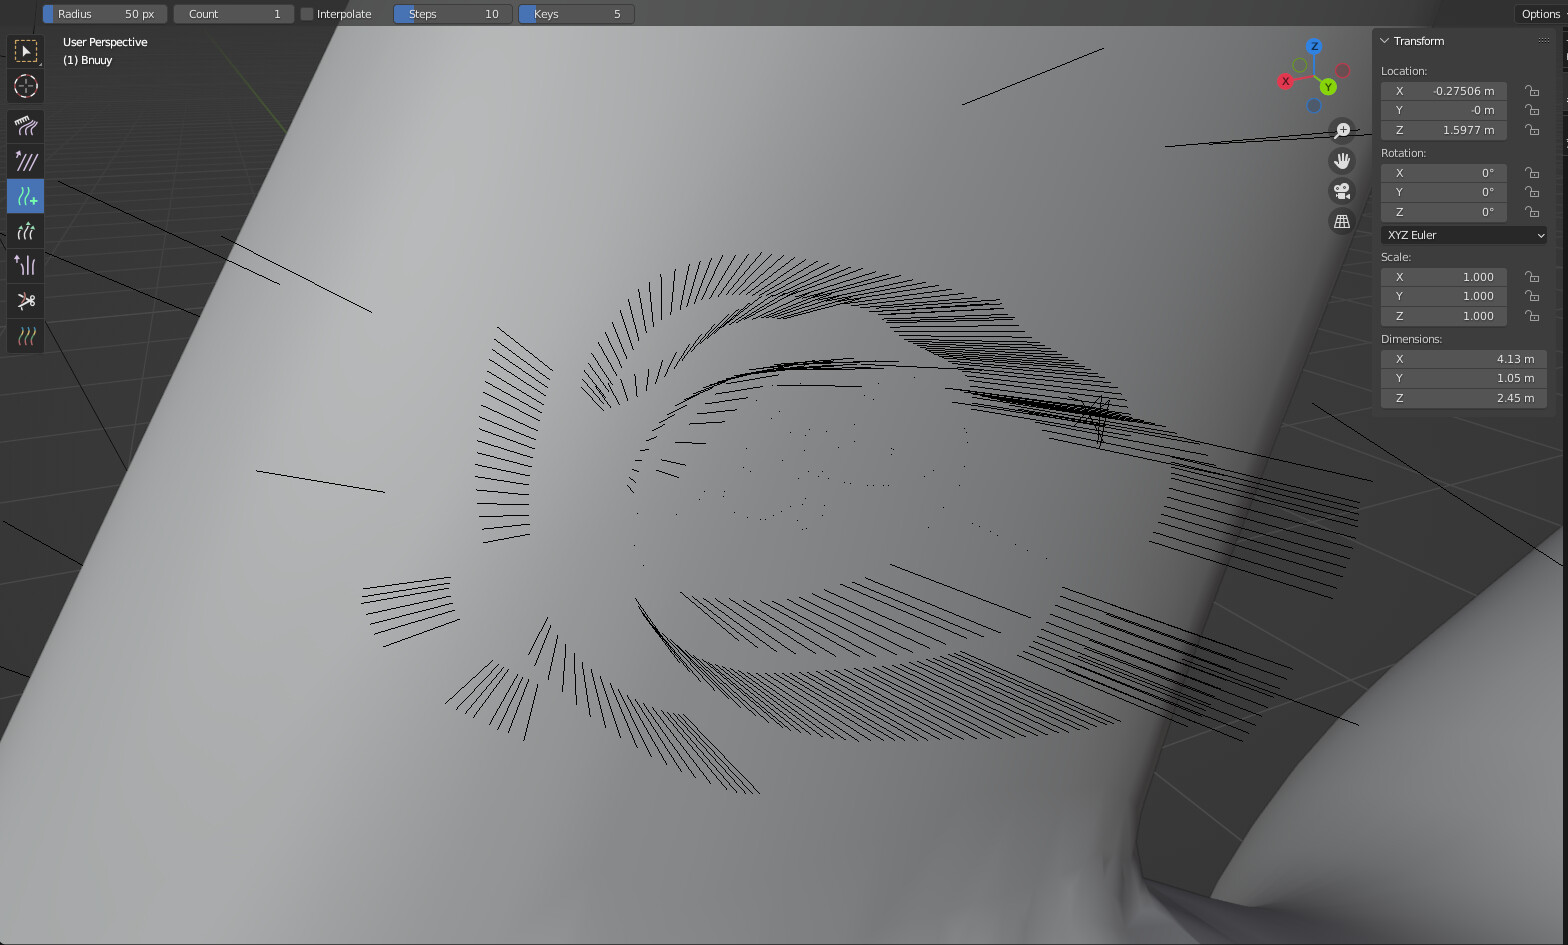
i have triple checked the normals

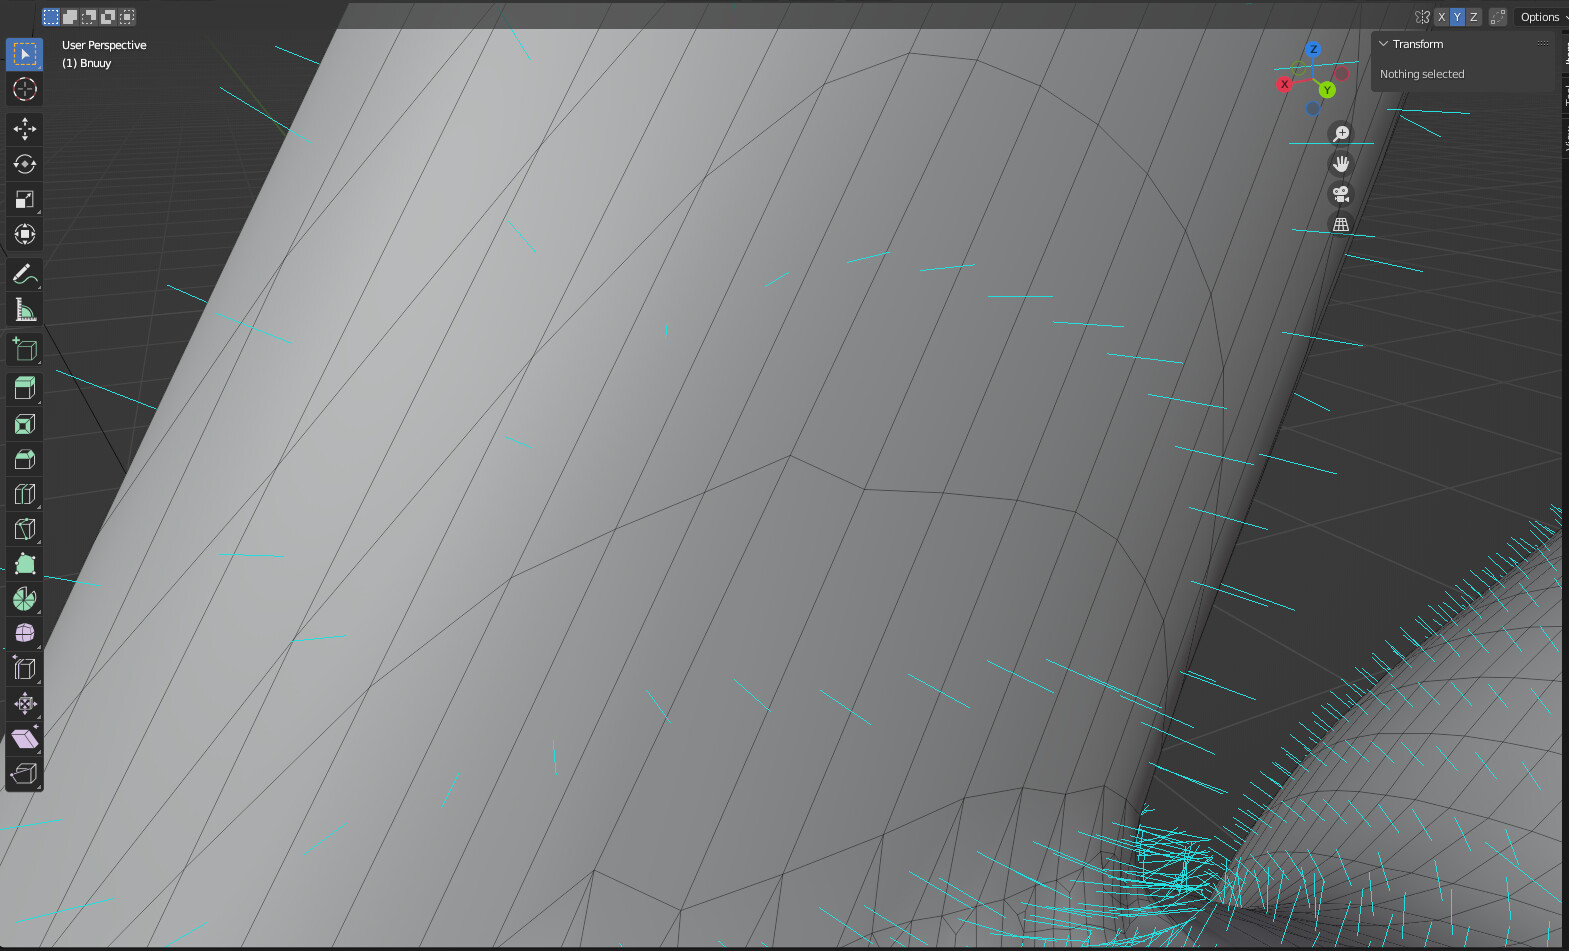
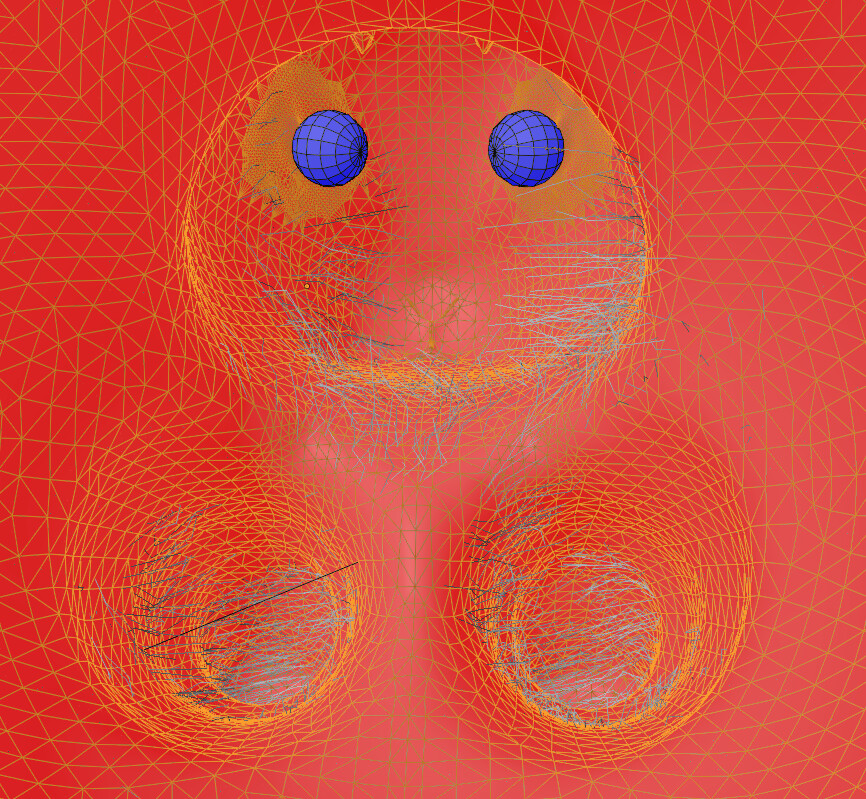
my topography is the way it is cause i tried to do a mix of sculpting and hard modeling (by adding new vertexes in edit mode) instead of using dynotopo and remesh to save on faces and not loose shape.

another alternative would be to add a invisible emitter instead of add the hair directly on my bunny mesh. but i would very much like to know why this is happening and how to fix it.

1 Like

The hairs seem to be going outward like the normals?

Careful use of the weight painting ought to keep the hairs in place.

Hair systems can be tricky and Blender 3.3 will have a new system released in it.

Using the Site Talk section Wiki or searching the Ask section will reveal some ways of getting better results with hair particles.

The prime example is below.

1 Like

so i tried adding the triangulating and weighted normals modifiers, aswell as checking the use modifier stack option in the particle systems and… (weight painting shown so you can see that i didn’t make any mistakes there)


you can see the bald-ish spots where the hair comes from on the other side of the ear. you can see some pixels where the roots are

same problem as i had before all this

no improvement. i also looked inside the model and saw there was a bunch of hairs going inside there too (showing normals this time)

i think that if i where to try to make this look good i’d try using the hair trick from the human head we did with a invisible emitter mesh. that would also help with making more precise stuff around the eyes. but for now i’l think i will leave it and just be content with learning, so that i actually have the skills if they do fix it in ver 3.3.

2 Likes

oh, i just checked what would happen if i placed new hair. and the modifier etc did seem to help a bit. if i add new hair in the spits that get interpolated inwards the general area seems to correct itself. however there are still spots where the new hair particles added will go towards the other side
(outer side)
image
(inner side, no hair was added on this side)


so not fully fixable

2 Likes

Last time I used hair I heavily weighted it to particle hairs and very few children and that seemed to help overall. The separate emitter cards is probably the most controllable. Just a lot of messing about to do.

1 Like

I recognize this problem, I encountered it also once. But forgot what is happening and in which project. Or even how I solved it.

The problem is that it looks like the hair normal are drawn by a magnet, pointing at a certain location.

  • Before starting hair, be sure your model is correct in all its properties. I know, you want to see hair working, but if your base isn’t in order, it will be shown in the hair. Work step by step and check .
  • Apply scaling
  • Check origin point
  • Shut down hair dynamics and all other special stuff. Test each step
  • Are you using weight painting to give hair direction, size , density etc.?
  • Insert a default cube and assign the same particle setup. How does it work then?
  • Check face normal’s
  • Do you use other modifiers like solidify?
  • Change the order of modifiers!
  • Do you have a texture involved and working with texture coordinates??

Those are steps I would use to examine this problem.

Also, another trick could be to start a new clean .blend file.
And append only the object with the hair. Does it react in the same wrong way? If not, the general Blender setup is somewhat broken.

1 Like

Privacy & Terms