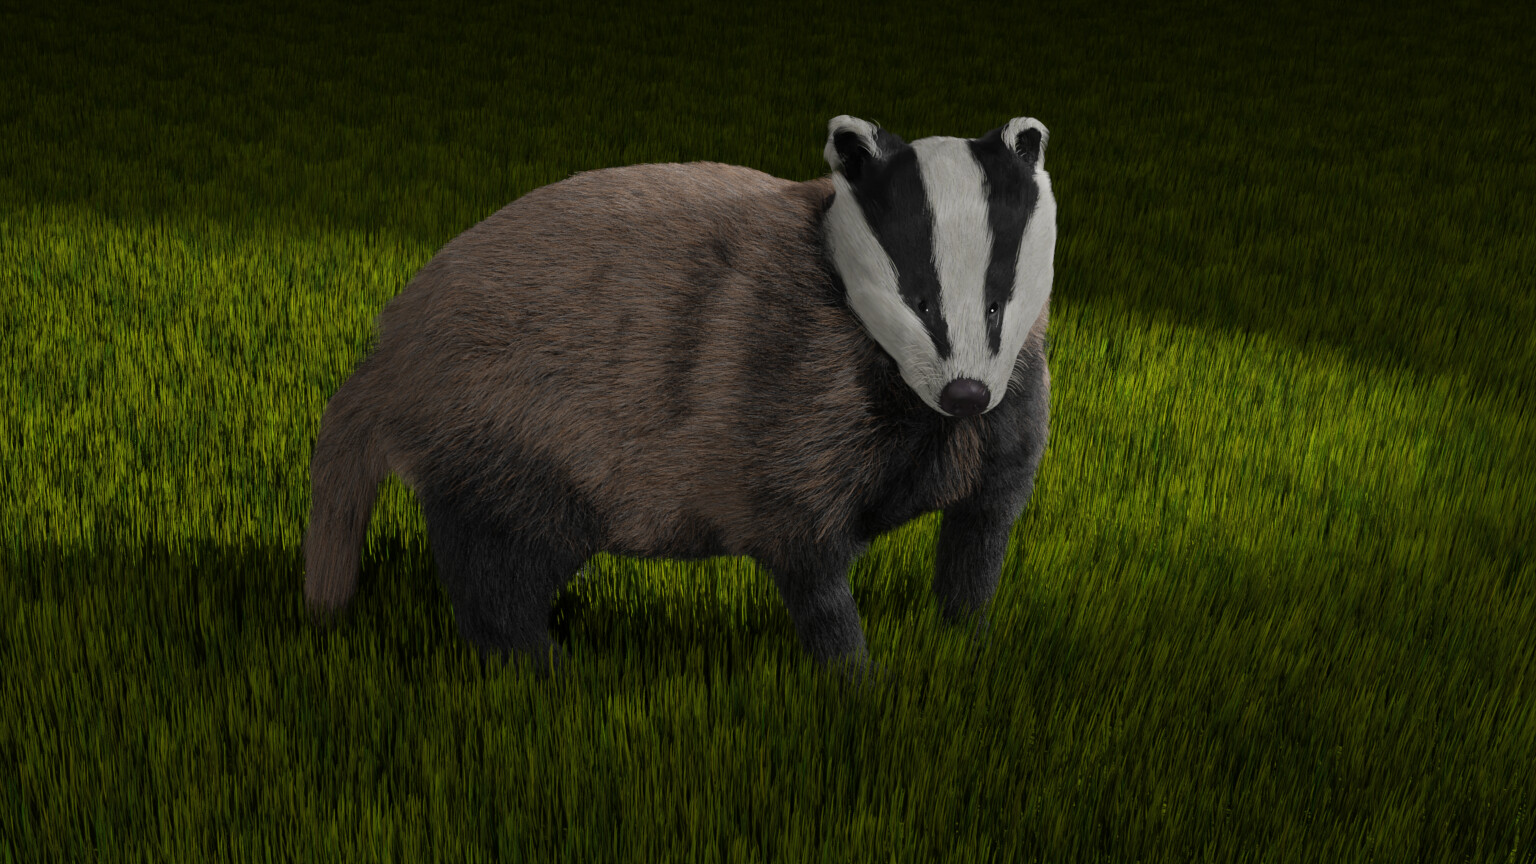
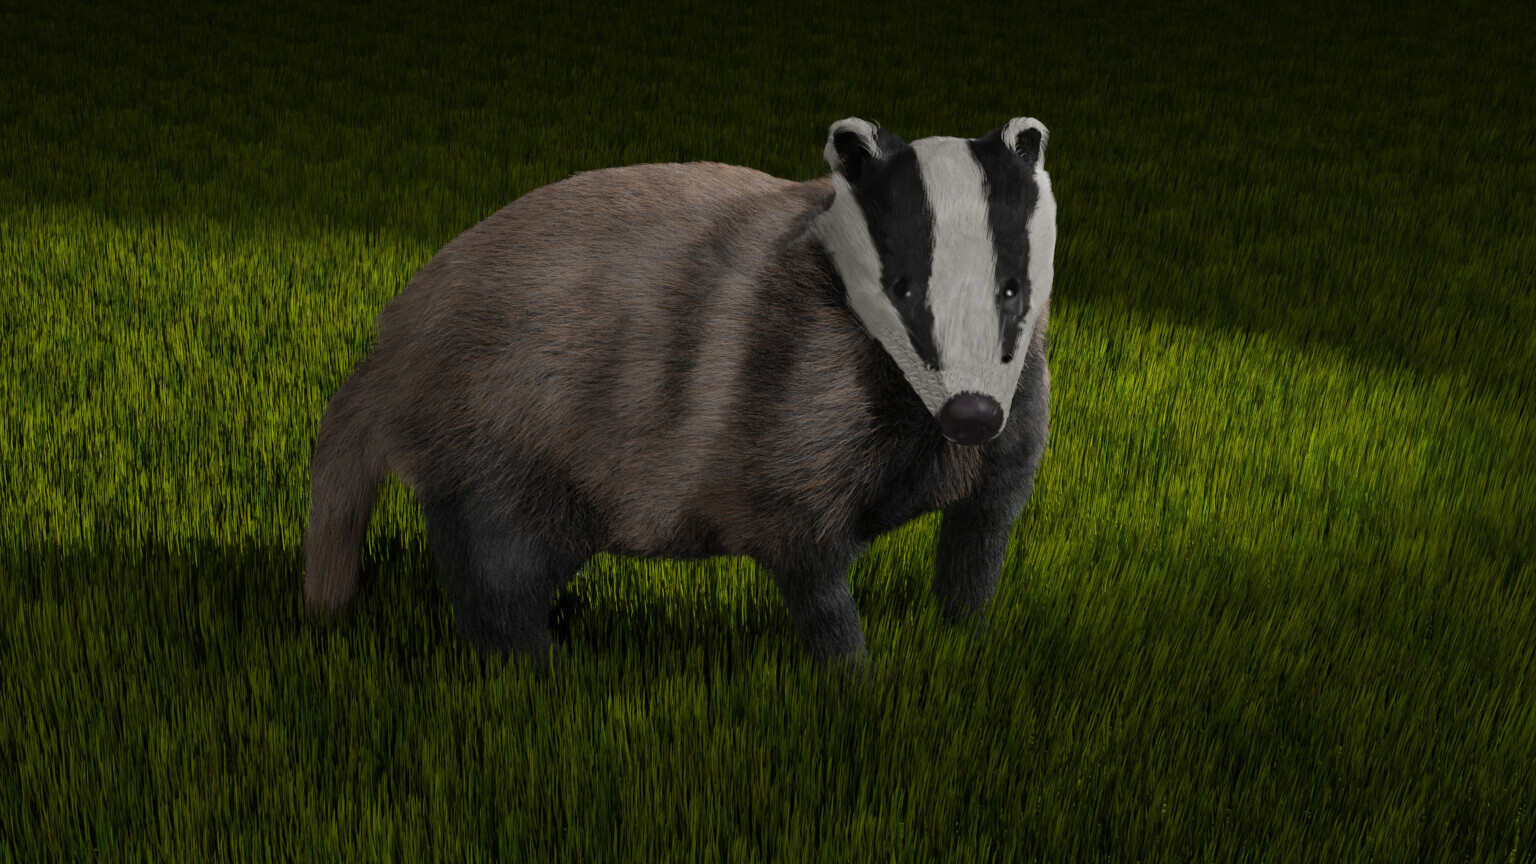
For the hair color I created 5 particle systems/vertex groups: Black hair, brown body hair, Black and white head hair, and whiskers.
I weight painted the black hair and the body hair various amounts to get the areas where the black and brown mixed. I also added a color ramp to each of the 4 colors so they all had a little variation.
I really liked working with this one. The hair covers up all your modeling mistakes, and I’m much better with the technical aspects than the creative part and the artwork (sculpting, drawing, etc.).
When creating something, using the techniques we are good at is an amazing idea.It will make the job much faster,fun and efficient.And also practice makes everything perfect.Have fun dude!!
If you ever want to do a quick touch up, extend pull the snout out a little (so you won’t have to lose your hair particles), Enlarge the nose and the eyes (edit mode: proportional editing-very useful)
I think the biggest room for improvement is the tail. The first is actually quite different for the tail and I probably should have used a different particle system just for that.
I created a 2 badger version for the ‘Animals’ contest, since the contest specifically states more than one animal. Although it did crash blender a dozen times.
Ya, I know what you mean. I am looking to put my Slow Loris into it- so I made a new project file, appended it along with other things, and now it cannot render at all! It tells me that I have ran out of memory. But I have some other tricks up my sleeves to get my render anyway.
I lowered the max samples, which I’m not sure helped with the memory and shut down other applications such as firefox. Closed and re-opened blender.
It was still using all of my 32 gig of RAM. Then I rebooted and it was much better. About 12 gig of total system memory. I wonder of blender gets confused if you’re using GPU compute since the GPU is used in so many applications these days?
One trick that I use when I find that my computer cannot handle the render is I turn my viewport into my rendering device. I go to Cycles mode, making sure I have cycles settings doing the right things, and making sure my camera is on, and then let the viewport render.
Once done, I take a monitor screenshot, paste it into a photo editing program (paint dot net (https://www.getpaint.net/) is my go to free photo editor), and then cut out the picture to camera size. It is not as big as it could be, but that is fine with me.
I was doing the opposite, which also appeared to work. Keep the setting on Cycles, but change the viewport to anything other than rendered view. I believe the rendered view is re-rendering at the same time the render occurs, and it’s doubling the workload.
Possibly, I think I have had it on another setting and then used cycles with no success for my animal. But I just might try it out with what you said, just in case I have had cycles on viewport while rendering.
No idea if it makes any difference but I tend to do that too. Switch the viewport to the most basic working viewport shading, before hitting render. I suspect it only makes a difference if you continue to alter the viewport while waiting on the render.