Church Vault - Please Help not sure how to make it via Michael's way

I’ve been trying to replicate the Church Vault but for some reason cannot seem to wrap my head around what I’m suppose to do. I’ve tried following Michael’s instructions but to no avail - checked the forums and found this link here.

I tried following that and I seem to get to the same point;

but then afterwards when they hide the 2nd vert/plane I get something different.


I would love to do this and learn more on how to go about doing it, I know I could make it manually via just dragging verts around etc but I want to learn Blenders functions and make modelling processes faster but I seem to just be stuck and can’t figure out what to do by myself, any and all help would be appreciated! Thanks in advance!

Hi,

As I was the one that replied in the previous post (and because I want to actually understand what is going on), I will try to resolve your issue :slight_smile: .

I think that the boolean operation doesn’t “like” to work with 2D object like planes, because it seems to rely on the normals of the two objects you unite, to work.

Let’s try to understand why you didn’t get the same result as me when going the same steps:

  1. First thing I can see is that you are working with a vert, I am guessing that you created a single vert, extruded it a couple of times to build the curvature and then extruded to get a quarter of arch:


    (I am a begginer in GIF making :smile:)
    I began with a plane, does it have something to do with it ? Maybe, it seems like beginning with a vert will cause your normals to be the wrong way out (like in the GIF)

  2. The second thing I spot is that you didn’t check the “Clipping” box in the mirror modifier, you may have created doubles where the edges meet.

  3. You have some scaling on your objects, it may cause some issues, make sure to apply the transformations with Ctrl+A (in Object mode)

I am not sure that the issue comes from there but as I said, the Boolean operation don’t seem to like flat object like planes, you can see what I mean if you slightly move one of your “Vert” along the X or Y axis, the Boolean Union goes crazy :smiley:

Can you share your blend file, so I can have a look at what isn’t working ?

Cheers !

2 Likes

Thanks for your reply

Vert Attempt - Church Vault 10x10 My Attempt 3.blend (435.9 KB)

And here is my Plane attempt - Church Vault 10x10 My Attempt 4.blend (430.1 KB)

Although I did not make it as far as my vert attempt. Thanks for the help :smiley:

Hi again,

Sorry to reply so late, it was near midnight in my location when you replied so I went to sleep :sweat_smile:.
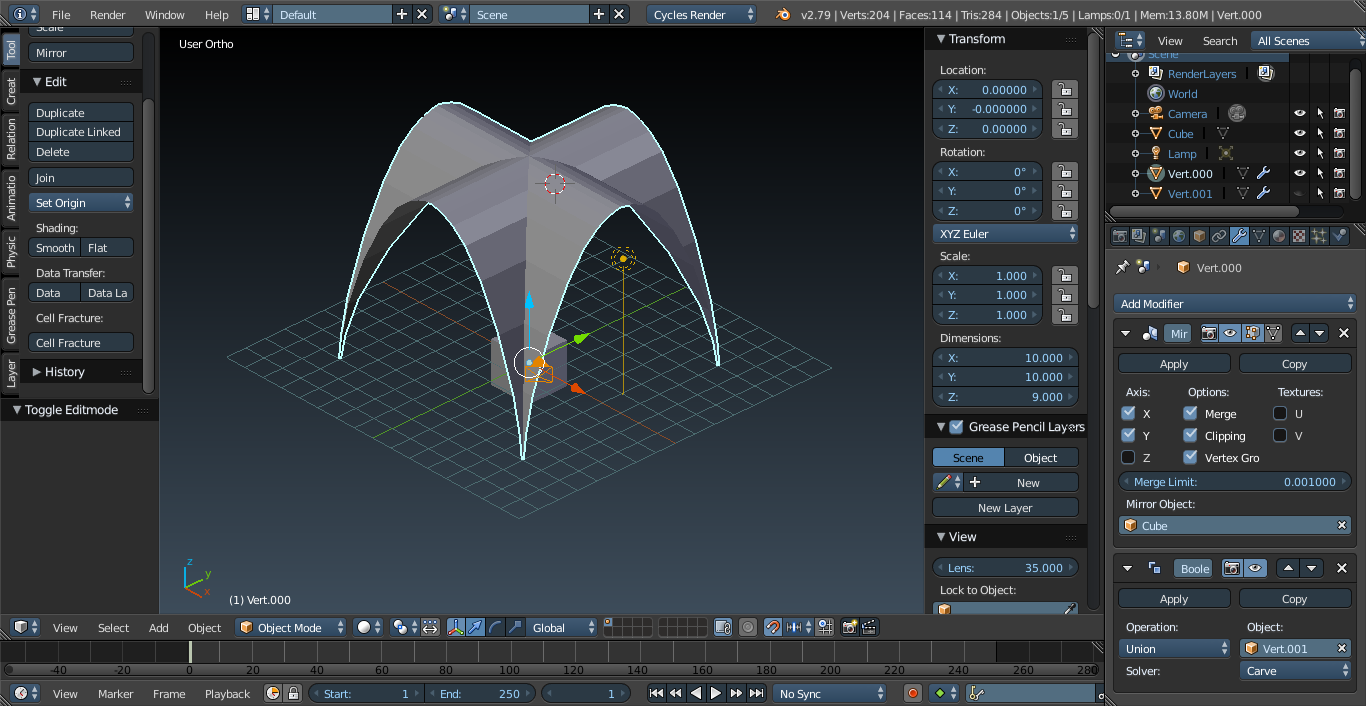
I managed to repair your file (the Vert Attempt), look at this beauty:

You may already spot the difference with yours, I will explain what I did and a quick way to repair yours in 3 steps :slight_smile:

May the repair begin:

  1. First thing I did was checking your normals, In edit mode go to the Properties tab (N key) under the Mesh Display section check the normals:


As you can see some where going “inside” and some “outside”.

I just recalculated the exterior with the Ctrl+N combination (In edit mode) [ Or go to Mesh / Normals / Recalculate Outside]. Be sure to have selected all the vertices before doing so or it won’t work :slight_smile:

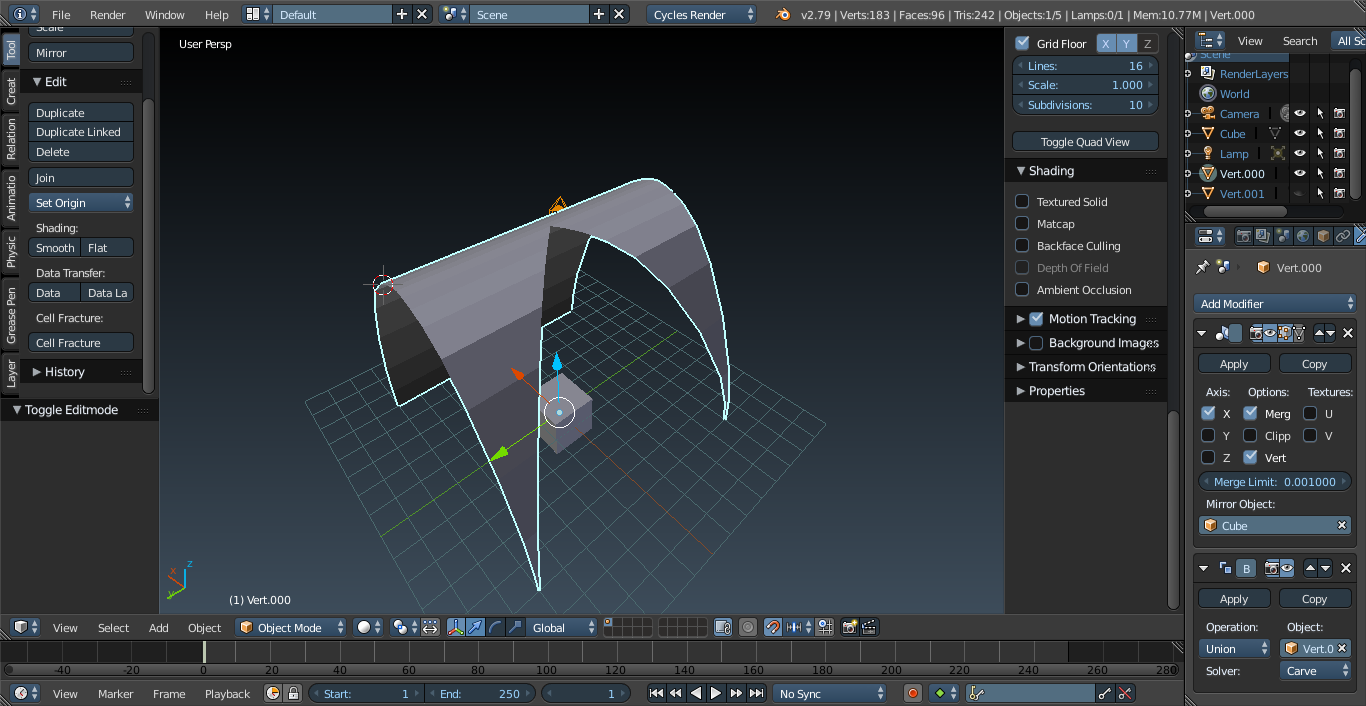
Once I did this to the two archs, here is what the Boolean Union (Carve mode) did:


Well it isn’t what we want, but at least we can understand that the Carve solver seems to work with the normals.

  1. Second thing I checked was your vertices position:


There is a very slight shift in position of 2 vertices that should be symmetrical, one ends with 63 and the other with 62.

To make sure I have something symmetrical I deleted one half of the arch (I destroyed your work :scream: sorry) and applied the mirror modifier on both X and Y :


I did the same for the other Arch.

It is the result I got:


We are nearly there :open_mouth: !

  1. Last thing to check, rotation and scale:

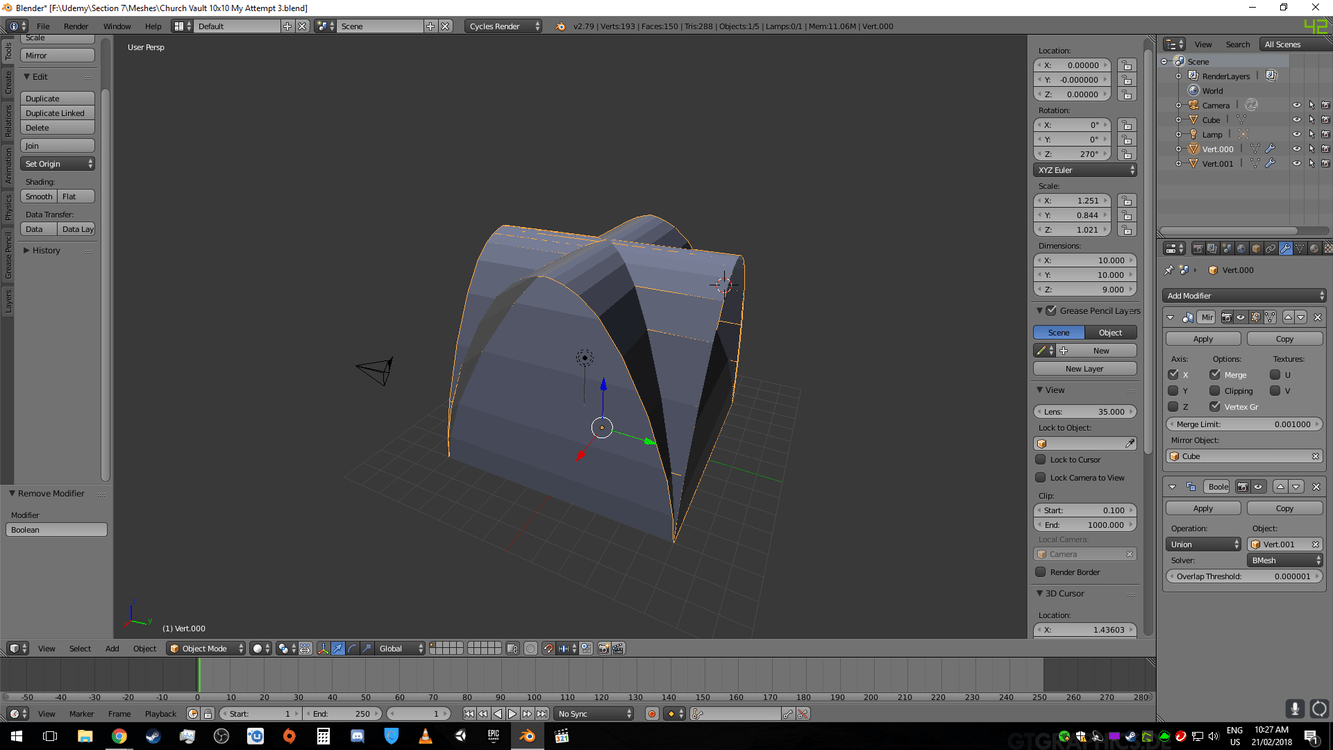
Well I just used the Ctrl+A combinaison (in Object mode) to apply scale and rotation on both arch. [Or go Object / Apply / Rotation and Scale]. And the final result is this:


We’ve done it ! :+1:

My Explanation:

Why do you need to do step 2 and 3 ? I believe that the Boolean Union- Carve needs to determine which arch is in top of the other to work, so if some vertices are higher than other (not symmetrical) it may false the operation. The same thing happens if you don’t apply rotation and scale, Blender use the default position of vertices and THEN rotate and scale these vertices to a new position and this operation may cause a slight shift in symmetry like in point 2 (with the 62 and 63) . Again, it is what I believe, it may be false.

I saw that the blender manual added the solver description in the boolean modifier page, it wasn’t there before, I haven’t check in details yet: https://docs.blender.org/manual/en/dev/modeling/modifiers/generate/booleans.html#operations

How to solve it in 3 steps:

  1. Delete one half in edit mode.
  2. Mirror on the second axis. The normals should be automatically right, if not, flip them.
  3. Apply Rotation and Scale in Object mode.

I hope this helped and will work for you, if you have any more questions feel free to ask, I may not be an expert but I will try to answer it :slight_smile: Other with better knowledge may answer too :+1:

Cheers !

P.S: I haven’t check the plane one, do you really need me to take a look at it ?

2 Likes

THANKS SO MUCH!

Don’t know how normals ended up inverted - didn’t even think to check it cause all I did was extrude each vert as I went a long so I had assumed everything was fine (how silly of me to assume). Also don’t know how the verts ended up in a different X co-ordinate since I was making it in a front view to avoid something like that happening. And applying the rotation/scale didn’t even cross my mind as I’ve only ever really done manual placement - I rarely use modifiers.

Thanks heaps for your help :smile: :+1: :t_rex:

1 Like

Perfect. You are a real good instructor.

Privacy & Terms