I mentioned in another thread that I was working on this one and was asked — exuberantly — to share my progress. So, here is the latest set of renders. Keep in mind that these are from the second restart to the project so I’ve done these items 3 times now 
Guess I should really add the pics
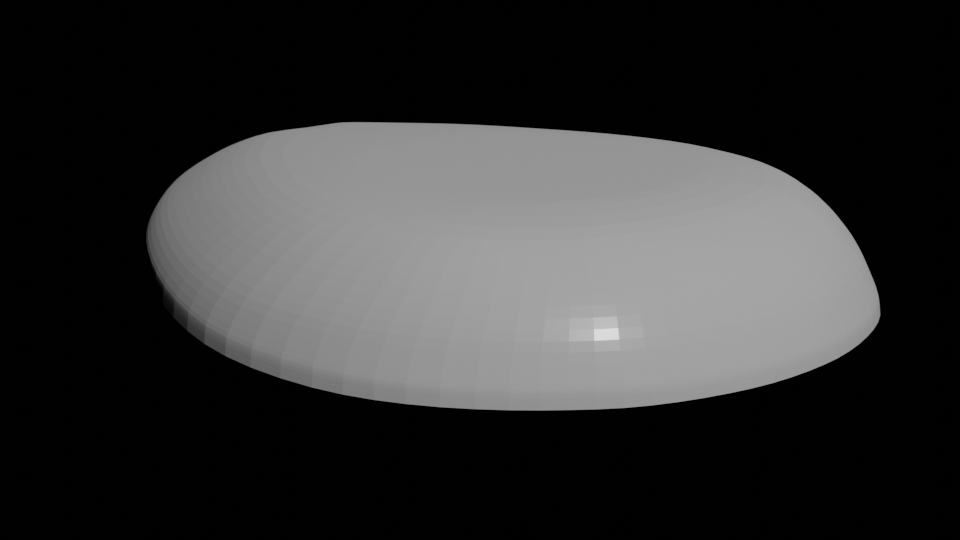
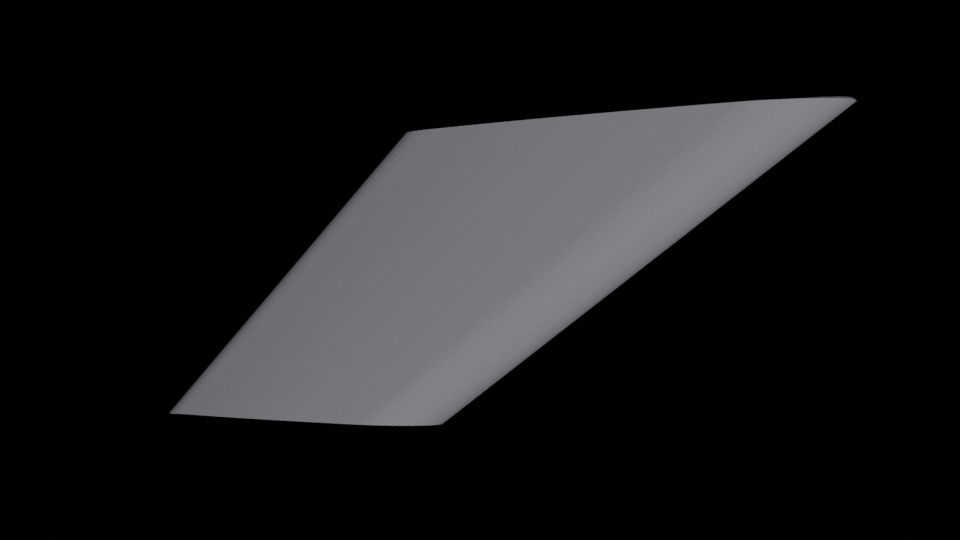
Base Saucer
Linear Accellerater

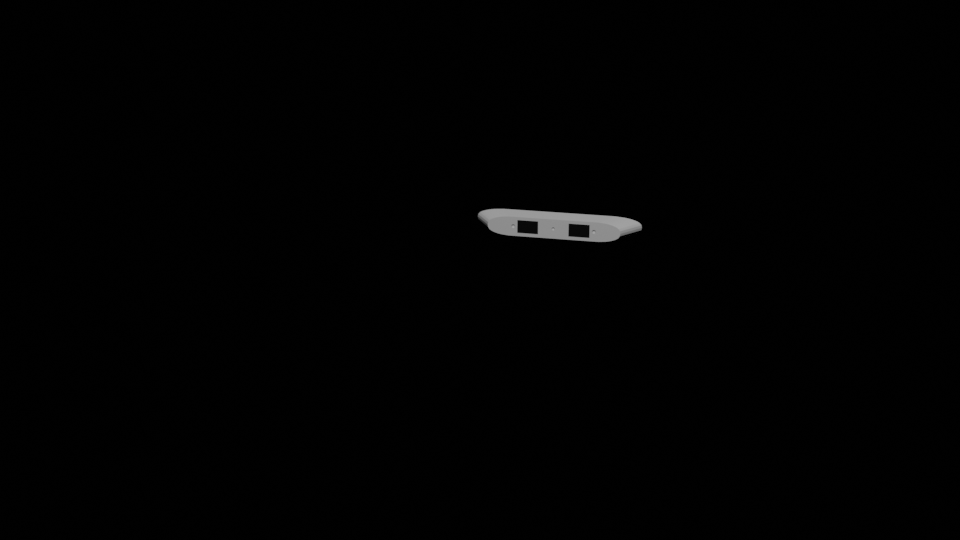
Impulse Engines
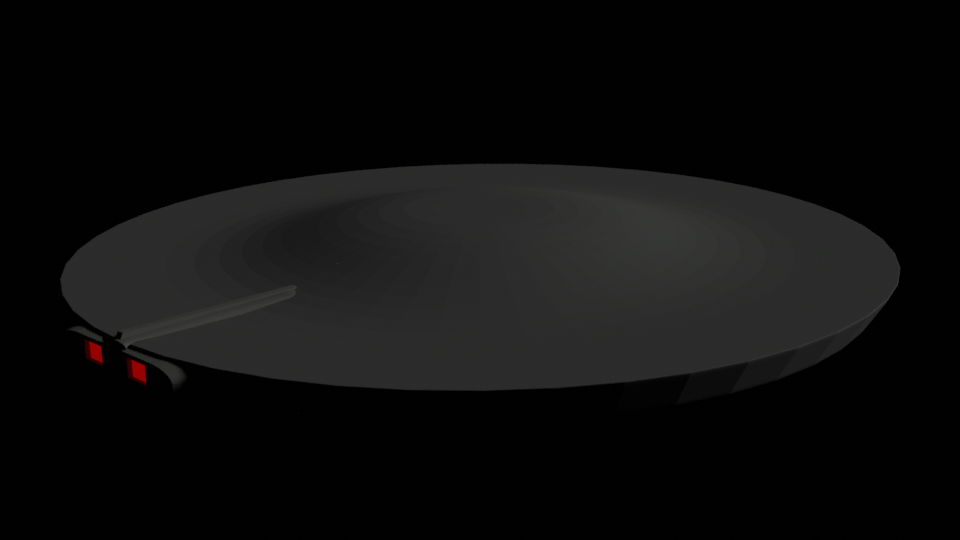
Saucer with Propulsion Modules
B & C Decks (Medical and Labs)
A Deck (Bridge
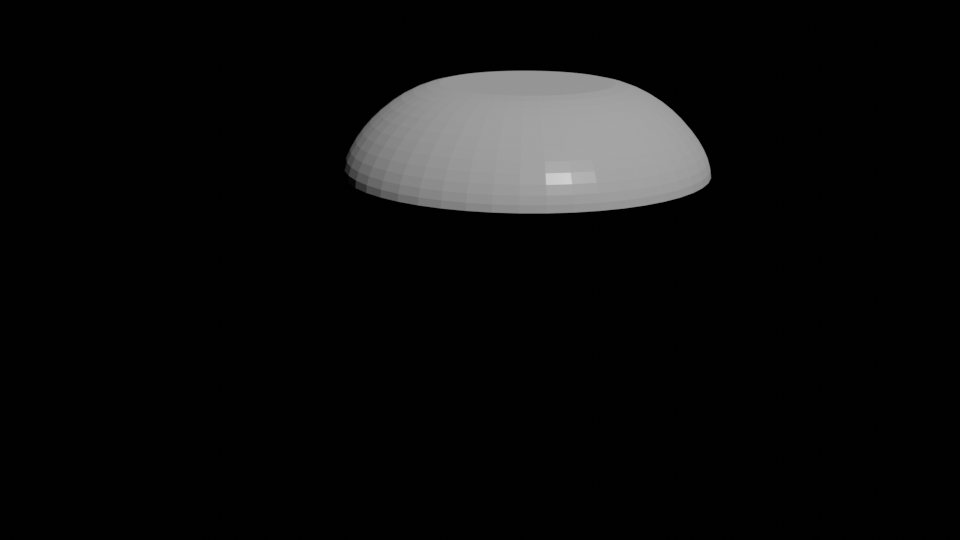
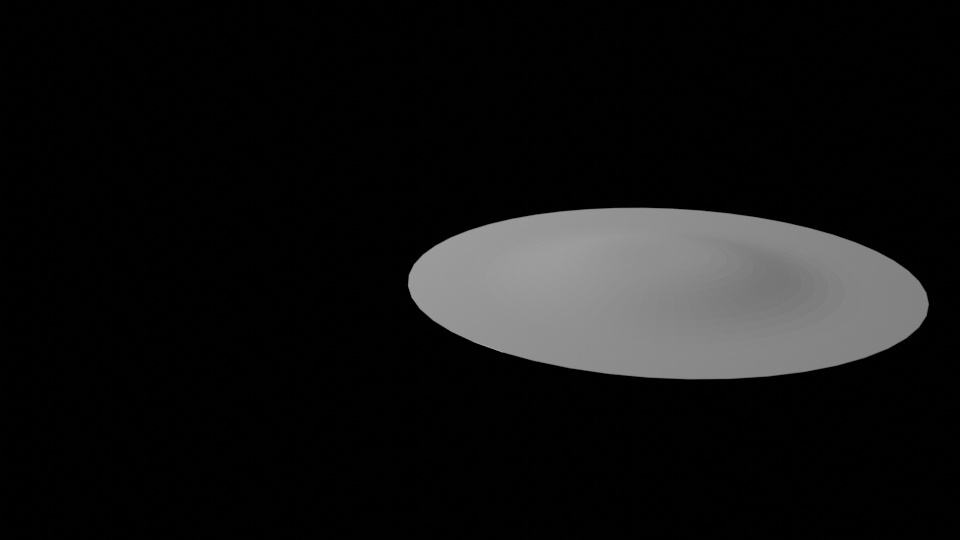
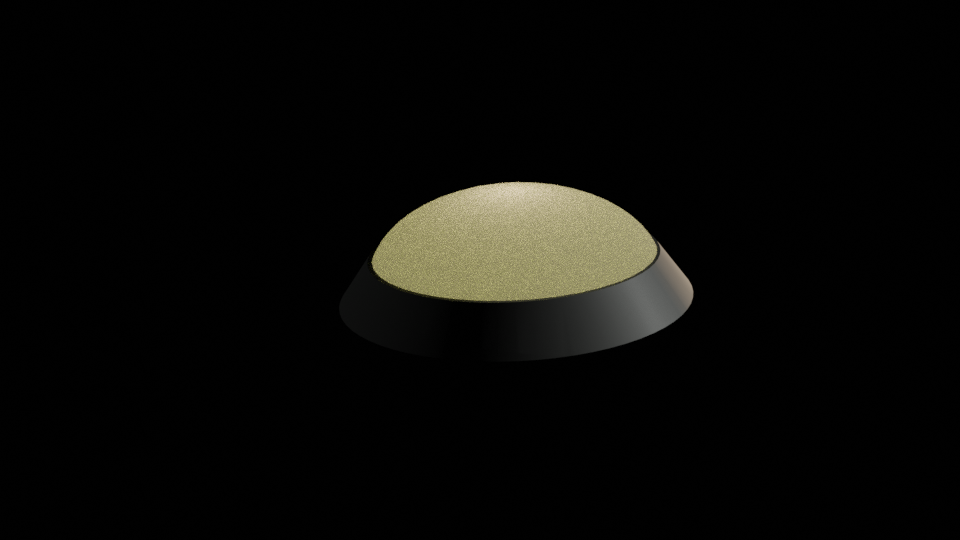
Upper Sensor Dome

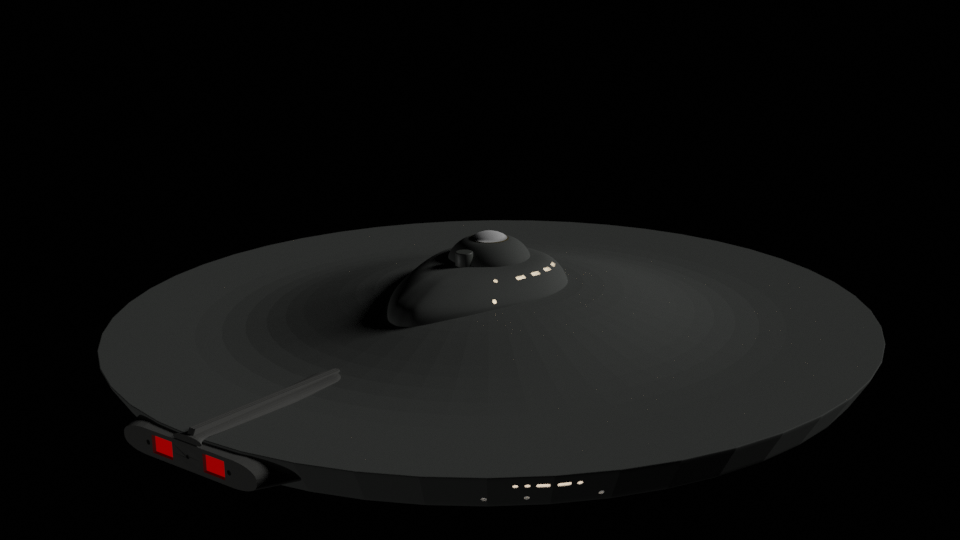
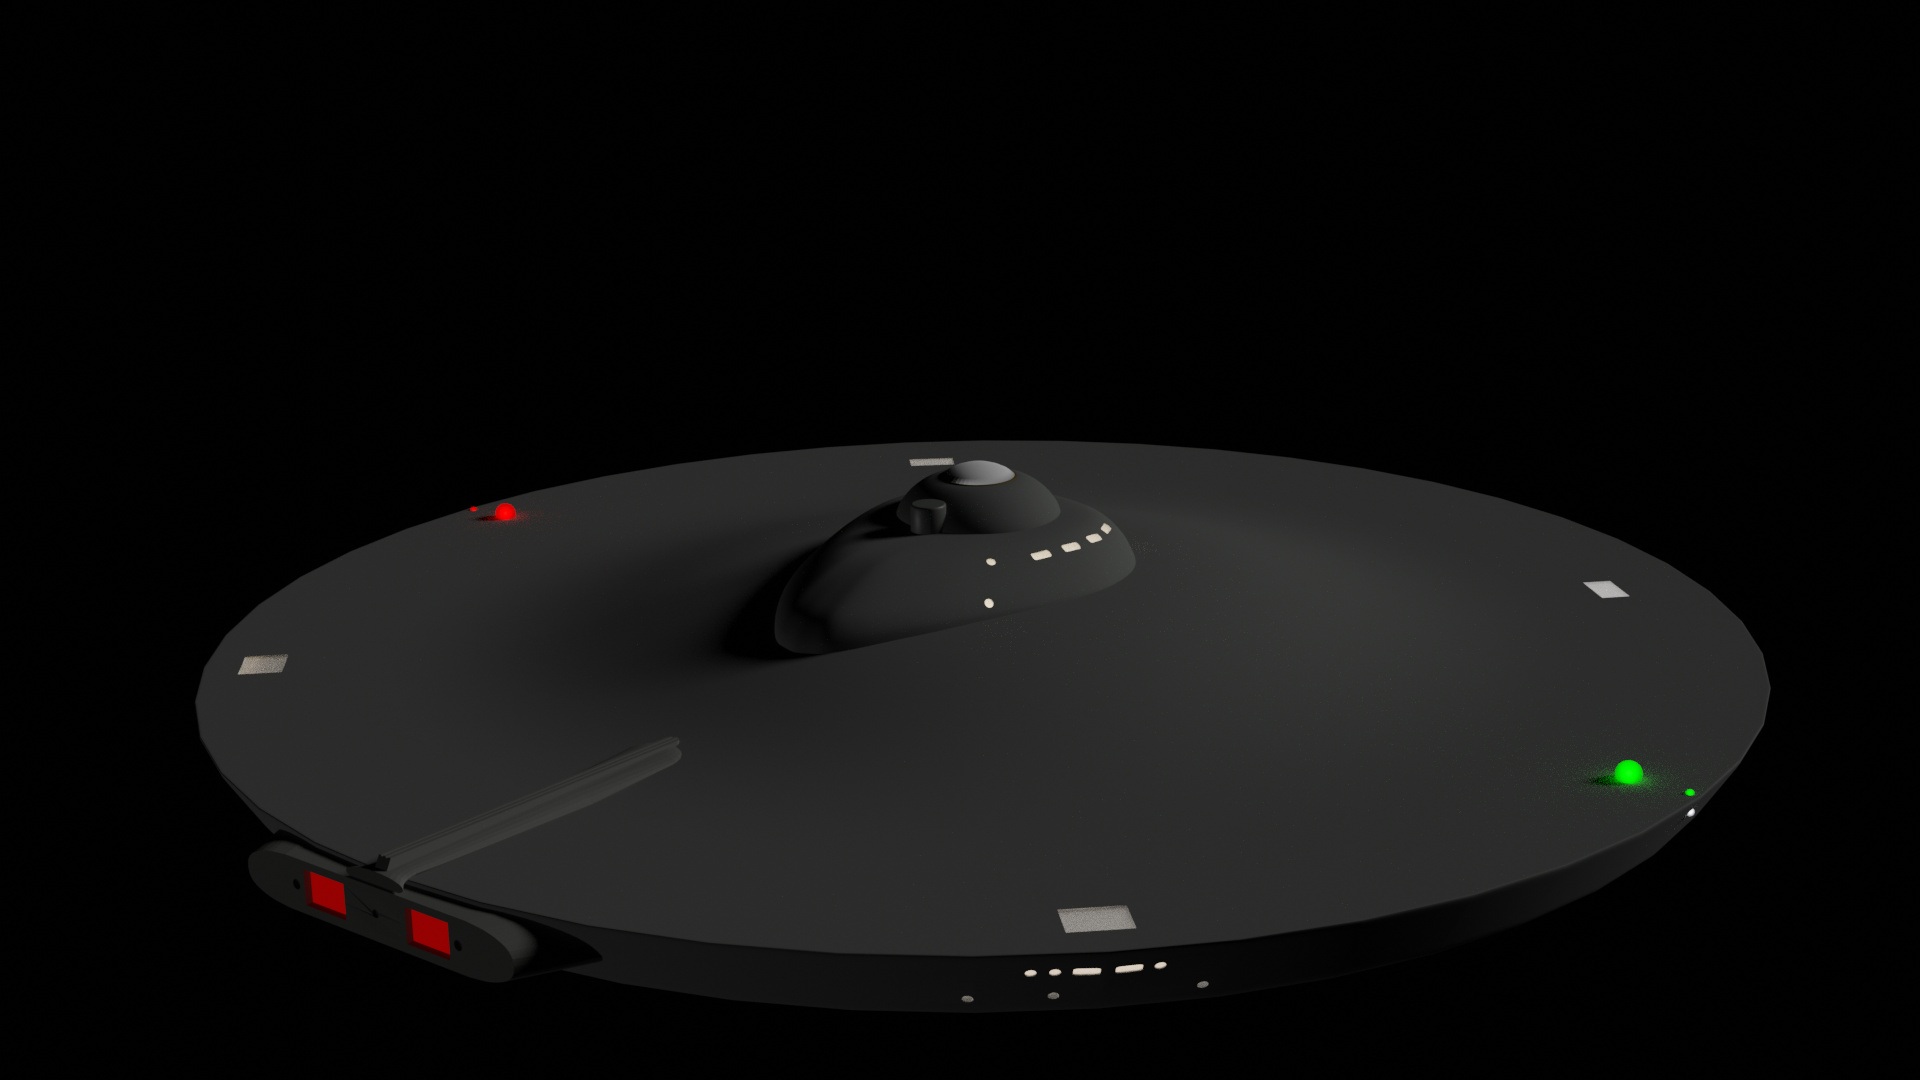
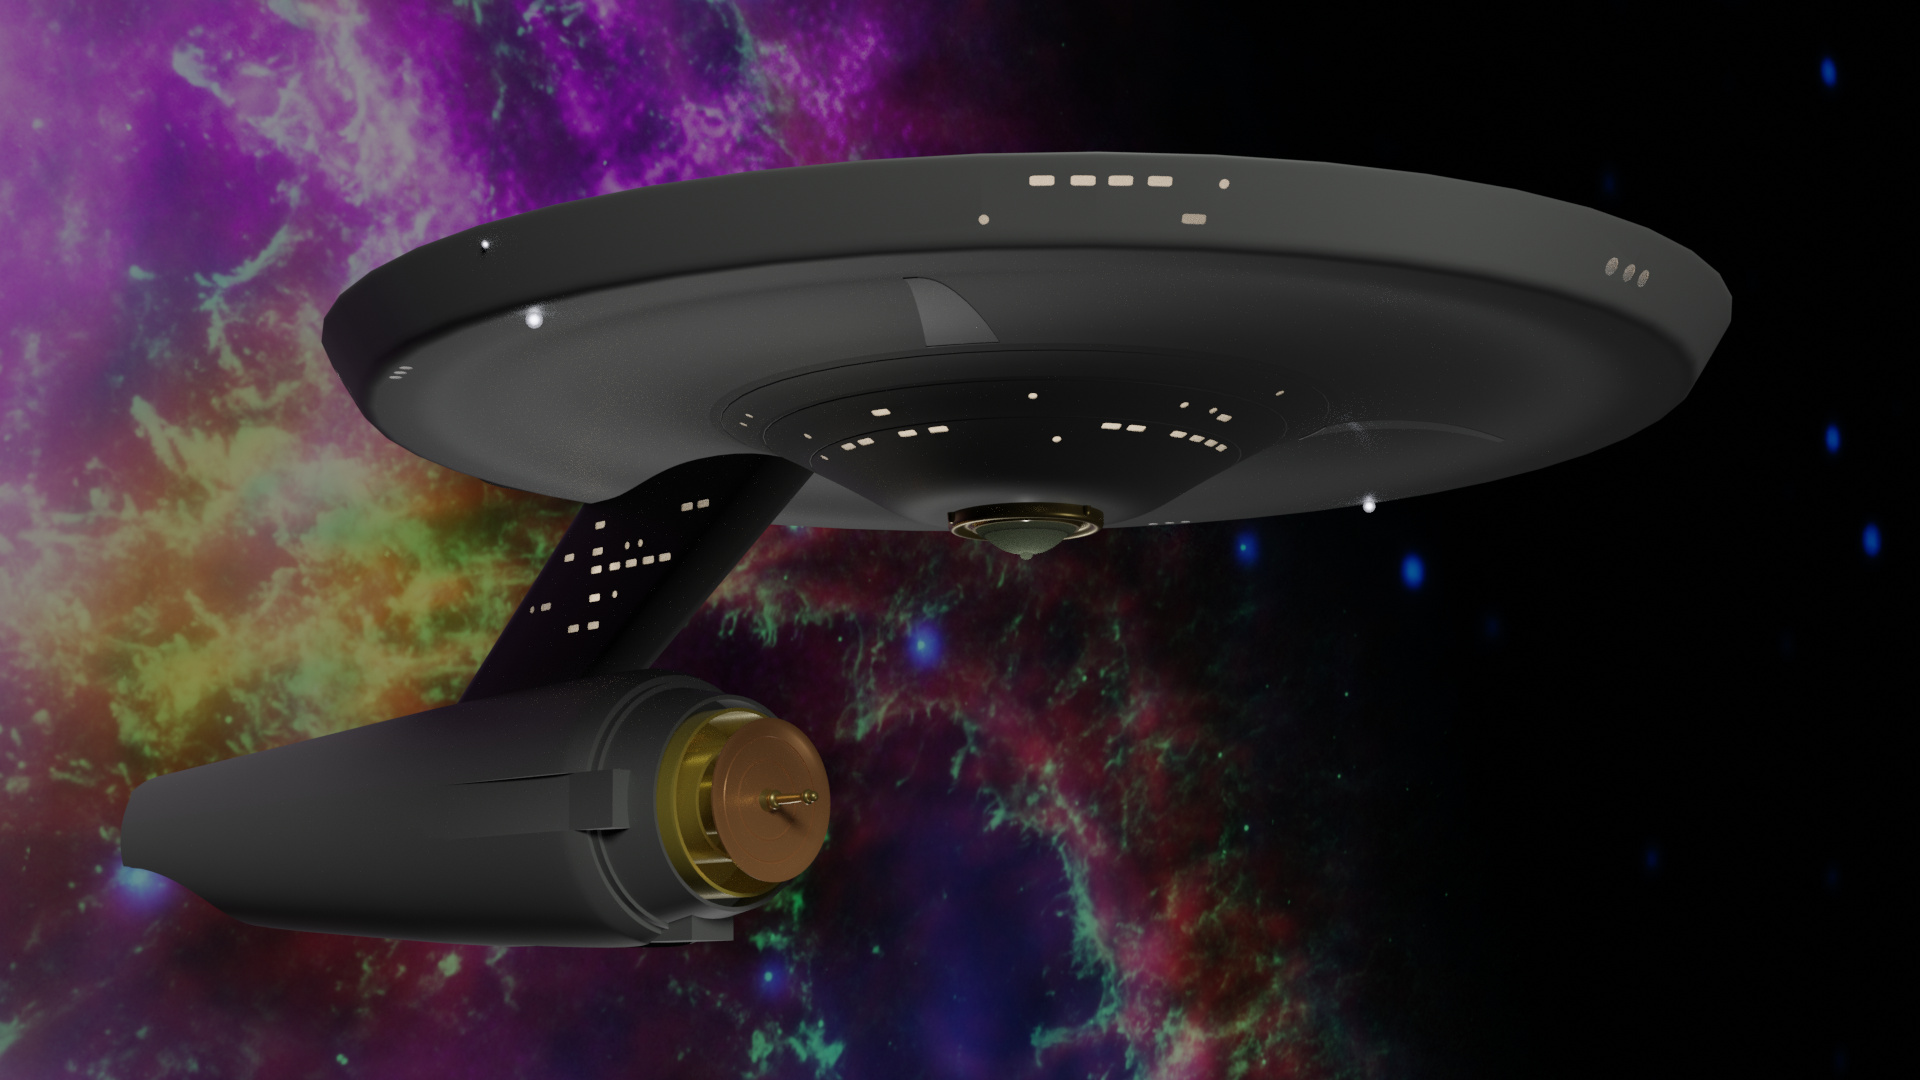
Saucer with Command Structure and Propulsion Modules

4 Likes
Keep it up!
1 Like

Back with an update for this model now that the Primary Hull is completed.
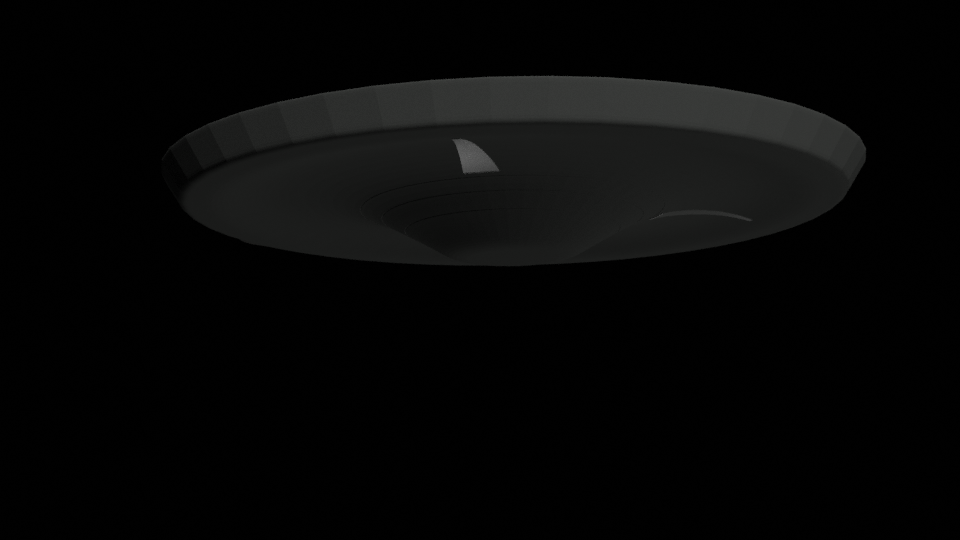
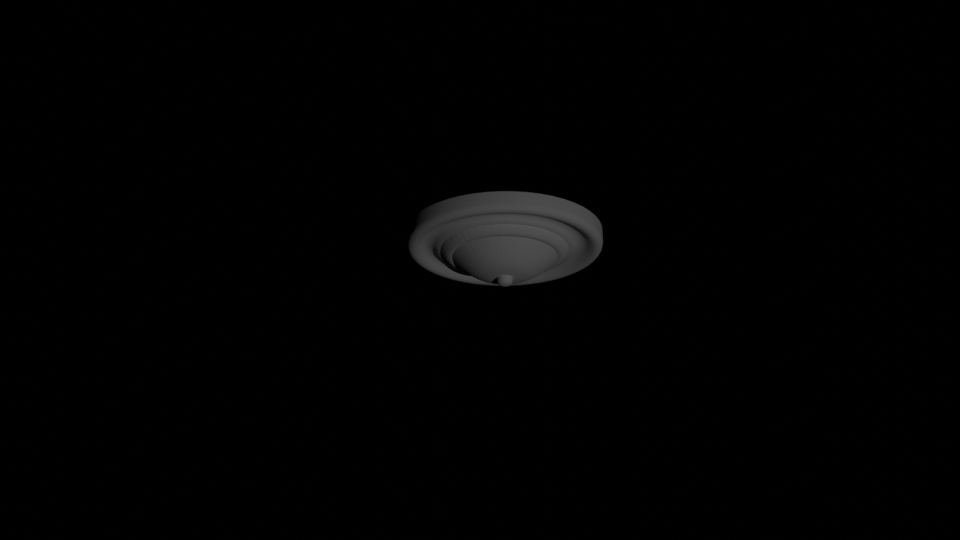
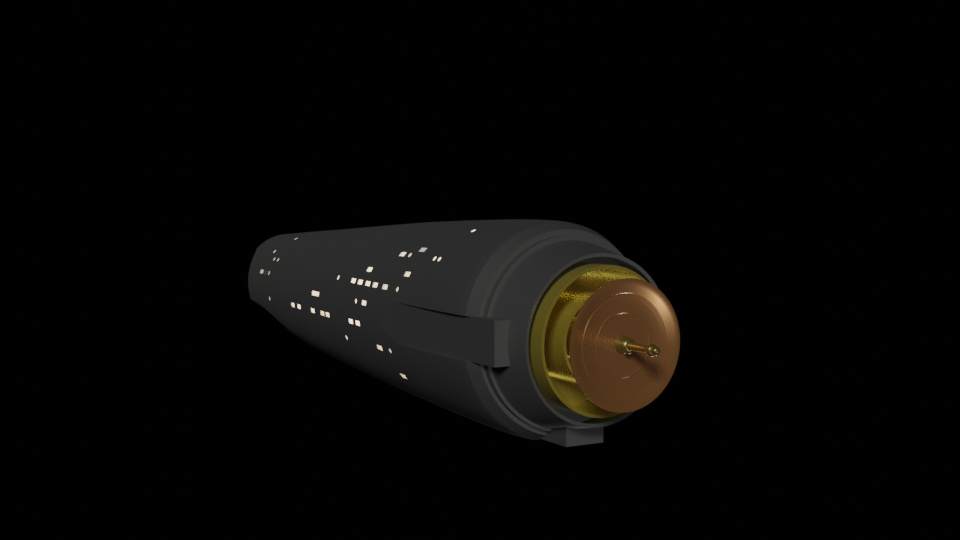
Lower Sensor Dome (with nipple) and Brass mounting ring
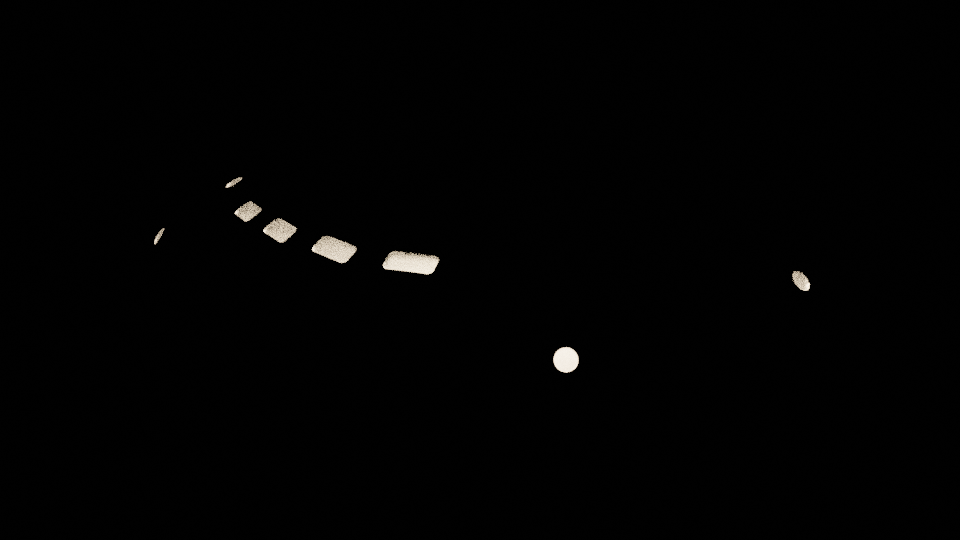
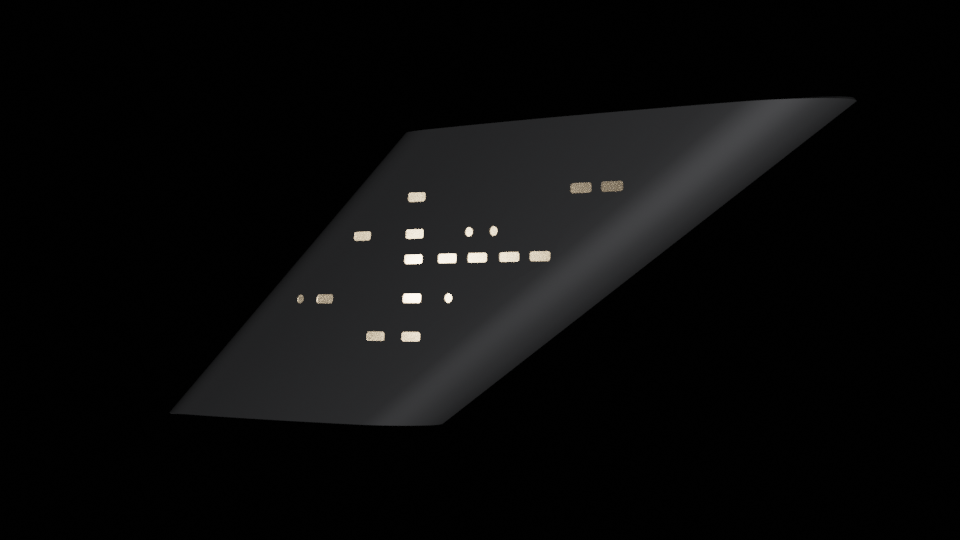
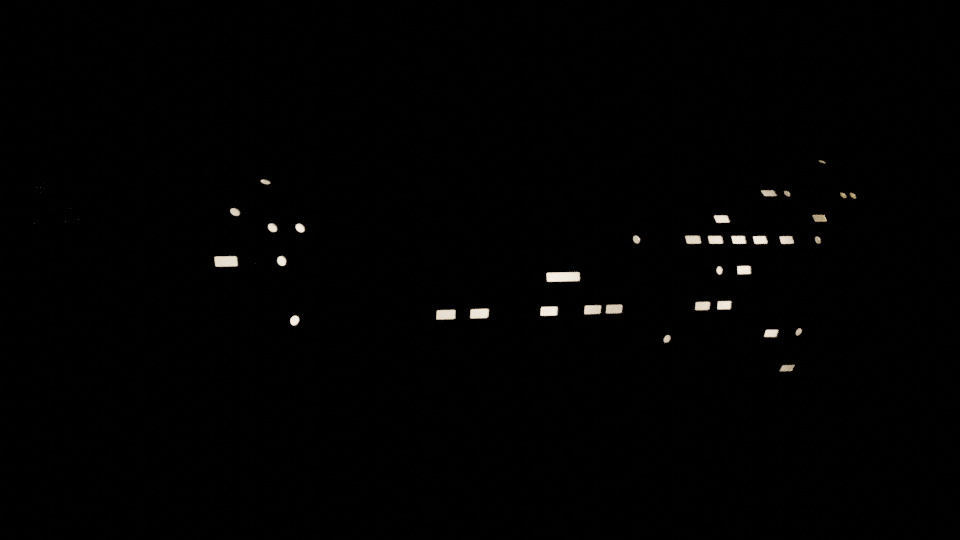
Saucer Windows
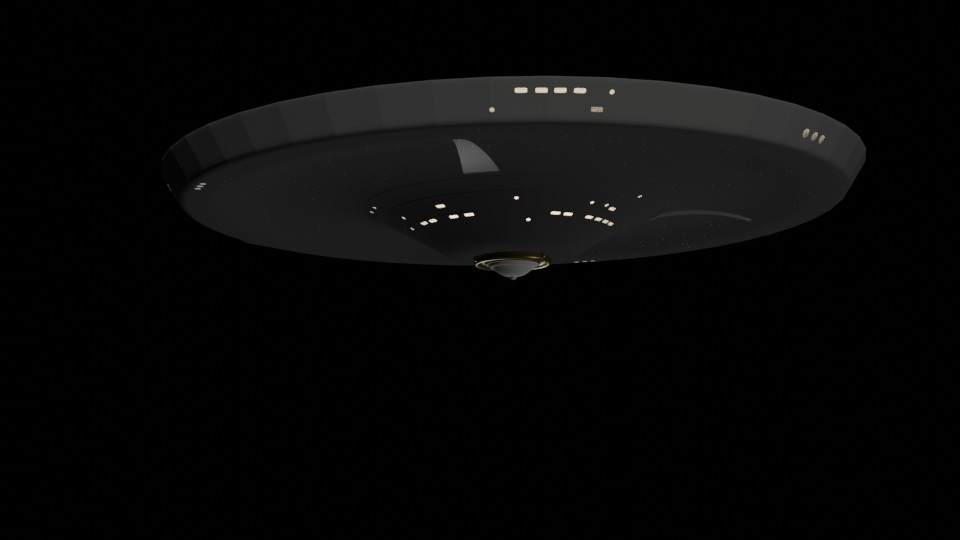
Saucer with Lower Sensor Dome, Brass Ring, and Windows
B & C Deck Windows
Saucer with B & C Deck and Windows
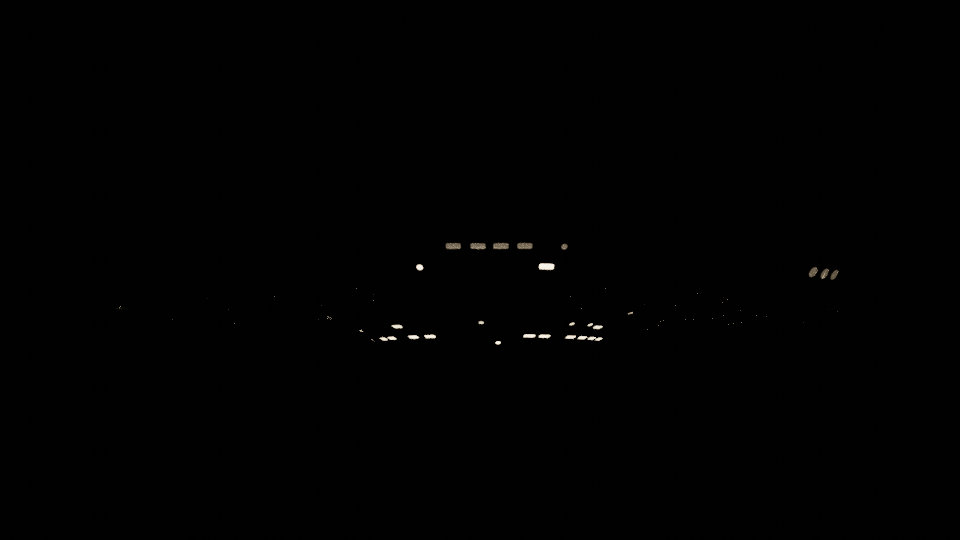
Completed Primary Hull (less 2 bridge level formation lights)
4 Likes
Nice progress!
How you did the windows?
Also wouldn’t contain myself and would apply a HDRI of space and make the material look like metal right away lol.
I see you’re using Cycles, maybe you wanna try Eevee for speeding things up later.
You mean slowing things down right  Personally, I hate Eevee because I don’t like having to run around collecting easter eggs to get things to look right.
Still a lot of work to do before I really get into texturing the full hull including all the UV Map manipulation and creating the textures for the lettering. So it will be a while (probably towards the end of the week) before I really dig into tweaking the materials to make them look right.
Lol yeah I get it.
Until you are not used to it feels like easter yeah… But wait… we are in easter! 
1 Like
Another round of updates…
Starting us off today is the neck (aka Dorsal Connection)
and the windows for the neck

Neck with windows
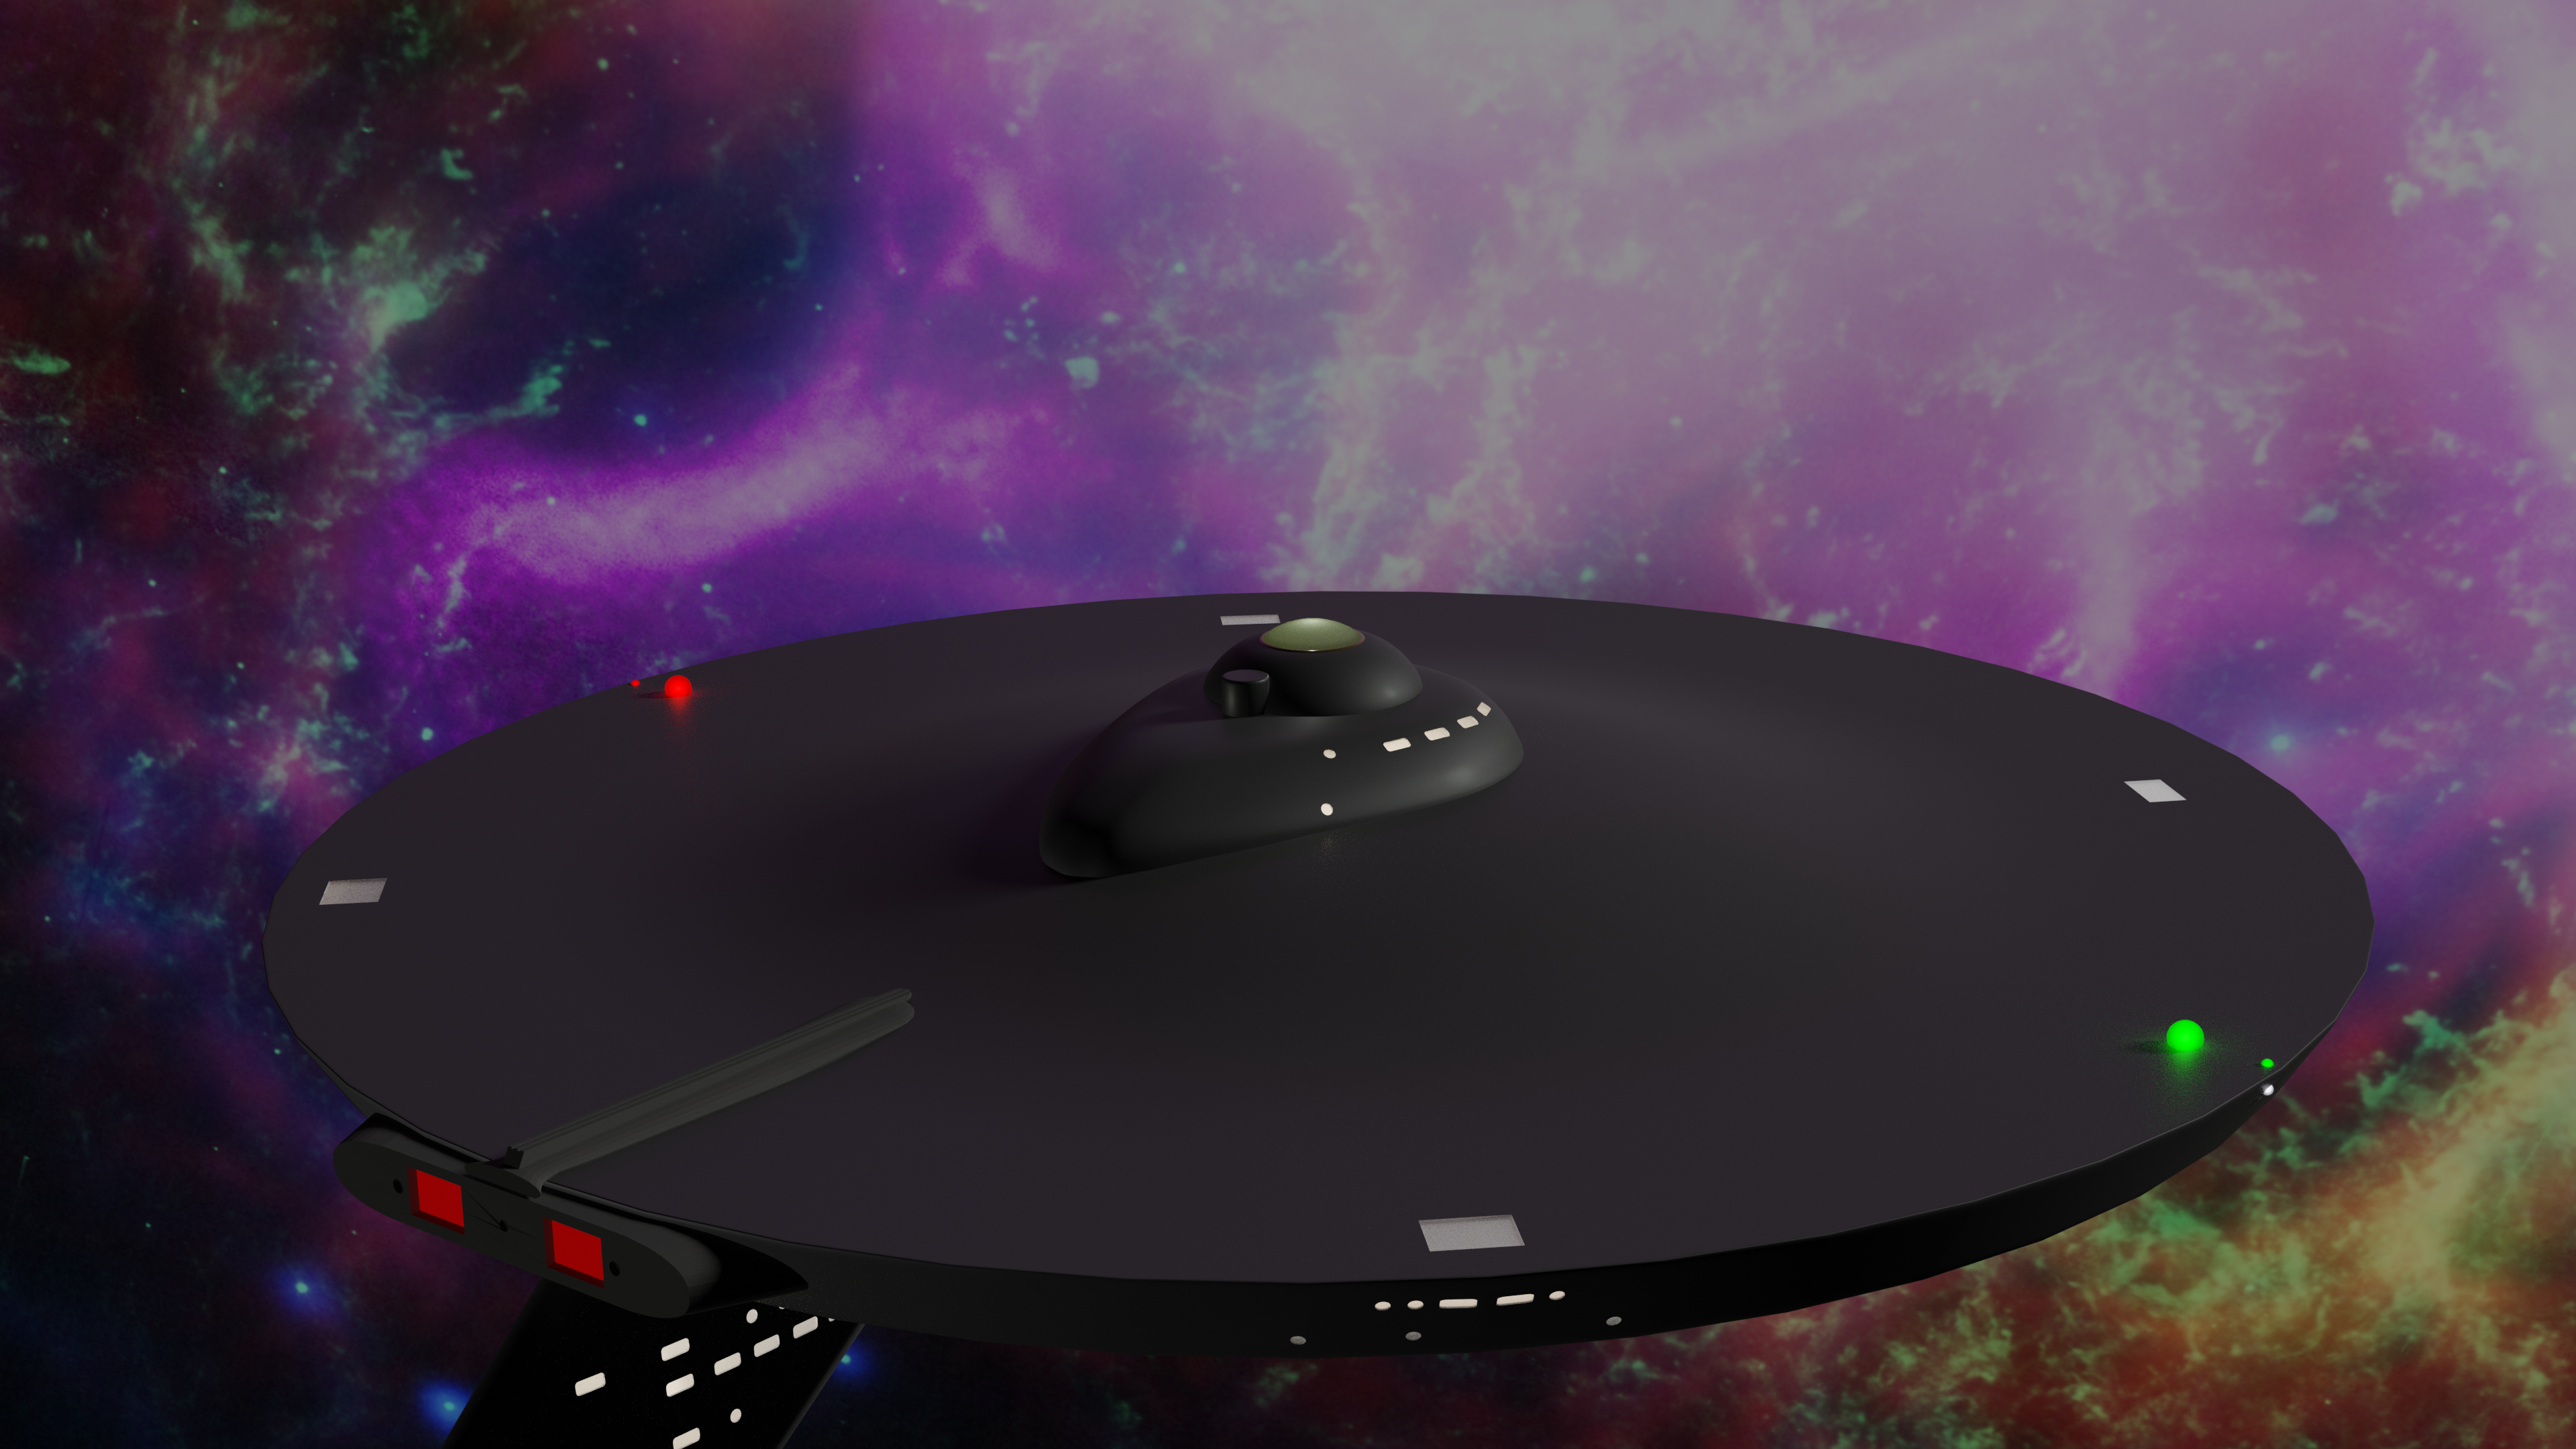
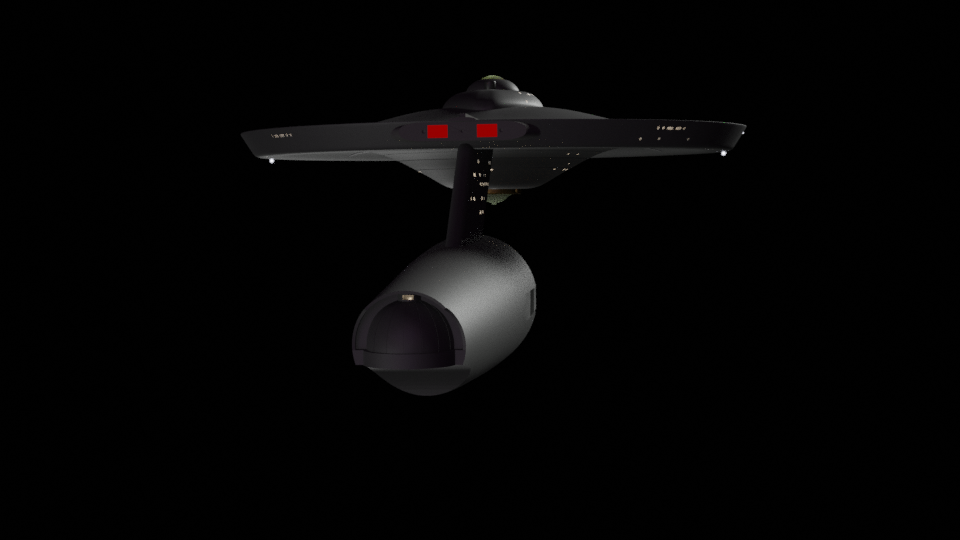
and then a final render of the Primary Hull with Dorsal Connection attached. Rendered at 3840x2160 and 1000 samples.
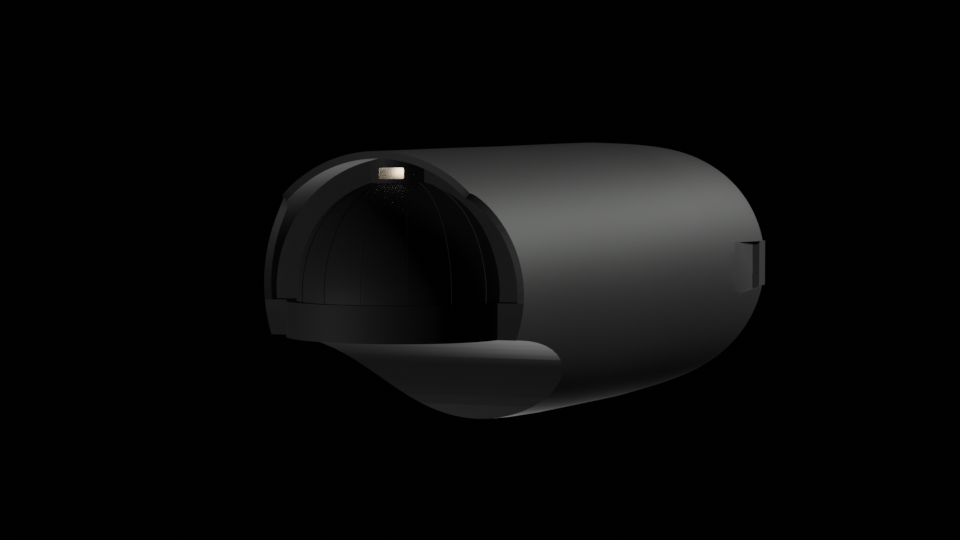
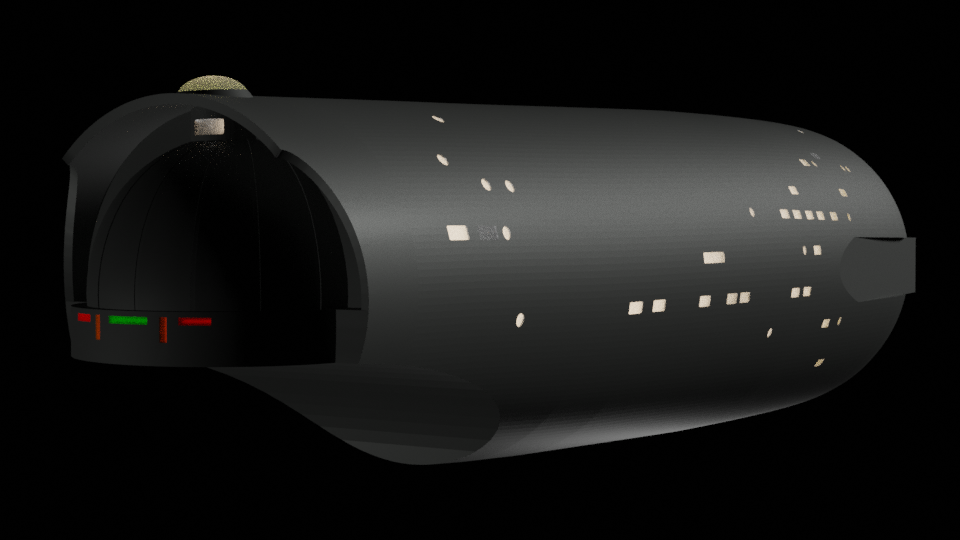
and finally the beginning of the Secondary Hull
2 Likes
Got just a bit more done today
I’ll get the windows this evening and than move on to finishing the Shuttle Hanger.
3 Likes
Felt like a busy day today though I didn’t make much headway…
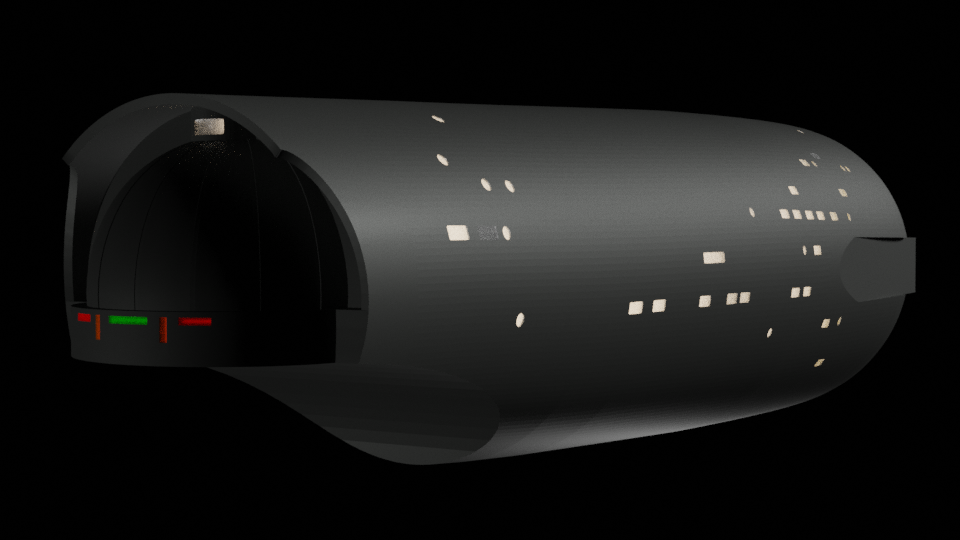
Started out by working over the shuttle landing bay
Then, I had to go through all my parts to reassemble the Sencondary Hull in pieces so I could get the proper thickness for making the windows

I know, this one looks like the one before but it is actually a different version as the previous shot uses the “Screen Accurate” window configuration while this one uses the “Model Accurate” window layout.
Secondary Hull with windows
then some landing lights for the shuttle landing bay
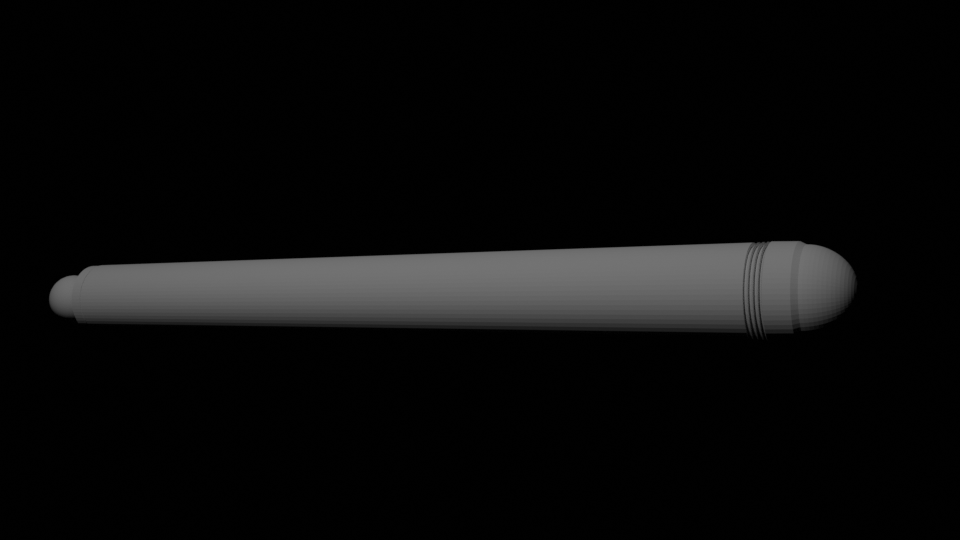
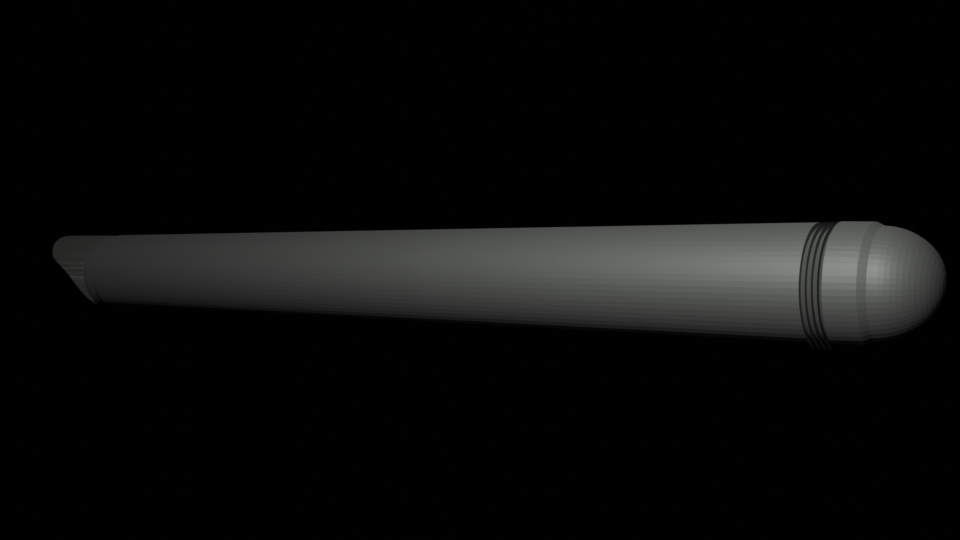
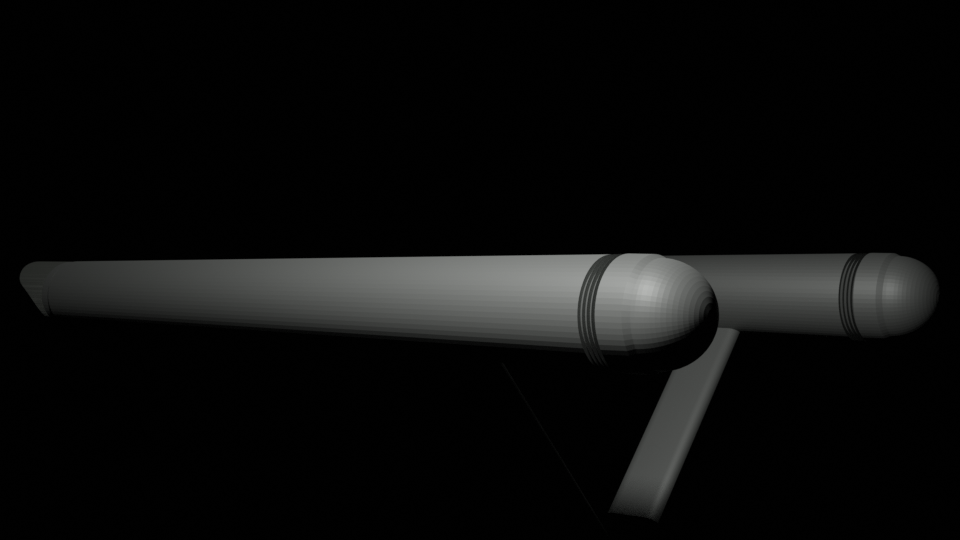
and to finish the evening off, a lone warp nacelle or at least the base for the model
1 Like
The windows do really make this look more alive.
I’m curious, what’s the process of making them ?
Time for another round of updates…
today started out with a bit of a back track as I realized I had forgotten to do the Aft Sensor dome
The next thing I was going to tackle was the Warp Pylons during which I had planned to record a video to help explain the answer to this
Unfortunately, my screen capture software has decided it doesn’t want to work with modern software. So I spent the day looking for a good replacement. But to answer the question It’s a long drawn out process that involves a lot of … just kidding  To make the windows I applied a solidify modifier with a thickness of 0.003, created the Cutouts, duplicated the hull and then booleaned one copy of the with an intersect and the other copy with a difference.
As an interesting aside, I found one article today that named Blender 3D as the best ‘Free’ video editing software available… hmmm
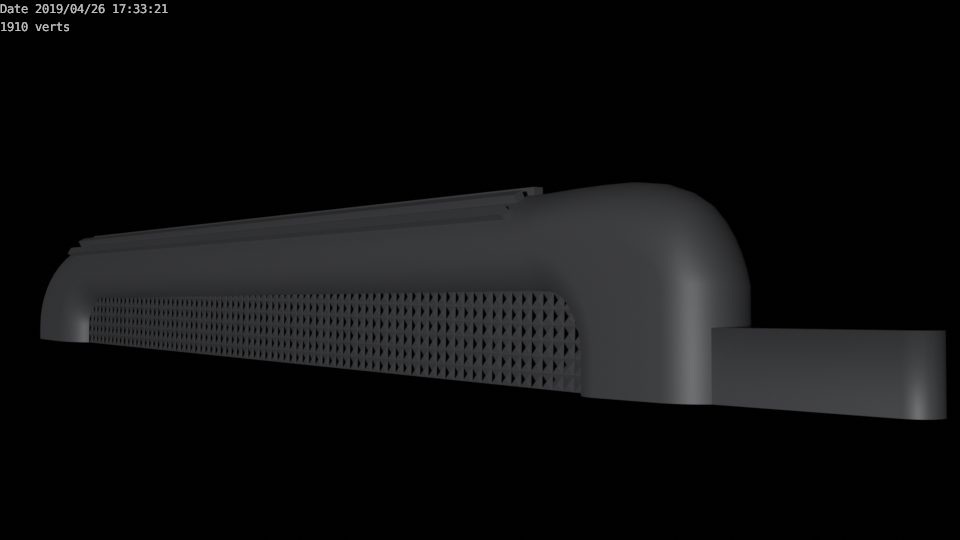
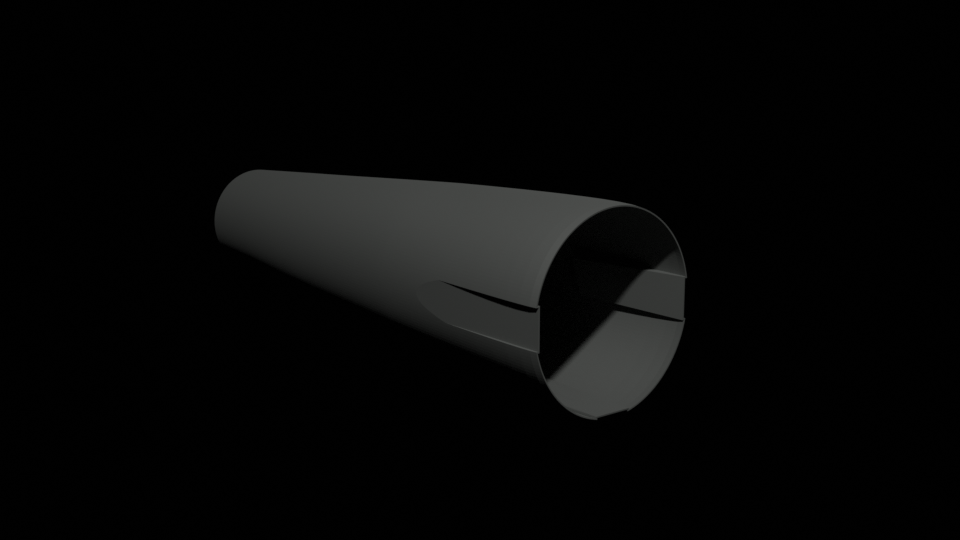
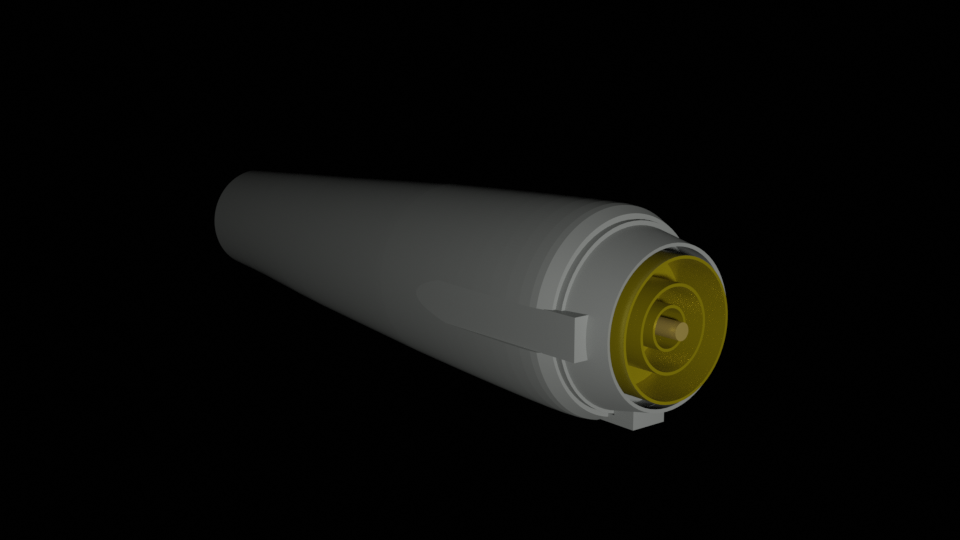
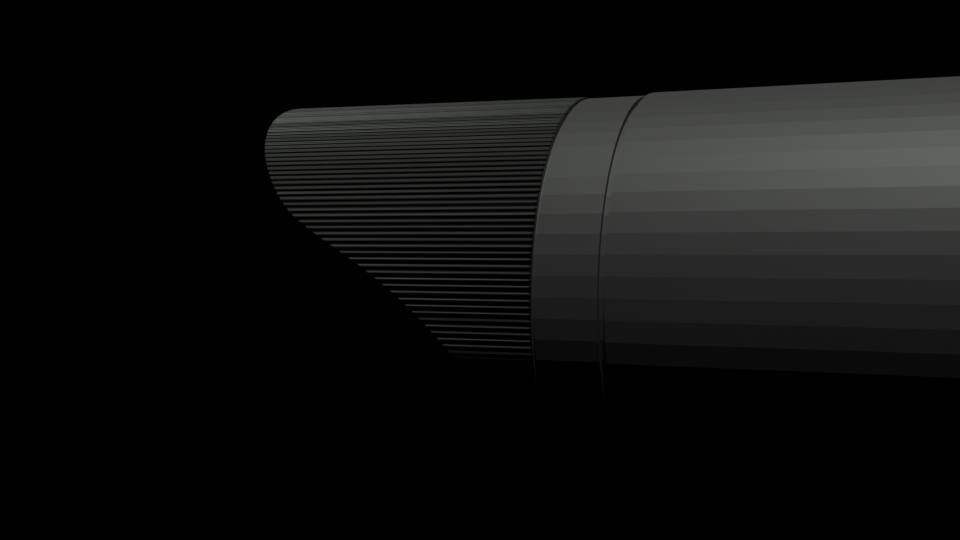
Anywho — eventually I got back to work and spent most of the evening doing this beautiful endcap using a cylinder with only 64 verts (As opposed to the instructor’s LP version which had somewhere in the neighborhood of 600 verts)
I ended the evening with a couple of Pylons for the Nacelles to sit on
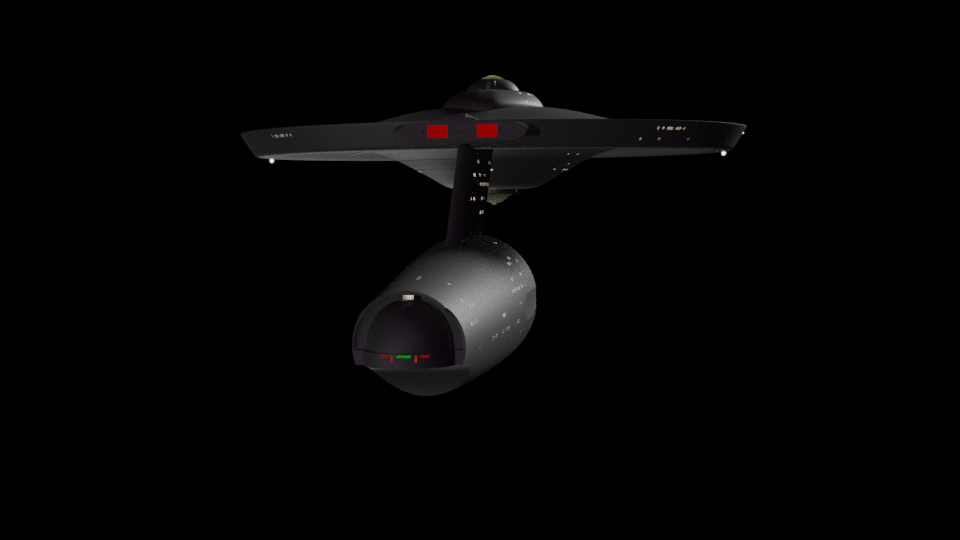
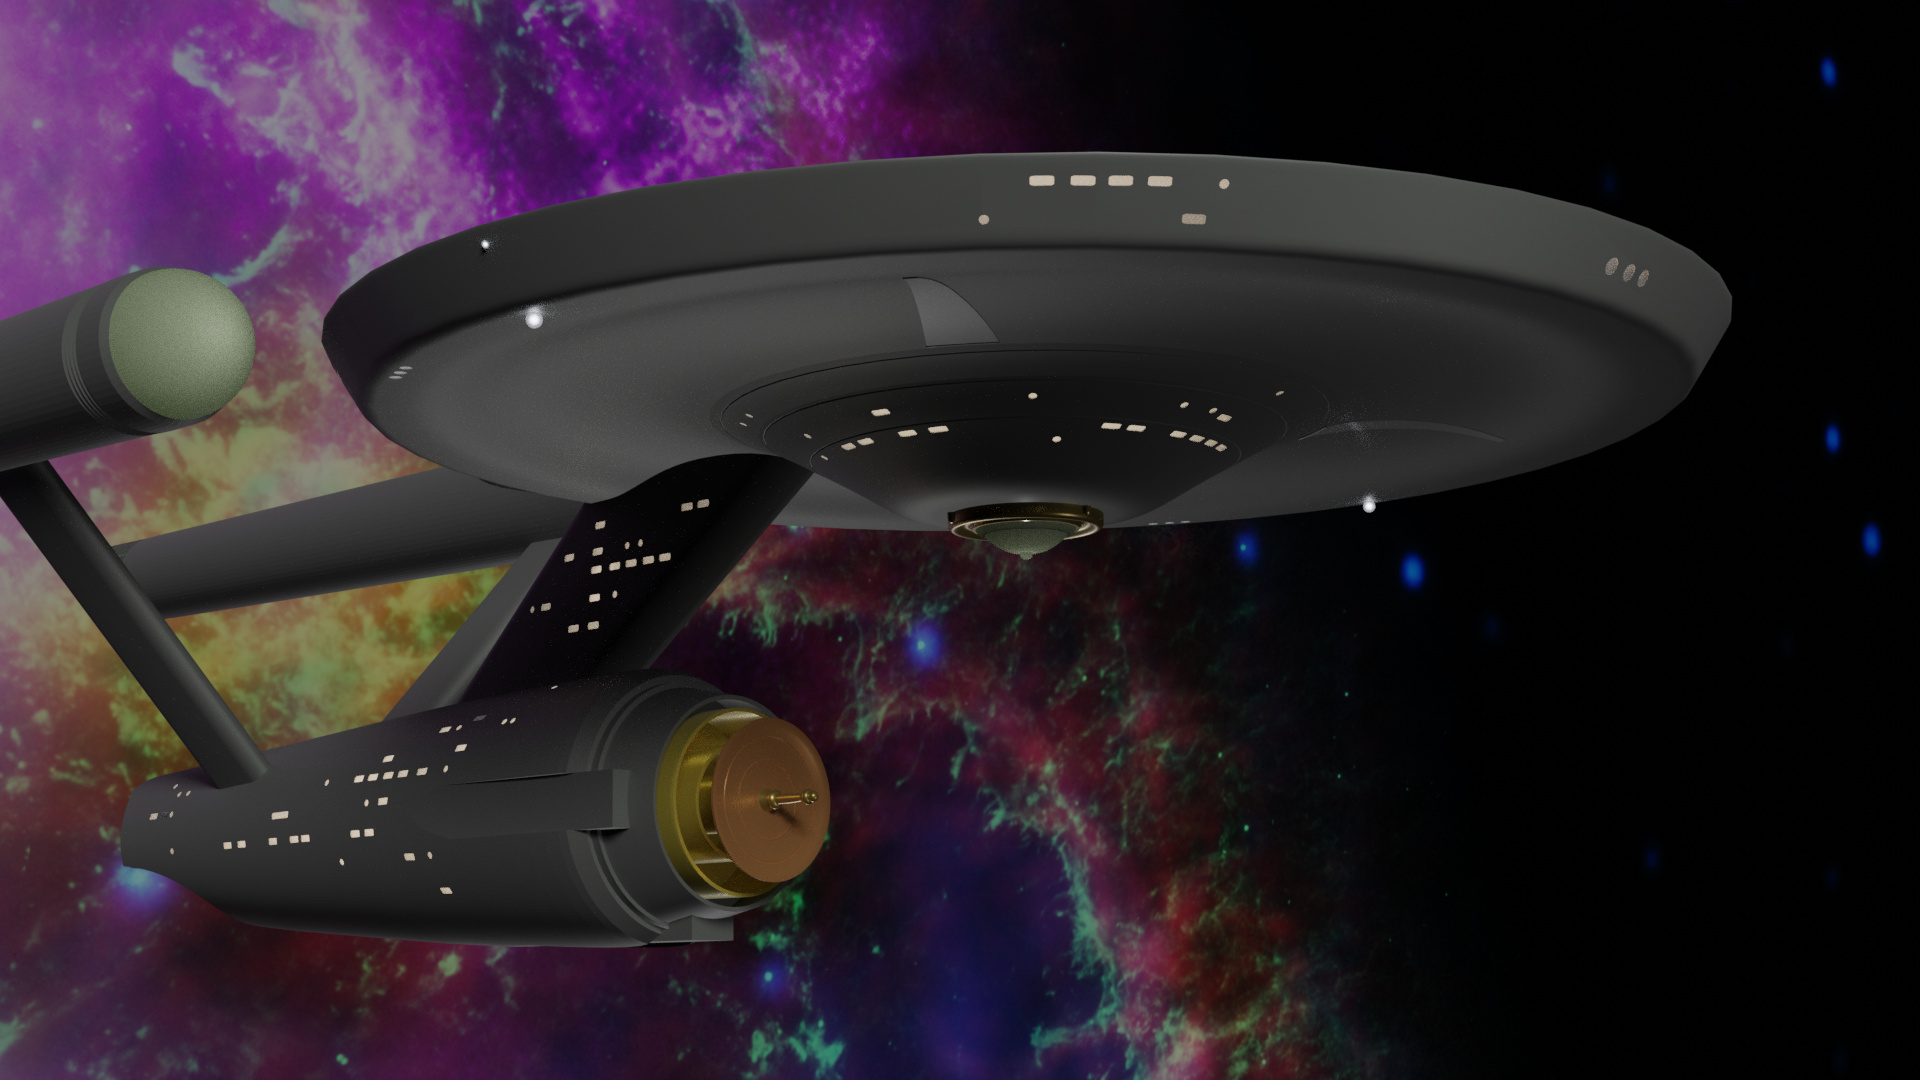
and Violla! it looks like a ship finally.
2 Likes
This is looking terrific. That’s quite an excellent job you did on this project. 
2 Likes
Wow! Seeing it assembled is beautiful.
Lol 600, That’s quite a lot.
Are you following a tutorial on making this?
I’m following a tutorial by Eric Reinholt
1 Like
Ahhh, I was going to ask if you were working from a lot of reference photos.
1 Like
I’m pretty sure Eric has about a thousand reference images that he shares during the tutorial
Oh I’m sure, because he wouldn’t be able to remember all the details unless, of course, he has an Eidetic Memory.
Here with updates from yesterday’s work
Started of with a bit of tweaking for the Bussard Ramscoop
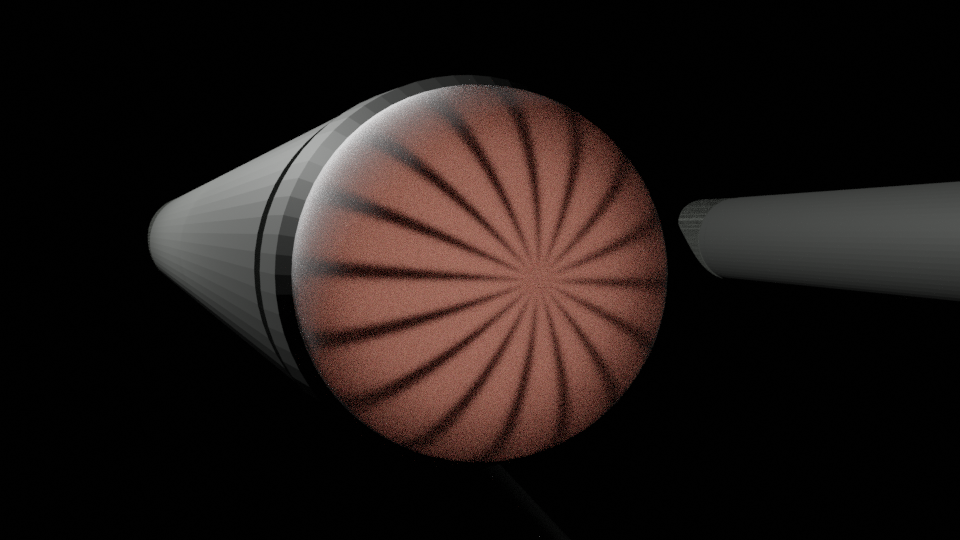
Then moved on to the Warp Nacelle Intercoolers. These took me a bit since I wasn’t satisfied with the quality of the reference image in the tutorial so had to go find my own. That, of course, led to a couple of rabbit trails for me but, eventually, I got back on track and finished the work. First we have the tutorial way
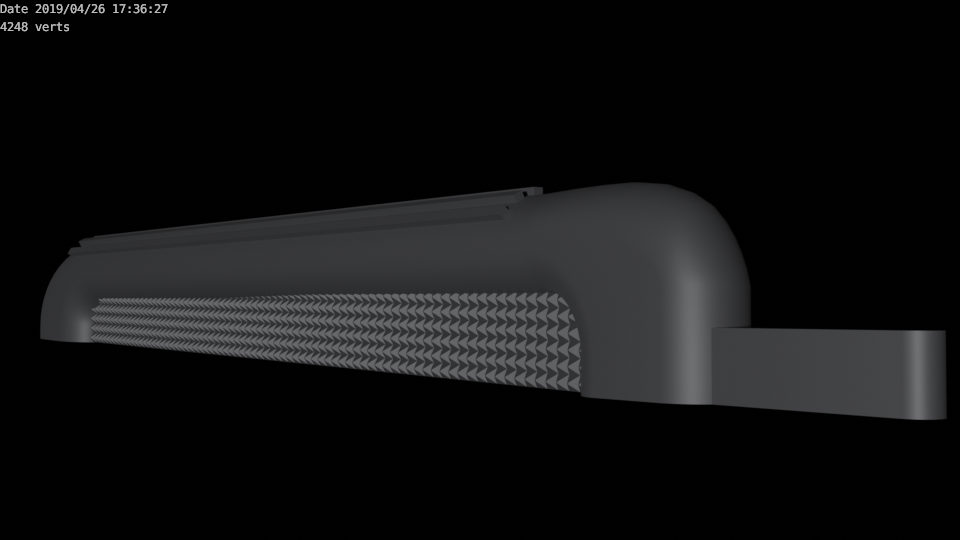
Then my Low-Poly version (still needs some work) which I struggled with for quite a while until I discovered I had forgotten to apply the scale to the portion with the pyramid pattern.