Bunny Chess Original Design

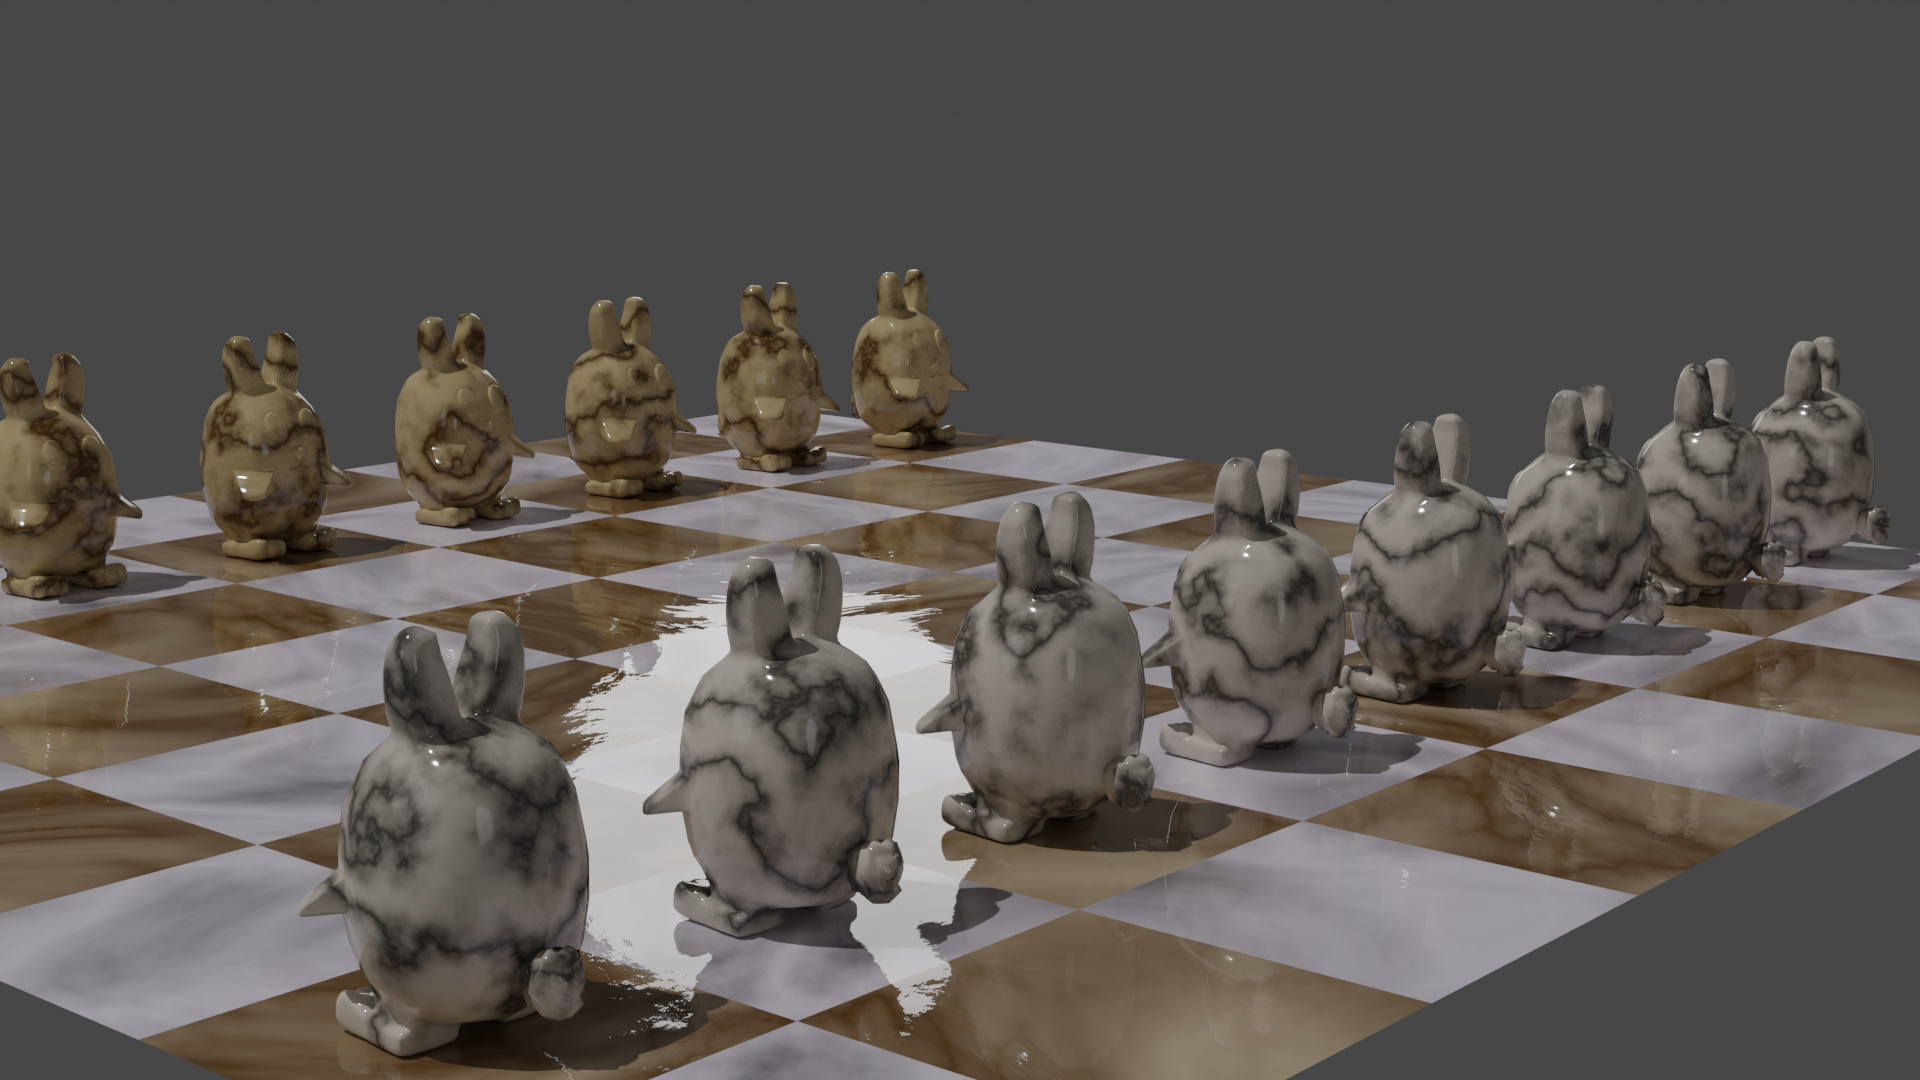
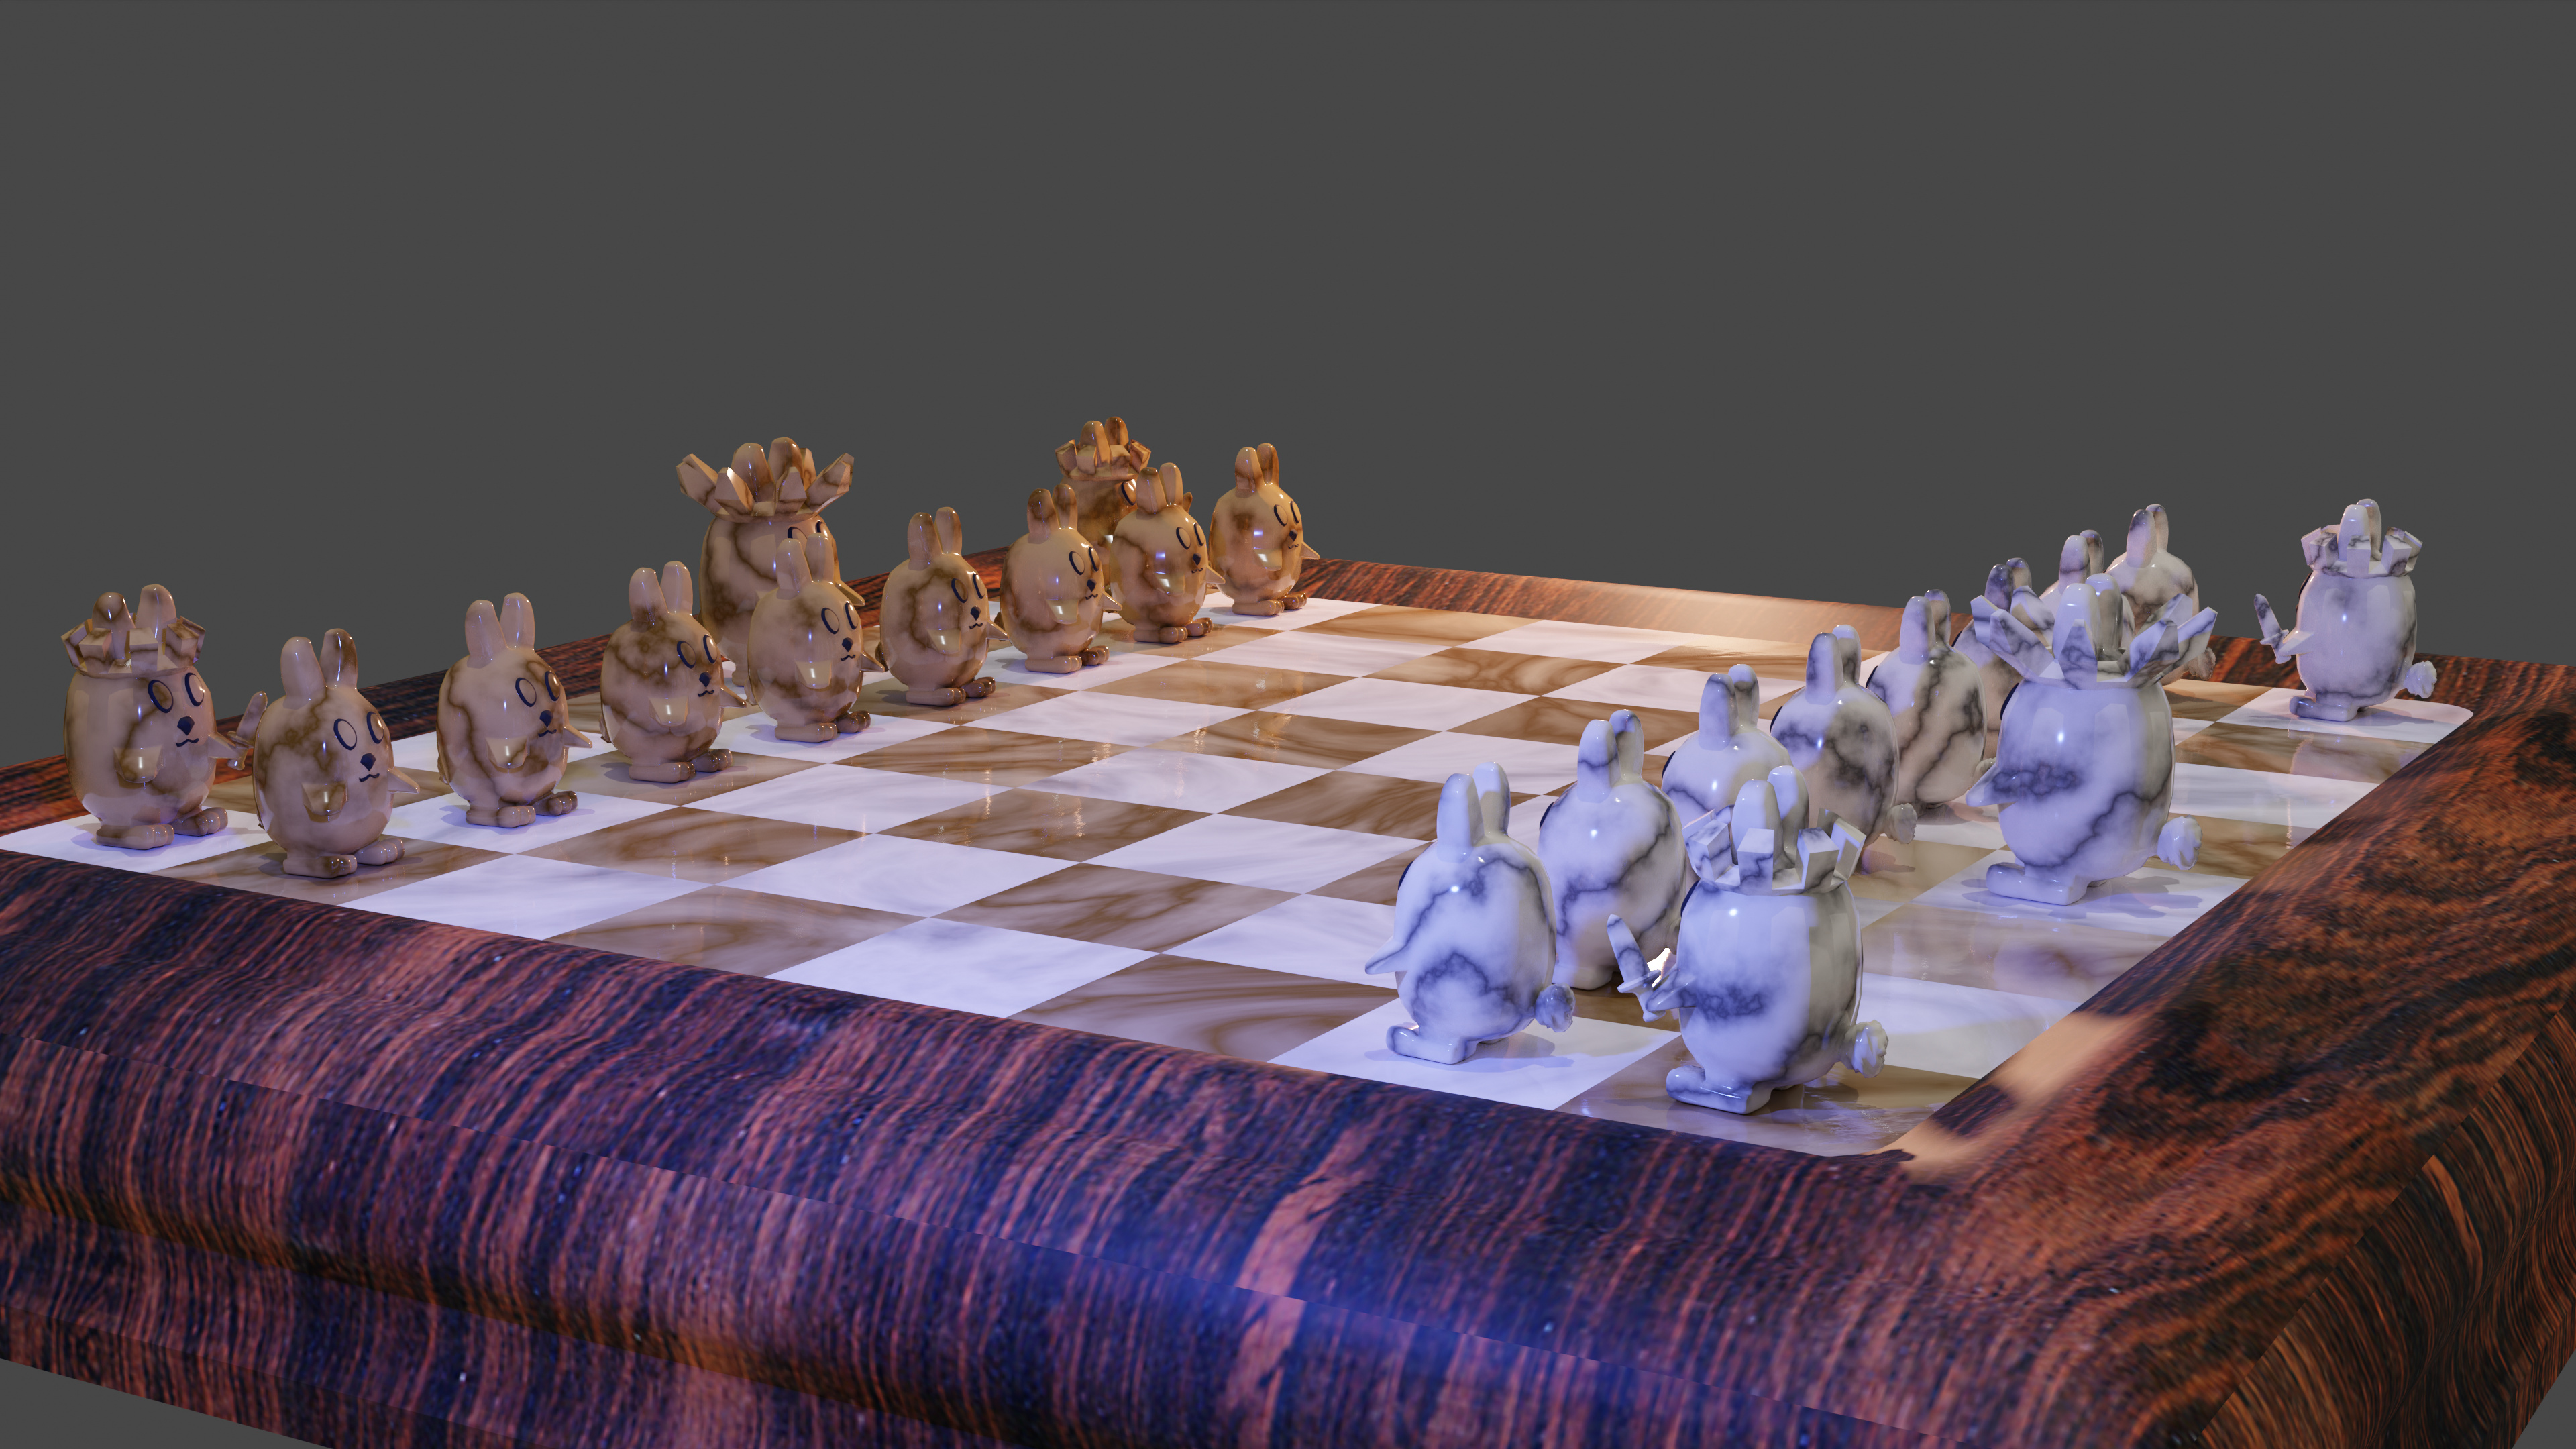
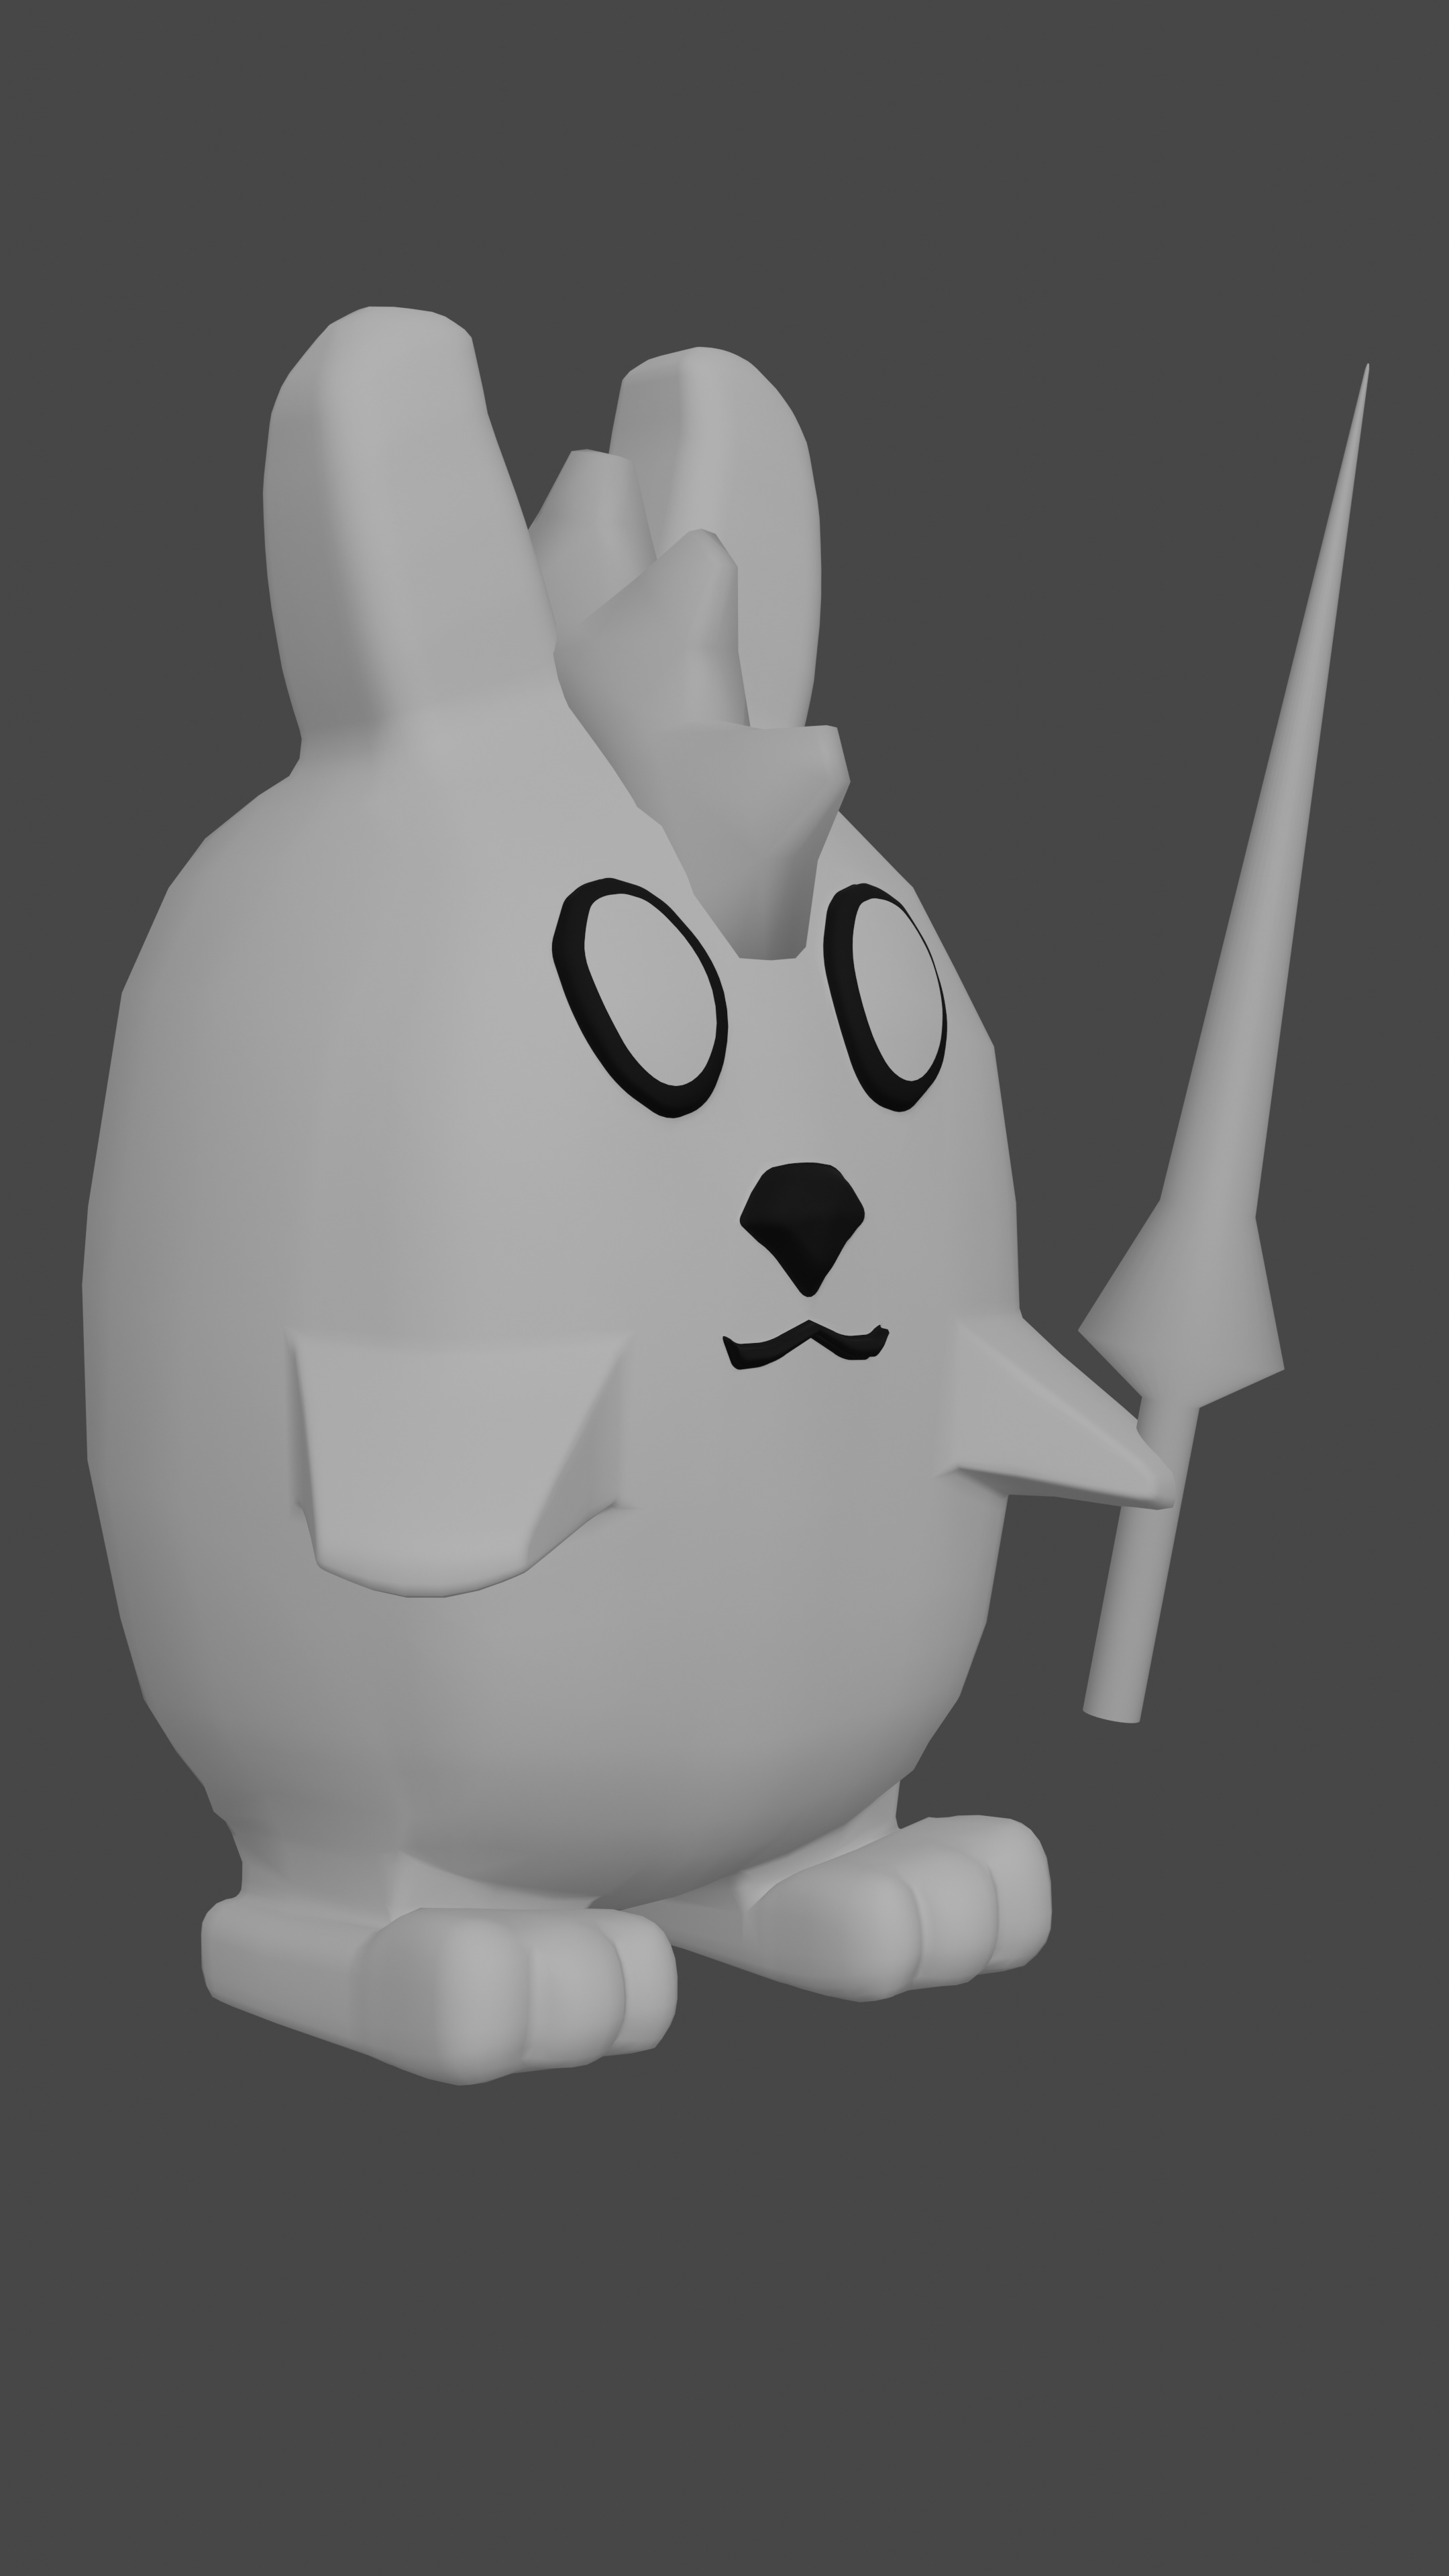
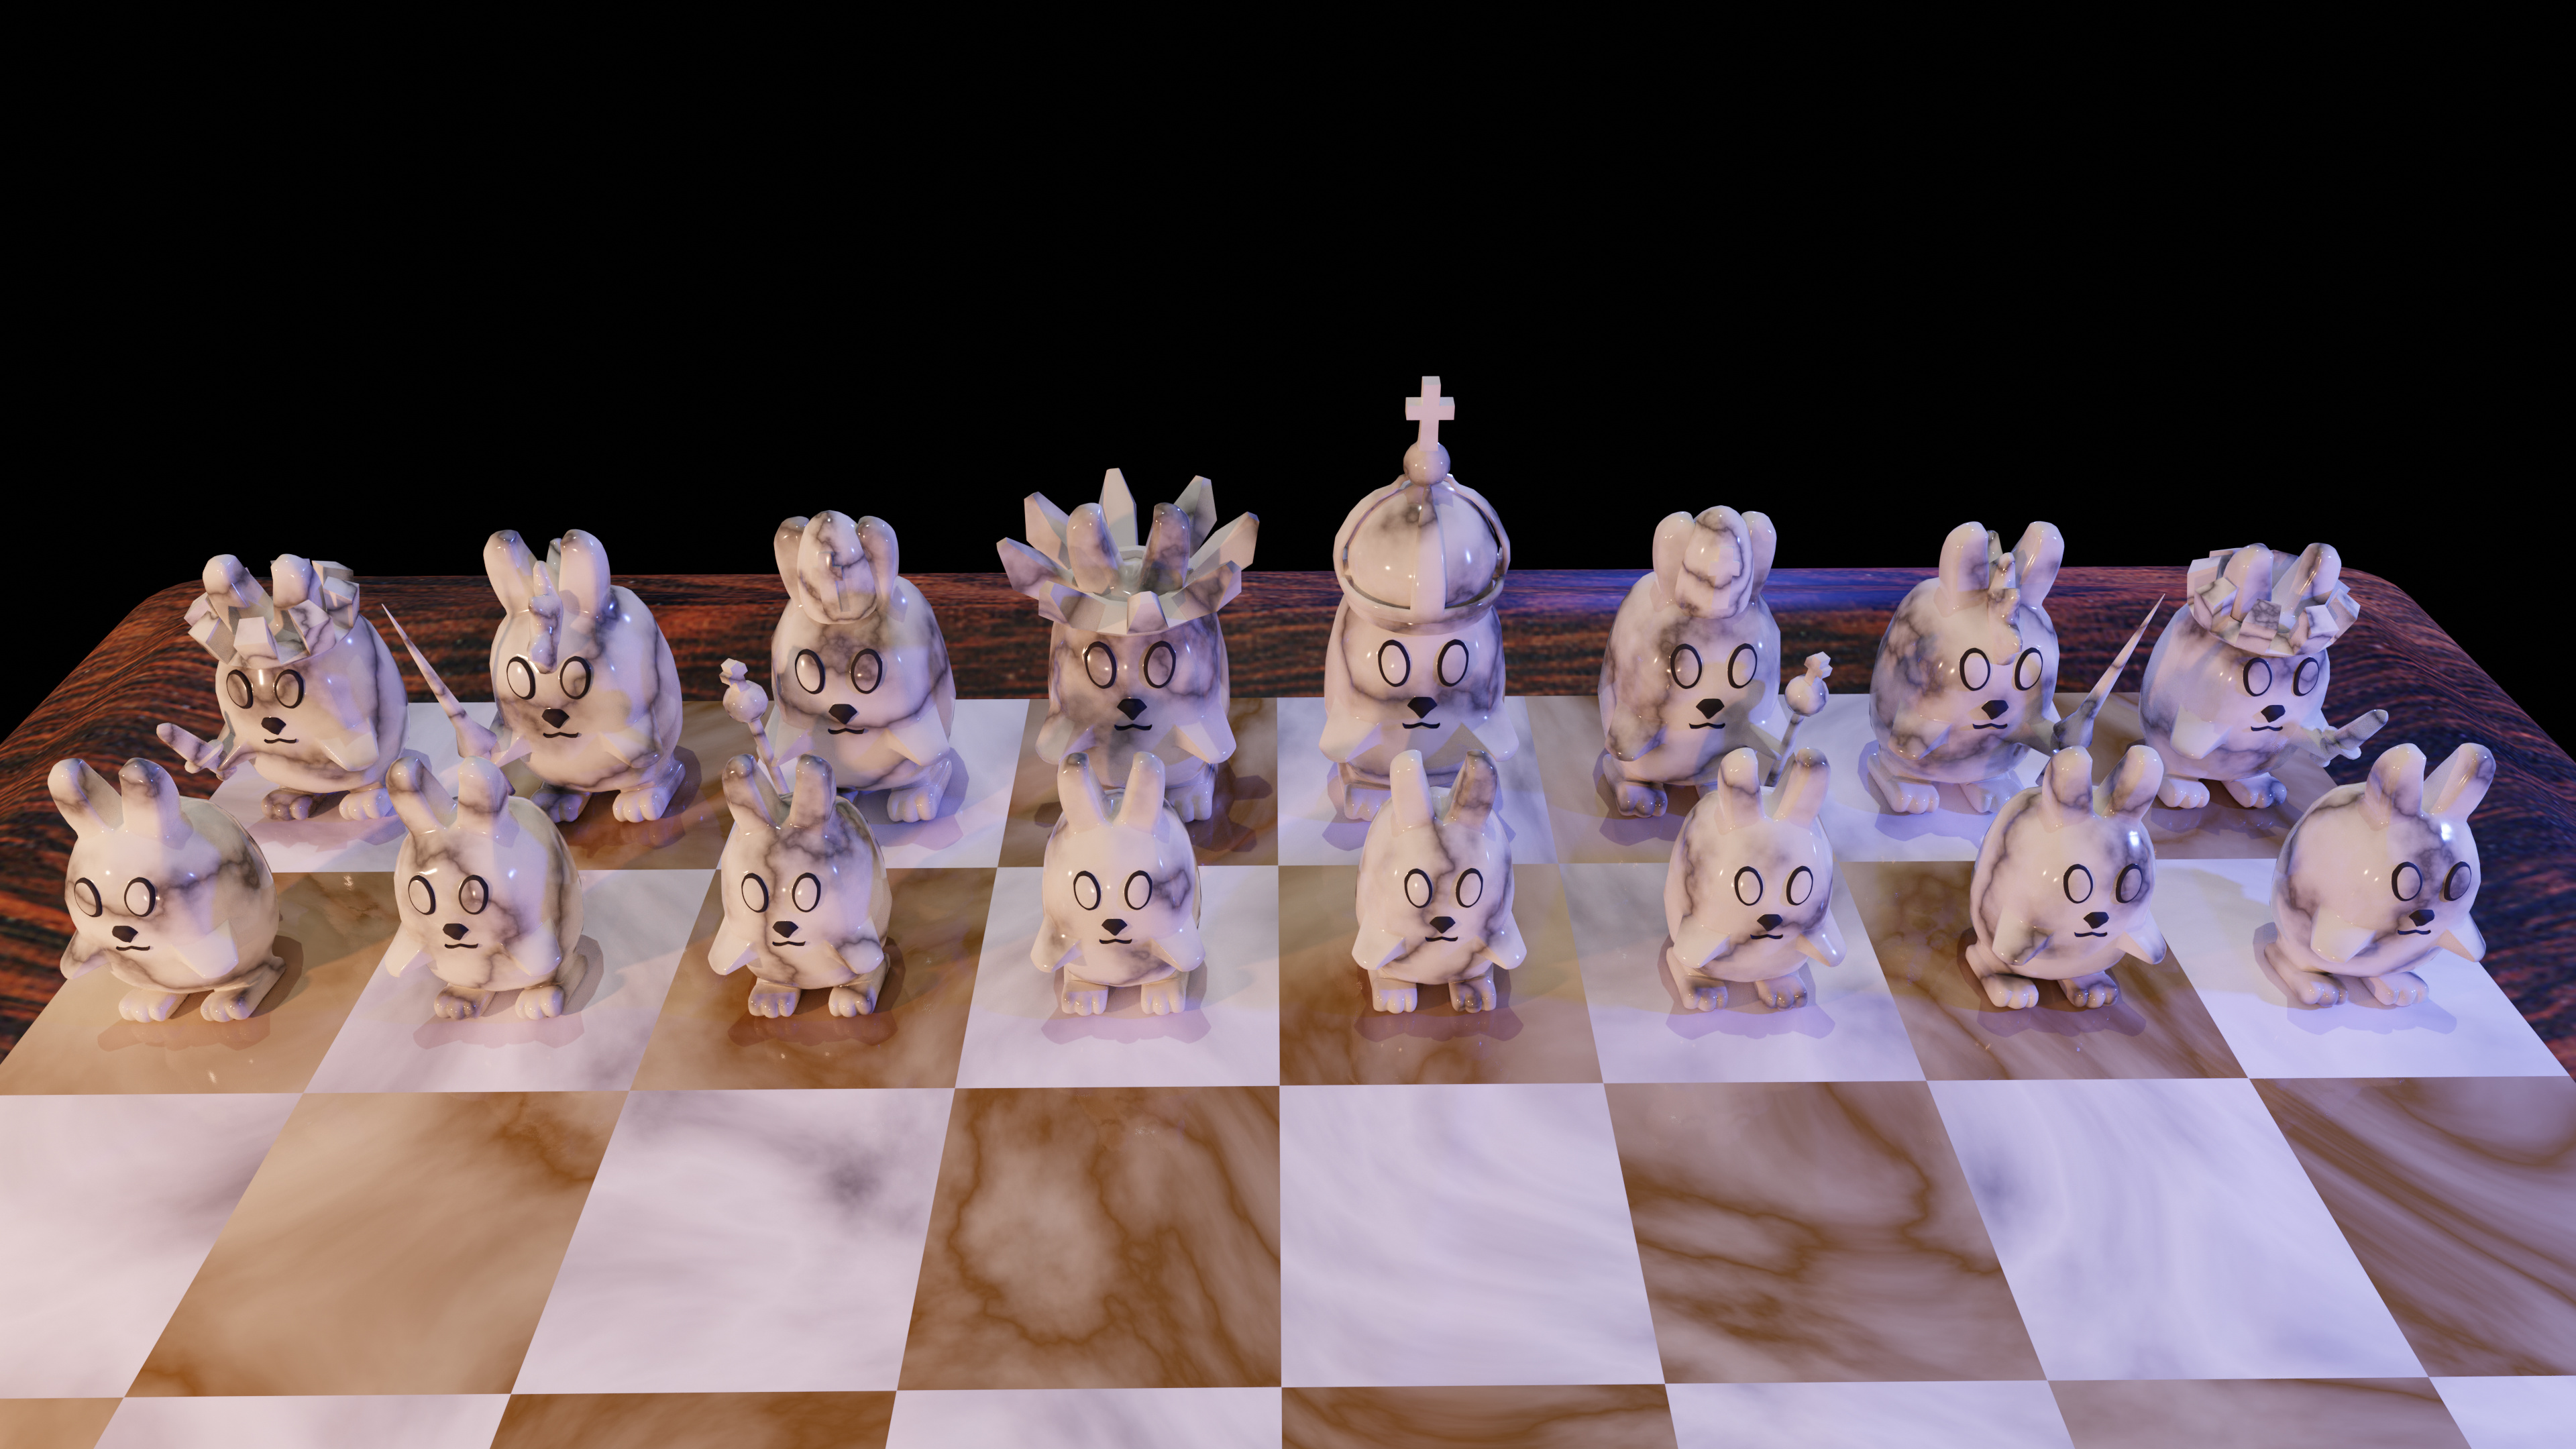
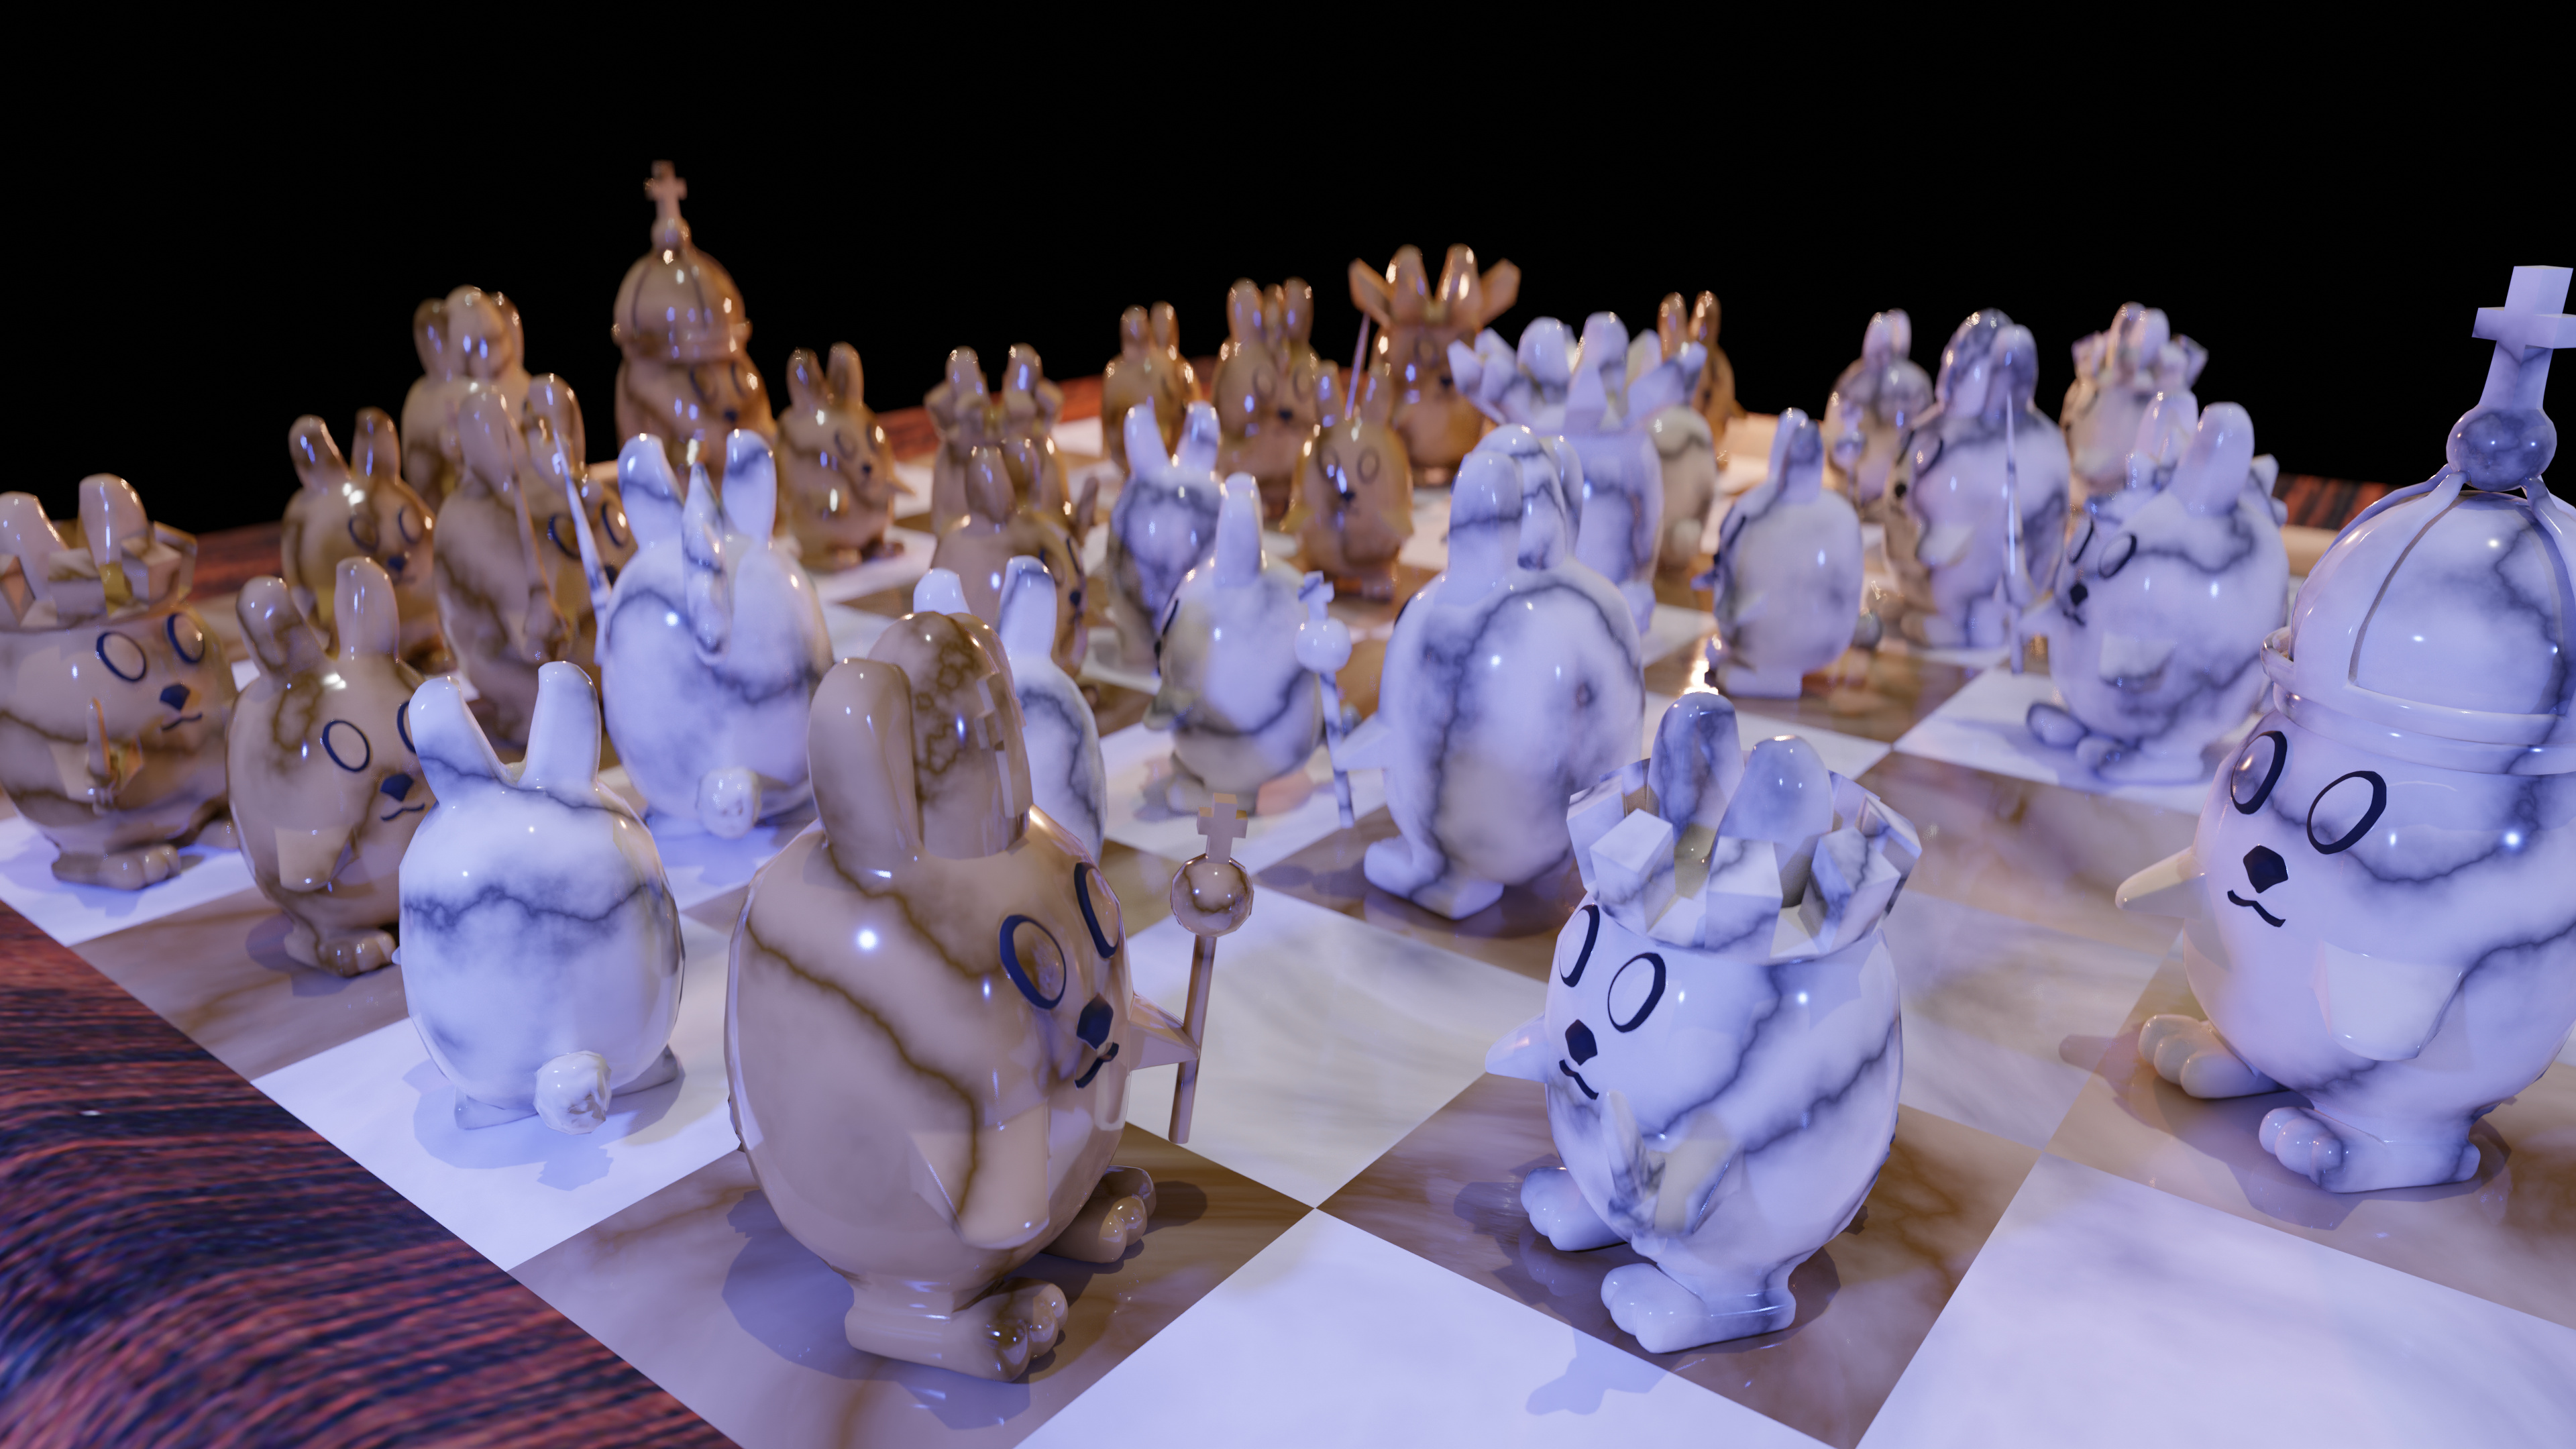
Forgotten about your desire to print these. Overhangs?
Though currently, you could split it top to bottom by front and back I think. making flat a base, and perfectly printable mild overhangs from a sound foundation. If you drill, Boolean, a couple of holes in the flat created by halving you can use then to put a ‘pin’ in and guide and reinforce accurate gluing of the print halves.

I also expect it will currently print faceted, need much higher poly for smooth print if that is wanted.

2 Likes

Yeah will need to work on smoothing things out for a better print. I will try one print with how it is now. My priority is learning and advancing on the course, and smoothing things out sounds like a boring chore. I’ll get it done if I want a better print after finishing the course.

Overhangs shouldn’t be a big problem with good enough support. I will be using an SLA printer and have printed out much more complicated overhangs before.

I think combination of subdivide and smoothing tool should help to increase print quality later.

Ooh I have been wondering about one of those, They appear to be much better, less liney. A mars or their new Saturn. Just messy, liquid based.

OMG!!! I should have watched the full chess lecture before I worked on base model.

The boolean modifier would have made my life so much easier!!! Could have just modeled the arms, tail, feet etc… separate from the body and used it to merge them.

What I did was much much harder and time consuming with dividing planes in the right shapes by extruding vertices and recreating planes then extruding the new planes. At least I got lots of practice with extruding, beveling, and moving geometry manually.

Part of the learning process. Now I will never forget how much pain the boolean modifier can save you when creating non intersecting meshes.

1 Like

:rofl: :point_up_2:

So these lessons are not about repetition but try to learn you different things, without difficult meshes and or objects. I think a another lesson you’ve learned.

1 Like

Today placed the pawns on the board and created materials I like.
Here is my first render of the scene.

3 Likes

Board, queen, and rook are done.
Decided to add hats to all the non-pawn pieces to tell them apart easier.

Queen hat maybe is too big… but I like it!

Almost done I’ll probably finish up in on e more day.
Just need to do bishop hat/rod, king crown/scepter, and knight mane/lace.

3 Likes

Coming on well. Are you going to add some shape for the bunny faces, eyes, etc? Just a colour line will not print, plus looks a bit out of place on the nicely textured effect.

The horsebunny is going to be fun.

1 Like

Like your project ! It would be fun to play chess with them.
I would use different textures for the bunnies however. I think a wood/or black/white texture would bring out the details more. The marble pattern removes the details to make a distinction between the pieces.
Nonetheless i love to see how you started from scratch and made improvements step by step. Great work !

2 Likes

The eyes, nose, and mouth, do pop out and should print. I didn’t have the black material on a previous render but added it back because face details got lost too much.

The under shadow was barely enough to make it visible.

I think you are right.

I could also try making the lines less dark and making material it less reflective.

Maybe just white and tan color with no texture would work better.

I’ll work on improving the material for a better render later.

You are right!
Here is the horse/knight bunny.

The mane really gives him character.
He is my favorite!

1 Like

For the sake of time, I’m not bothering to make the rest of the pieces not have intersection geometry.
Will only print pawn, and might fix up the rest later.

Looking good. But I would have the lance in it’s right hand and a shield on the left.

Mane looks rather like a cockerel comb though, is there a longer bit down the back?

Yeah it follows down the back, but can’t see from that angle.
Opted for no shield and the lance will be on left or right depending on which side the piece stated on.

Shots look nicer when the things are held towards the outer edge of the board.

Though there are many improvements I can make, I’m gonna go ahead and call this done

Here are my final renders!


Only care about printing the base bunny so didn’t bother to make the other models non-intersecting geometry.
I will hopefully print soon and have a picture to show.

8 Likes

Looks pretty good!

What would you change if you were to keep going?

Thanks

What would you change if you were to keep going?

Topology for bunny mesh has beginner mistakes. Too many triangles, hard to add new parts.
The bunny arms are a bit too thin, and too flat. Would look better matching original round design.
The accessories can be merged with bunny for non-intersecting geometry to allow printing.
Marble materials could be less reflective/glossy and have lighter lines to make accessories more visible
Could align board texture better.

Took a little longer than if I had done a more normal chess set, but got to practice and think for myself more.
I’m happy with he end result, so I’d rather move on for now and learn more.

I already have a vague idea of what I want to animate the lamp to do
Will probably reuse parts of this scene: Bowling Animation

1 Like

Wow, well done - love the idea, although (as I think someone earlier in the thread pointed out), the ‘shade smooth’ trick can come back to bite you if you’re planning to 3D print. Did you ever get around to printing any of them?

I think the only thing I might have done differently overall, would be to use different materials/textures on their accessories; marble having the pattern that it does, it makes a lot of the details that would otherwise differentiate between the pieces are obscured.

Currently trying to decide if I want to go a semi-original route for my second run through this section, or play it safer with the design so I can go a bit faster… decisions decisions lol!

Privacy & Terms