ORIGINAL POST:
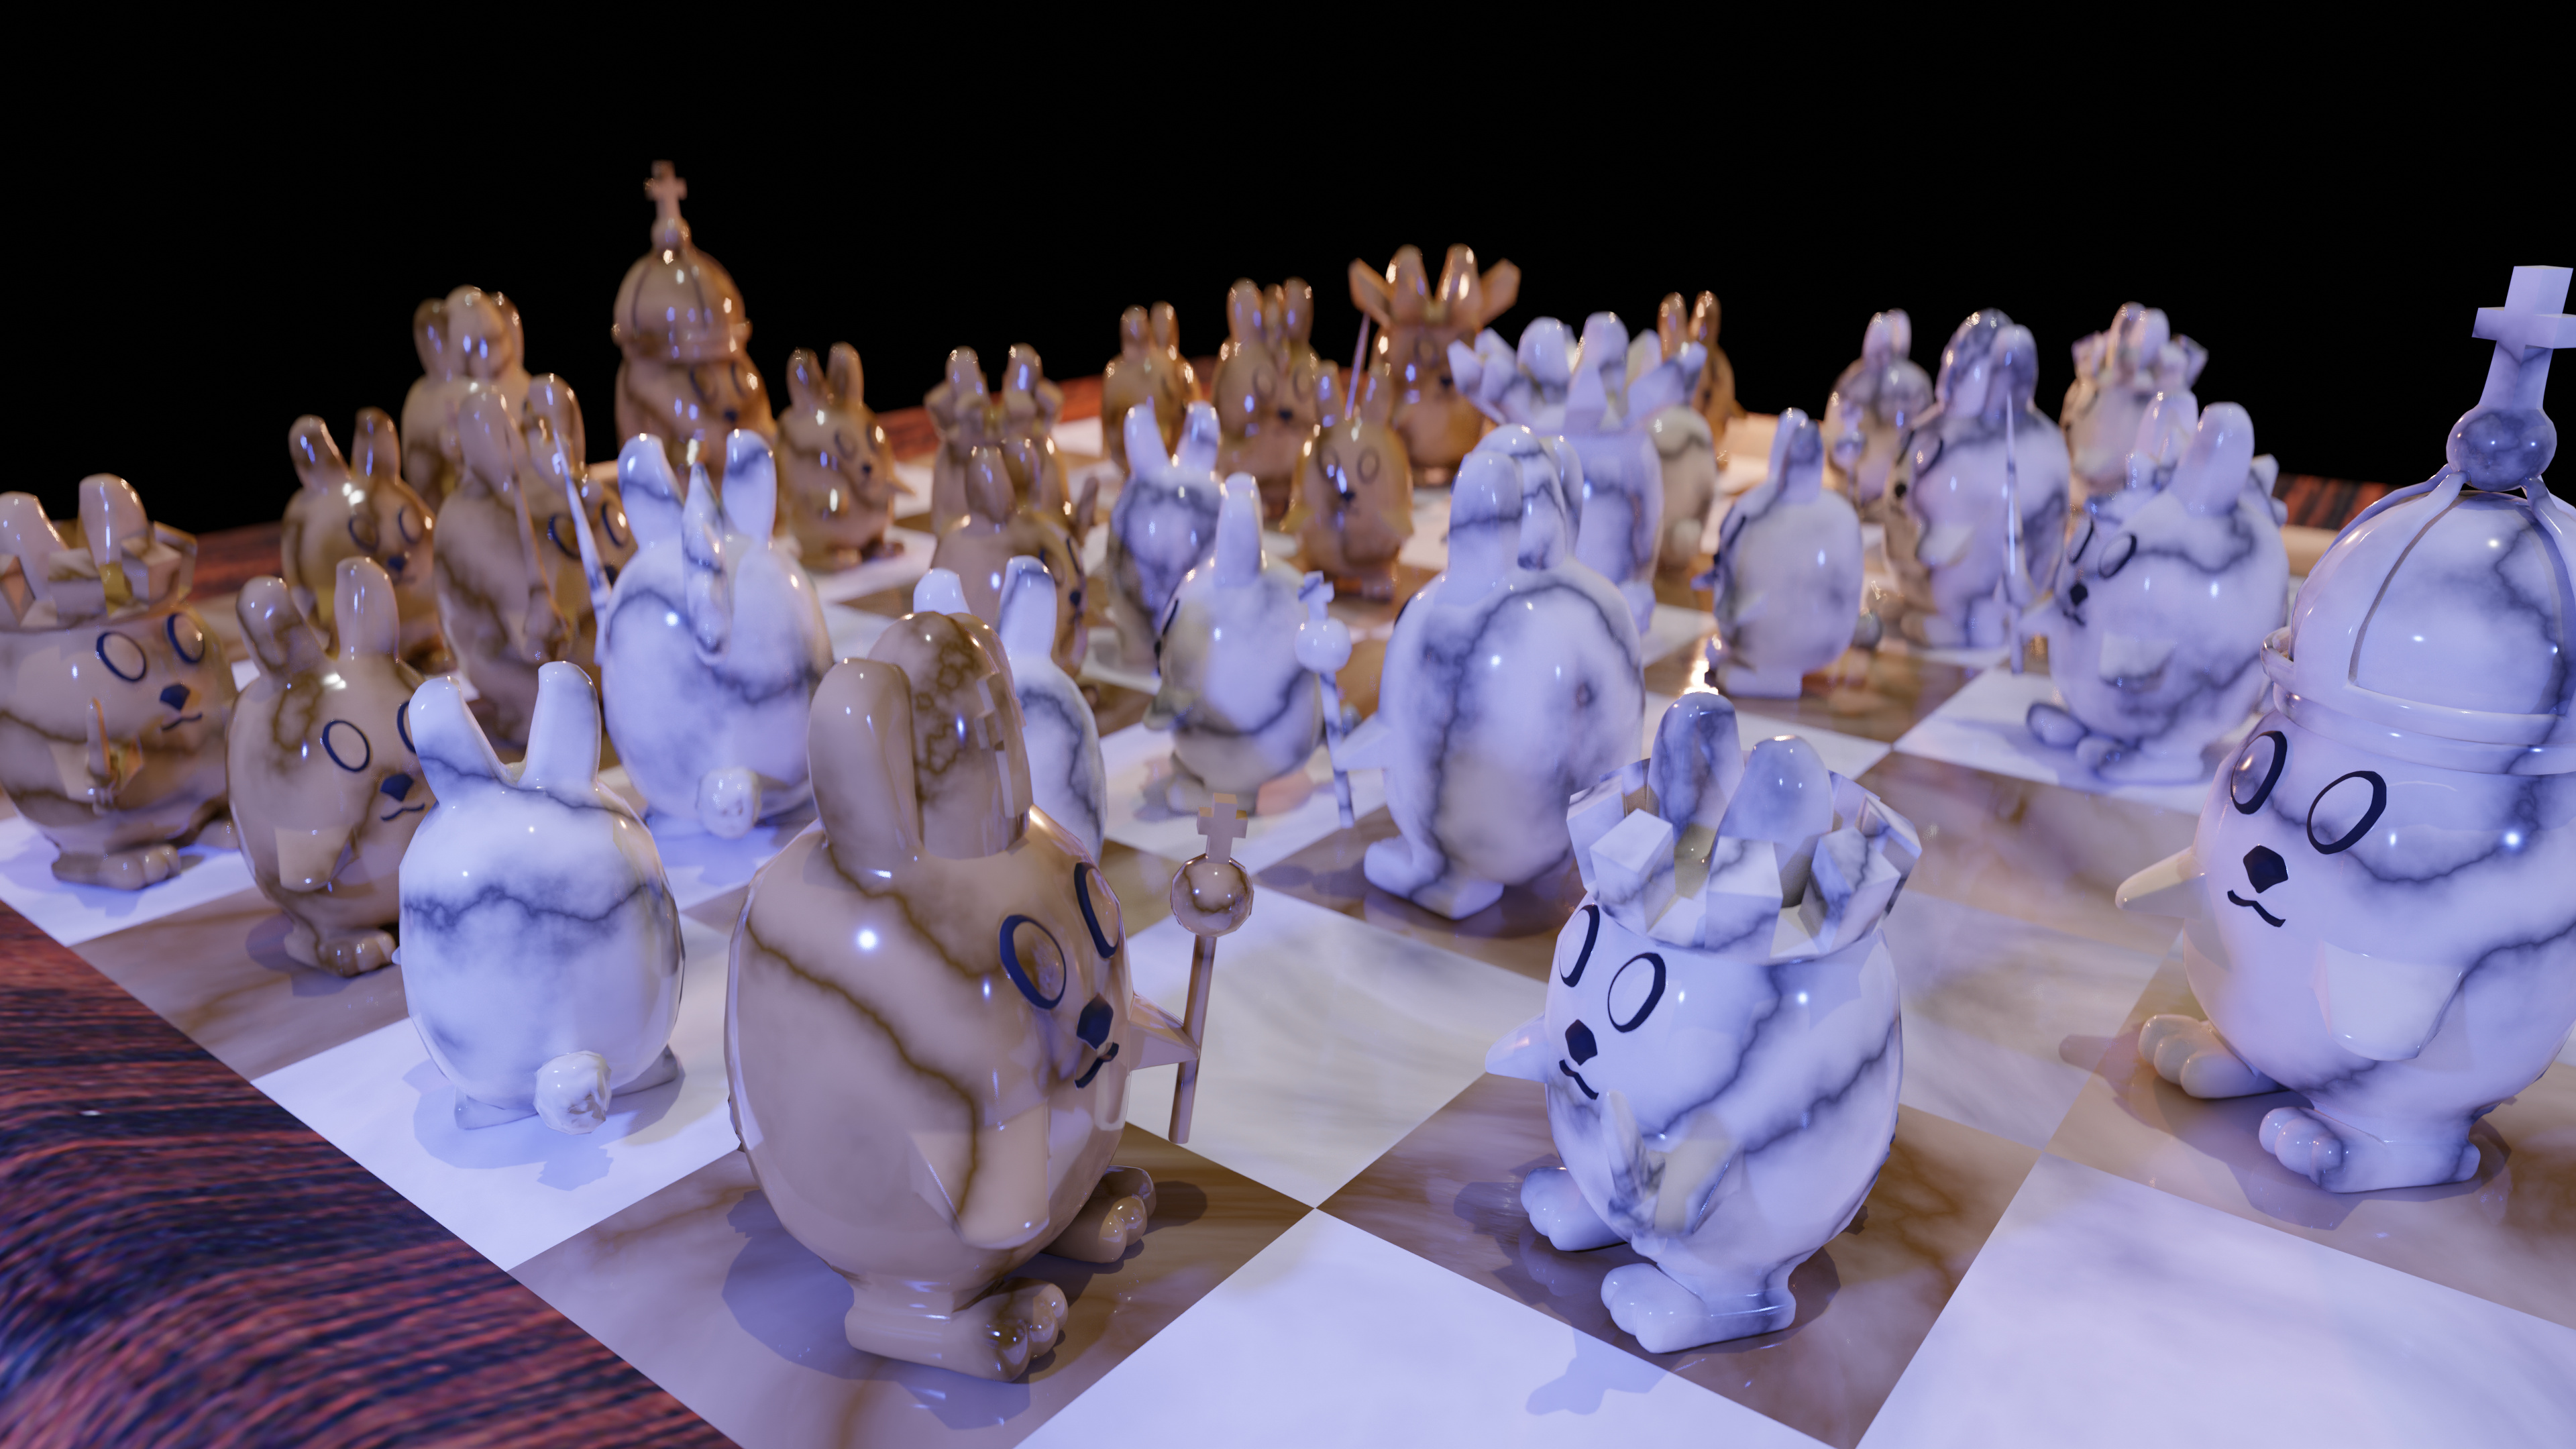
Not sure how difficult it will be but I really want to make my own unique bunny chess pieces.
And I’m also excited to eventually 3D print them.
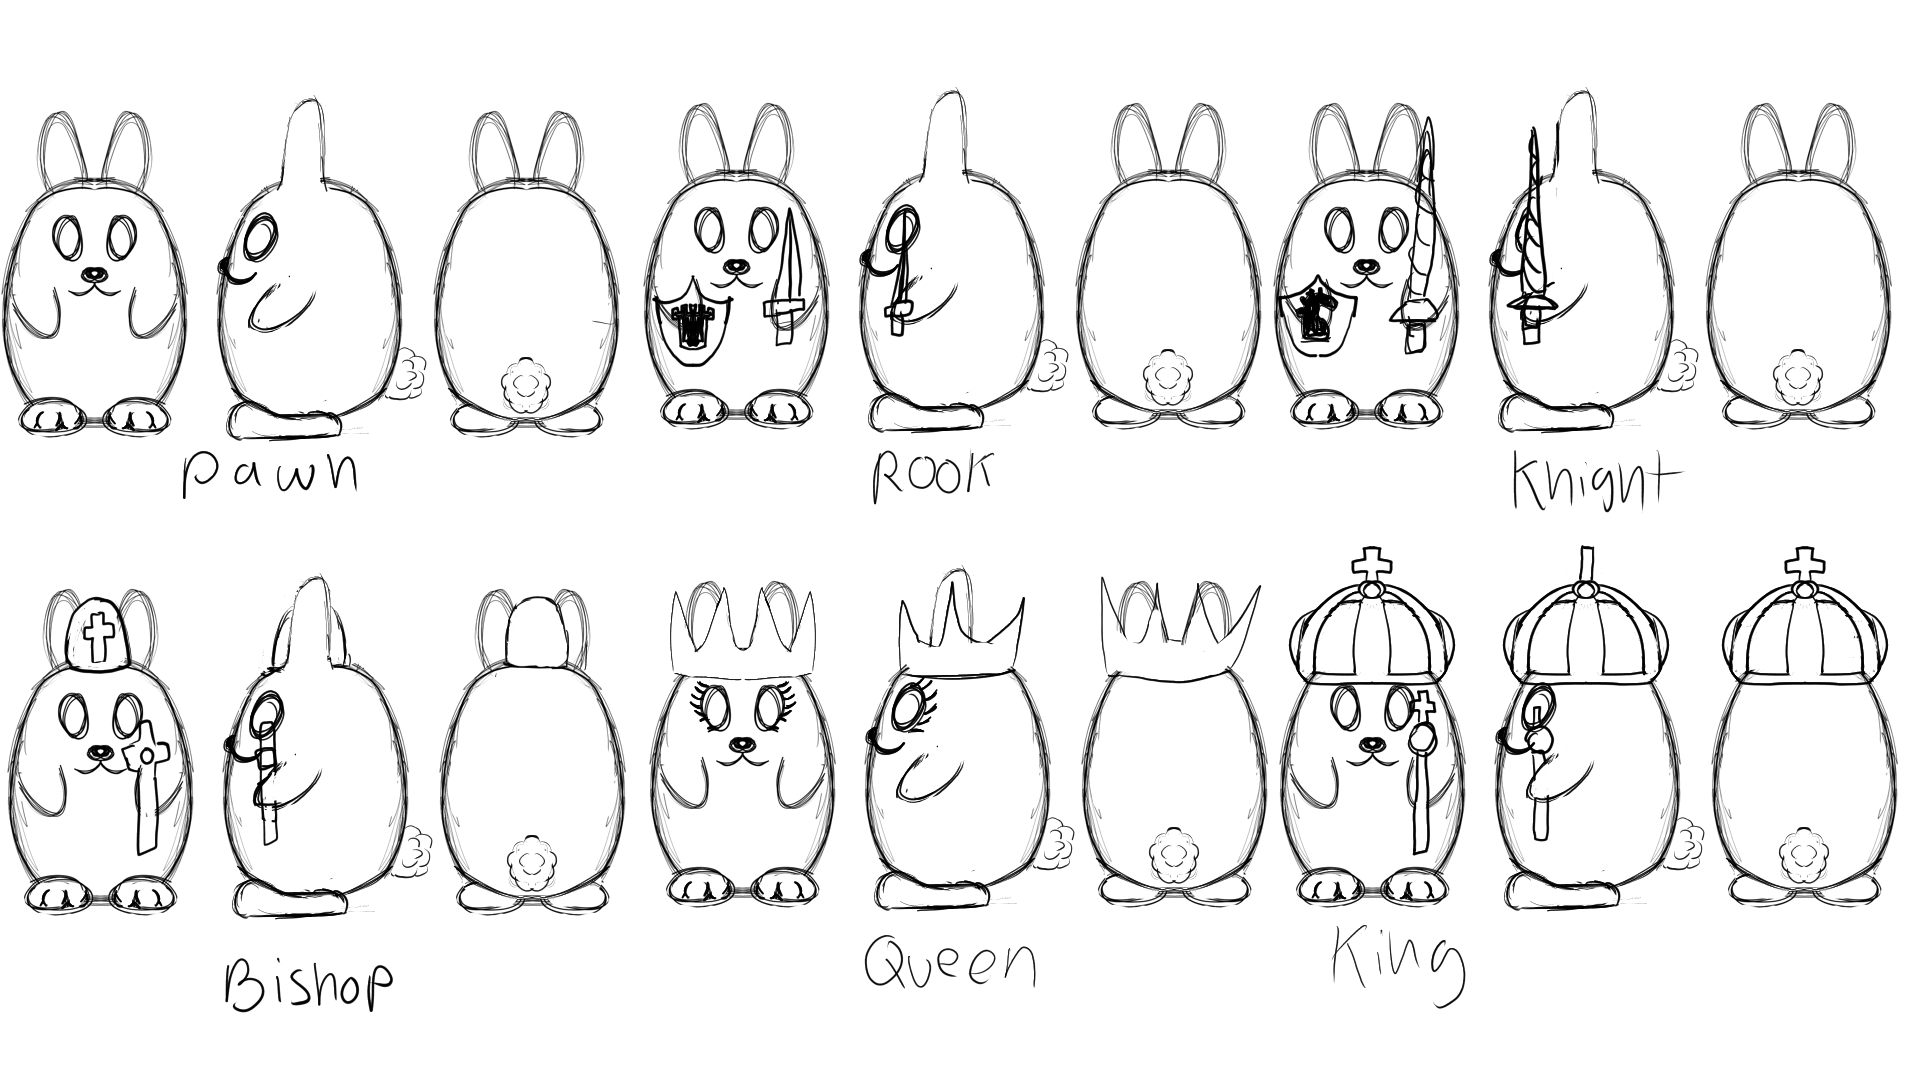
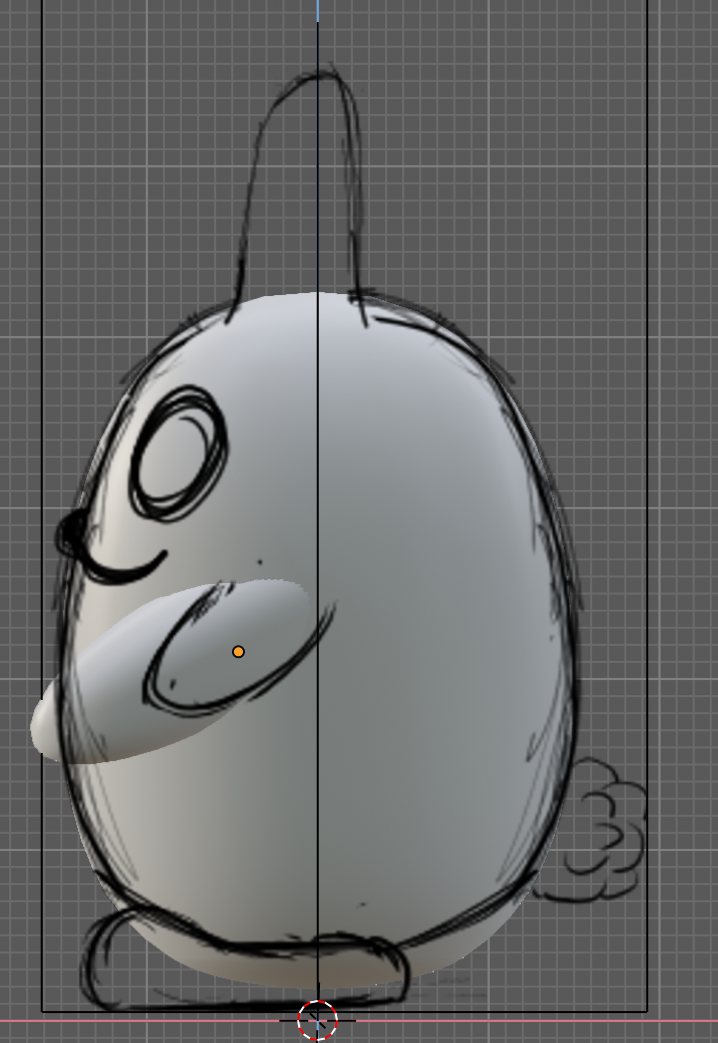
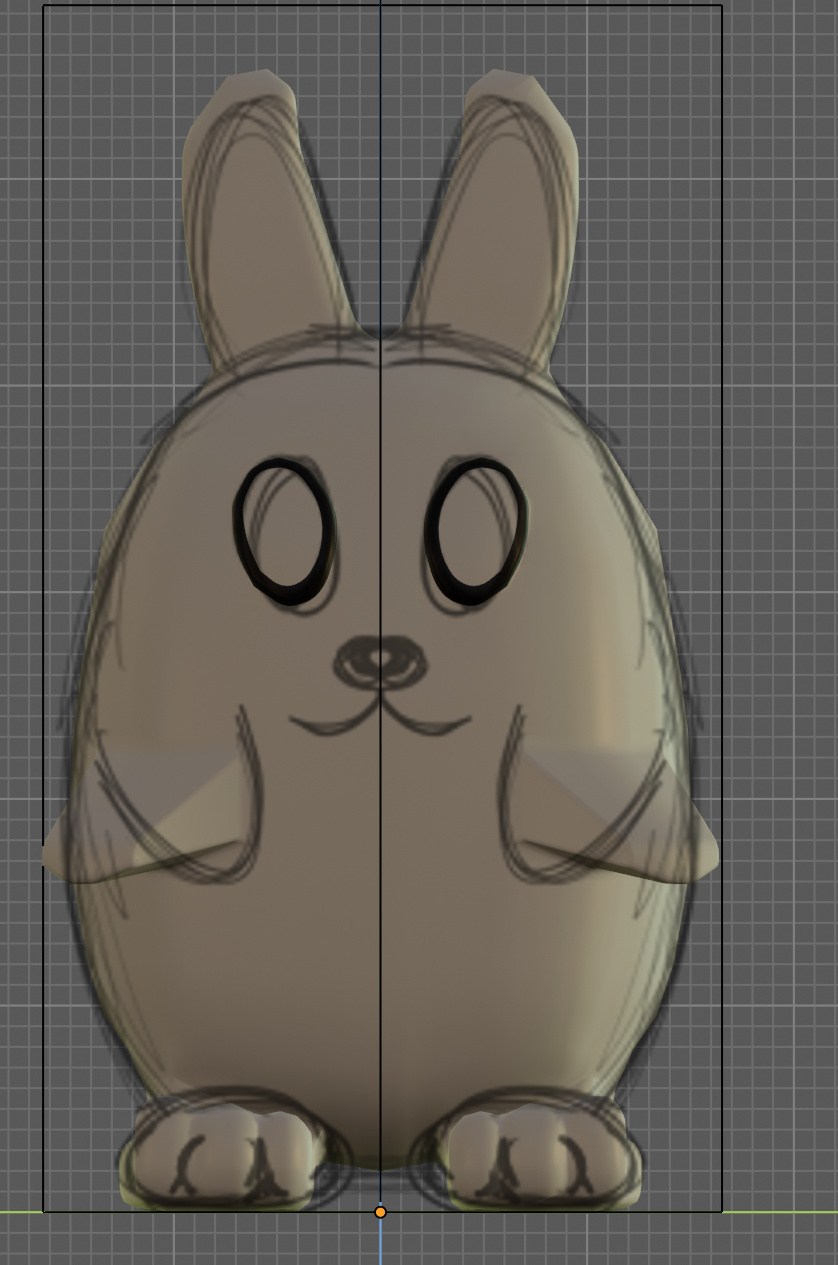
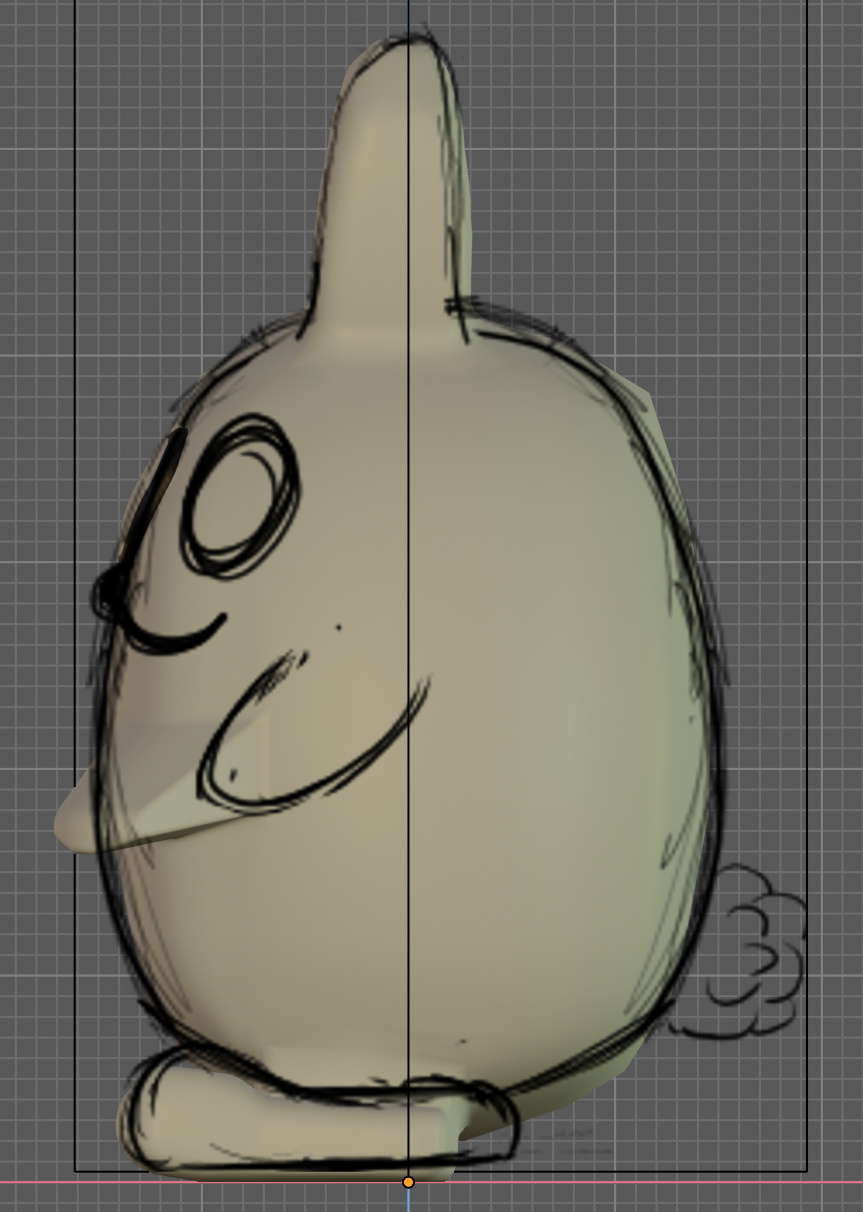
Here is the sketches I made to work from for my pieces.
The rook and knight are too similar, maybe should remove the shield and just keep the lance on the knight.
I’ll update this thread with progress.
Not sure how closely I can follow the course with such a drastic change.
I’ll have to make the base bunnies first:
Base
No ears
with lashes for queen
Then the accessories:
shield
sword
lance
bishop hat
bishop wand
queen crown
king crown
king scepter
Then place accessories and merge meshes for final mesh.
In my opinion there would be pros and cons to doing it this way.
Pros:
It’s good to customize the projects from the lessons to make them our own.
The bunnies are cute.
It might not be too difficult to make. Once you made one bunny, you could use that as the basis for every piece
Cons:
That very similarity between pieces might make it less practical as an actual playable chess set, since it’s very helpful to be able to look at the board and see which pieces are where at a glance. I know a lot of themed chess sets disregard this, and some of them are very cool, but more difficult to play on IMO
It might not be tough to follow the steps in the course with this design, unless you were to make them more shaped like regular chess pieces (i.e. a normal chess base with a bunny head, or something). Following the normal steps might be less interesting sometimes, but they teach certain core concepts. Not saying it’s impossible to do it this way, but might take more adaptation.
So there are trade offs. Sometimes it pays to follow the course, sometimes it’s good to branch out! Either way, I’m interested to see how it comes out. Hope you keep us apprised!
Yeah I agree with all that. I’ll probably watch the whole section first. Then try to apply as much as I can. I suspect that it will be able to apply some of that stuff into making the accessories.
Good point about the pieces being too similar and not easily discernible. I can play around with bunny sizes and exaggerating the accessories to make it easier to tell at a glance which pieces are which. But nothing beats the classic chess piece designs for that.
I could make the accessories match the classic deigns a bit more
Some ideas:
Model queen crown closer to the top of a chess piece
Put rook bunny around a tower barricade
Make bishop hat bigger and match chess piece top more
Mount fat bunny knight on a tiny wooden horse (because that would be funny IMO) or on broom toy horse
If you are more than a beginner, and are happy to deviate from the point of the course, showing you how tools work in a structured hands on way.
We all know non standard chess sets are only decoration, no one interested in chess plays with them. Its a perfectly fine tradition, pretty things. I have been working on a pretty set for a while on and off, after having done the course set some time ago.
Definitely a beginner, but I find that I learn well enough from just watching and thinking deeply about the concepts, and don’t learn much from repetition. If I follow very closely it’s more mindless and I’m not thinking about how to apply what I learned.
The more I deviate, the more I think for myself while trying to apply what was taught in a unique problem. But also, if I differ too much, then it’s hard to find opportunities to apply what was taught.
Hopefully this is a nice compromise. If not I’ll go back and do the original pieces.
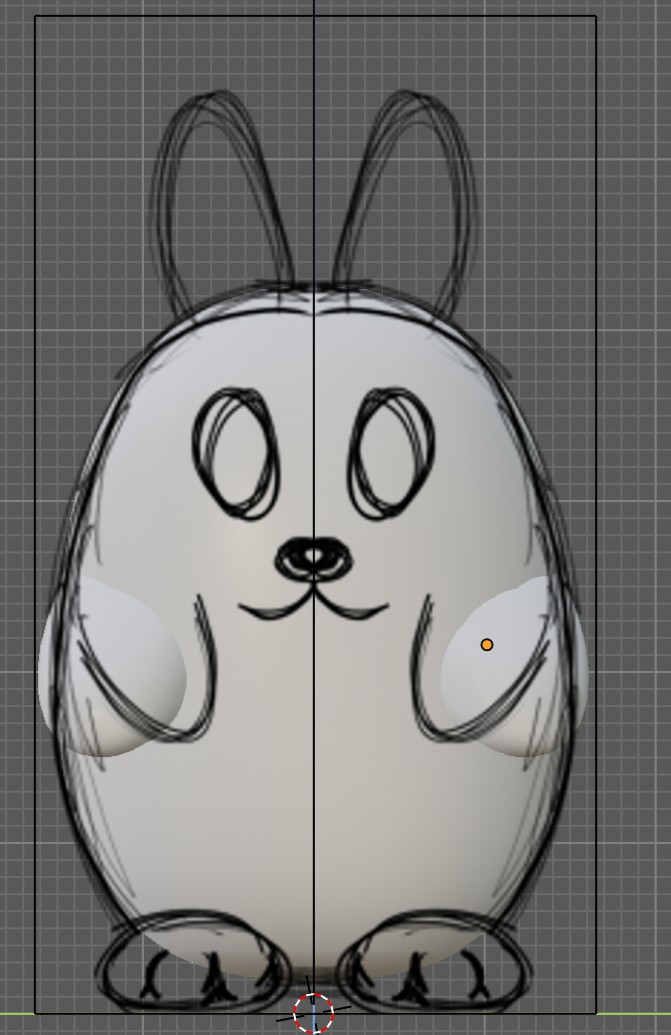
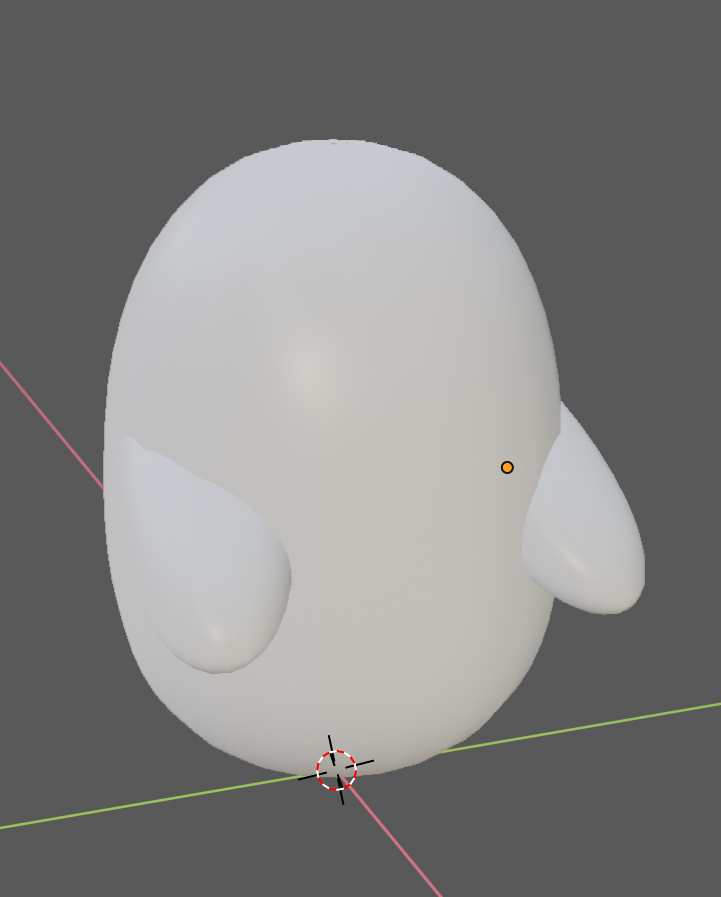
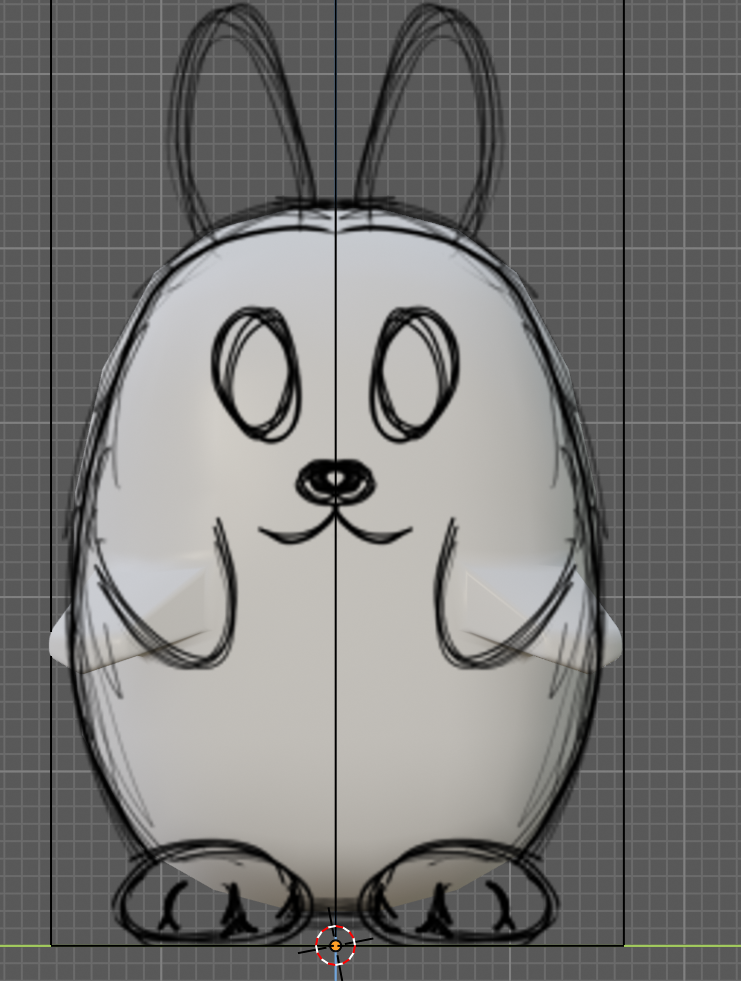
The geometry in my sketch actually placed the arms inside the body!!
I’ll have to be more mindful of sensible dimensions next time.
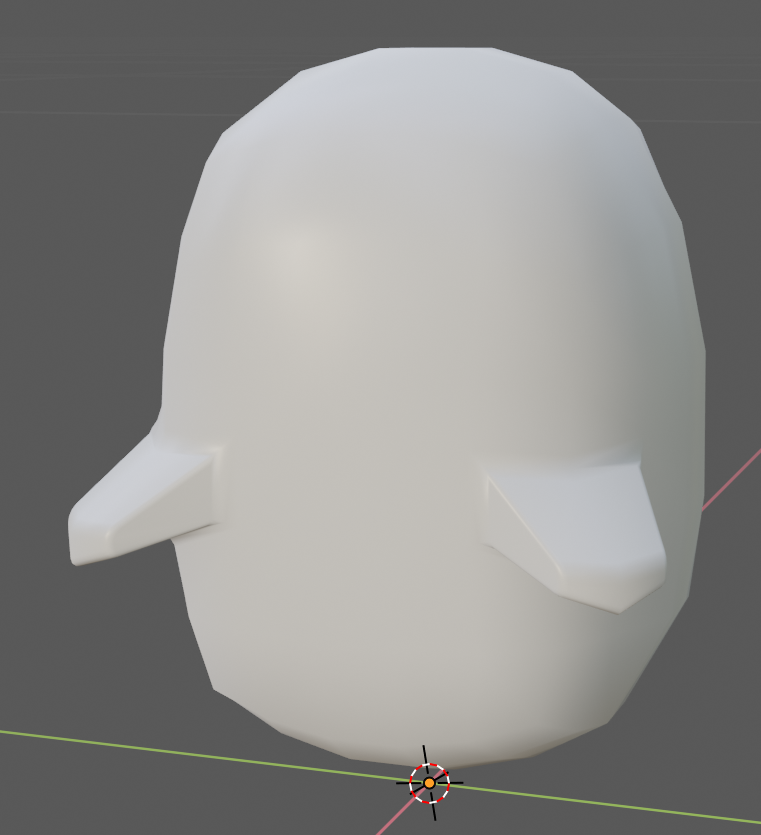
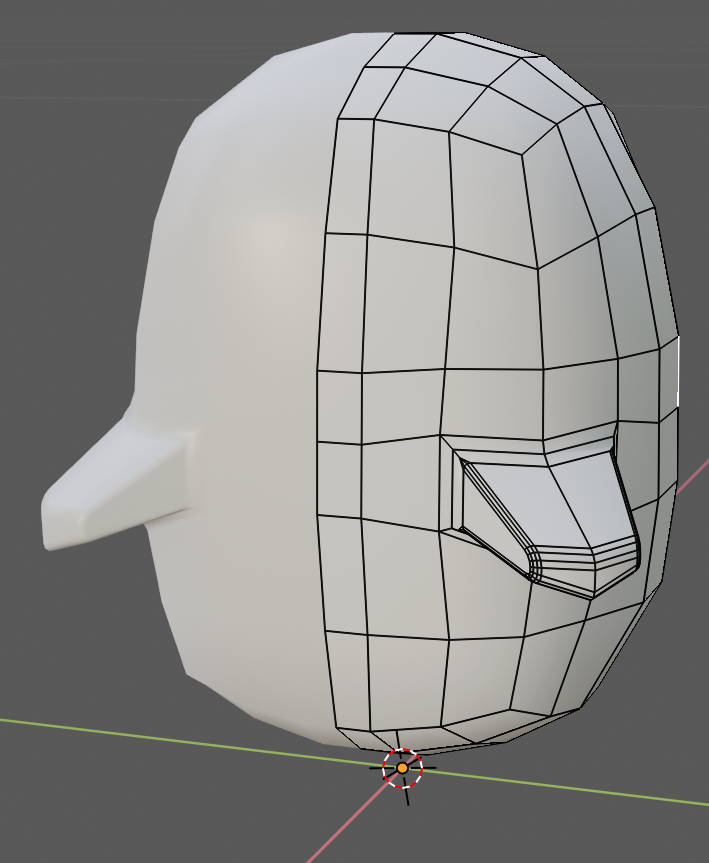
I was able to use the same curve mesh rotate technique from the bowling pins lecture to make the body.
Arms are an edited cube with subdivide and mirror modifier.
Then you don’t train your “memory muscles” by doing things automatically. Instead of spending time on the creative process, you’re busy with how do I do… searching for the solution online.
You need to have a plan, before starting. Because deviation makes it more difficult to have a consistent project. You only sketch a one size fits all model. With some additional accessories, but are they distinctive enough?.
And is your primary goal to have a nice rendered scene or going for a good 3D printing experience. Both end products will have different requirements.
Findings:
Initially tried to merge two different meshes but it was more difficult to merge cleanly. I was able to do it eventually, but it was much harder and did not like the end result as much.
Using the decimated cube was much easier to work with than my original approach of spinning a curve. It really helps that decimated cube is easy to add loop cuts to.
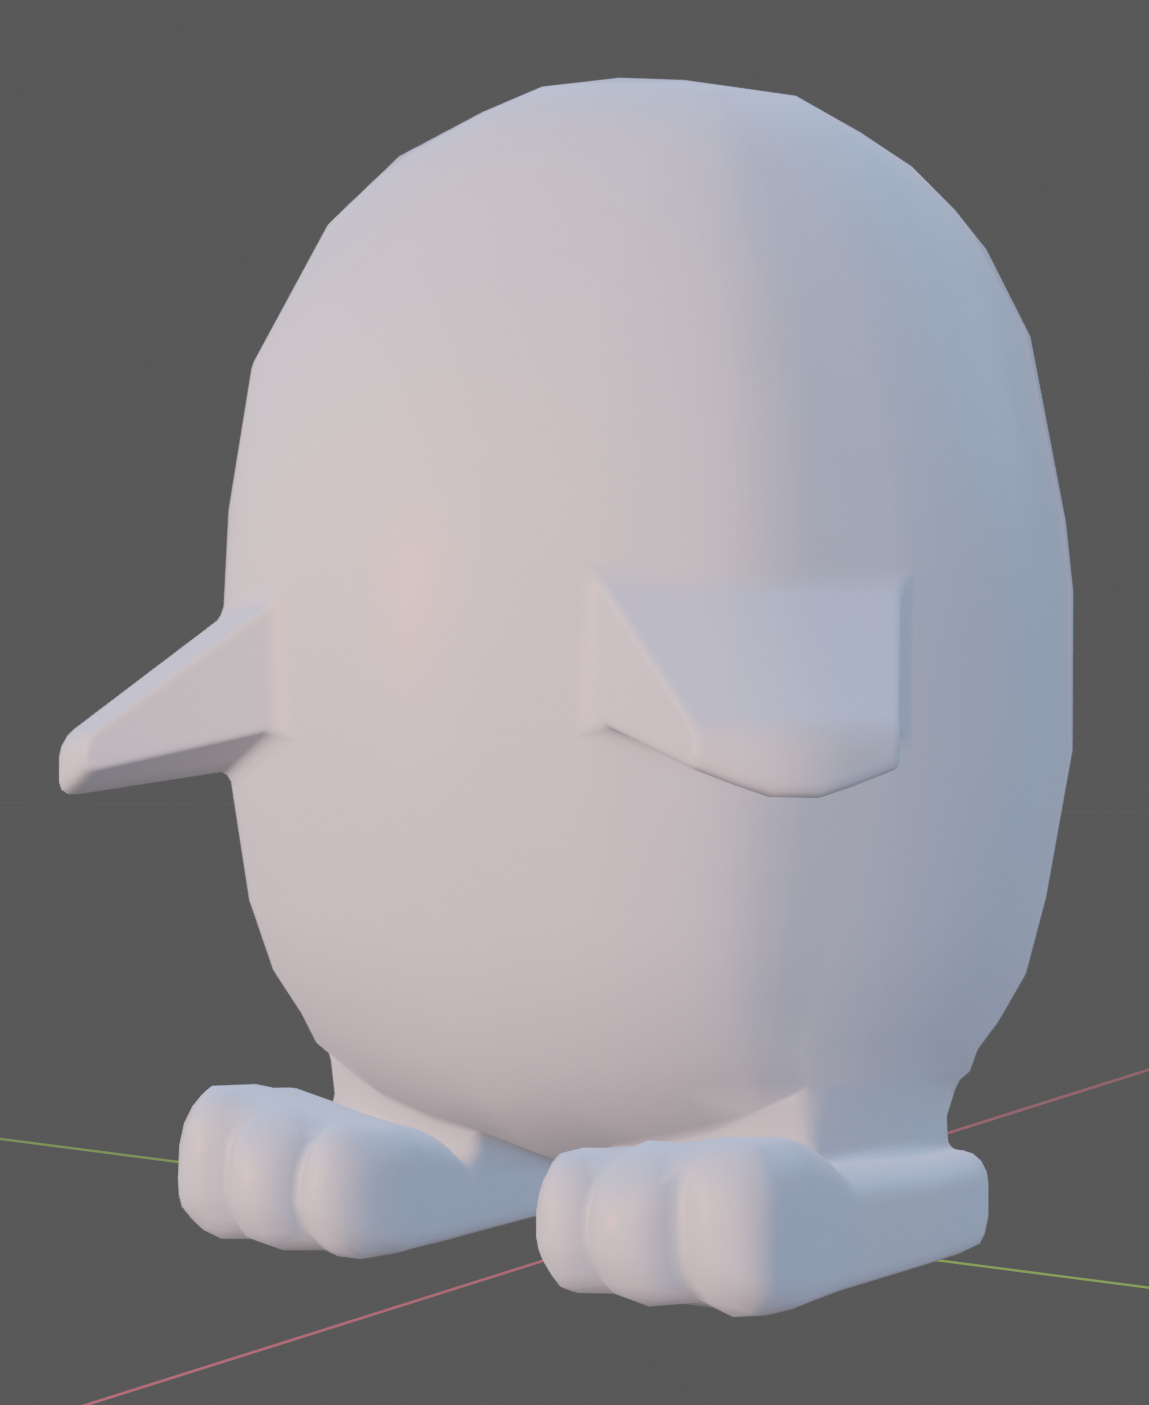
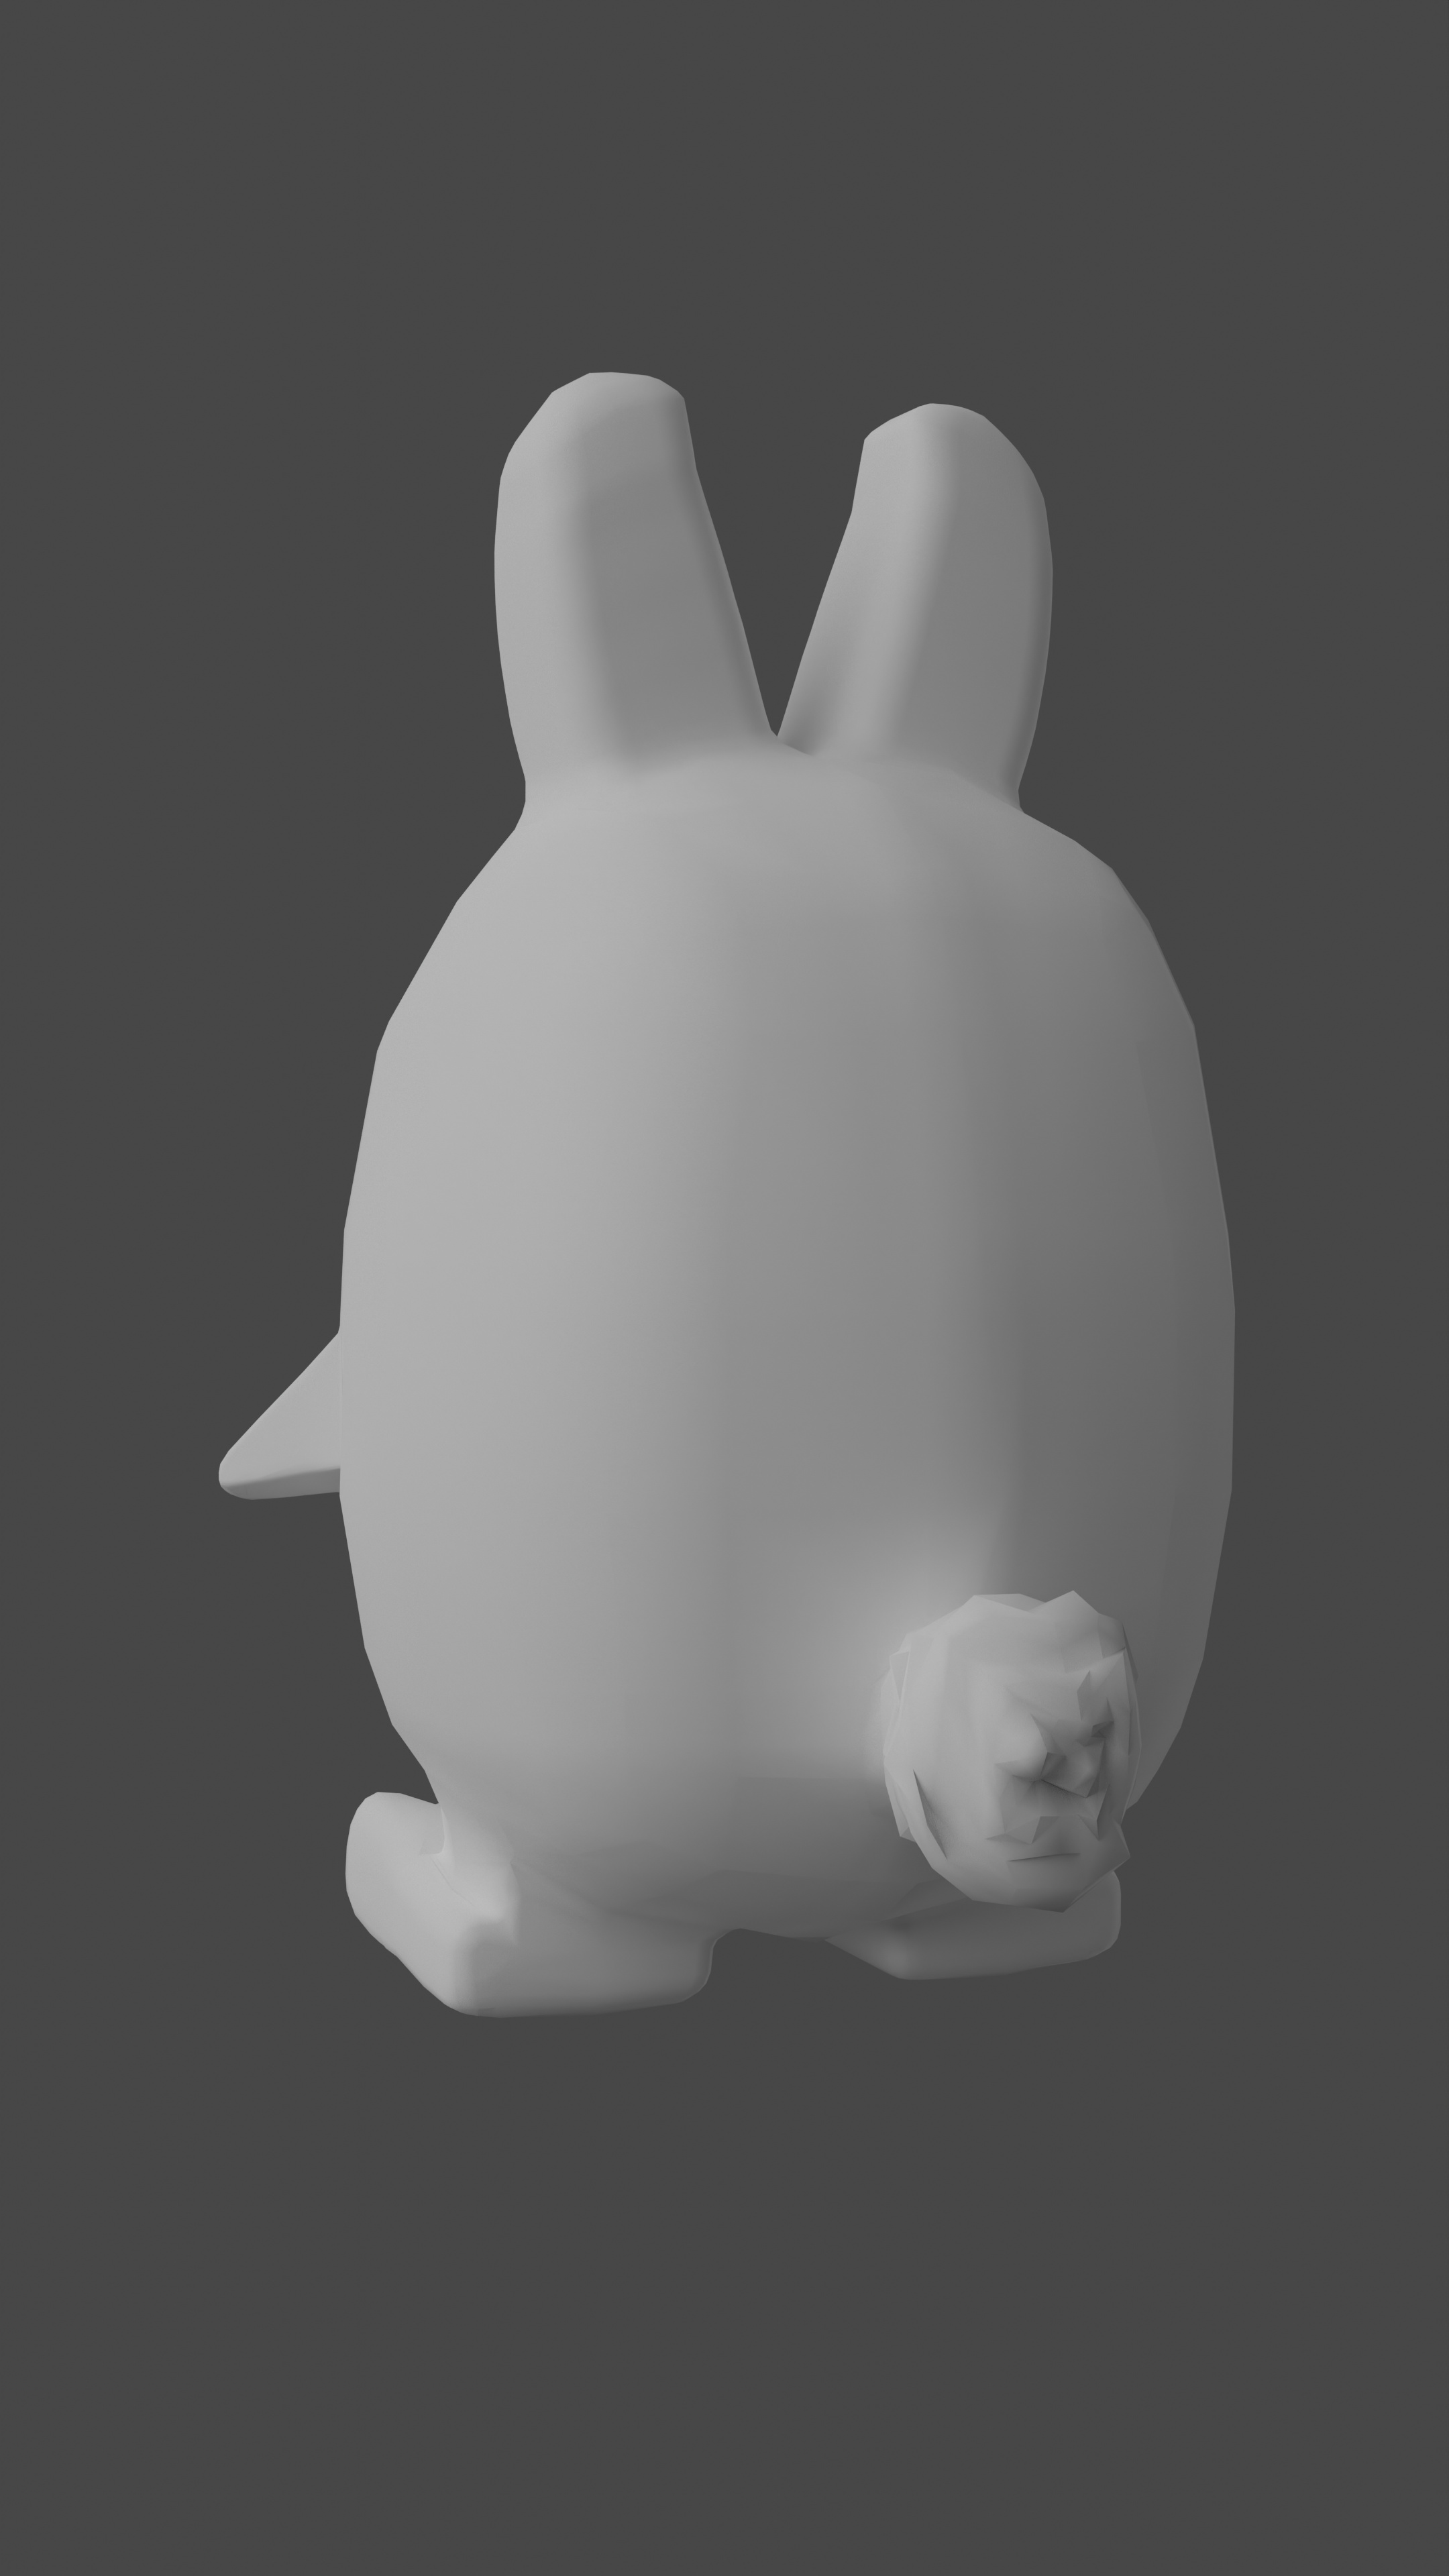
After way too much extruding, loop cutting, beveling, and moving things around I have feet on my bunny.
Got much better at modifying while staying symmetrical, avoiding exaggerated non planar faces, and still allowing for loop cuts.
Towards the end I noticed significant speed improvement.
I think I underestimated because I hadn’t considered non intersecting geometry. I merging two meshes would be easy, but turns out it’s difficult unless they have a similar polygon density.
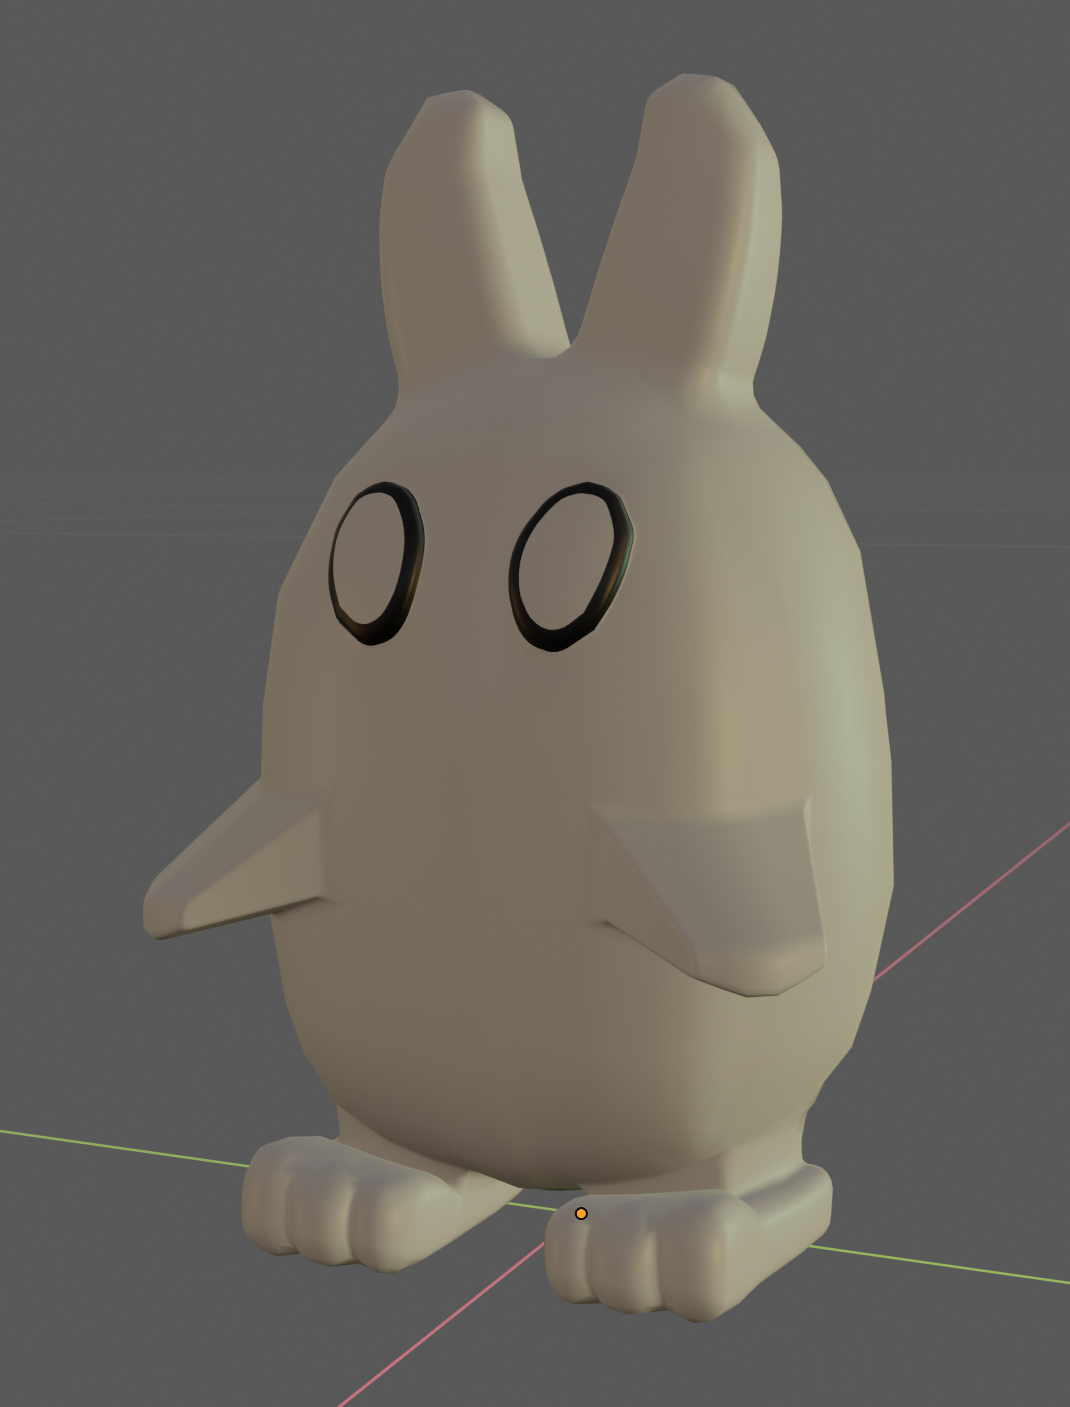
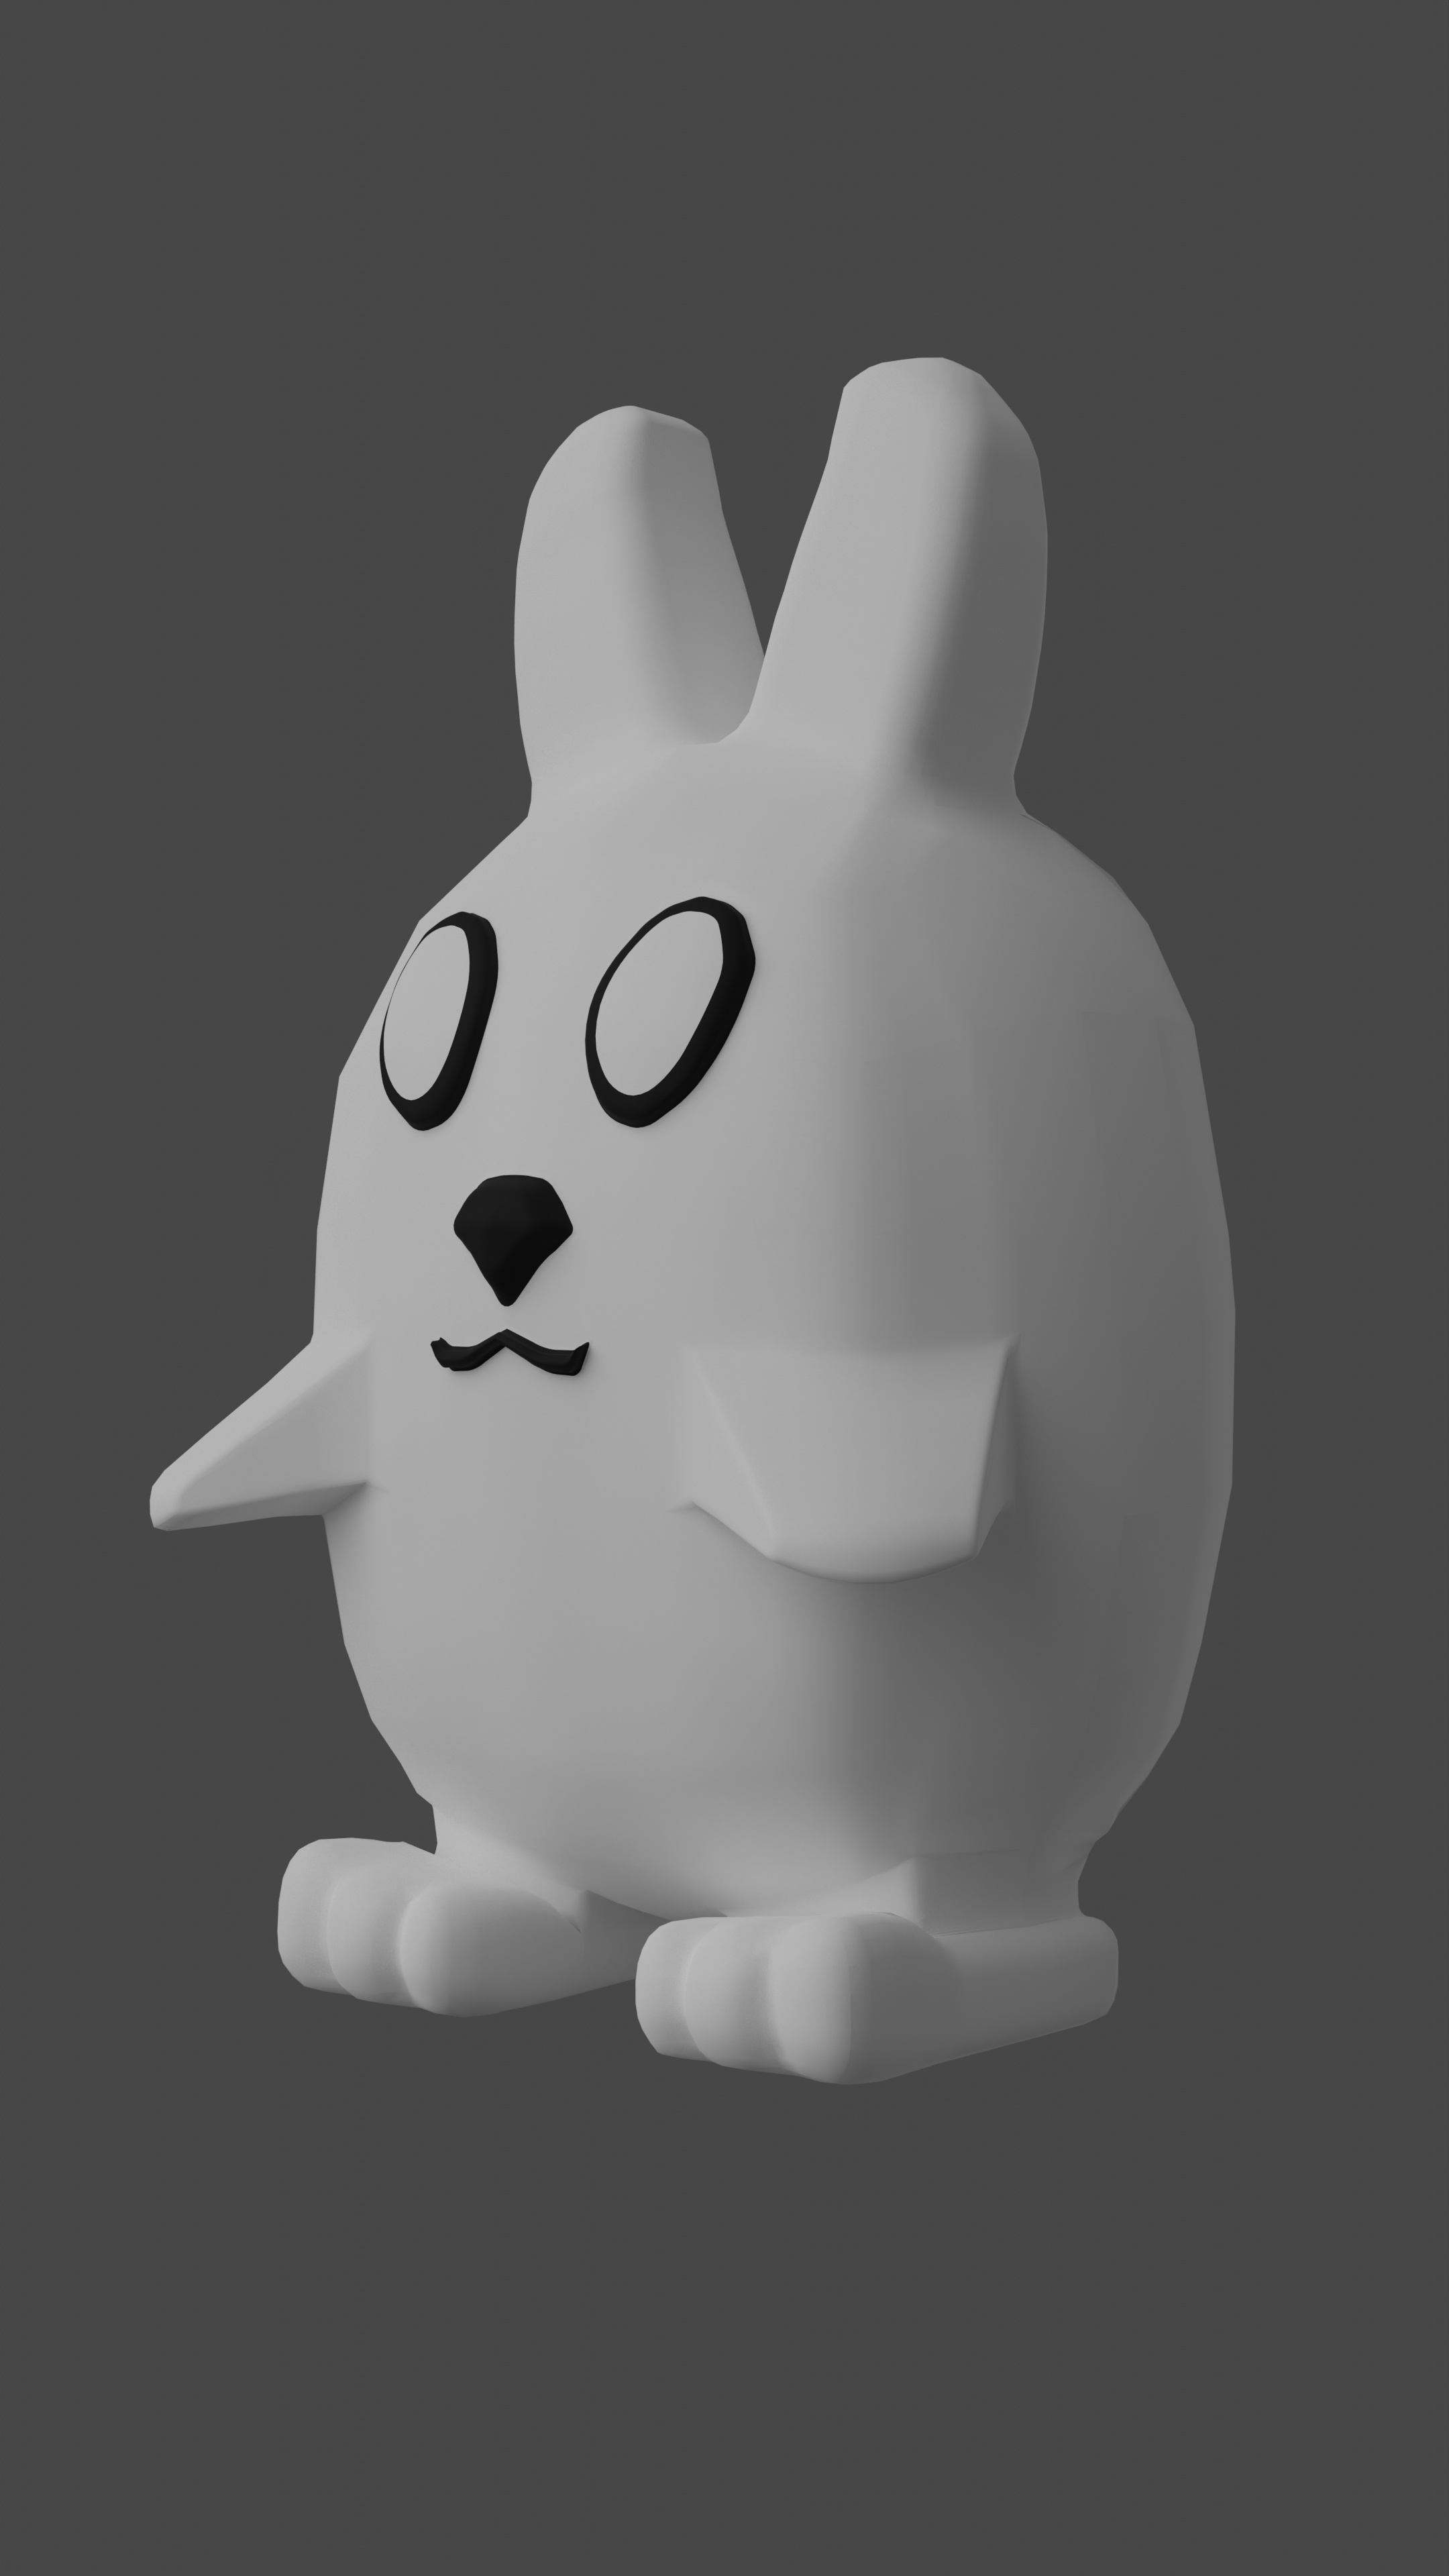
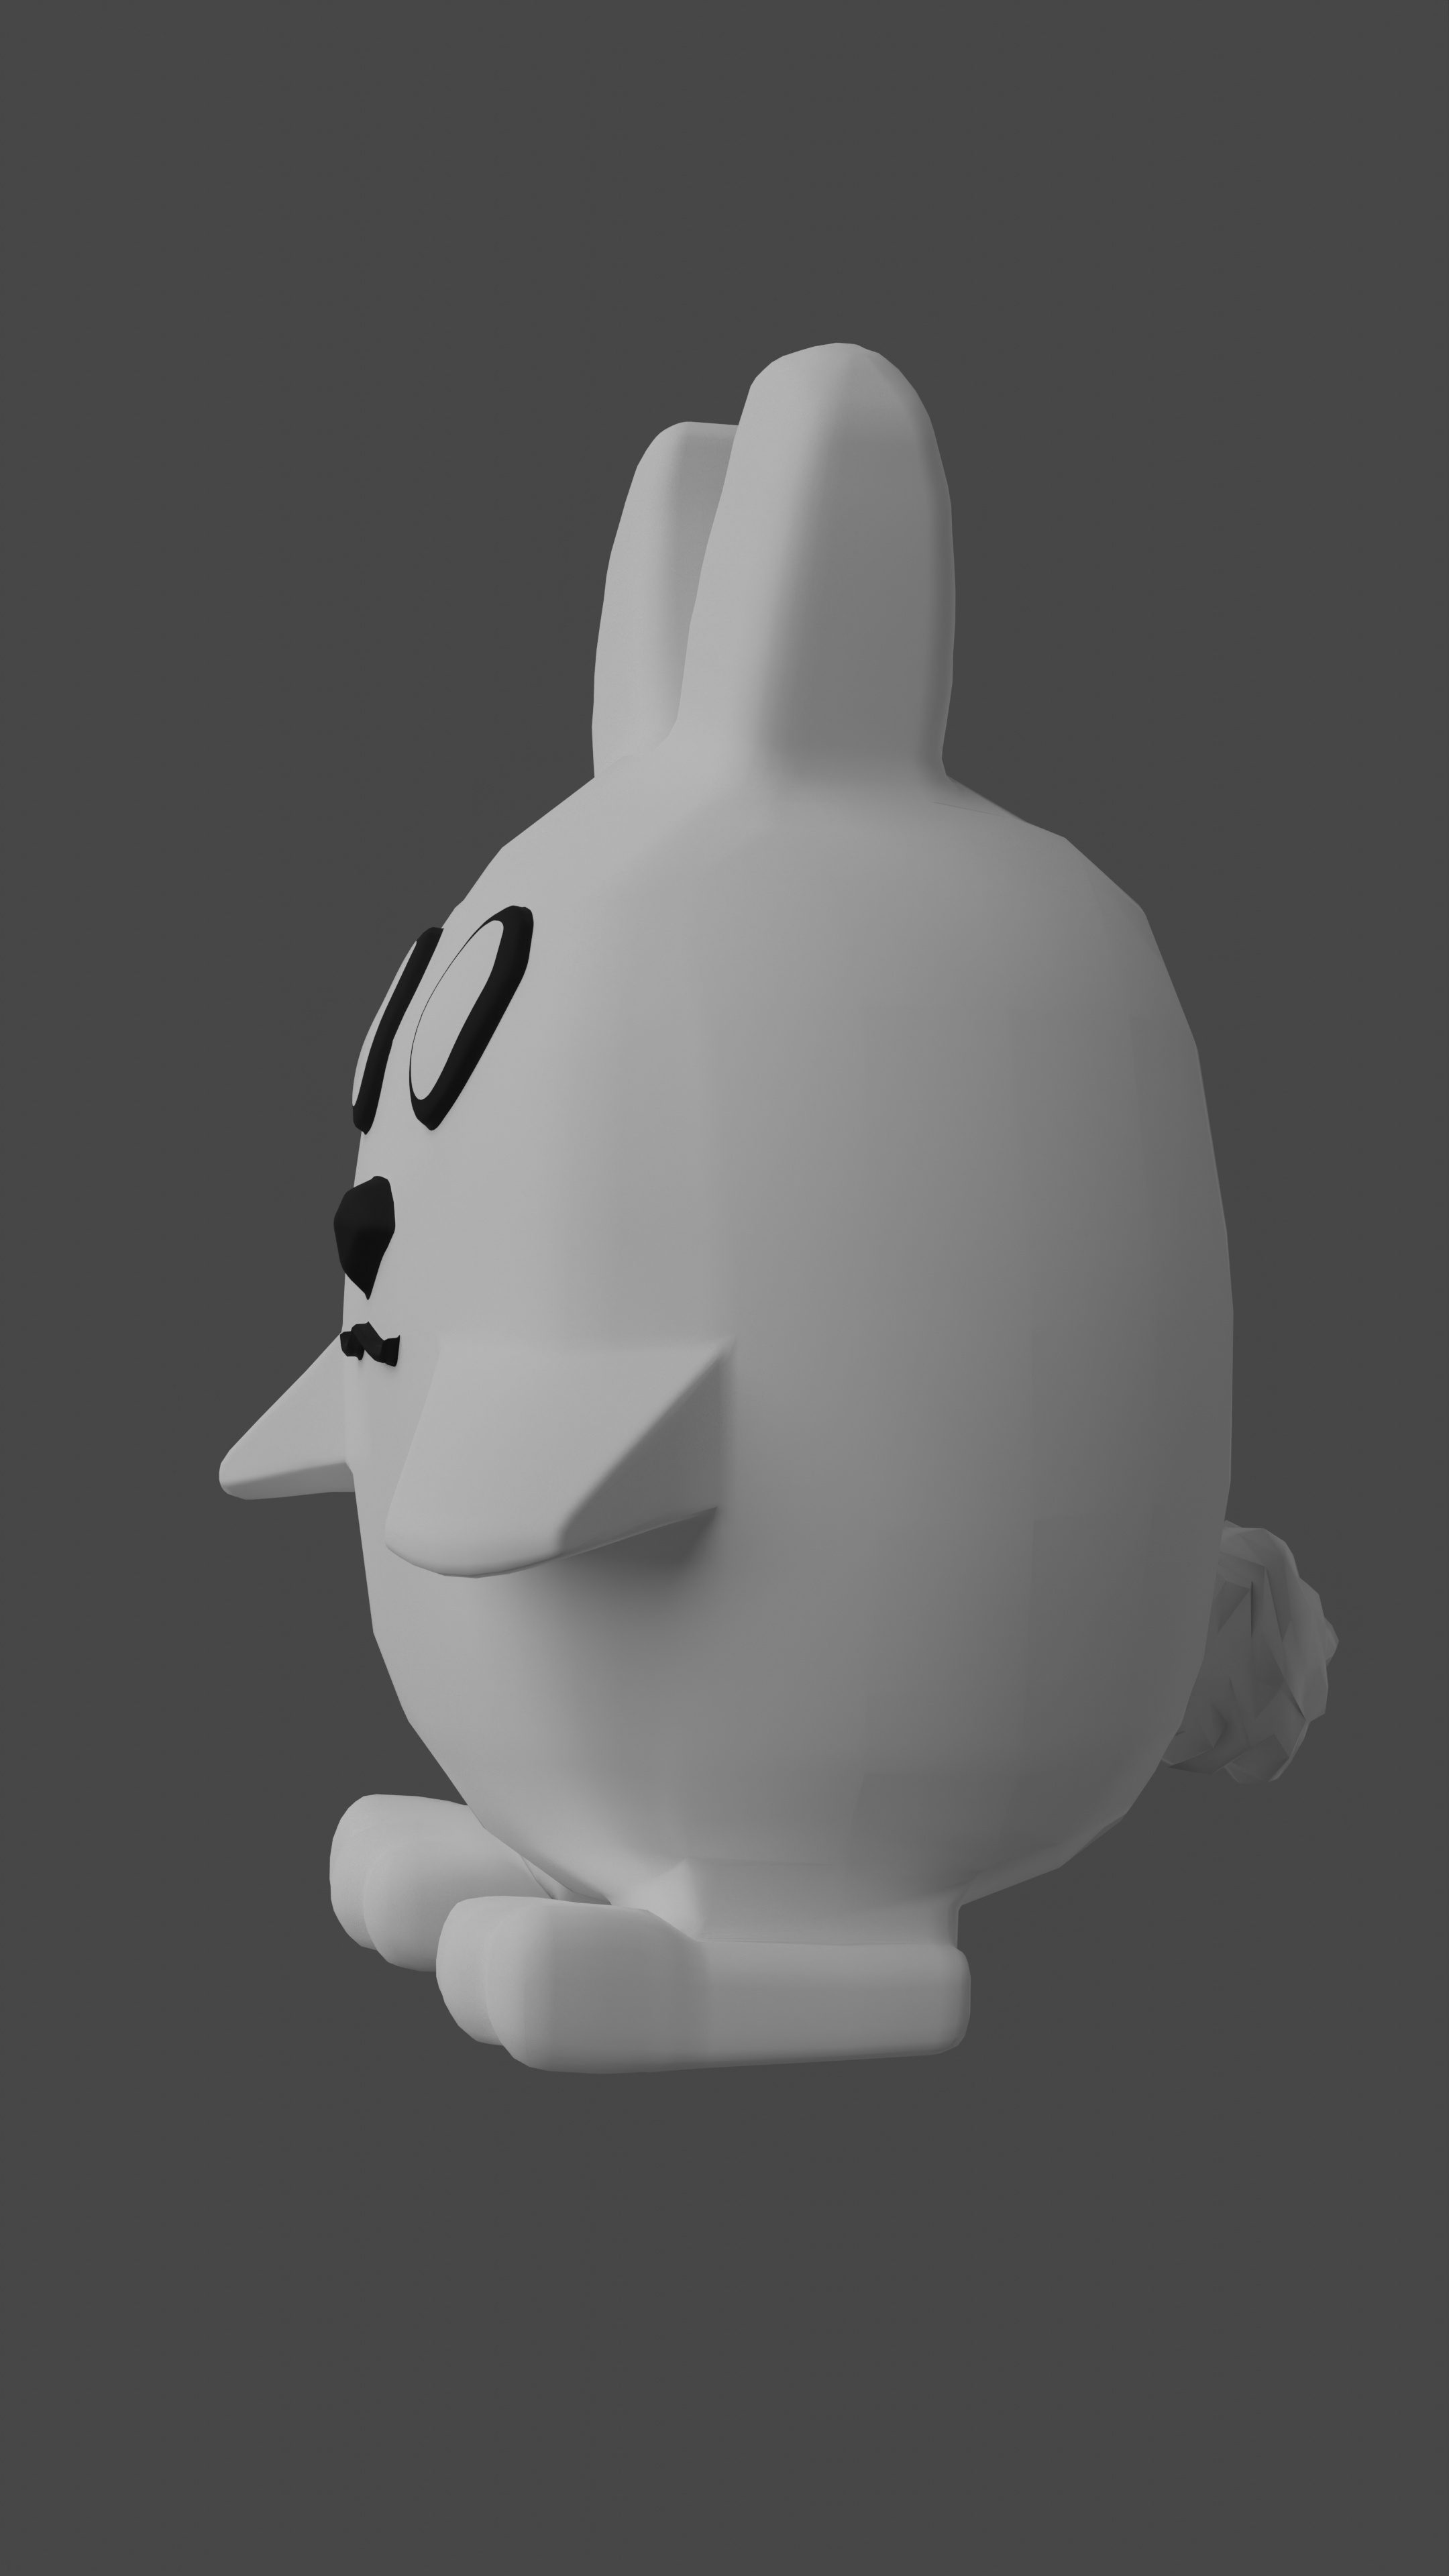
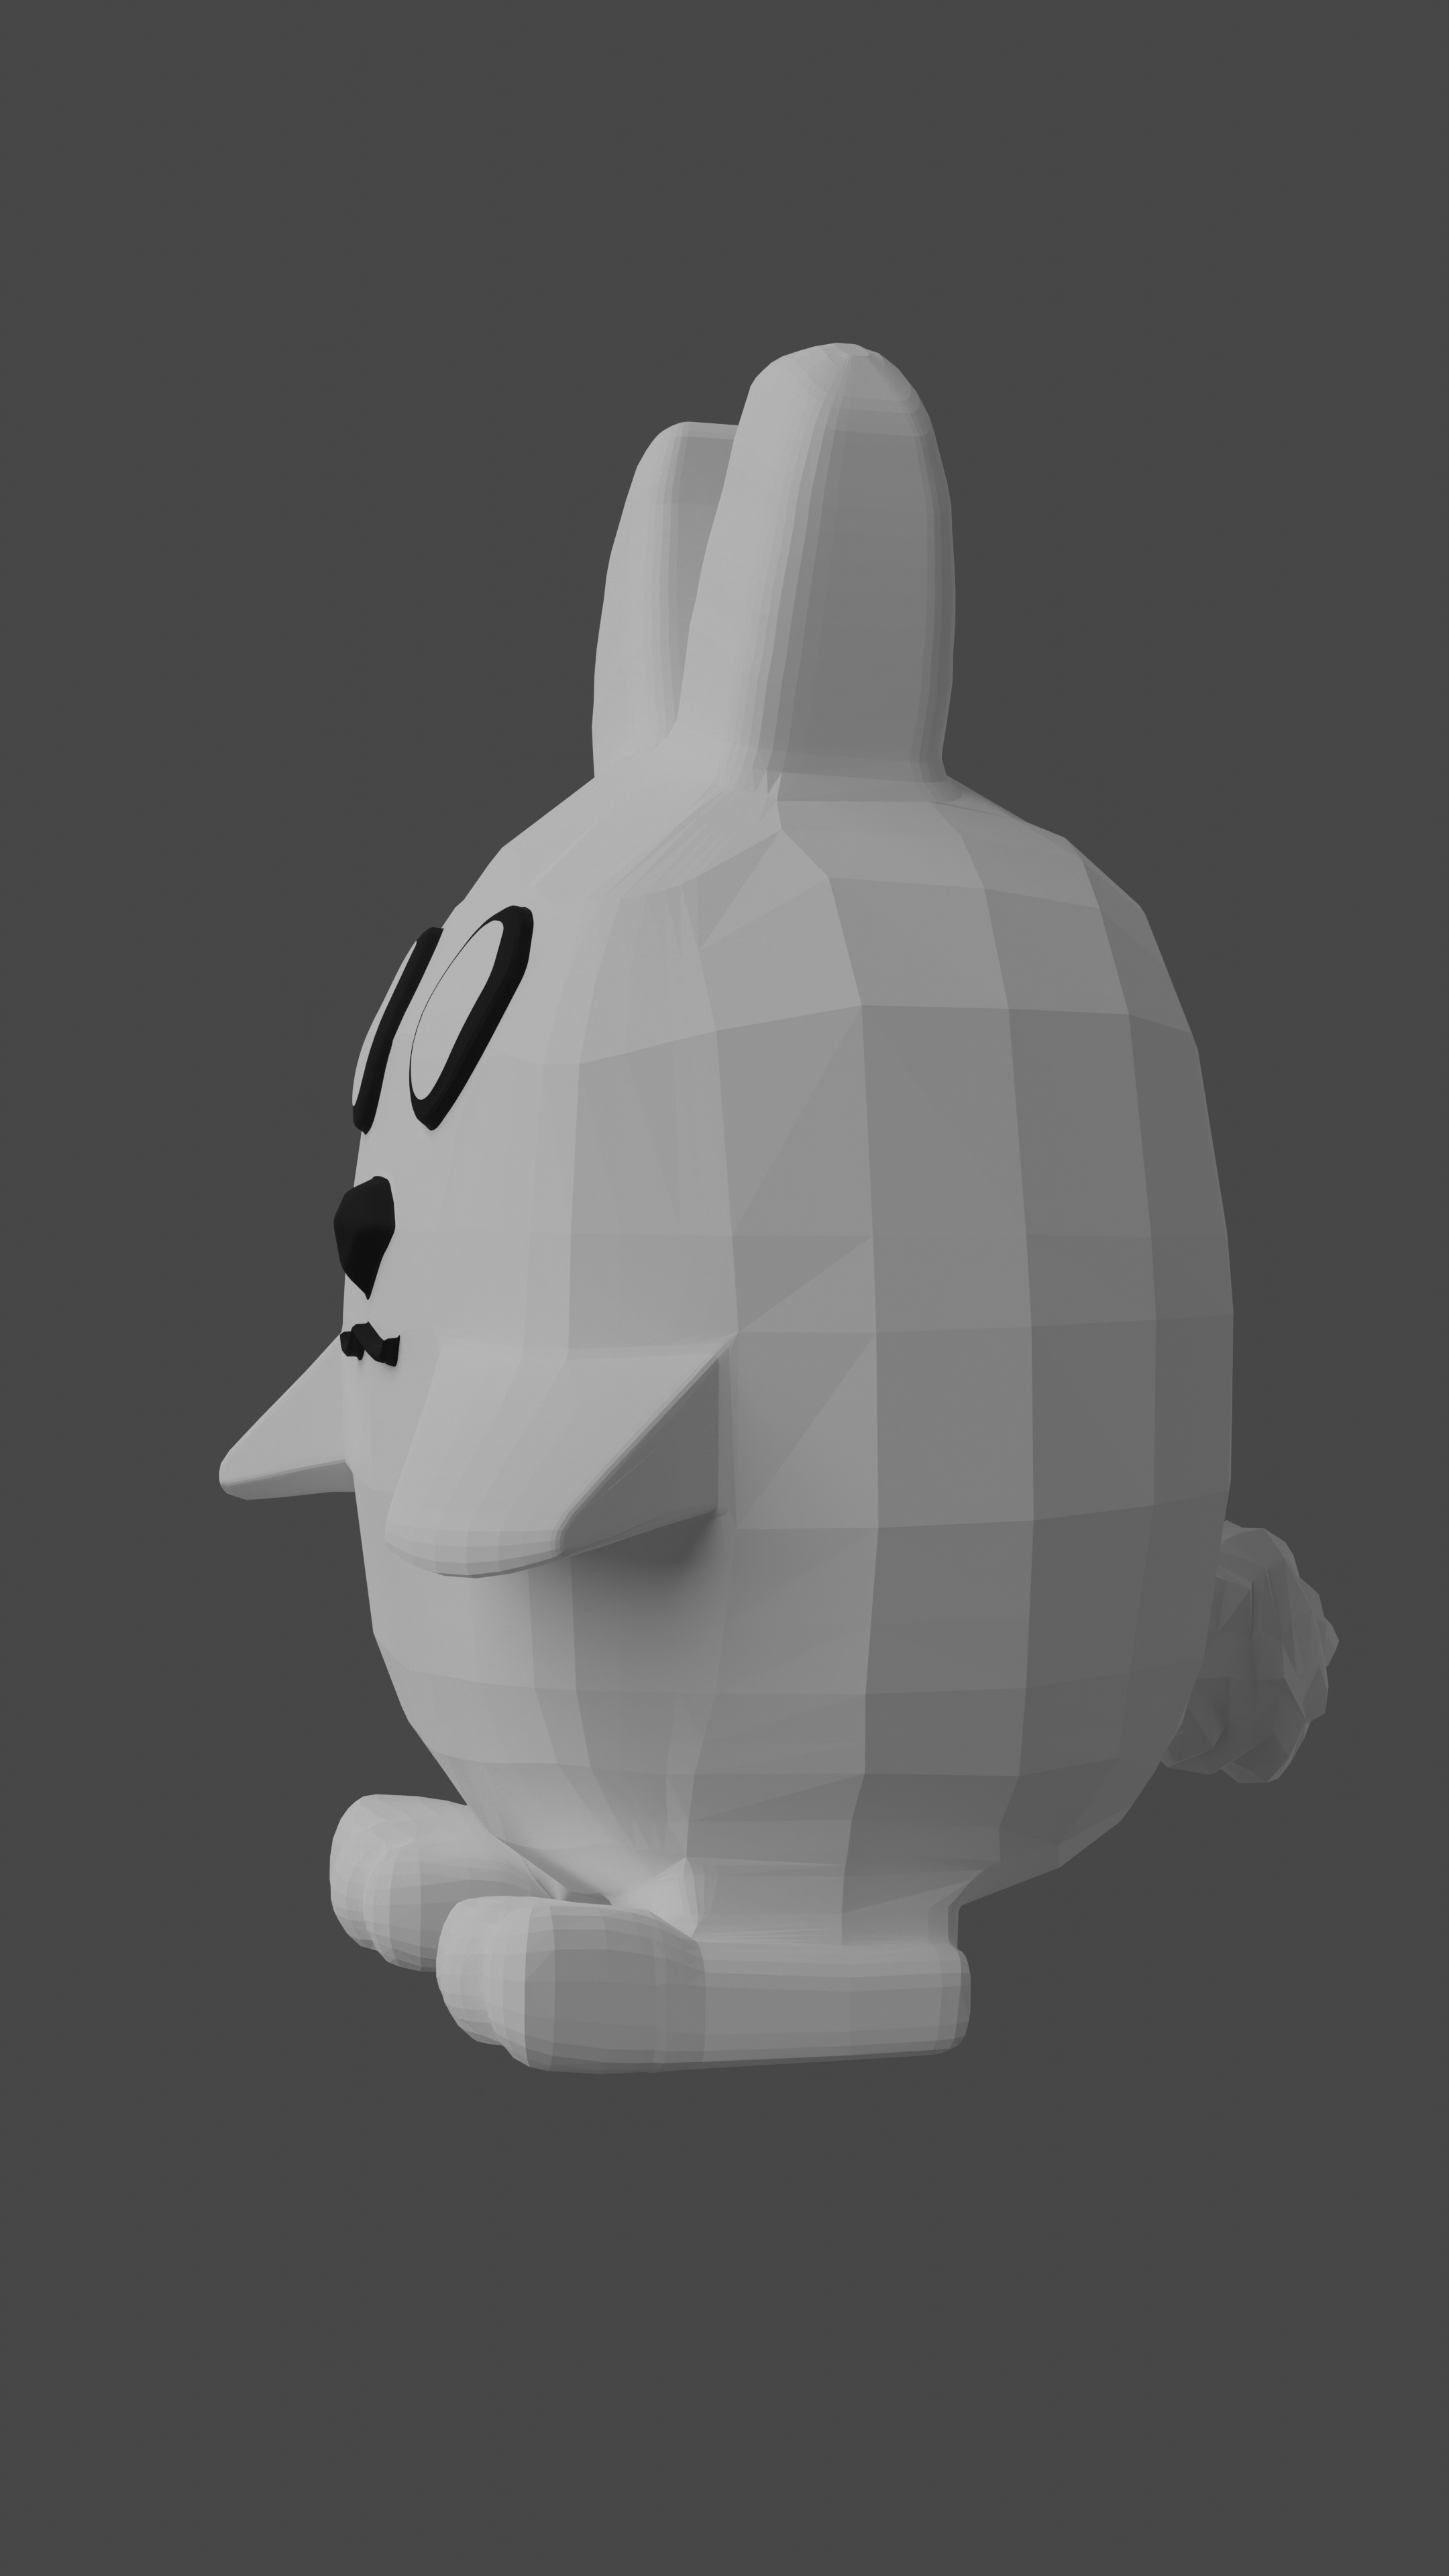
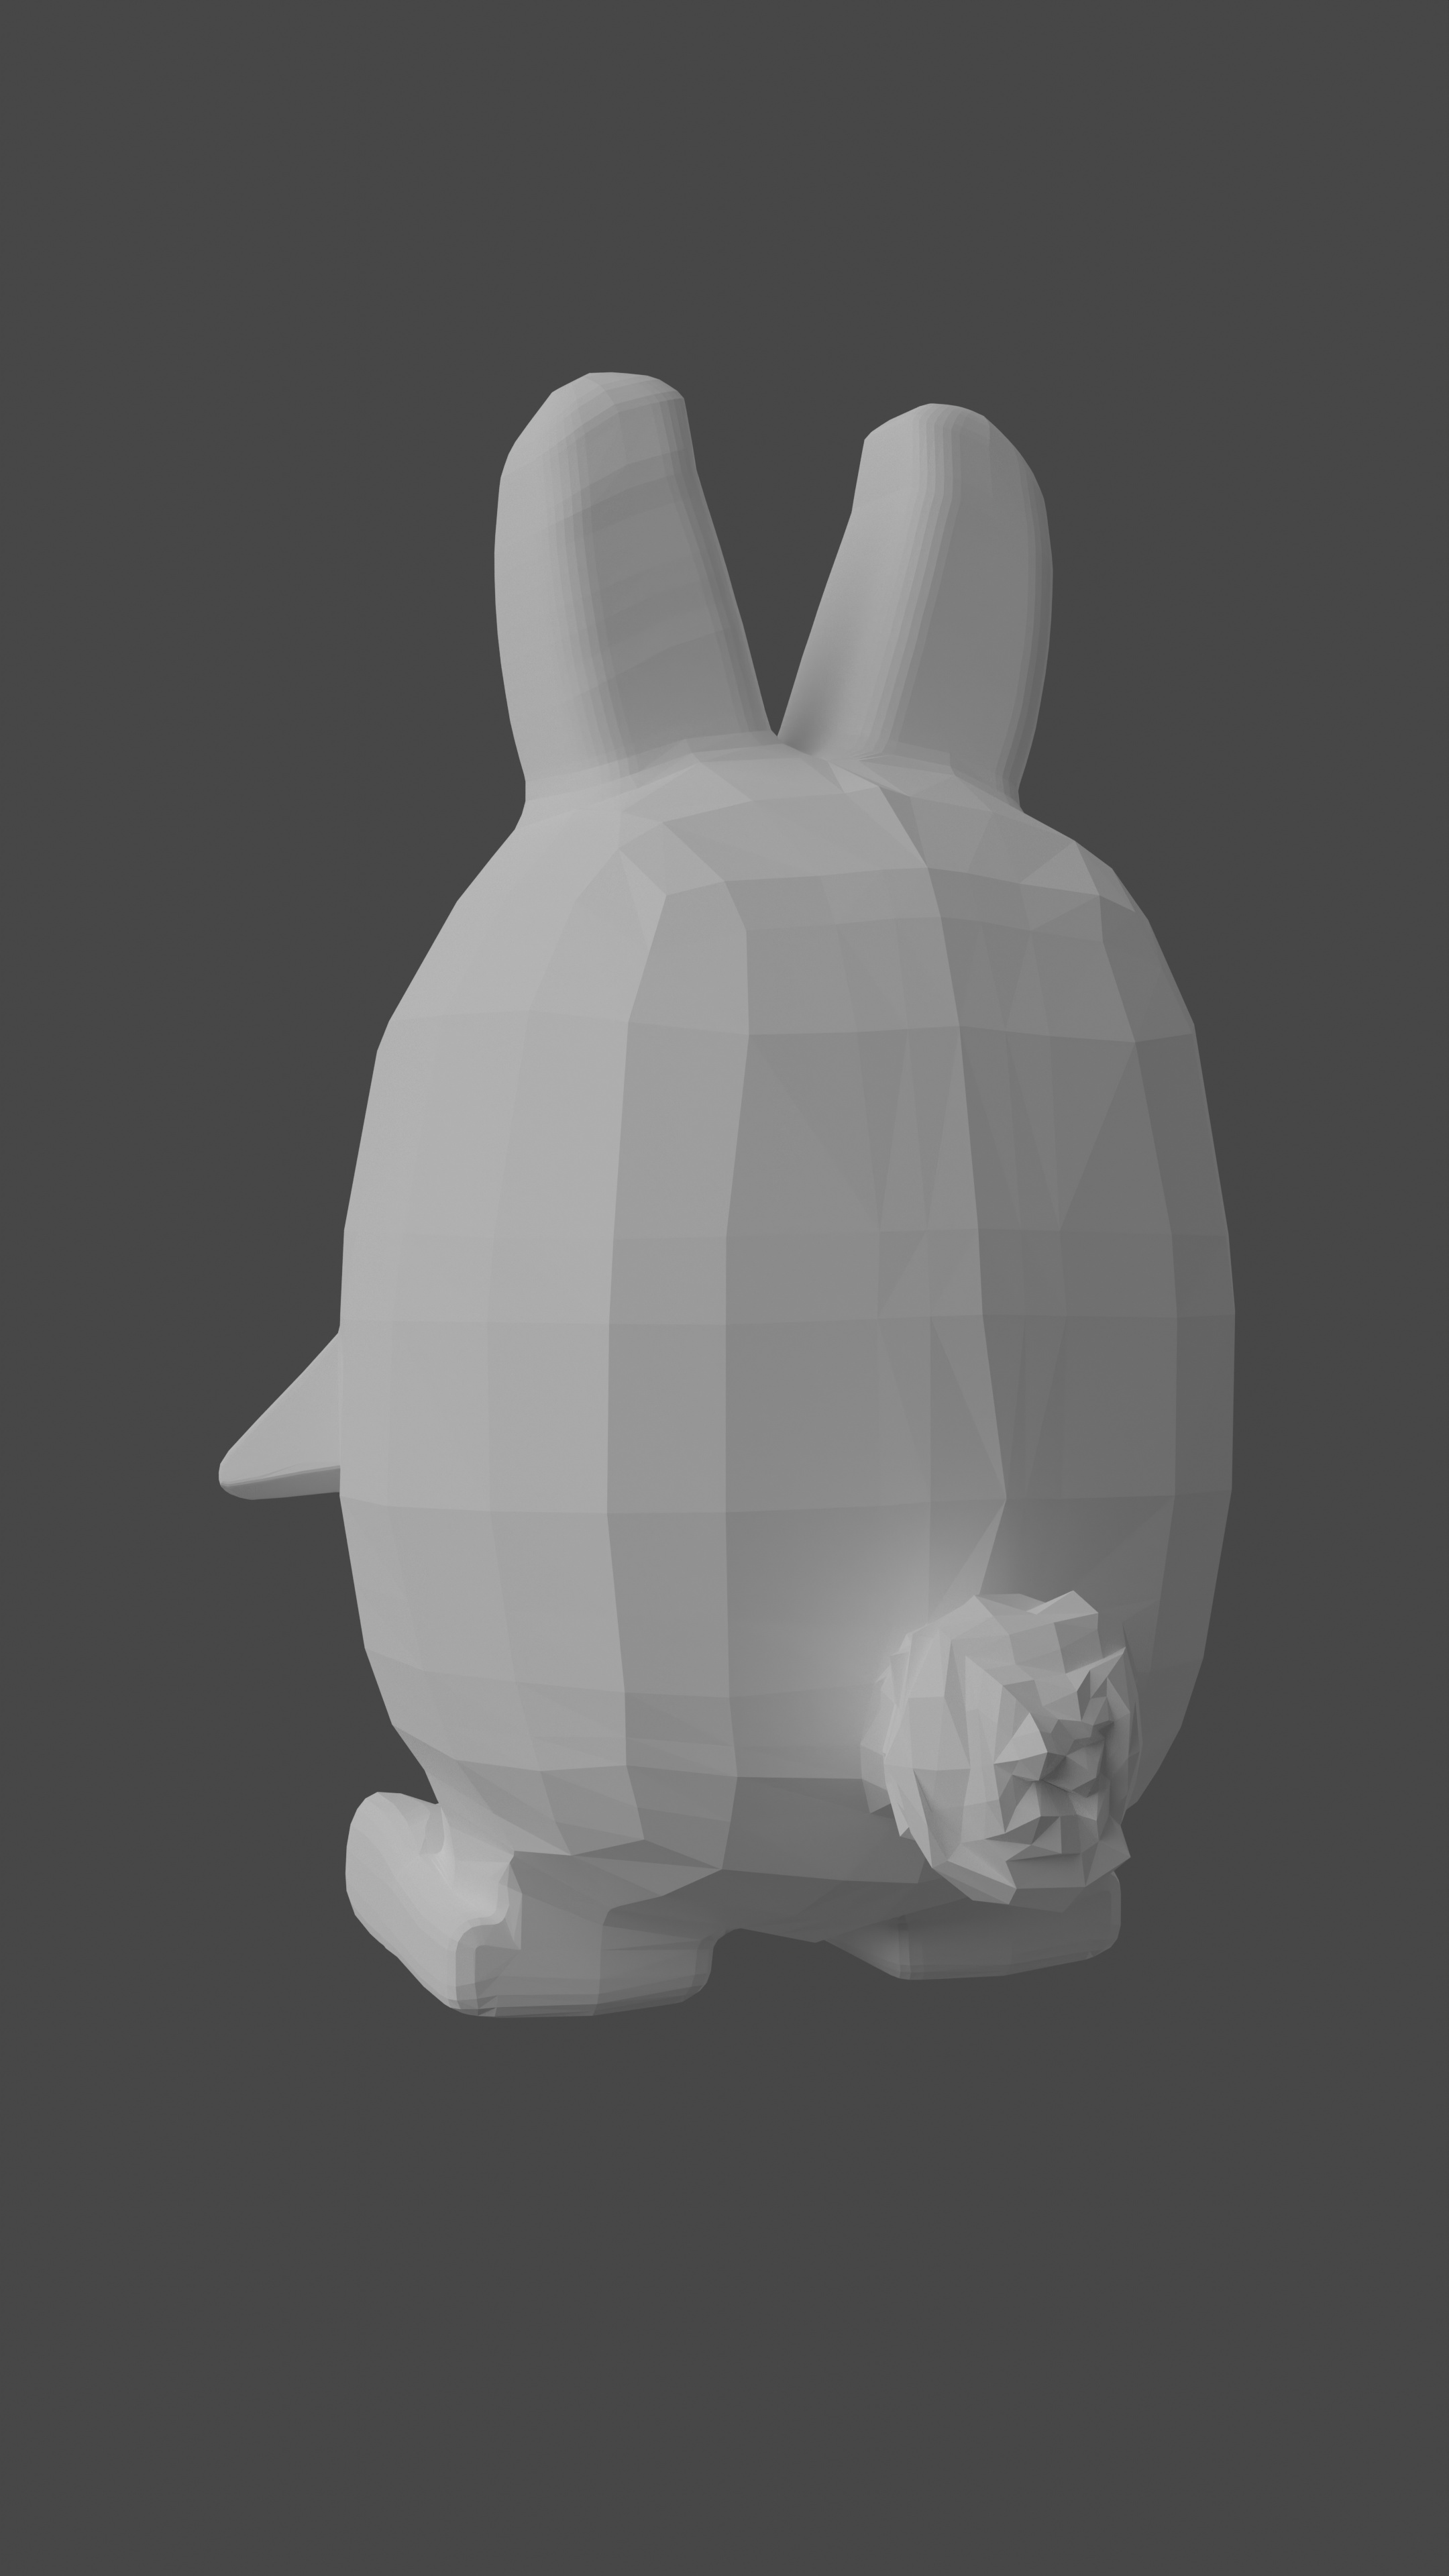
I finally finished the base pawn, learned so much!
I could do it much faster and better if I had to again, but why torture myself… I’m sure there are easier methods to make something similar, so i’ll just keep learning.
Didn’t do a good job with consistent level of detail so smooth shading looks better over all, but really like the feel of flat render on some parts.
Here is smooth and flat renders for reference.
I think I won’t struggle much to make the accessories and append them to the base pawn bunny.
If I really wanted to, I could add holes and make the accessorizes snap in (for when I 3d print.)
Forgotten about your desire to print these. Overhangs?
Though currently, you could split it top to bottom by front and back I think. making flat a base, and perfectly printable mild overhangs from a sound foundation. If you drill, Boolean, a couple of holes in the flat created by halving you can use then to put a ‘pin’ in and guide and reinforce accurate gluing of the print halves.
I also expect it will currently print faceted, need much higher poly for smooth print if that is wanted.
Yeah will need to work on smoothing things out for a better print. I will try one print with how it is now. My priority is learning and advancing on the course, and smoothing things out sounds like a boring chore. I’ll get it done if I want a better print after finishing the course.
Overhangs shouldn’t be a big problem with good enough support. I will be using an SLA printer and have printed out much more complicated overhangs before.
I think combination of subdivide and smoothing tool should help to increase print quality later.
OMG!!! I should have watched the full chess lecture before I worked on base model.
The boolean modifier would have made my life so much easier!!! Could have just modeled the arms, tail, feet etc… separate from the body and used it to merge them.
What I did was much much harder and time consuming with dividing planes in the right shapes by extruding vertices and recreating planes then extruding the new planes. At least I got lots of practice with extruding, beveling, and moving geometry manually.
Part of the learning process. Now I will never forget how much pain the boolean modifier can save you when creating non intersecting meshes.