Thanks Robert! It’s such a huge subject I’m just chipping away a bit at a time and hoping things stick, which for the most part they seem to be. Fantastic tutorials, and an amazingly helpful forum is helping me a lot. Good luck with your character, and post it!
Other trick it to paint the texture onto the mesh using a stencil.
It will deform the bitmap matching the UV-Map.
Your solution is a ready made bitmap and try to match it with the UV-map.
Thanks Pete! I just finished the normal and cavity maps, so I’m about to do the colour one and the thought did occur to me that maybe pulling it into Photoshop and masking it in there would be the quickest solution, so I’ll try that too. I touched up my cavity map in Photoshop a bit and it seems to be fine, so colour should be too.
Of course I could give him a checked shirt, which would be no problem at all with a procedural texture but that would be like, easy… and where would be the fun in that 
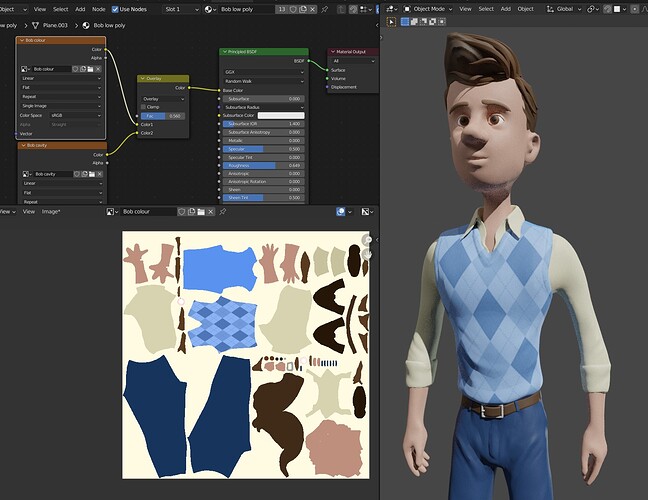
And here’s Bob with his argyle vest at last! Dropping it into the colour map was the easiest thing to do, and while it looks great I’m still not 100% happy until I figure out how to do it in Blender properly. I can assign it no problem to the mesh, but I’m still stuck as to how I should bake that to the colour map… so I think the best thing for me to do now is a full shader tutorial. For now though, argyle!
A big thank you for all the help, I really appreciate it! I’ll post more of Bob once I’ve finished painting him 
Hi Geoff,
Don’t be overly critical! In my view, this is a major achievement. You made a new character and went through all the obstacles. Asked for help here instead of trying to do it all by yourself. +1
In @Grant_Abbitt 's 500k subscriber video he mentioned that from the artist’s point of view, it will never be perfect.
Again, fantastic job!
Thanks Ray, that’s really good of you and it means a lot! It’s hard not to get everything perfect right up front, but that’s part of the journey here I guess - it is a huge amount of fun though 
Next up, rig and animate - and then a new course, it’s certainly keeping me busy!
Thanks again, Ray!
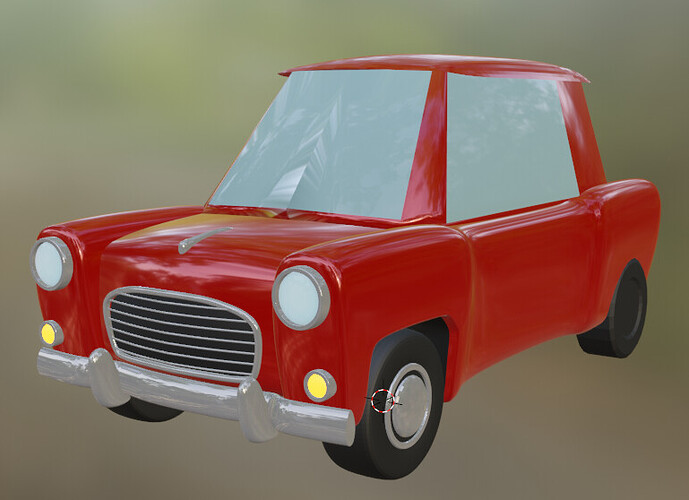
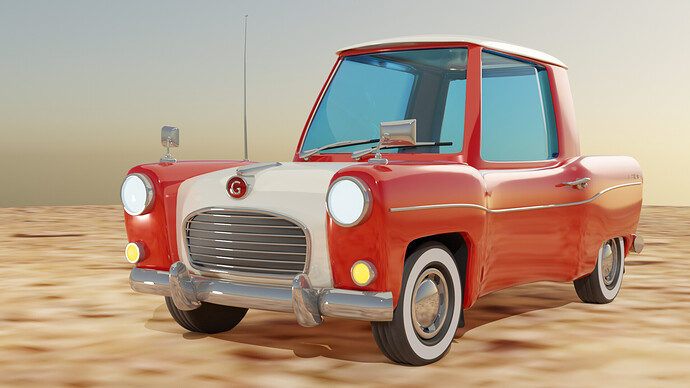
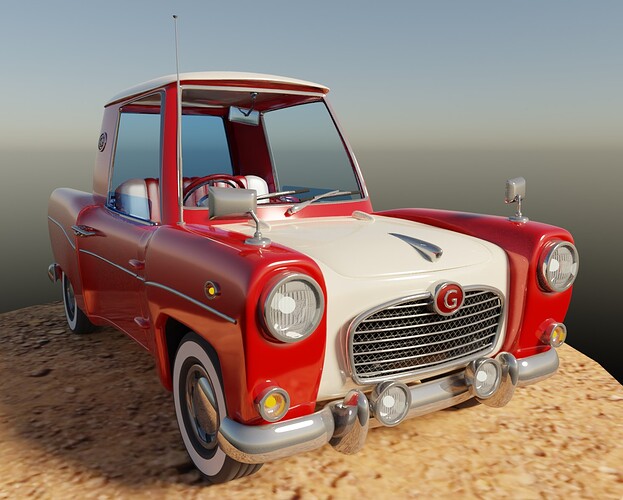
Just for a bit of fun I thought I’d try to give Bob some wheels. I tried following a flat plan of a Mini, but that’s waaaay too advanced for me, so I thought I’d start with my own design. It’s coming along nicely, and later I’ll work out how to add it to the scene 
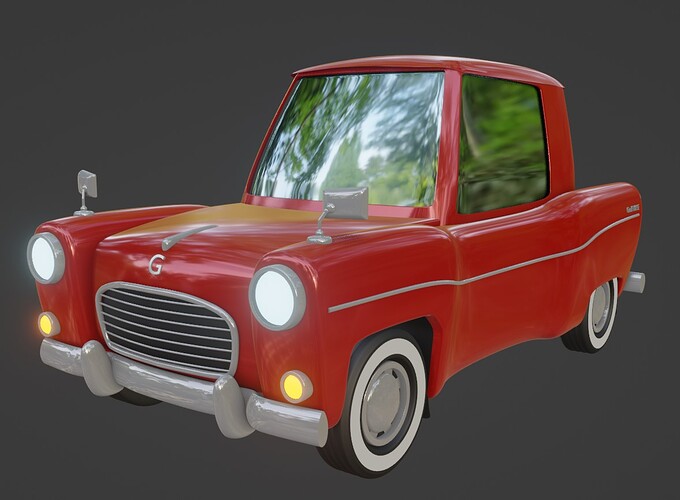
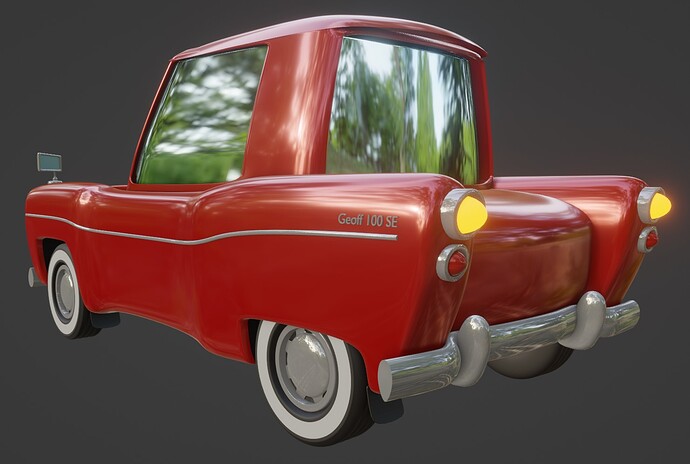
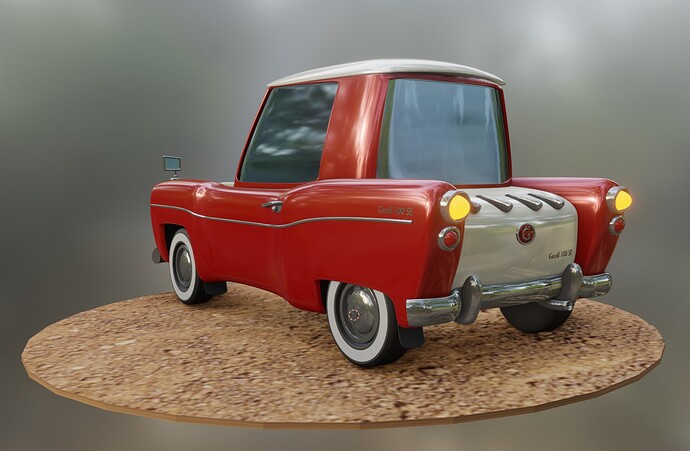
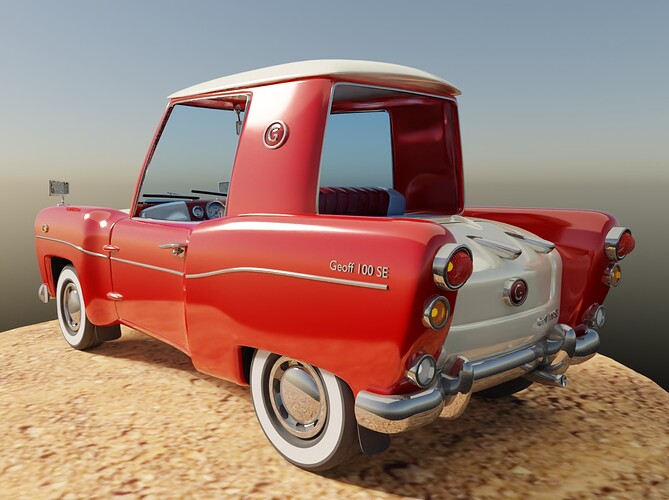
Just a few more details - door handles, windscreen wipers etc to go do and I reckon the Geoff 100 SE is done. Bob’s sweet ride, I’ve gone WAAAAY off course here, (literally) but I’m really loving Blender and learning an amazing amount of fun as I go. Need to fix that glass though, it’s a little too reflective…
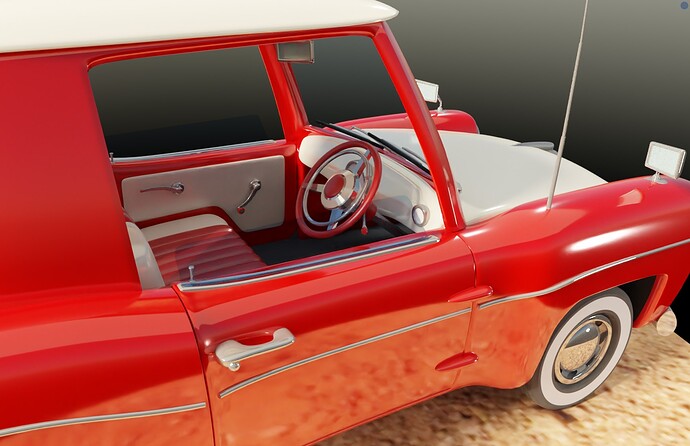
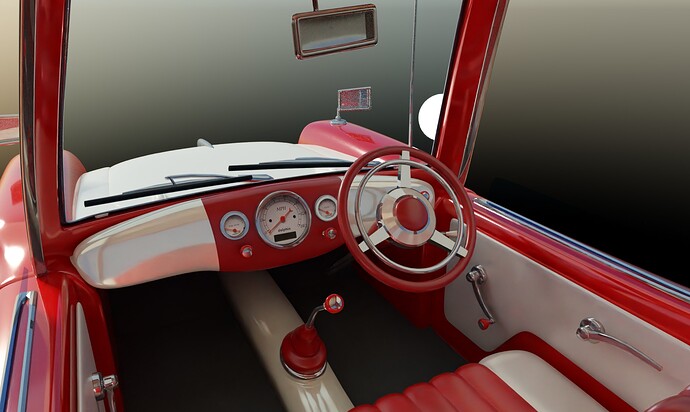
Well I couldn’t stop there, could I? Doors, handles, steering wheel, window winders… something just clicked with Blender and now I’m finding it really comfortable to work with. I need to get back to some more courses but just one… more… thing…
Dude! This is brilliant. How much time have you spent on this?
I love that it is disproportioned - but in all the right ways, so it works.
How did you make the window material? With the glass shader?
Ah thank you Ray, that’s very kind of you  I started it five days ago and never really intended to get so detailed with it, but it kind of happened - I’m having so much fun with it because it’s become a bit of a test bed; as new problems come up I’m trying to find good solutions and so I’m learning tons!
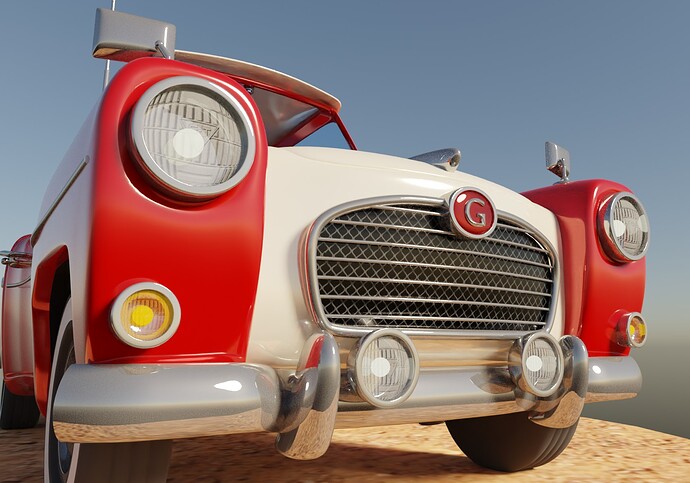
Yup, the windows are with the glass bsdf plugged directly into the material output - it looks weird, like a mirror in material preview but in rendered it looks good. Still fiddling with it though, but what I’m really having fun with at the moment are the headlights. I downloaded a normal map of a headlight texture, plugged it into a convex UV map, put that into a chrome headlamp and added a tiny bulb to emit light. It’s not perfect (there’s no bloom in Cycles so I have to find a workaround) but it does give some nice effects to the headlights so far.
Total rabbit hole 
Wow! I see I have a lot to learn - everything after glass bsdf is not in my vocabulary 
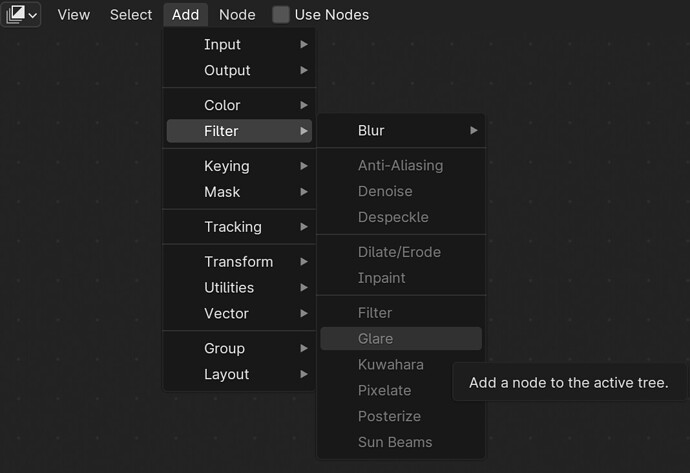
I wonder, in e.g., DaVinci Resolve Fusion I’d add a glow or glare effect on top of the footage - aka post processing. I never used compositing in blender, but if it works how I think it does, effects here are added post rendering. And there is a glare effect. I have no idea how to get the render into compositing. That’s something for the future for me to look into.
I wonder, how would one introduce imperfections, like dust or fingerprints on surfaces? The bumper looks too clean 
Yes, rabbit holes! Too many rabbit holes in blender.
Wait - test test
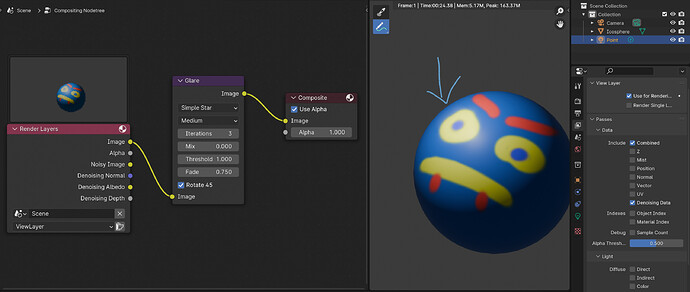
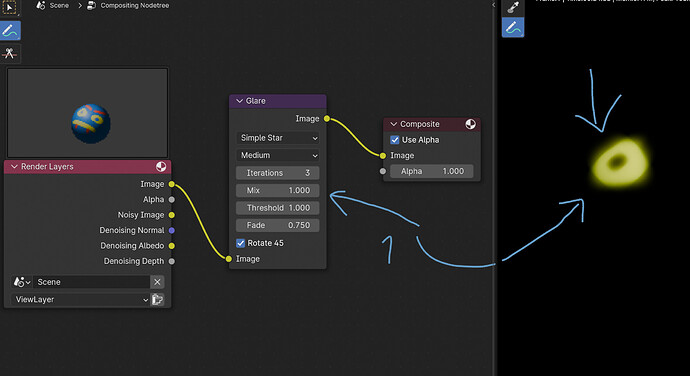
I played a bit around with the compositing tab. It creates & imports a render of the current frame (I think), then, as I thought, it applies the filters post rendering.
There is some glare now.
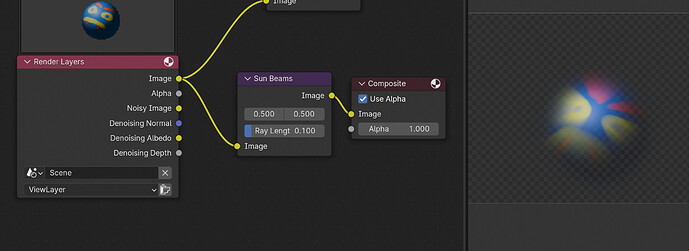
God-rays! Wow - I must spend more time on this.
Rabbit hole …
That’s amaaaazing! I looked at a video (very briefly) of the compositing tab and ran away, thinking that’s definitely for another time, but the effect you got would be perfect to simulate some bloom! I’ve also been thinking about all that chrome and maybe how nice it would be to add some slight rust marks and dirt, along the car body as well. I think once the model is complete I’ll fiddle a bit with some texture painting just to scuff it up a little - it definitely needs some dust at the very least  More rabbit holes, this was supposed to just be a revision of the orc and I still need to get Bob into that car at some point!
I’m going to look at that compositing tab again, briefly - but first I need to fiddle the dashboard knobs and add some speedometer textures, maybe an ashtray or a radio. And there’s no handbrake…

Here’s the finished model, barring dust and rust which I want to put on later - and put Bob in, of course. I’m pretty happy with the way this worked out 
Hi Geoff, your car looks amazing. Your own Hollidays gift?
Cheers,
Ray
 wouldn’t that be fun!
Happy holidays, Ray!
Handbrake? Breaking is for weaklings!
 to date no handbrake!


