After finishing the Blender Character Course I thought I’d start over, but this time with a different model to see how much has stuck. I still need to finish Bob up, retopologise, bake, rig and all the rest of it. Basically Bob is following the same process as Dave
Thanks Pete! For the most part it HAS stuck, which was a bit surprising - but then some other bits needed a review, I spent aaages and many tutorials on the BSDF trying to plug an argyle pattern into his sweater, only to realise that only happens after I make the UV maps, but on the whole everything is really making sense. Sometimes I bite off a bit more than I can chew, but that’s not a bad lesson at this stage either
Almost there with the manual retopoBob. Fingers! That was a day I’m pleased that my retopology is getting a bit neater as I go along, but there are still some tricks I need to learn. On the whole I’m pleased with the result and I can’t wait to start baking later.
Bit of a long-winded question coming up, I can’t seem to find out how to figure this one out and I must be missing a basic step somewhere.
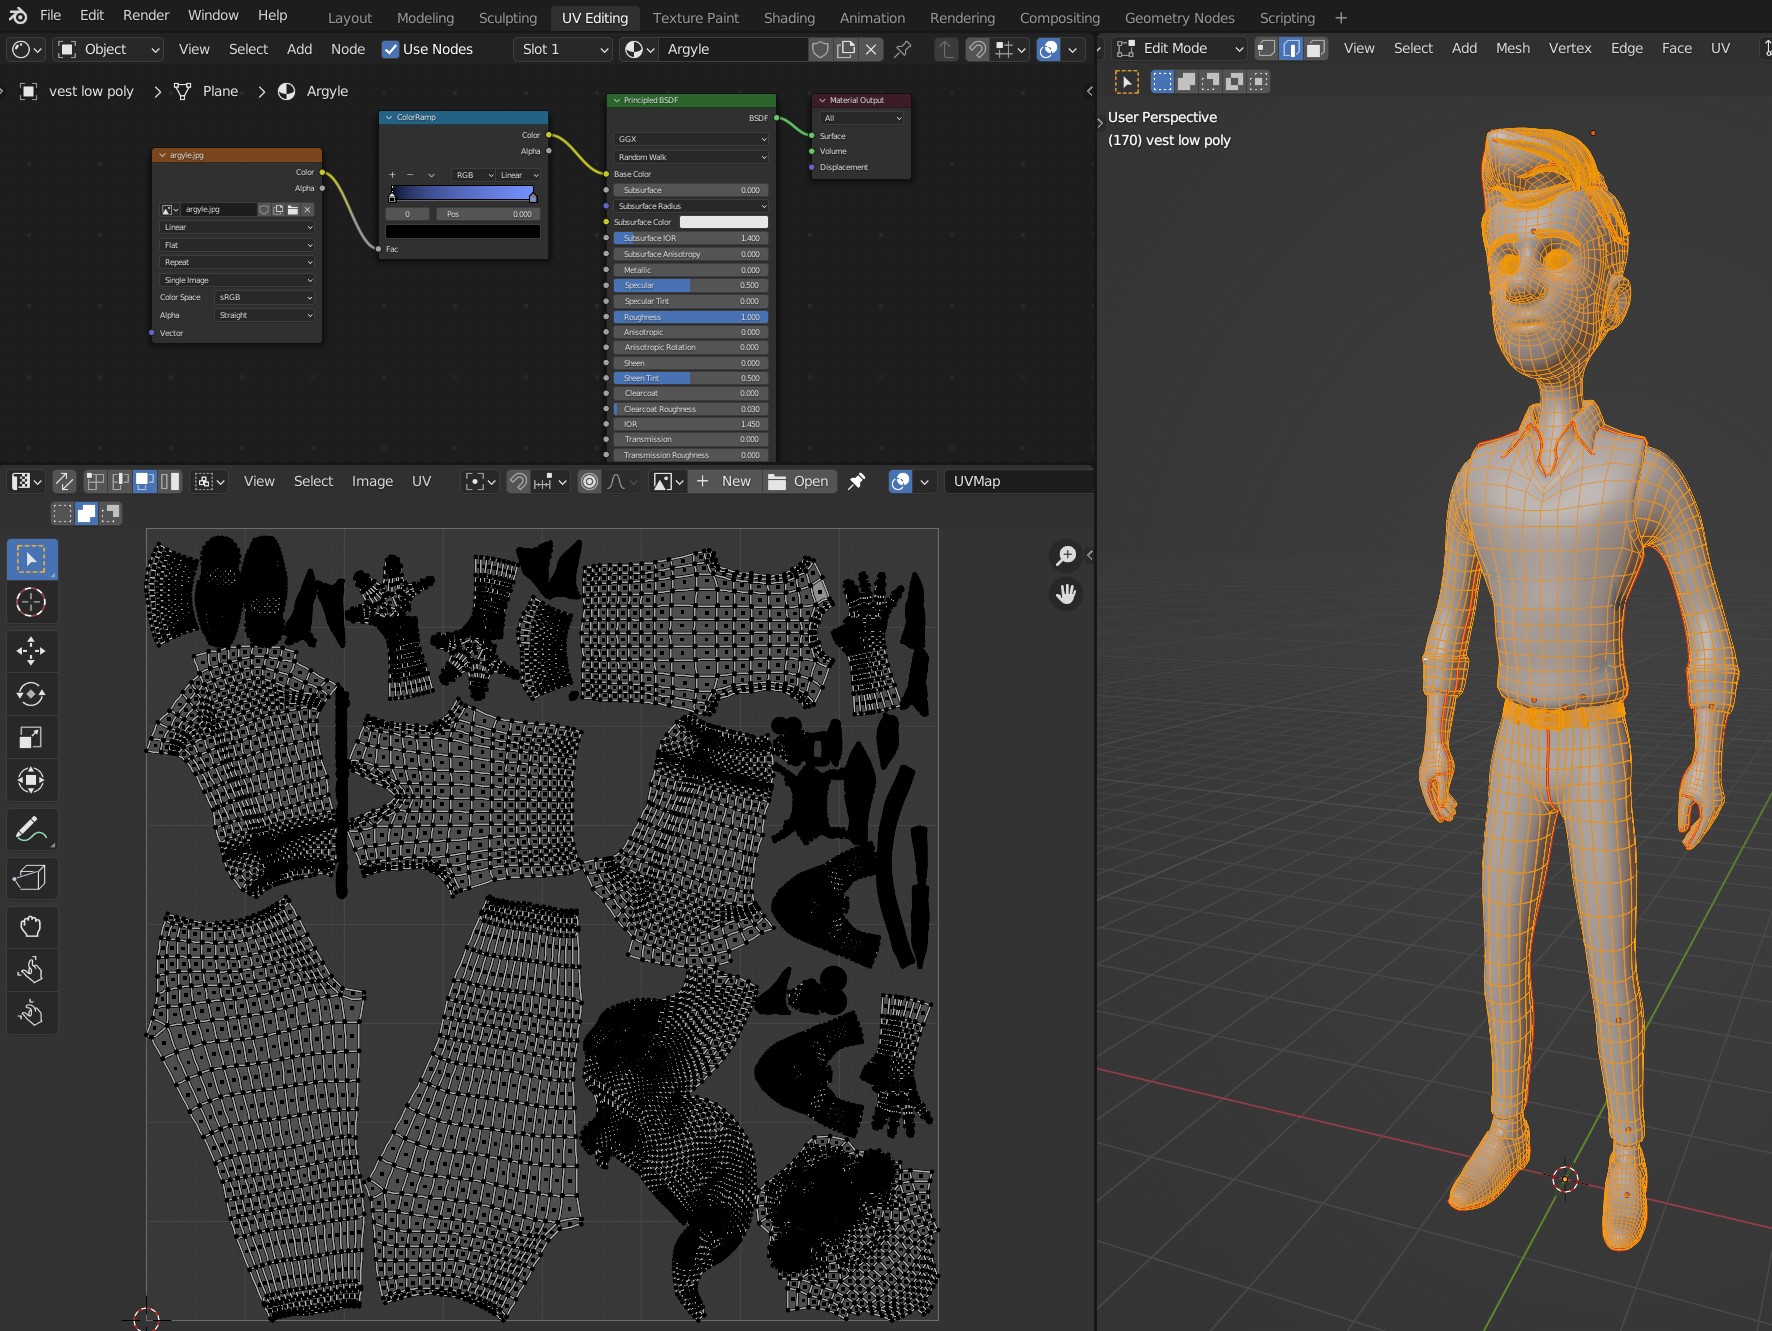
Here’s Bob’s vest with a black and white argyle pattern applied, it looks great and the way I want it. I haven’t baked Bob yet, but what I can do here is rotate the mesh to fit the pattern on the front and back nicely, but obviously can’t rotate the pattern to fit the mesh.
The problem I’m having is how do I apply/keep that pattern when it comes to the full UV unwrap? Does it get its own texture map, and if it does, how do I rotate the pattern to fit in while avoiding the other islands? Any help here would be hugely appreciated.
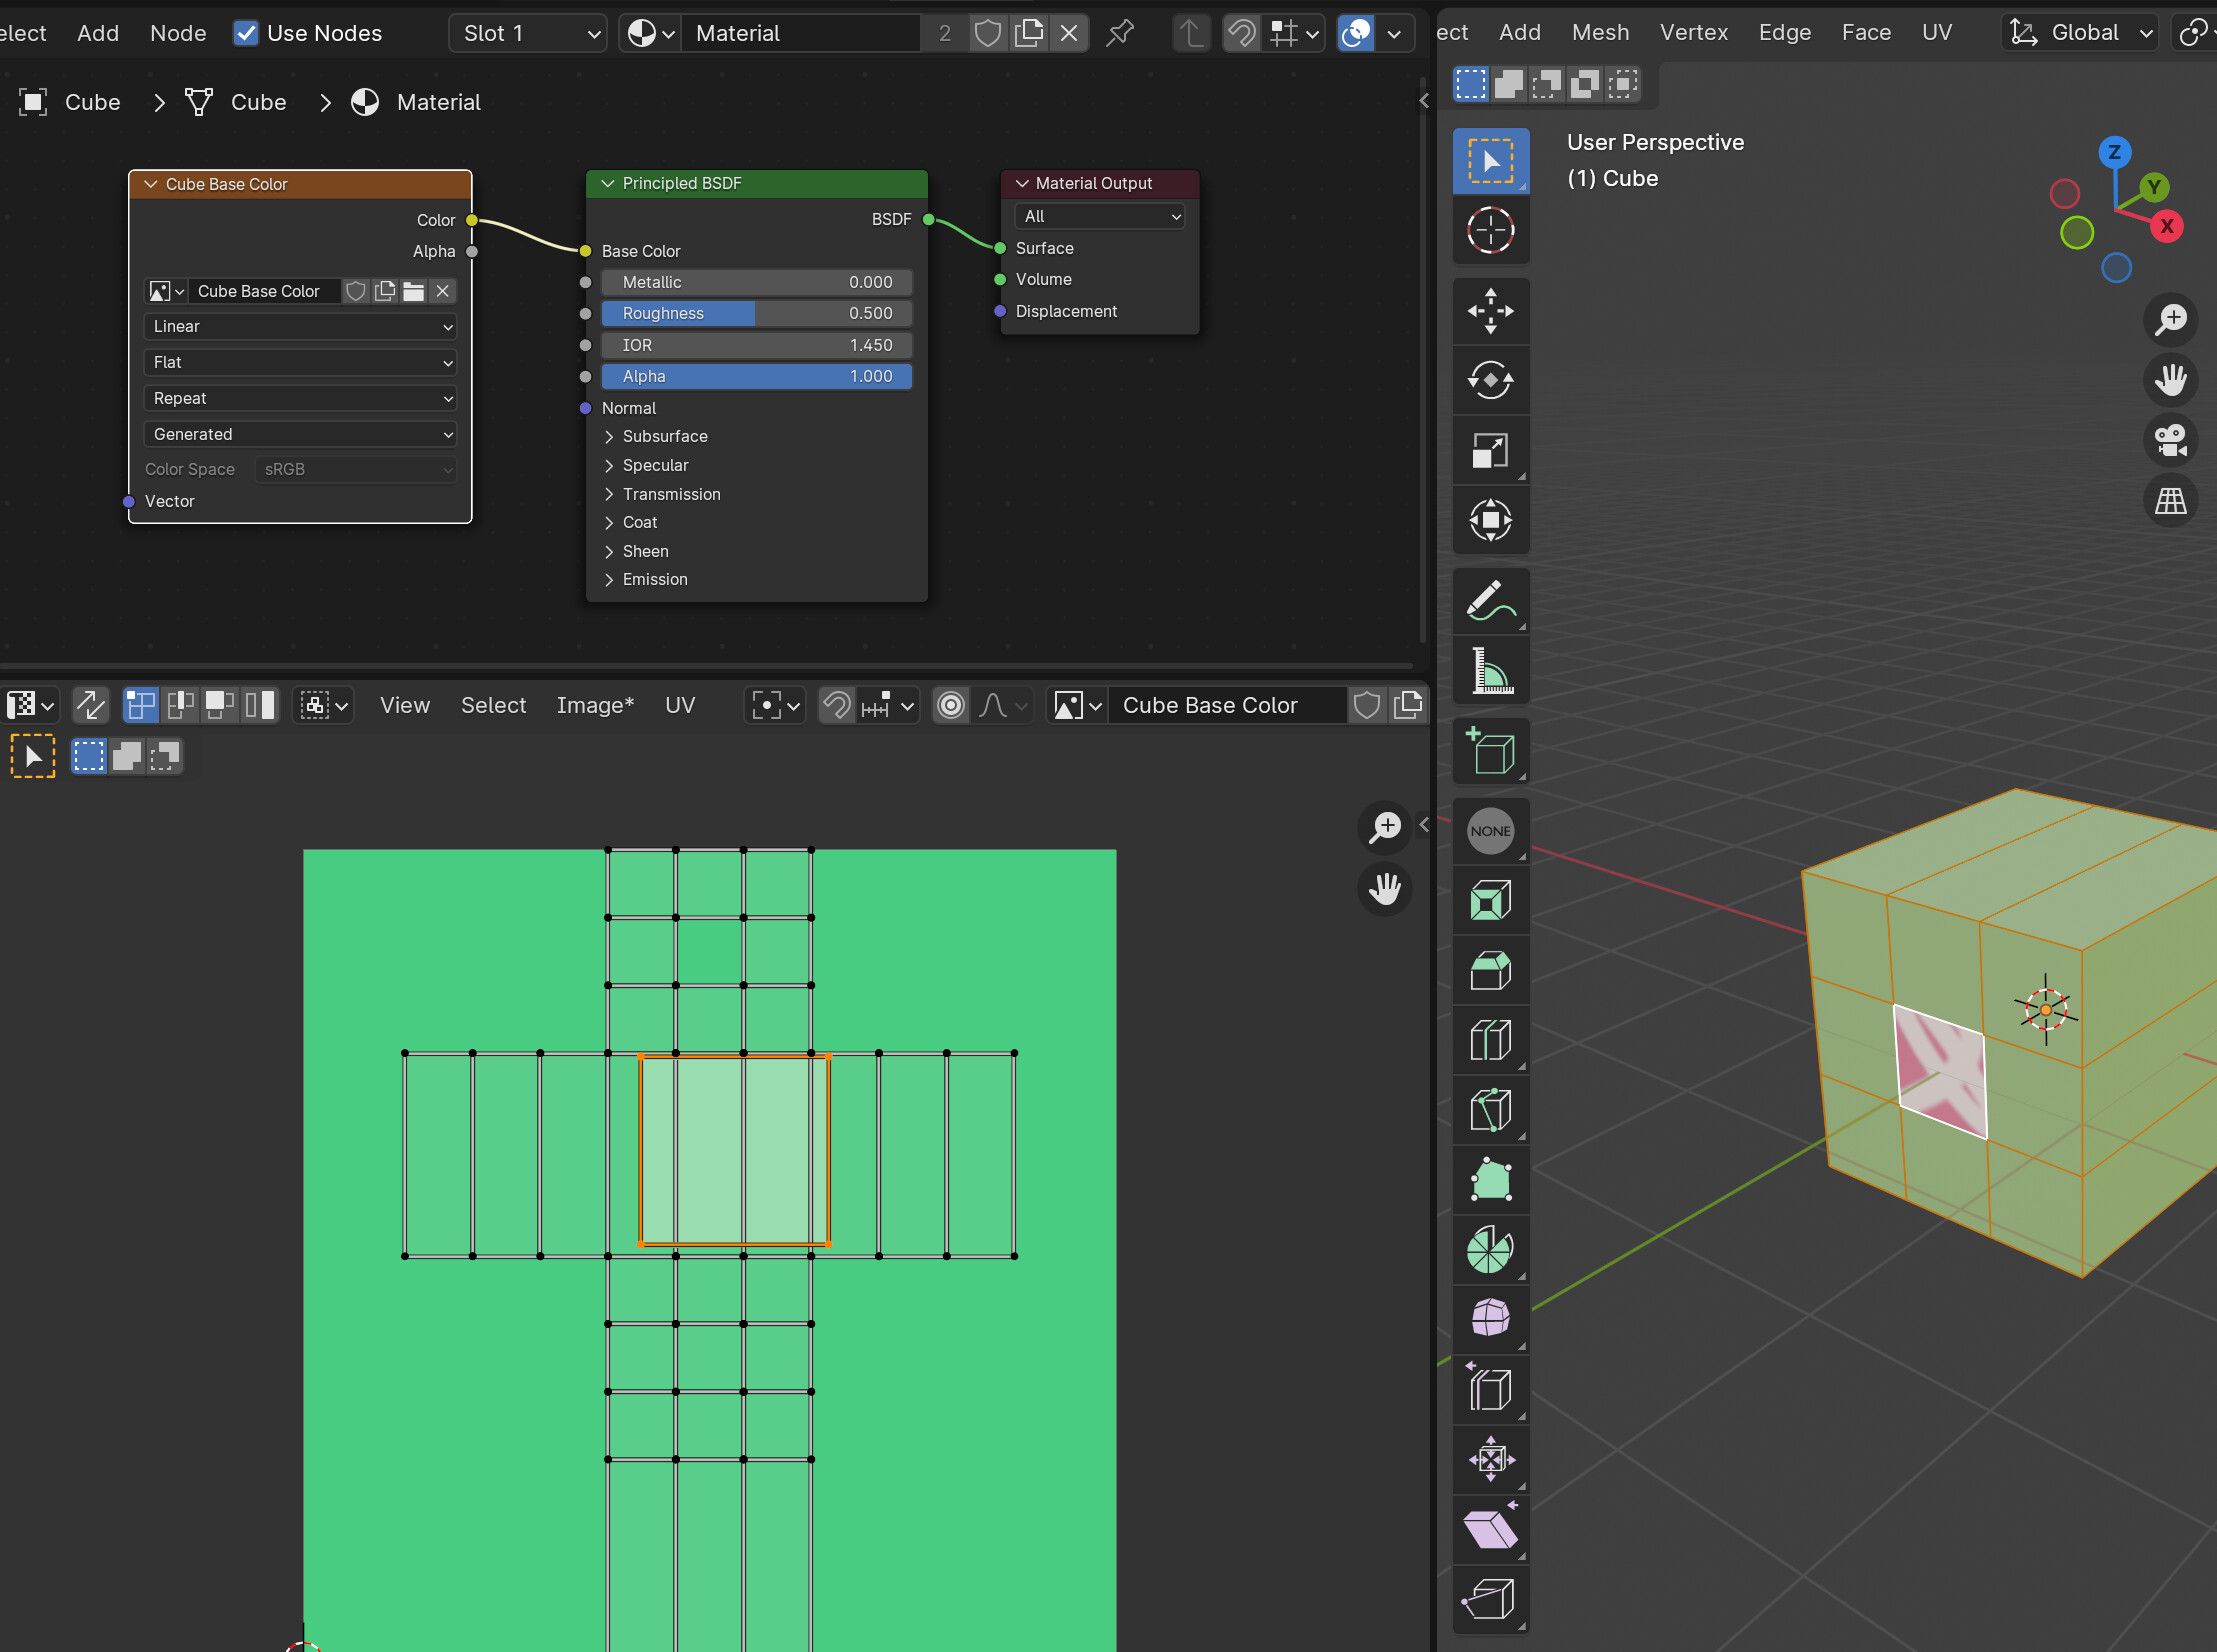
ChatGPT says I can have independent texture maps that can be rotated, ie just one map with the vest - if it’s that easy I’m winning, but is that correct?
That’s just brilliant!! I have been scratching my head, watching a gazillion videos and just wondering what I’m missing - this makes perfect sense! I’ll give it a go and see what happens - this is where I am at the moment, I’ve just finished the normal map and everything is on one texture.
Thanks Ray, much appreciated! I would love to crack this one
You have done a great job. I am inspired. Always even if little we can get stronger and leaner. I am also hoping to create my favourite character. (s). Still have lots of work to do and I am getting there as we speak.
Thanks Robert! It’s such a huge subject I’m just chipping away a bit at a time and hoping things stick, which for the most part they seem to be. Fantastic tutorials, and an amazingly helpful forum is helping me a lot. Good luck with your character, and post it!
Thanks Pete! I just finished the normal and cavity maps, so I’m about to do the colour one and the thought did occur to me that maybe pulling it into Photoshop and masking it in there would be the quickest solution, so I’ll try that too. I touched up my cavity map in Photoshop a bit and it seems to be fine, so colour should be too.
Of course I could give him a checked shirt, which would be no problem at all with a procedural texture but that would be like, easy… and where would be the fun in that
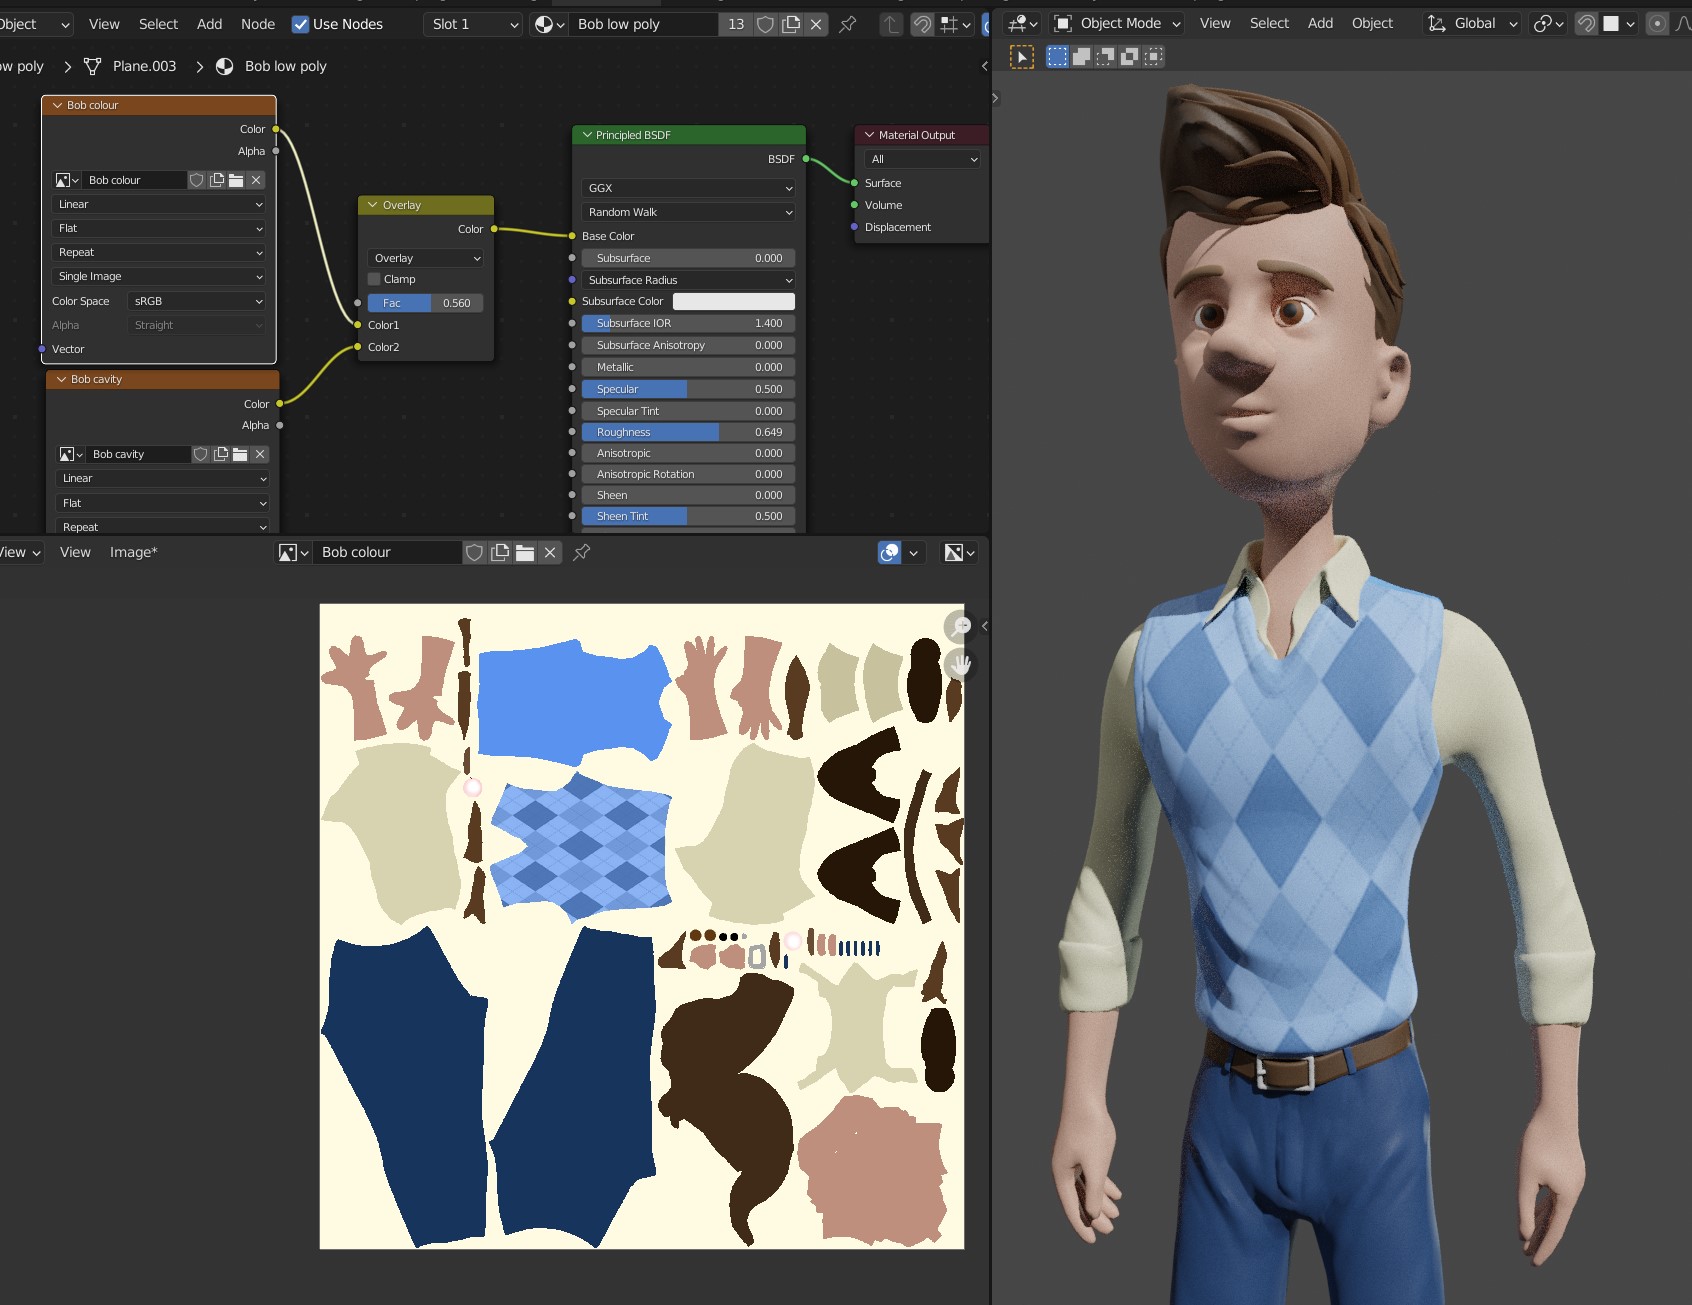
And here’s Bob with his argyle vest at last! Dropping it into the colour map was the easiest thing to do, and while it looks great I’m still not 100% happy until I figure out how to do it in Blender properly. I can assign it no problem to the mesh, but I’m still stuck as to how I should bake that to the colour map… so I think the best thing for me to do now is a full shader tutorial. For now though, argyle!
A big thank you for all the help, I really appreciate it! I’ll post more of Bob once I’ve finished painting him


 I’m pleased that my retopology is getting a bit neater as I go along, but there are still some tricks I need to learn. On the whole I’m pleased with the result and I can’t wait to start baking later.