
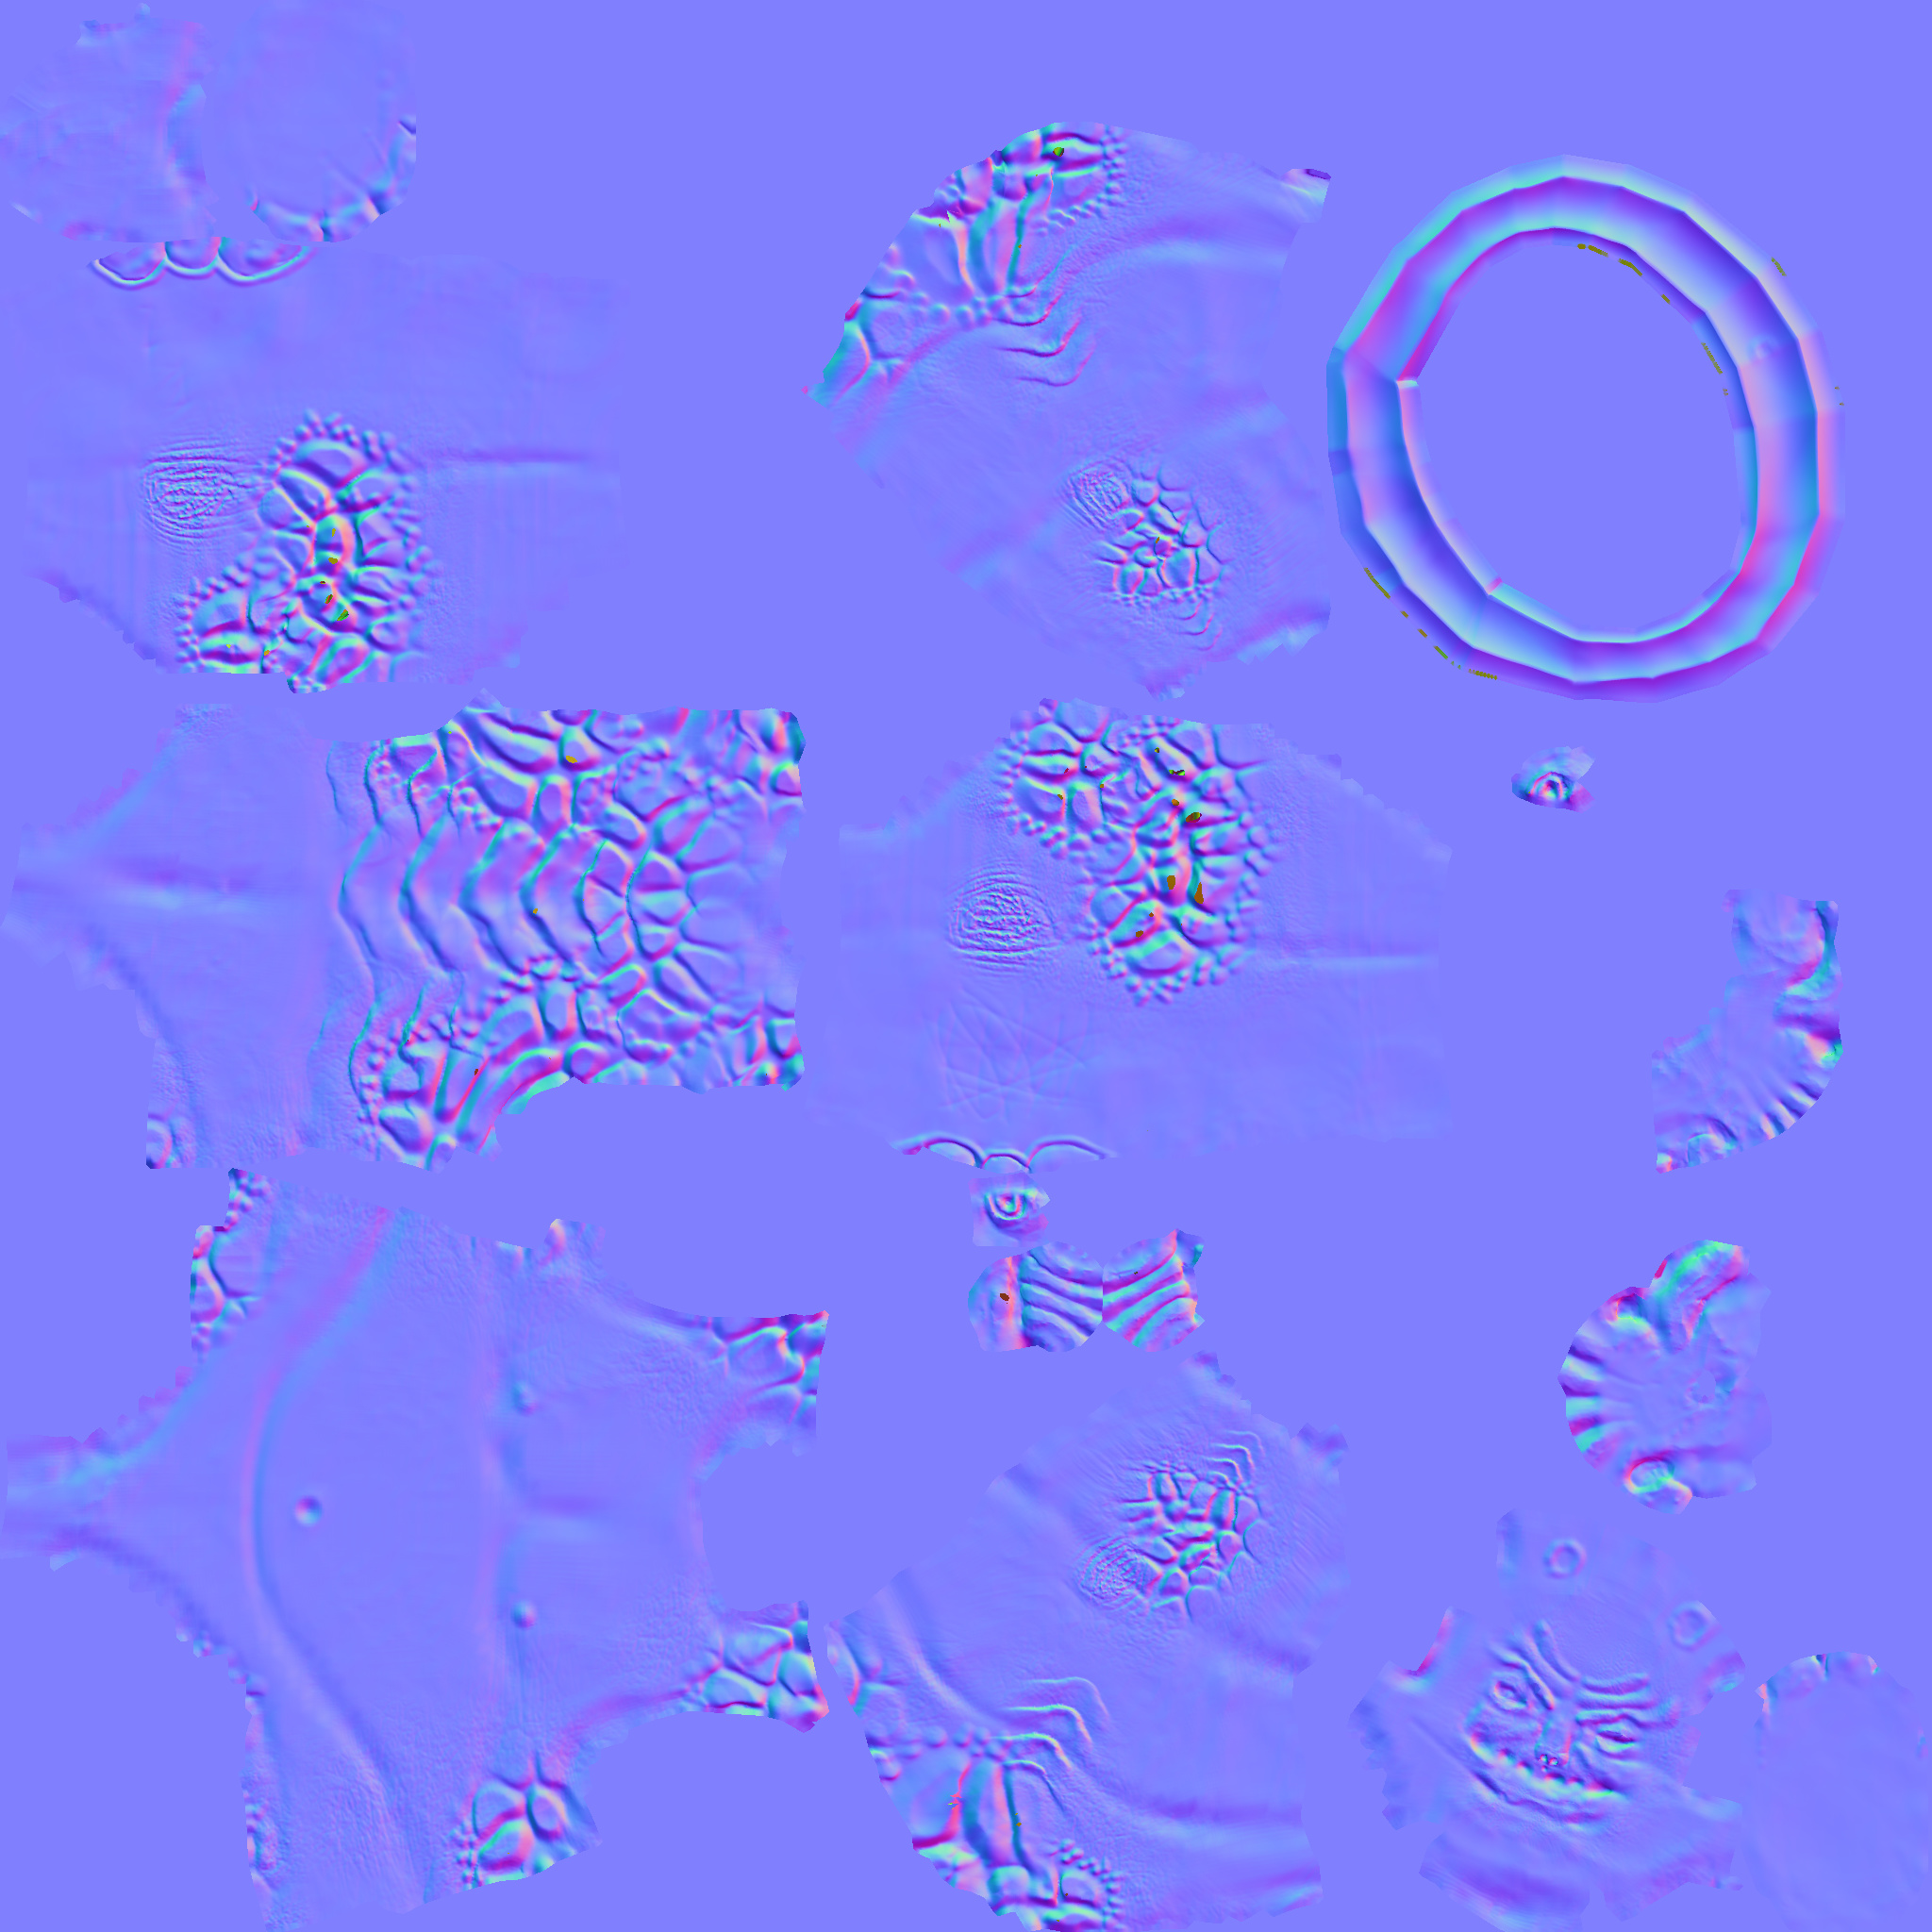
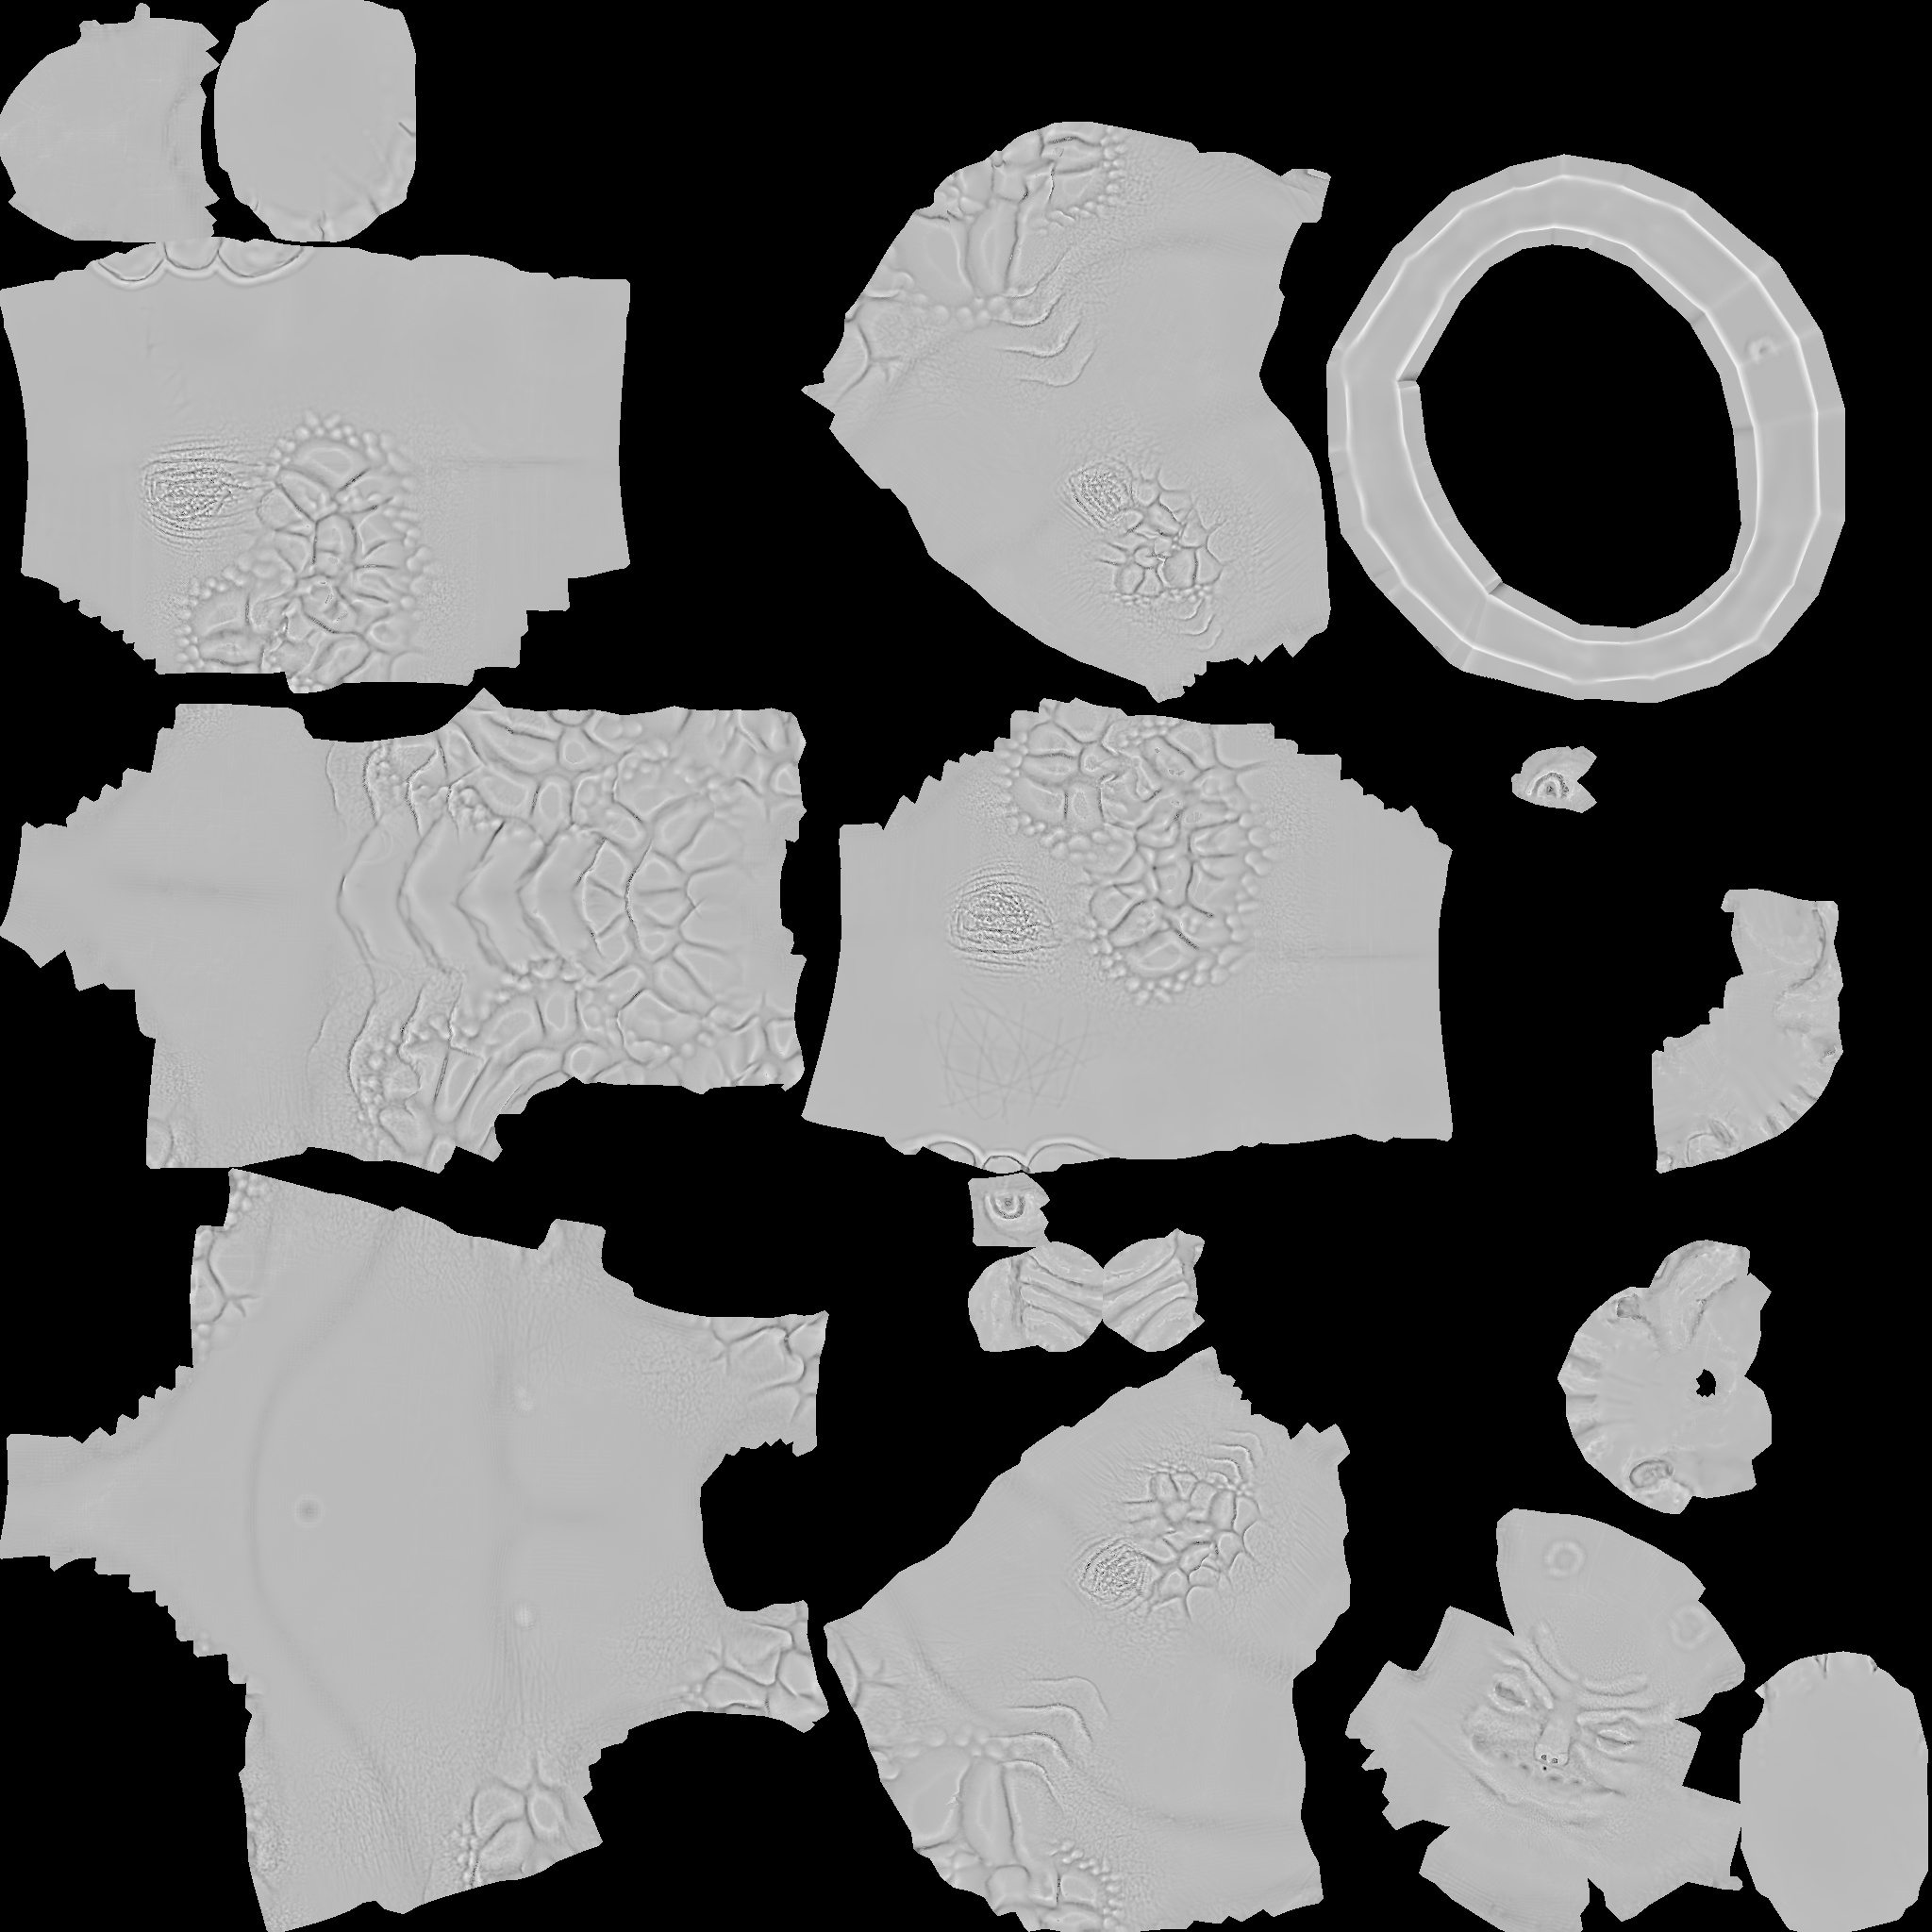
I am using blender 2.9. i even reduced the Max Ray Distance to 0.0000005 but still i am getting the same Map.
1 Like
Are you sure you are comparing the LOW and HIGH res versions??
Do you use a multires modifier??
You could try an older version of blender.
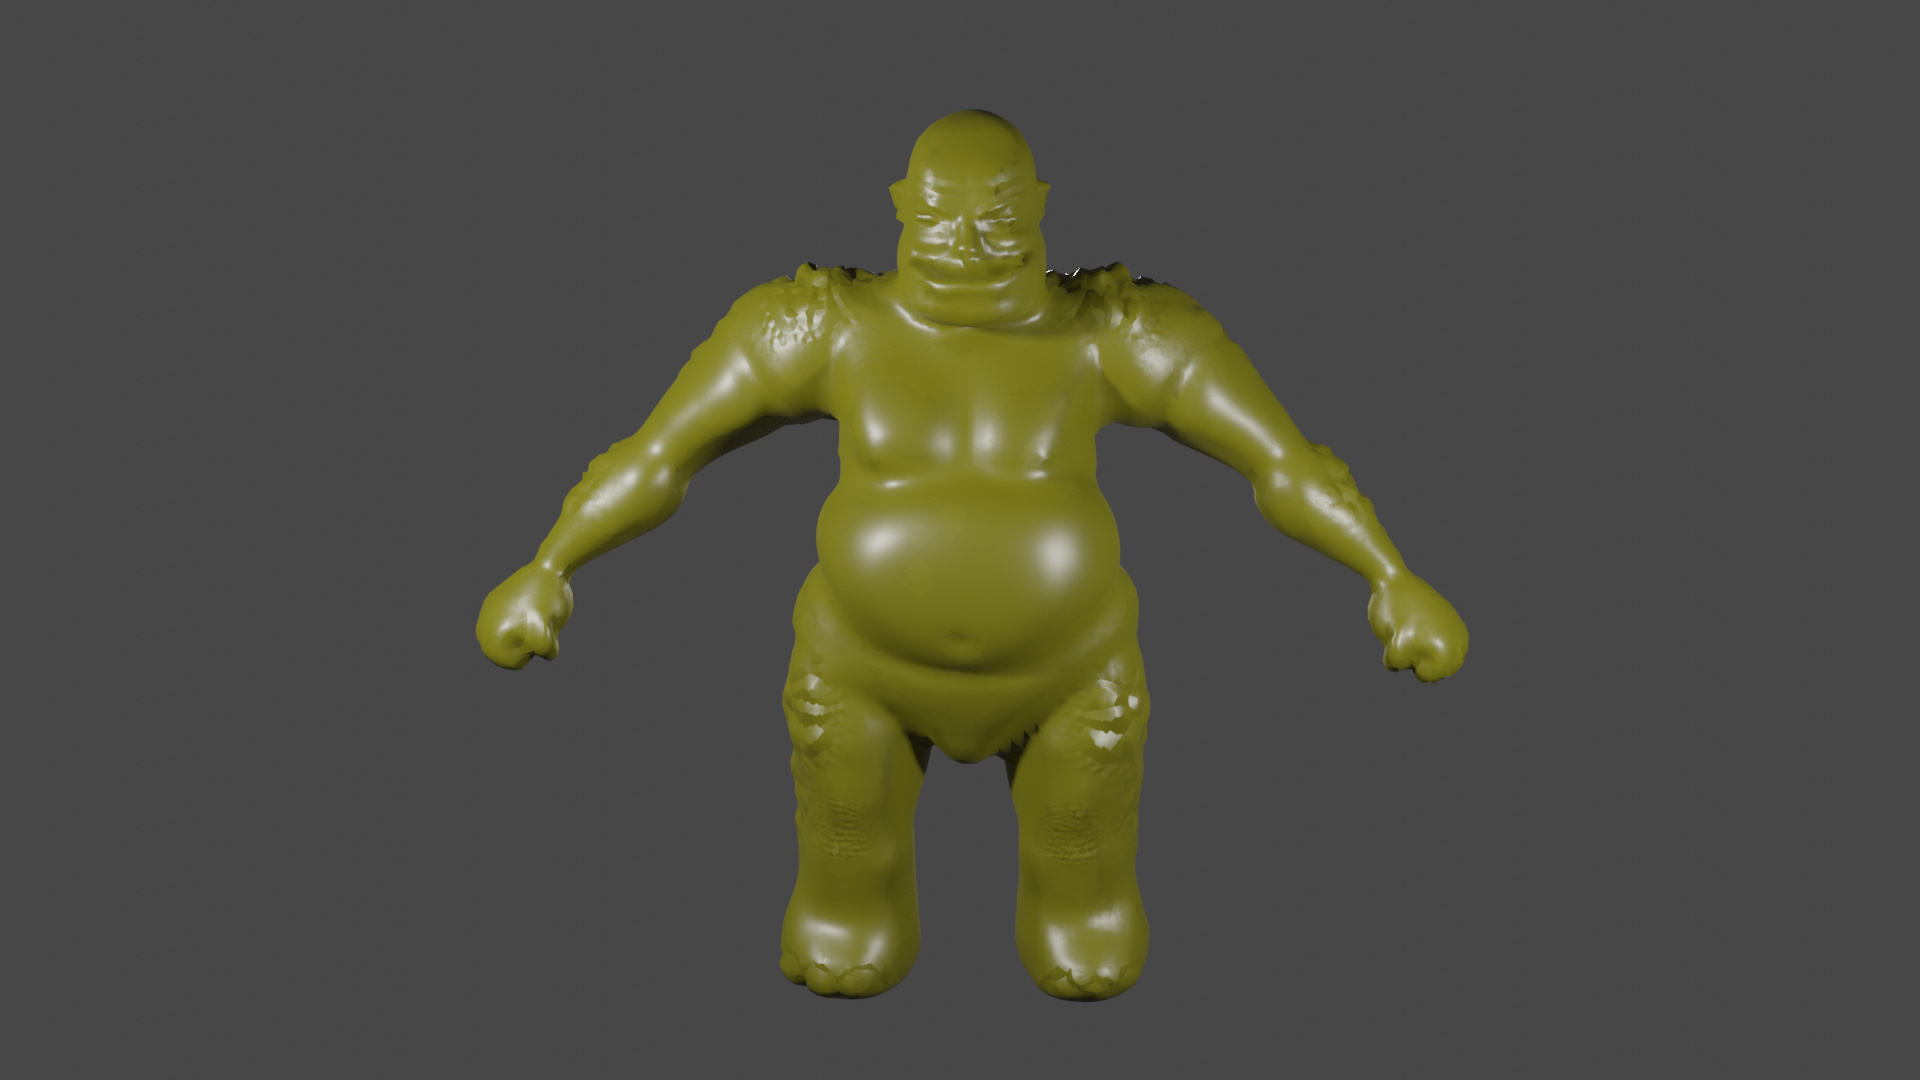
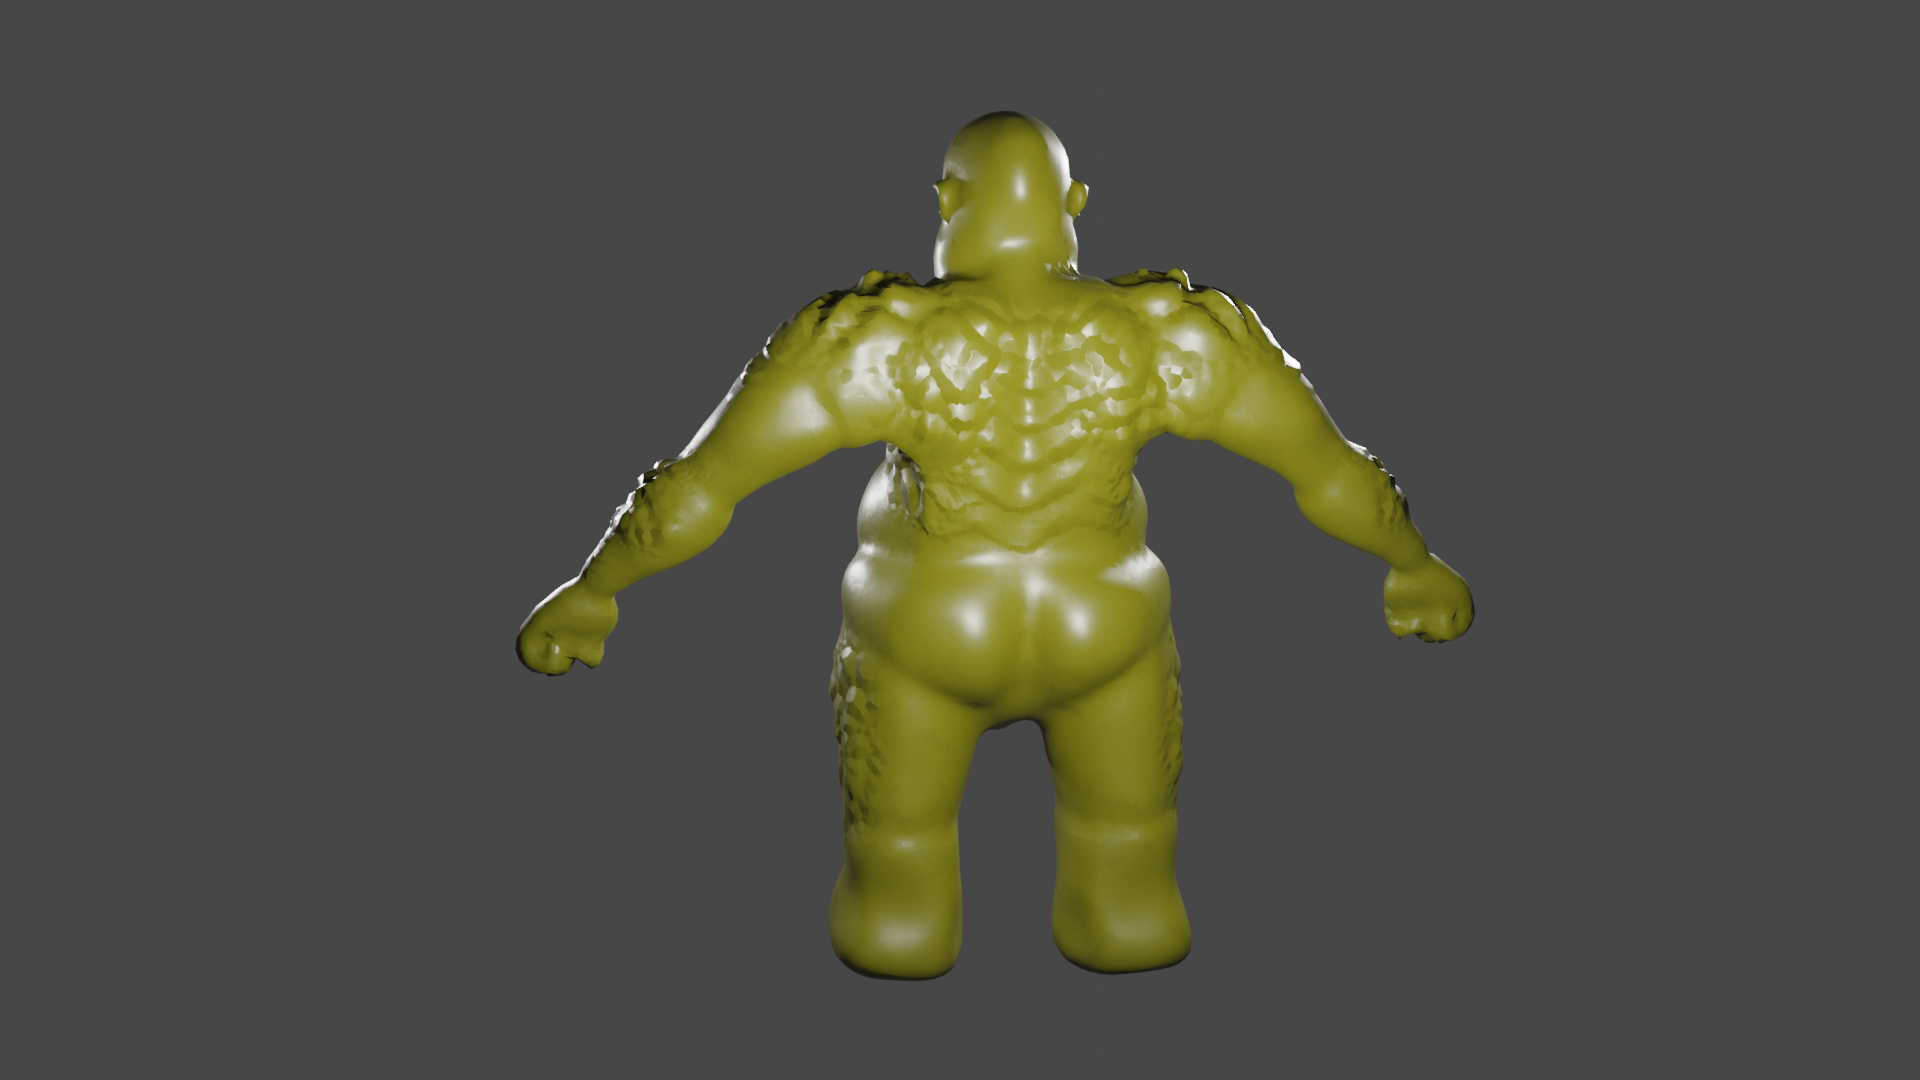
yes i am comparing the Lower to Higher. i am not using Multires modifier in body. this the Normal map of body only.
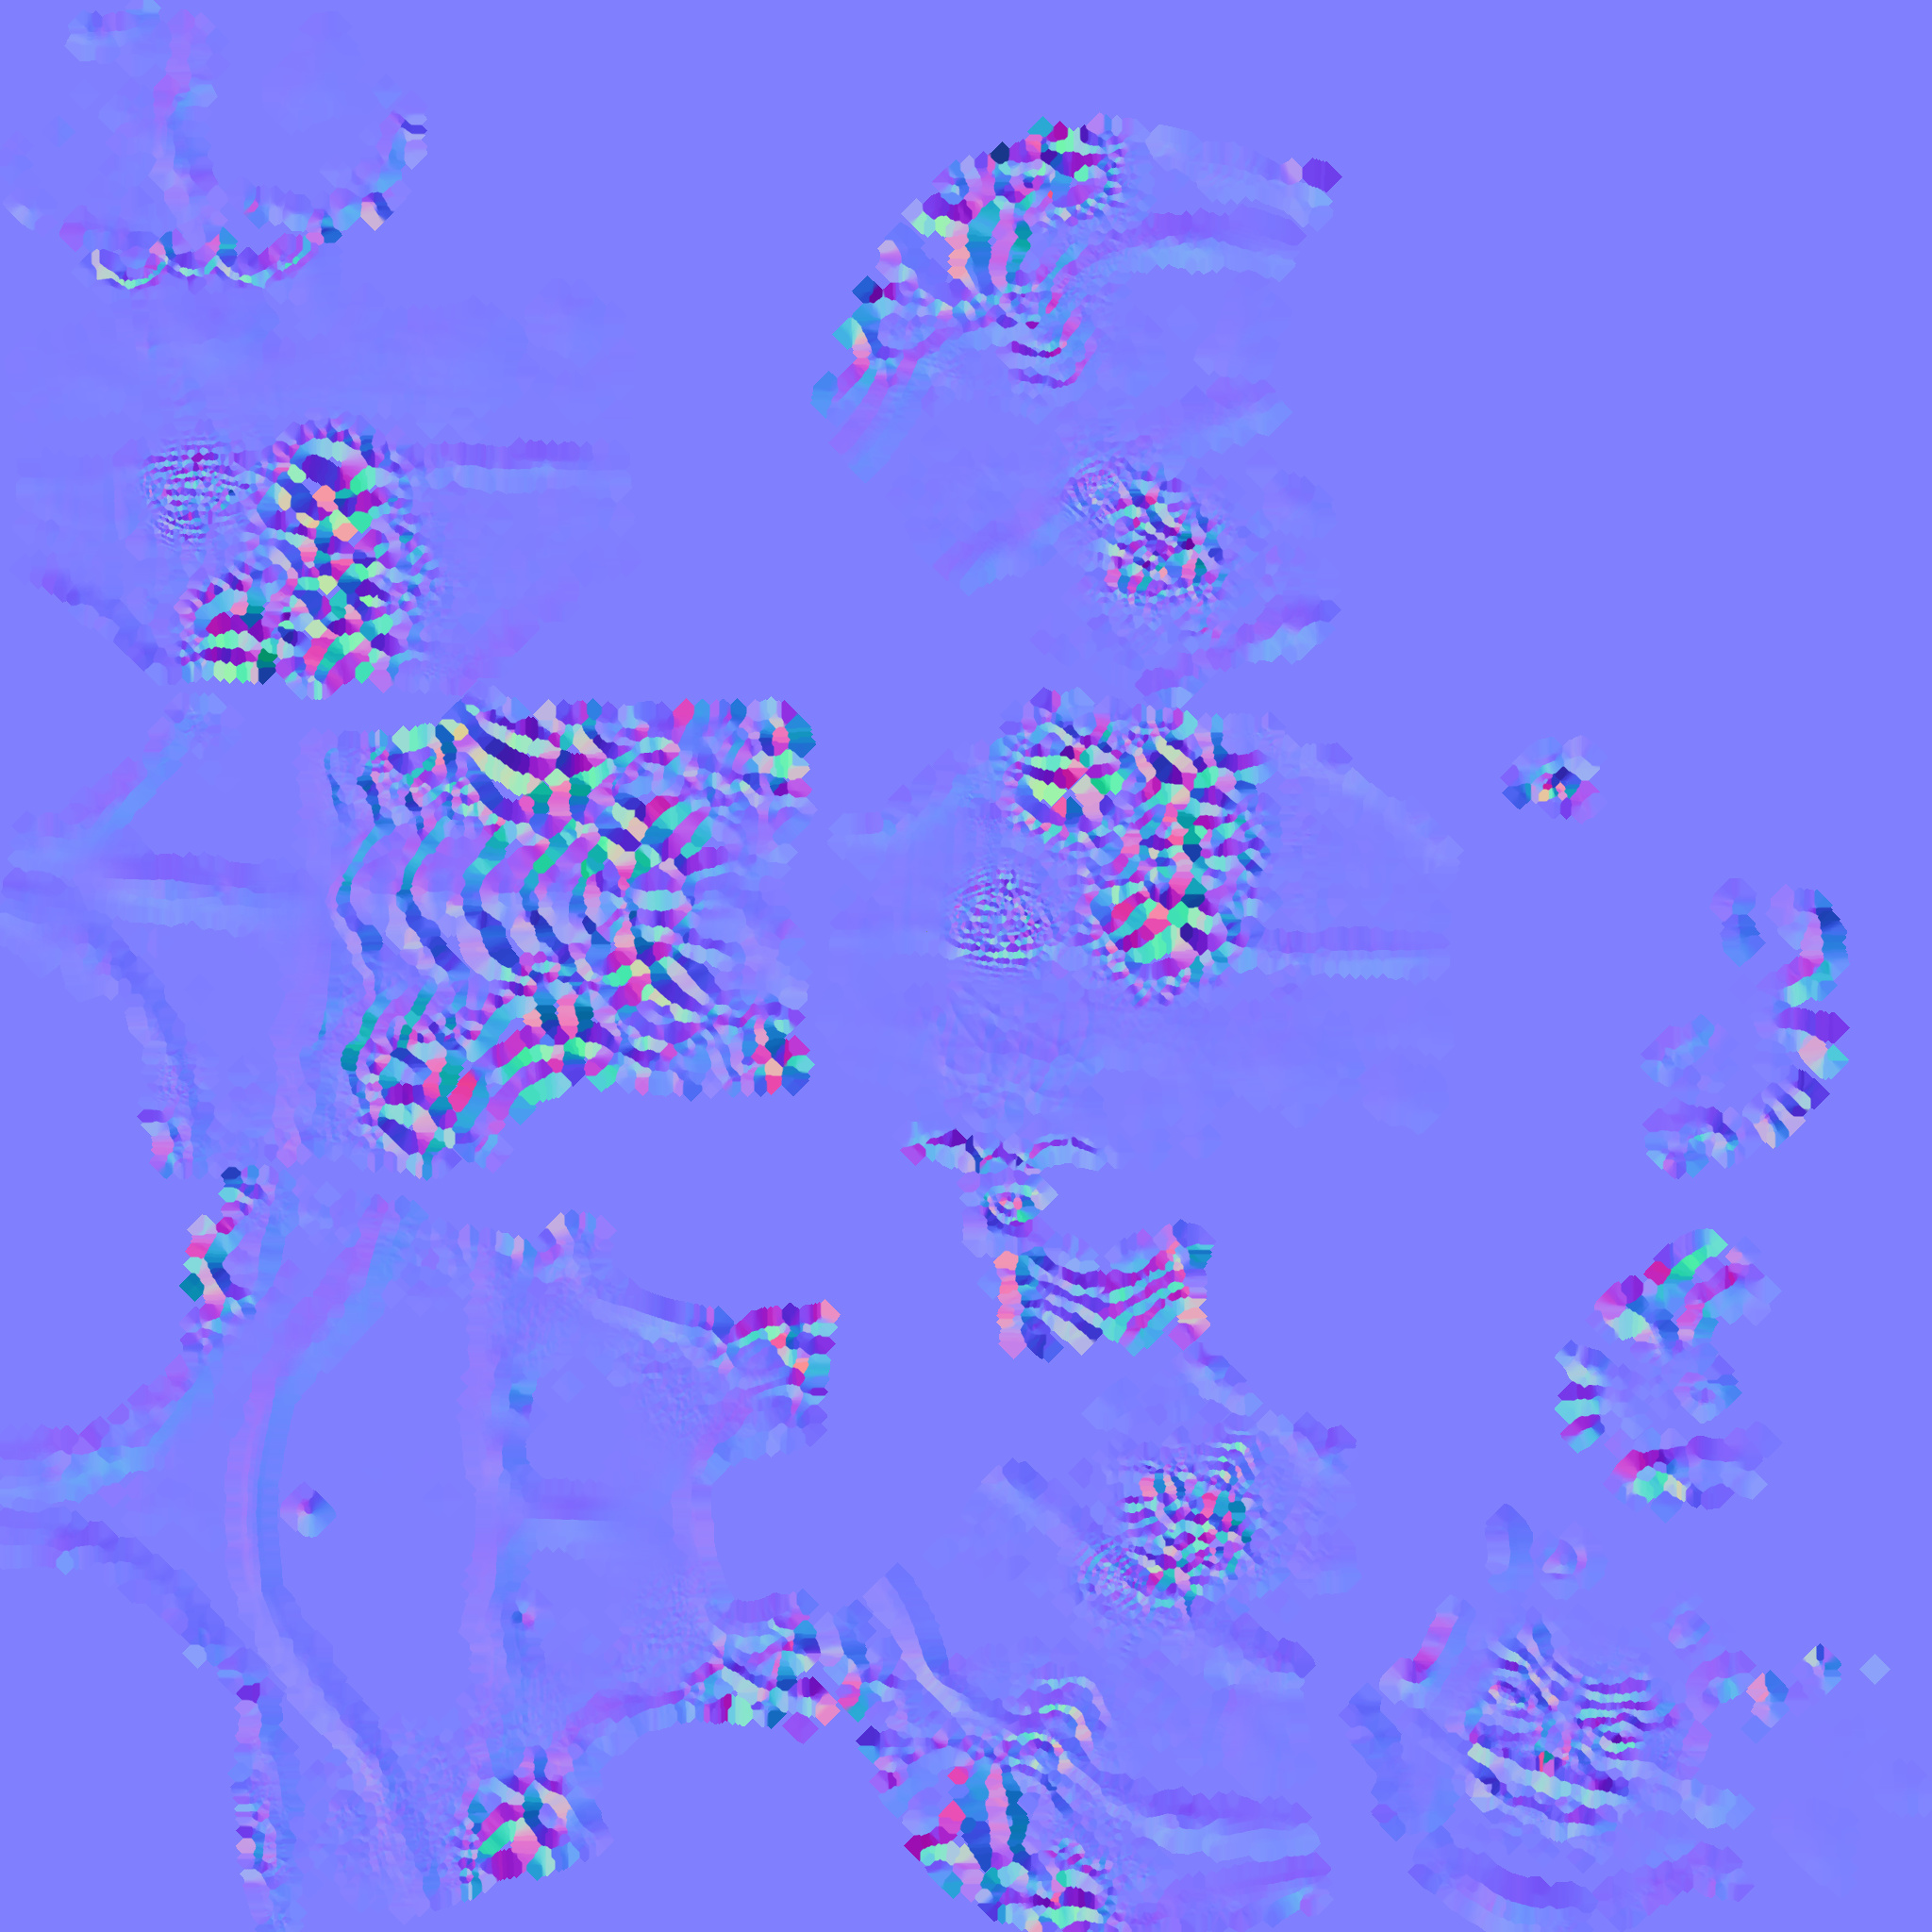
Even Cavity Map is coming like this in blender 2.9 with Max ray distance to 0.000005 

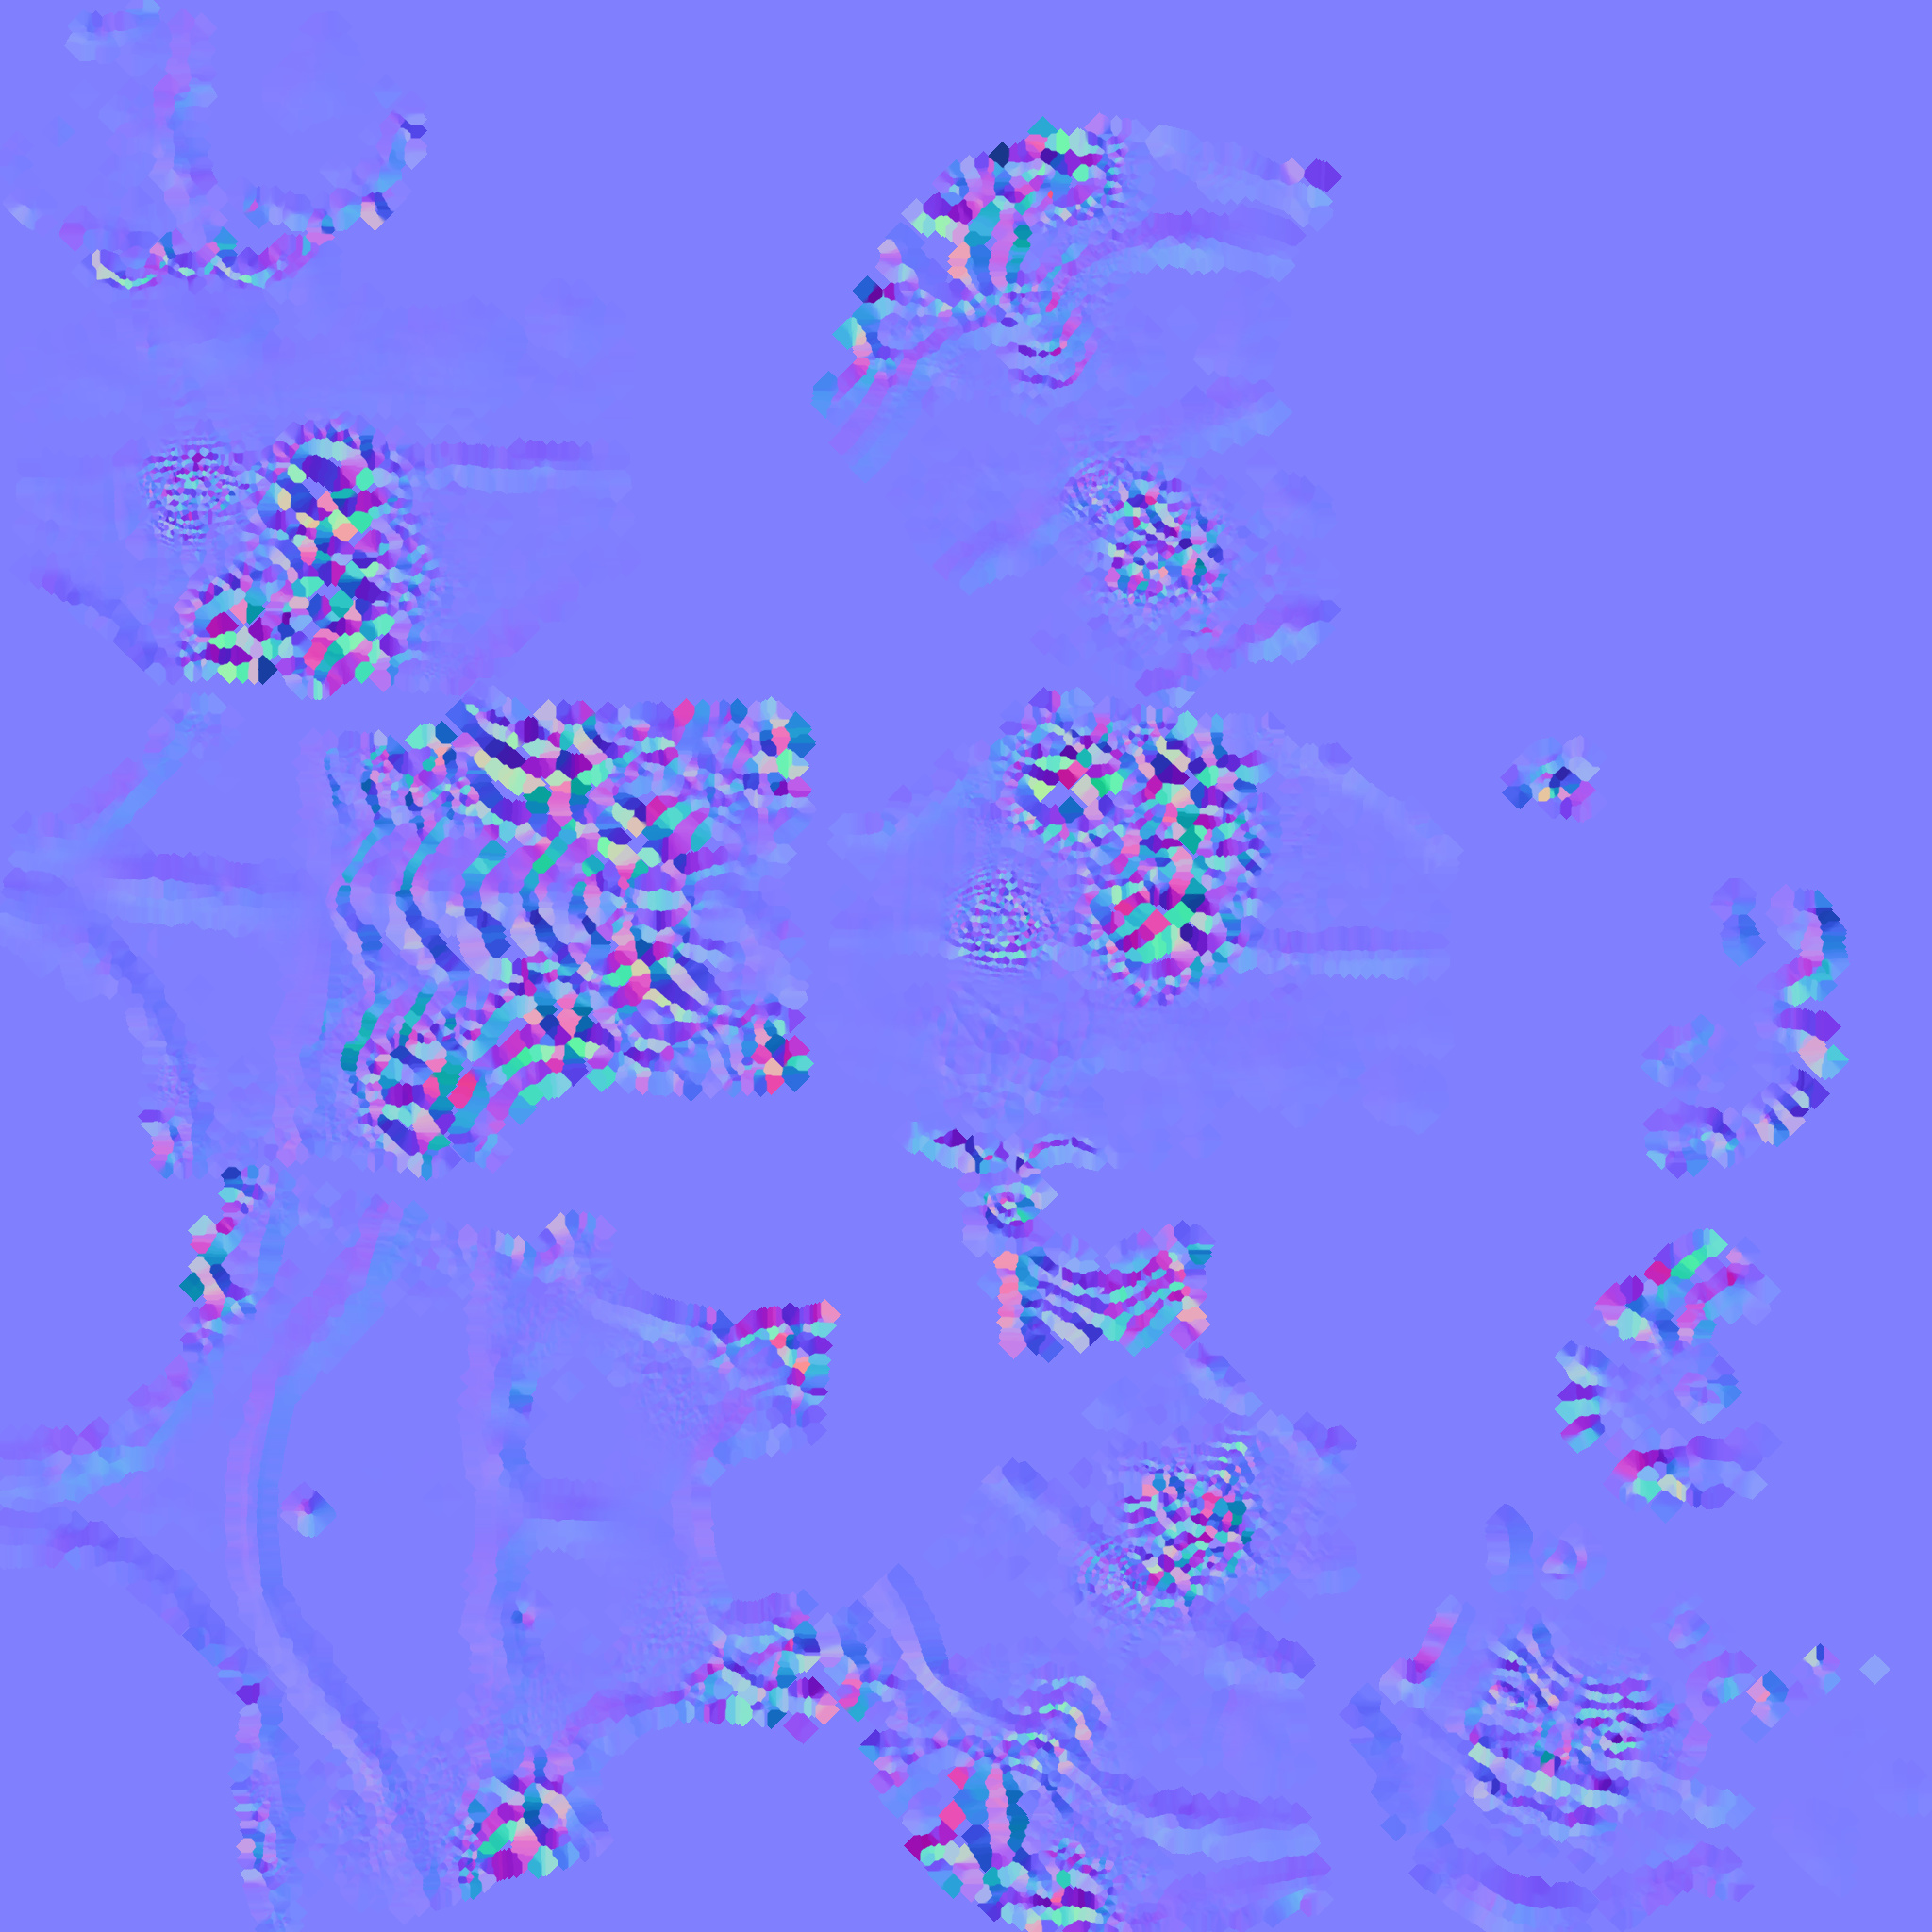
After Applying …Normal & Cavity Map…
1 Like
3 Things I can think of;
- You need to set your objects origins correctly and apply scales/rotation.
- Both objects need to be smooth shaded before baking.
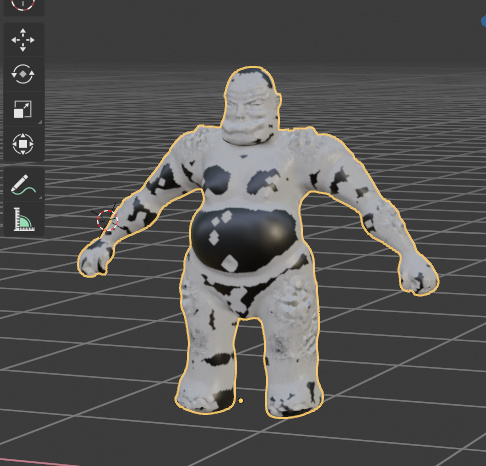
- The HP and LP mesh objects are too far apart from one another - in this case you can either sculpt the HP slightly to meet the LP, or move the faces on the LP to match the HP better. My guess, from looking at this picture, is that your objects origins are not centered. Also, your object is not in the center of the scene (although that shouldn’t affect it as long as your HP and LP objects origins are identical, its just easier to match up the origins if you can move your ‘Cursor’ to world origin and set object origin to ‘cursor’).
I hope this helps and you figure it out, don’t give up!
1 Like
done everything but outcome is same.
i will try this…old version 2.80 also not improving this…
i applied the Normal map and cavity map with RGB overlays setting fac at .08 for cavity map. is this right ??
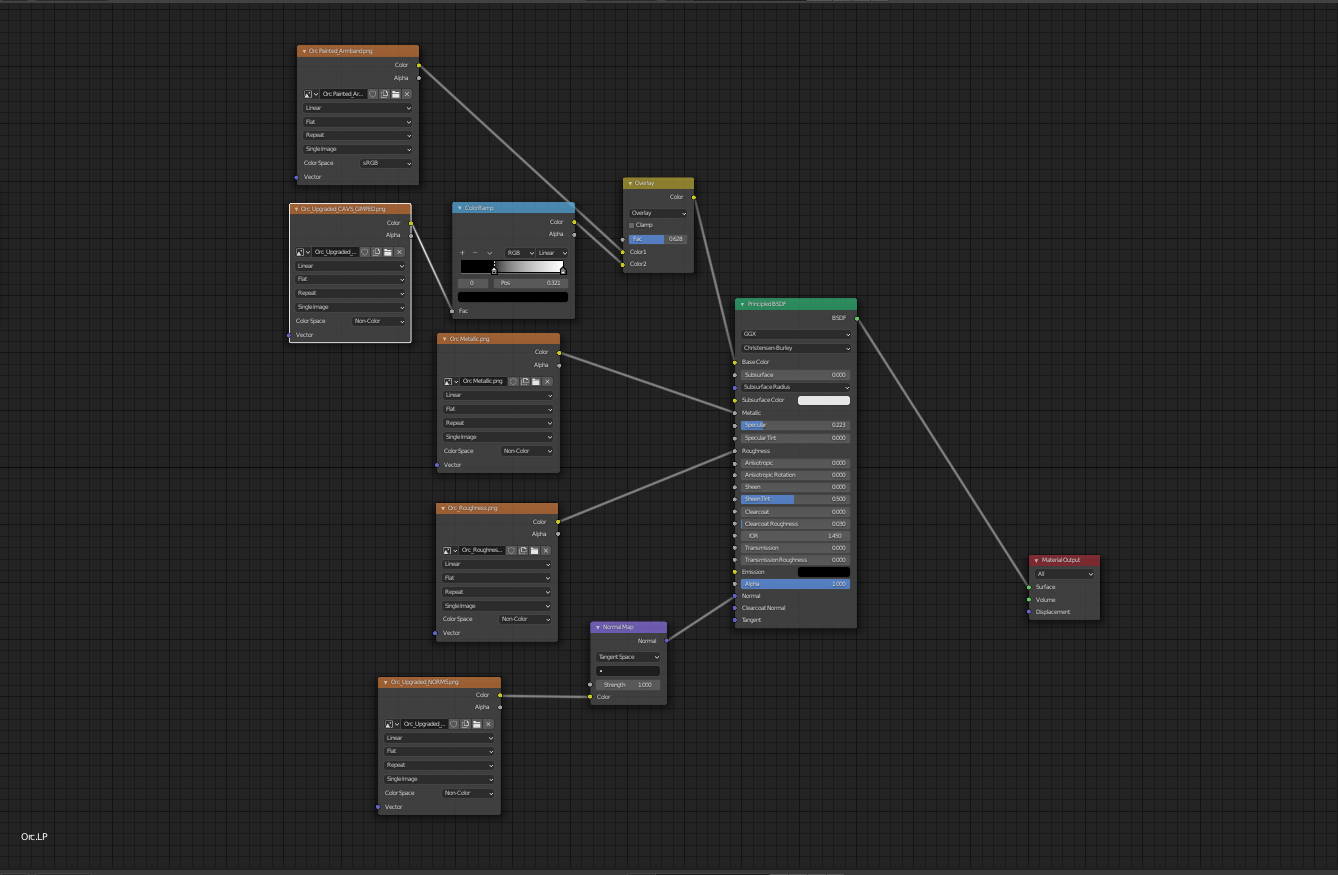
Good morning Rao. Without seeing your material node setup it’s hard to determine what could be the issue. However, this is what a very basic node setup taught in this course should look like(taken from my own project during the course).
Also, another thing I forgot to mention last night, was that it’s also possible you have inverted faces on either the HP or (most likely) the LP meshes. To check this, go to the top right of the viewport and select overlays (double circle icon beside viewport mode option) and select ‘Face Orientation’. Any red faces are inverted and will cause big problems. To fix this issue, simply go into edit mode and select all with ‘A’ then Recalculate Normals with ‘Shift N’. Rebake and hopefully that helps.
Thanks for sharing. there is no inverted faces.
Grant suggests using an emission shader instead of a BDSF for the cavity map.
Have you tried 0 in the ray distance?


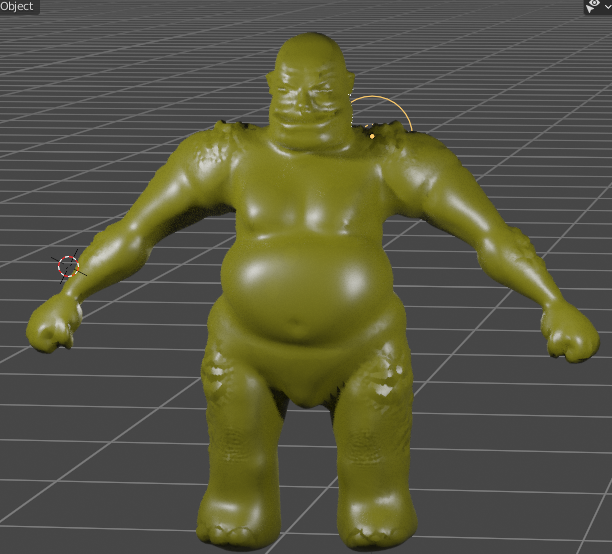
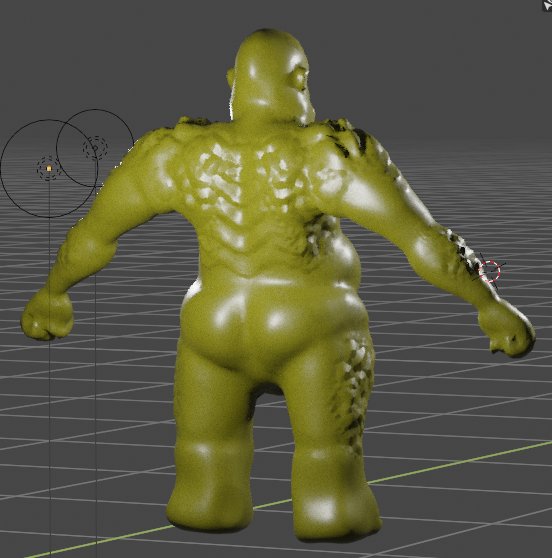
As suggested by you, I have used Cage option… i put ray value 1.0. and maps are coming fine.
Thanks a lot.
3 Likes
Np, just glad I could help out a fellow student of the 3D arts. 
1 Like
This topic was automatically closed 24 hours after the last reply. New replies are no longer allowed.