About 'Using A Height Or Displacement Map'!

In this video (objectives)…

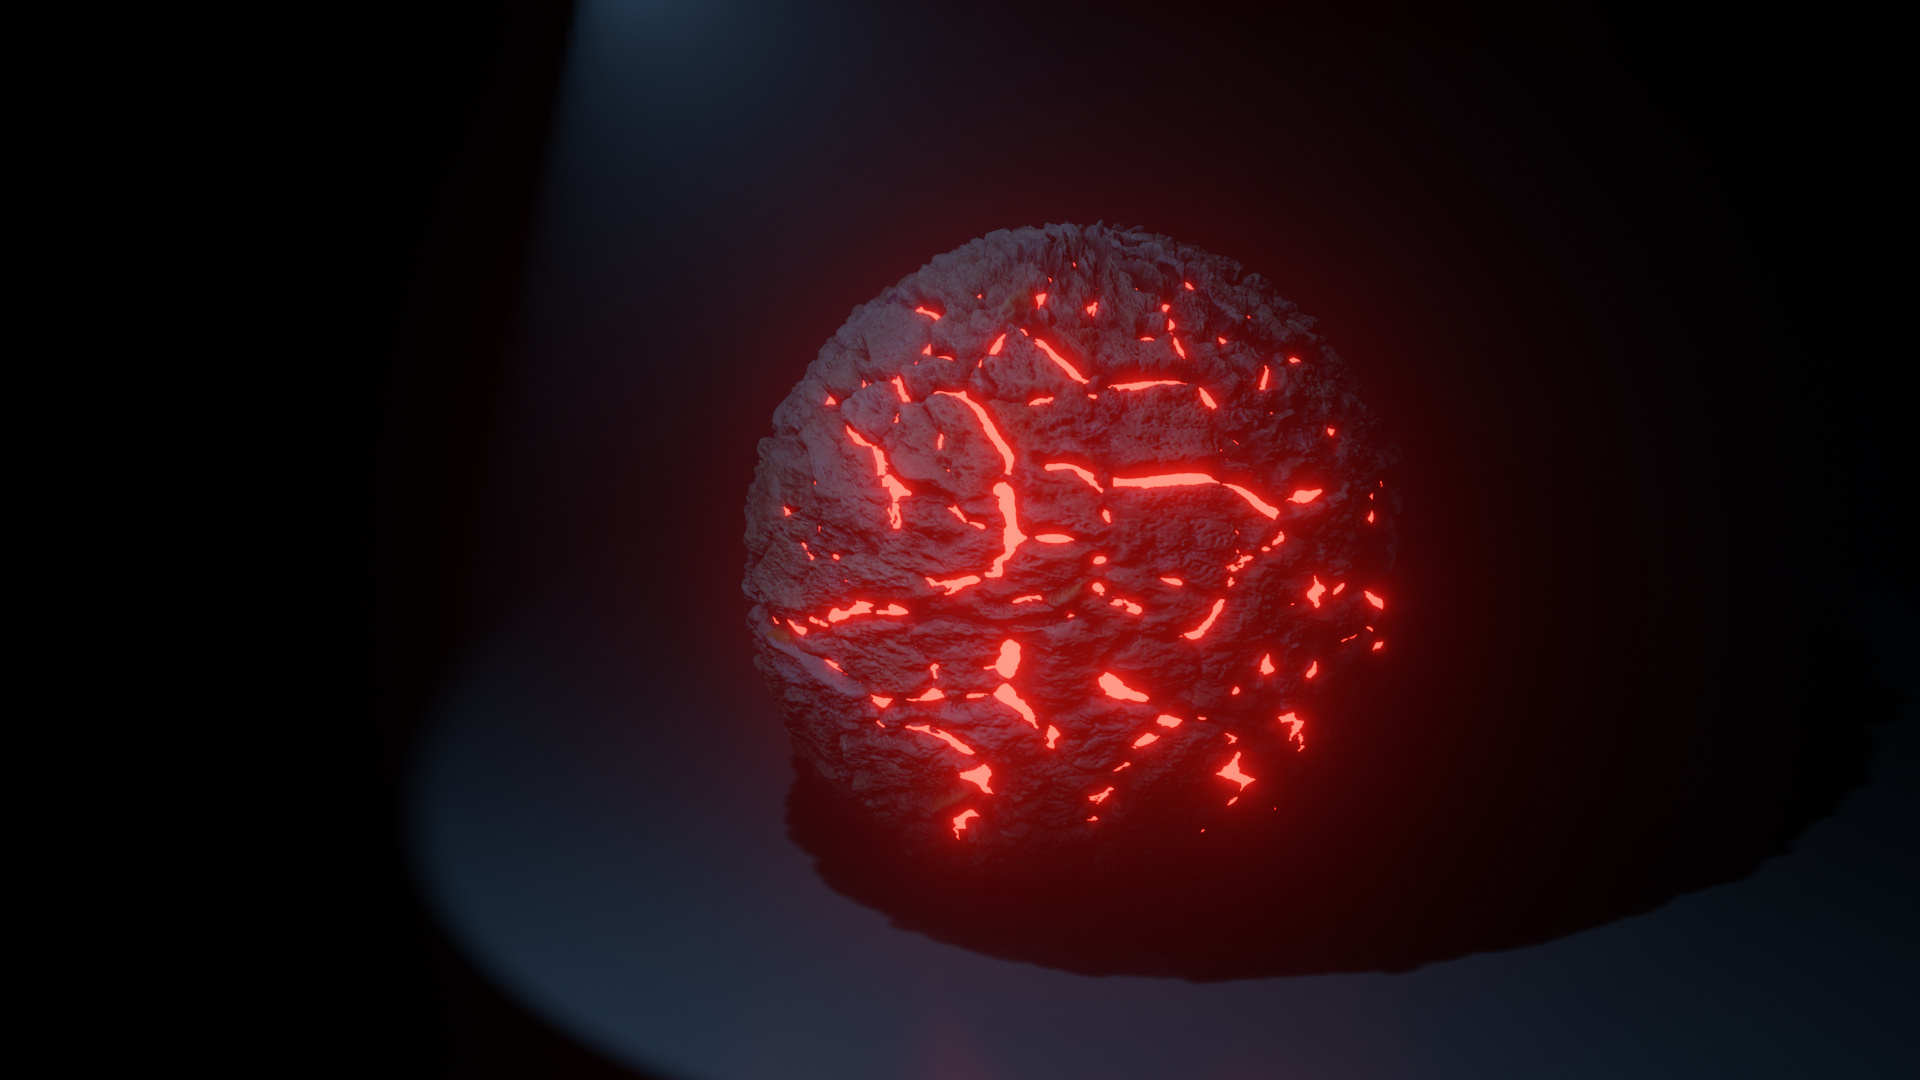
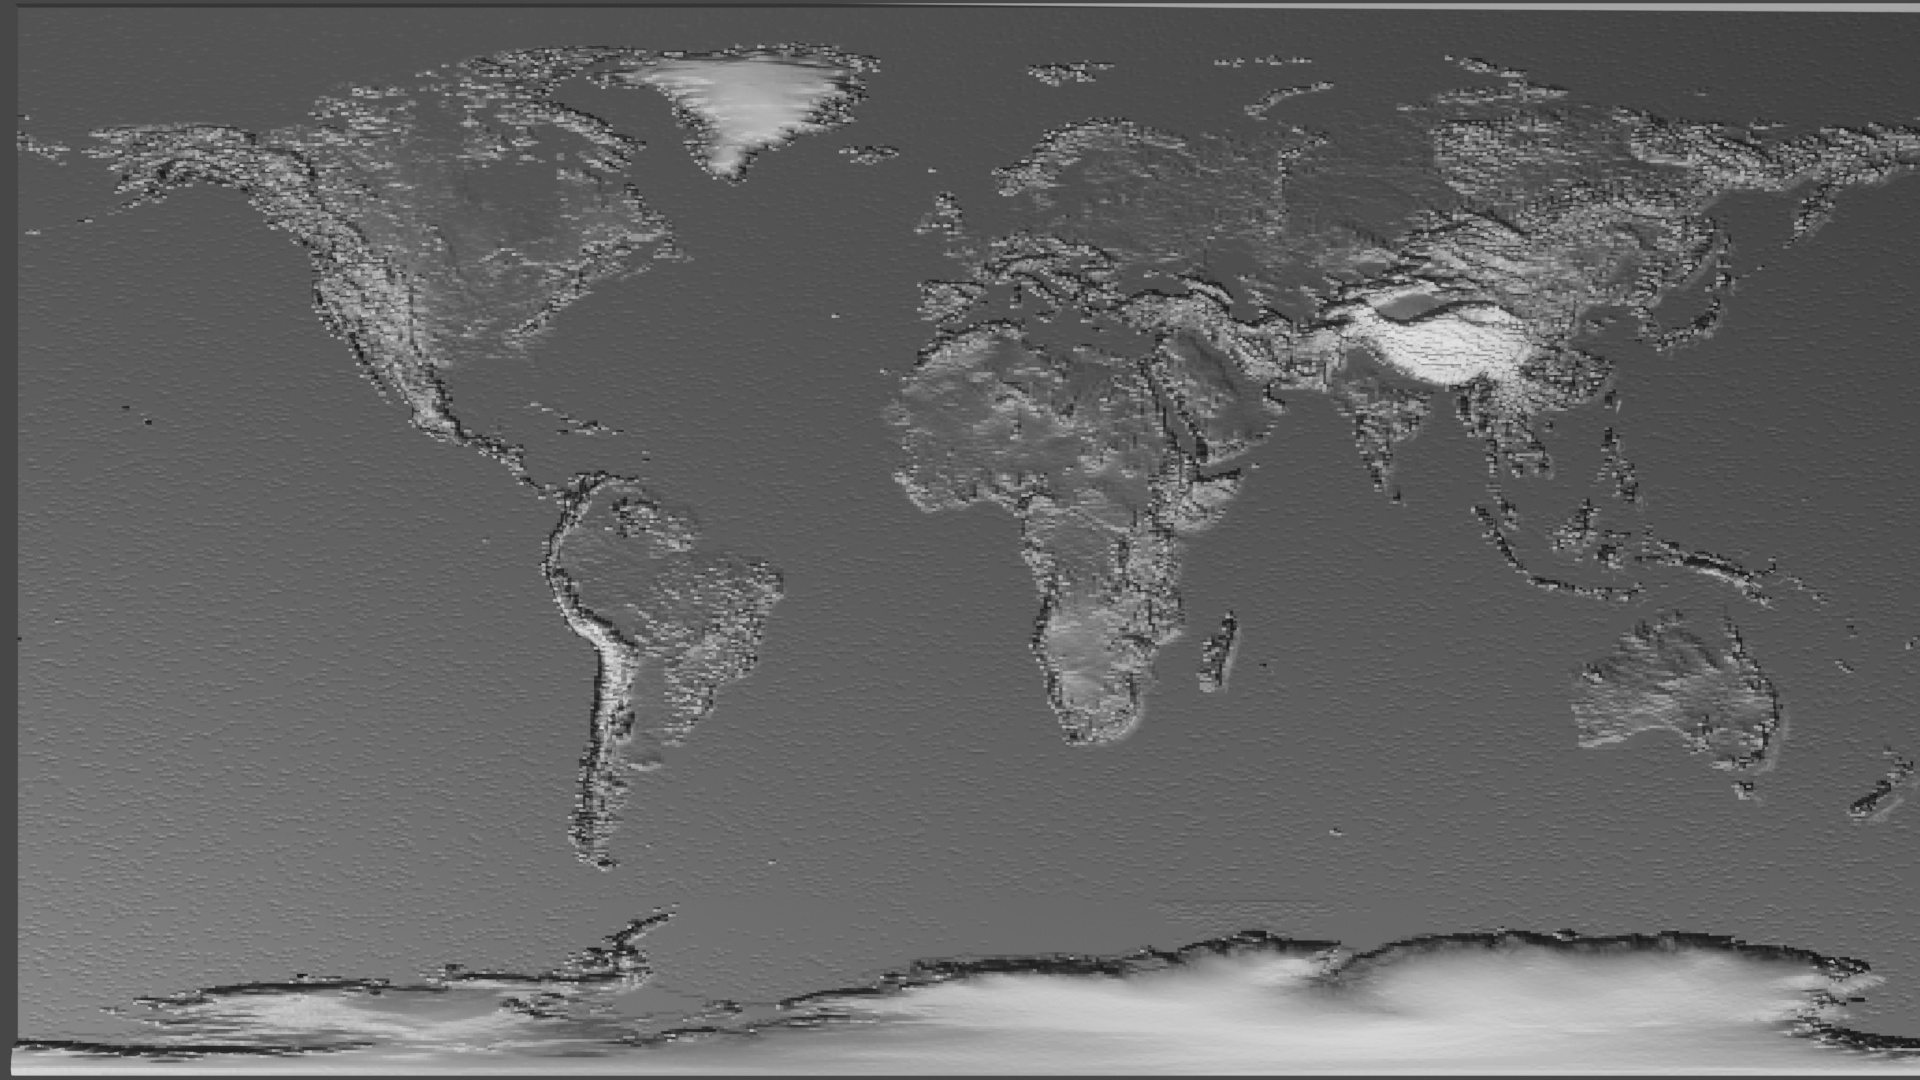
  1. Height map is a type of bump map
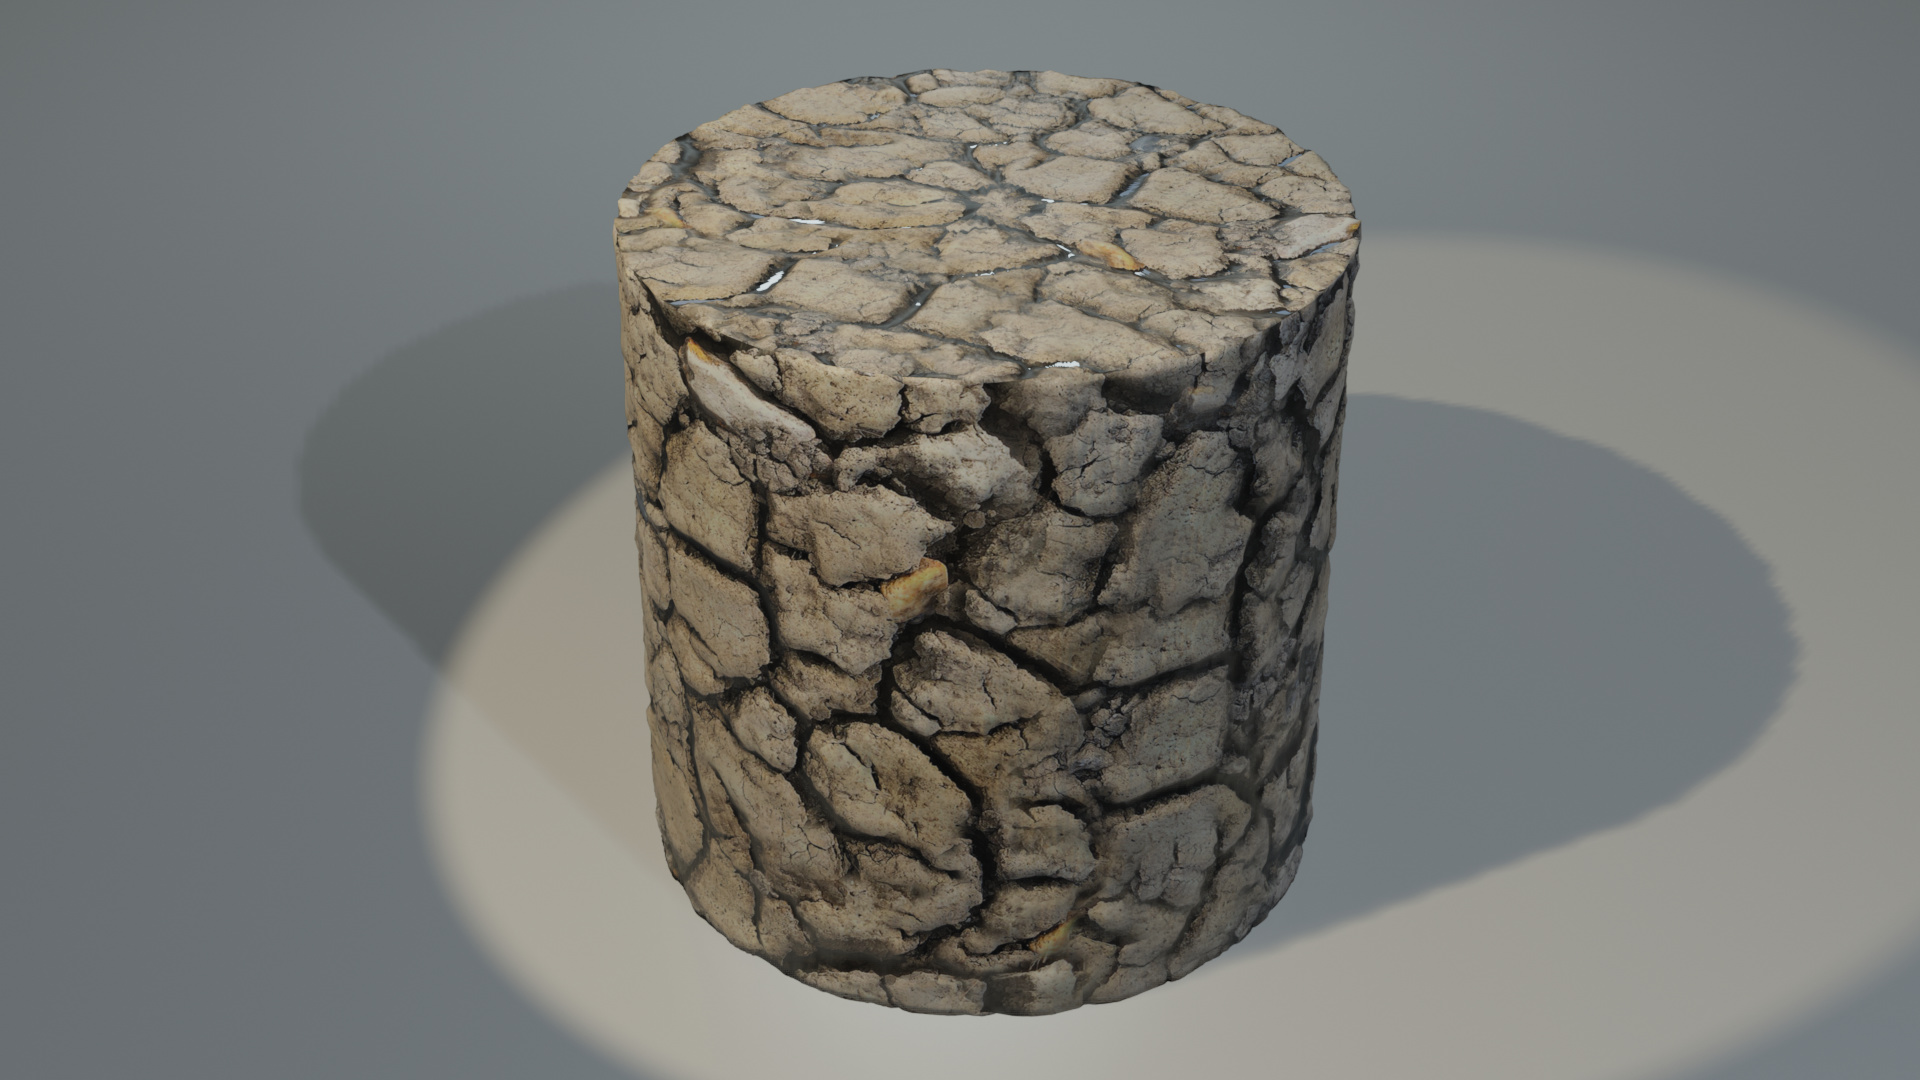
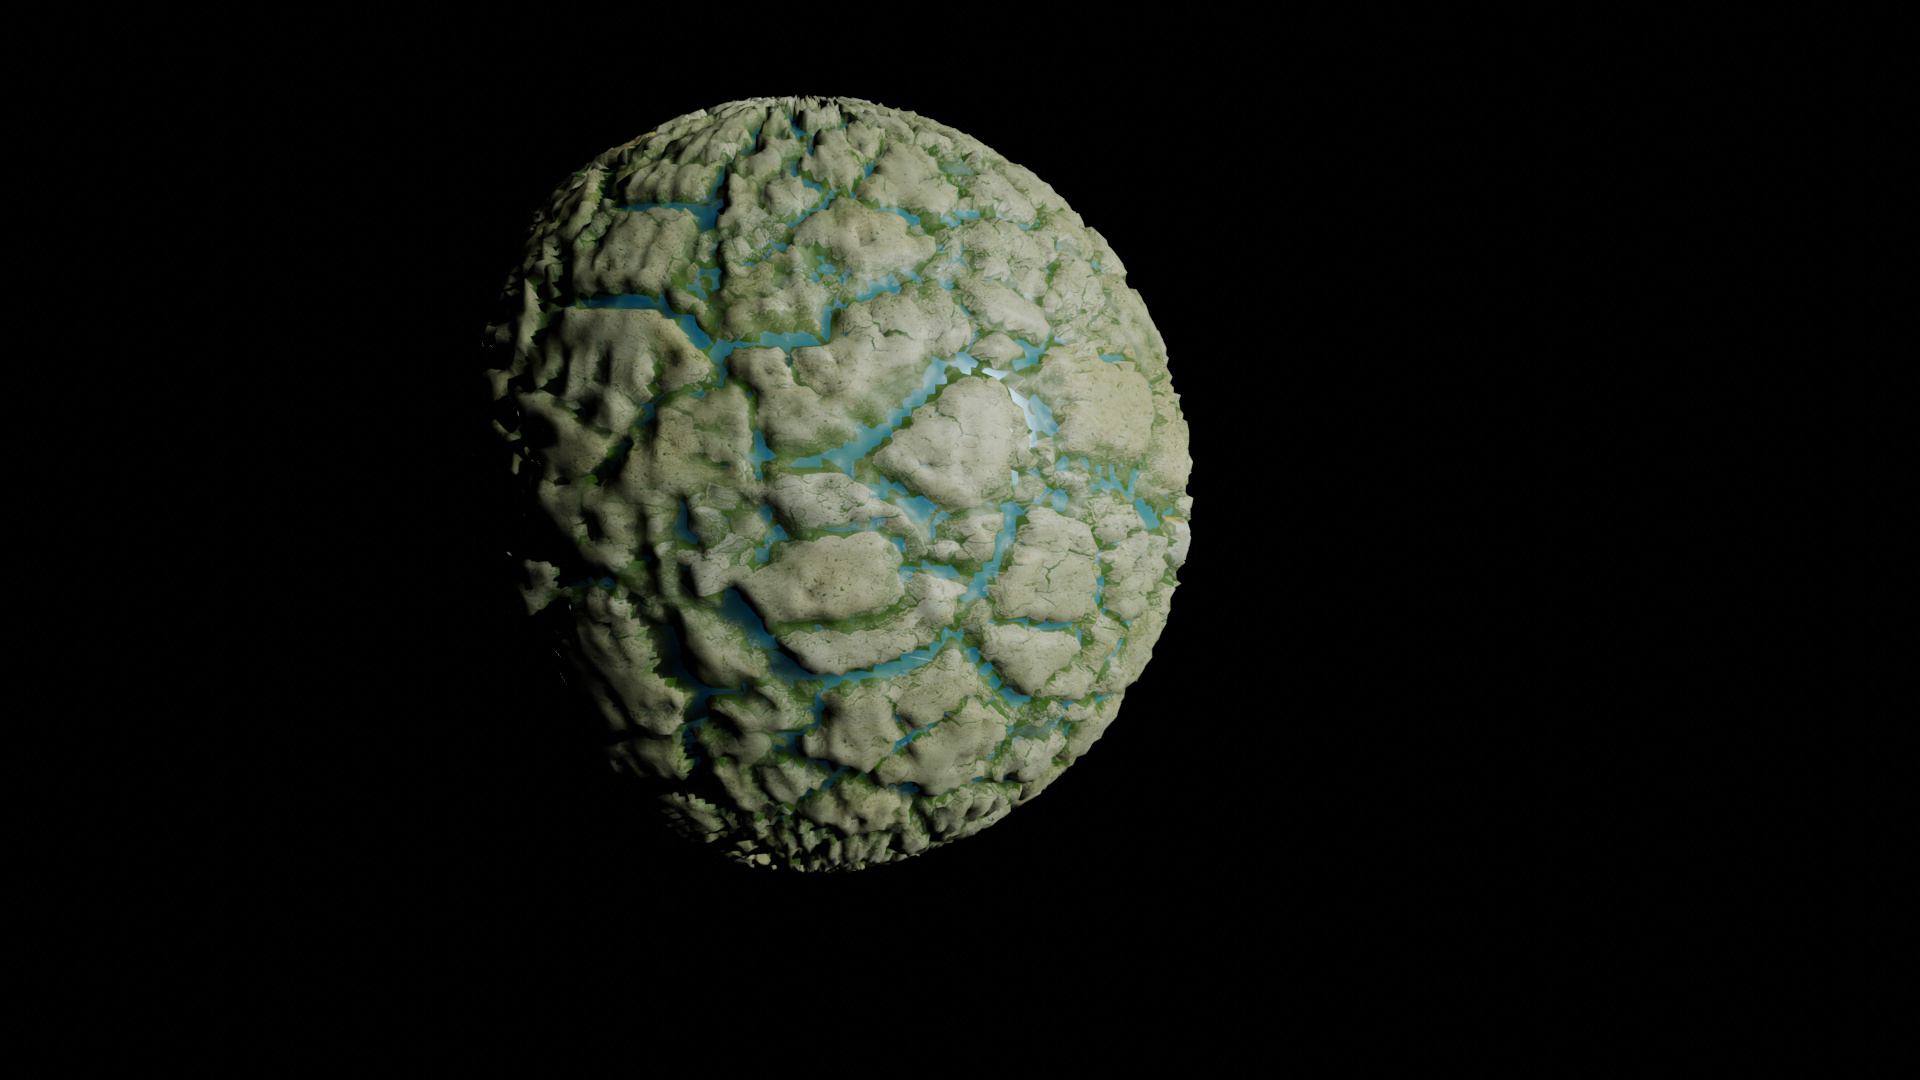
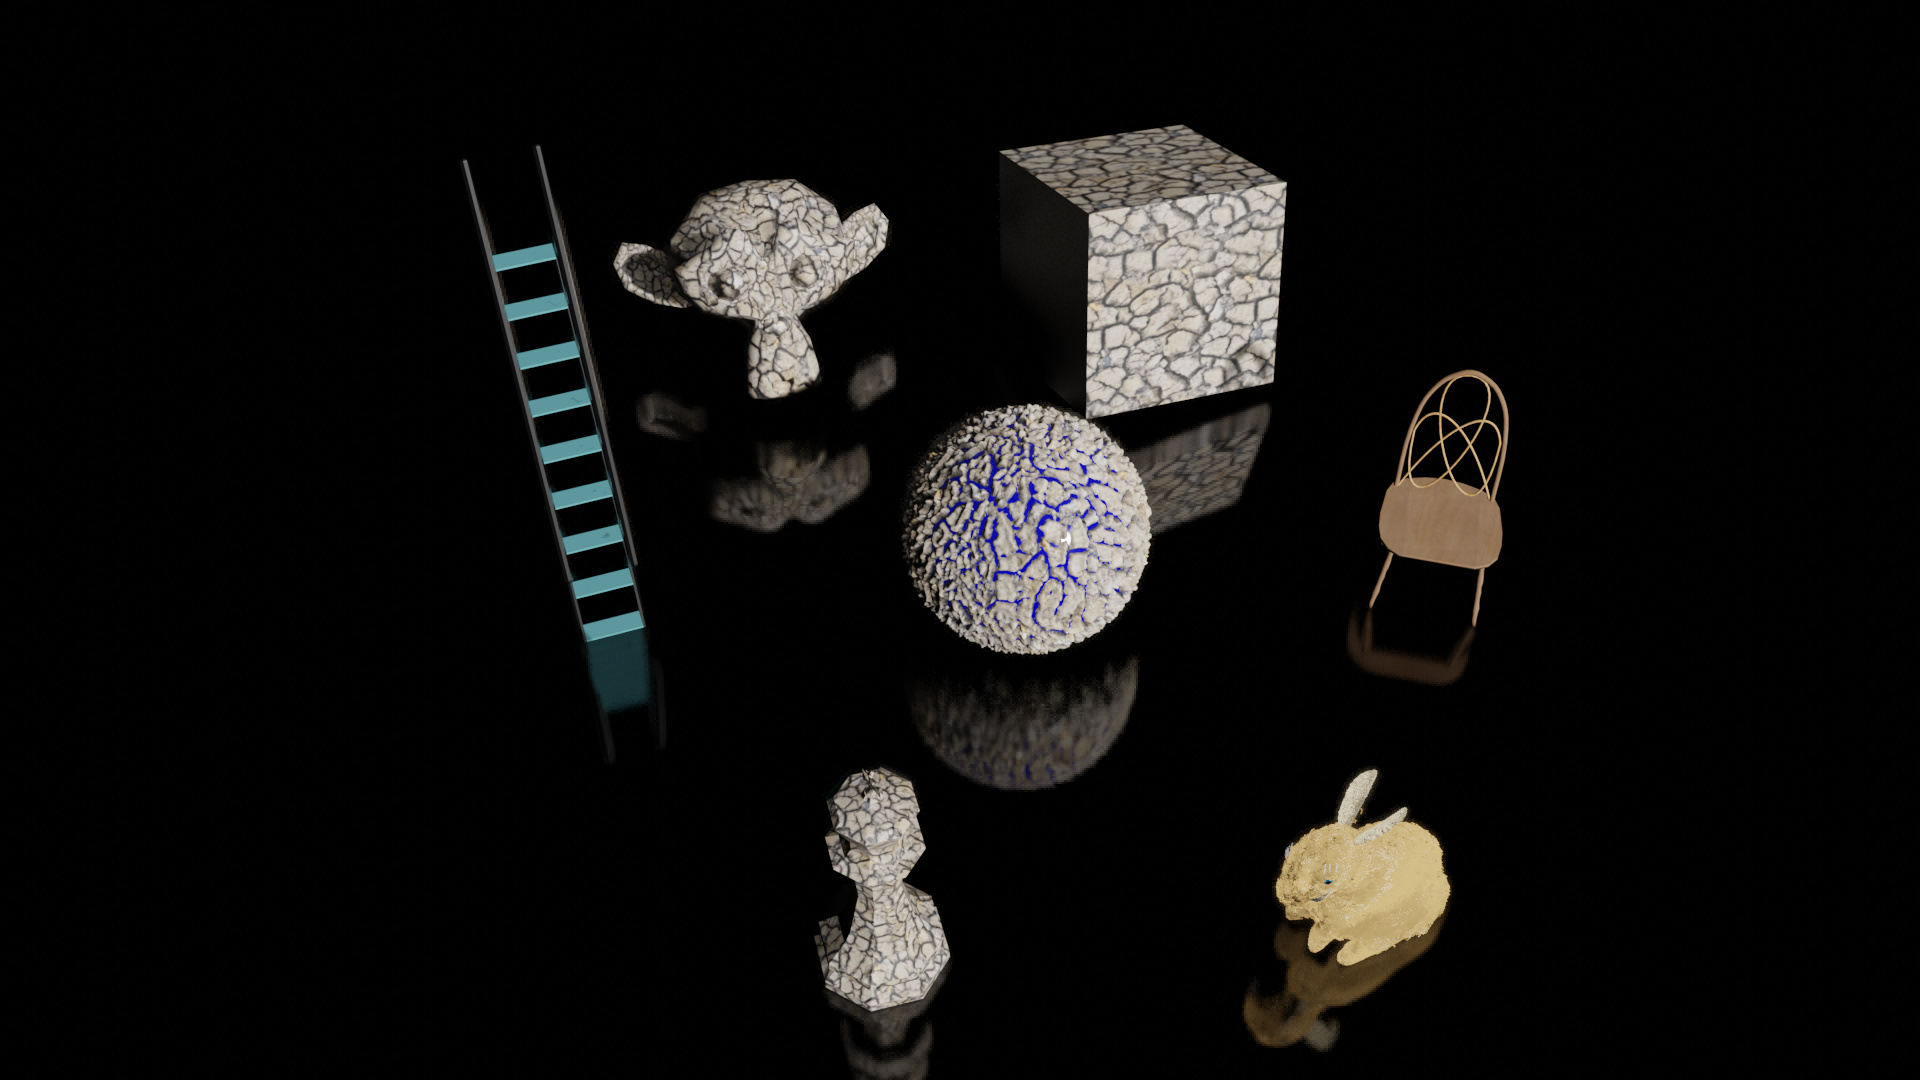
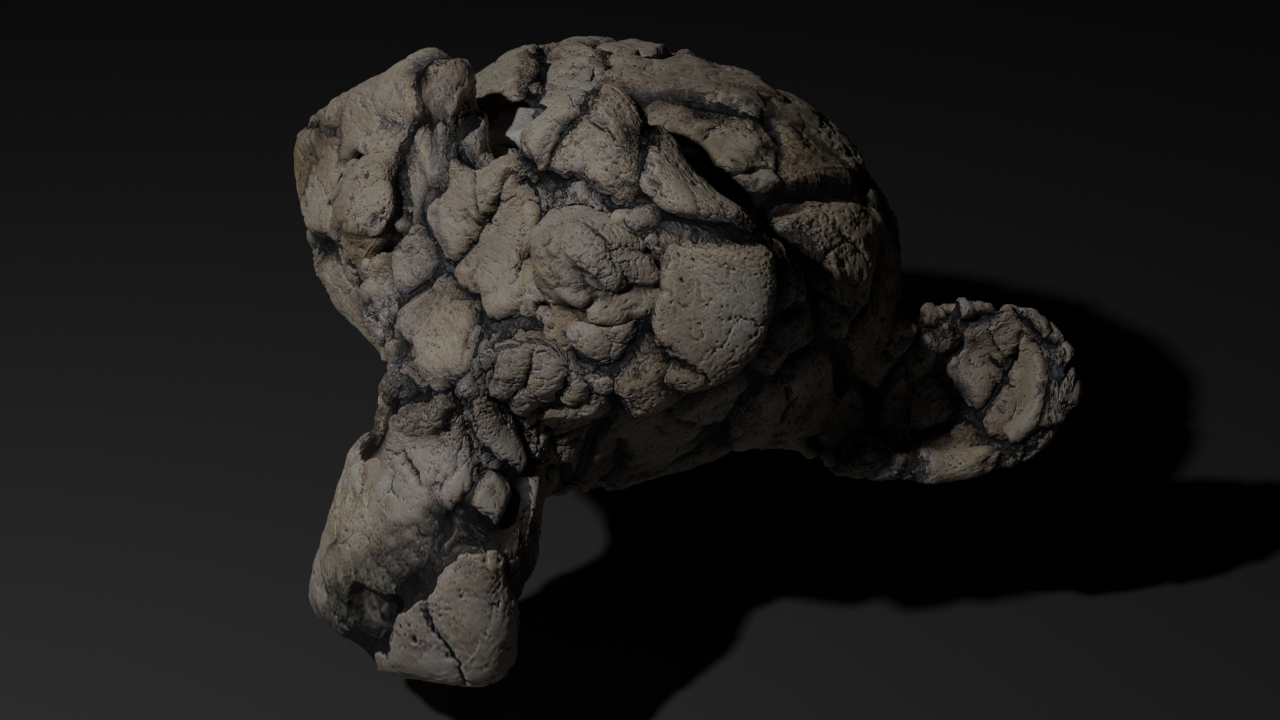
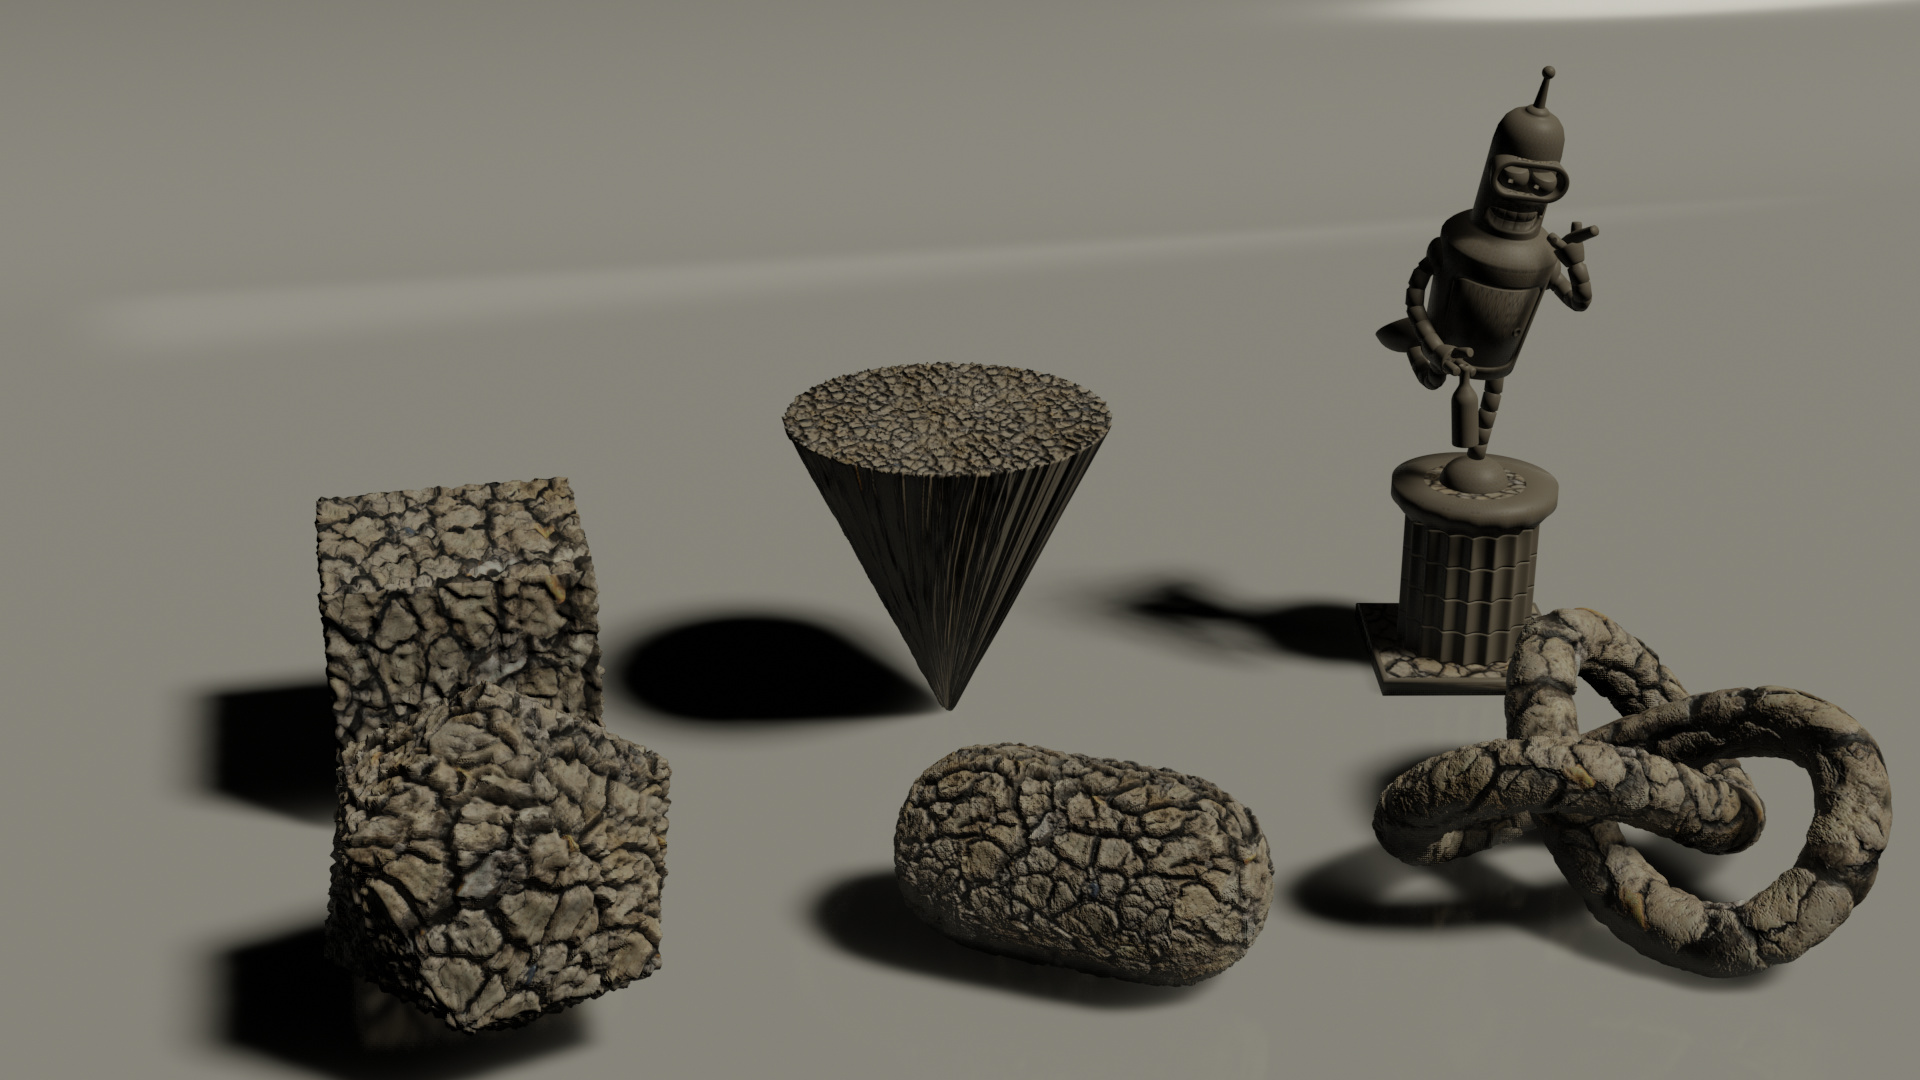
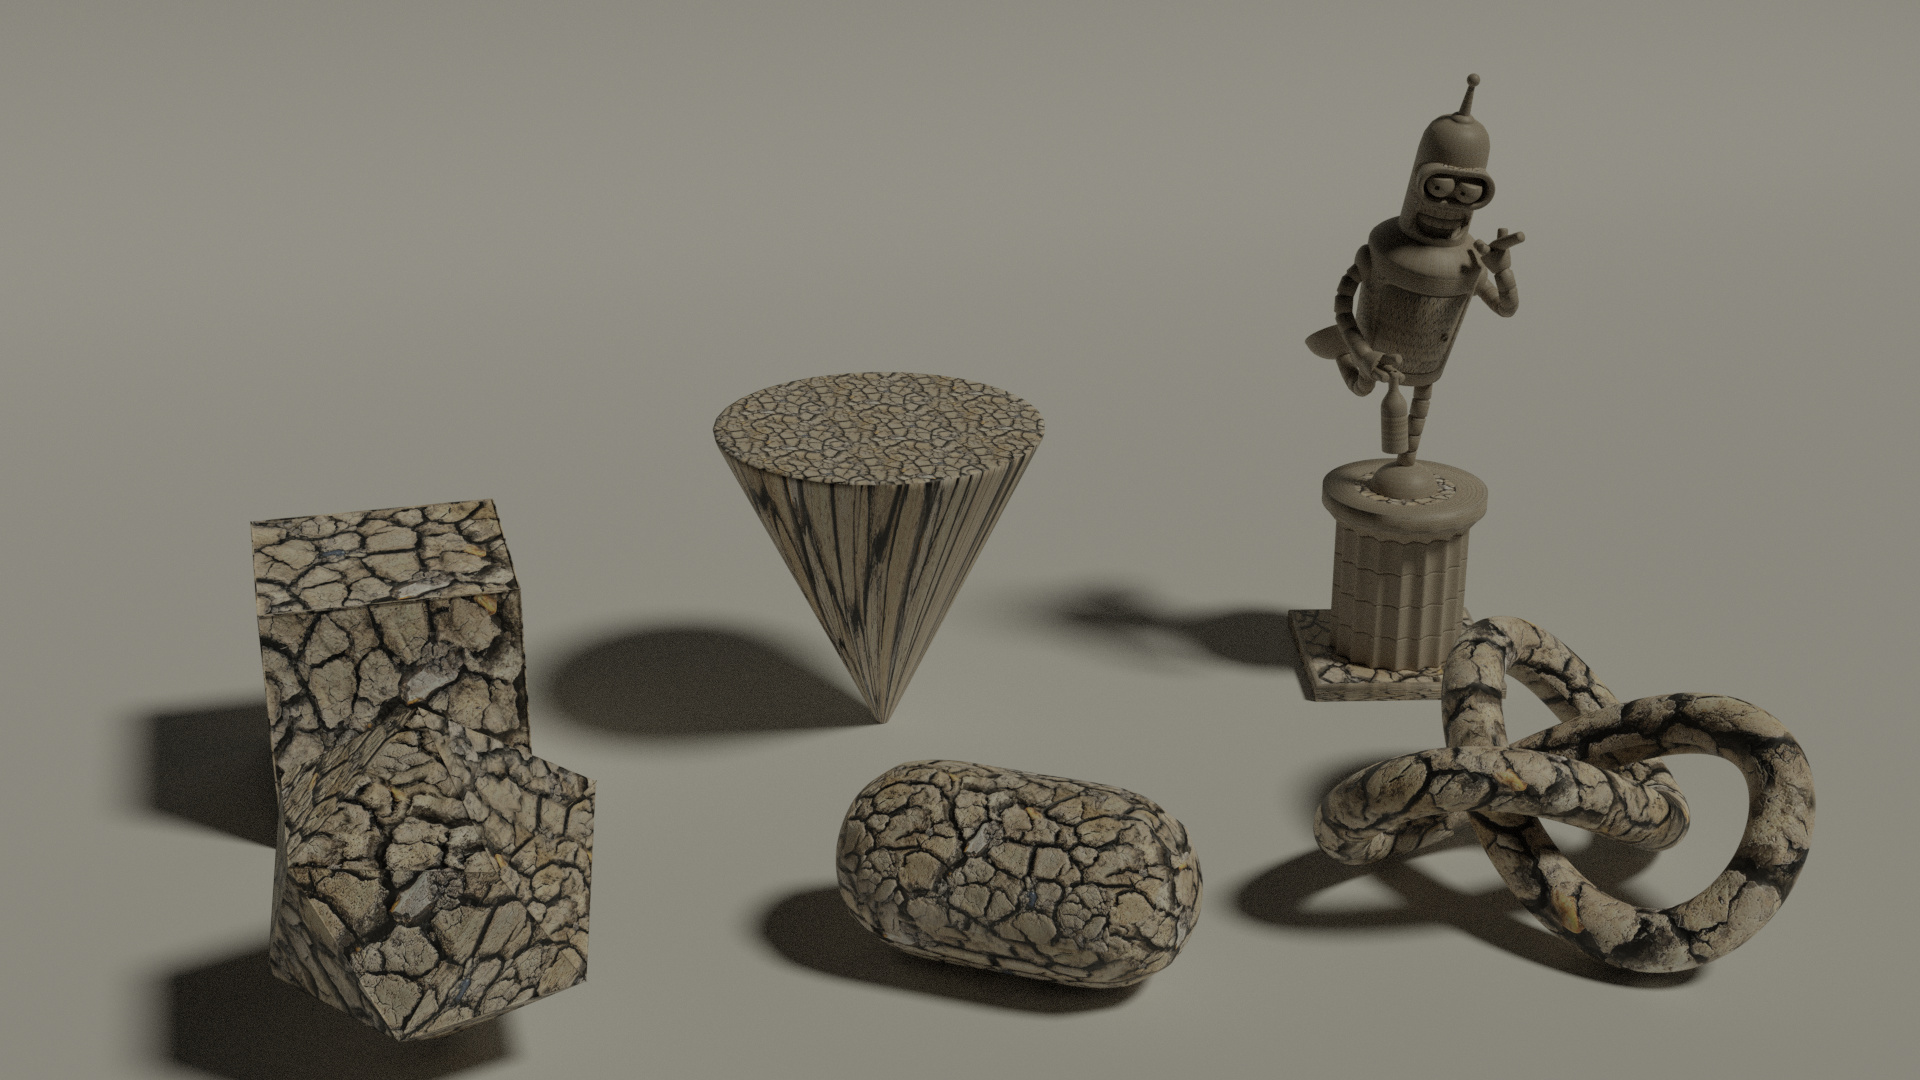
  2. Use The Subdivision modifier to generate geometry
  3. Using the displacement modifier

After watching (learning outcomes)…

You will be able to create geometry where there wasn't any before!

(Unique Video Reference: 8_TB_BEC)

We would love to know…

  • What you found good about this lecture?
  • What we could do better?

Remember that you can reply to this topic, or create a new topic. The easiest way to create a new topic is to follow the link in Resources. That way the topic will…

  • Be in the correct forum (for the course).
  • Be in the right sub-forum (for the section)
  • Have the correct lecture tag.

Enjoy your stay in our thriving community!

6 subdivisions

8 Subdivisions
suzanne1

My pc topped out and crashed the first time on 8 so i do not recommend this without 32Gb of RAM, I have 24 Gb of gaming RAM and only just managed to render this.
I have the same GPU as Mikey.

3 Likes

So buggy 2.8. It’s good practice and backup plan is needed for sure.

2 Likes

1 Like

Cool ones! :slight_smile: 
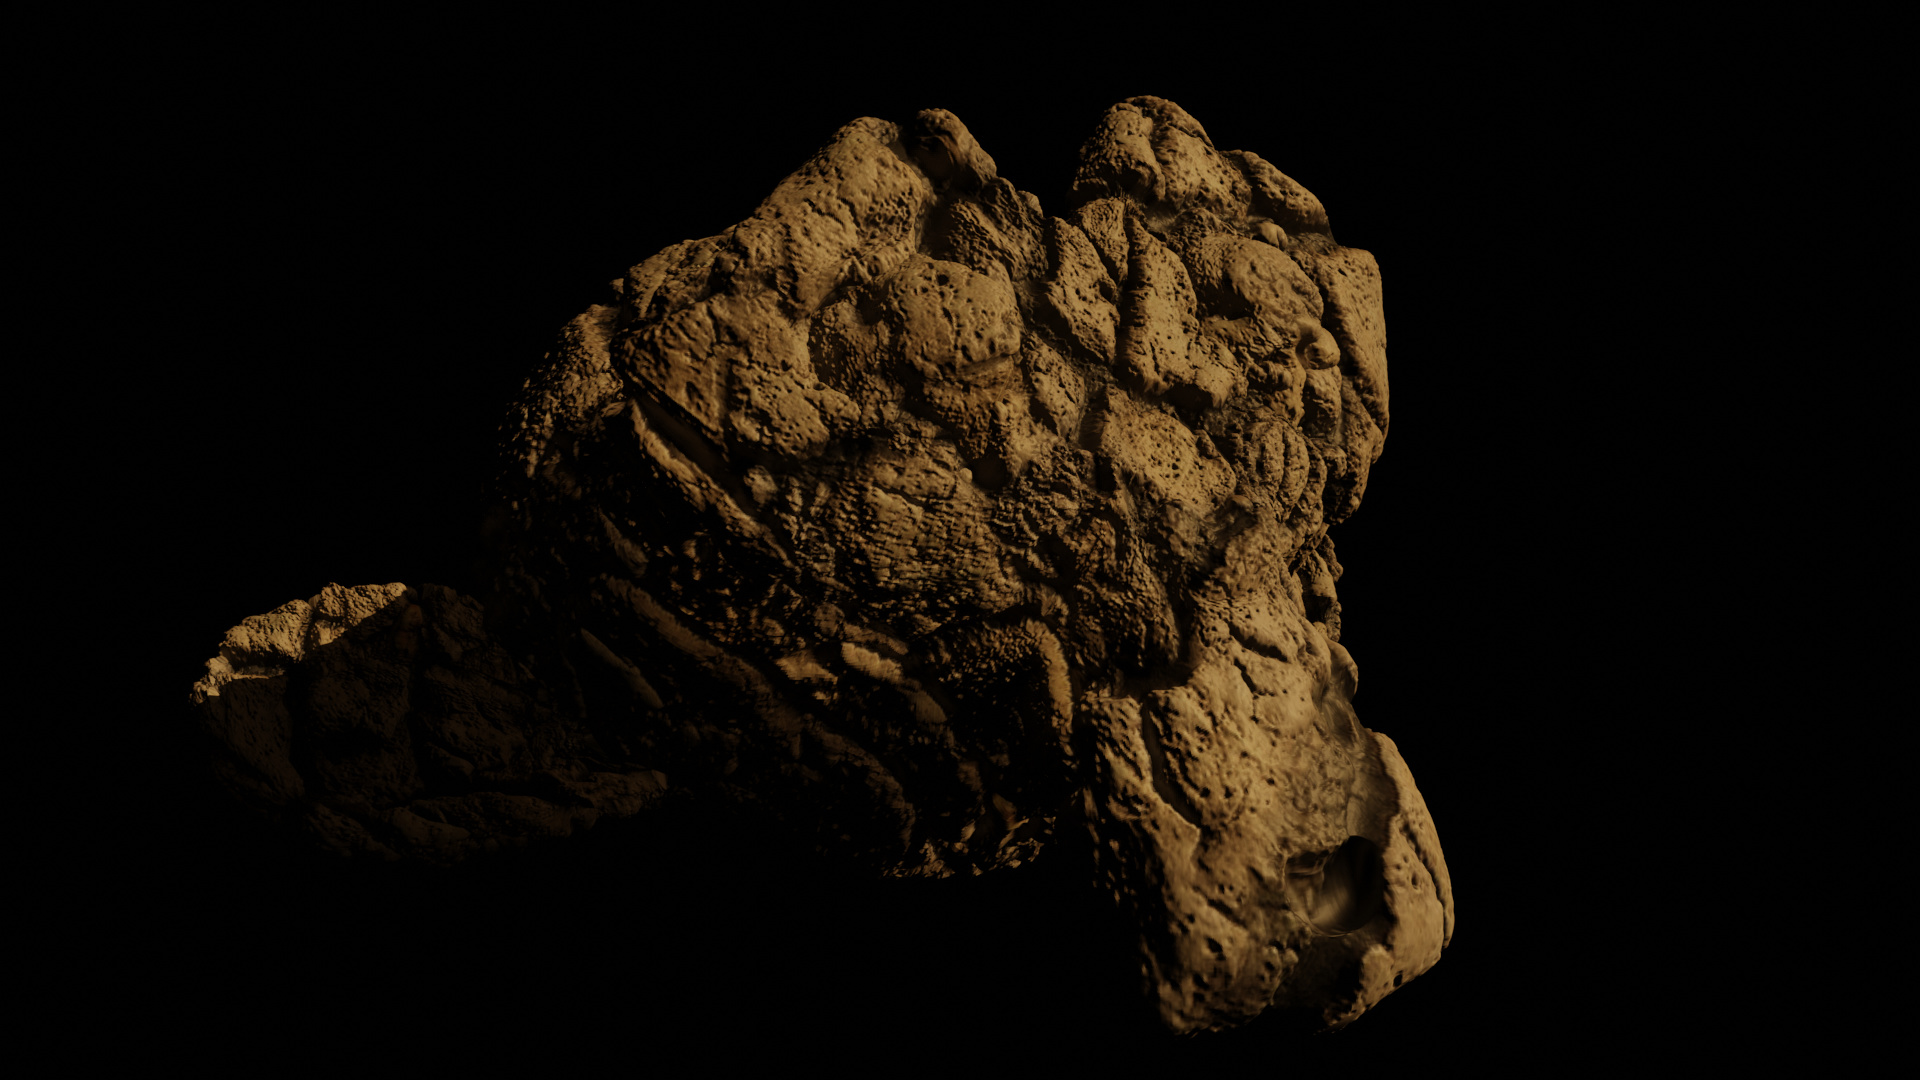
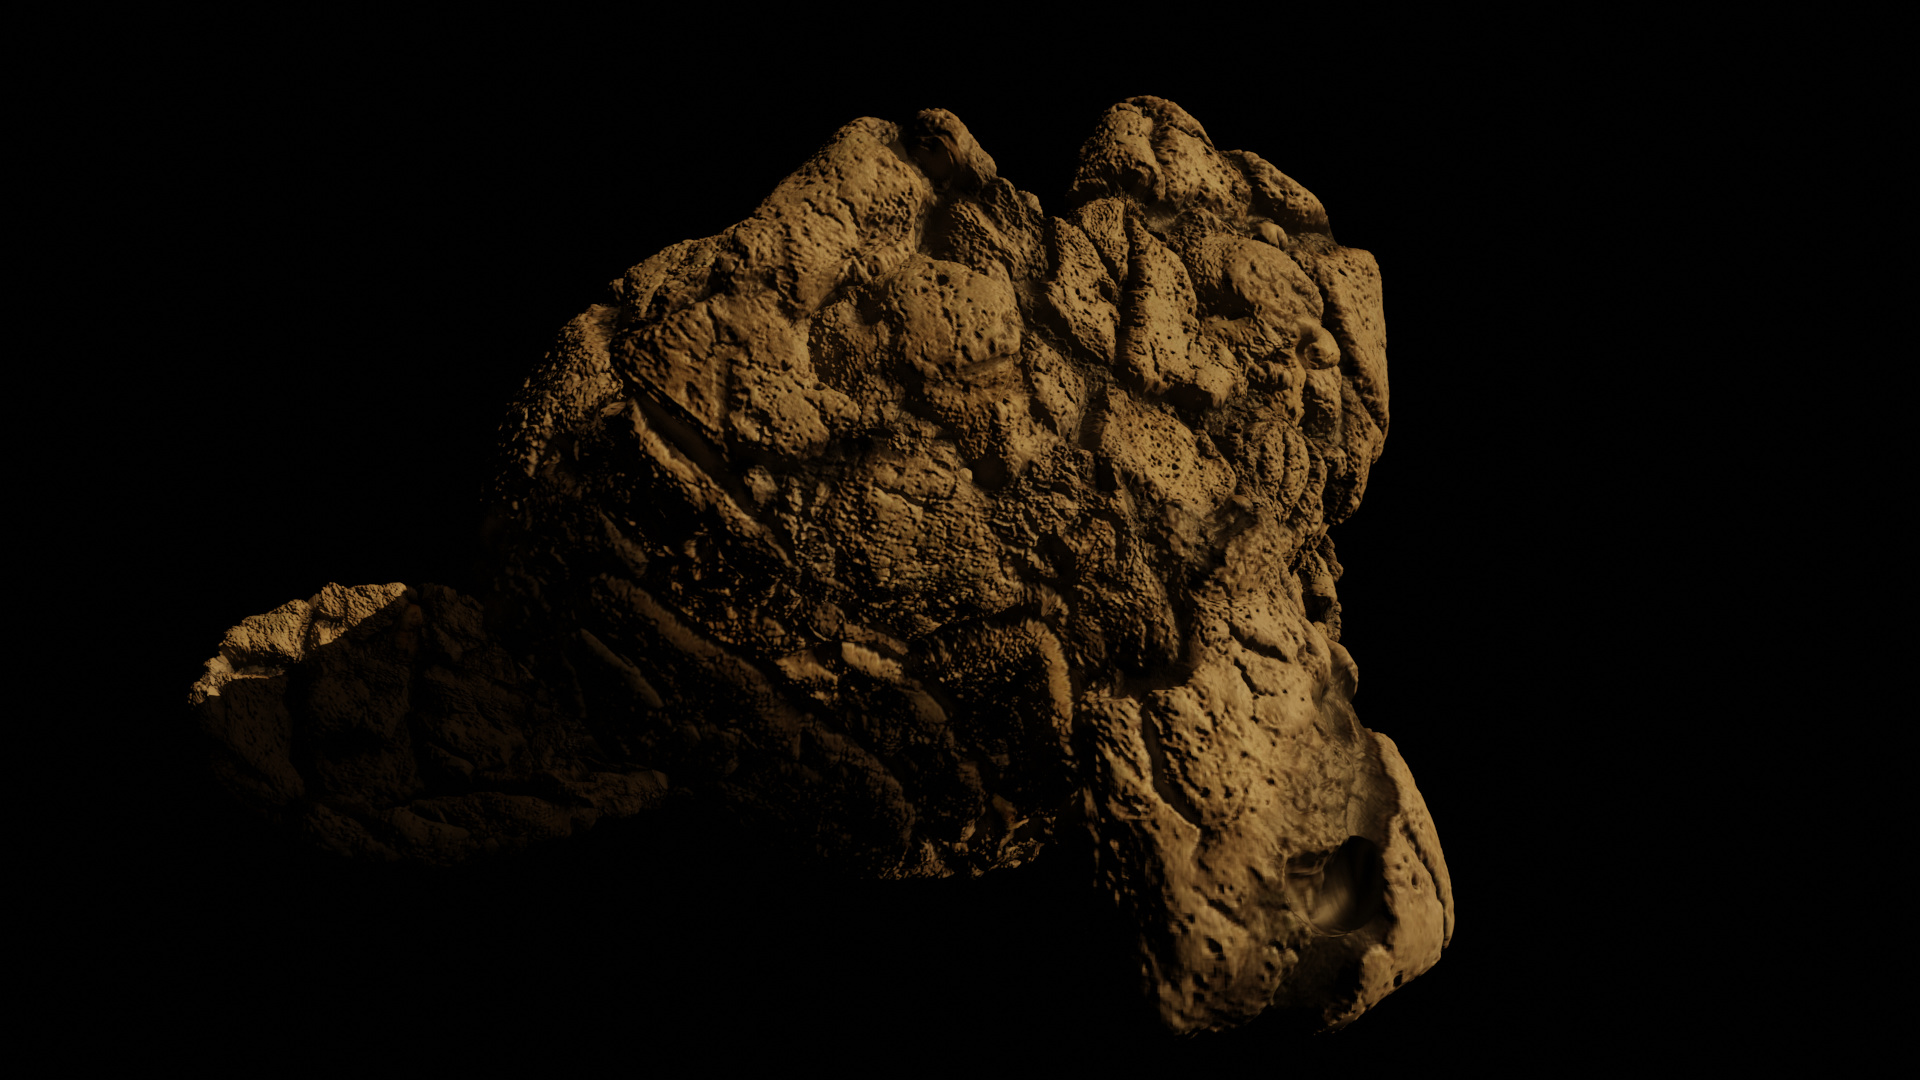
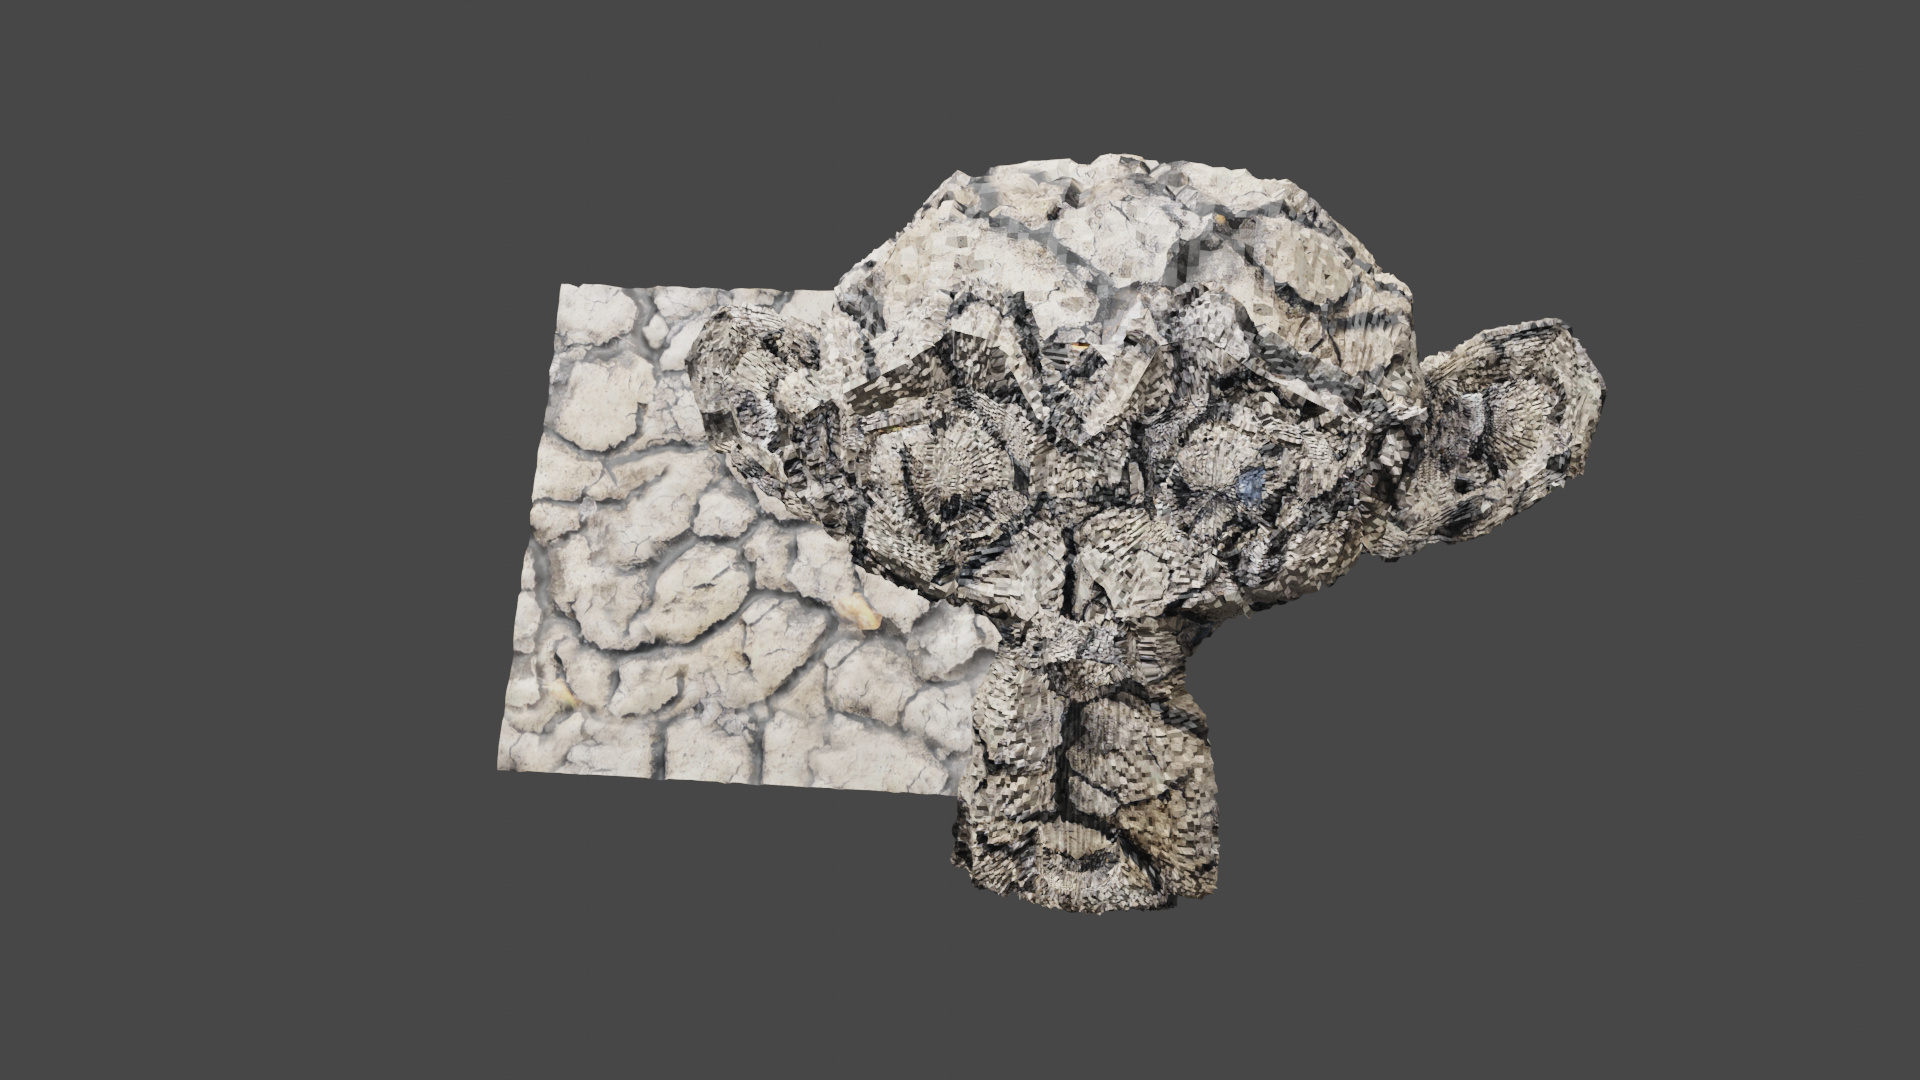
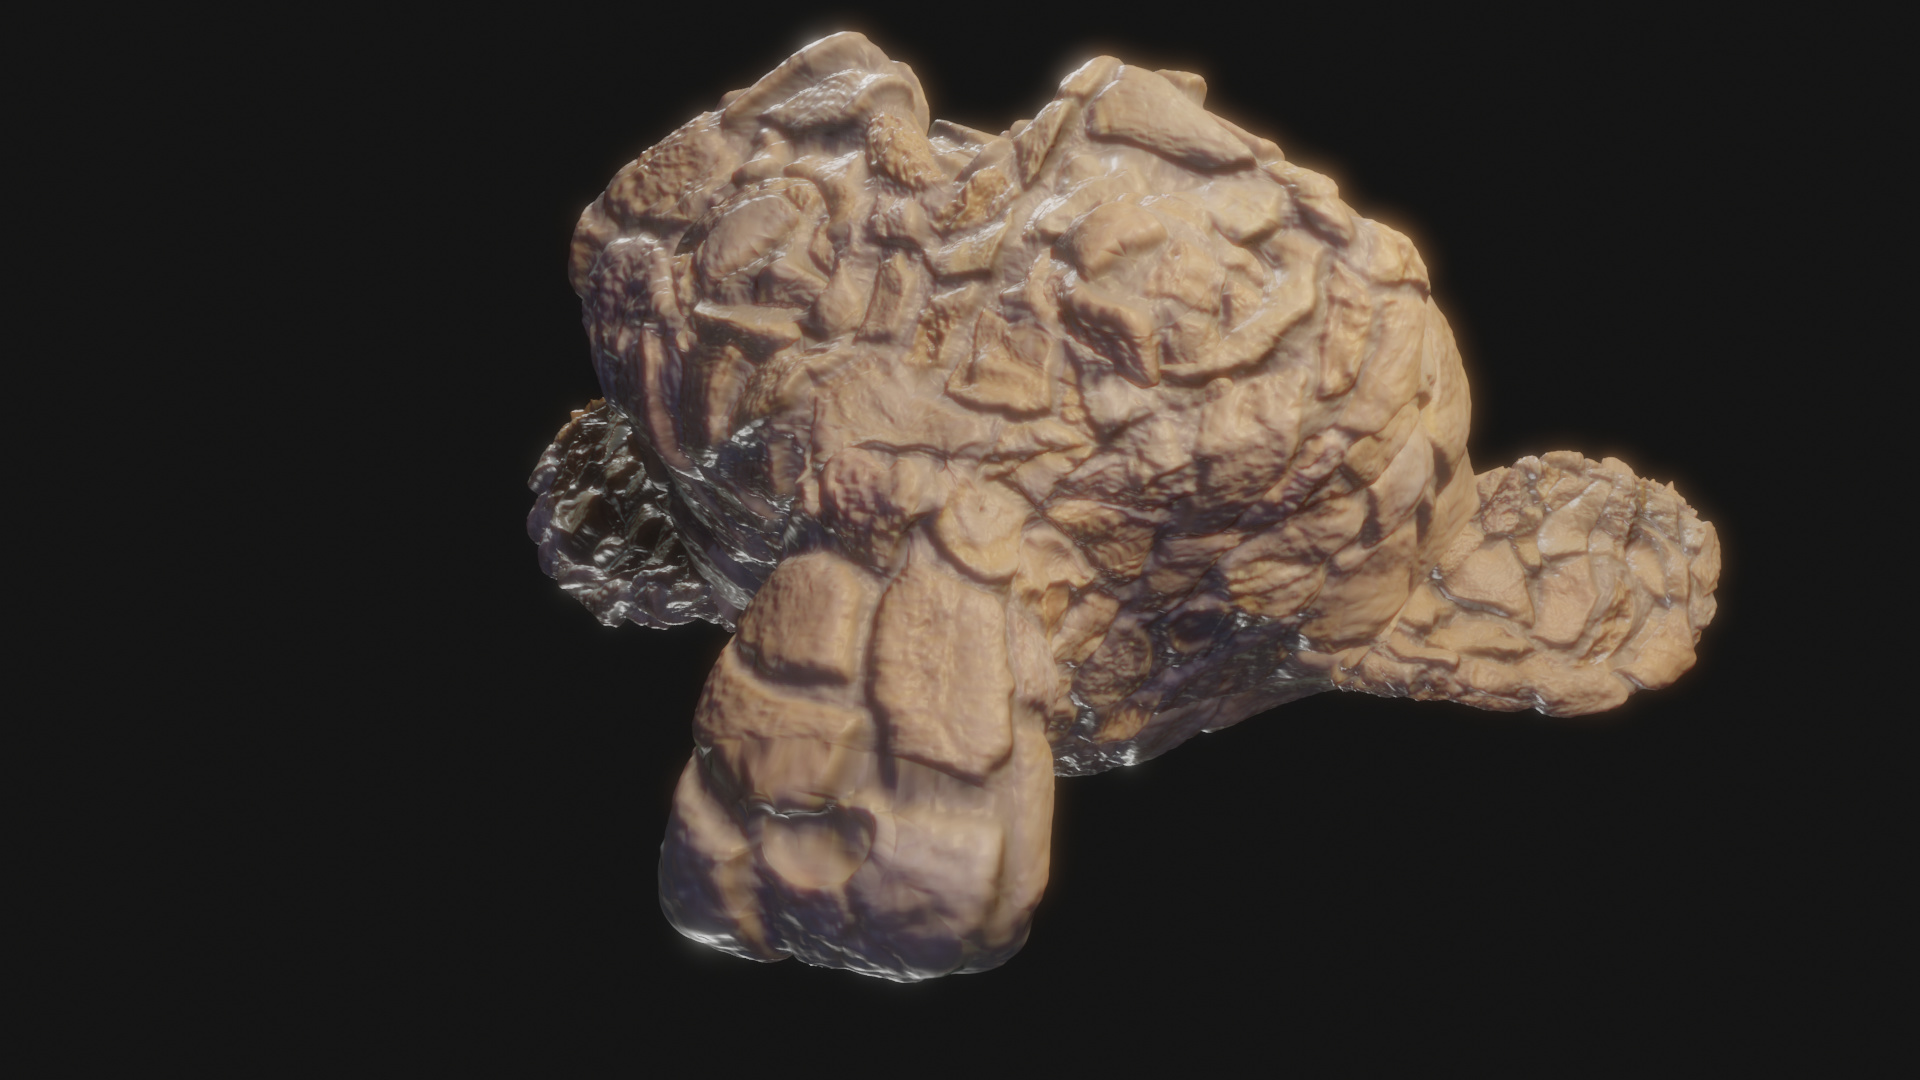
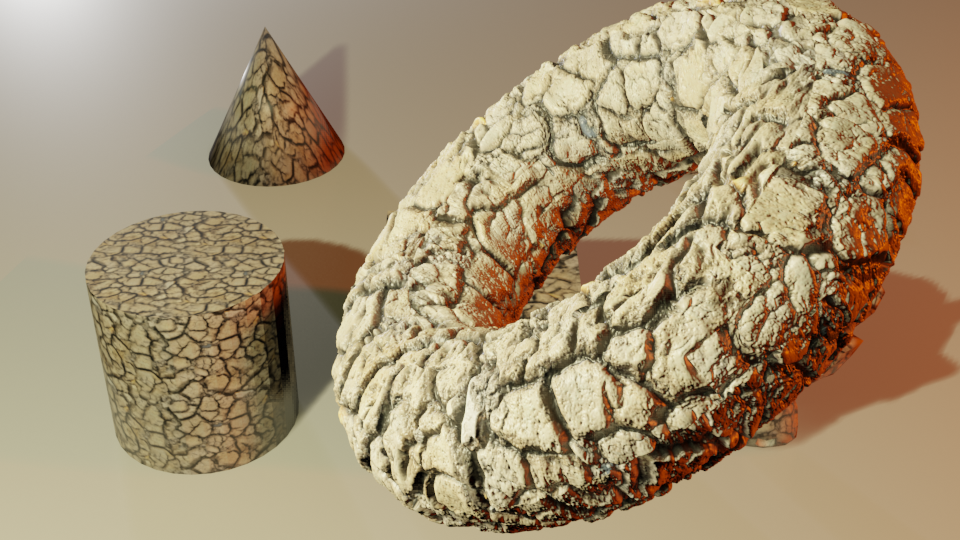
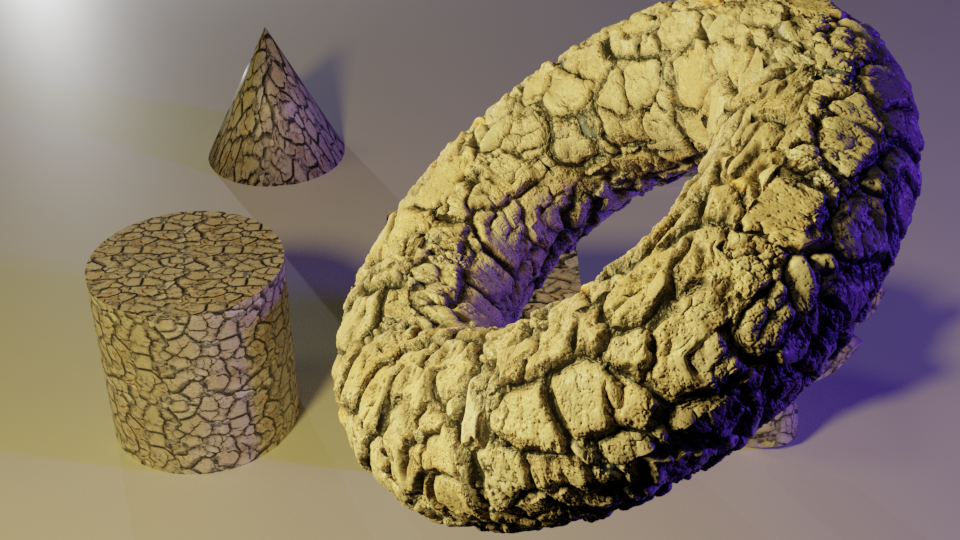
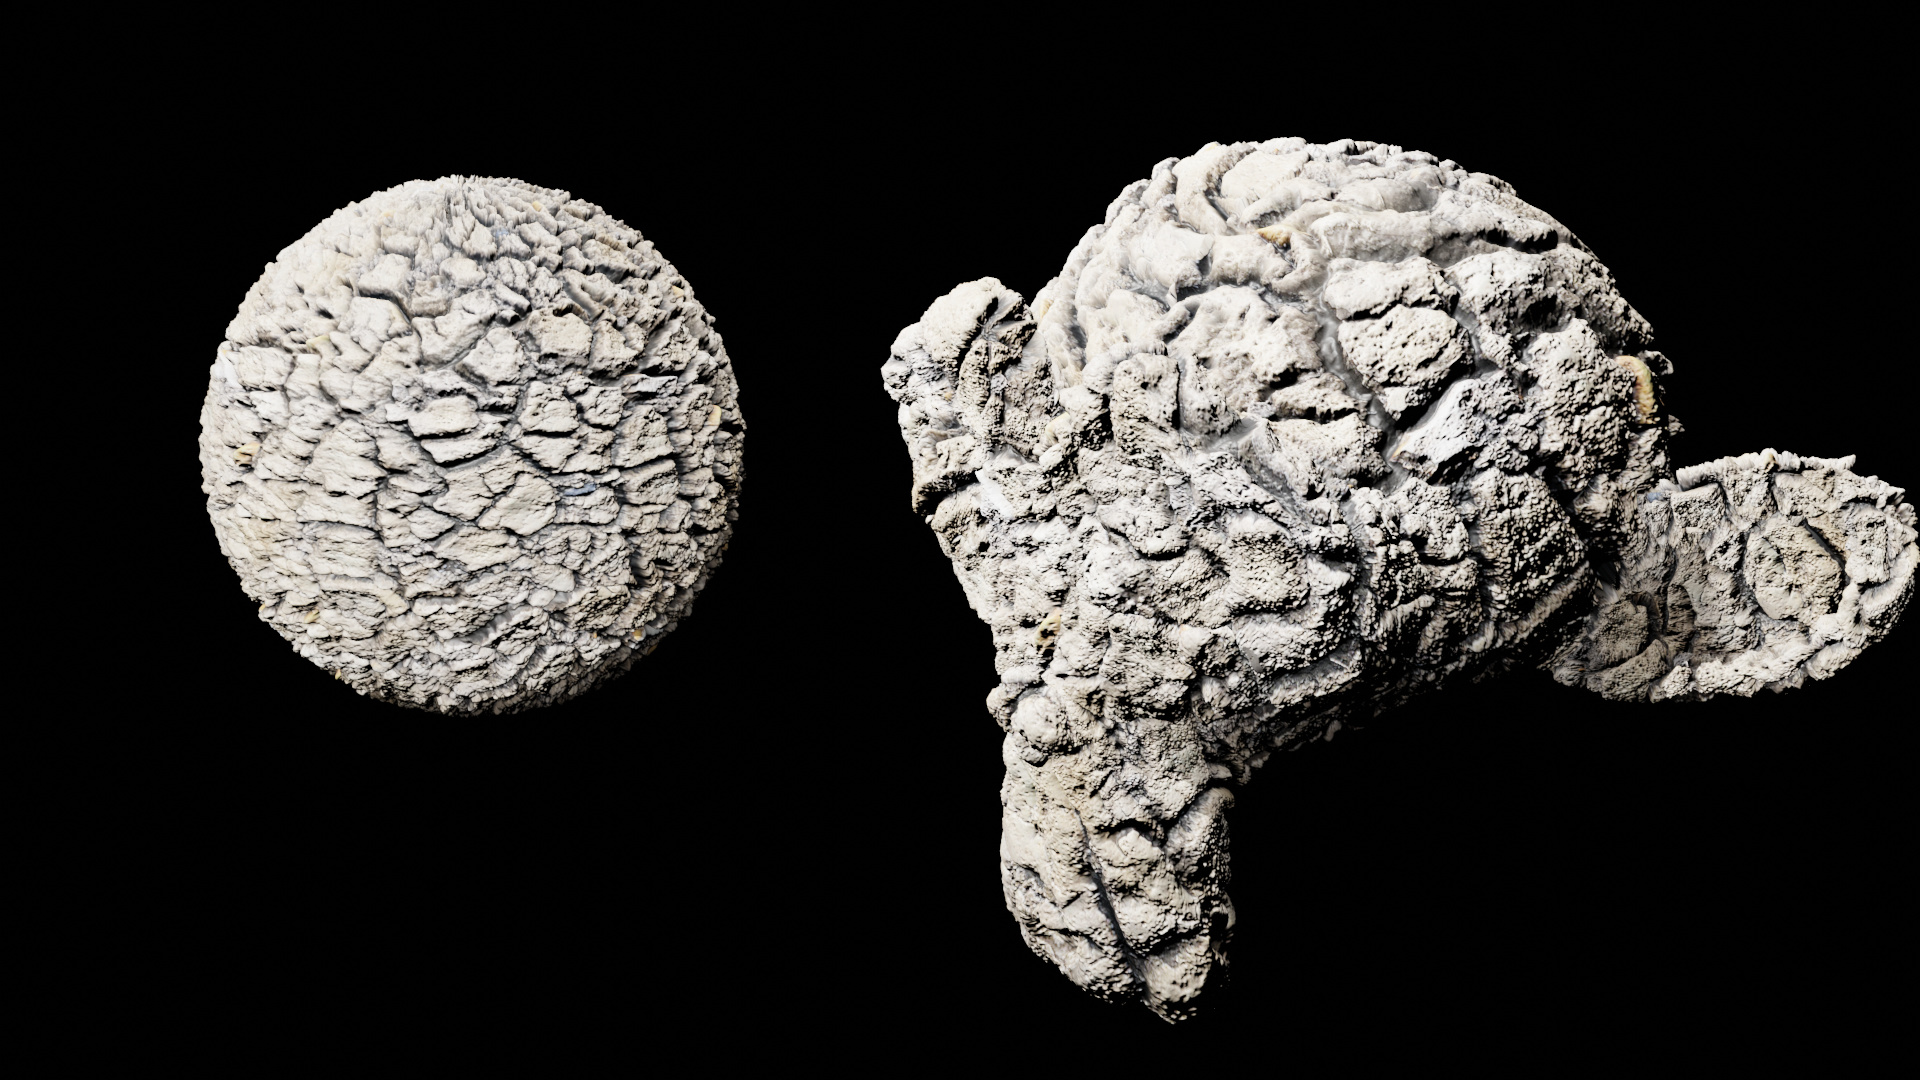
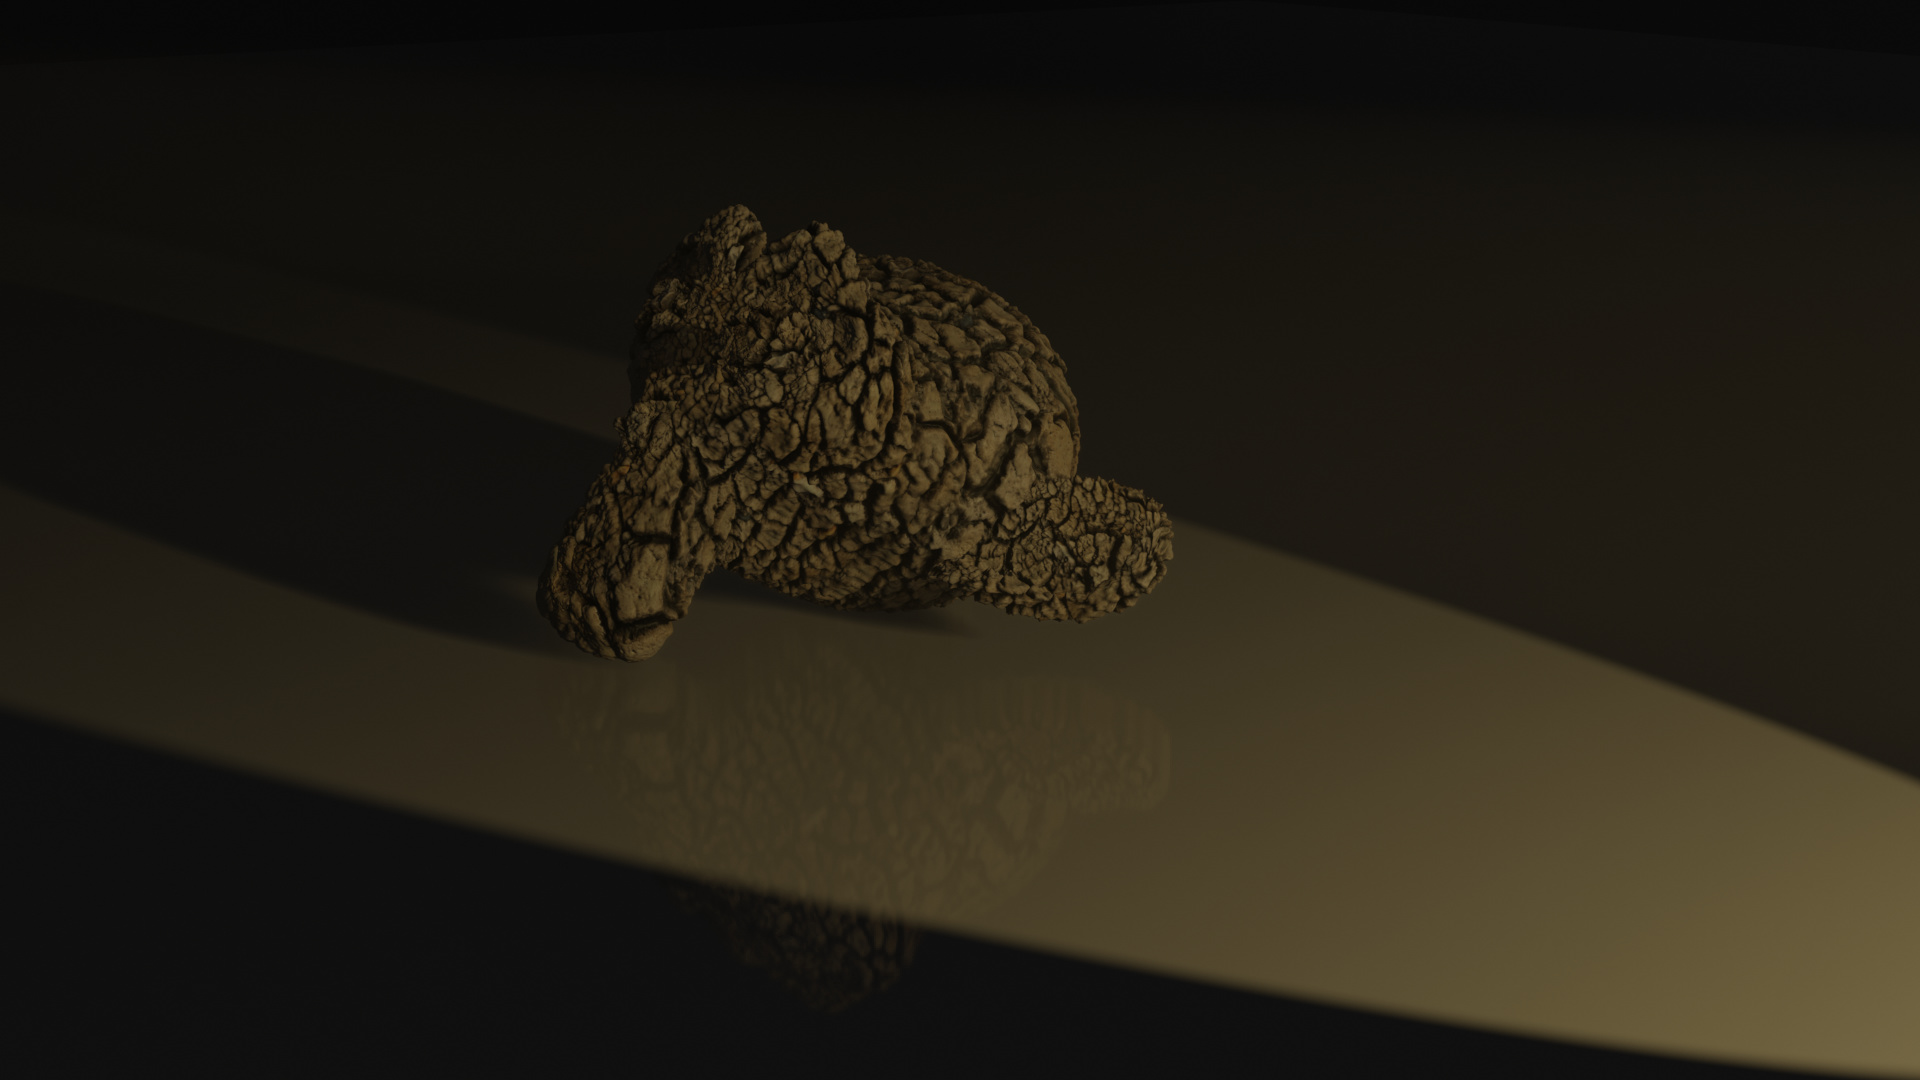
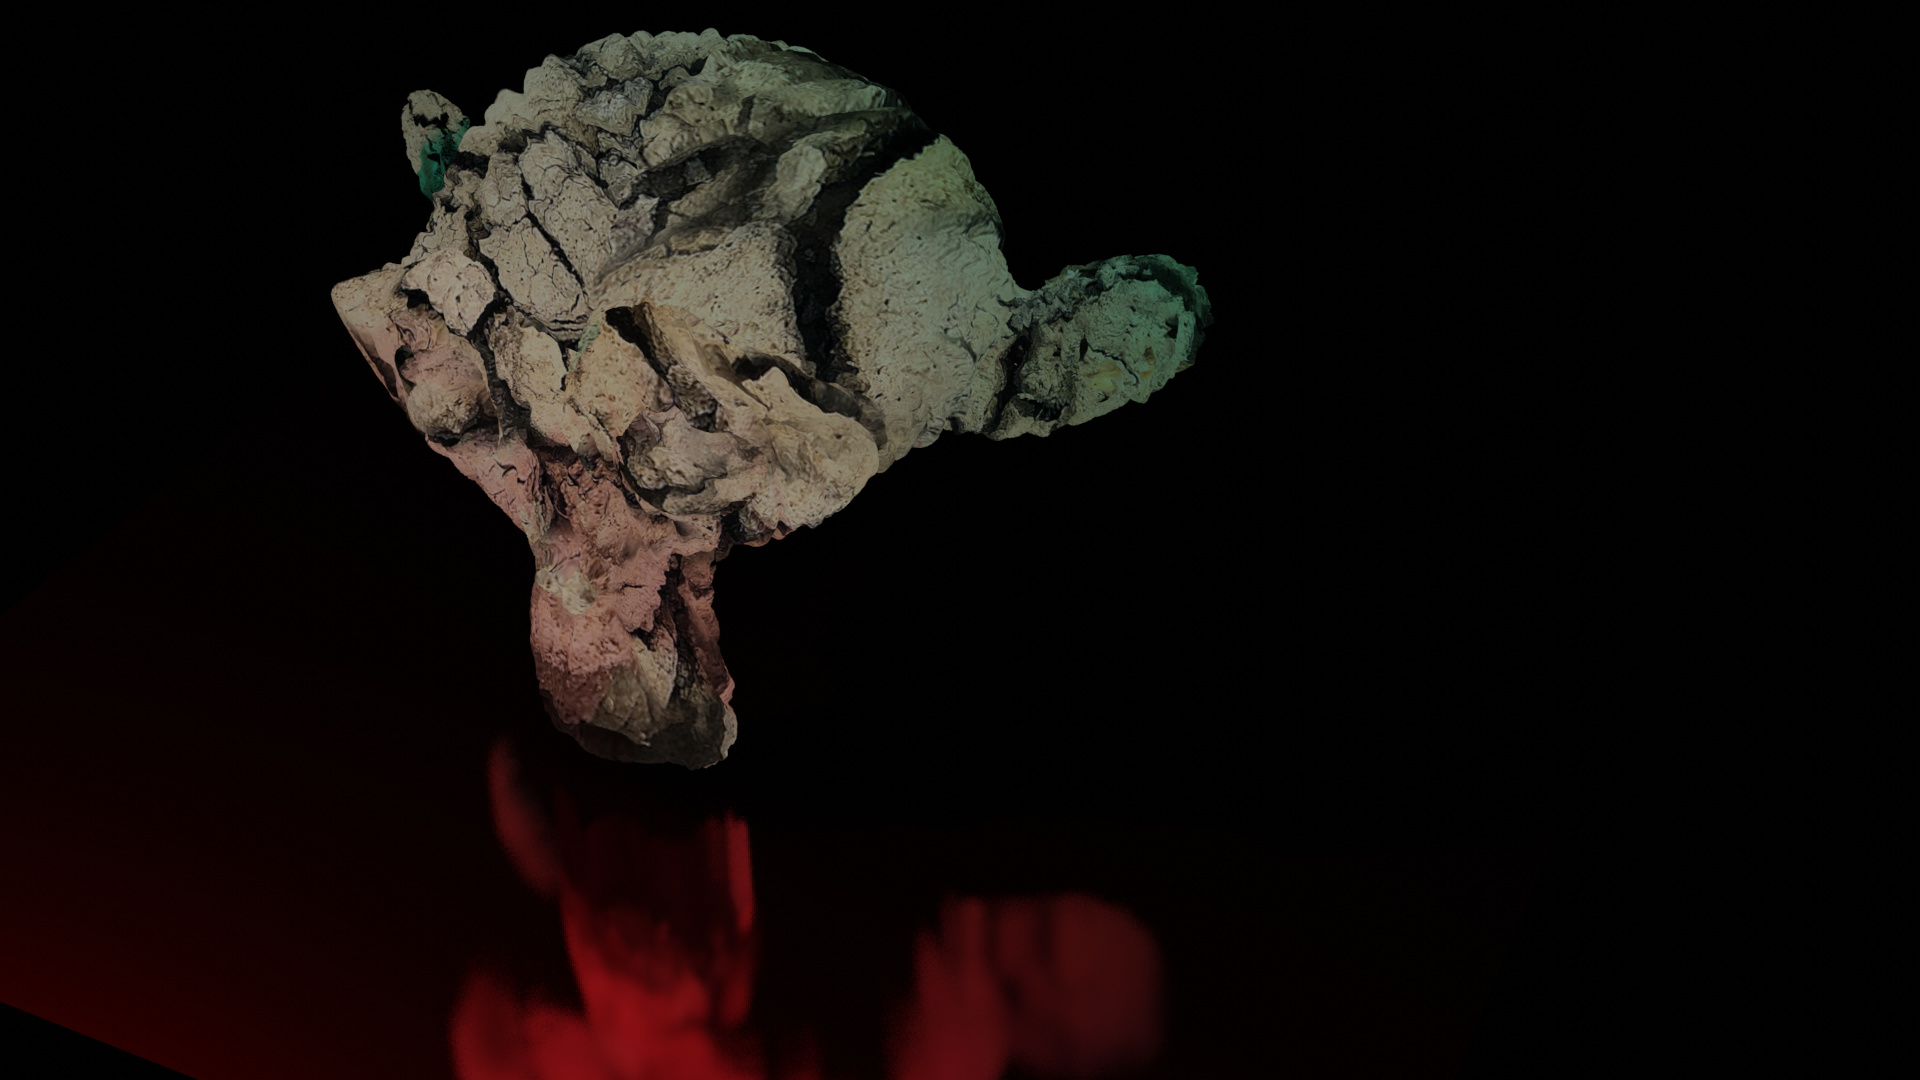
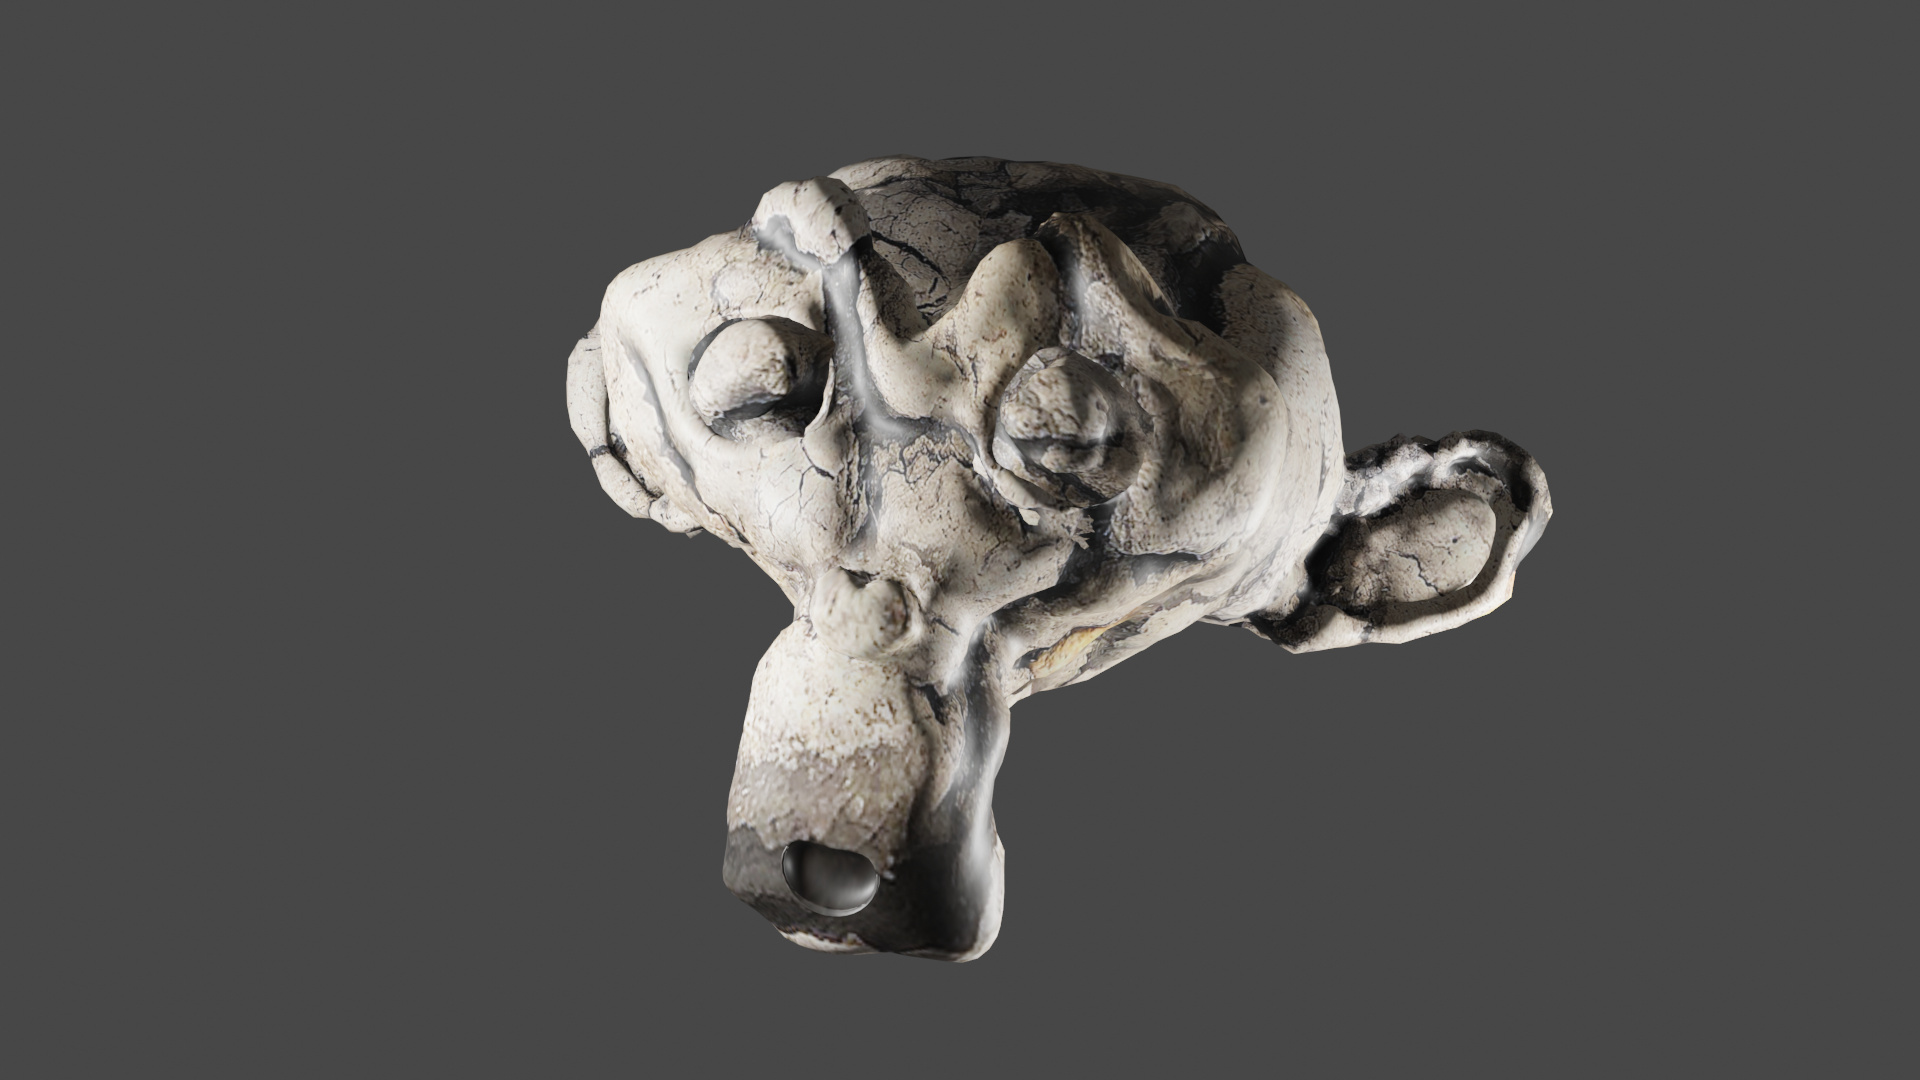
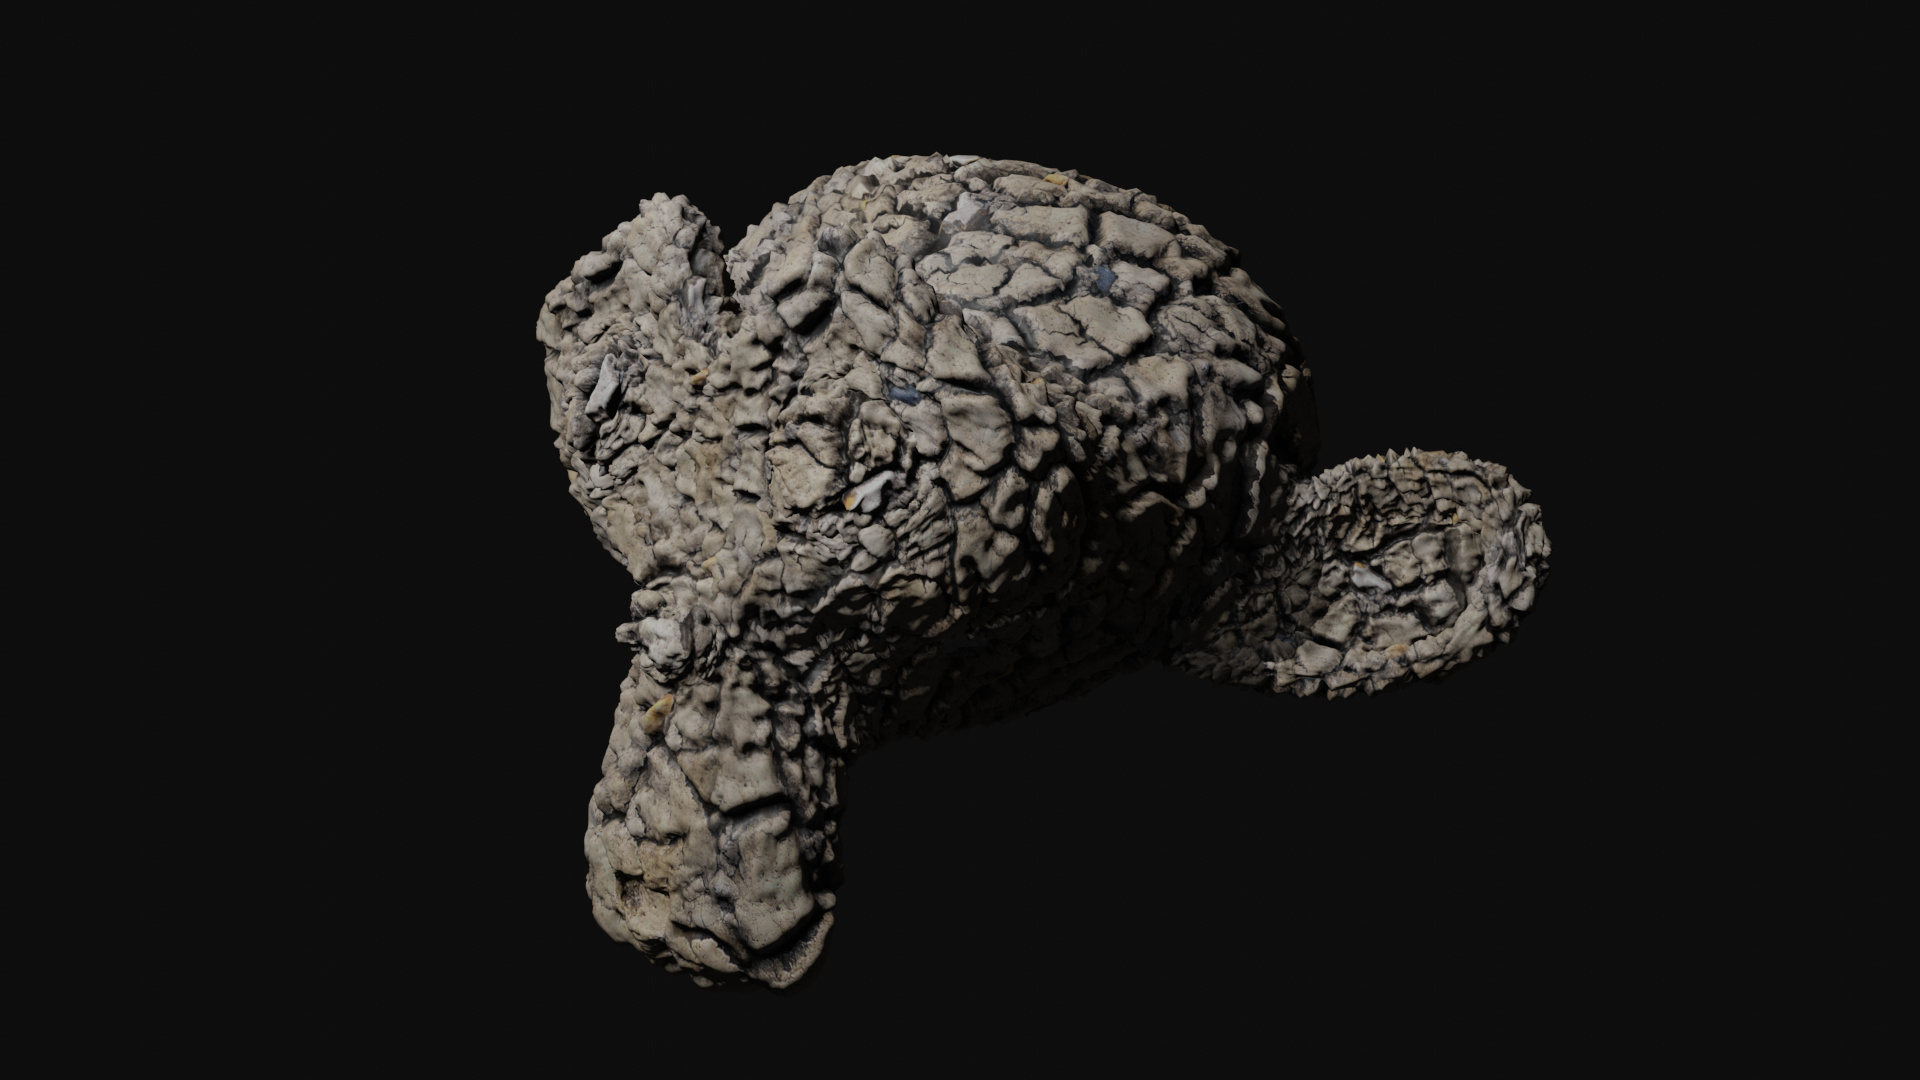
Displacement really makes the object look awesome!


And Cycles edition

4 Likes

Here is my Suzanne. She is definitely in need of some skin cream (face is all cracked up). I noticed though that Mike’s Suzanne had a smoother surface on the map in the flat sections of the surface area. Mind and as I see some of the others in this topic also have the same granular surface where Mike’s example had a smoother look. Is there a reason for them not to look the same? I even tried using the exact same numbers in the fields for the texture and displacement as Mike did but still got a different more granular result.

Also, I could not set my Subdivision Surface modifier to more than 7 subdivisions without crashing my computer. (Good thing I saved my file before attempting to render!)

Here is my Suzanne with displacement map. Displacement maps are so crazy powerful!

Planet Mud Ball

1 Like

1 Like

1 Like

My displacement map planet in space :grin:

1 Like

Textured Suzanne

1 Like

I didn’t do Bender statue, because I know understood it will be time consuming. A lot of UV unwrap, and matching scaling texture display modifier. Maybe I do this in a different project.

And I spend some time to fix the cone. But somehow, it fights back … Giving difficulties in texture scaling vs displacement map.

Rendered in Eevee, but you probably guessed it already.

1 Like

I reply to myself, because I’m bit surprised that in Cycles the displacement modifier, isn’t active or what …

Six%20exmplaes%20-%2003%20-%20Cycles

Sharp corners everywhere. No smoothing (which is on). Tomorrow a new, fresh day …

1 Like

Remember to turn on experimental features

Problem solved! I relocated my project files, but forgot to fix the filelink to the displacement map locations.
The diffuse map, was colourd magenta. To let the user know an image is missing. But this kind of info is missing, using textures (external).

See Ya!

I was happy with this. :slight_smile:

5 Likes

Privacy & Terms