About 'Normal Maps'!

In this video (objectives)…

  1. Another type of bump map
  2. This deals with the direction of a surface
  3. Optimisation step

After watching (learning outcomes)…

You will understand what normal maps are and how to setup and use them in Blender

(Unique Video Reference: 10_TB_BEC)

We would love to know…

  • What you found good about this lecture?
  • What we could do better?

Remember that you can reply to this topic, or create a new topic. The easiest way to create a new topic is to follow the link in Resources. That way the topic will…

  • Be in the correct forum (for the course).
  • Be in the right sub-forum (for the section)
  • Have the correct lecture tag.

Enjoy your stay in our thriving community!

This however rendered in seconds :wink:
Also the rendered image file size ends up a lot smaller :slight_smile:

3 Likes

Normal and disp ran at 3.67s and the normal only rendered at 2.57s

The two together looks the best.

2 Likes

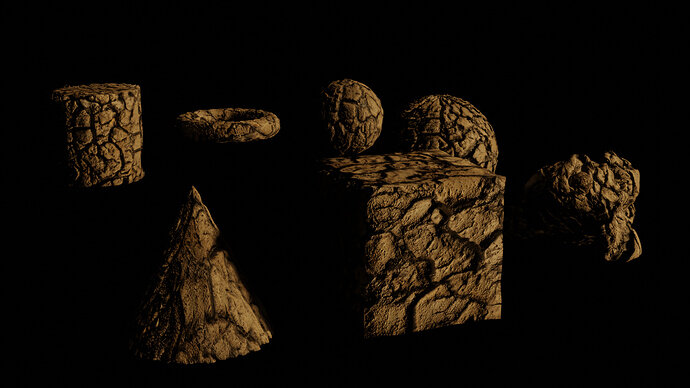
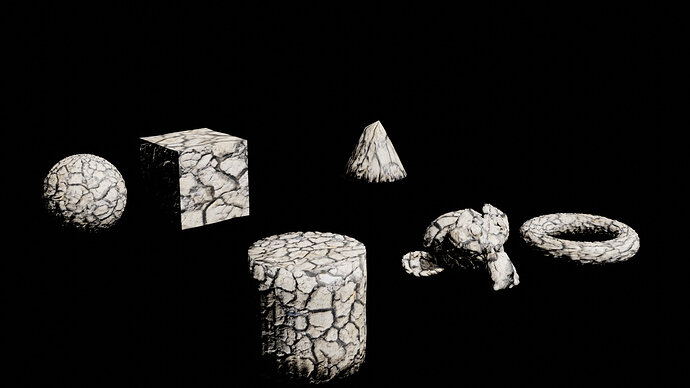
Disabled displacement and only went for normal maps.


The rim light made the normal maps appear better.
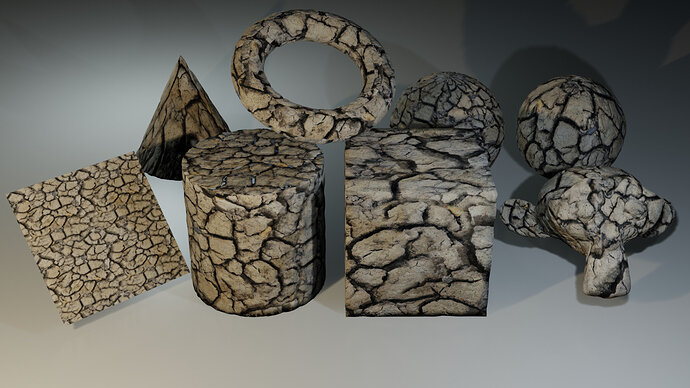
Went for Cycles too. Noticed that some of the objects appeared as having inverted normal maps. Managed to invert them for the cylinder, plane and monkey.
Cycles result:

1 Like

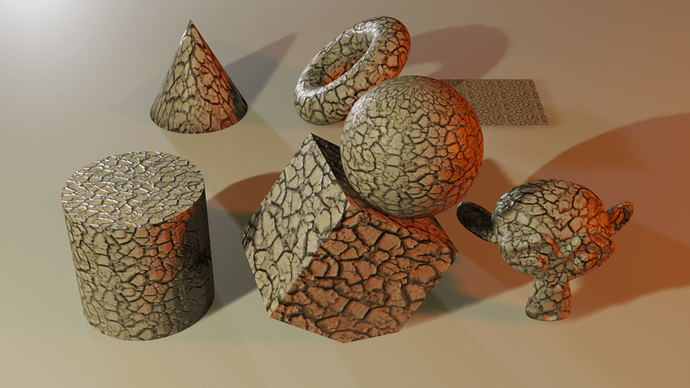
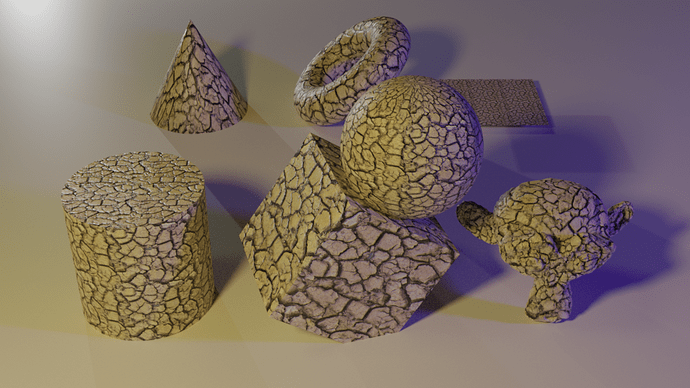
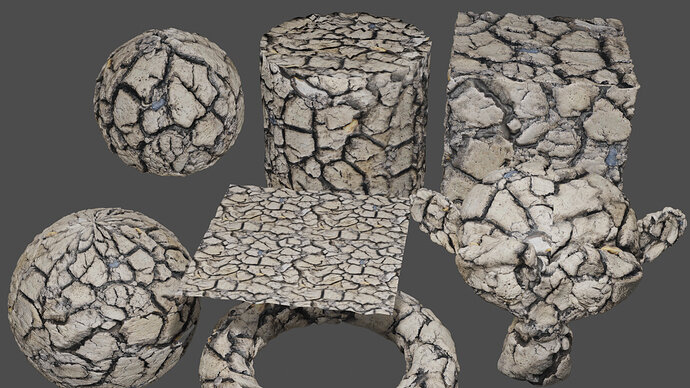
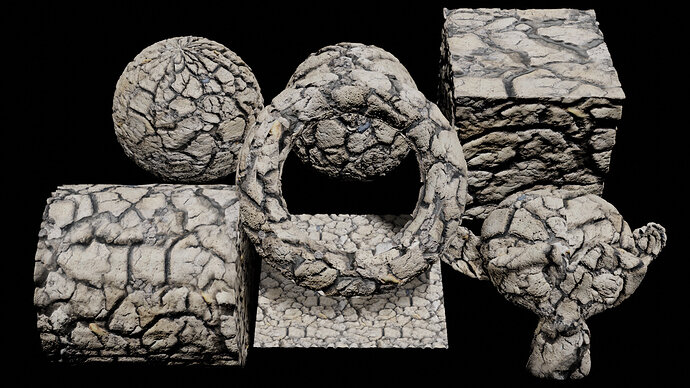
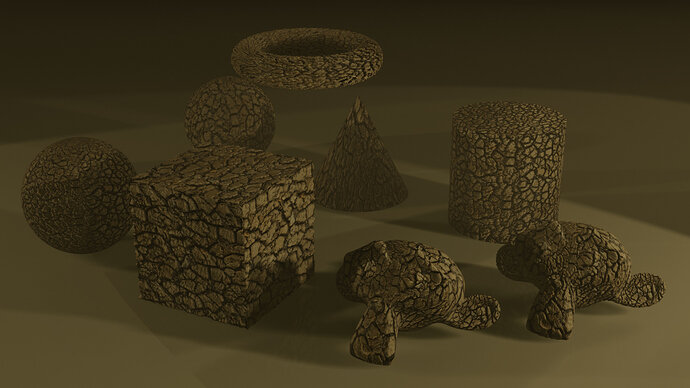
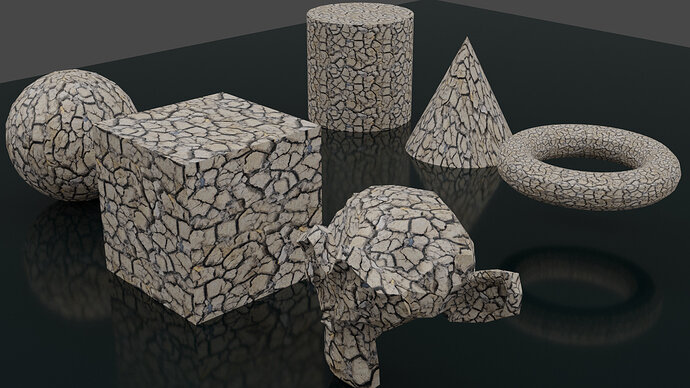
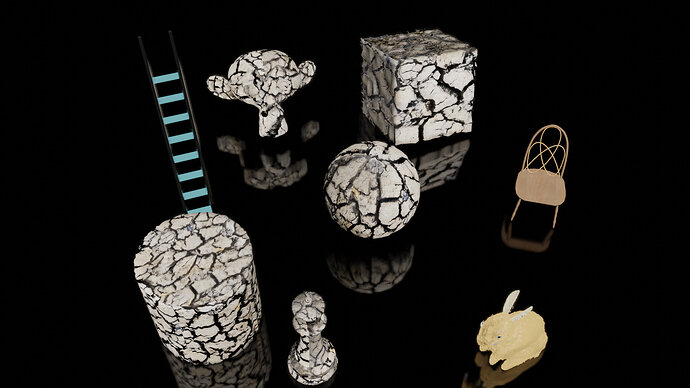
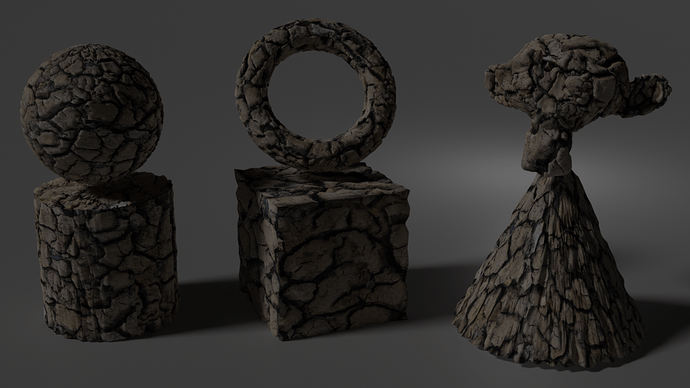
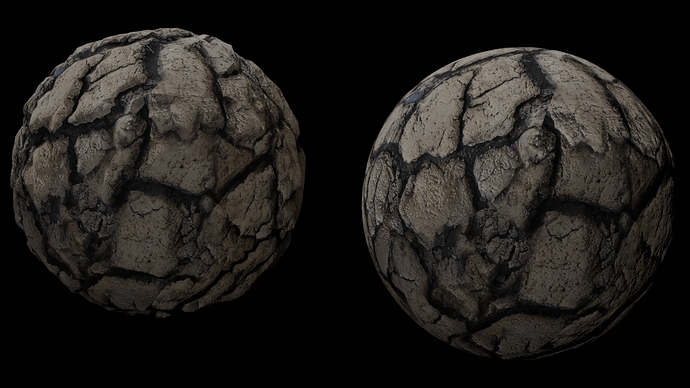
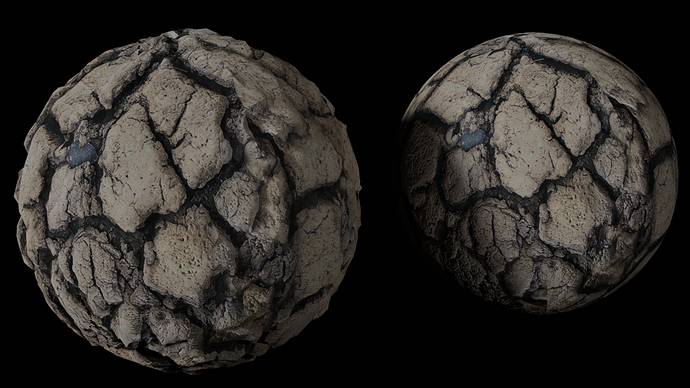
Here are my objects with Normal Maps added to them. It does save time in rendering by turning down the amount of displacement and adding a normal map to an object.

No matter how I tried, I could not get the cube to look like it had rounded corners. I set it to Catmull-Clark and it became a sphere. Anyone know where I left something out as Mike’s cube has rounded corners.

1 Like

Stack of subdivision, simple first :wink:

Thank you!

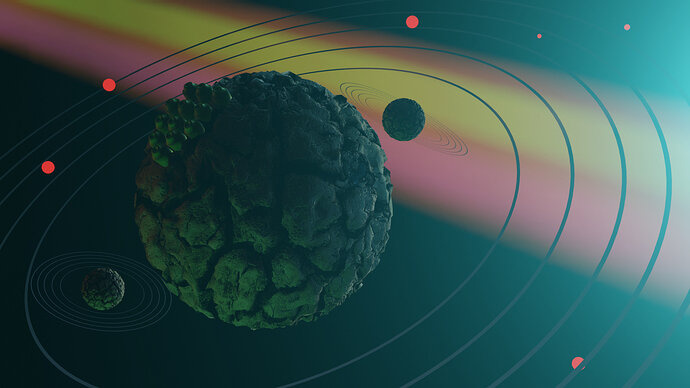
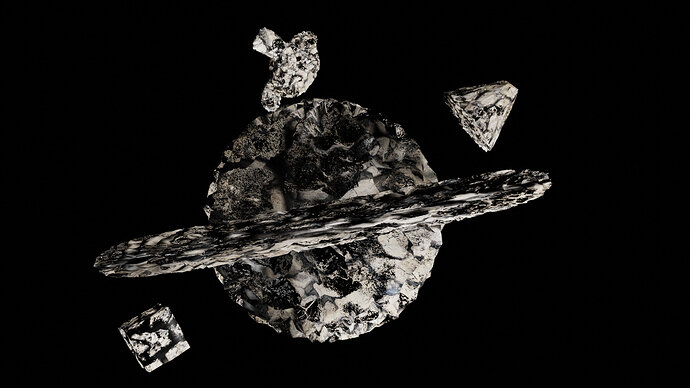
Solar fields, mini composition. (3P lights, “fog” as beams, NM, disp maps, shapes)

9 Likes

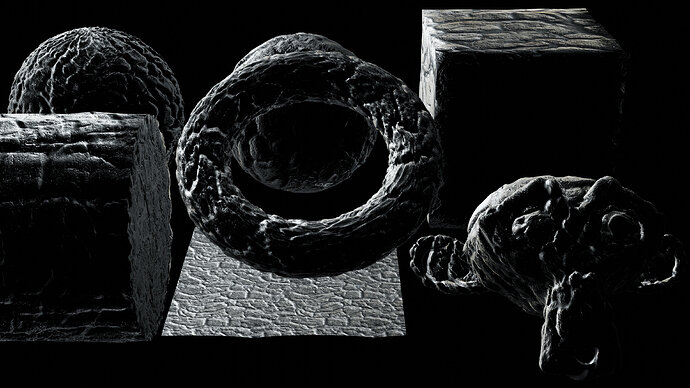
Here is my material study. The cube, Icosphere (back left), and Torus have both normal and displacement maps.

The Cylinder, and UVsphere (front Left) have only Normal maps.

Finally, the left Suzanne has only a normal map, and the right Suzanne has only a displacement map. It is pretty incredible that it is so hard to tell without looking too closely.

1 Like

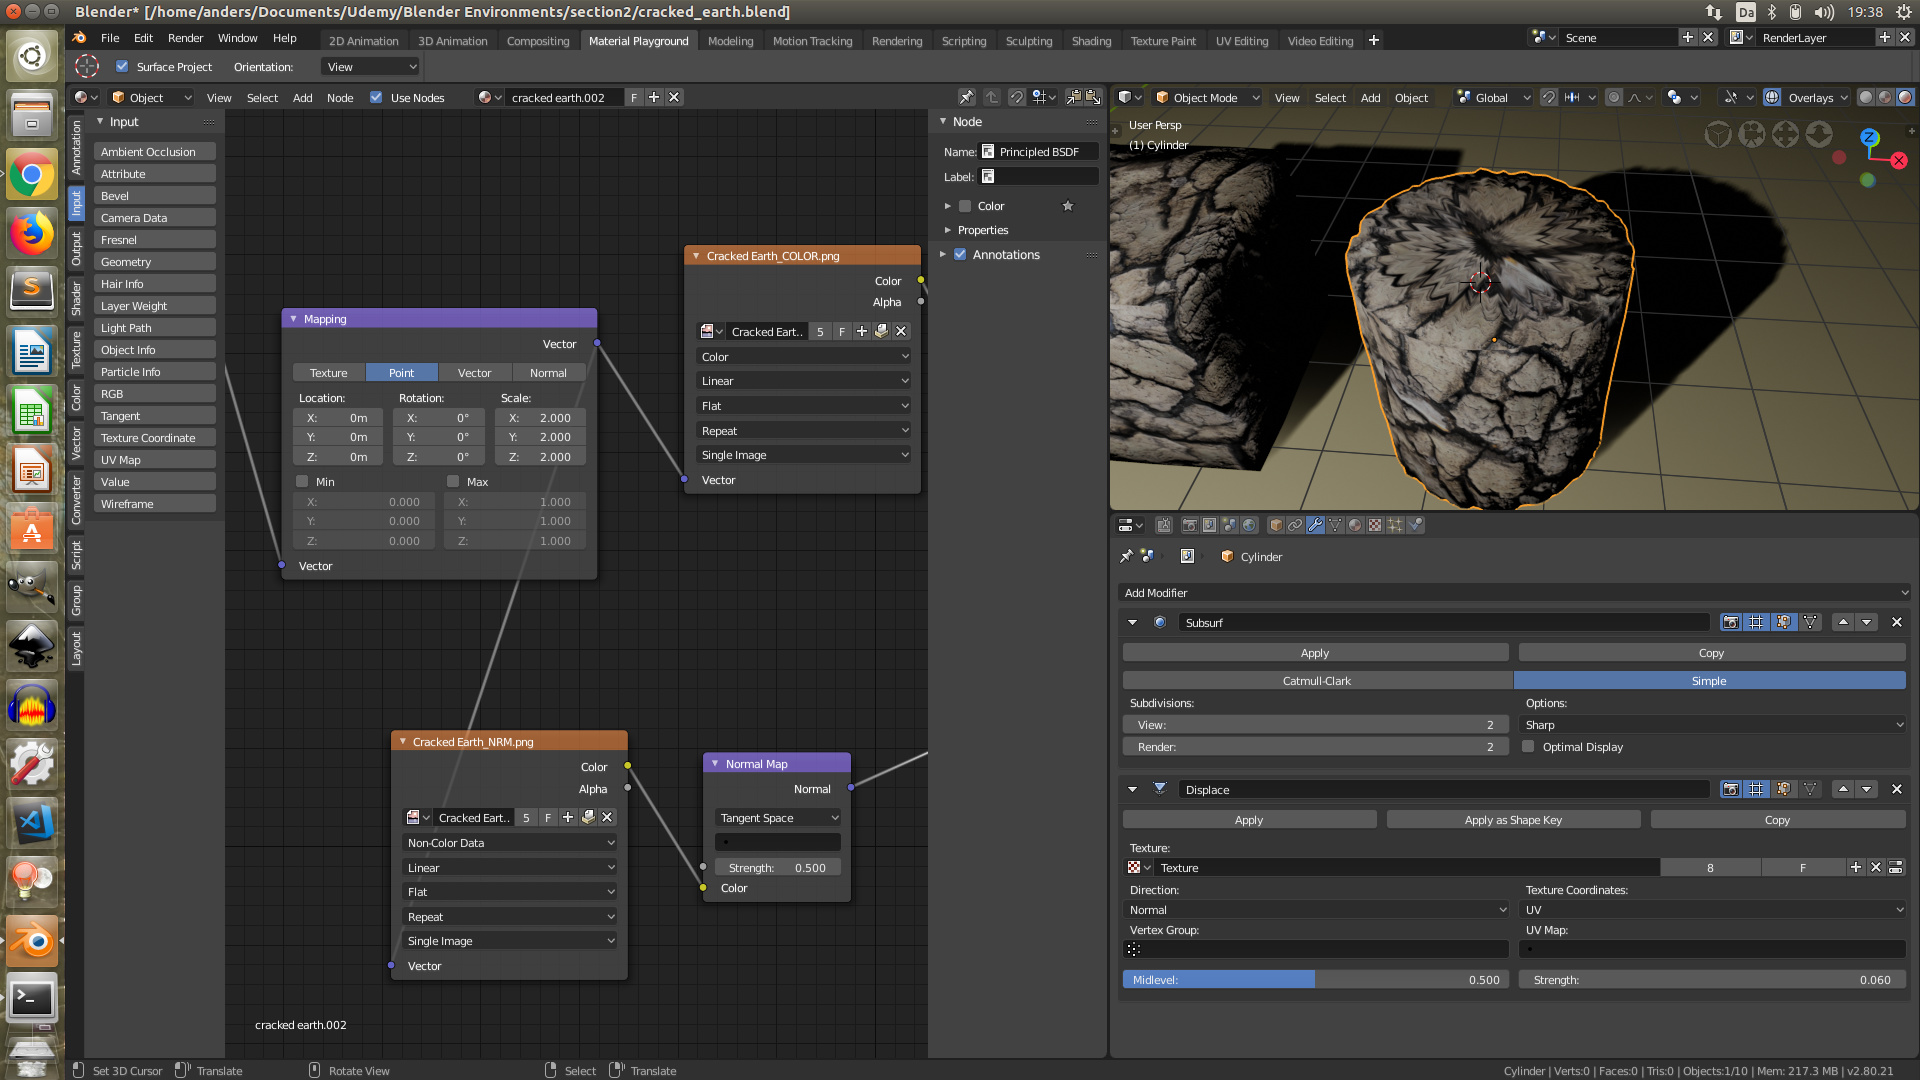
I’m having trouble with the endcap of my cylinder - does anyone know whats going on?
Screenshot%20from%202018-11-20%2019-38-15

I dont know if it matters much, but your make links will only append if you (make Link Object)
It will not free your objects from Material, or Modifiers
Im using current version of alpha blend 2.8, has it been that way for previous versions of blender???
A suttle suggestion, and a quite cough to blender maybe.
Ok after adding normal map its allowing me to, edit objects independently? The fun of alpha I guess

If you use the cone make sure to simplify it, wont look like a acorn that way

1 Like

Not a real impressive change, but then normal maps never seem to work real well for me. Ironically, when I started the challenge I was using the 2019-01-08 build, and my biggest challenge was that the ‘Normal Map’ node wasn’t working the way it did in the video. In order to get any kind of result, I had to turn the strength up to double digits and ad an “Invert Node” to make it display valleys rather than ridges.

After struggling with it for a half hour or so, I packed it in for the night and came back to it this morning – after re-watching the video to make sure I wasn’t missing something. As it happens, a brand new build was waiting to be downloaded (2019-01-14) and with the new build, the ‘Normal Map’ Node behaved more or less as expected.


With the normal maps I was able to reduce the strength on the displace modifier for all the items and reduce the number of sub-divisions for the SubSurf on the sphere and Suzanne. However, I had to completely rebuild the Cylinder and actually raise the sub-division on the cube.

I could get away with 2 subdivision in Render mode with the correct detail.

subdivisions + displacement + normals
rendered a lot quicker

another one
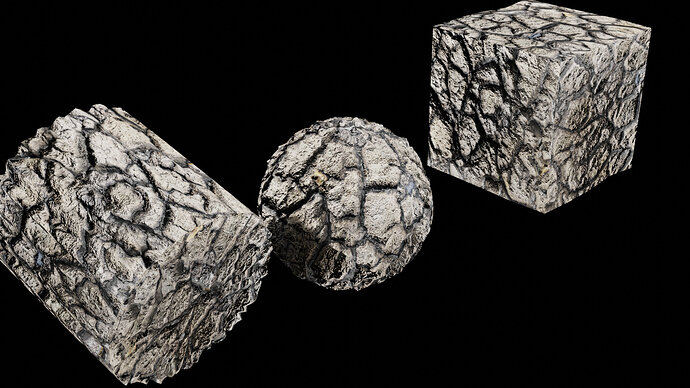
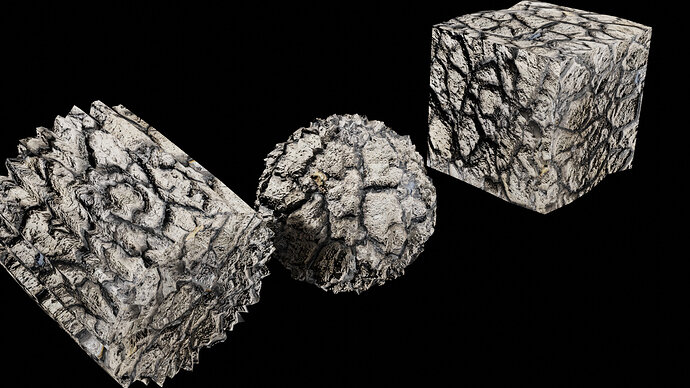
normal map only vs normal map + subdiv + displacement
sometimes I’m having issue with normal map looking like its inverted :confused:

1 Like

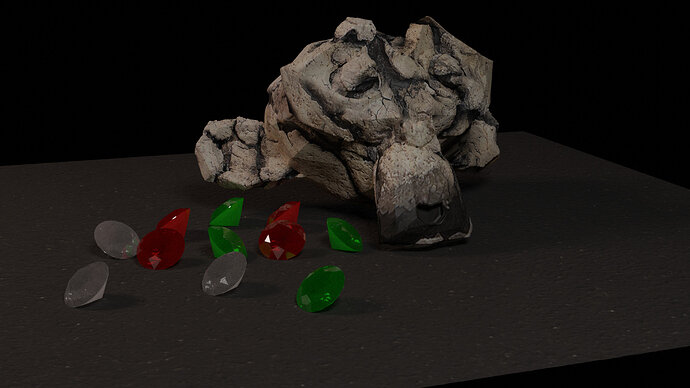
This is the scene that I did for the normal maps and the height maps. :slight_smile:
Suzanne keeps being the victim of my scenes. ehehehe!!! :slight_smile:

Privacy & Terms