Remember that you can reply to this topic, or create a new topic. The easiest way to create a new topic is to follow the link in Resources. That way the topic will…
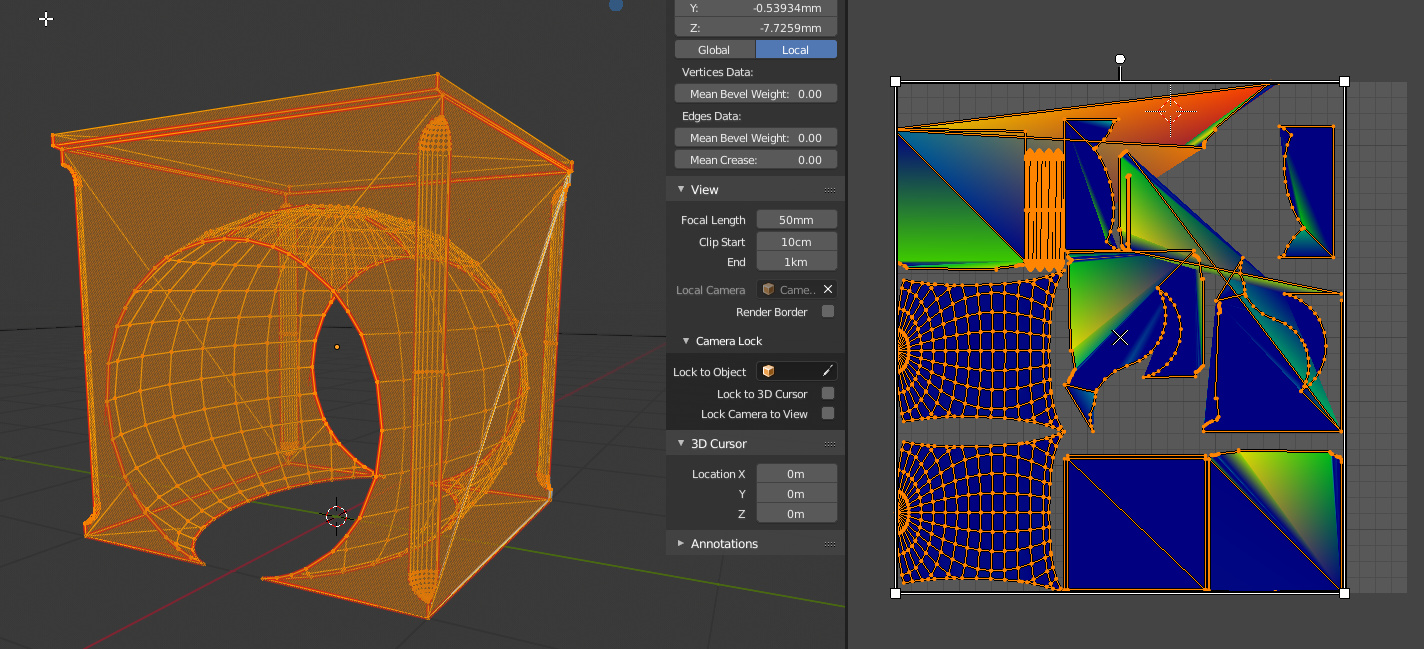
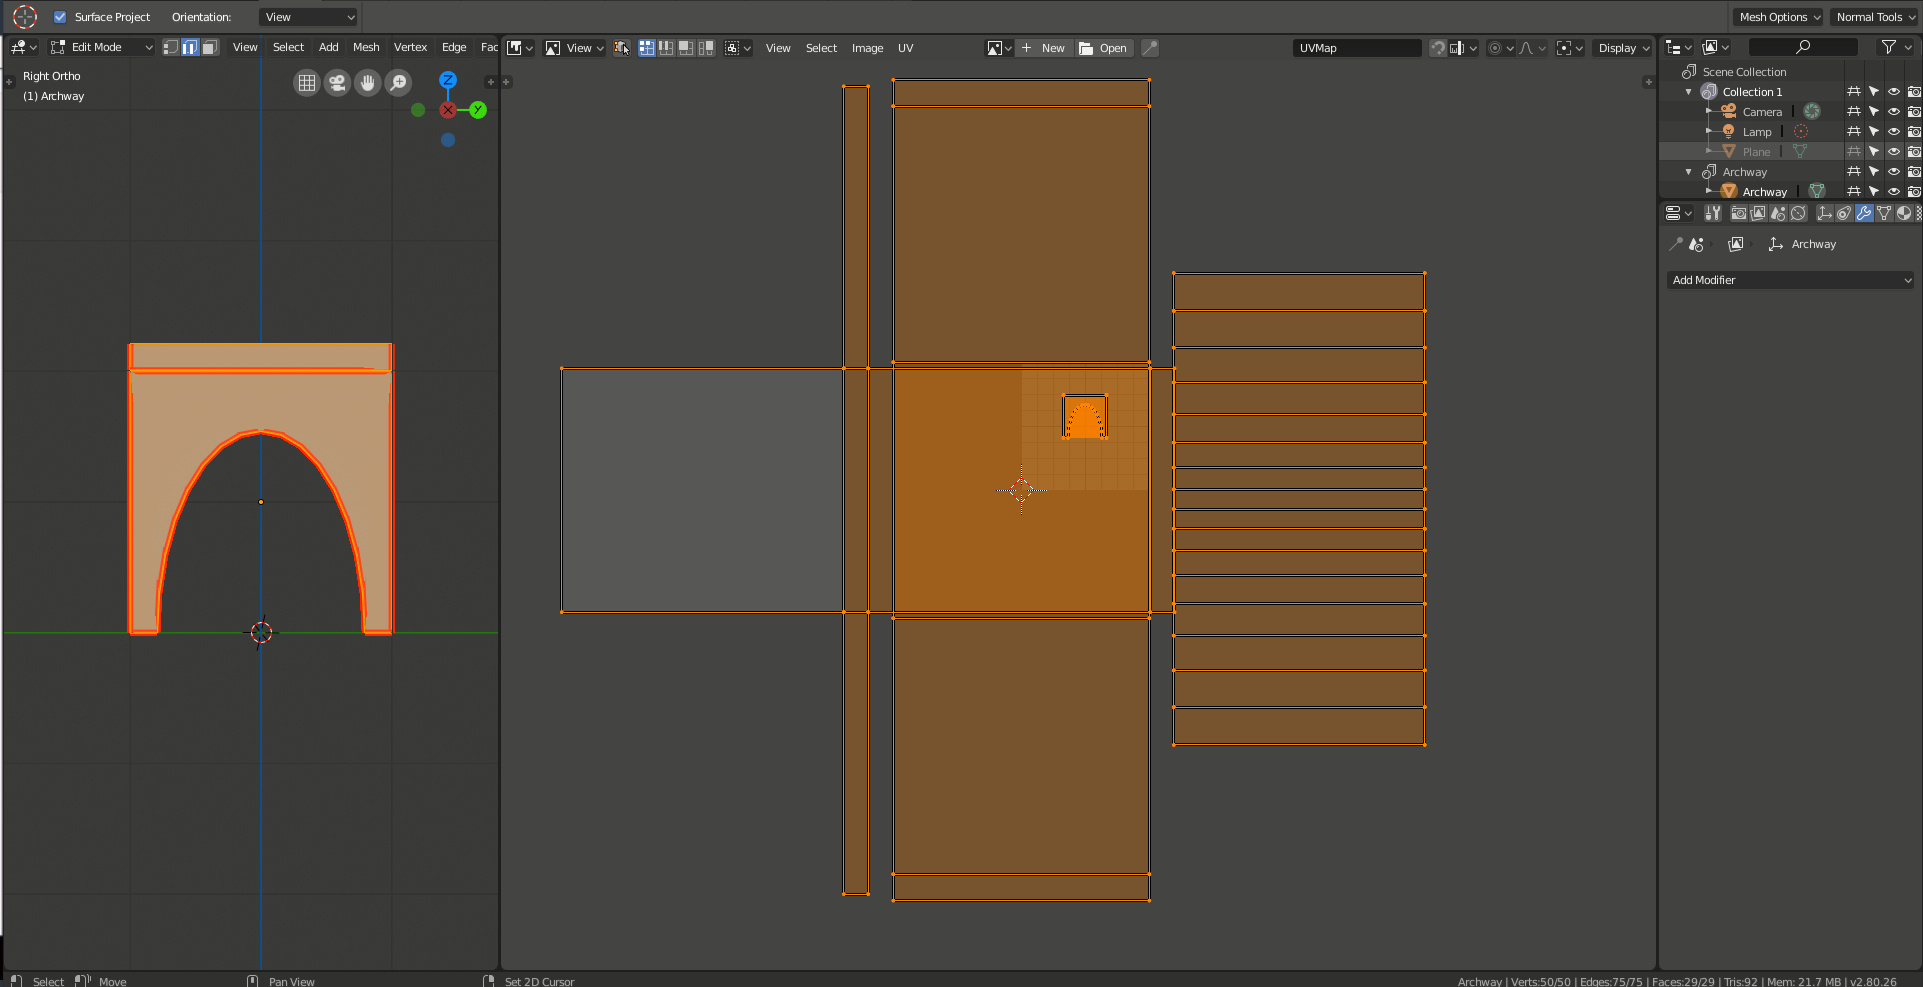
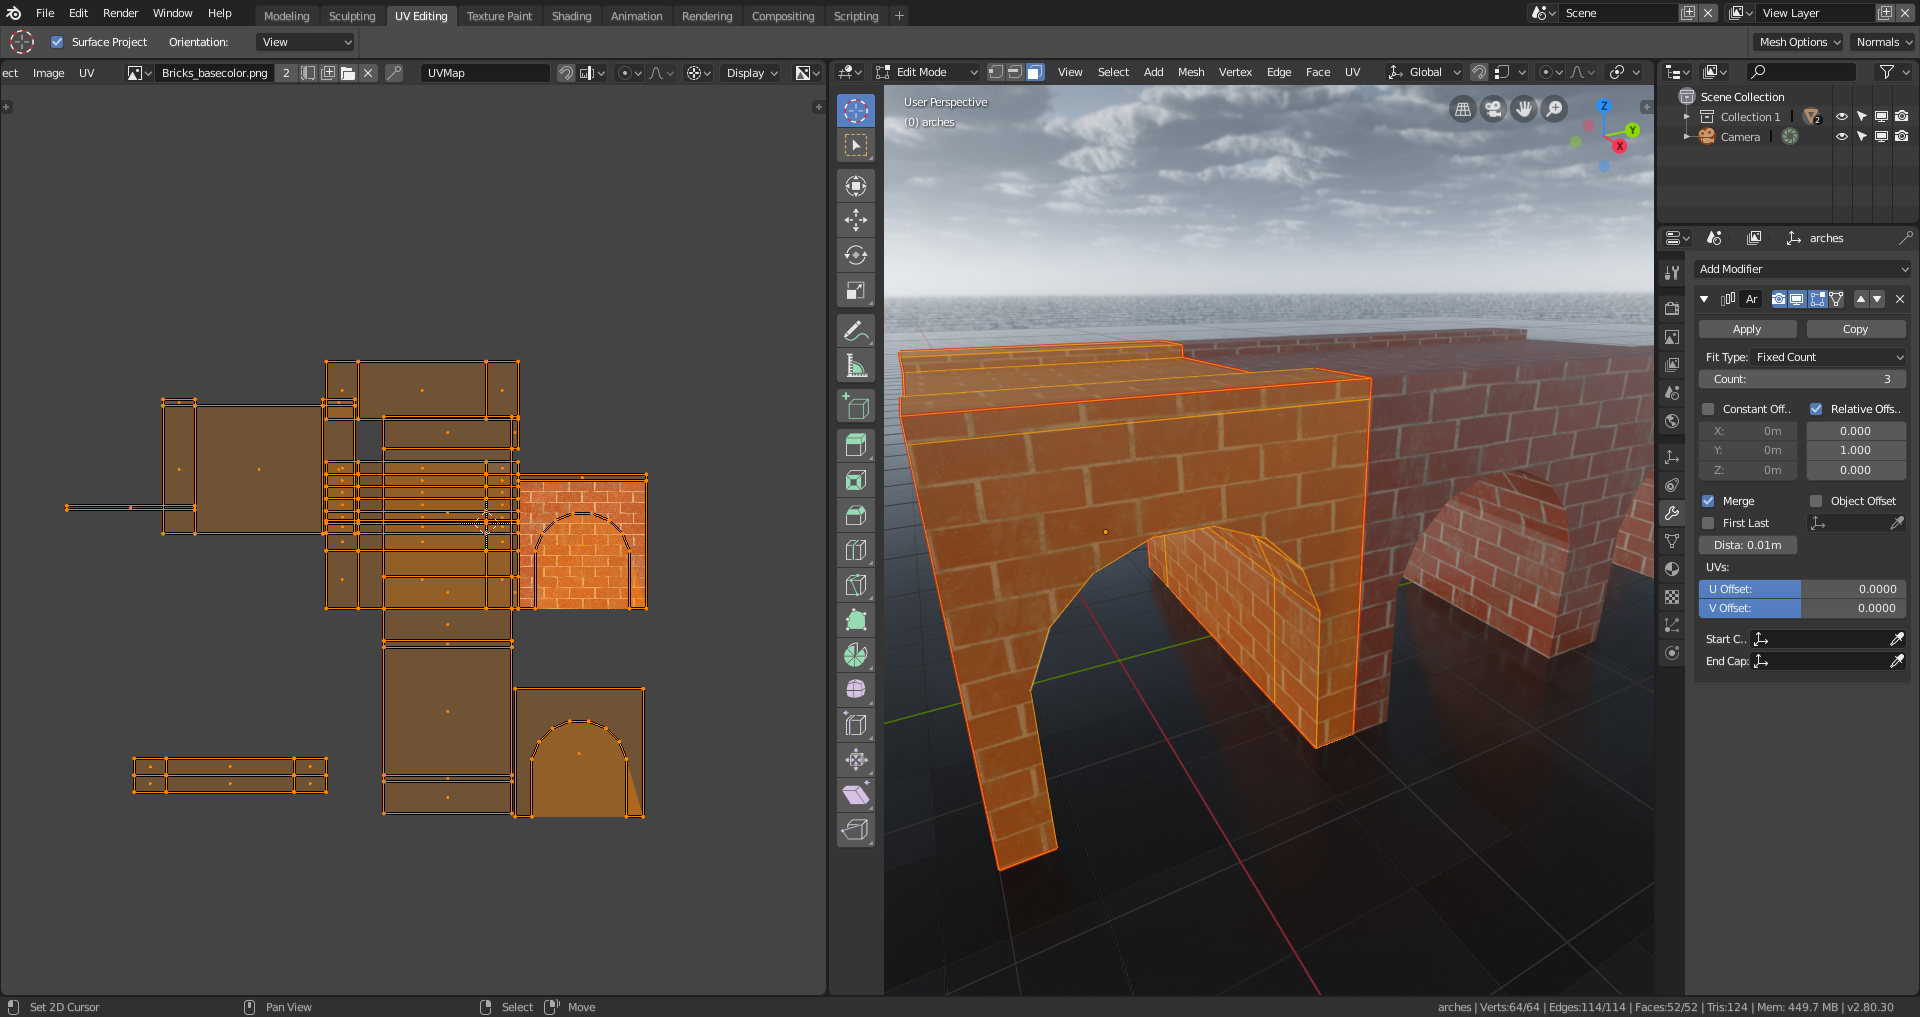
I hope in the final Blender release the boolean modifier won’t cause this sort of uv-unwrapping issues. The selected part i had to do the same way like mikey, use the “project from view”, otherwise the uv’s are rubbish.
This section and especially marking seams has always given me challenges and is difficult for me to grasp. Your lecture gave me a bit better comprehension of the topic but I still struggle. I know… practice, practice, practice.
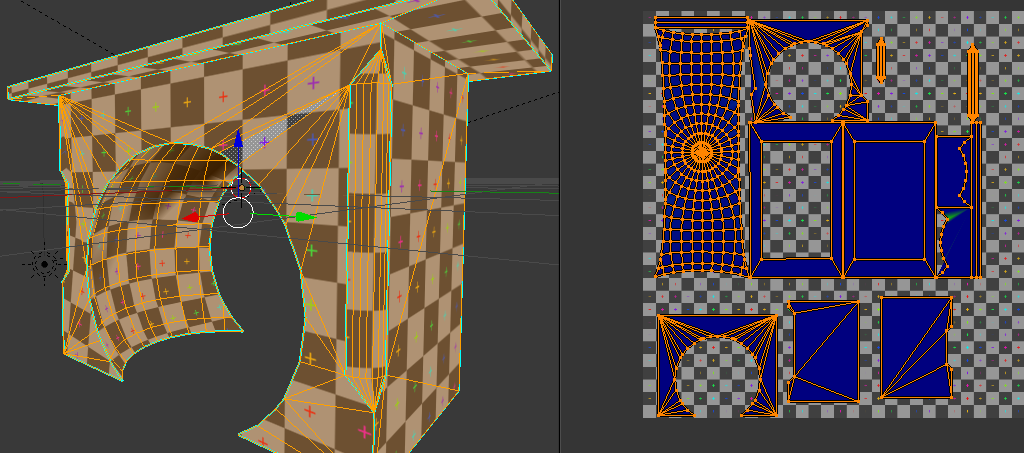
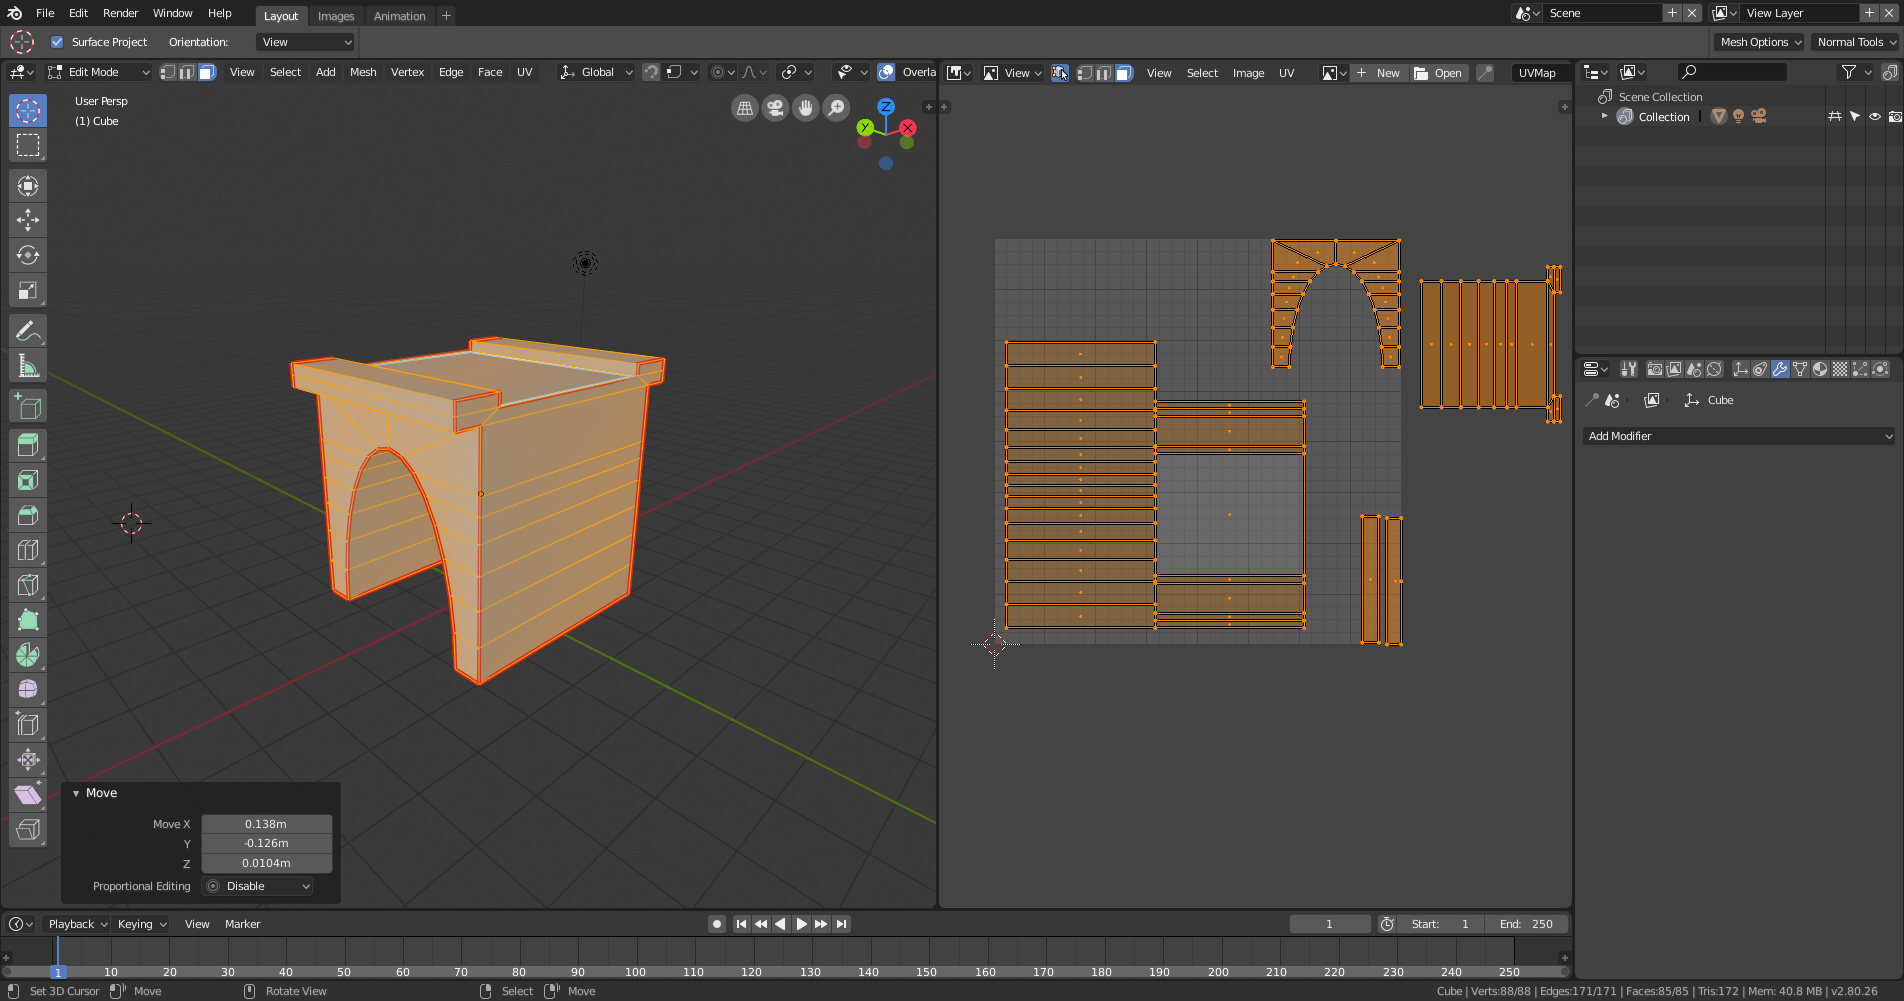
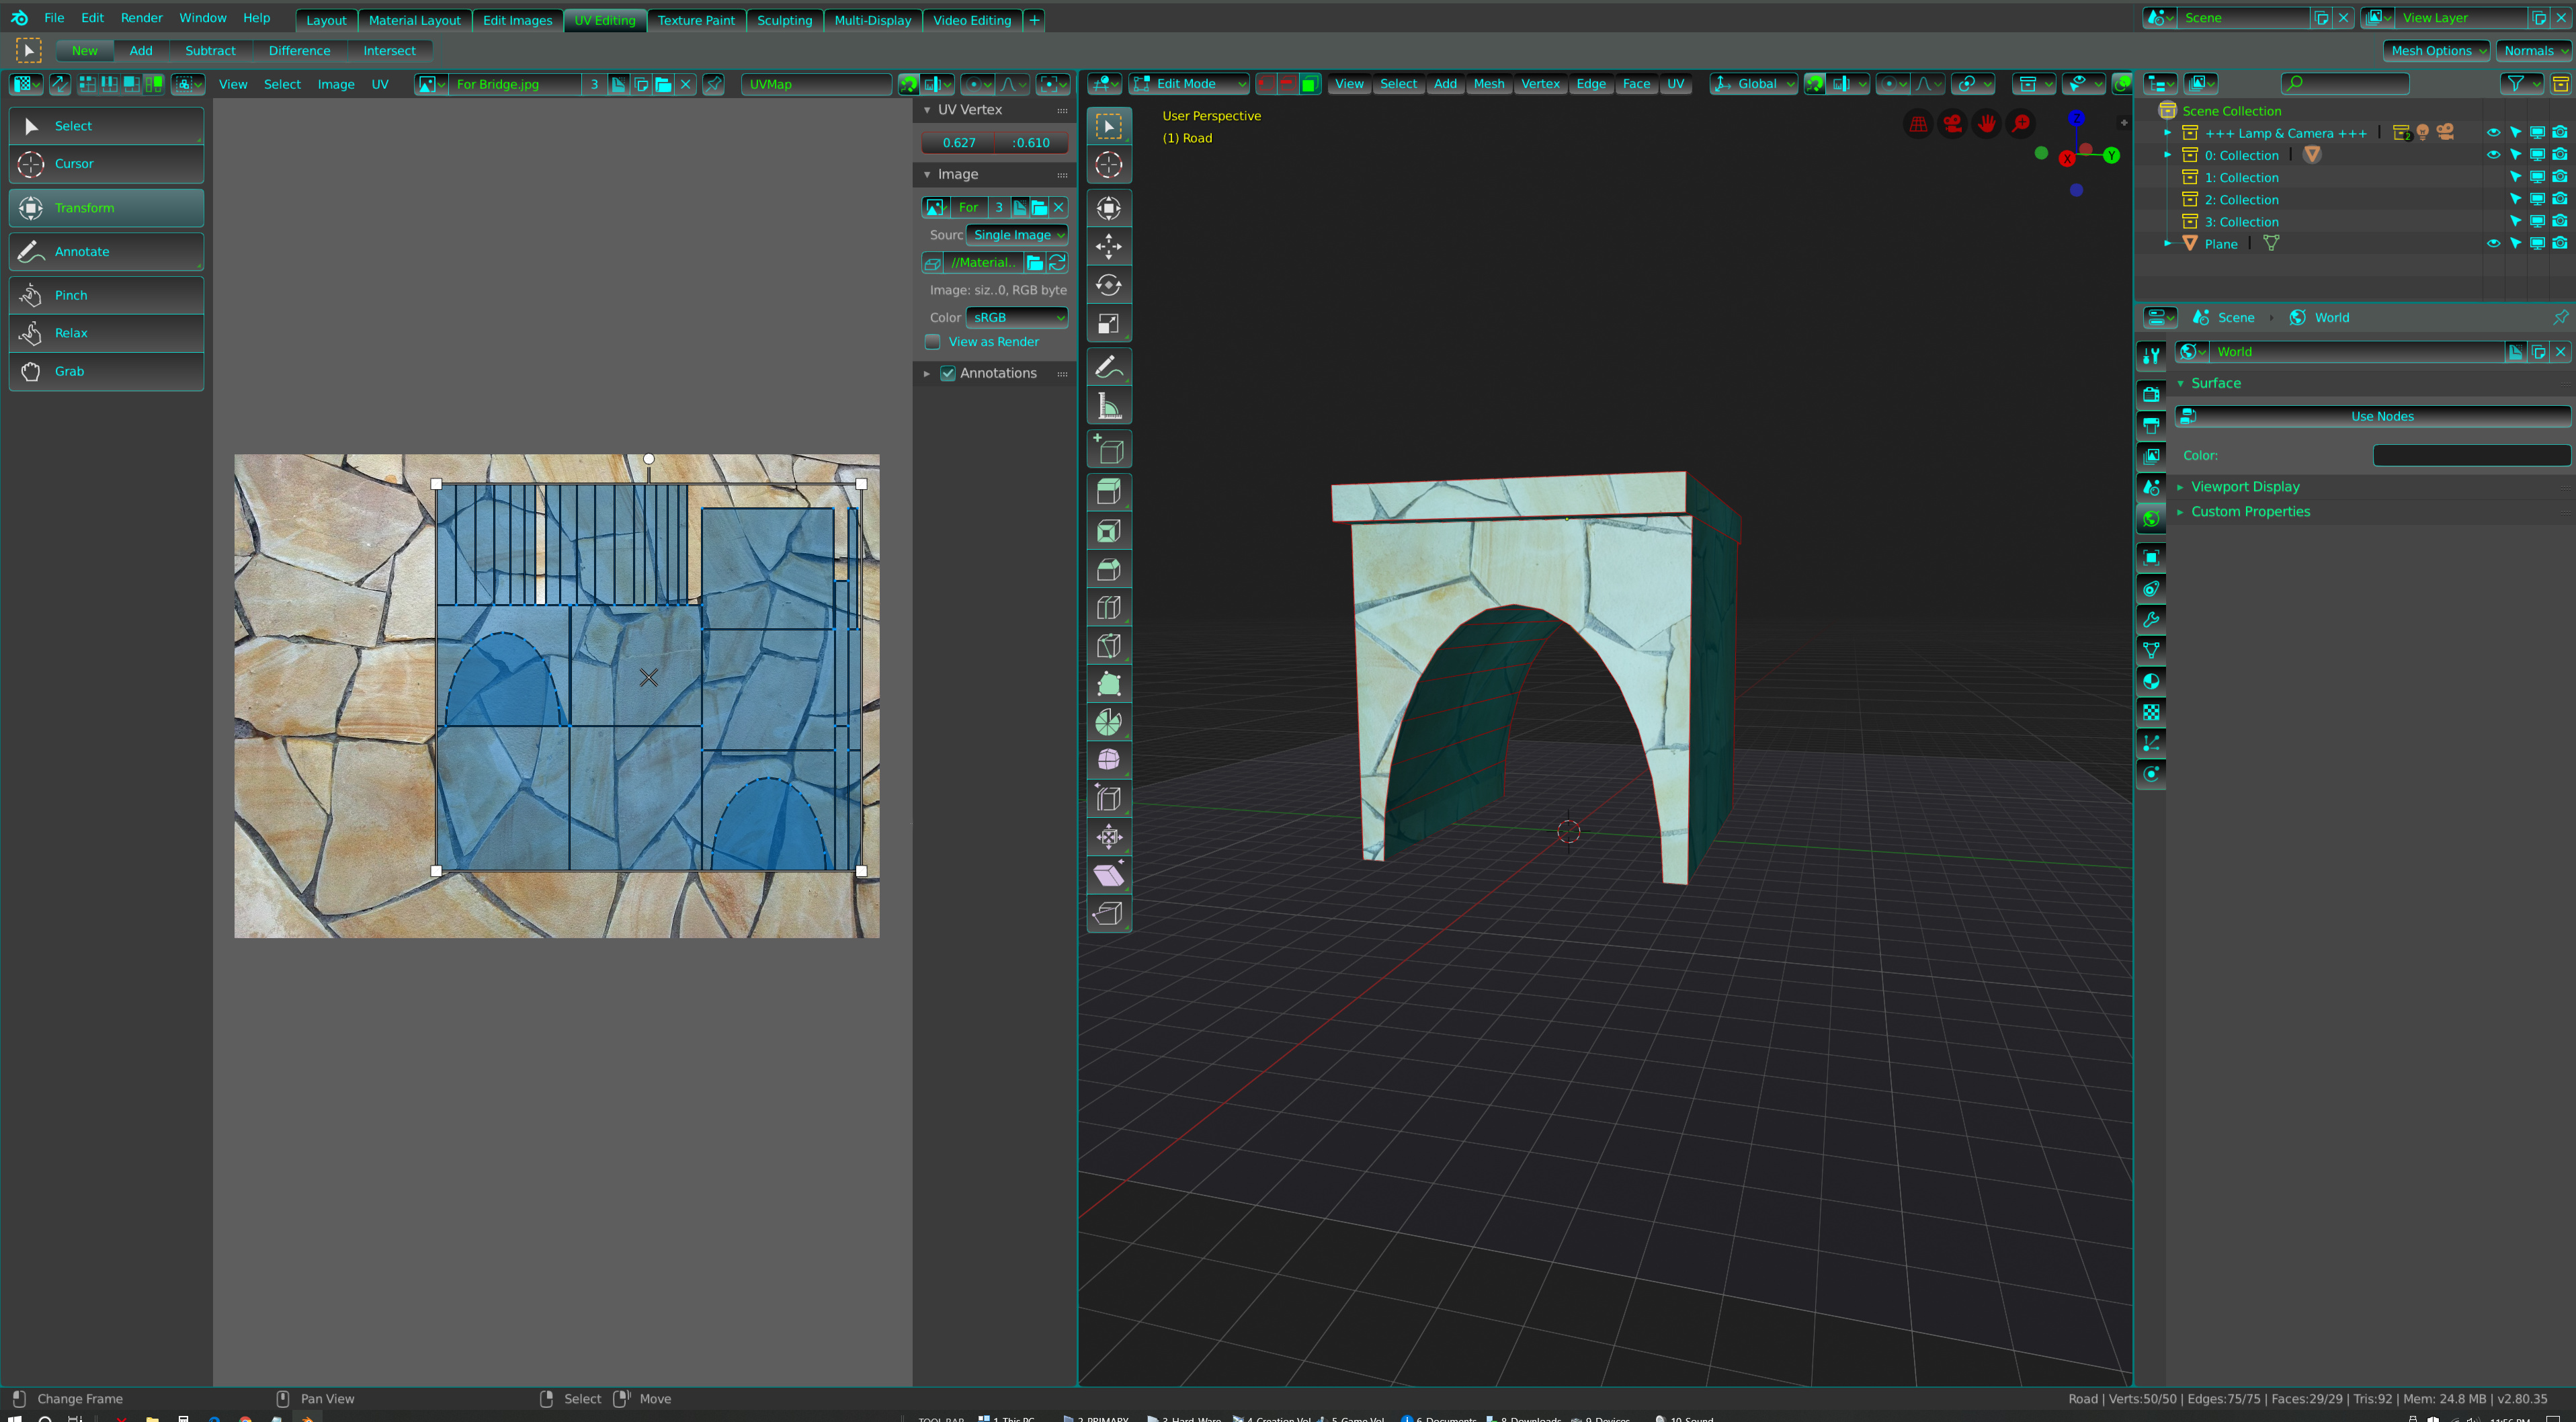
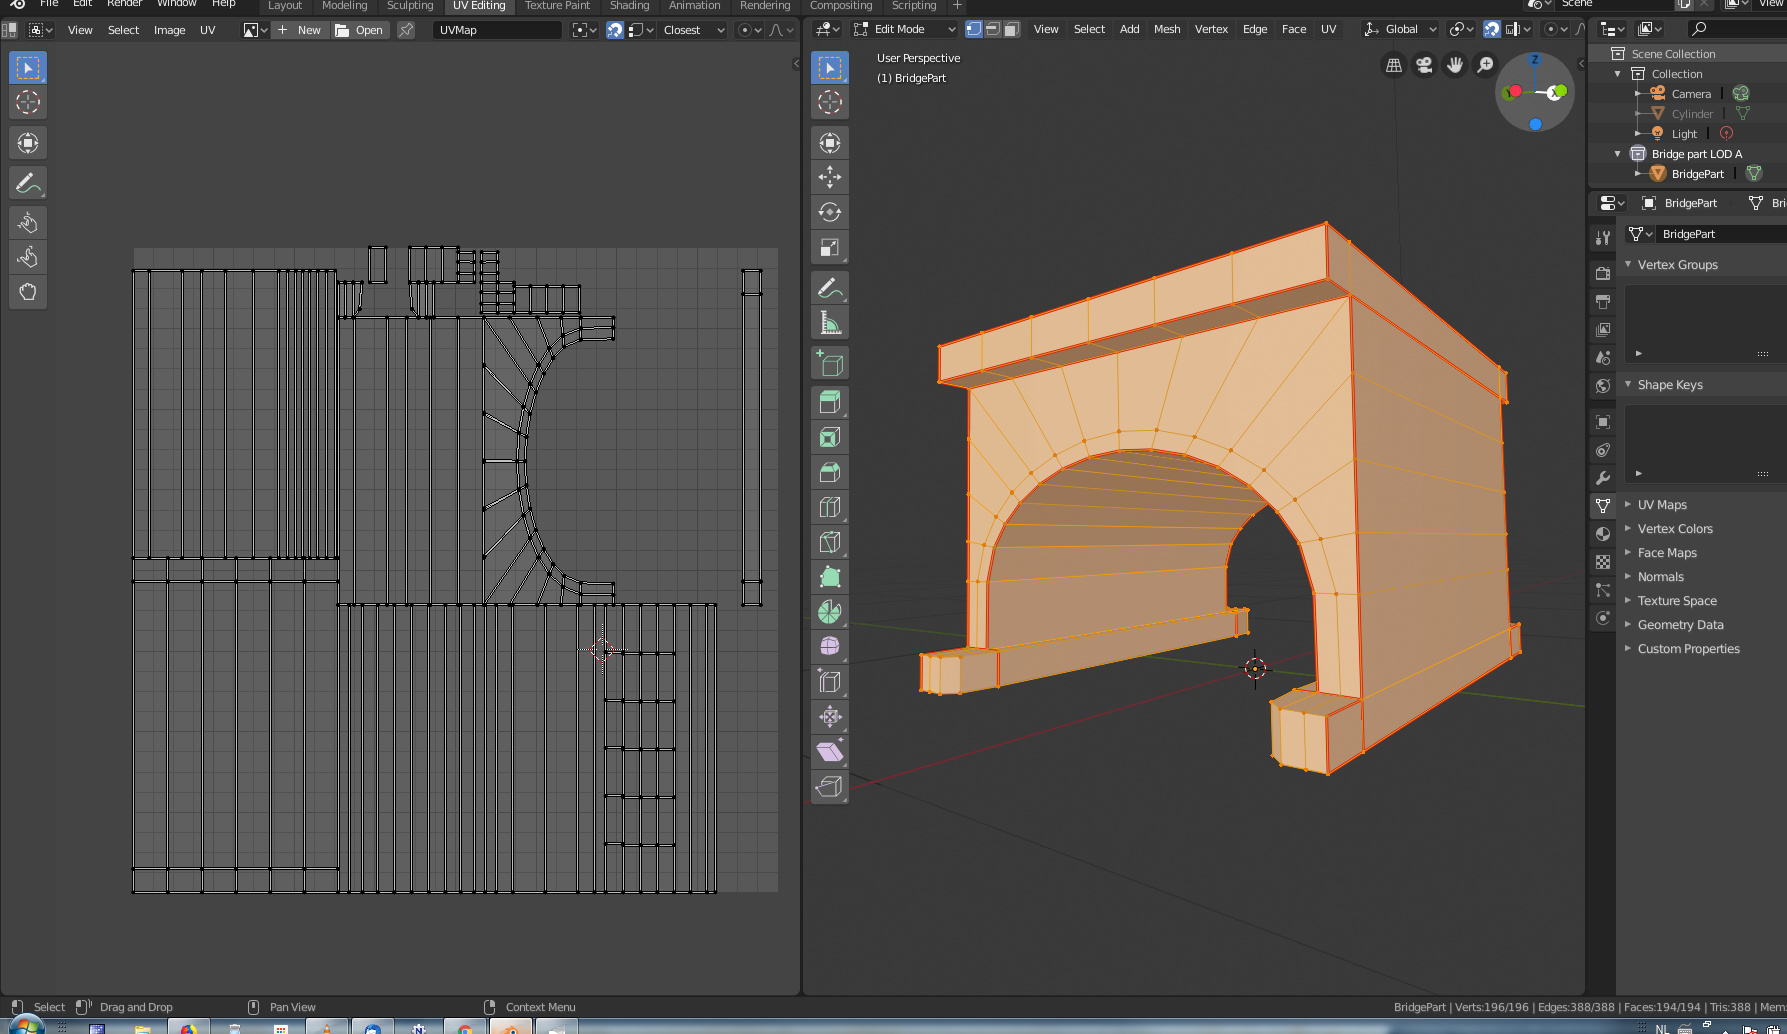
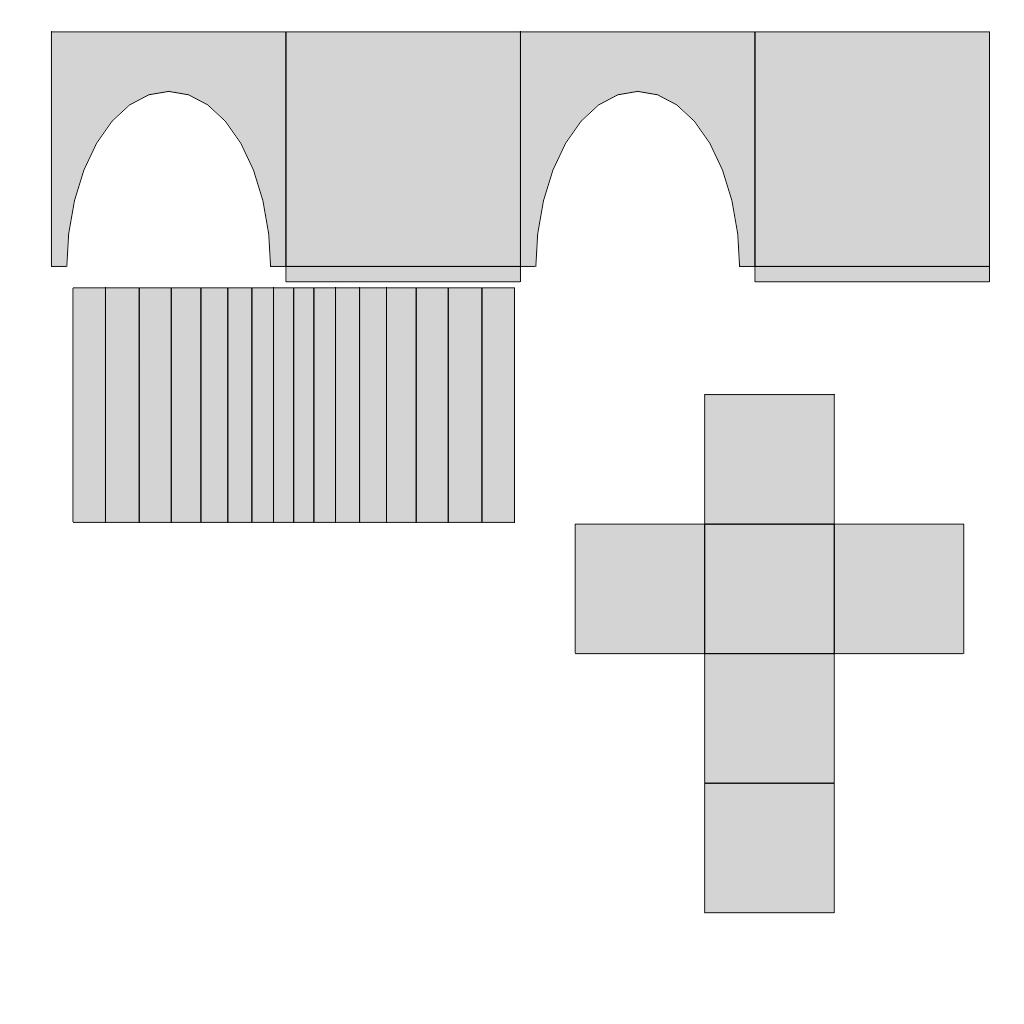
Here is my UV unwrap and I did struggle to get it to look reasonably like yours. There is an issue whether it is important or not remains to be seen. The side of the Archway that had the boolean applied has a white shadow at its base. I am not sure what that means but it gave me fits and I couldn’t get rid of it. Also that face on both sides of the archway in the UV editor is extremely small compared to the other sides of the UV unwrap.
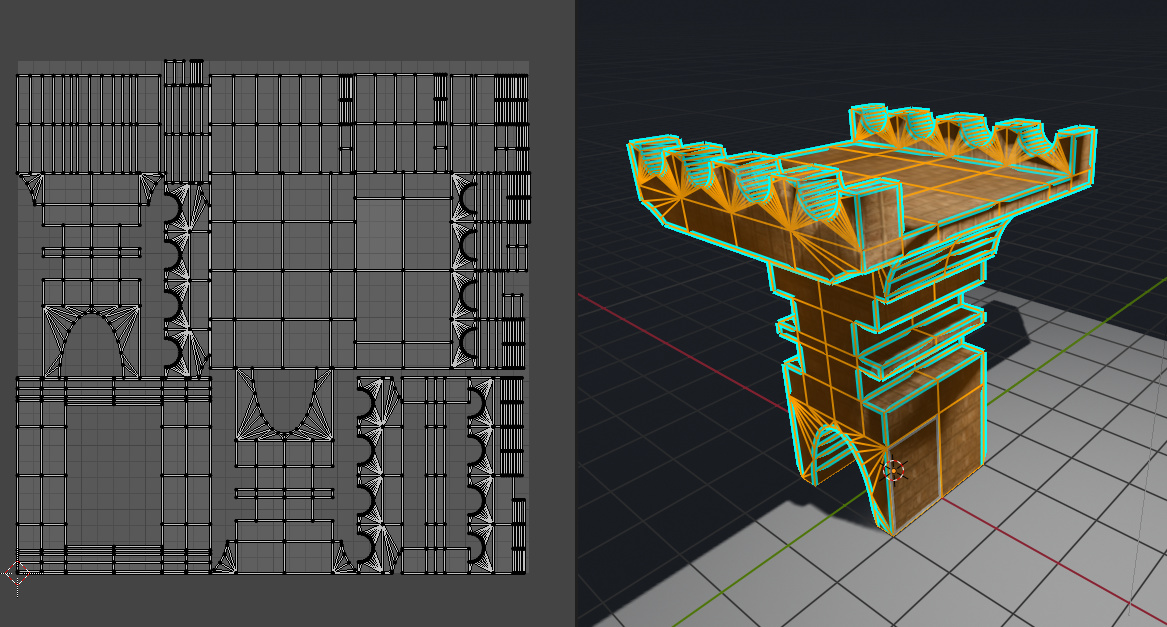
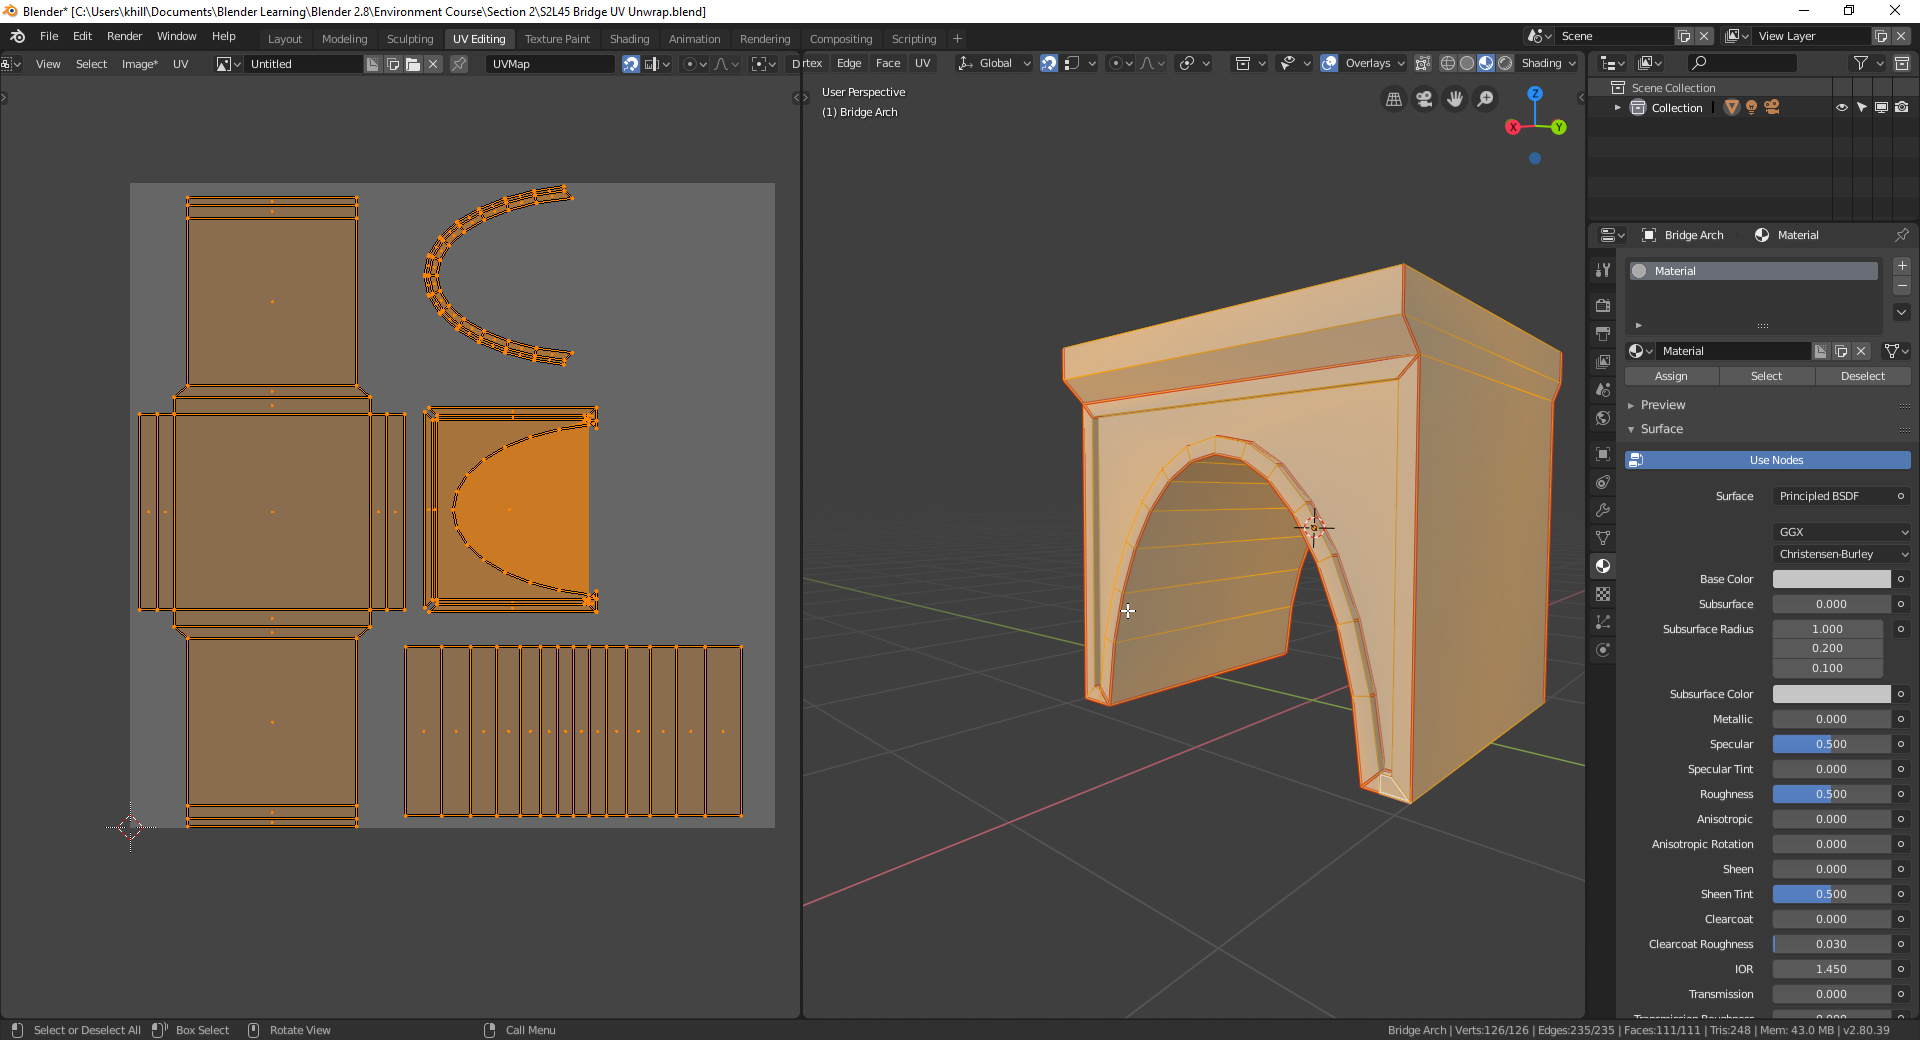
The boolean modifier did some crazy things to my original mesh, and I apparently also did some ungodly things to it, as I had so many edges on top of one another. I essentially ended up remodeling the archway and removing double verticies somehow did not help. I was pretty confused, but I got a good result on a remodel.
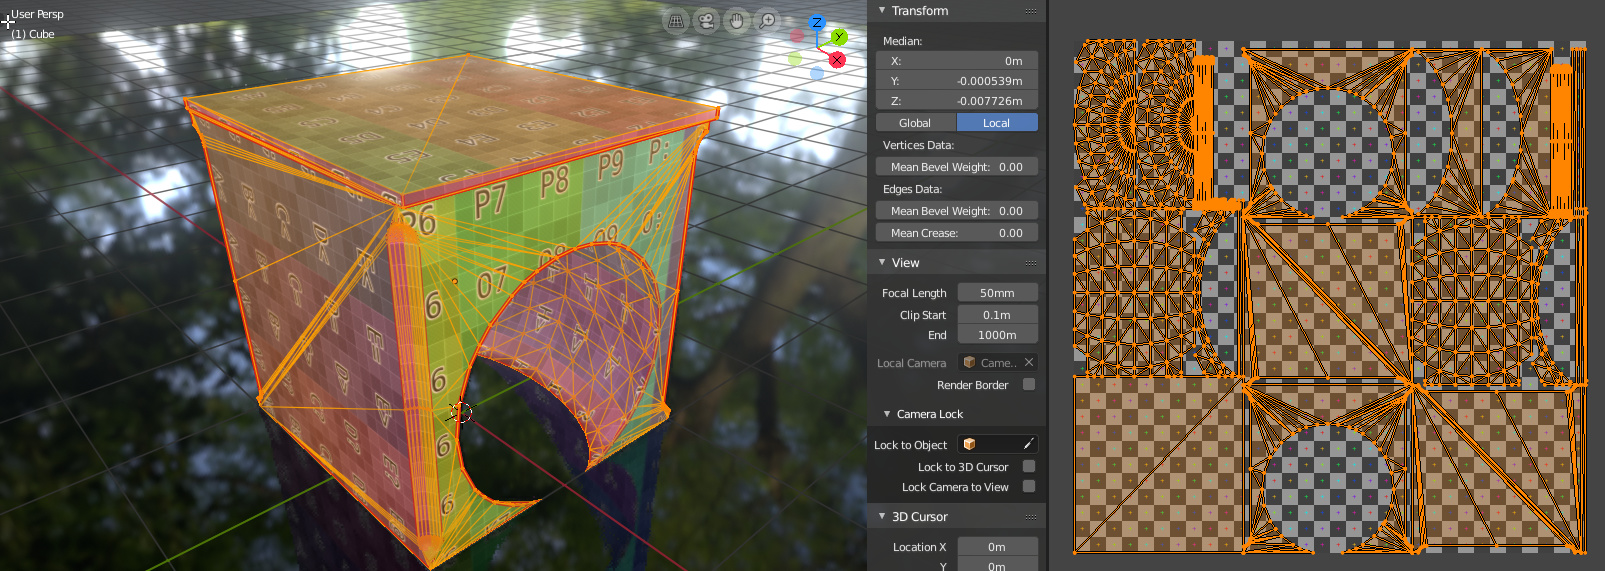
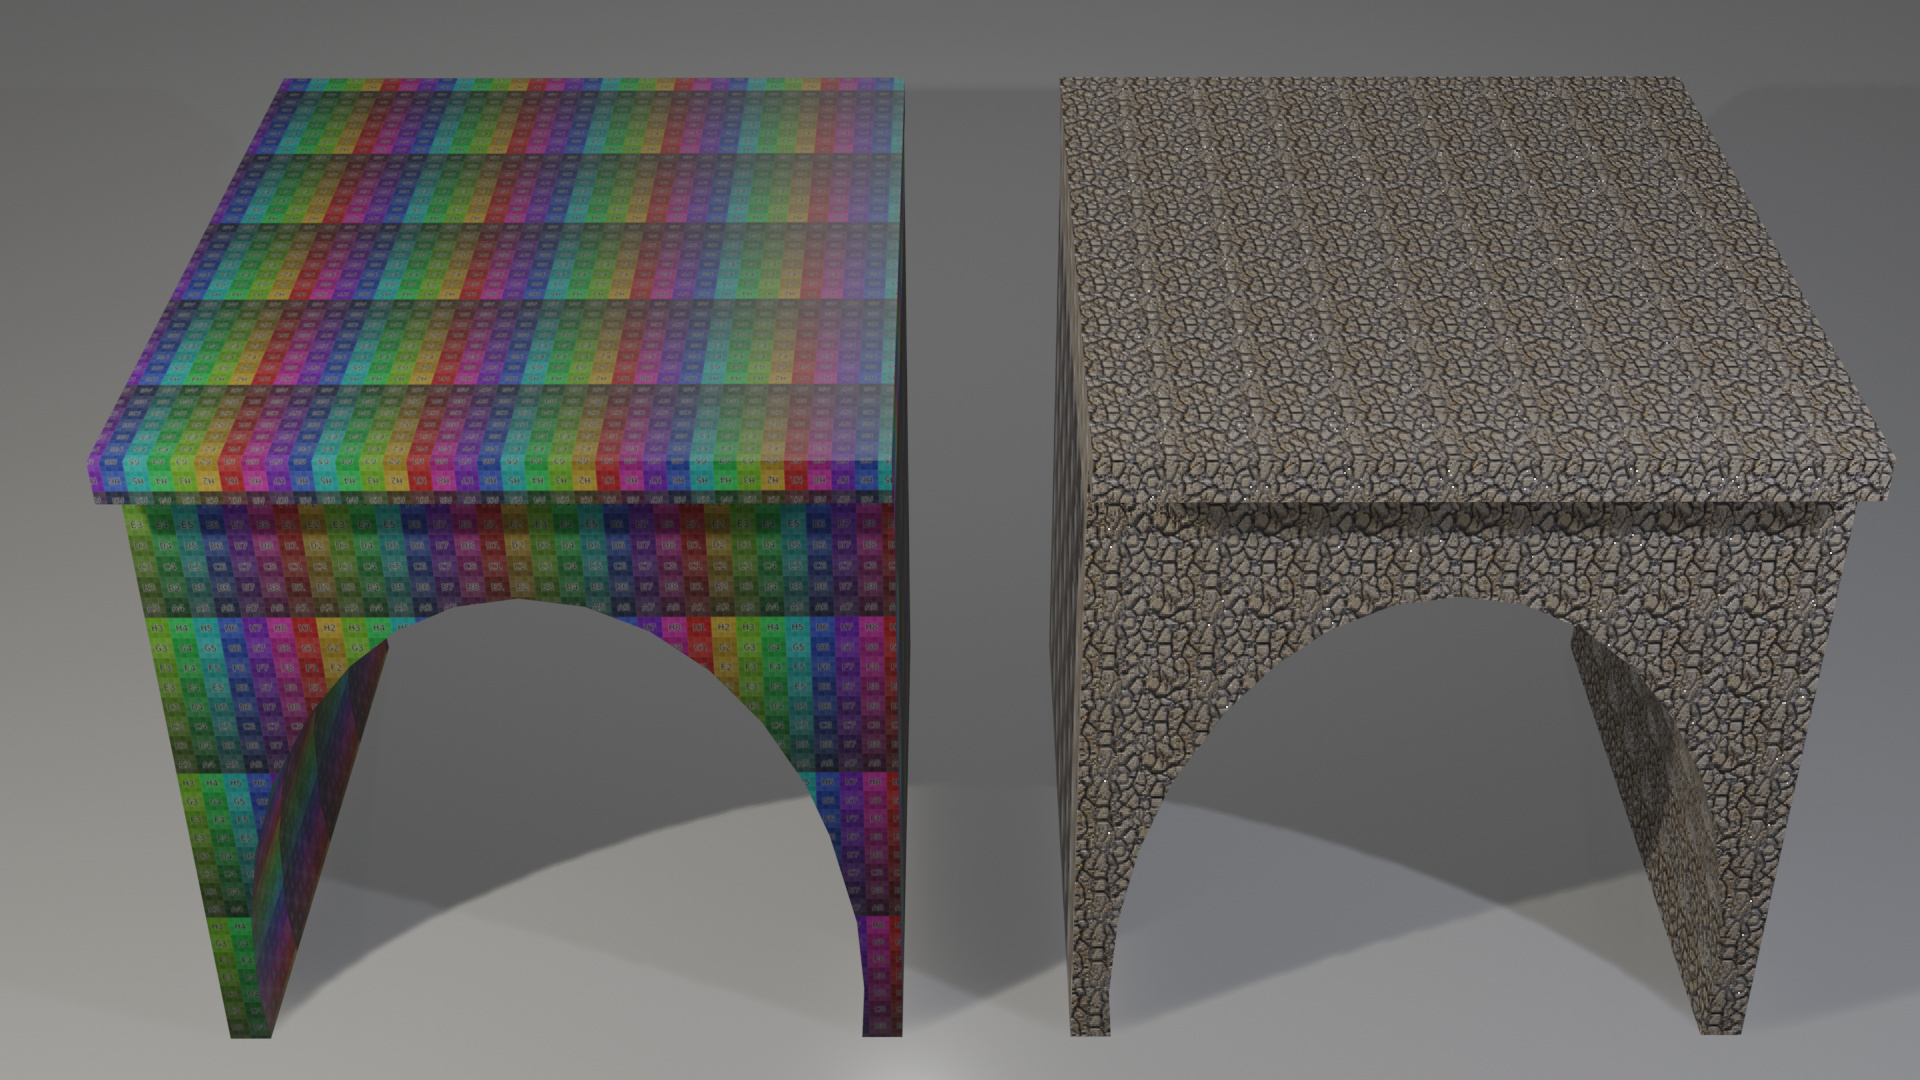
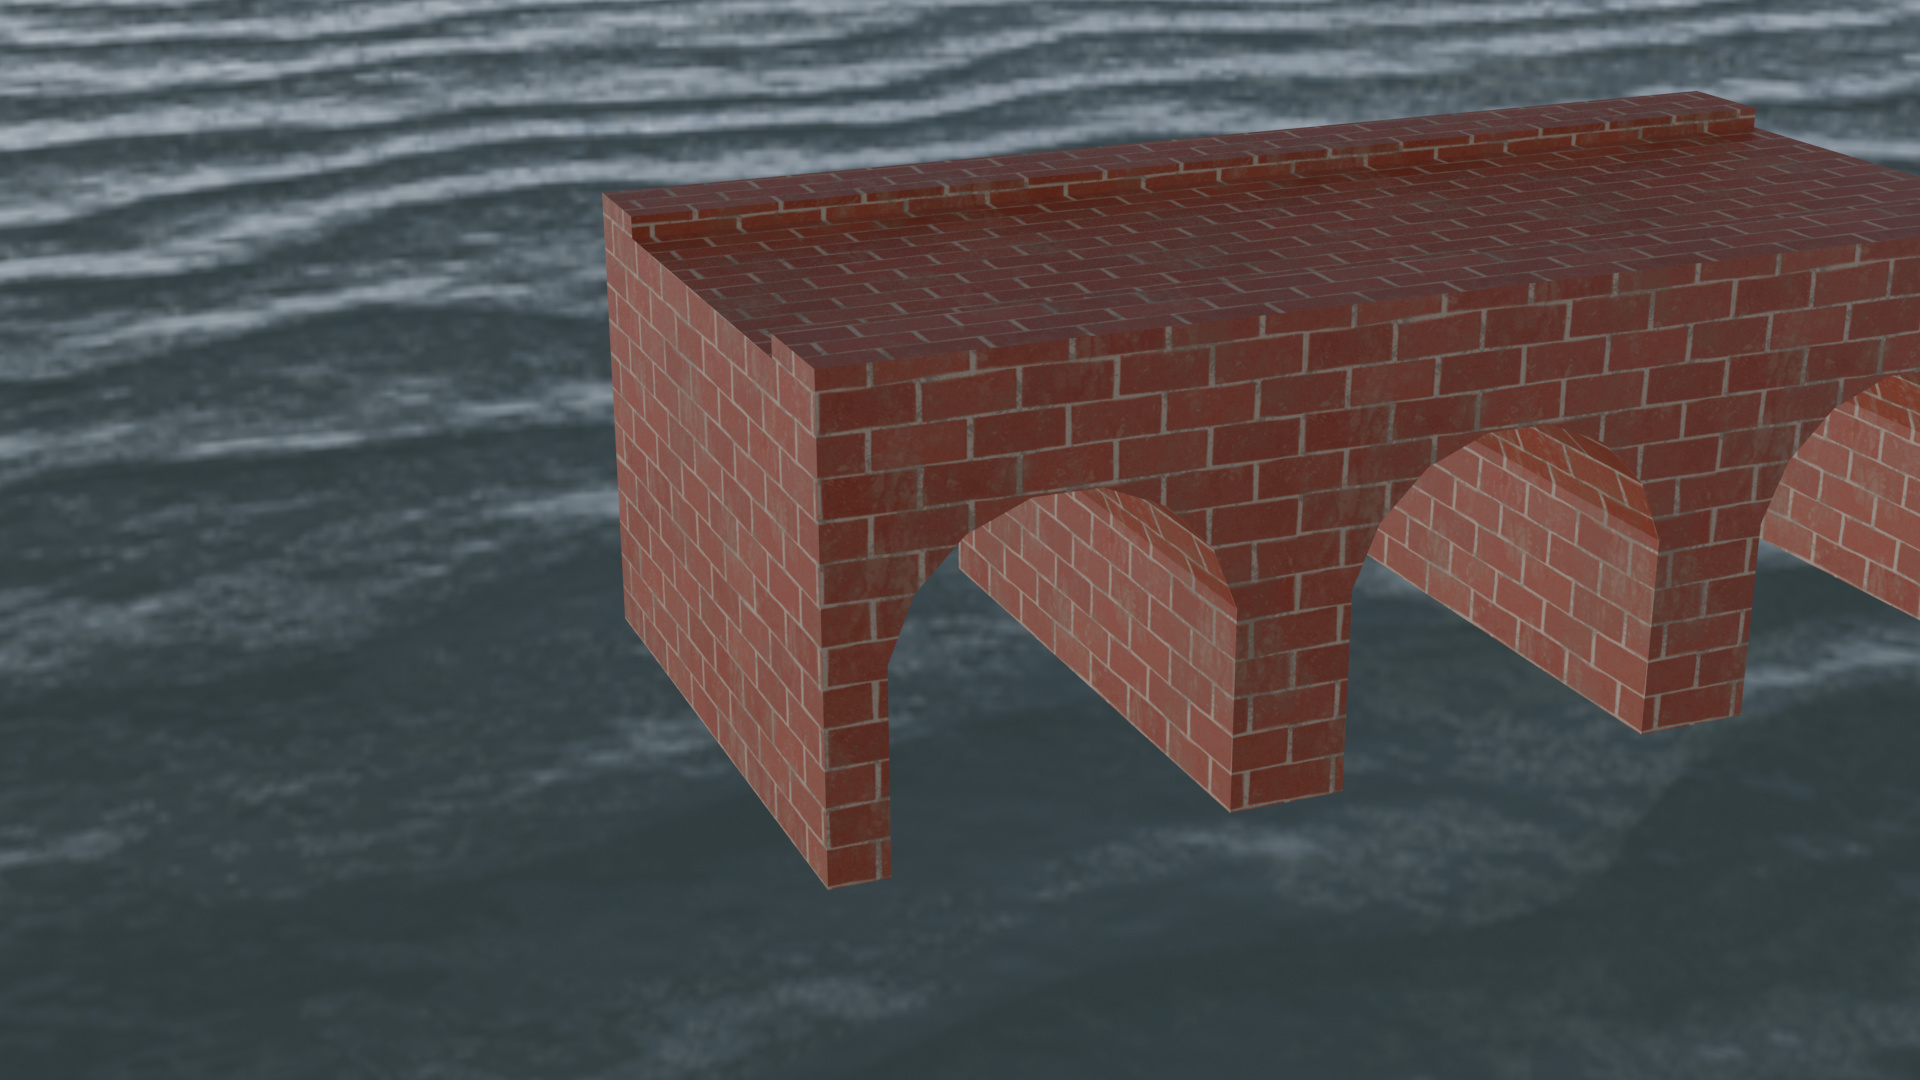
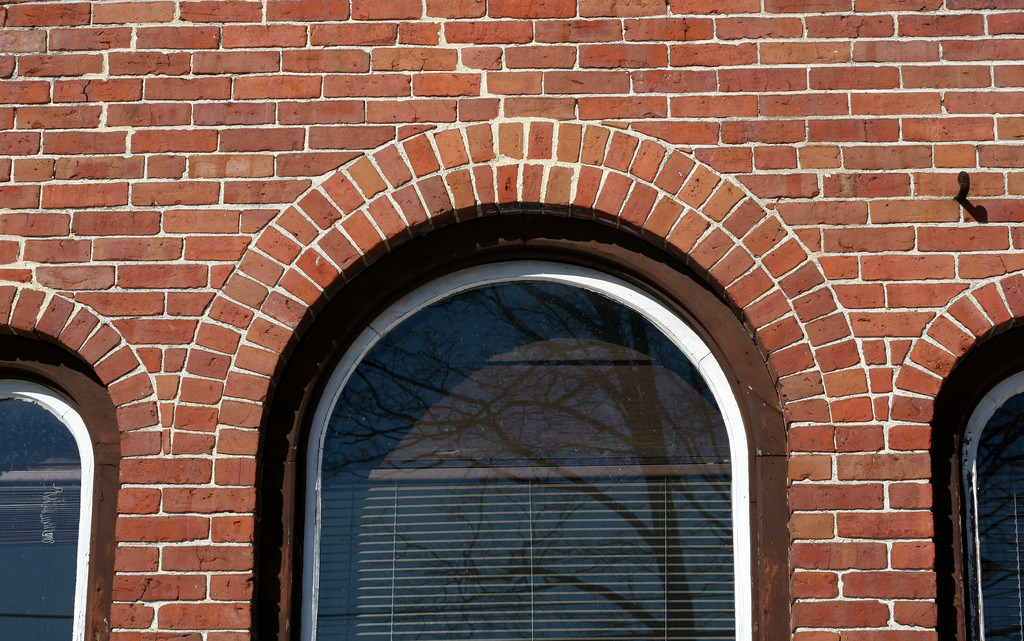
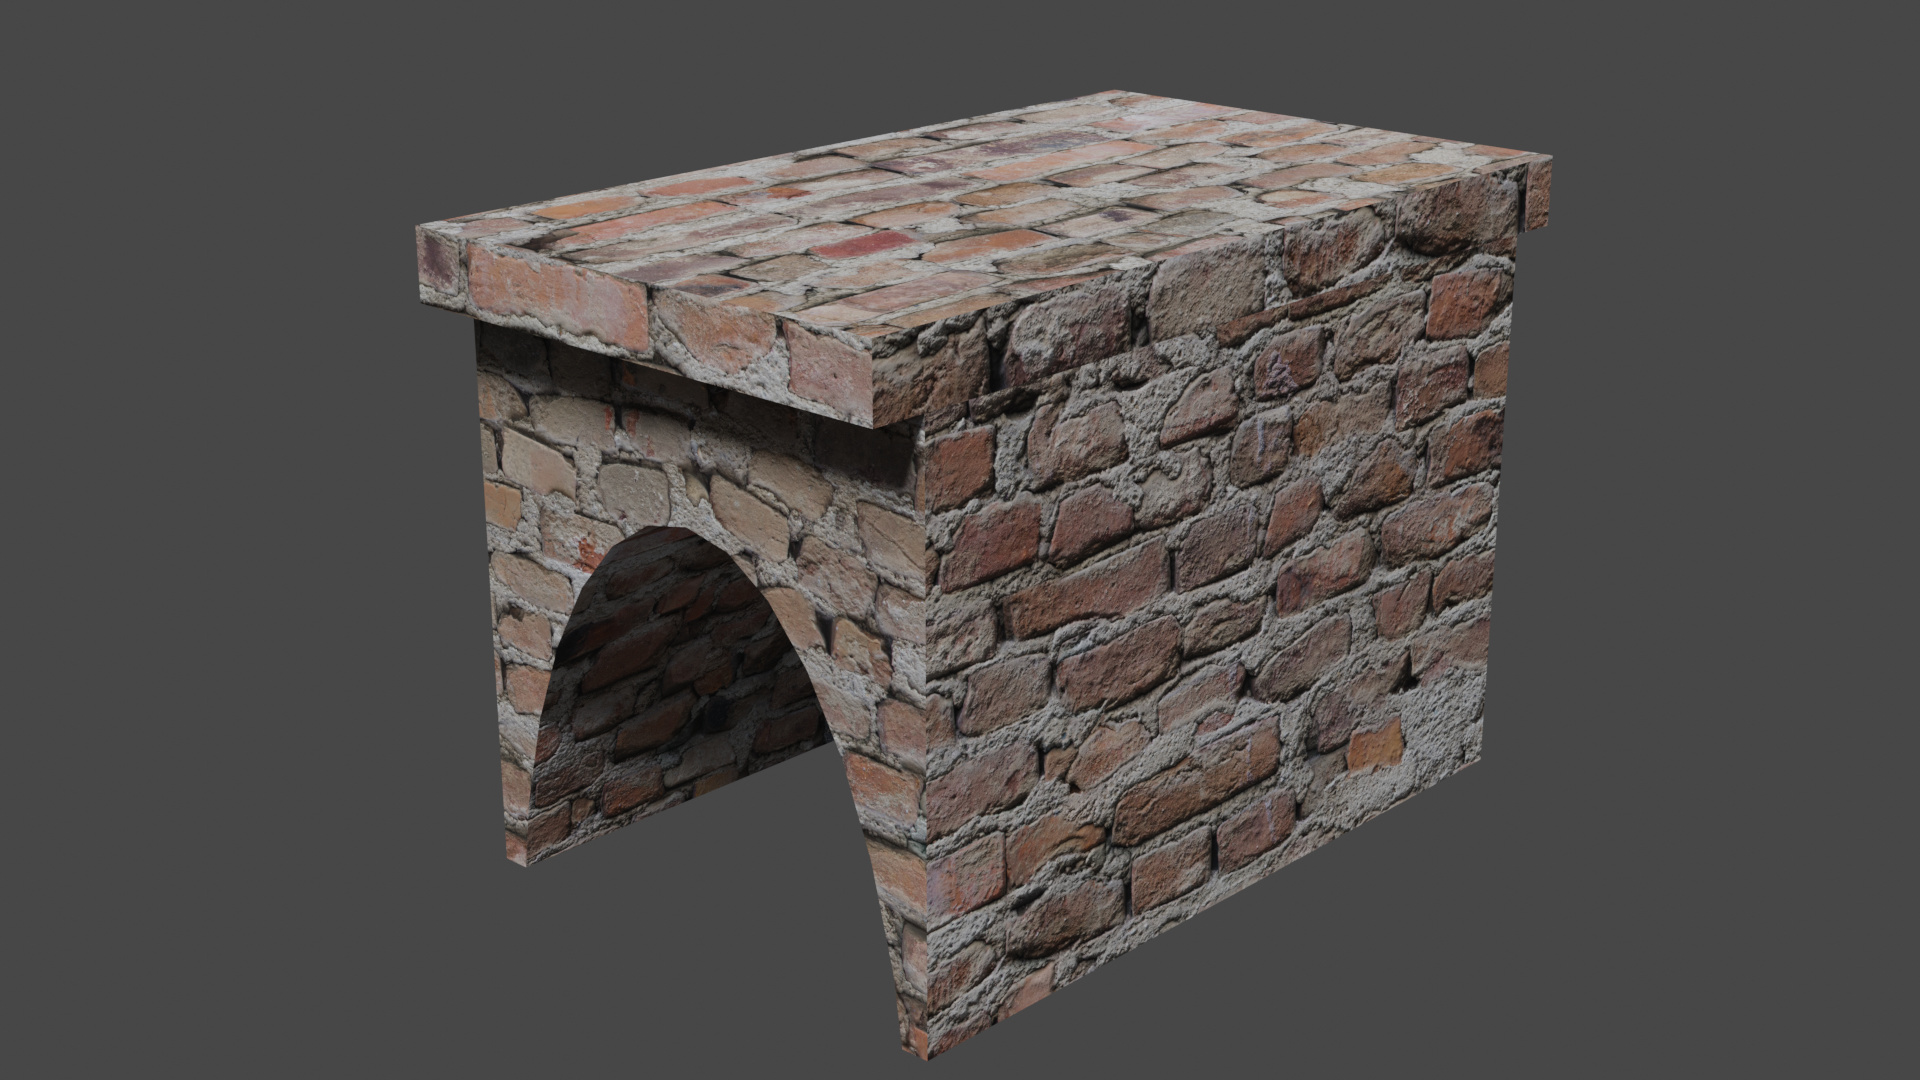
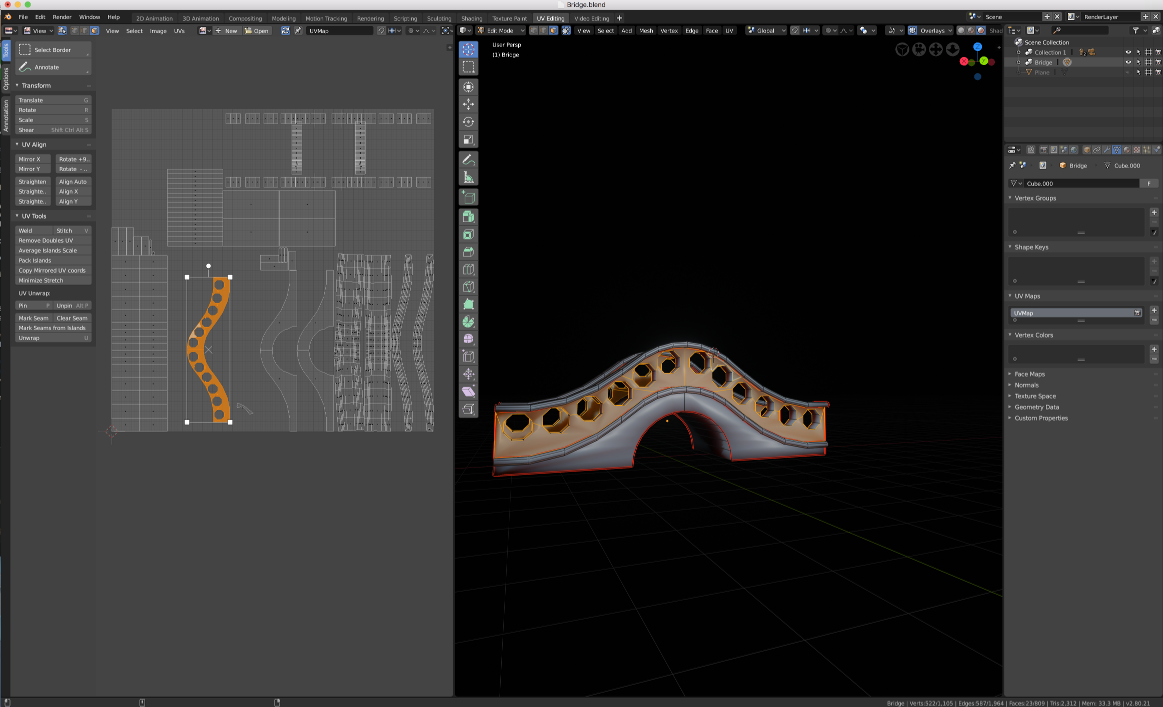
It took a while to get it undistorted and tiling, but I got there eventually. I now realise why in real life many archways have an outline of bricks perpendicular to the archway, it doesn’t tile perfectly without distortion. Like the following I quickly found on Google
Believe it or not , maybe the 2.8 latest alpha, but smart unwrap worked the best even after all those steps. Shown In the video. It first mapped out with under bridge in order.
But there are probably circumstances where the project from view will come in handy.
I did have to shorten map to keep ending lines from showing in textures.
had a bit of weirdness going on with the unwrap at first but after a bit of poking about I discovered that one of my faces had a weird connection happening… easy fix
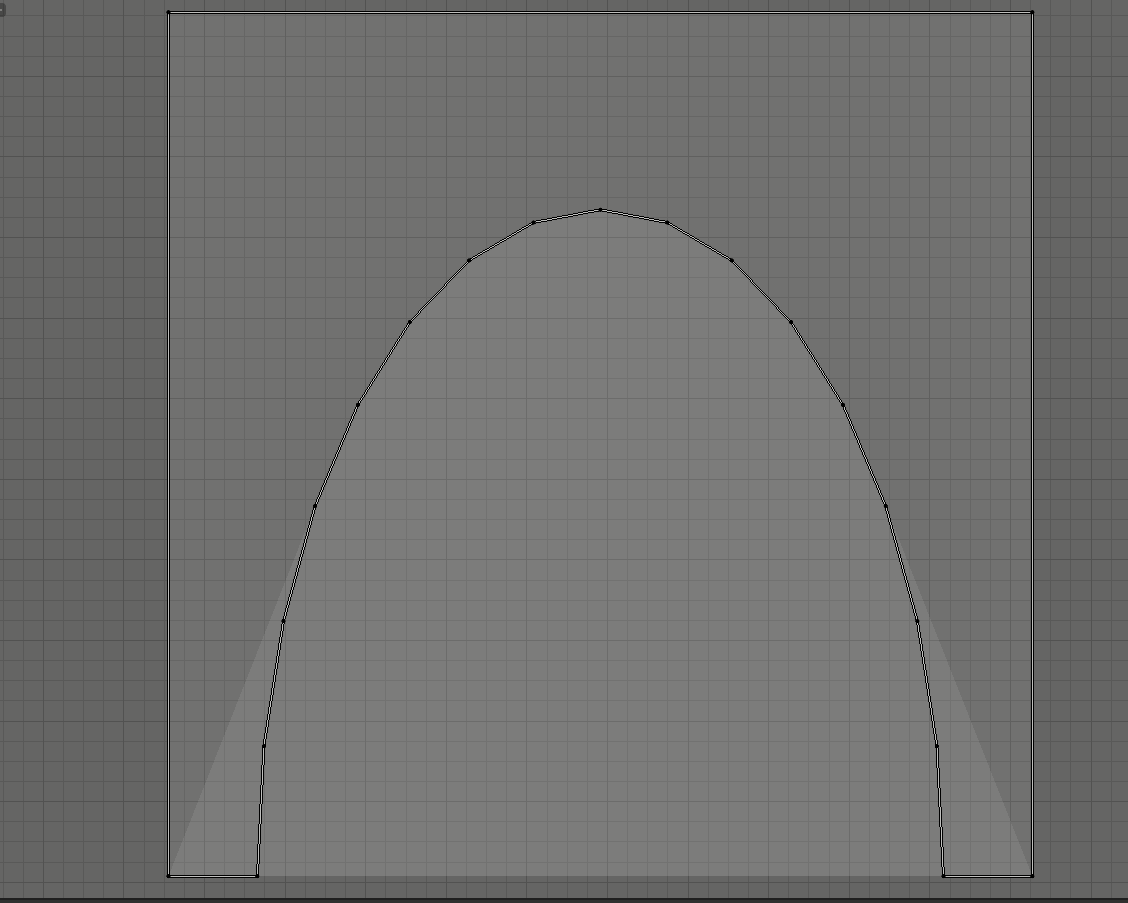
I had a fair bit of trouble figuring out how to get the protruding bricks around the archway to line up right. In hindsight it might have been easier to model those as seperate pieces, instead of extruding out from the cutout made by the boolean modifier. The inset panels didn’t help things either.
The archway is a technical thing (not only cosmetic).
It bends the gravity force to side of the window columns.
Bricks can can withstand high pressure but breaks quickly at tensile forces.
You can not bend a brick. By applying an arch, bricks are still under presure, but combined they bend.
Thats why old stone churches have bended domes.
 But here’s learning!