About 'Introduction To Hand Painting'!

In this video (objectives)…

  1. Create a New Image
  2. Change the mode of the UV Image Editor to Paint
  3. Paint a quick black and white image

After watching (learning outcomes)…

You will be able to create you own custom value image

(Unique Video Reference: 13_TB_BEC)

We would love to know…

  • What you found good about this lecture?
  • What we could do better?

Remember that you can reply to this topic, or create a new topic. The easiest way to create a new topic is to follow the link in Resources. That way the topic will…

  • Be in the correct forum (for the course).
  • Be in the right sub-forum (for the section)
  • Have the correct lecture tag.

Enjoy your stay in our thriving community!

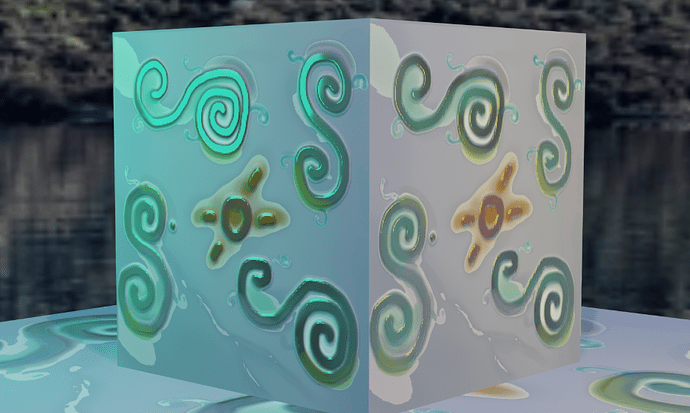
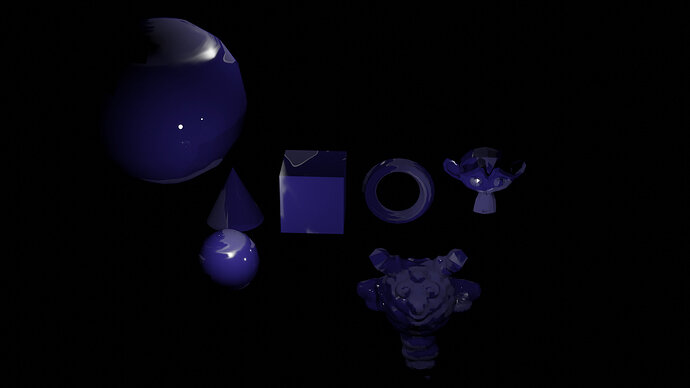
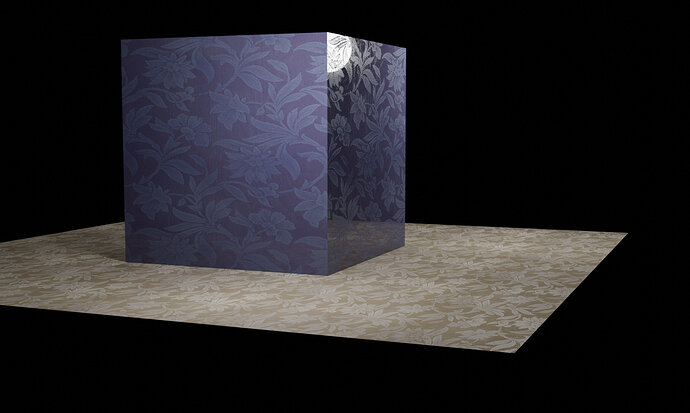
This lecture gave me some insight as to roughness and how to use UV maps to control surface qualities on an object. The only thing I noticed is that my light source (Sun) was too white and too strong. Due to that my first render look like white speckles (like the dreaded fireflies in cycles) but they weren’t that. They were just too bright. When I changed the suns color a bit and lowered the strength of light, I got this image:

1 Like

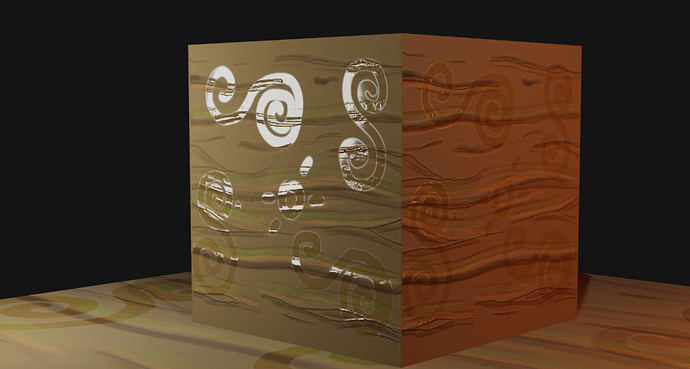
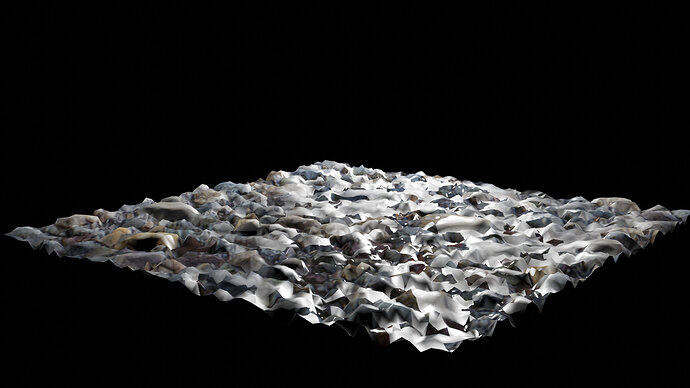
Rouhness + BaseColor


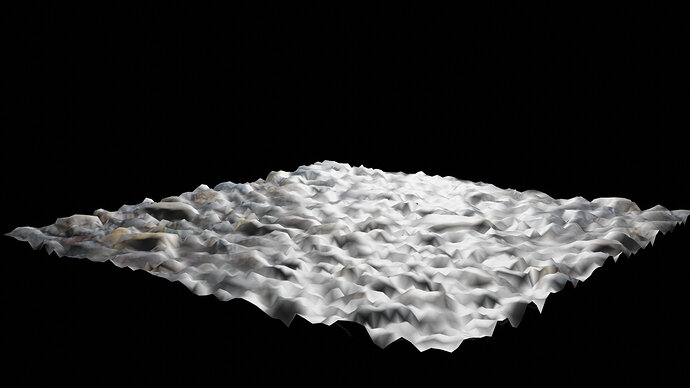
BaseColor

Rouhness + BaseColor + Normals from color “Candy”

Rouhness + BaseColor + Normals from color “Wood”

5 Likes

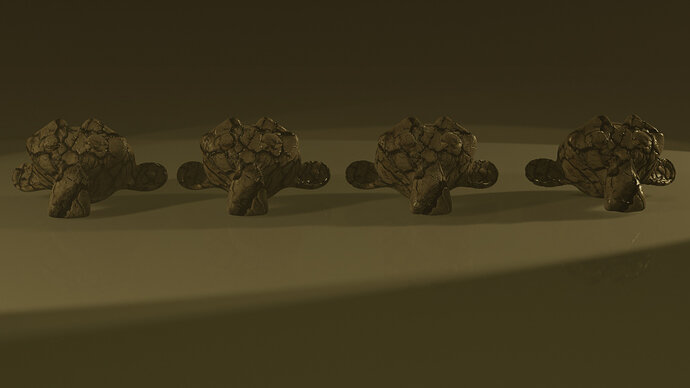
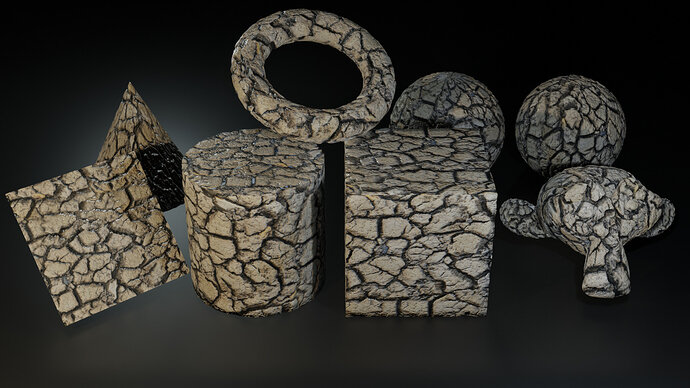
Here is my Suzanne normal/displacement comparison from last lecture with a wet patch on her faces. It came out pretty cool I think!


2 Likes

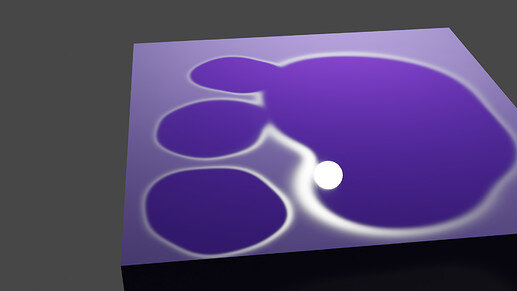
Painted roughness vs constant roughness. I painted in the 3D view, lowered the angle, so that most of the “paint” went onto the higher bits, then inverted the output so the lower bits were shinier and it looks like there are wet patches in the lower bits


I tried to keep it lokking like mud under water but its hard to tell

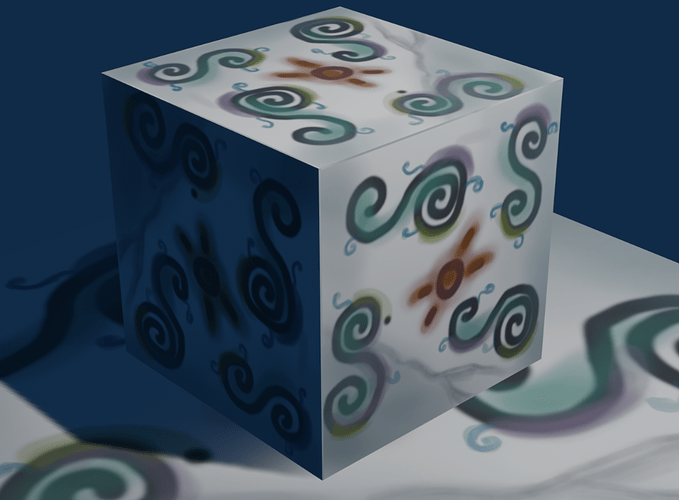
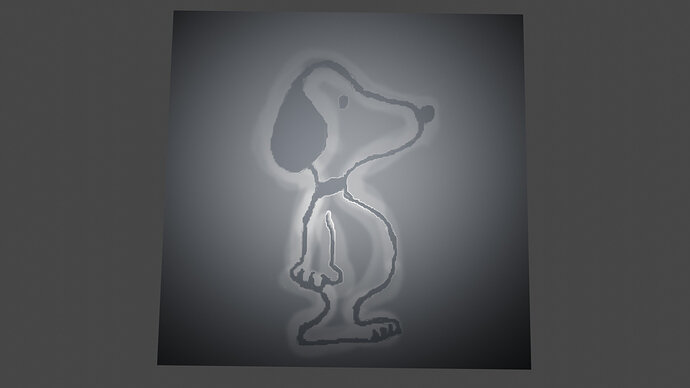
Then I tried one of those cheap $15 drawing pads, and drew a simple cartoon. Good news the inexpensive graphic tablets work. Its hard to get use to though, maybe only 5% better than doing it with a mouse. It was a struggle at least for me.

Is there any way to change the ring color for your paint brush, white on white isn’t working so well.

2 Likes

I decided to stick on working with nodes.
Re-using the colour map, make it grayscale and invert it. So the cracks will have roughness 1 and the stone to 0 (glossy).
Then I decided to add more environment stuff into the scene. Using an old 2.79 project. Just to have a quick workflow!
But that didn’t work, because of the 2.79 version and bad project management. I had a lot of problems making it work. Eevee no problem. Cycles a lot (didn’t show anything).
But I managed, just by following a step by step process what could go wrong and why.

So here it is, 2 x cycles.

3 Likes

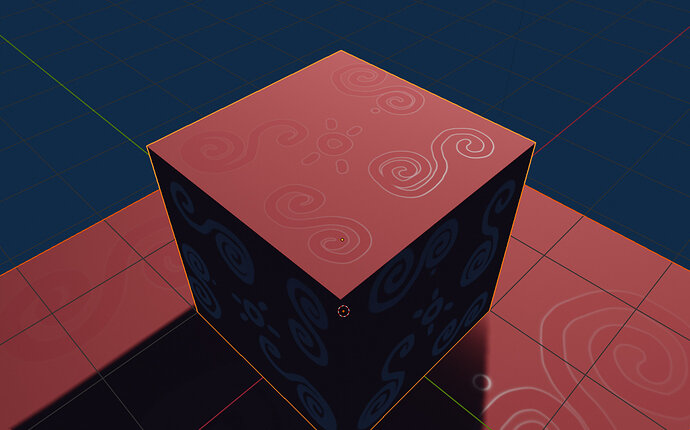
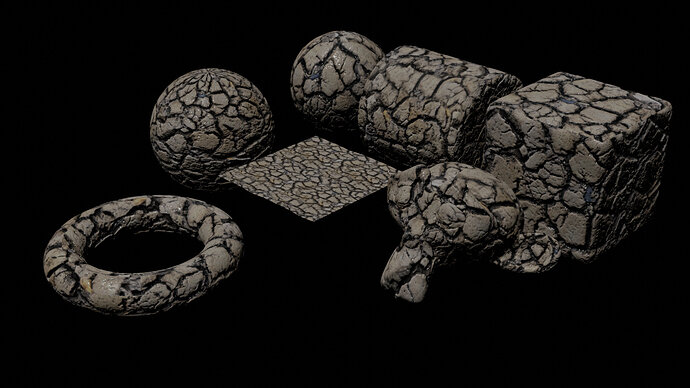
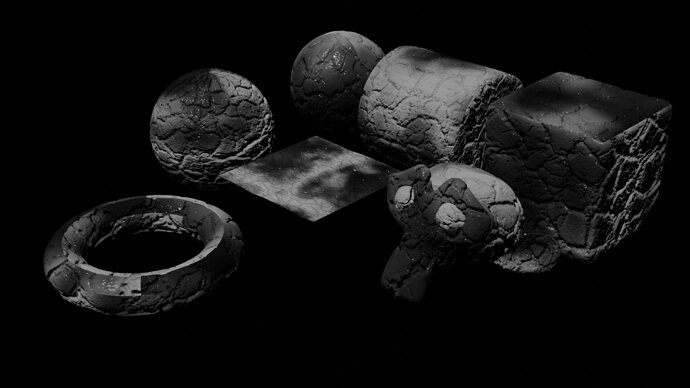
This one was a lot of fun for me, and I’m going to try some more type of stylized textures later on because this is ridiculously fun. I might try to create a hand painted cobblestone path but for now, here is the render of my materials studies with the wet patch

I also just wanted to show exactly where the wet patches were falling so heres the same image except with the “wet patch” plugged into the color instead

Hope all of you are doing great, I’ll catch you all later!

1 Like

this lecture isnt working in the 2.8 version names and icons have changed got some texture connected to the cube after alot of fidling but it wasnt clear how it was connected . maybe you could explain that in 2.8 cause the way you connected the rougness.png didnt show up in my version?

1 Like

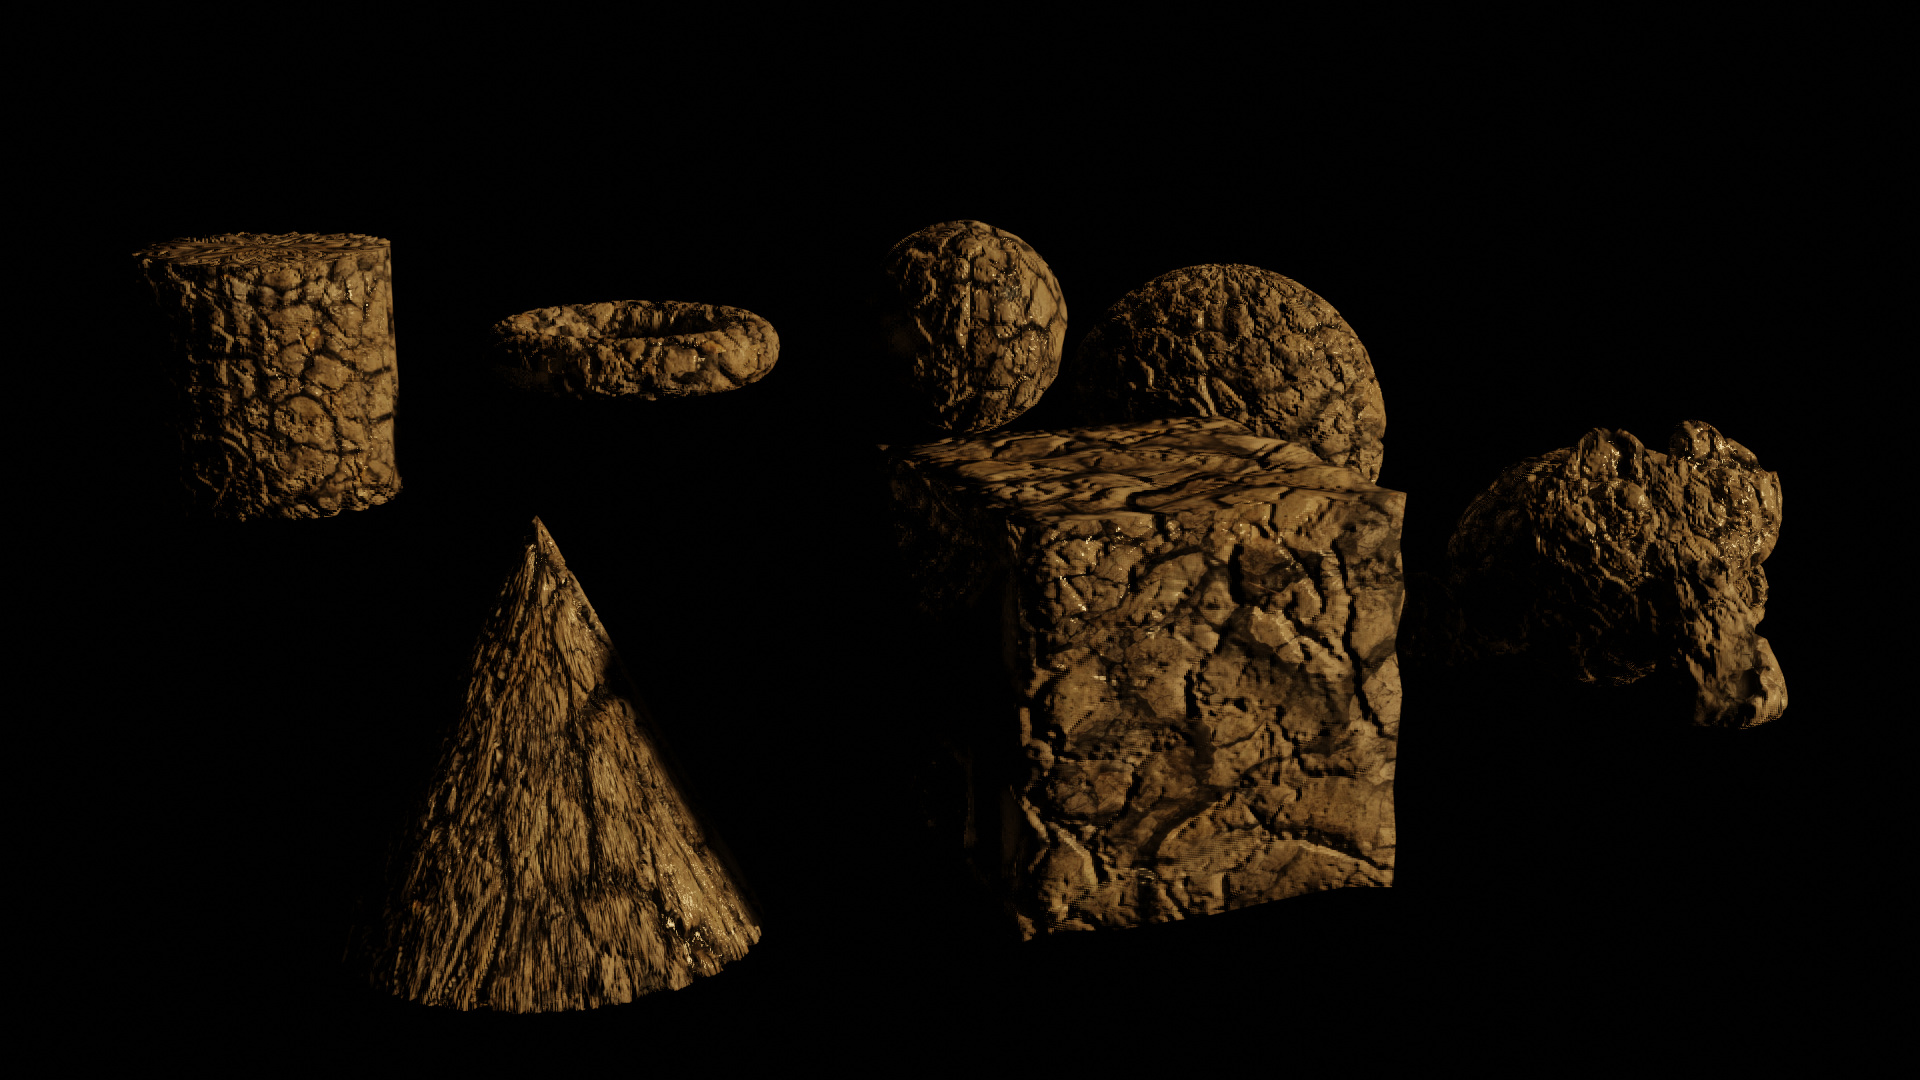
very nice collection of mud sculptures but wat did you hand paint ? the lesson was on using the paint brush right?

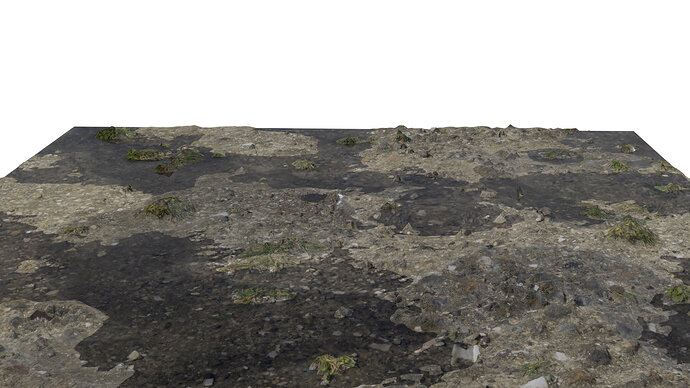
I add wet path and water to make the land looking wet with water remain.

2 Likes

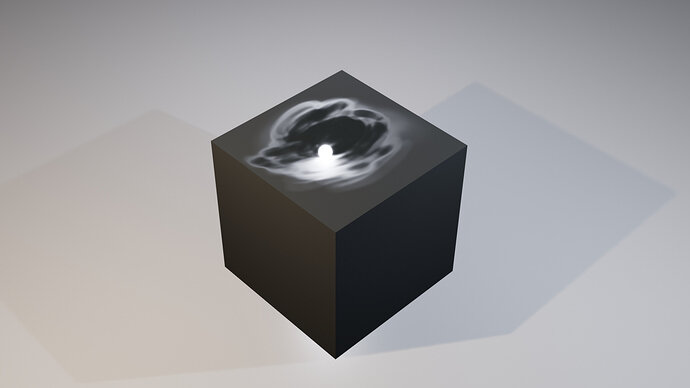
Wow, the upper image looks awesome, a weirdly clouded moon in an abstract setting :+1:

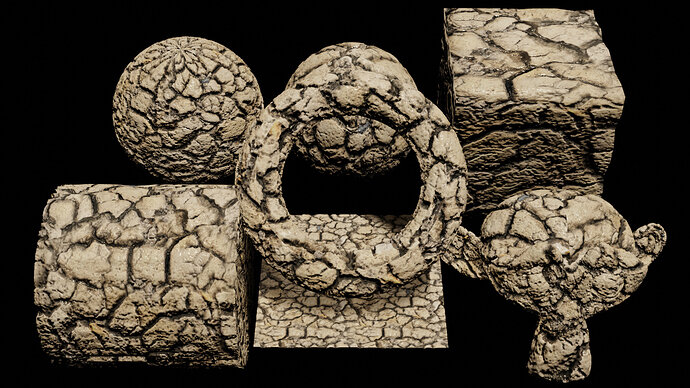
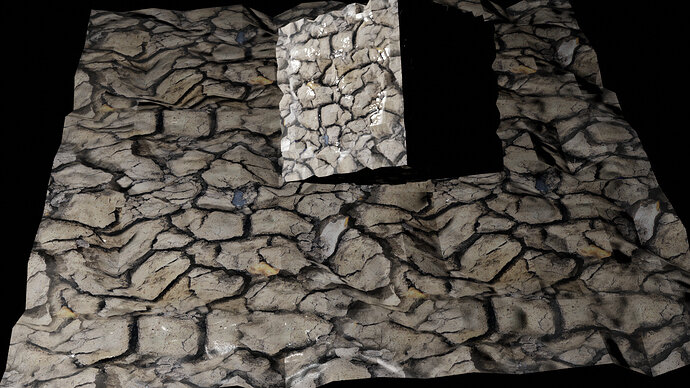
Here’s my wet patch on the cracked earth plane.

And - for reference - the same with the wet patch set for image color as well (making the wet areas a bit more obvious).

2 Likes

2 Likes

4 Likes

Wet patch

2 Likes

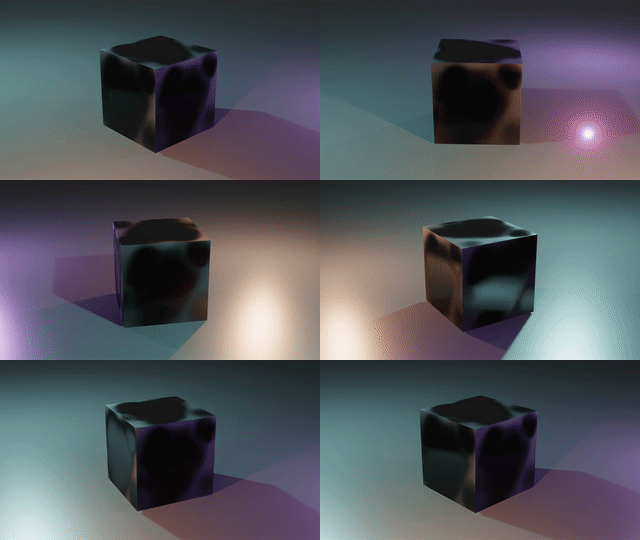
soggy_cube

this would be excellent combined with a water shader

2 Likes

I really appreciated this Hand Painting Texture Creation Course !
It was a lot of fun !

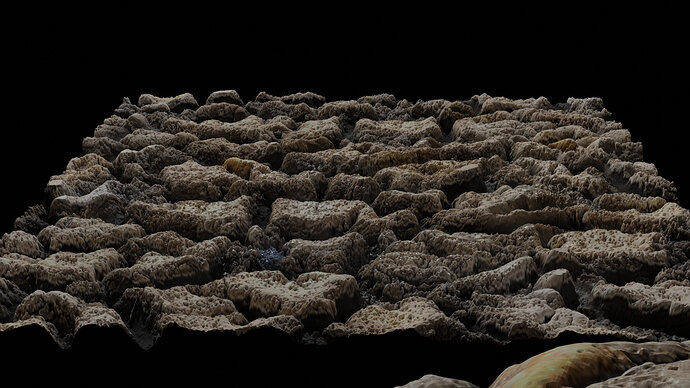
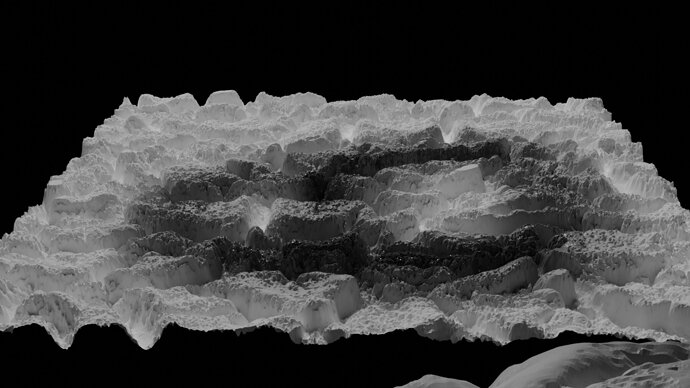
Henceforth, I would like to add more relief to my Hand Made Texture.
I already apply a Normal Map, any suggestions ?
Is it possible to extrude some parts of an apply texture ?

Thanks for your answers.

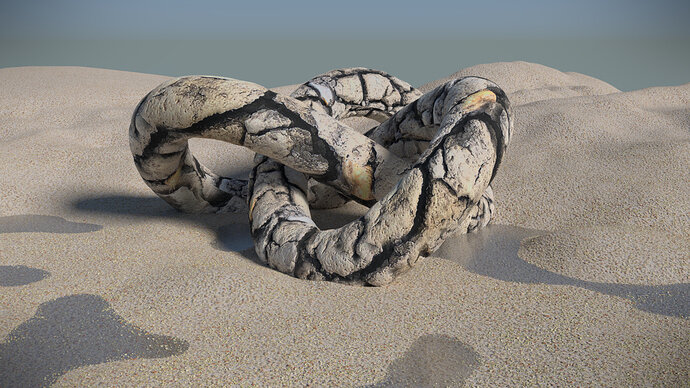
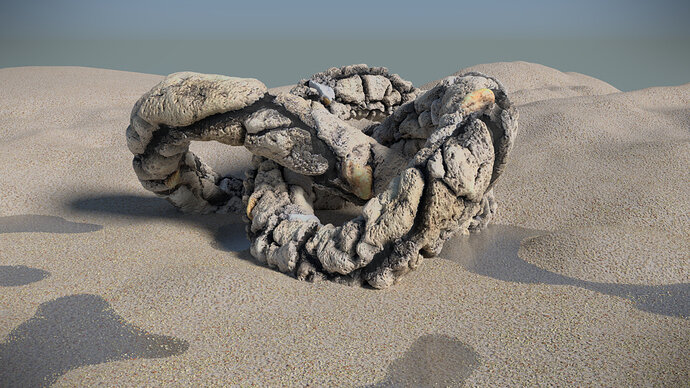
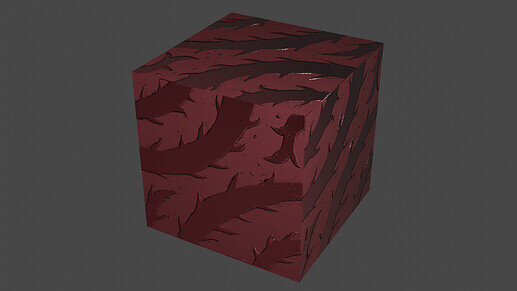
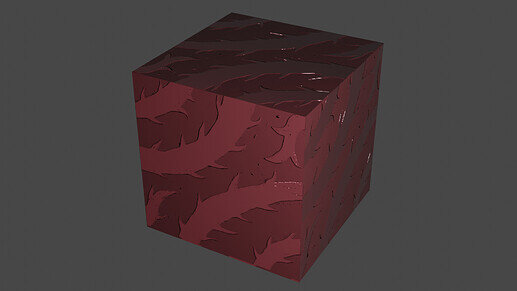
Here is my results (Eevee and Cycles) :


2 Likes

Privacy & Terms