Understand the components of a 3 point lighting setup
Understand the role of each part of the lighting
After watching (learning outcomes)…
Understand that lighting you scene or model is critical to showing off your work.
(Unique Video Reference: 22_GS_BEC)
We would love to know…
What you found good about this lecture?
What we could do better?
Remember that you can reply to this topic, or create a new topic. The easiest way to create a new topic is to follow the link in Resources. That way the topic will…
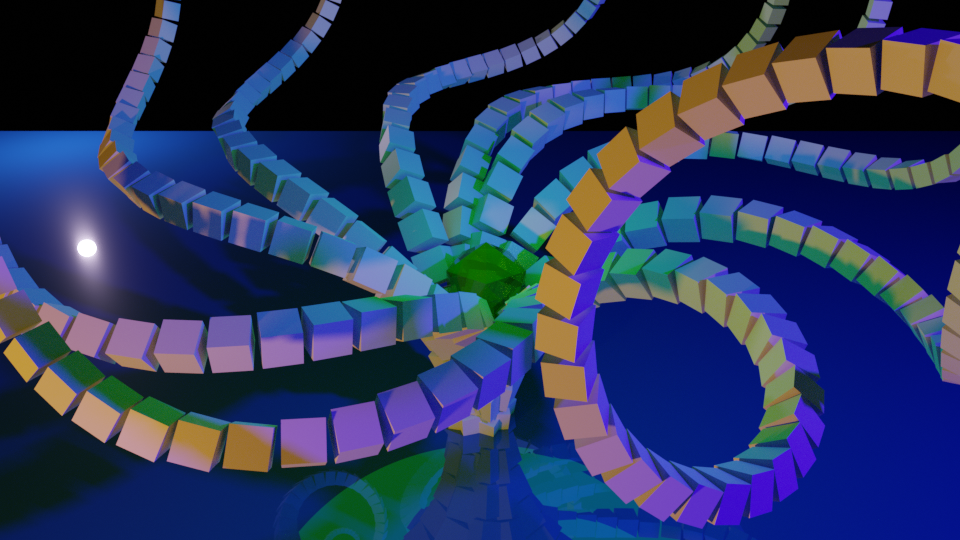
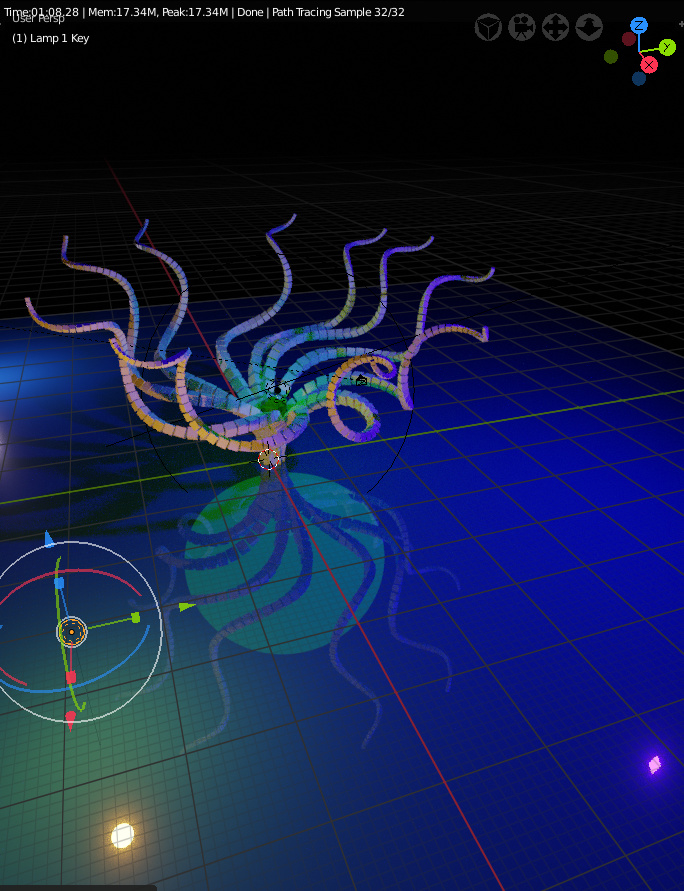
Here is the little squiddy again. Orange key light to the left, blue fill to the right and a white rim light far off to the left. There is also a green light hovering over the icosphere to make it look like it is giving off light slightly.
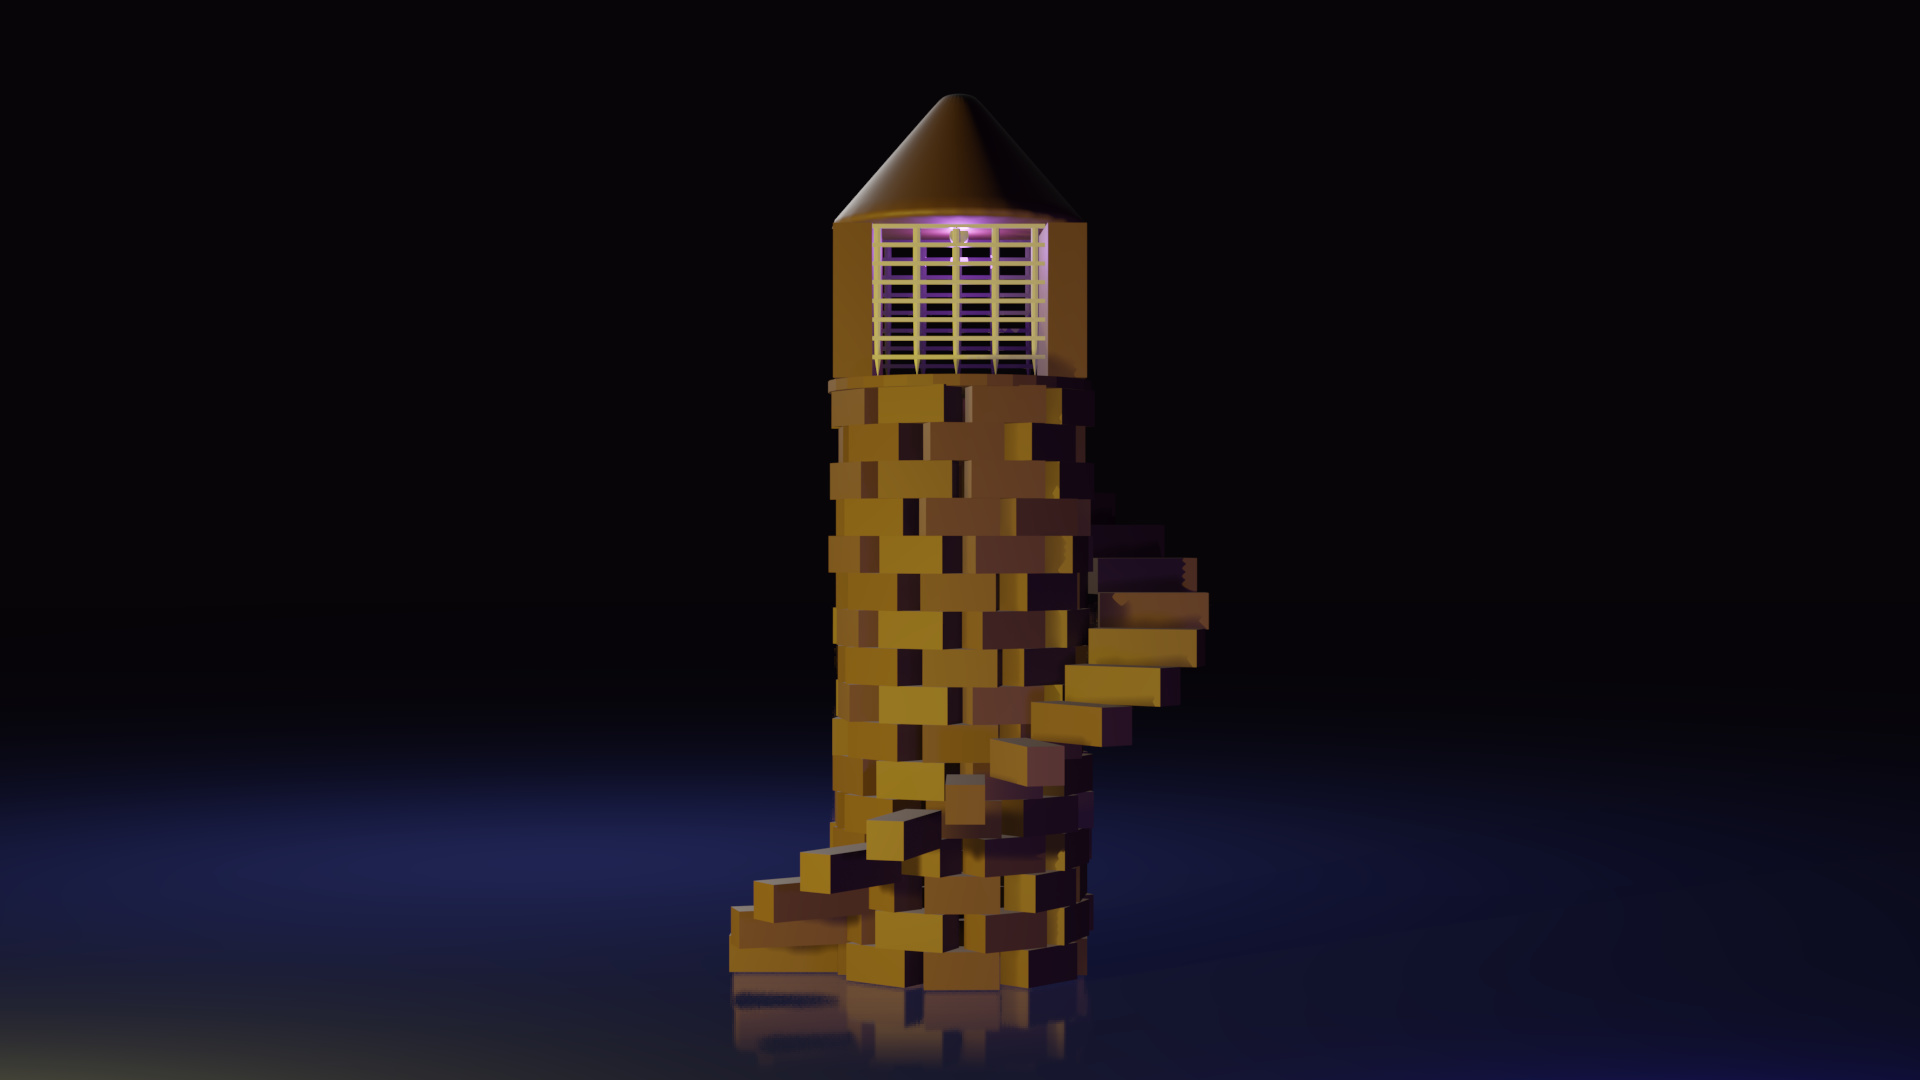
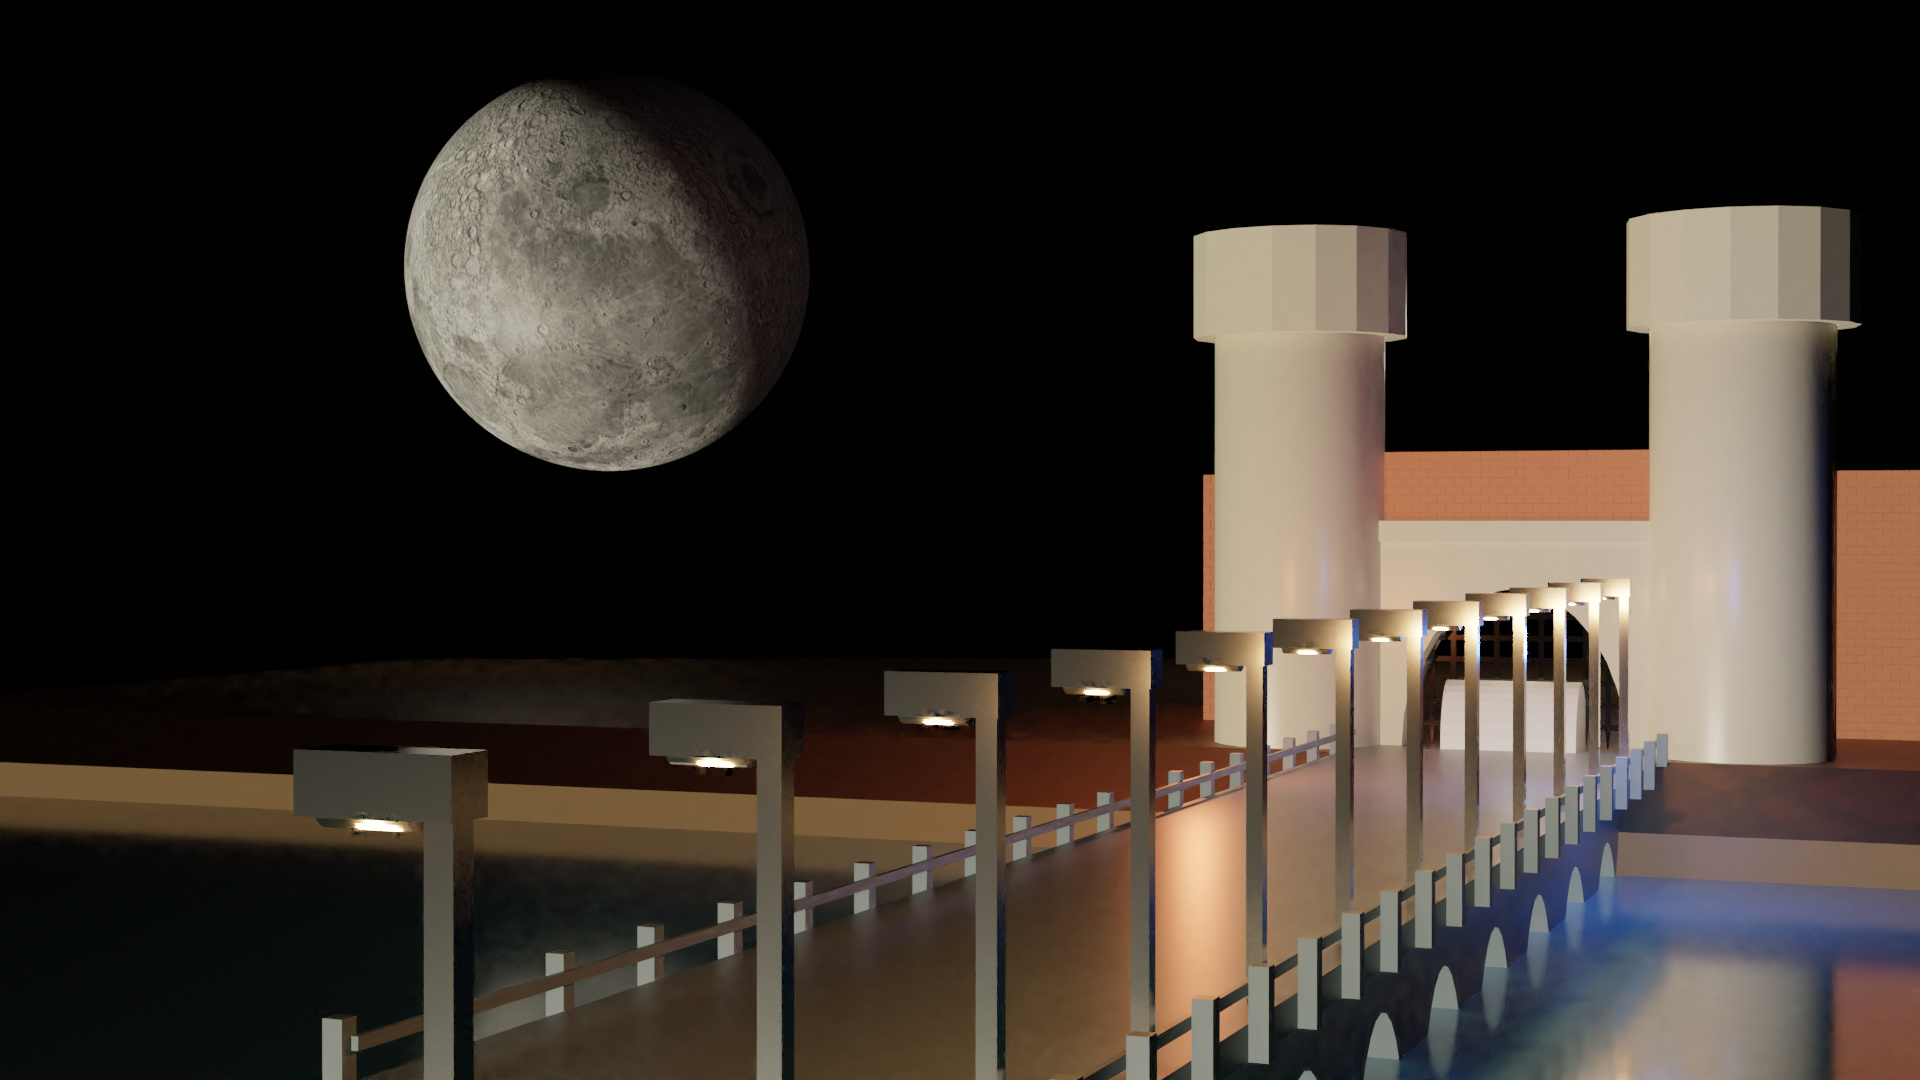
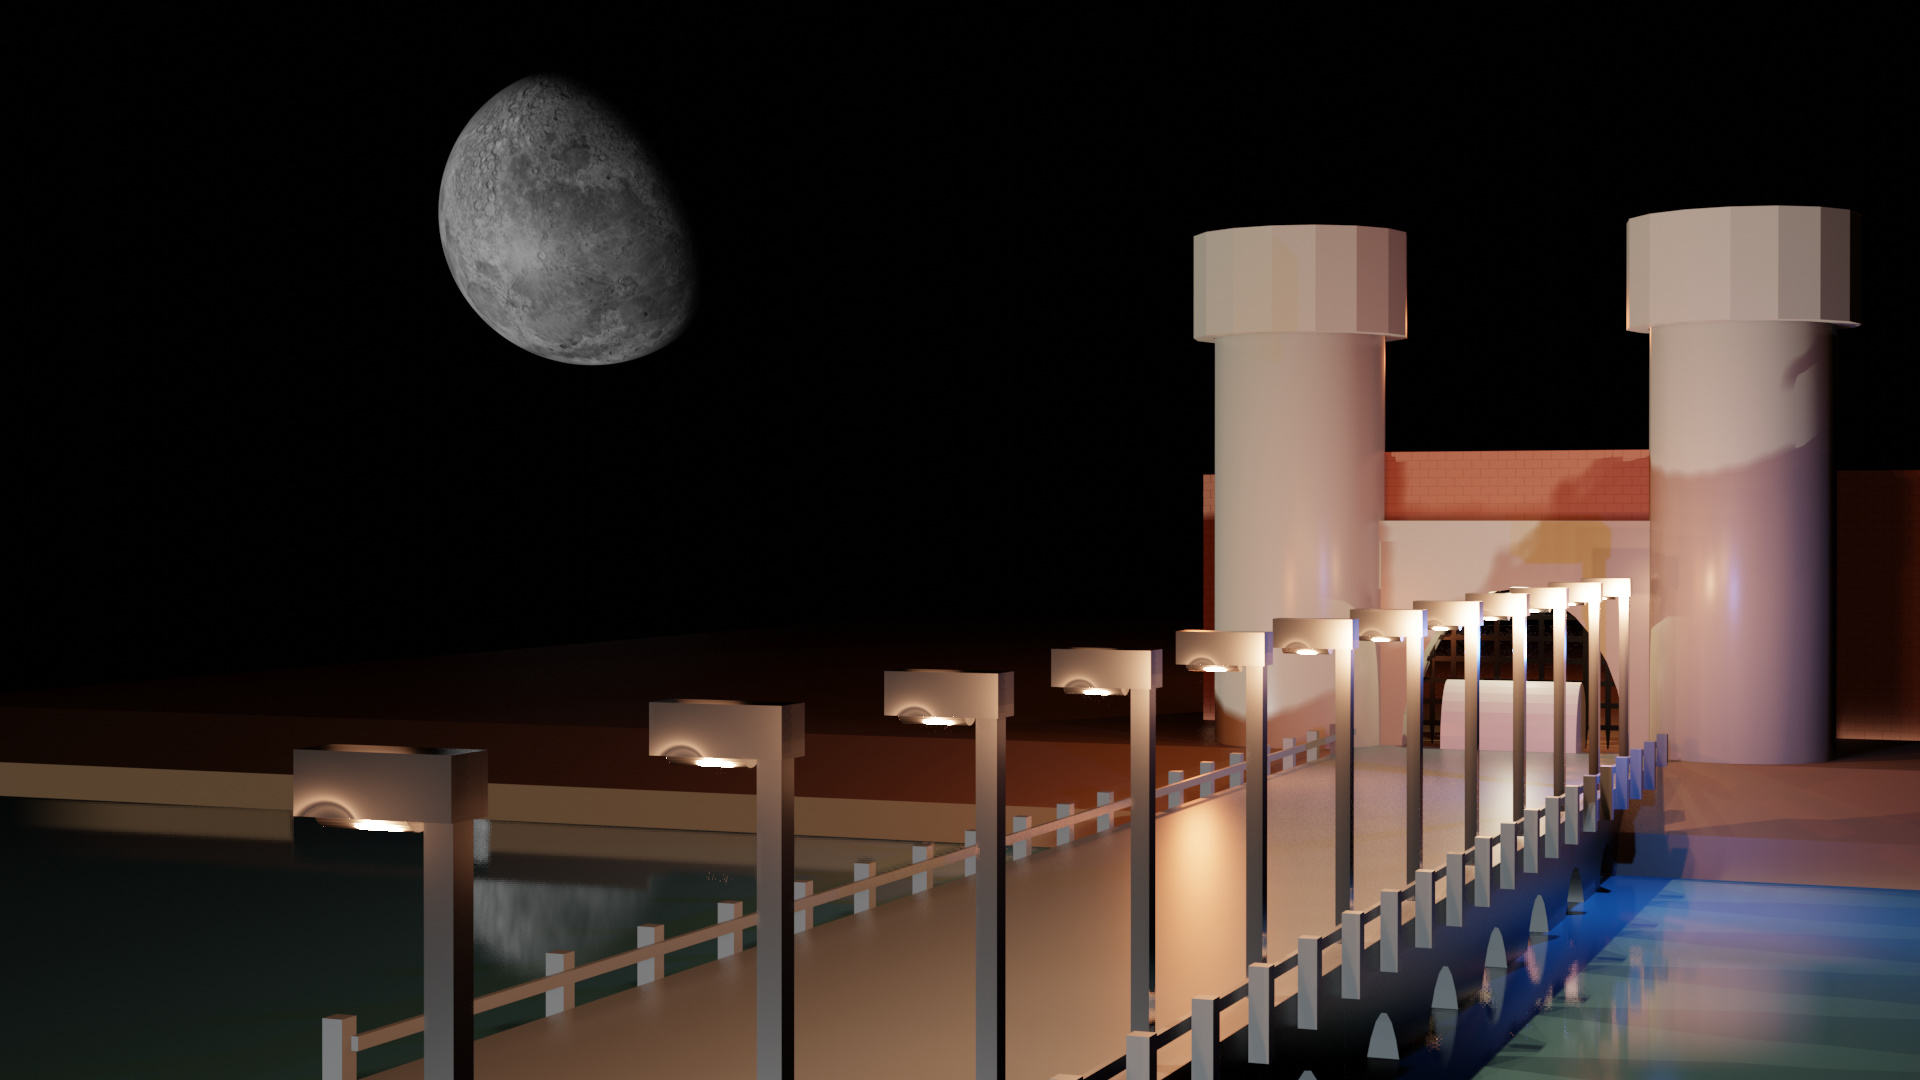
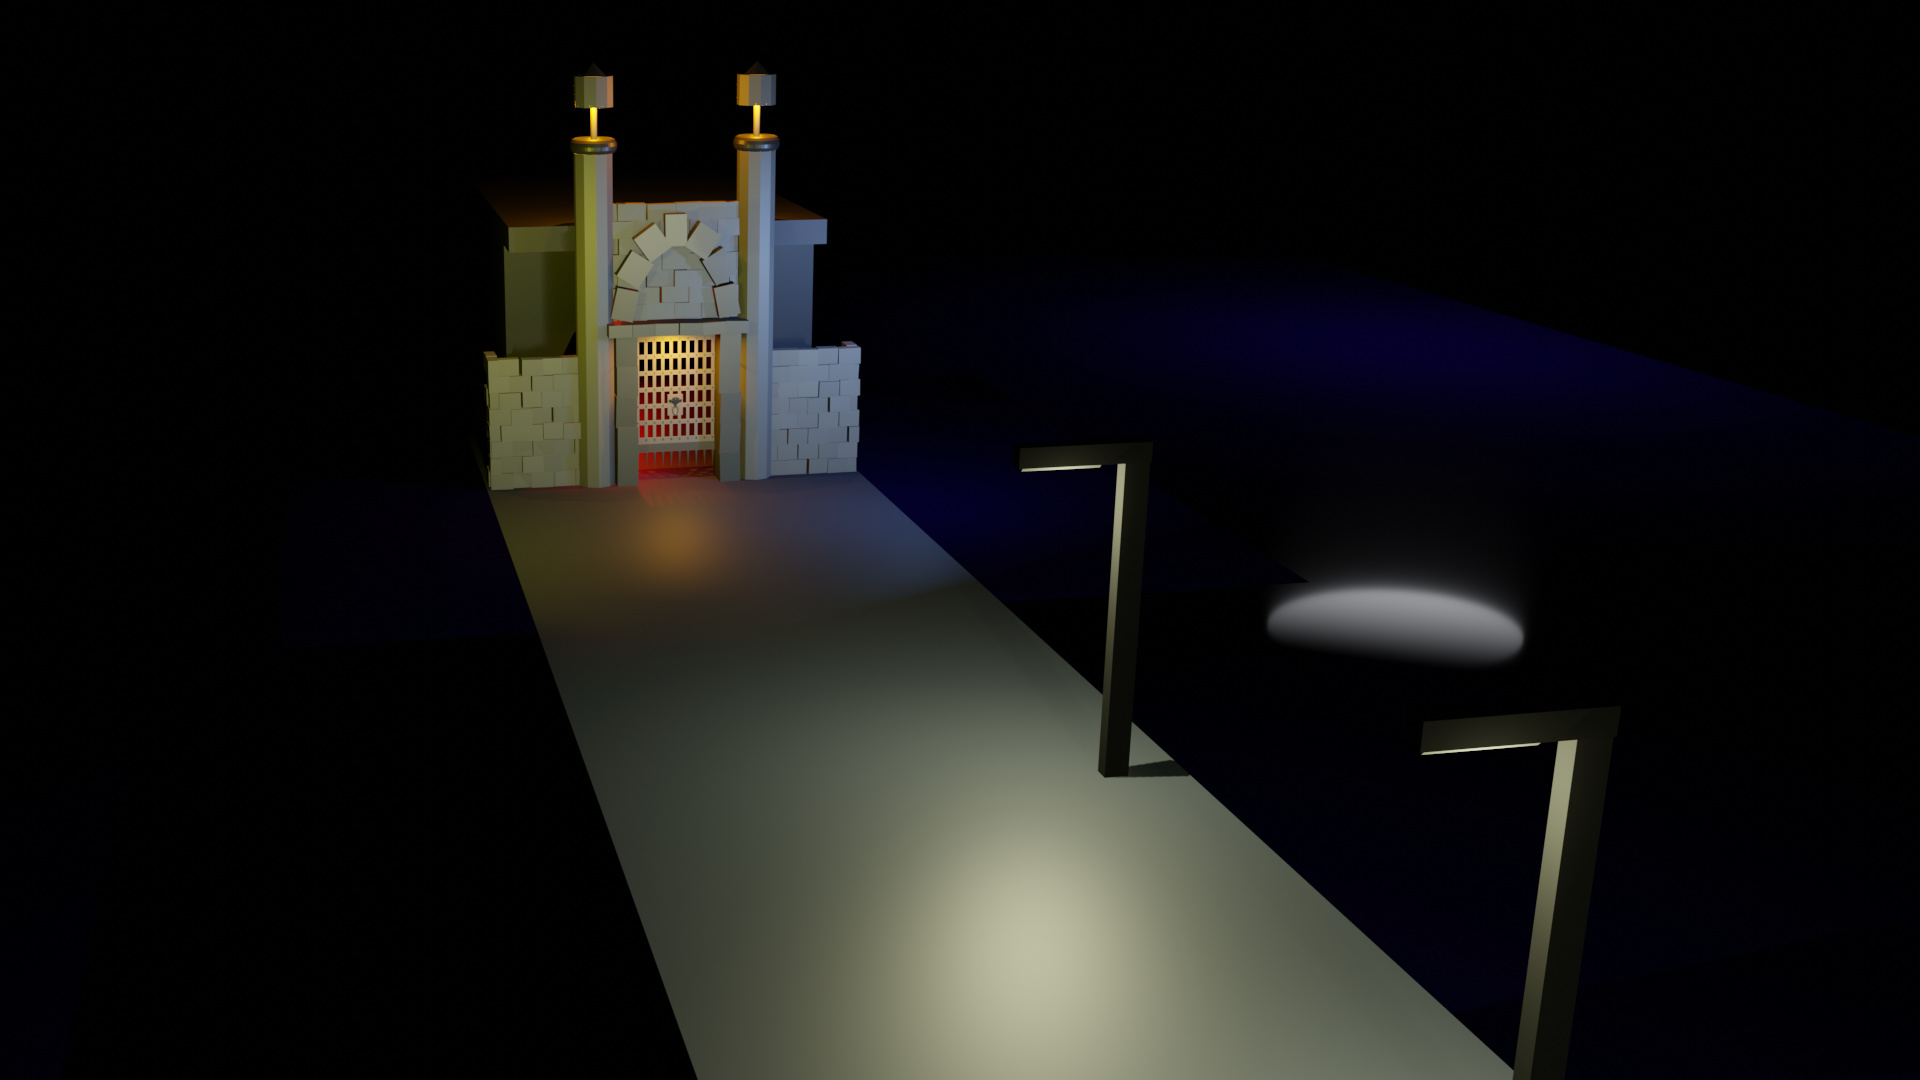
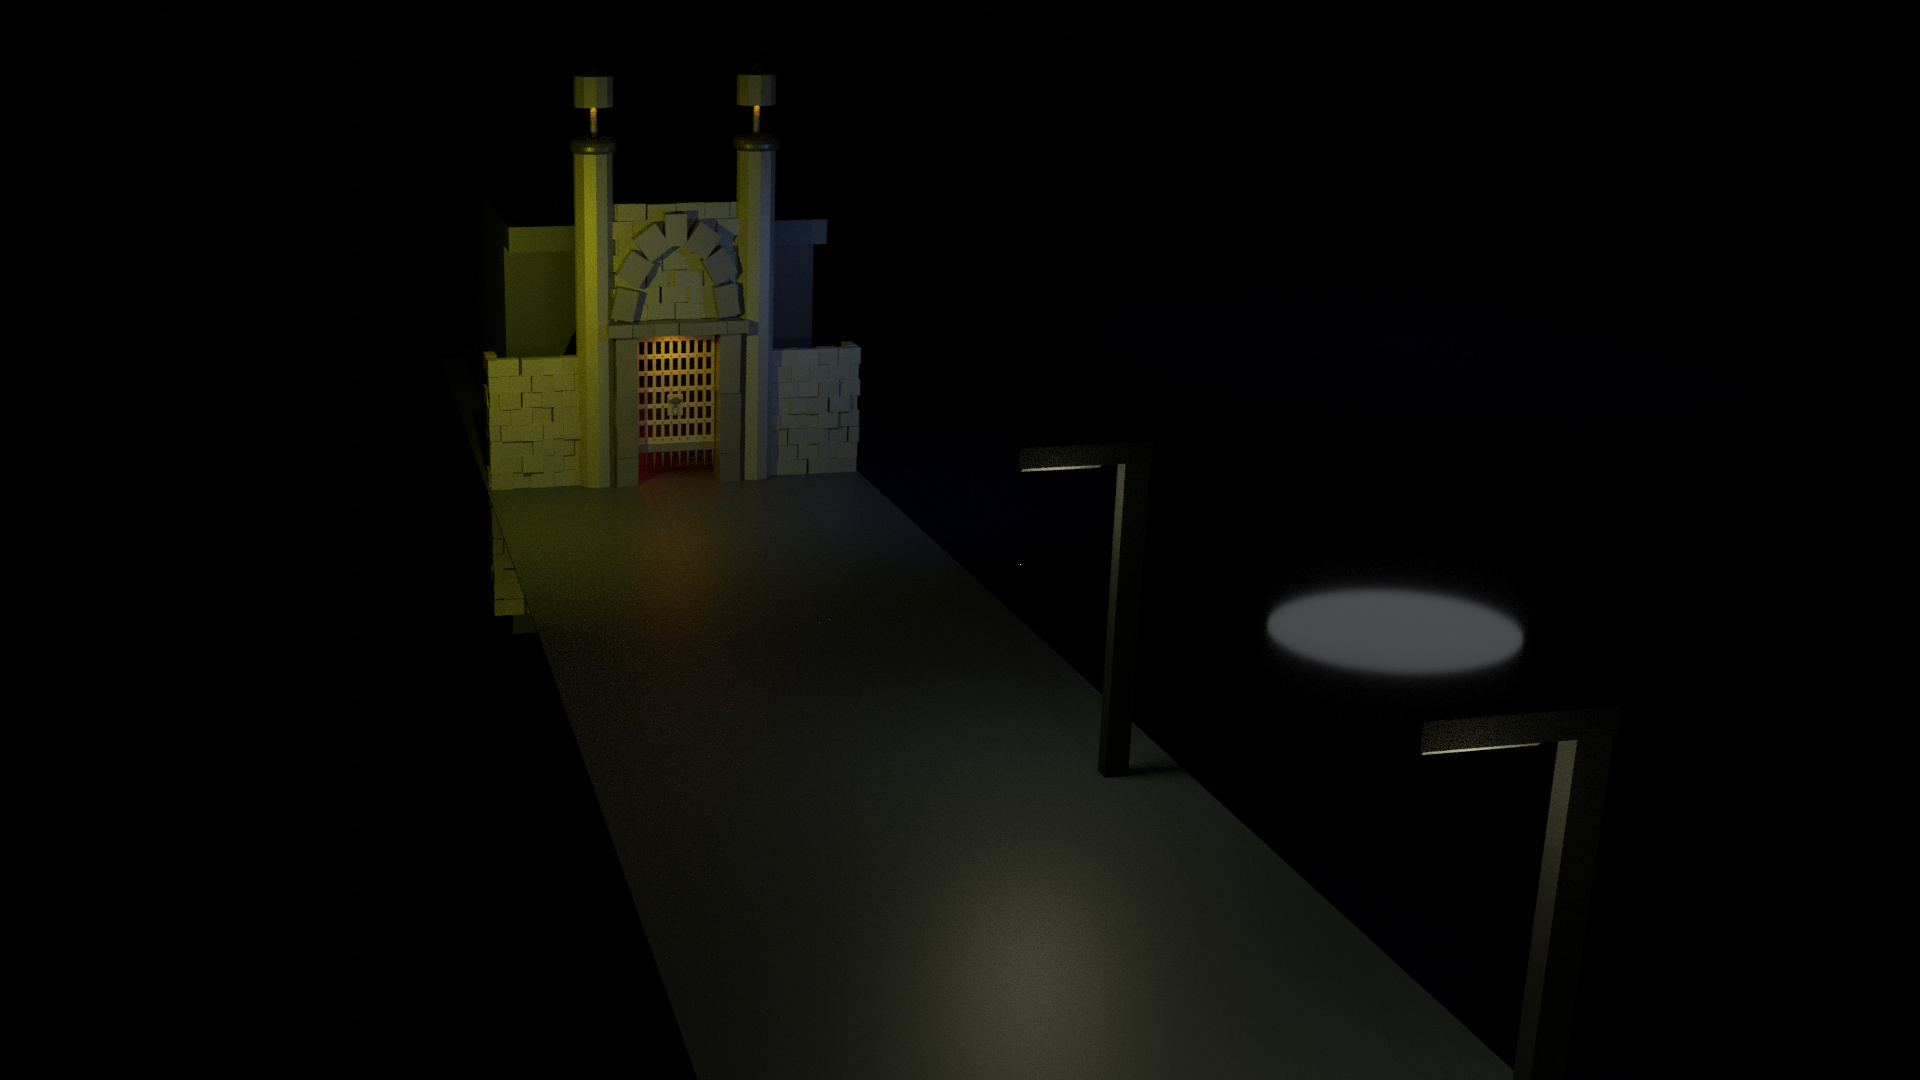
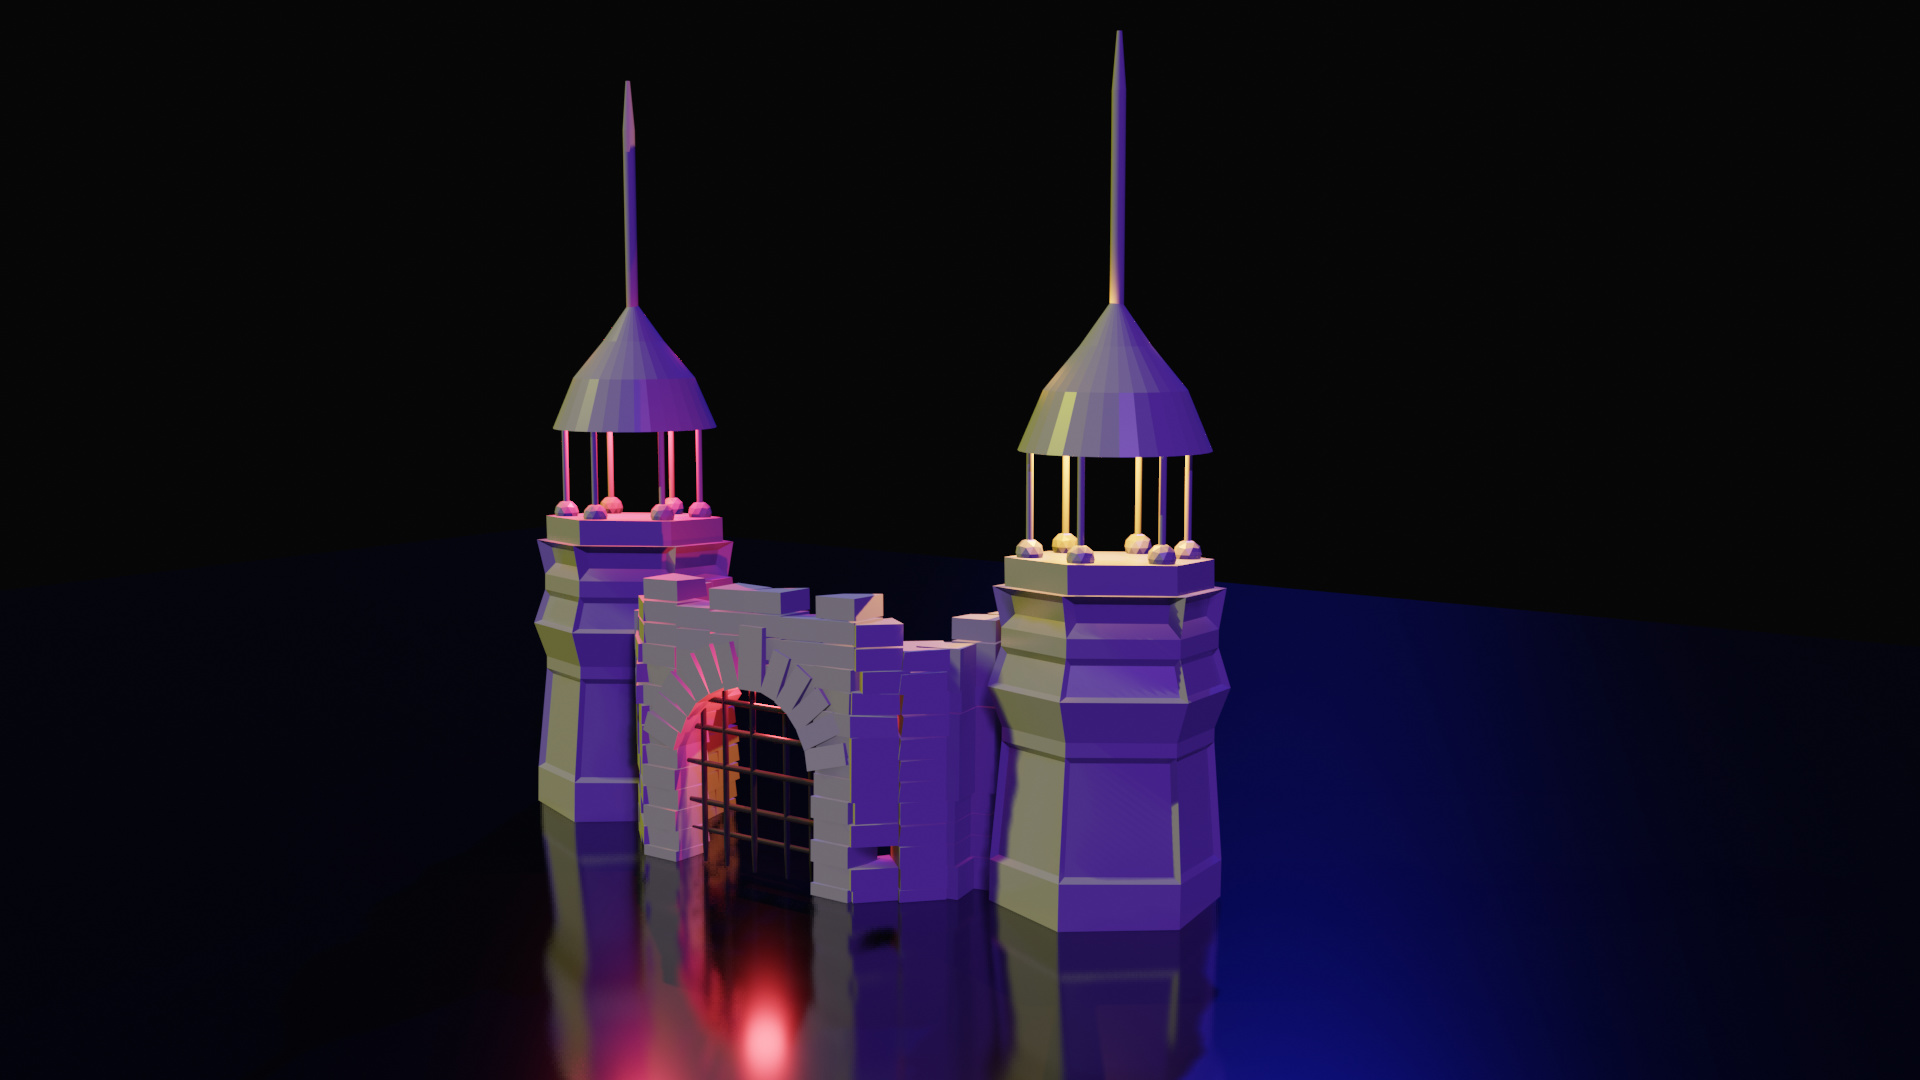
My 3 point lighting is not as effective as some of these here but it is a big castle and nothing in particular needed highlighting. I tried to highlight the main gate and it worked but the shot is from a distance. I got silly and put in a moon in the background. It’s too big and doesn’t emit reflected sunlight but I think it looks kind of cool.
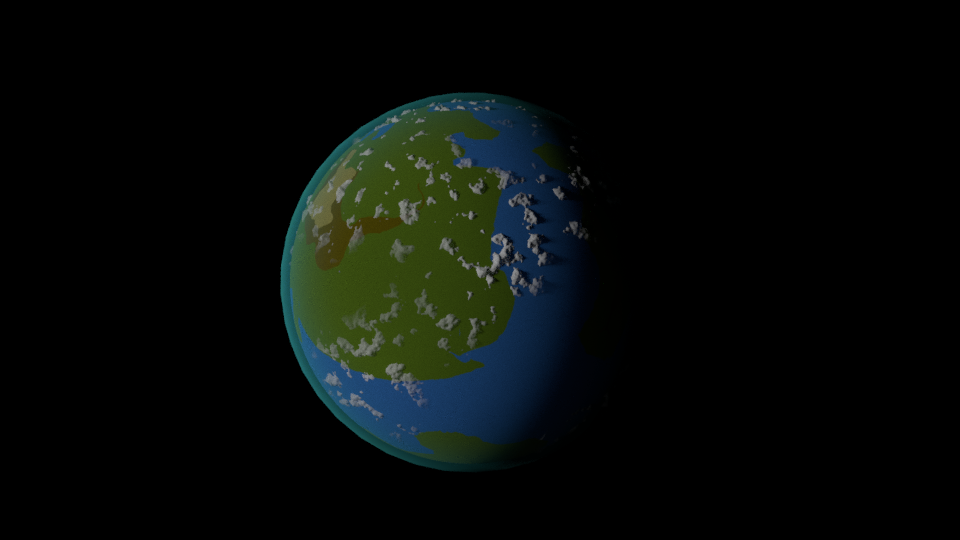
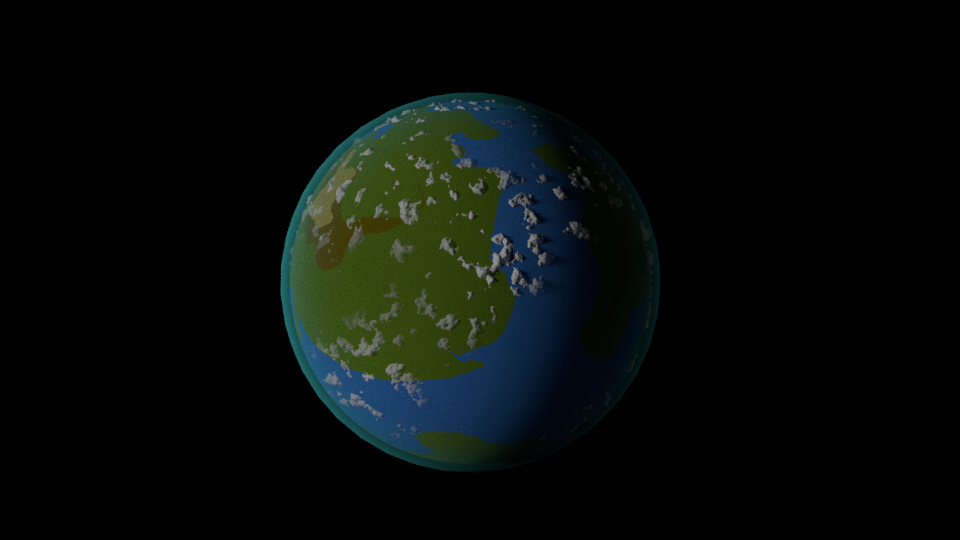
I decided to use a model from another project I’ve been working on. First, here is how it rendered after importing it (I also had to hunt down the textures and import them).
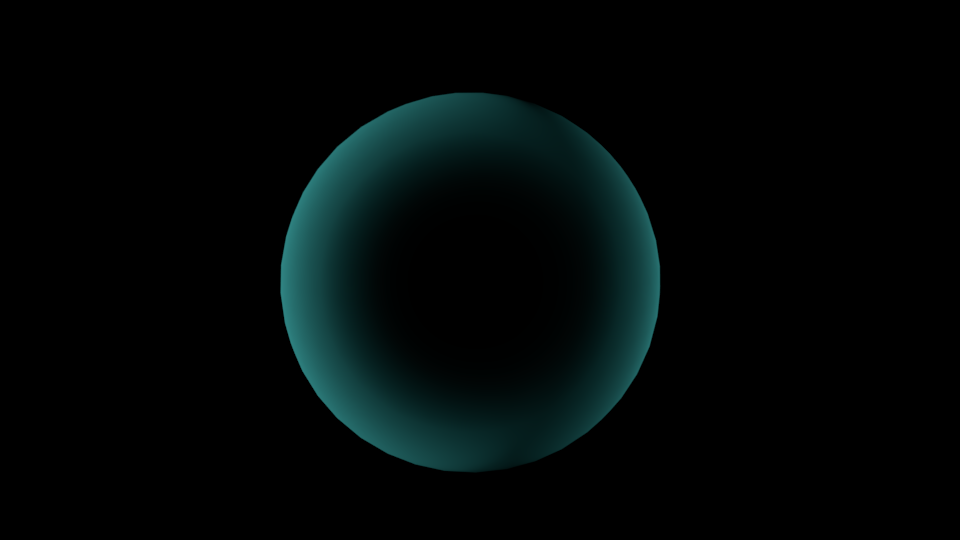
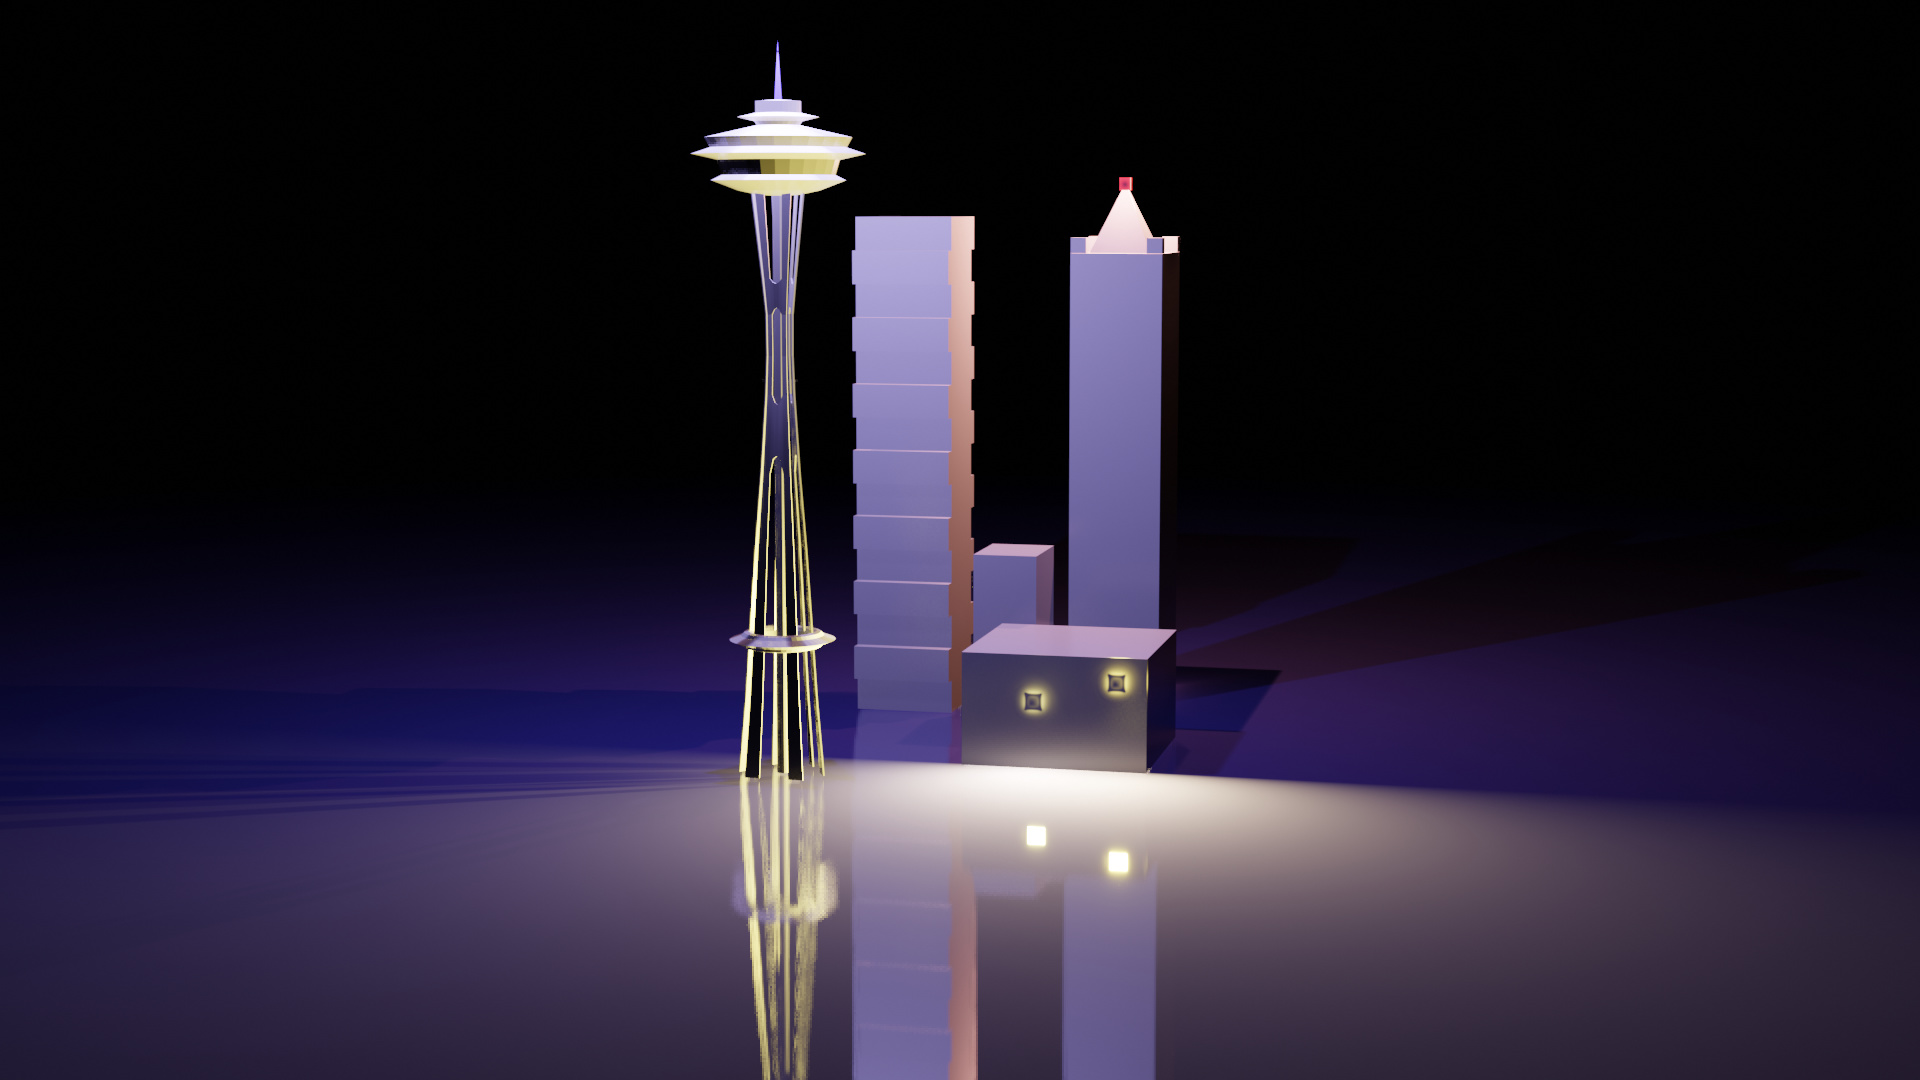
As you can see the model just fades to nothing as it goes around the limb of the planet. The next shot is how it looks in Eevee with 3-point lighting set up…
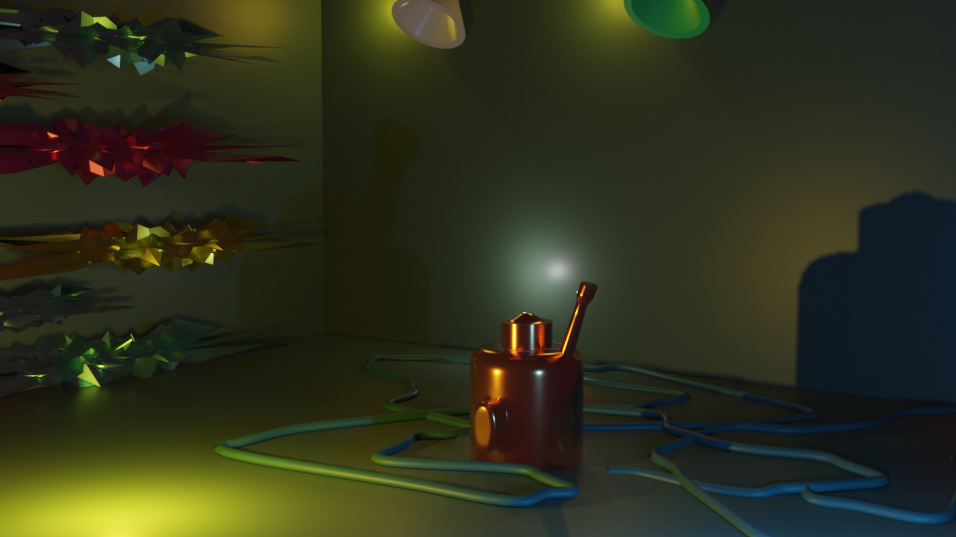
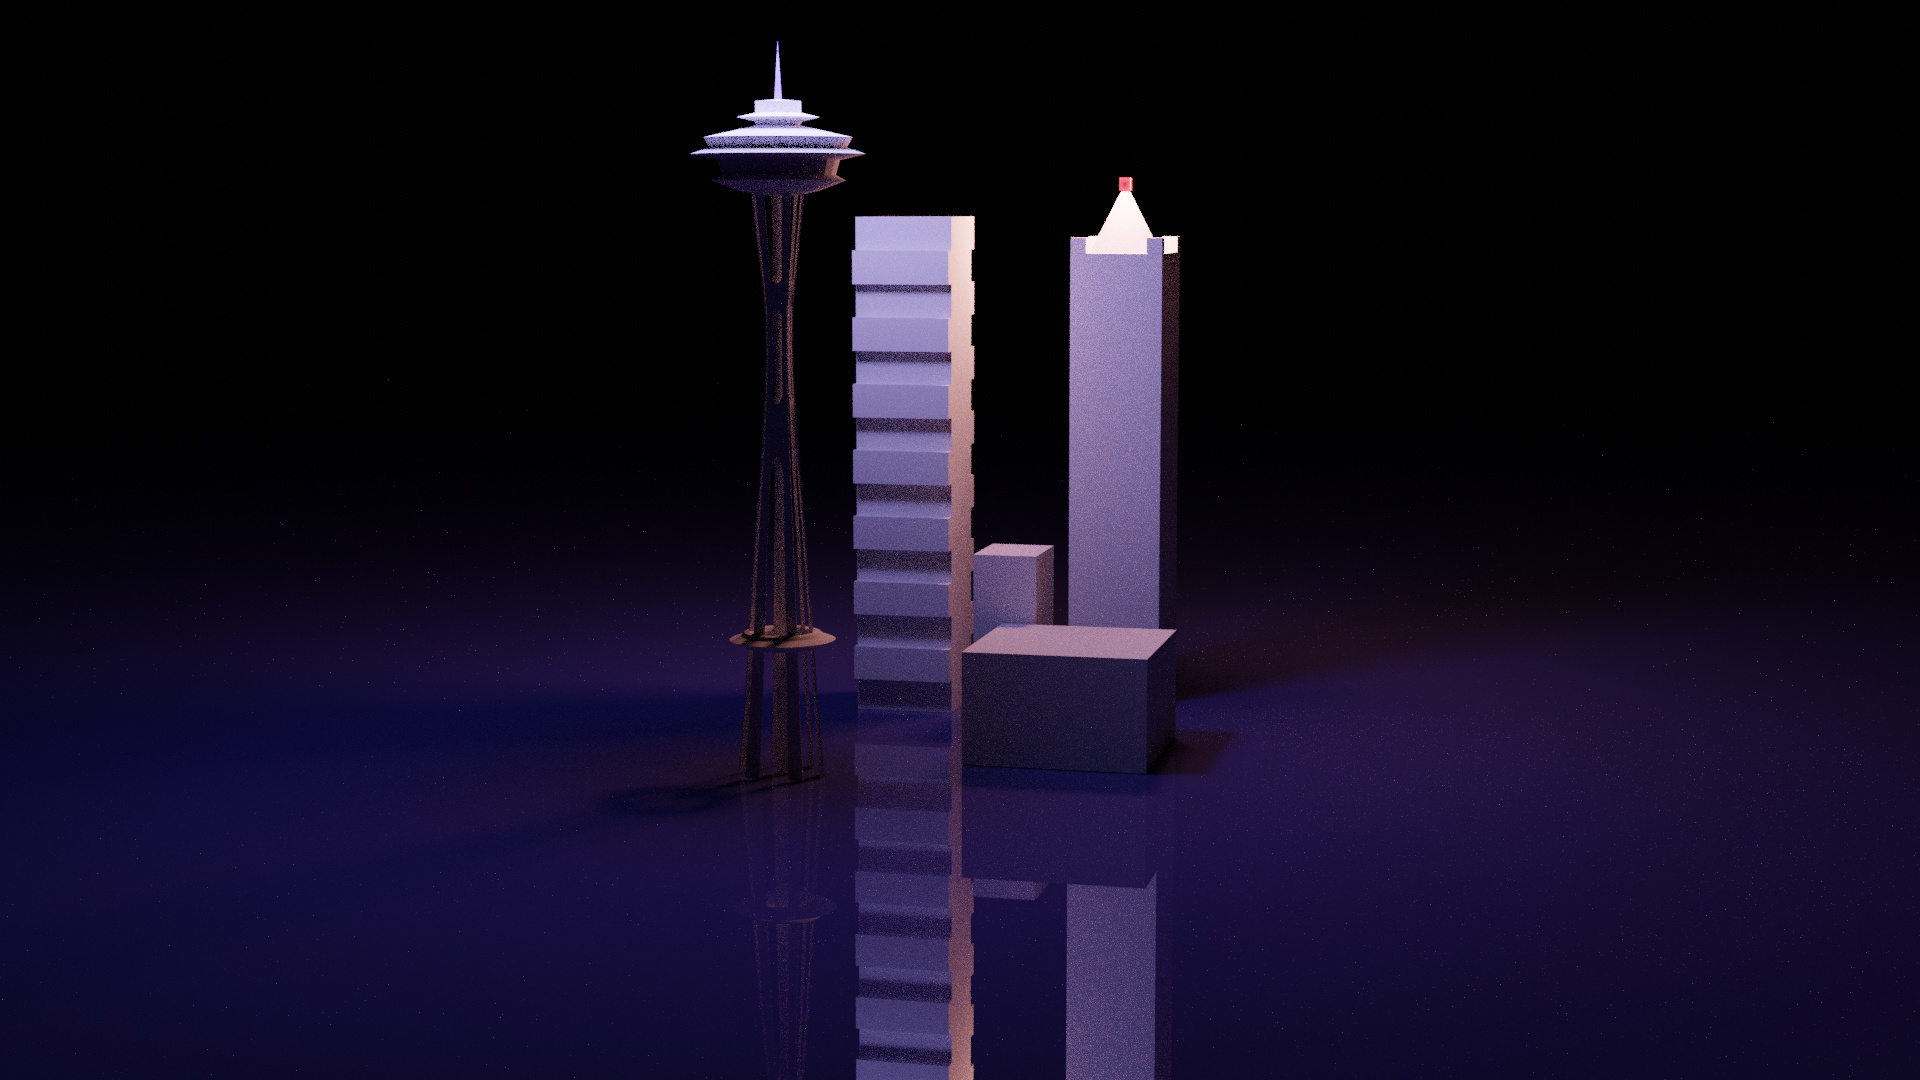
By pixelation I will assume you mean the cycles render is grainy compared to Eevee. - this is referred to as noise. That’s is a side affect of the rendering process and sample count. We will cover that later in the course starting the in animated lamp section.
You can turn on de noise or increase samples. Those are the two immediately options.