Then I decided to see how it looked in Eevee…
First thing that I found out is that the Sky Texture does not work for Eevee… had to make a gradient for the background to kinda simulate the sky texture.
Then after some tweaks to Shadows VSM method, High Bitdepth, Soft Shadows, AO, Light Size, Bleed Bias, Softness…
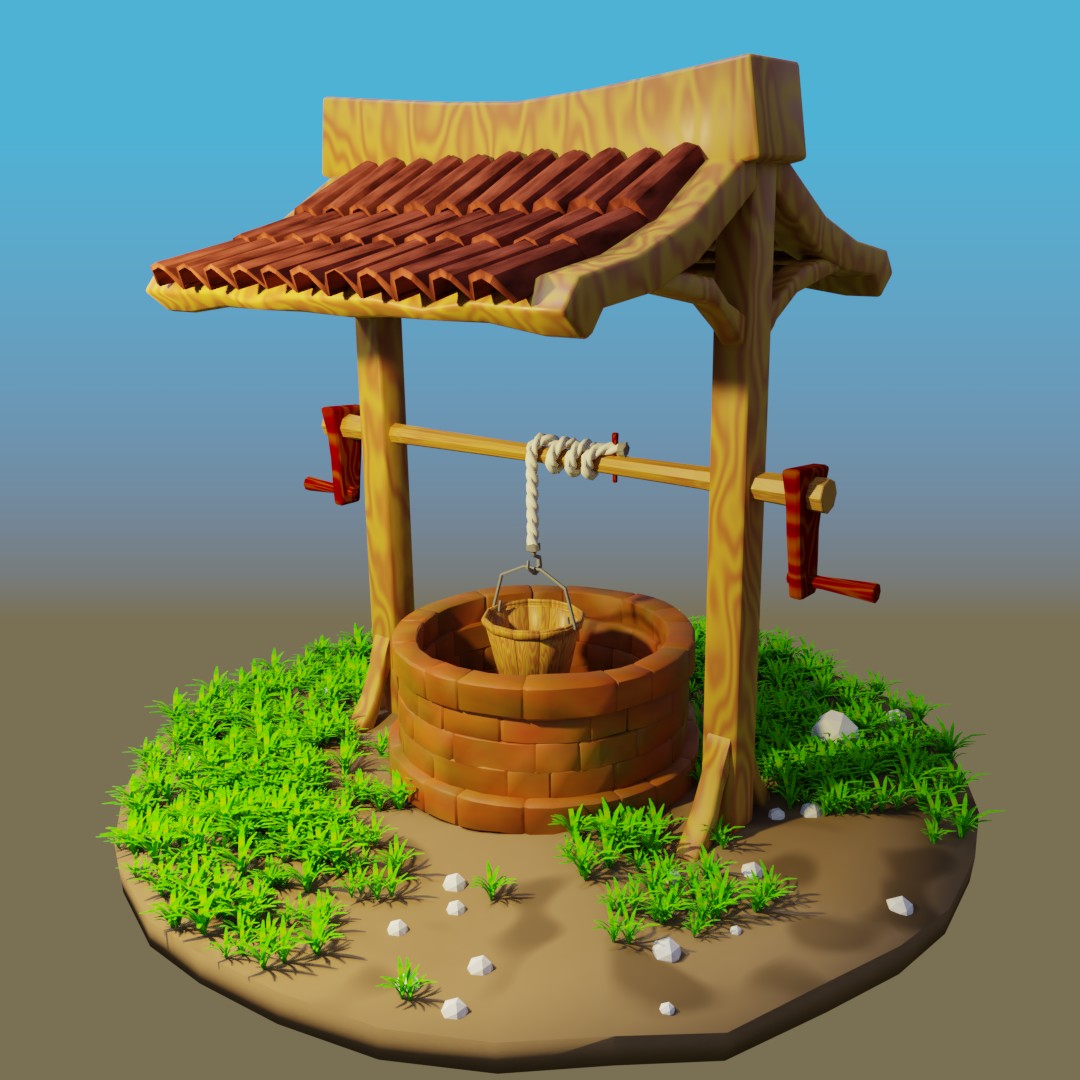
I reached this…
It looks fine for the most part, but as you can see the shadows behind the well are barely visible!
The only way I could get darker shadows like cycles was if I increased the Light power, but then the scene would be over exposed by a lot…
After some thinking I decided to give Irradiance Volume a try and Baking the Indirect Lighting!
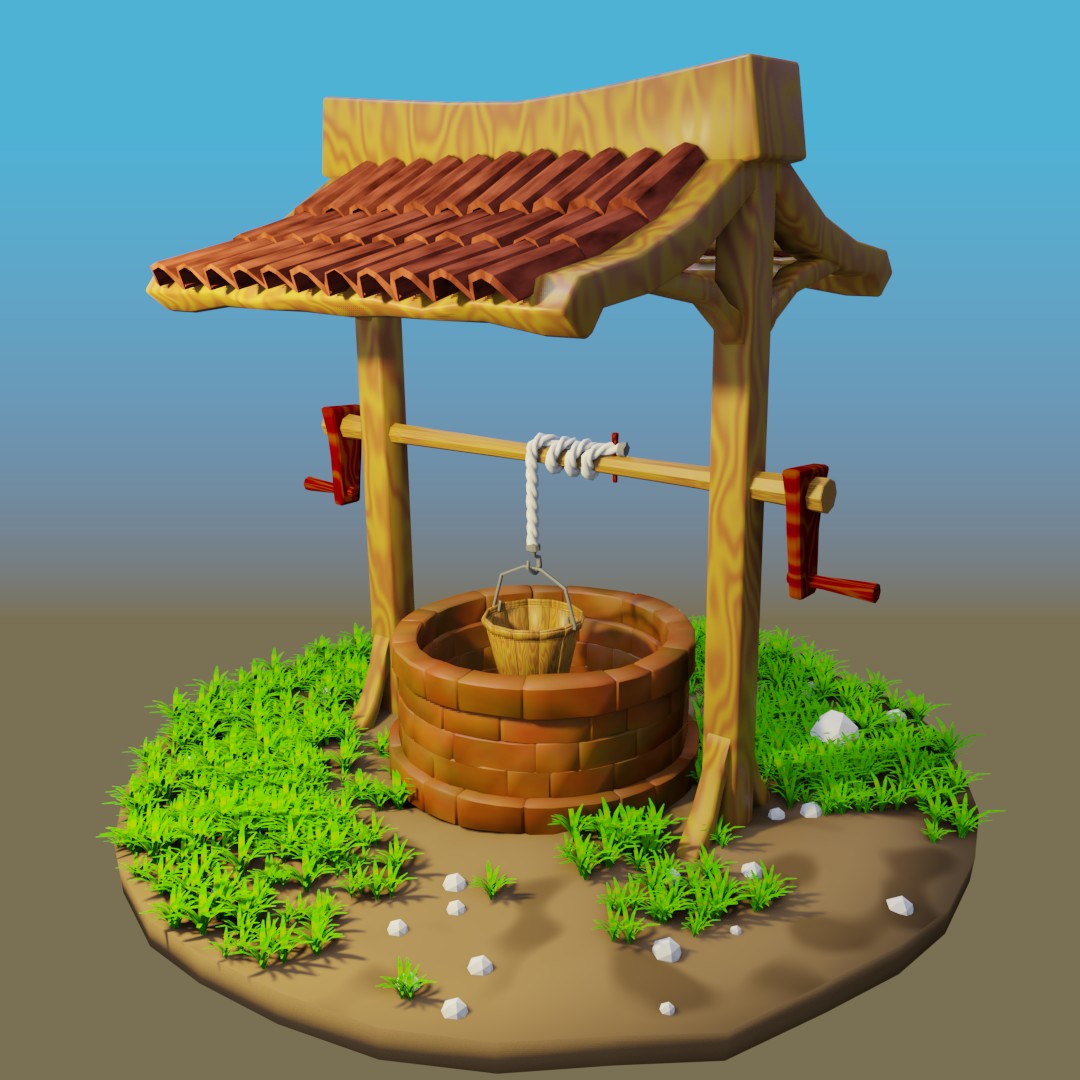
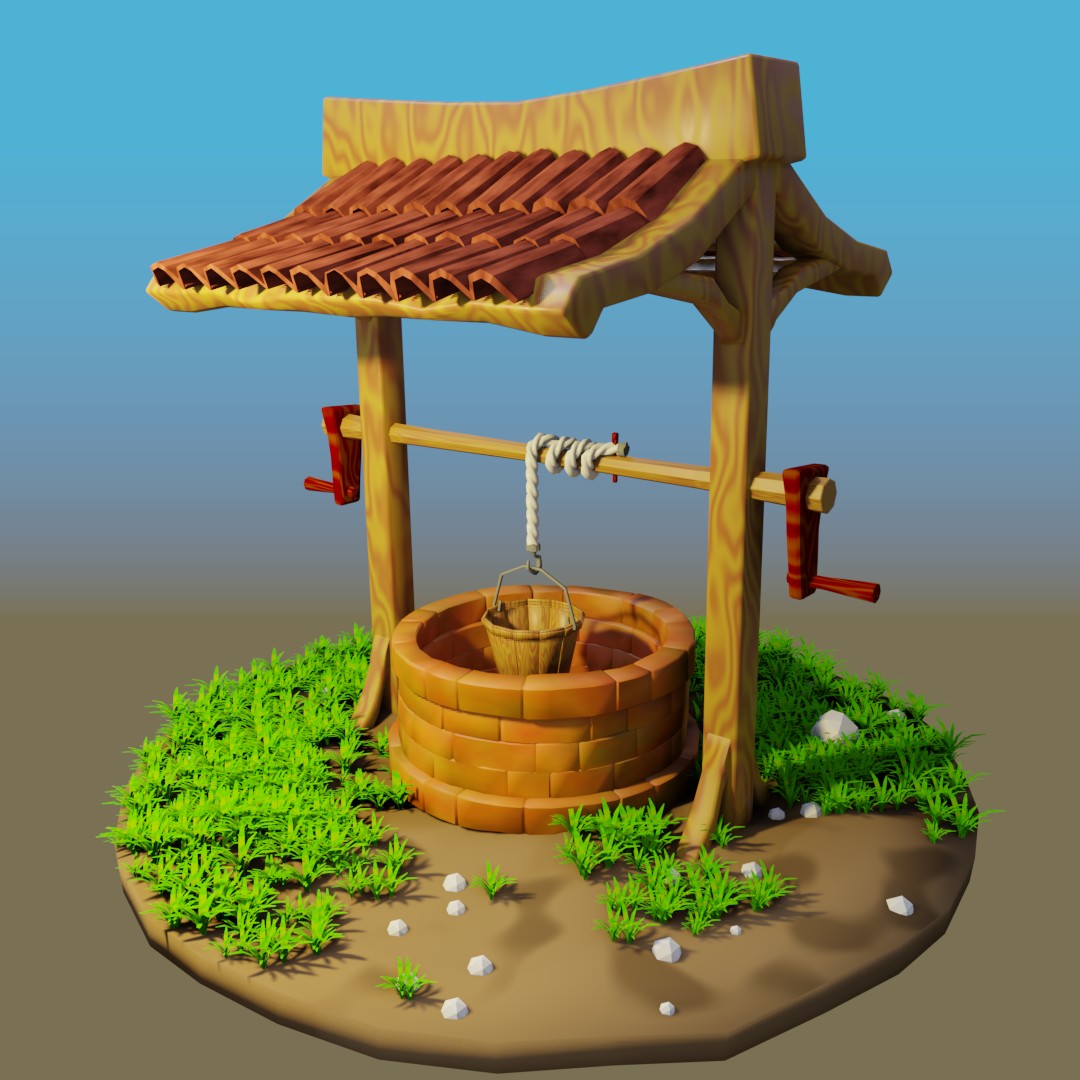
and now got this which is much more like Cycles shadows!
I made one patch of grass and set a particle system set to hair and display the object instead of the “hair strand”. Created a vertex group and weight painted where I wanted the grass to be.
It’s a very common techniche and it’s shown in the course, in the bunny scene lectures (2.79 videos)
Glad you noticed the rope! Because it’s one of the coolest tricks I used on this scene.
The technique is the same as this video below however I made with 3 circles with 6 or 8 sides, then joined and removed some vertex from the middle to not have geometry inside.
Looks really good! I like this style.
So many people on these forums, asking; “I rendered Eevee and Cycles and the renders doesn’t look the same”. Eevee out of the box, is very basic. But you prove that fiddling Eevee properties, you can get near Cycles outcome. Only thing I would ask you (after so many months), did Eevee render times increase much after all the tweaks?
How could I missed this entry in 2019.
It should have more “Likes”!
Haha thanks Pete this Well was not my idea though. I Followed Grants Abbit’s tutorial and gave my twist
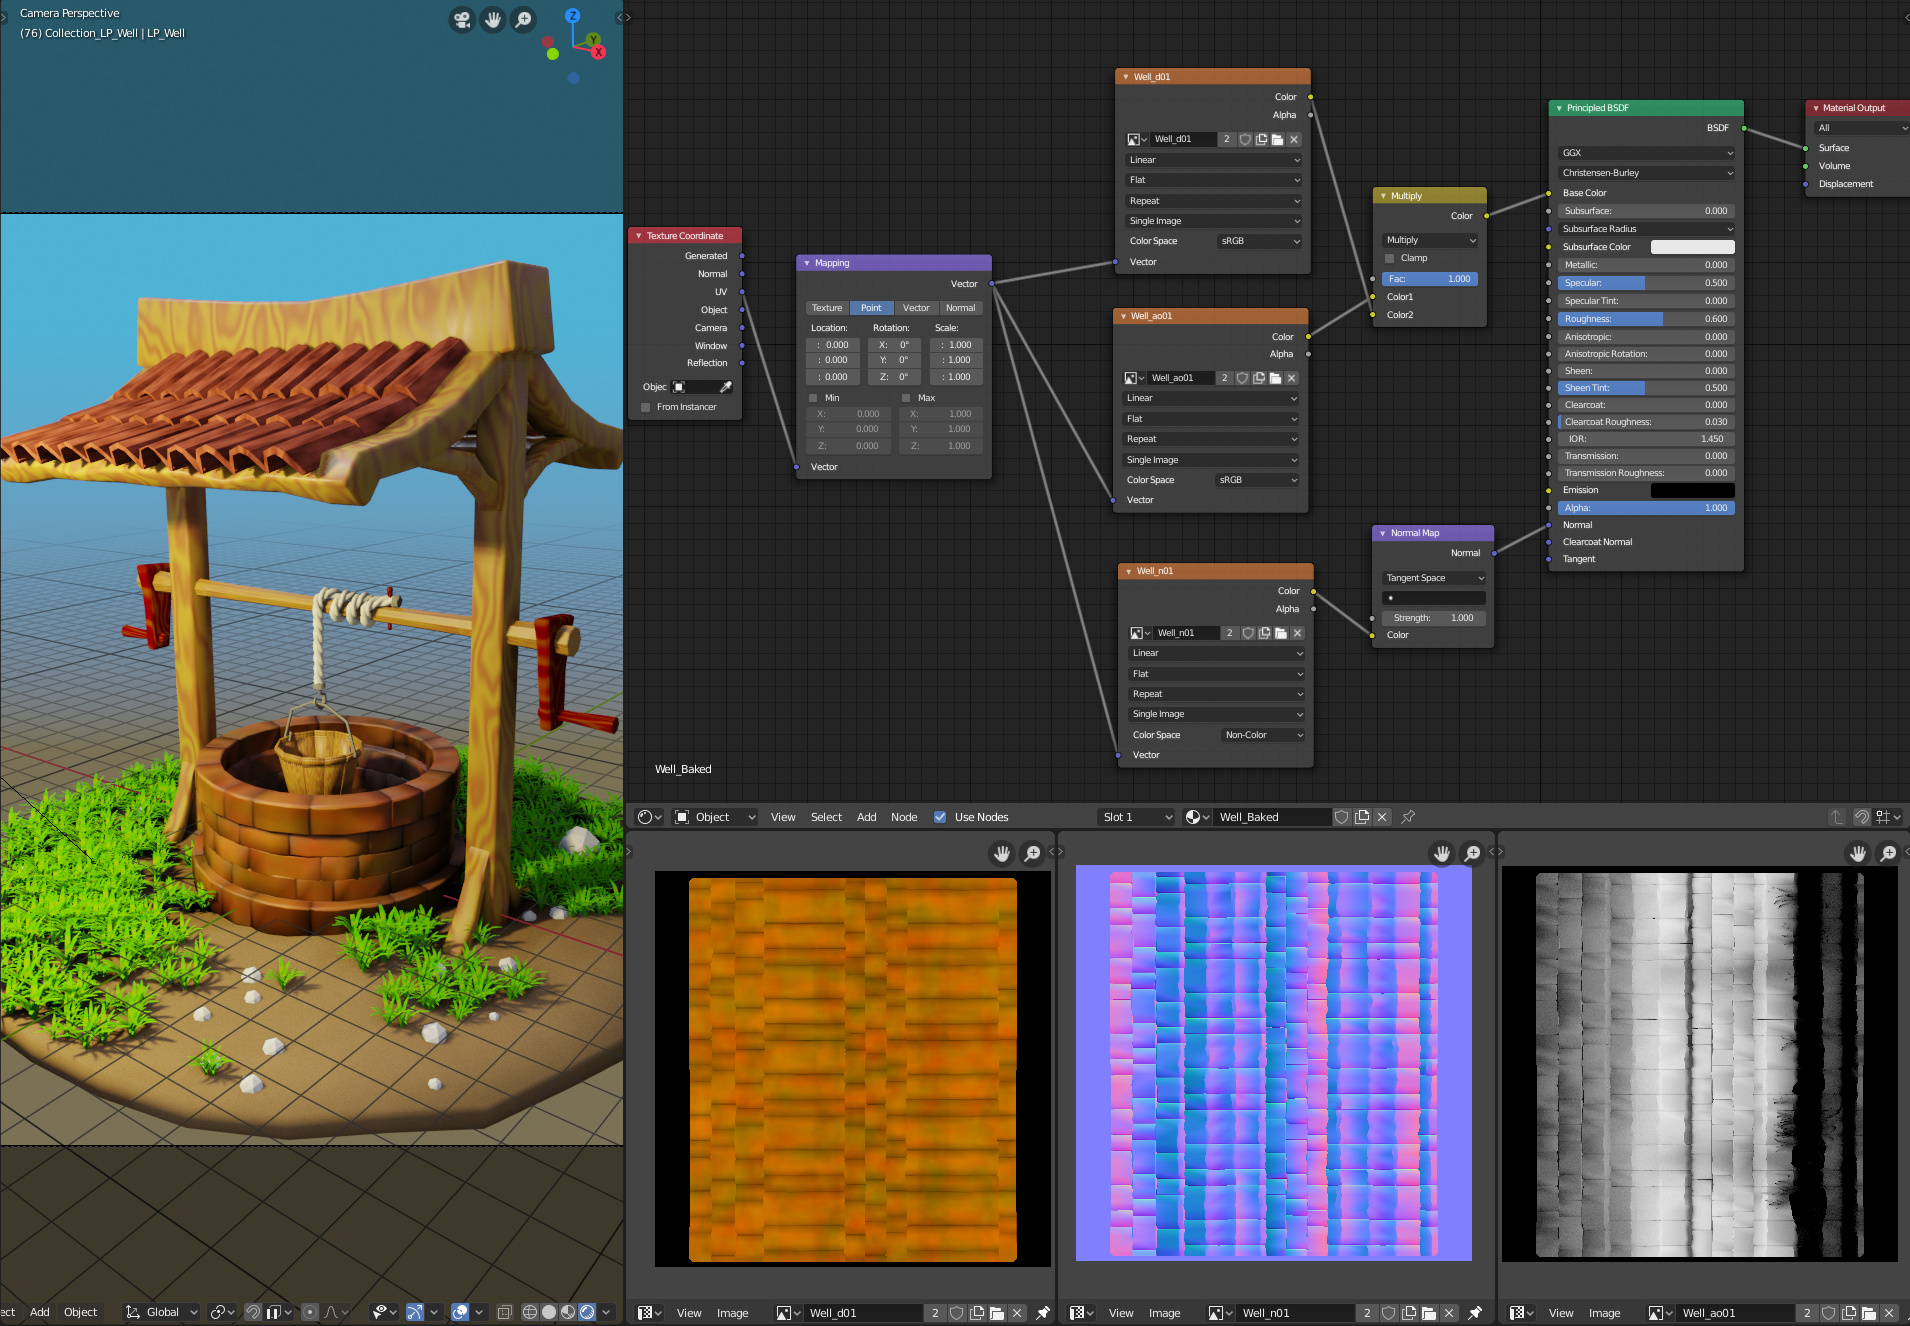
Well, the final render itself doesn’t change much, however the downside of baking indirect lighting(which can take a few seconds but you bake beforehand) is that It does something like:
Imagine you are baking texture in cycles and you left in Combined instead of whatever kind of texture you want to bake. It will bake the texture as it would look in final render.
This means no dymanic lighting, if you change the position of the light source the shadows will stay there.
I’m not sure if you have a light source that moves, when rendering a movie if it will bake indirect lighting for every frame. Then I believe it would take some more time to render a movie for example. But maybe still faster than cycles.


")