
I agree, as I see at LEAST 4 I want to vote for. Decisions . . . decisions . . . decisions! Hmmmm . . . 
5 Likes
Separate Wall and Ceiling material. Then check proper UV layout.
When you do bash-kit solutions it leaves UVs unwrapped in-properly. Change your material for wall and set to be gerated or object for better results. Always strive to have a proper UV unwrap. If you ever re-use yur creations- knioing it was done well to start from will save hassel with new project.
3 Likes
We all miss small details… It comes form experience. That is why it is important to leave your work for an hour and take a break… look at the pikture when you come back and it will be in a different light.
Share your picture - the more people reply - the more improvements you will make for your future projects.
Keep up the good work.
3 Likes
Hehe  even though the entries are over was just eager to finish the scene with the textures all applied, and this was pretty much what I expected.
This was my first ever weekly challenge and really learnt new tips & tricks, thanks especially to @FedPete, @Marijus, @Jaco_Pretorius, to help me to make my scene much better. Here it is, and see you all “At the Museum” 
12 Likes
It is improved very much.
Now it occurs to me, that the camera is more at the height of a kid or a dog.
Just 2 cents …
See you at the railway museum.
3 Likes
Hmmmm, I think it looks like an adult seated at the level of those side benches.
In any case, it looks wonderful. 
3 Likes
Awesome that you did improve it! It looks great!
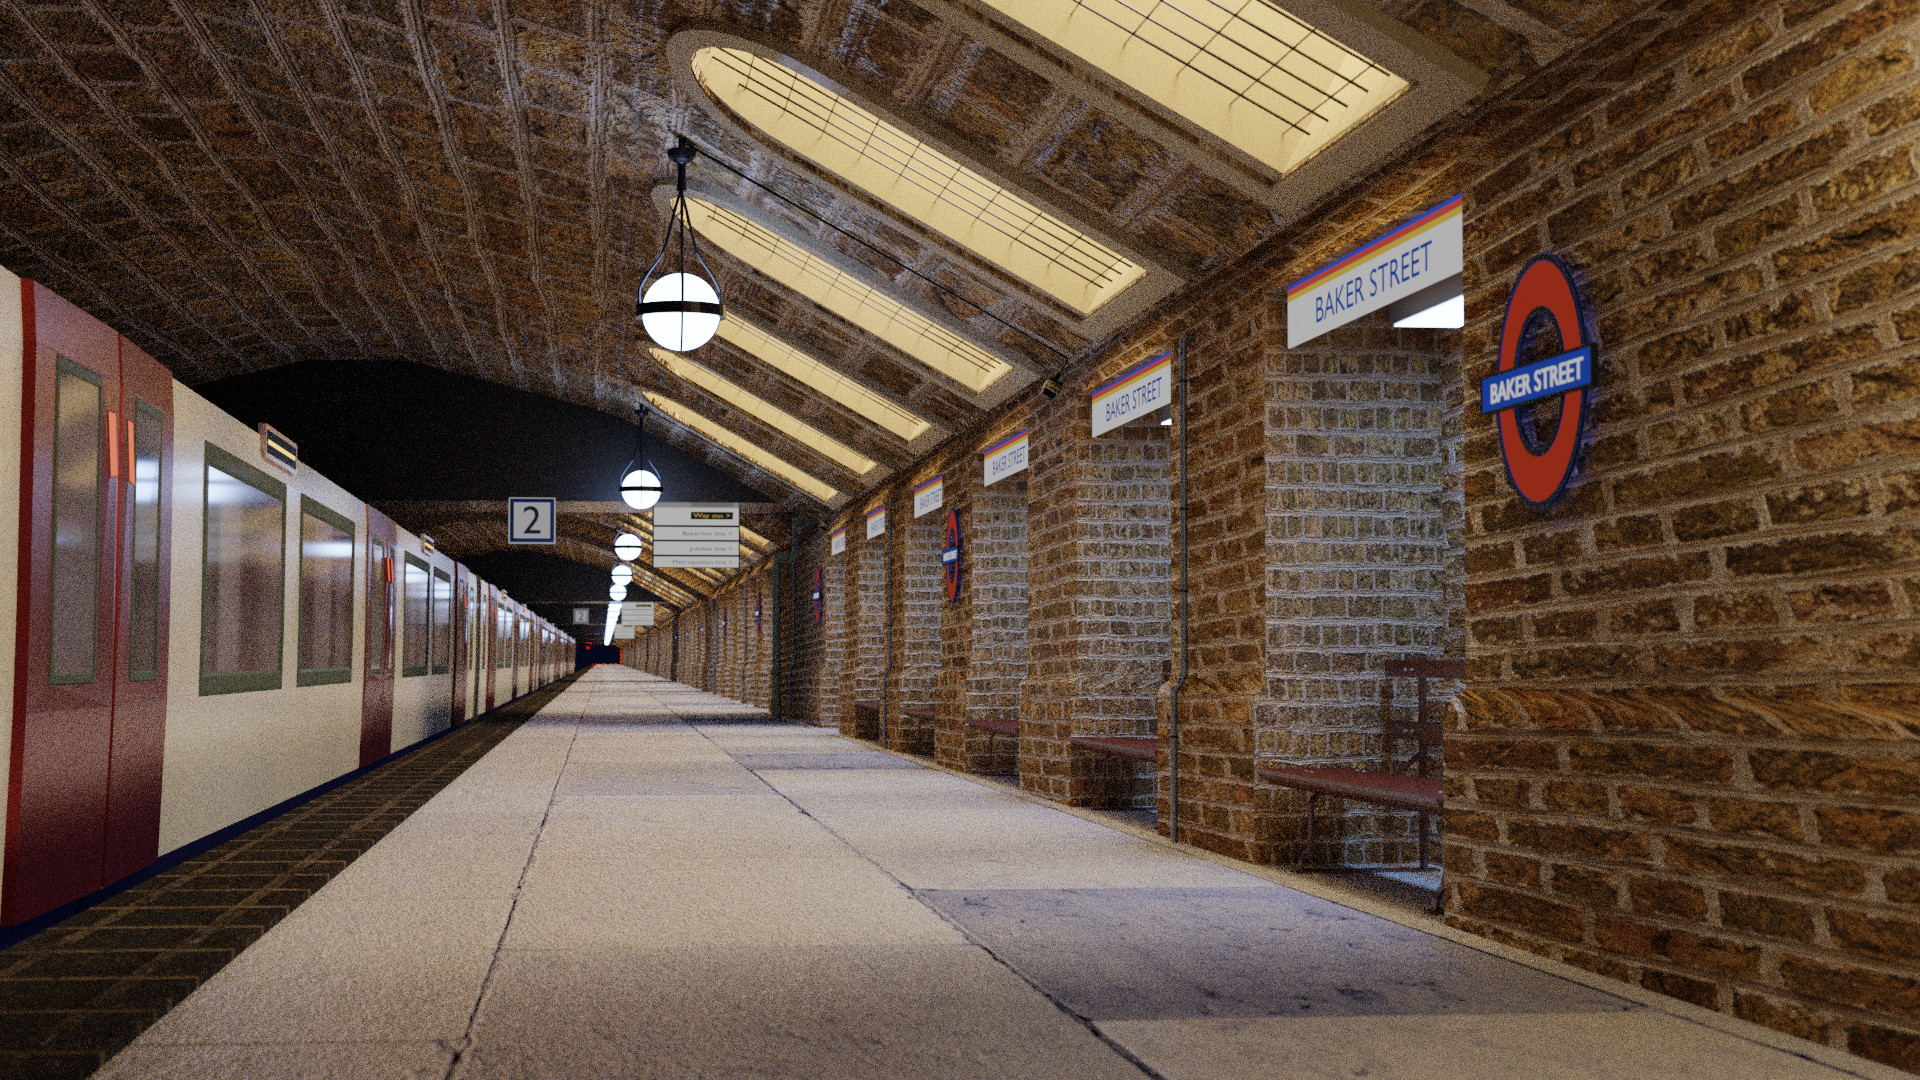
You can quickly improve it a bit further and get rid of the noise (unless it’s intentional) by either increasing sample count or using AI Denoiser (or both). I usually do this in compositor with setup similar to this one:
3 Likes
Metro looks really good.
Make your iterior lights yellow and exterior(windows) blue. This will add constrast of colours.
As some suggested, raise your eye level to the human (1.5-1.7m off the ground).
Most photogrophers would use their creative streak, but common people would take a shot at their eye level.
Separate colour of ceiling and walls. Make ceiling more gray than walls. While at it - if bricks are the same - make sure their size is too. Ceiling is build with much bigger slabs that the wall bricks - unify the environment.
Also add some procedural fog as therei s no envirvonment in the world that is particle free…
Also… Make sure you add distict line/emptyness between the train and the platform. This would separete objects visually. Real world is not perfect and margins should be acounted for. Make a gap between two with near black texture between them.
3 Likes
At the museum… Be carefull of the dark scenes. De-Noiser eats procedural textures for dinner. Use image based textures where possible.
Legal fineprint: IMHO and experience.
4 Likes
This render was at 640 samples with 12 light paths, and this took almost 1 hour. Yes I too want to reduce the noise, but will that reduce the render time?
@Marijus thanks for the tips, I’ll definitely do them.
You said about textures, this was my first texture apart from the lecture (Chess Board). Yes I am planning for dark scene at the museum, but what are “procedural textures” and “image textures” ?
In this one I downloaded different maps of the same texture, what are these called?
No! But the idea is, use less samples 640/2. and de-noiser removes the noise.
“Special hardware and software, can get good results with one sample. used in movie production and the newest gaming hardware.”
1 Like
Oh and when I use less samples it automatically gives faster render, am I right?
2 Likes
Yes, number of samples directly influences render time. Denoiser tries to remove the noise. AI denosiers do really great job in many cases - and they are fixed cost (like a 1s or a few sec on top of rendering). This is quite old video, from the time when it was introduced in Blender, but it gives you an overview of the outcomes: https://www.youtube.com/watch?v=eGAjsSNtX6E
(as a caveat - it sometimes can blur out details. Not frequently, but it can happen)
2 Likes
Edit: I see it’s quite a scroll to the voting… Click here to jump to the voting section.
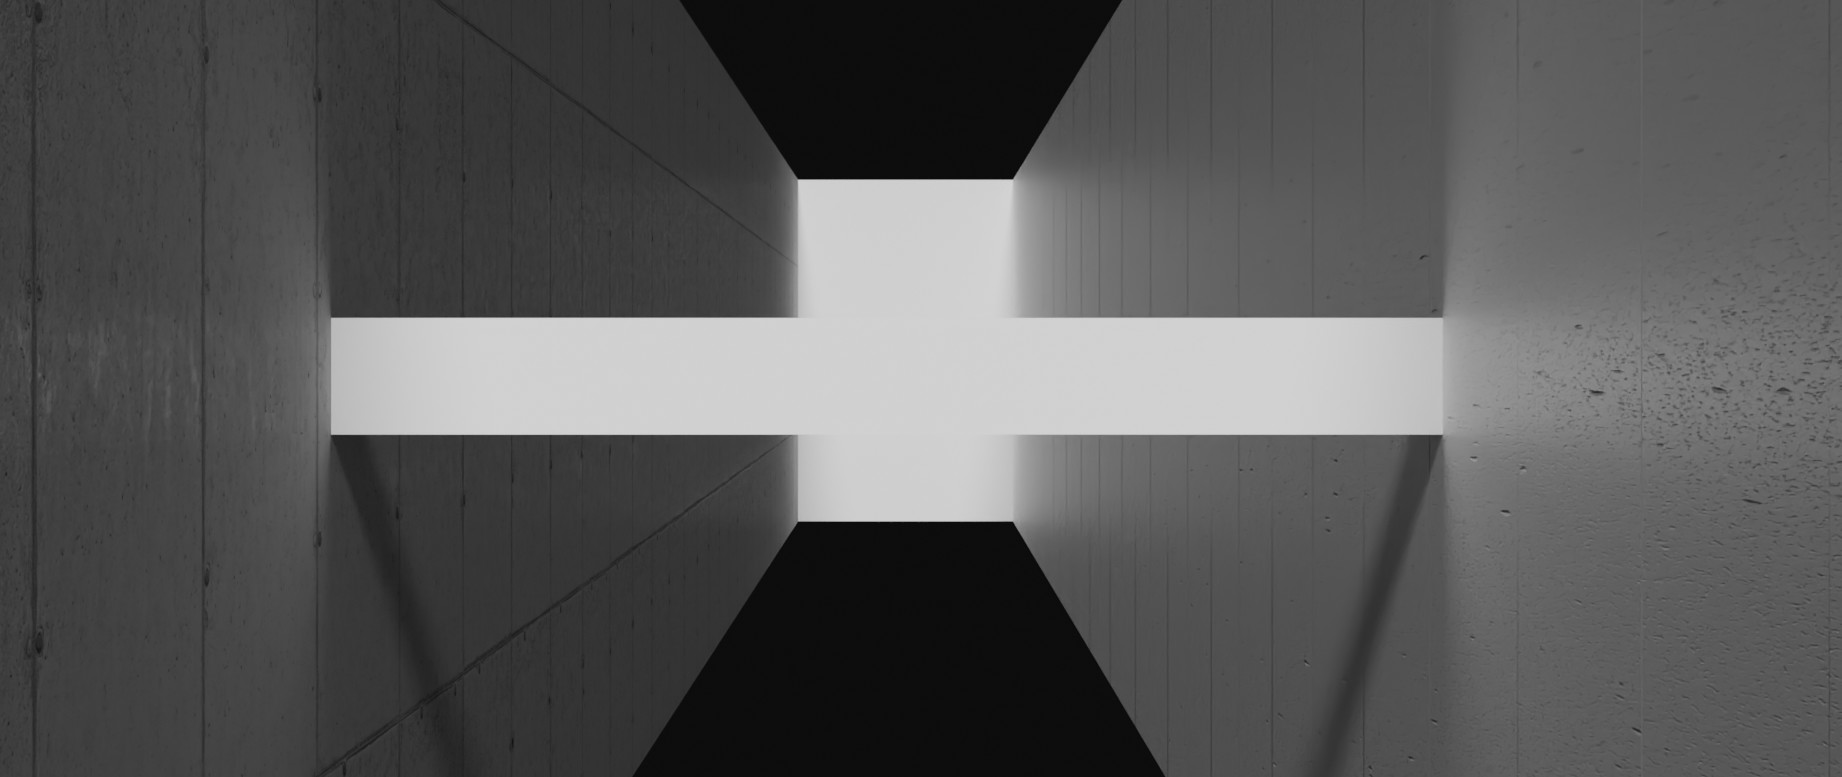
Managed to find a couple of extra hours to make this scene more presentable…

… hope you like it.
5 Likes
I like it darker, I would probably make it darker still, it is in a mine after all, it is so well lit they really do not need the head lamps. Which more or less says it is too light.
2 Likes
The darker version was not visible to ppl on mobile who gave feedback so I had to boost the lower curves a bit… so, i guess, imagine that this is a “digitally enhanced” version of the same picture, but for humans to be able to see. 
3 Likes
Hi,
@Kartik_Nair This is my personal experience that denoise filter sometimes cleans too much. I’ve spend few days pulling my hair out on one project and I couldn’t understand why my very detail textures turned blurry and lack details. I love procedurel textures due to lack / need for tiling.
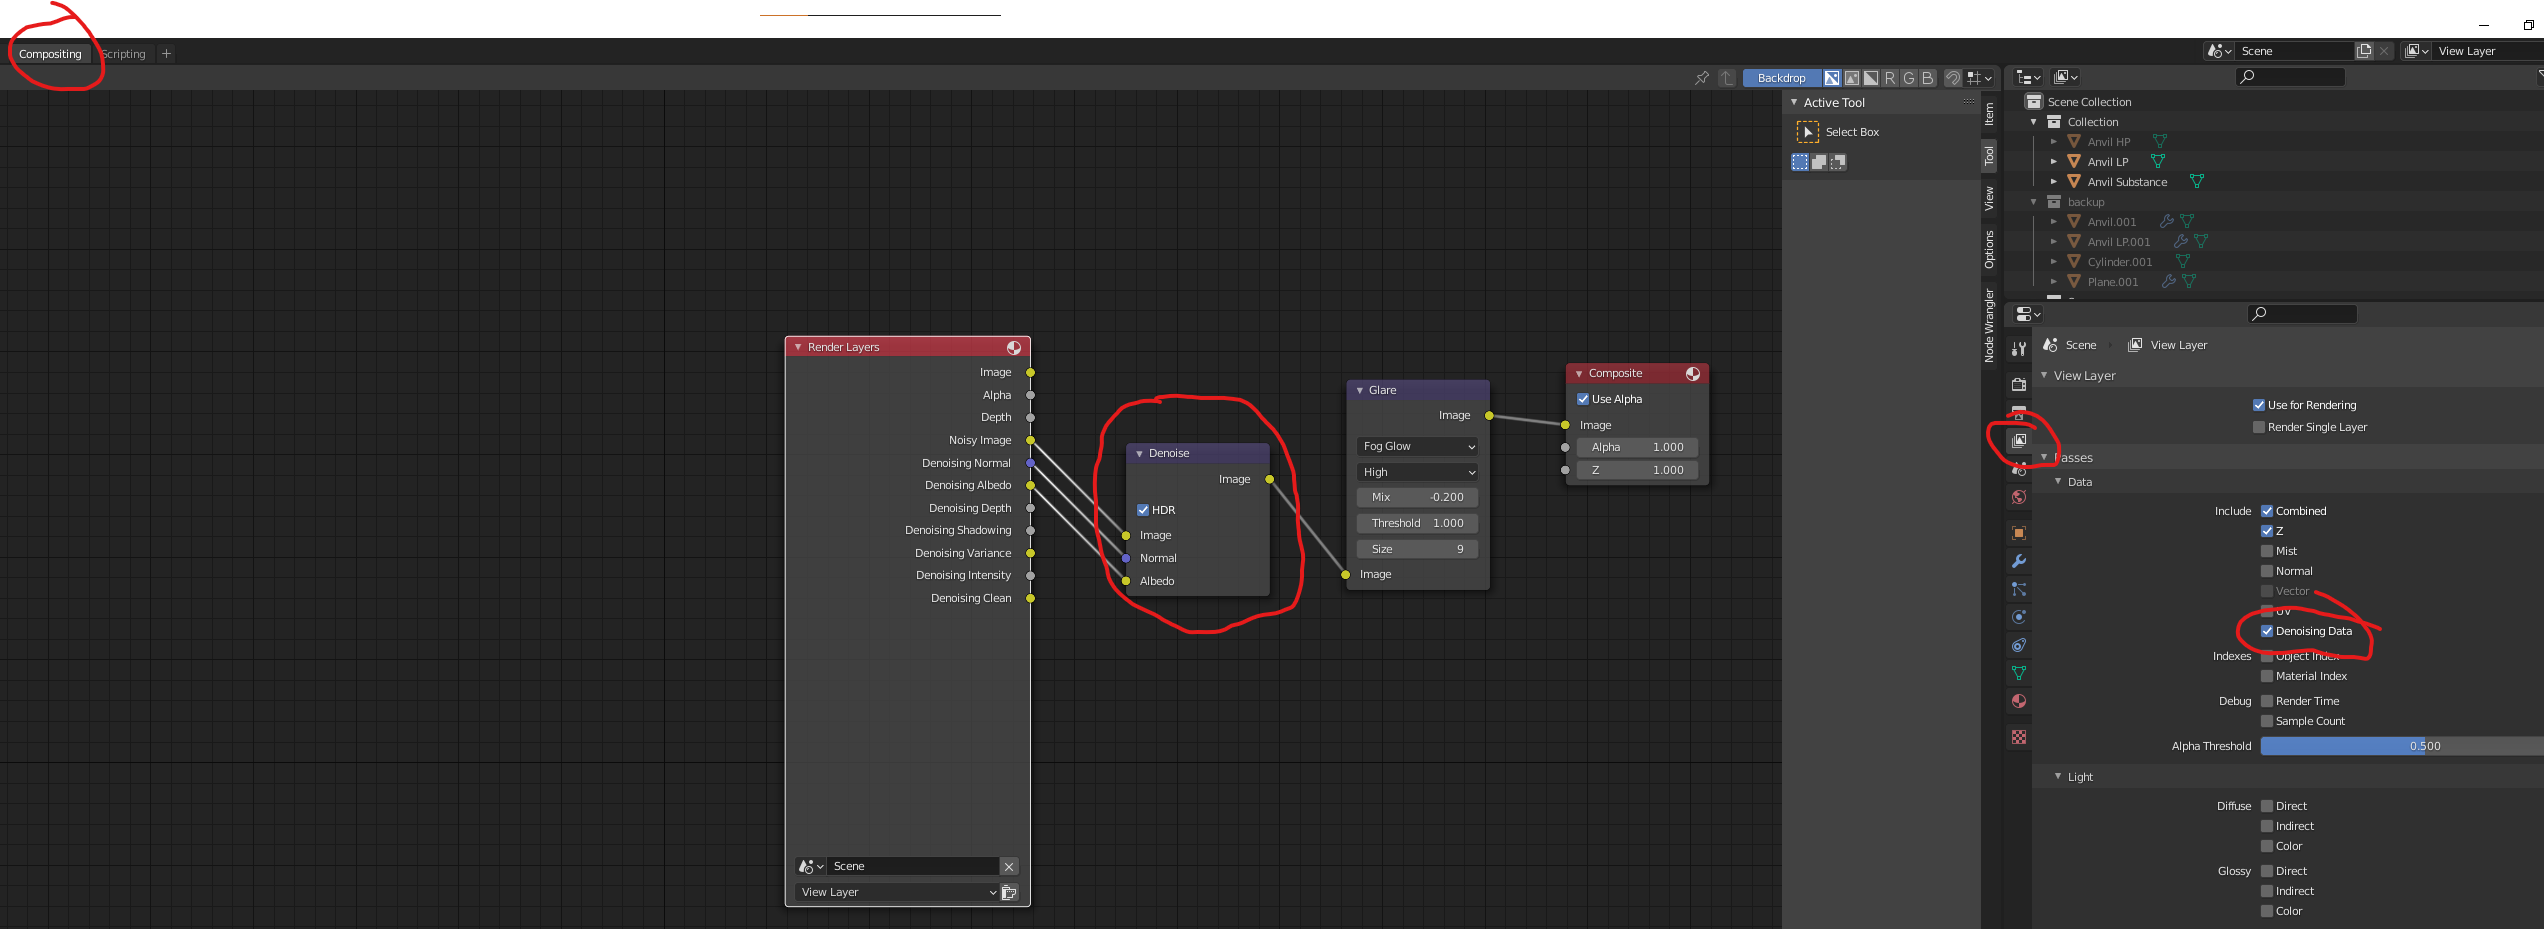
Here is simple example.
Wall on the left - material is with image textures. Wall on the right is a procedural quick concrete slabs using noise, musgrave and brick textures. In the distance, procedural texture starts to blur into solid colour. Some of the procedural texture noise gets interpreted as render noise and smoothed out. Image based texture preserves more details in the same light (sun:5) and number of samples(128).
I dont’ want to discourage from procedural textures, just if you - you are prepared.
3 Likes
Also denoise has problems with volumetric lighting. For it you need to increase sample count to really high amounts (like 5k or more)*. I am making an educated guess that procedural materials and volumetric lighting are not the scenes that the algorithm was trained on.
*Possibly the better approach would be to just render volumetrics in another layer and smooth it out in the compositor.
3 Likes
I found a video on youtube as I tried to find better way to add volumentrics to museum challange. The basic principle is that you create your animation without volumentric lights, then change all materials to black body: black 0 level emission shader, change to eevee, add volumentric lighting and re-render only volumetric fog/rays. In video sequencer - combine both into one animation, using screen or light as a blending mode for volumentric strip.
3 Likes