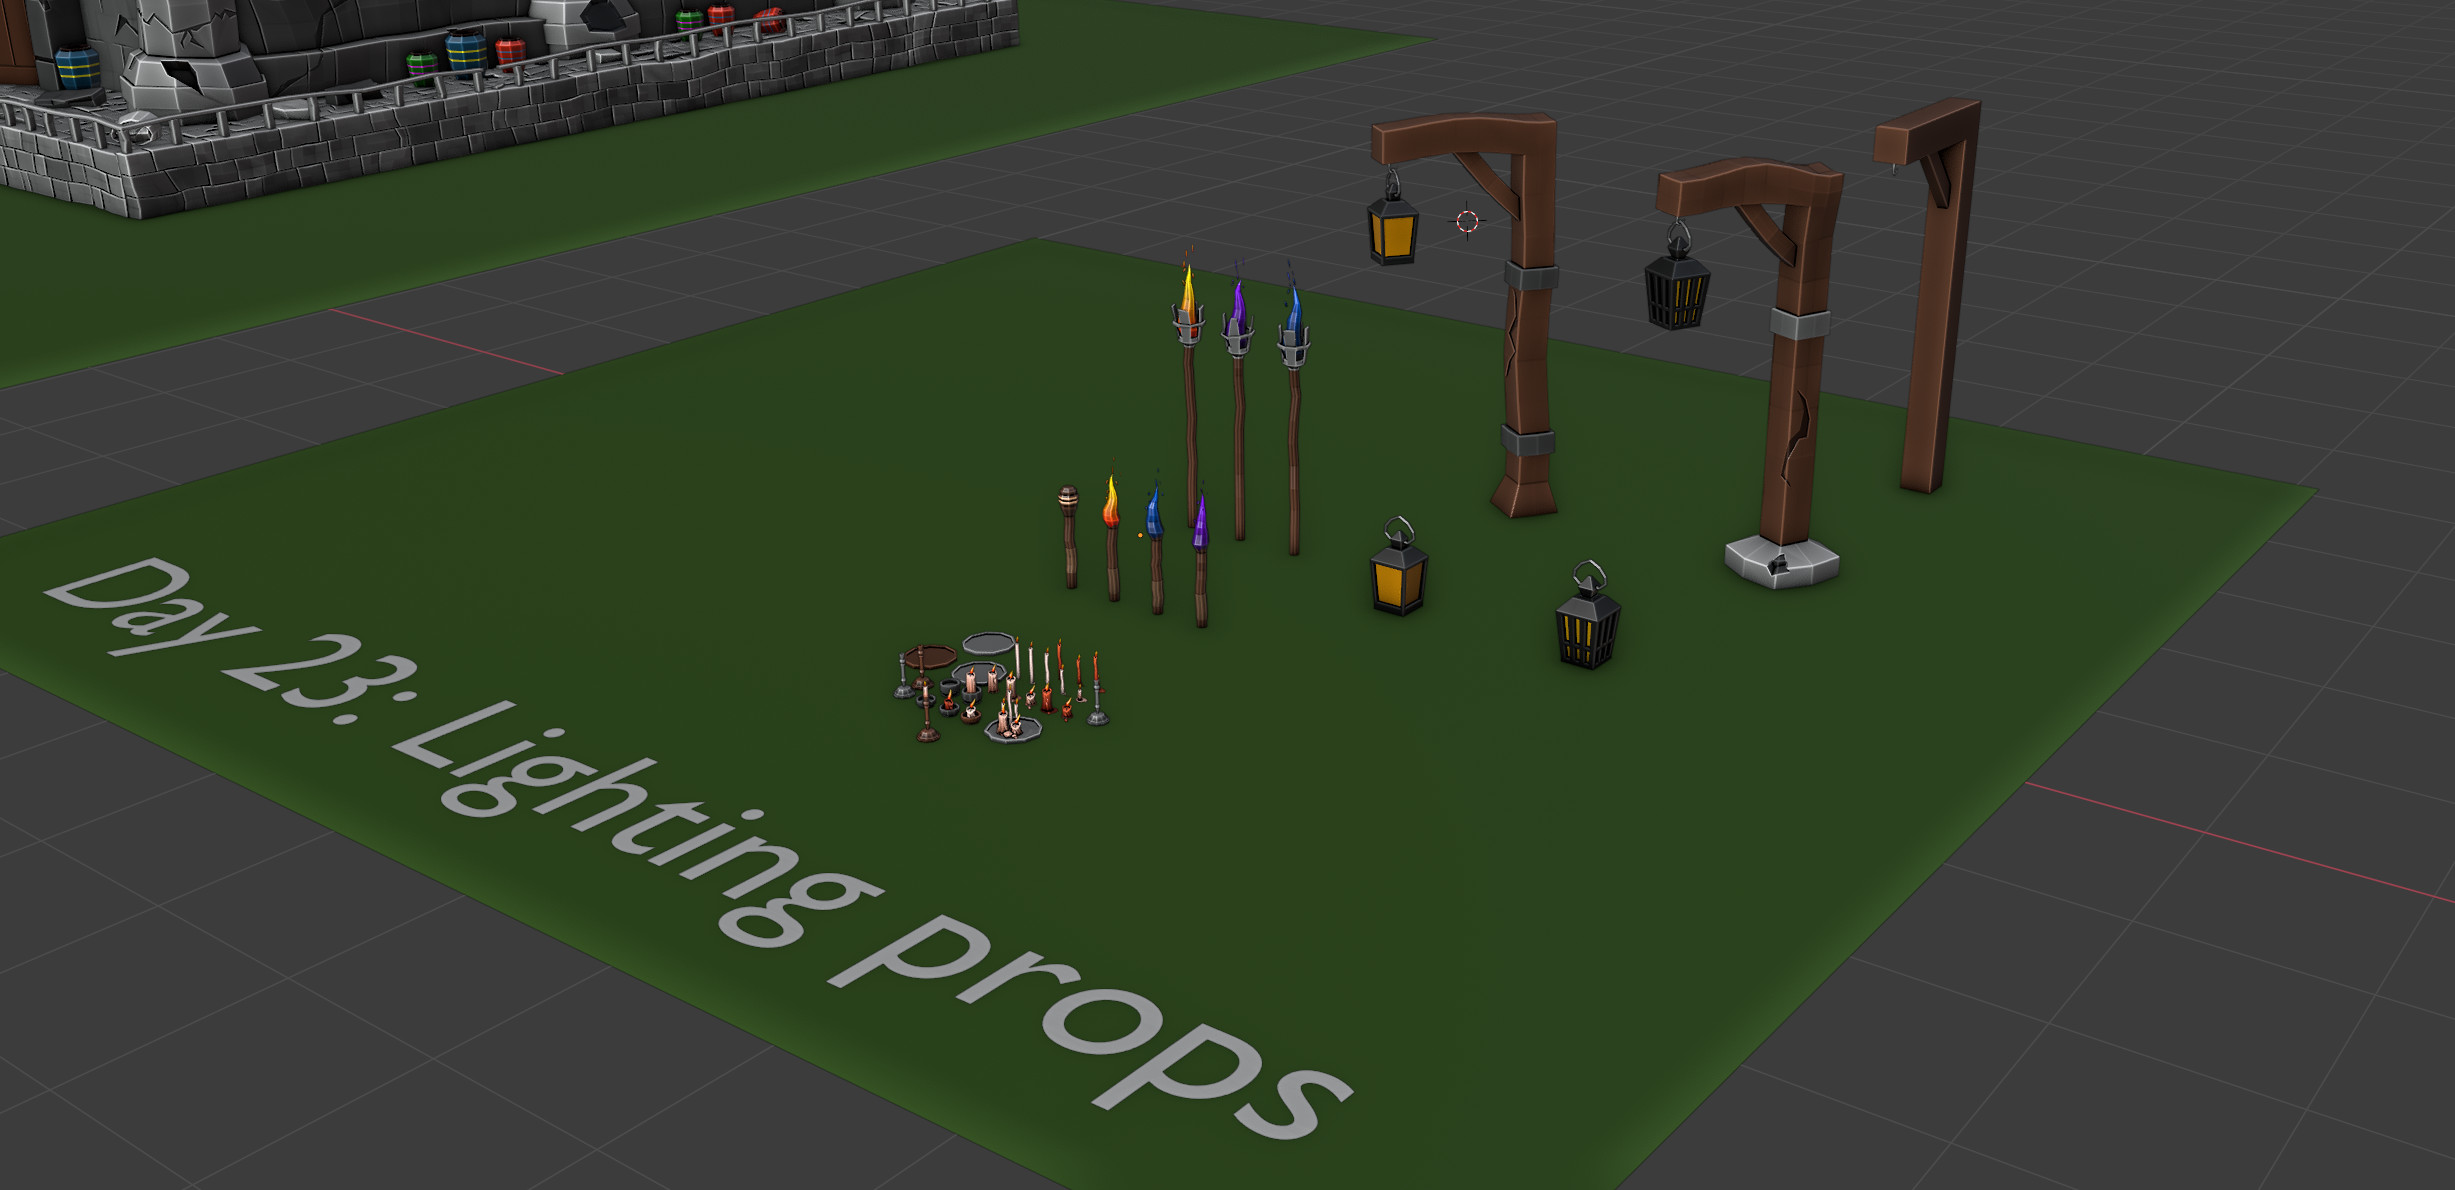
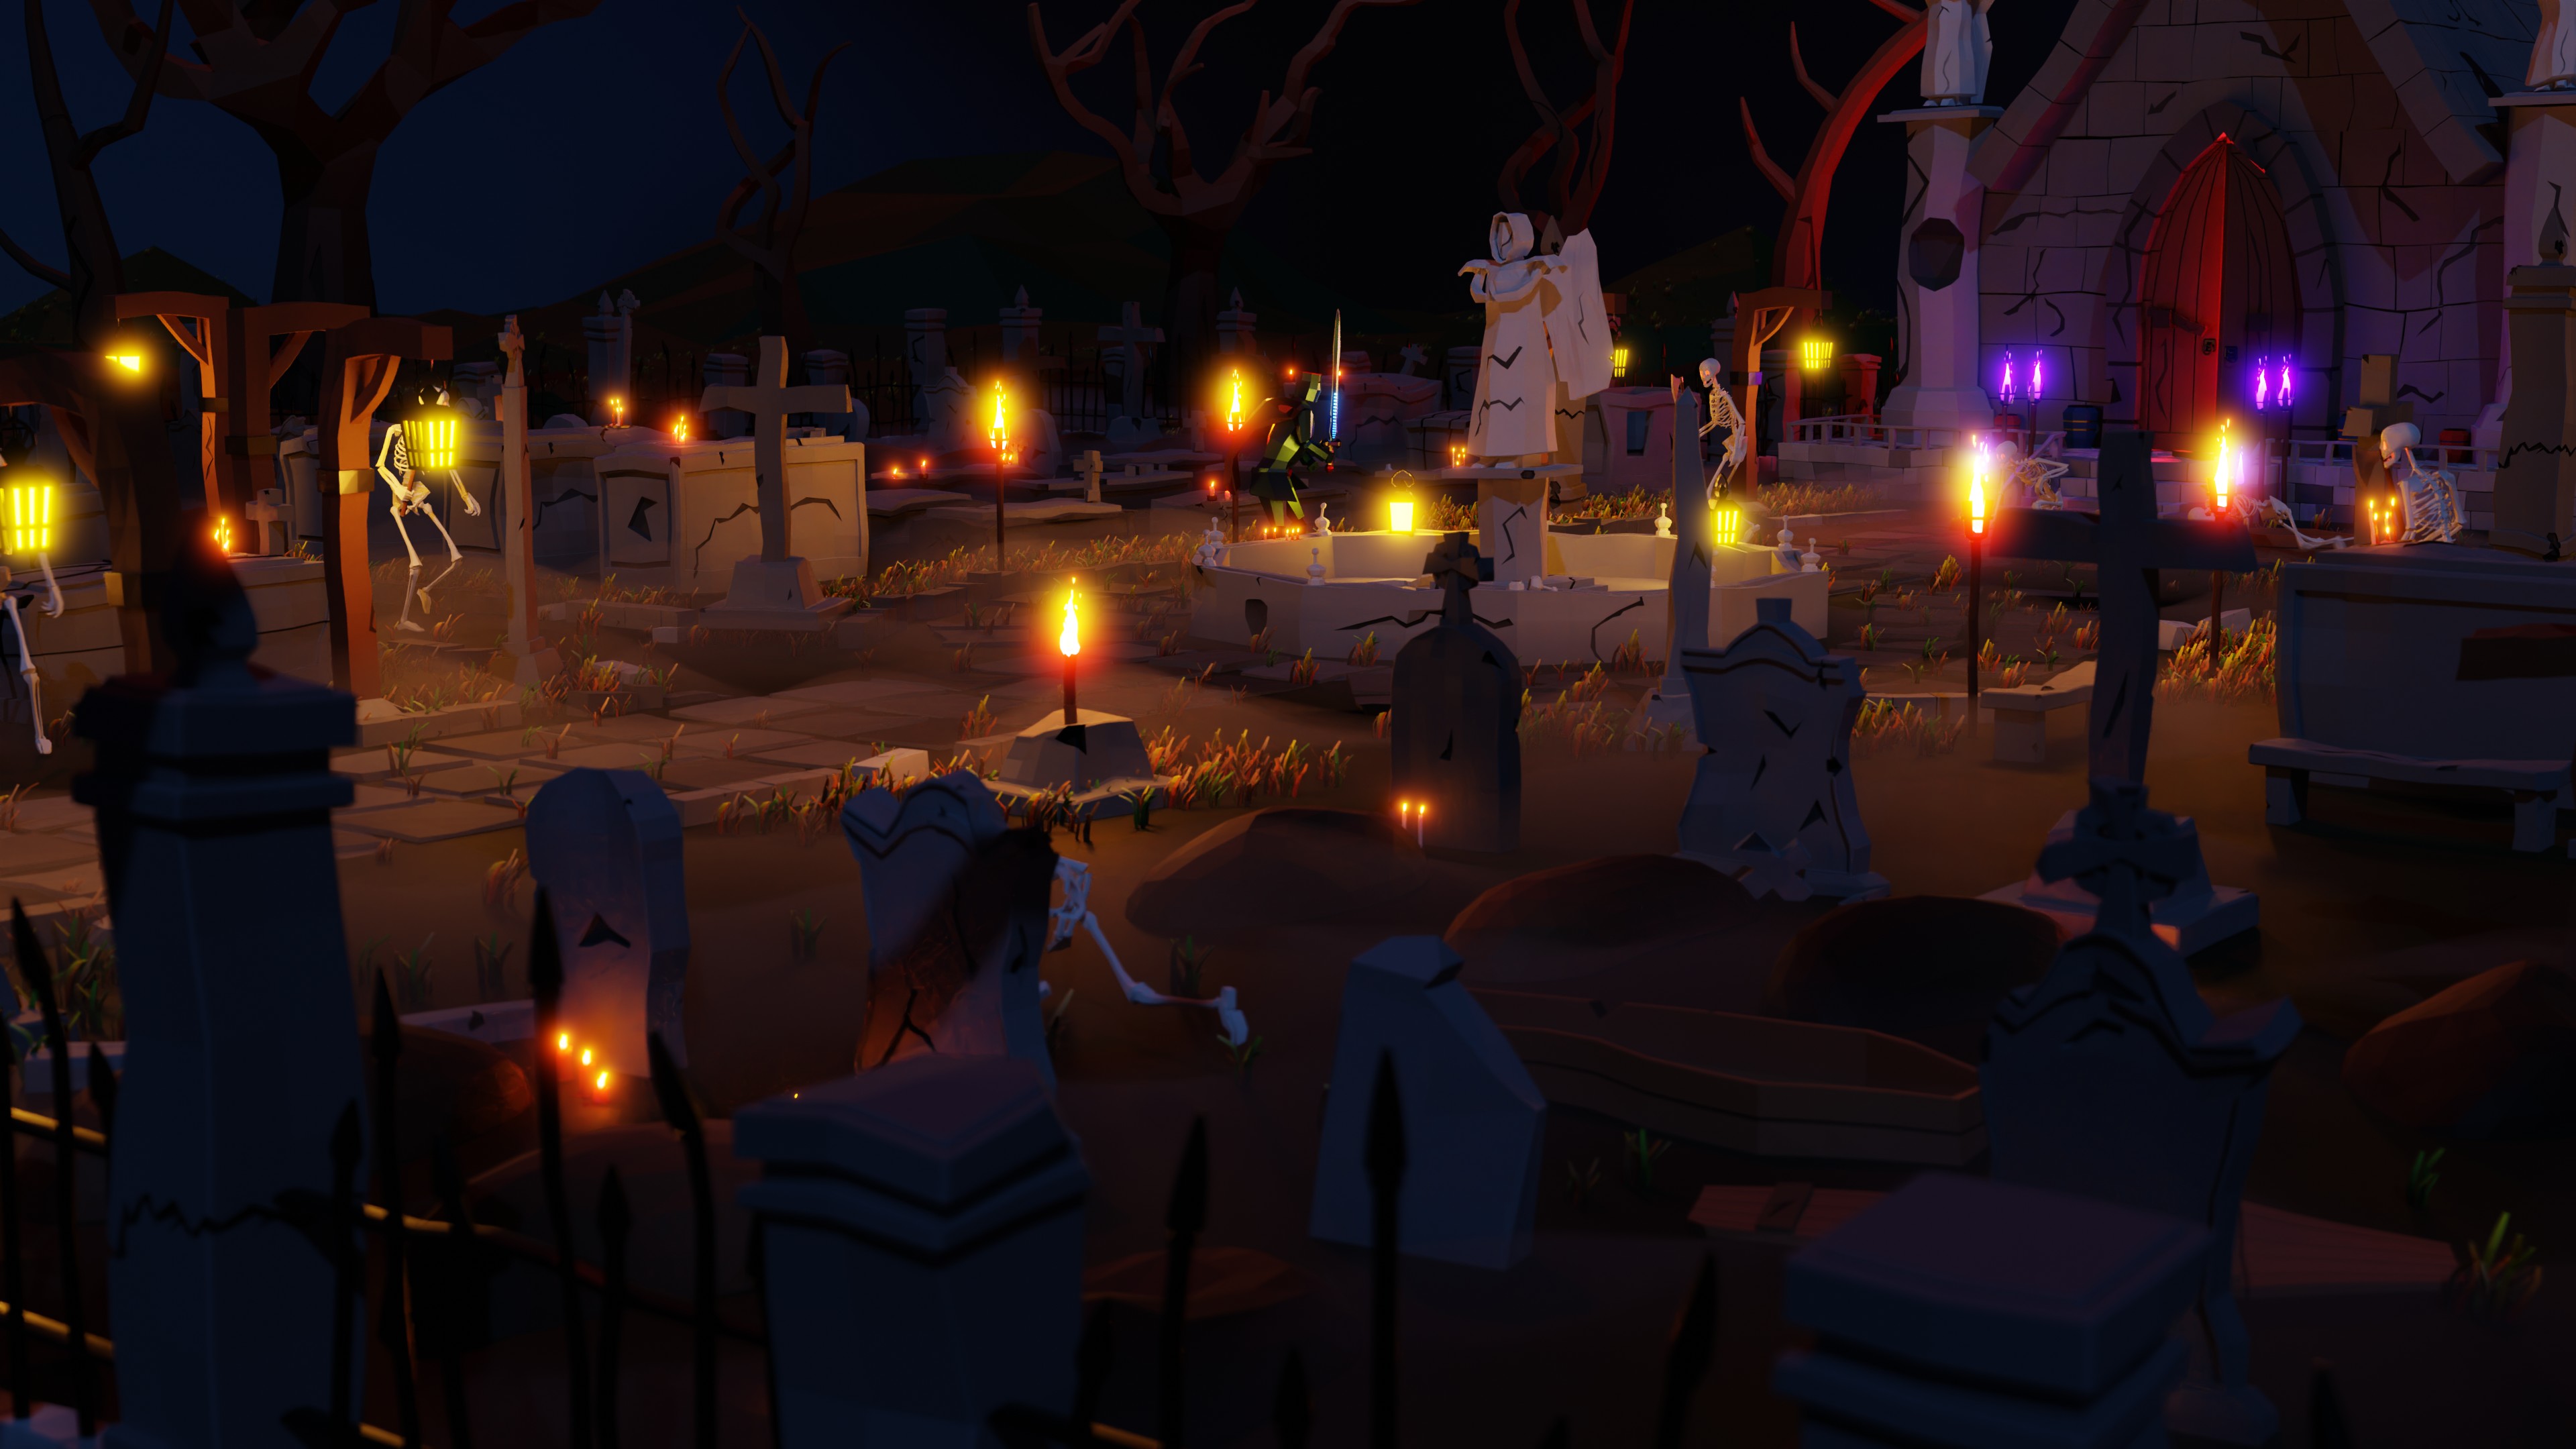
Day 23: Lighting props.
Time: 4.5h (including searching for references and tutorials on how to make candle light… which in the end I didn’t need as I just used modelling and emission).
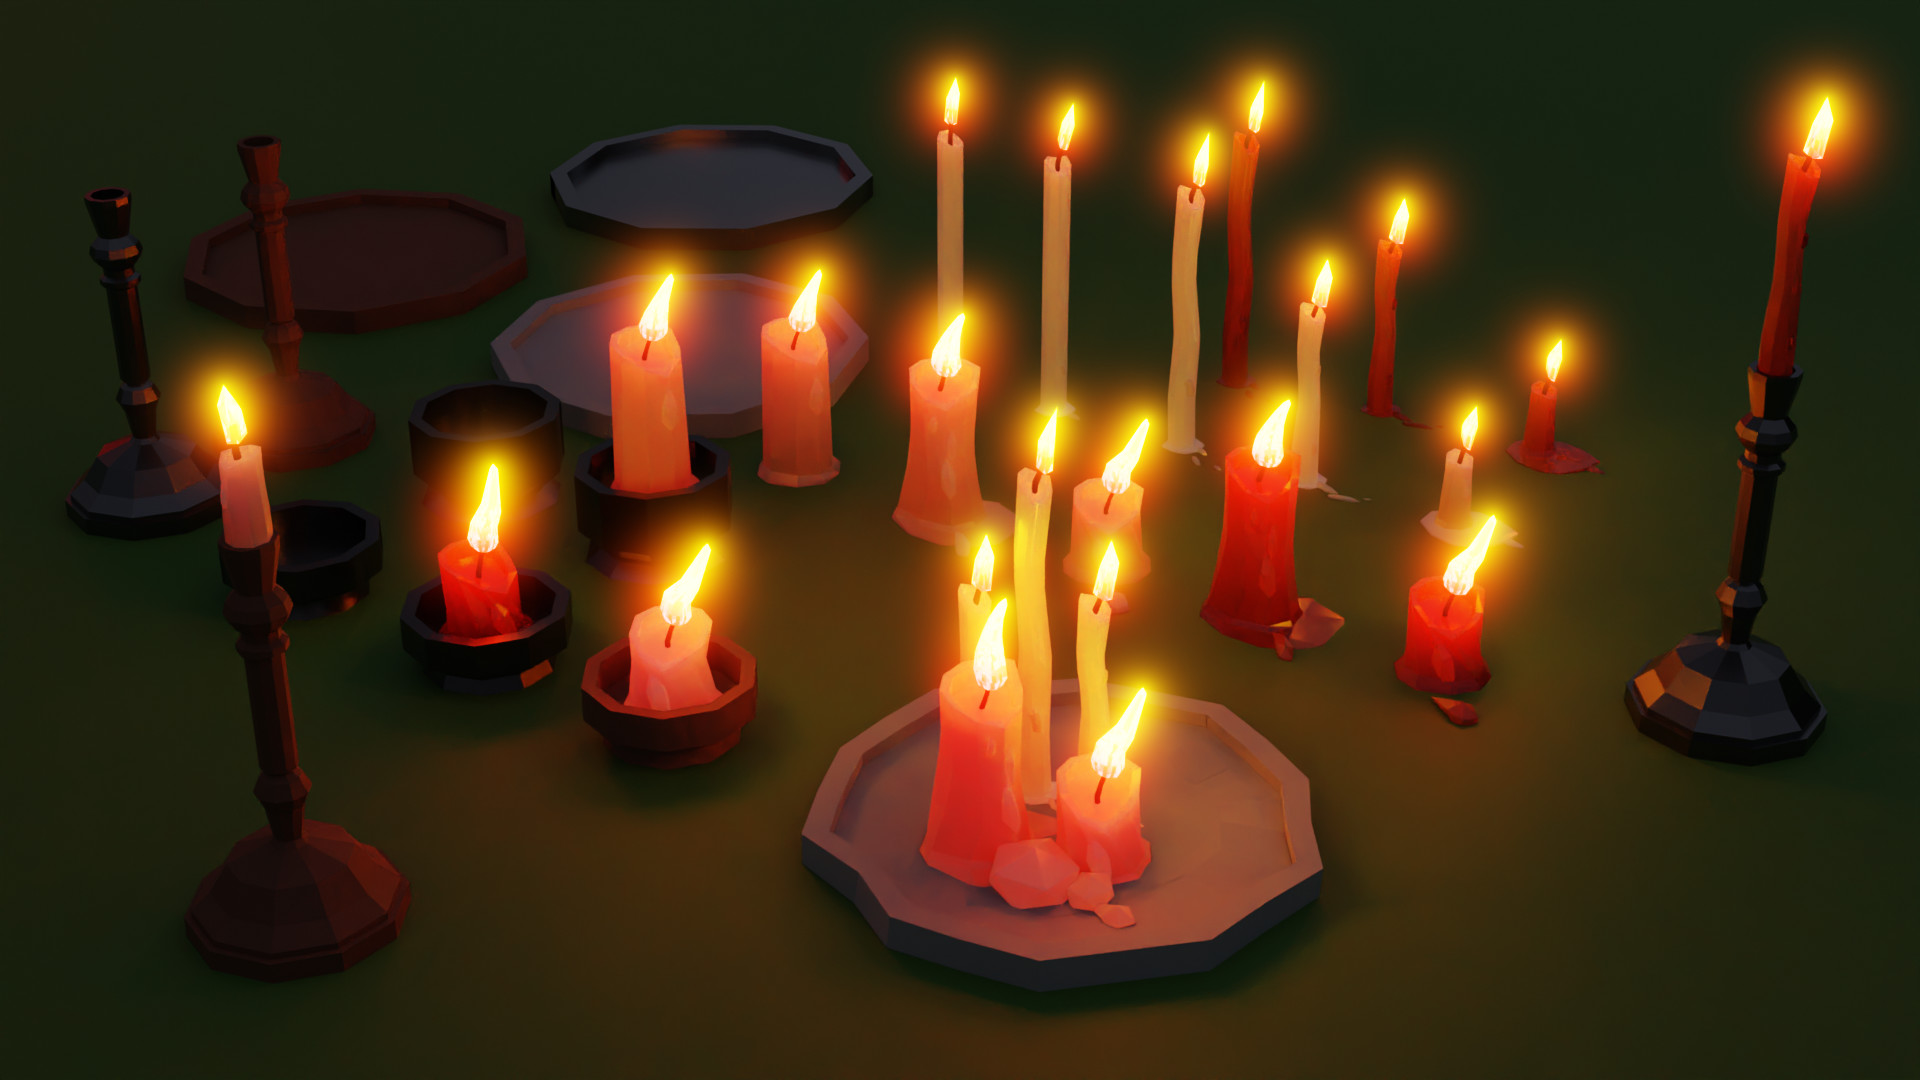
Took a couple of shots, as lighting props are best shown rendered. Candles:
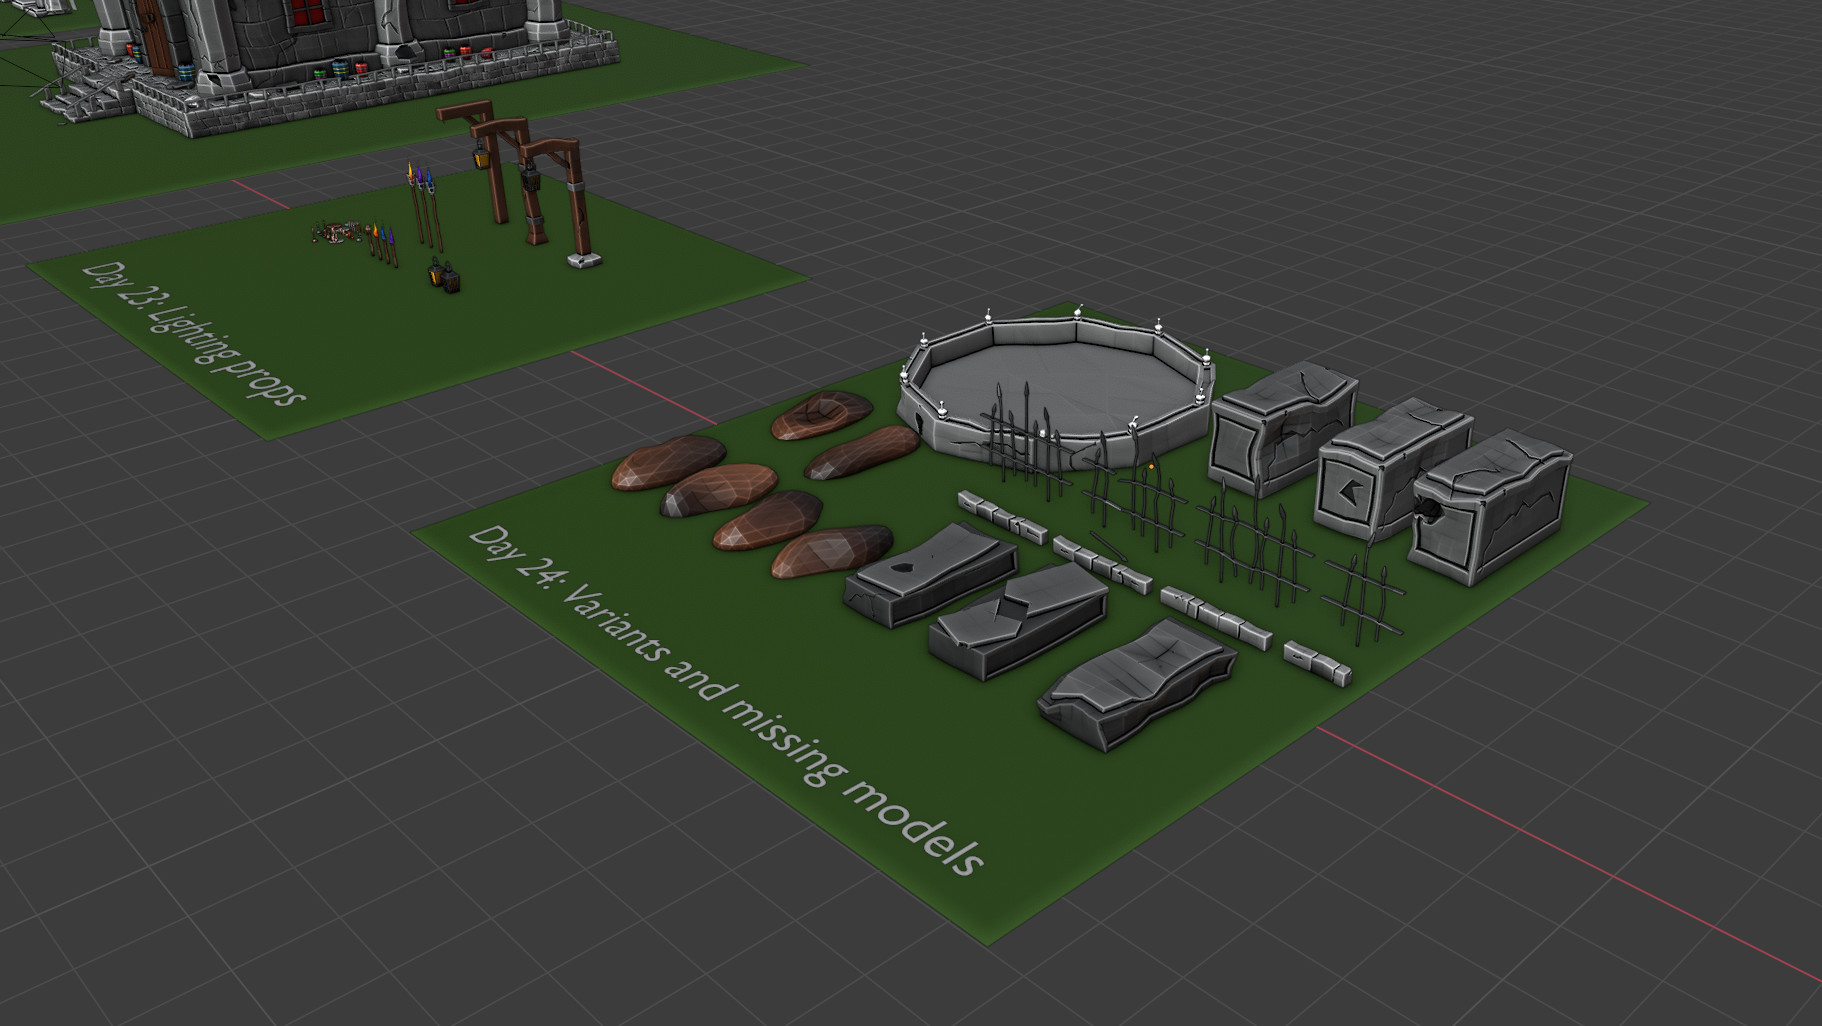
I forgot about lighting! But now I think I have everything to make a final scene. Maybe I’ll need to add some additional props along the way or variants of existing props, but I’m getting close to finishing it
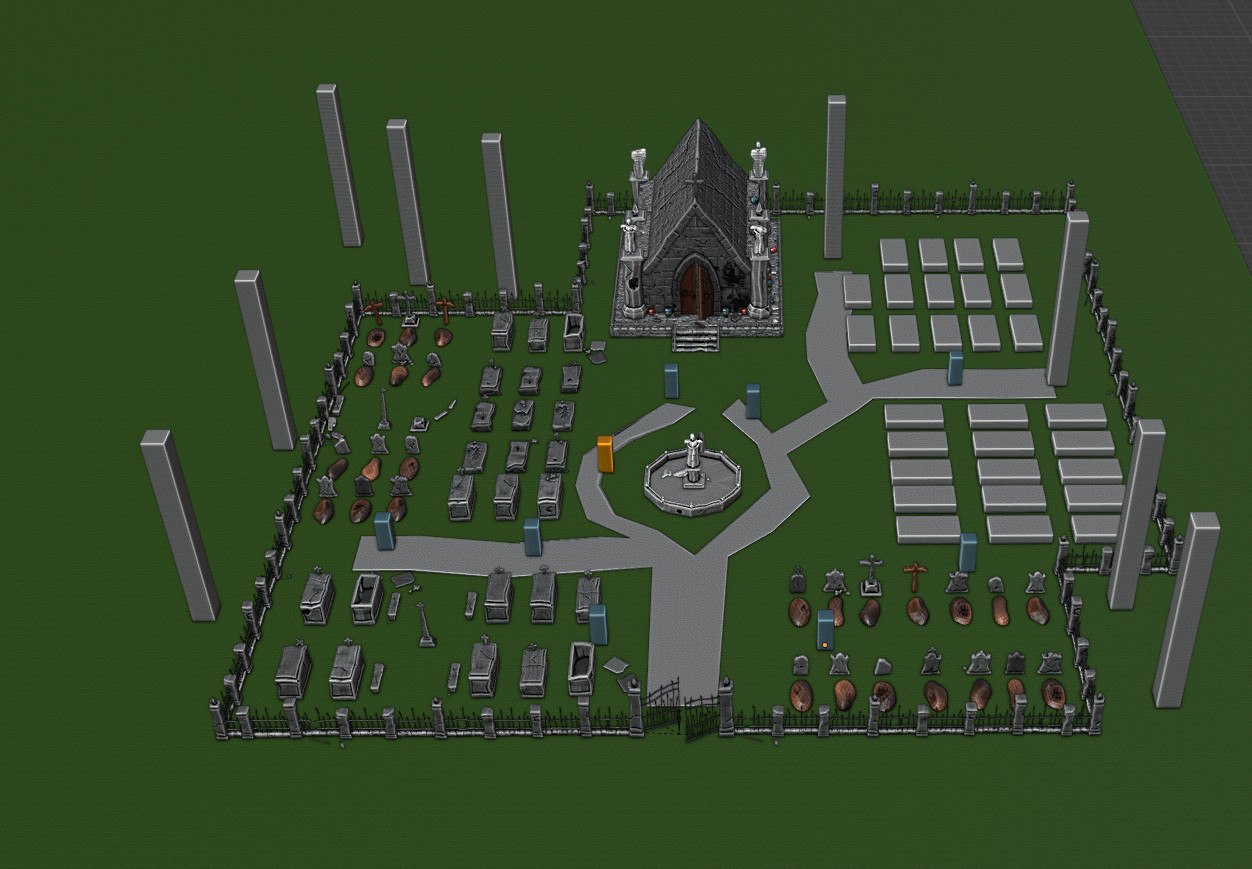
But to be honest - after making all those models (there are 282 right now, not including some helper things like curbs, grass patches)… I was thinking about mabye making a small game with them (action rpg?) or maybe even polish them and release them on some asset stores…
Making the scene was really tedious in Blender. There are loads of items so no other way around it, but my experience with level design tools in unreal and unity suggests to me that I would do it faster in game engine. Placing stuff like candles was really tiring…
Edit: just counted… it took 14 days to make it (including skeleton and knight characters)
Edit2: Oh, skeleton eyes are not glowing! Made a mistake during importing the skeleton from different blend file… Re-render time…
Edit3: Re-render done. Subtle change, but I like it. And uploaded jpg instead of png. Can’t see the difference in image quality, but the file size is much smaller.
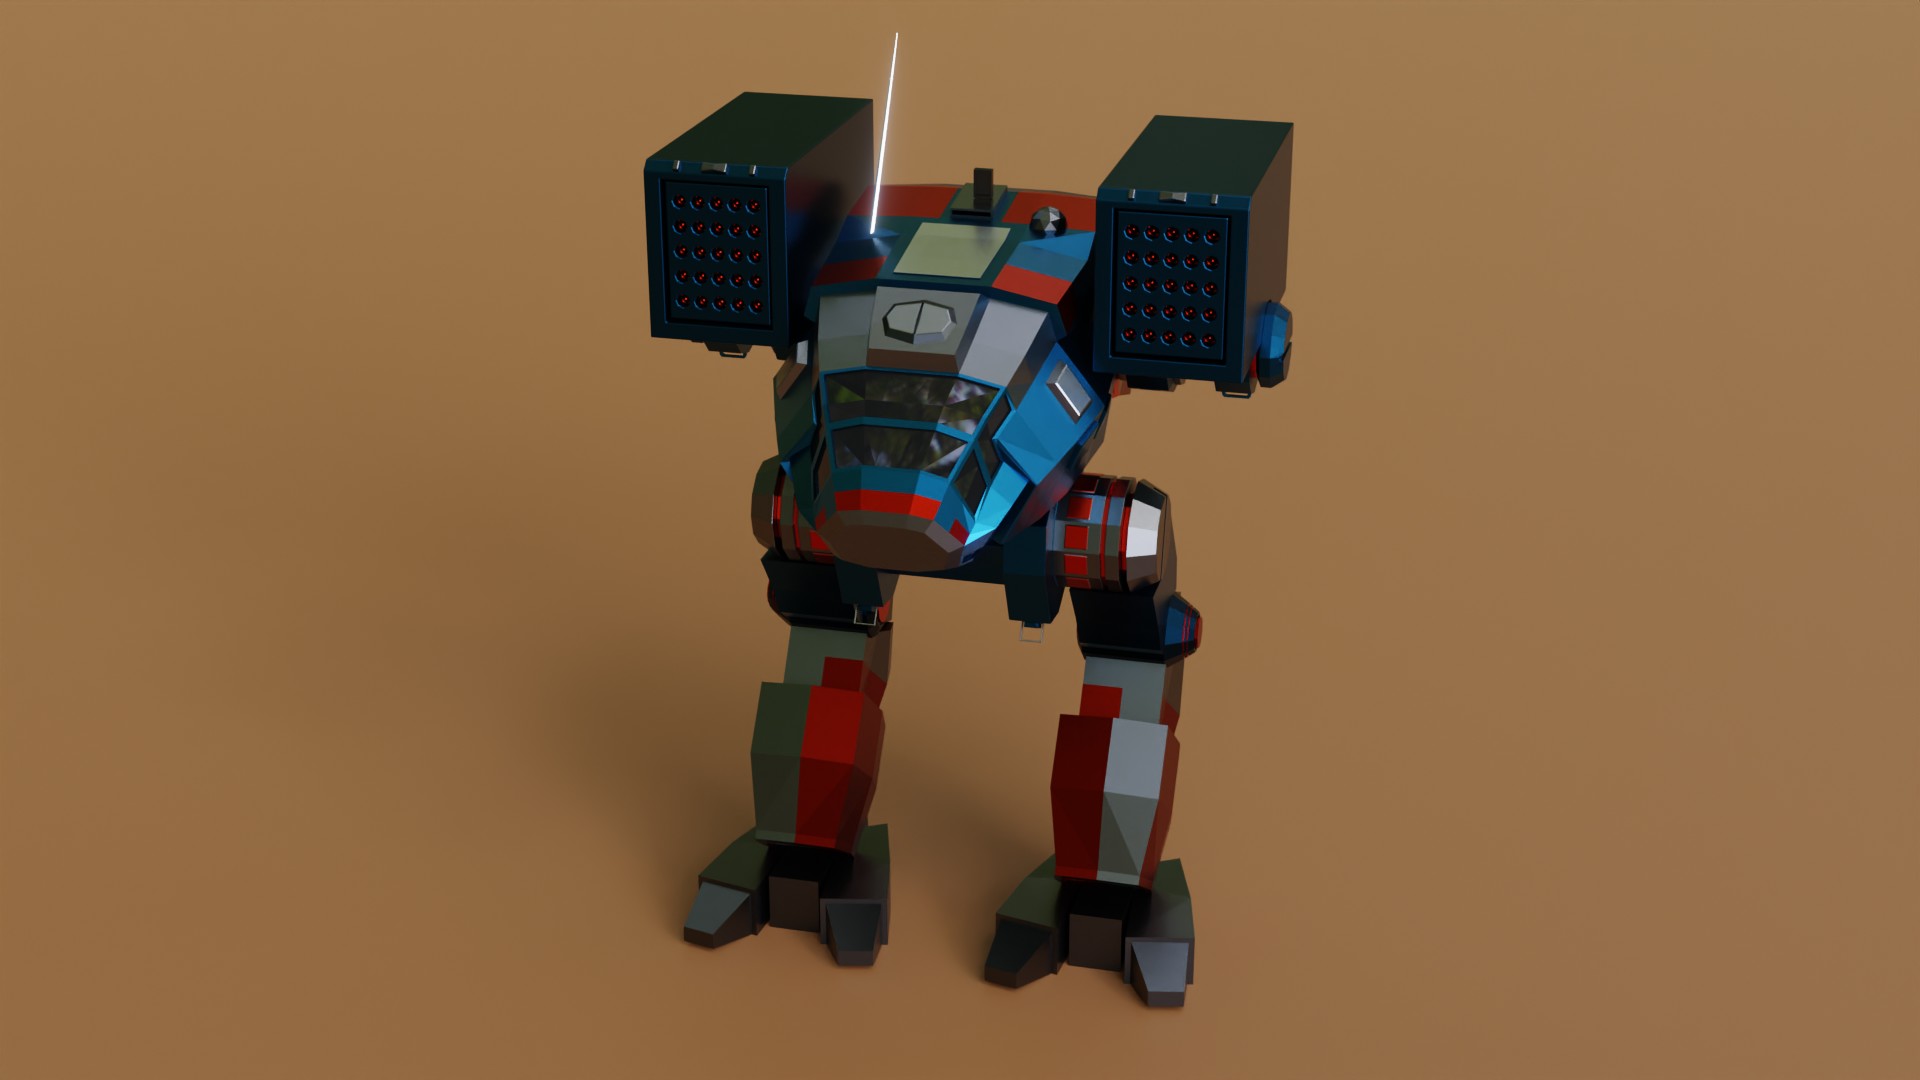
The Catapult mech was my favourite design when I was younger and playing Mechwarrior 2 game . It’s awesome to be able to model it… though I struggled a lot to model it.
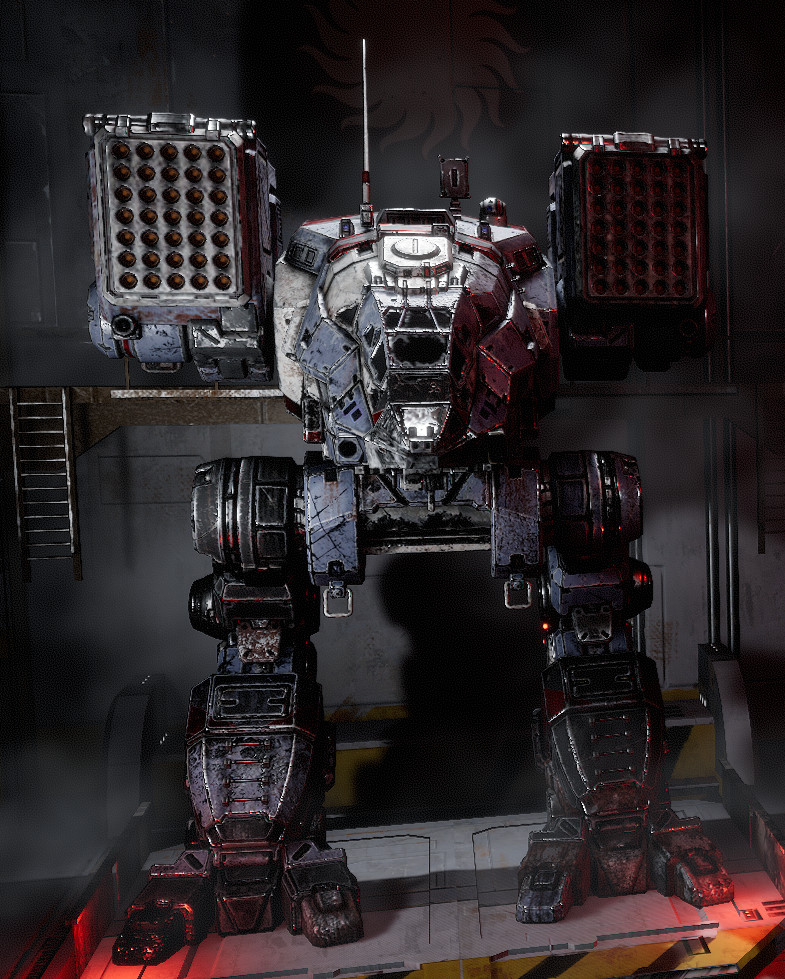
There are multiple variants of Catapult in the lore + multiple interpretation of those variants. Here’s one reference I used:
This one was actually hard to do. I tried to keep nice topology, so that when I subdivide and use smooth shading it it would still be nice as a base for high poly model. I failed with the ornamented one… I would have to introduce huge amount of additional geometry… or maybe separate the ornaments from the base and use separate geometry… That might be my future learning goal on how to do such precise hard surface stuff in high poly.
I’ll probably keep it simple as today till the end of the month. Keeping the daily regime and focusing only on low poly things is tiresome…
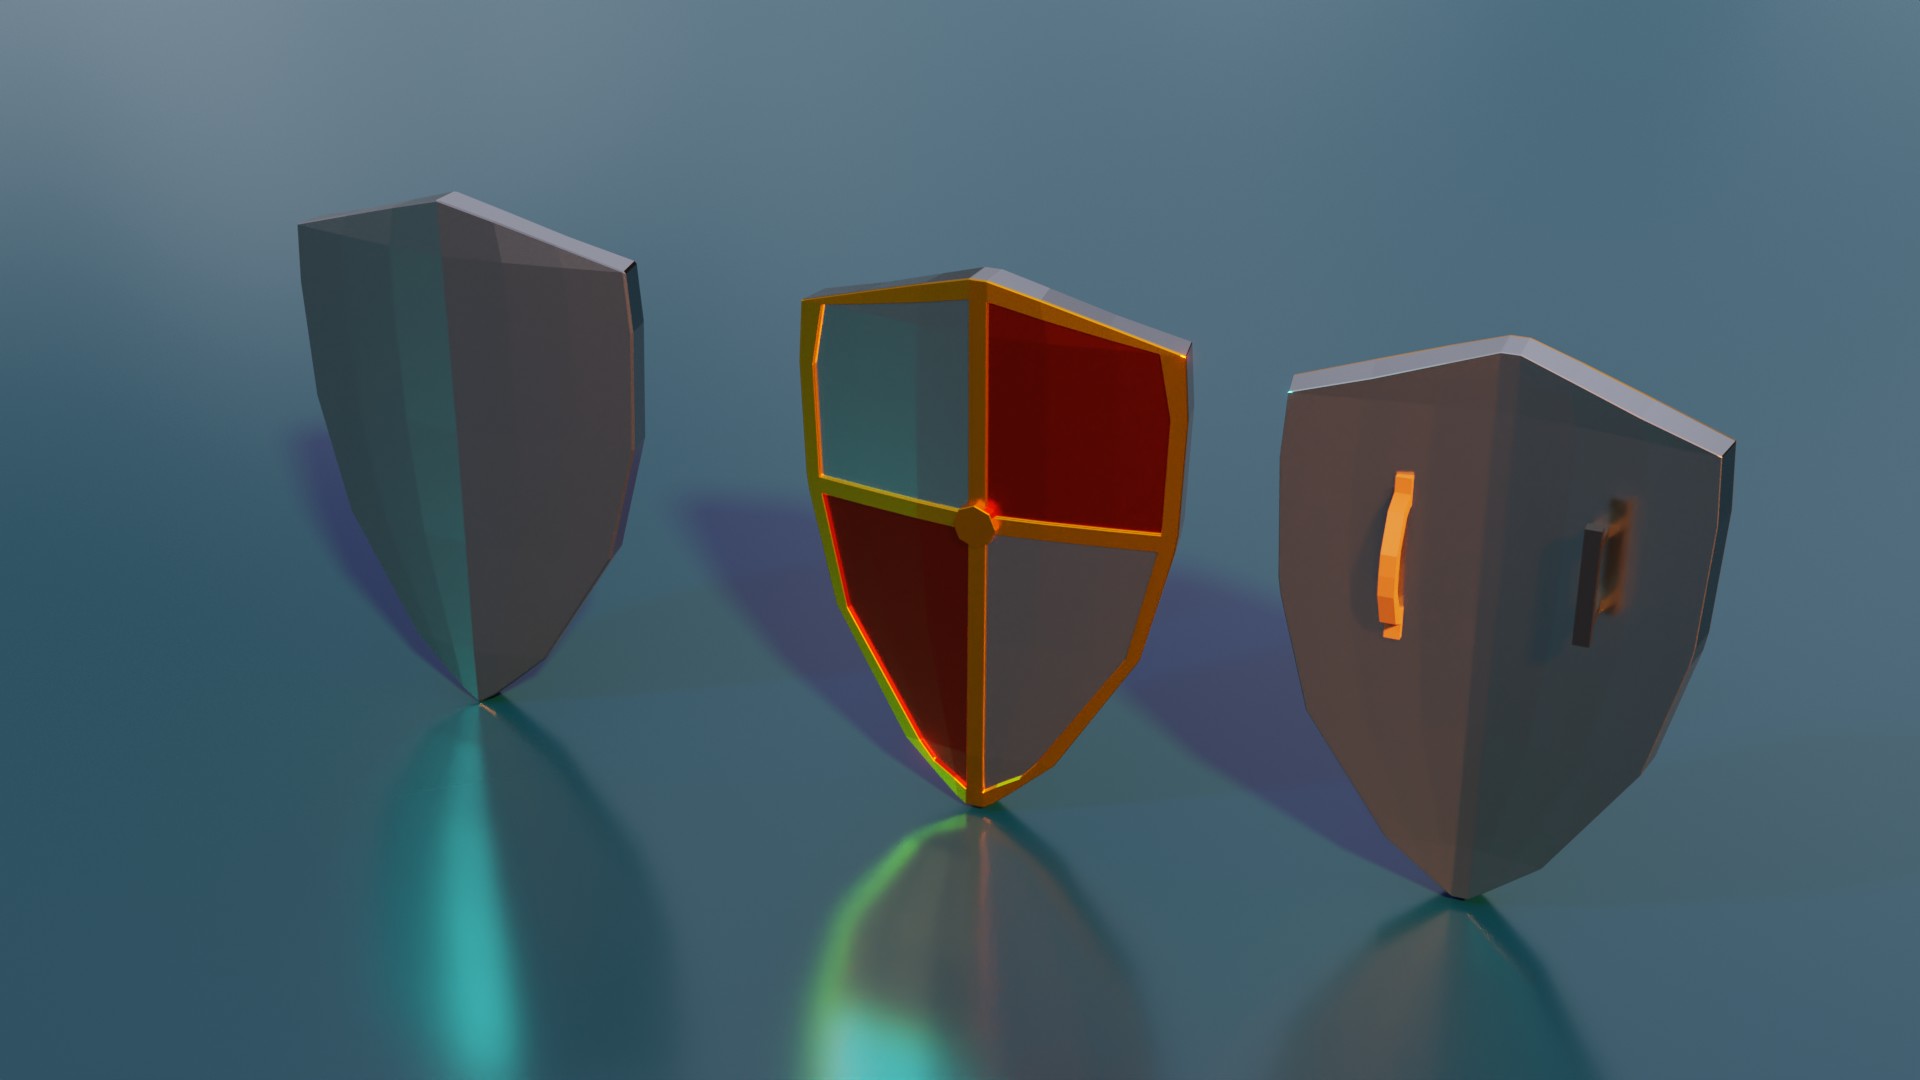
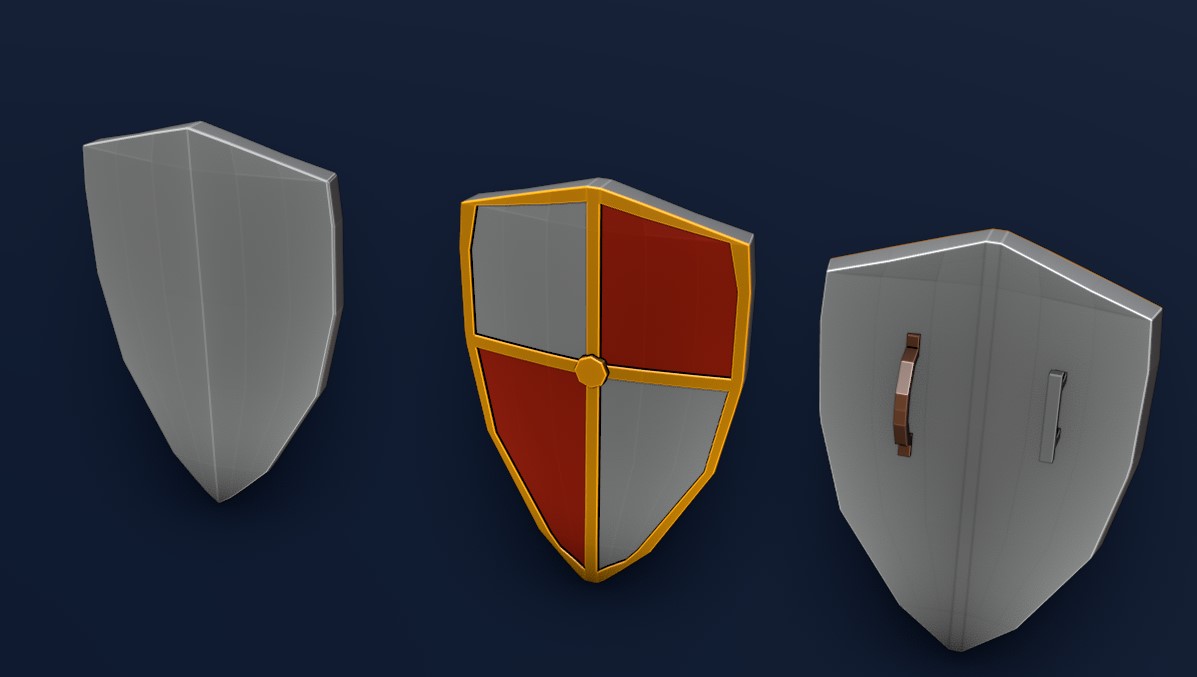
Yeah, that’s true - good eye. I messed up the workflow for that one. I should have though about adding the border before adding loop cuts and bending the shield and applying the modifiers.
I could probably spent an hour or two trying to fix it, or redo the shield with the “ornament” entirely. The left shield has all the modifiers in place, so redoing is probably the way to go…