AH 


idk… but couldn’t the tubes be done with array modifier? Is array modifier doing linked duplicates?
no, just manual linked duplicates. But it was just a concept just to see how it would work.
But I think I know what is happening.
All the objects of the lightbulb I parented to the glass part. I selected all and did a linked duplicate.
But probably only the parent is a linked duplicate, while all parts are duplicates. I need to check this.
Still, experiencing a strange Blender linked-duplication thingy. All objects use the same data blocks, but don’t act like that.
So I switched over to arrays. Which was also a disaster. It generated more objects than I visually need.
And due to the fact that an array uses the objects bounding box for the ‘jump’ factor. 1 means object dimension.
So for each object, I needed to tweak this factor.
But the main disappointment was, I couldn’t manipulate the material variance for each object. Because there is only one object (copied hundred times). Applying the arrays, gave me the same problem as before.
Another point of observation was that the four array groups, which I needed for each lightbulb element, with four components, made my machine even slower than manual copies. Blender needed to perform 4 x 4 = 16 array calculations.
It not funny anymore.
Cycles render window states 3.8Gb as memory peak.
But the task manager Blender consumes 10Mb.
And the memory process measures 15GB in use. My system is disk swapping like a DJ.
Blender doesn’t crash, but after the render, it needs to load parts of the program back.
It’s so slow working this project.
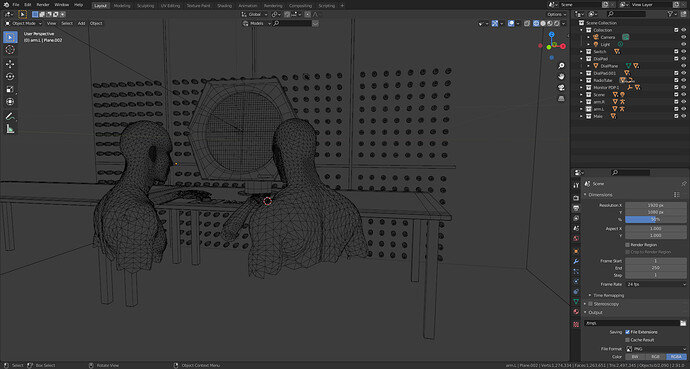
My PC gives up at around half a million verts, so around a million tris.
The recent Sketchfab workflow has made me realize that you need to work on low-poly baked assets which you then incorporate into a final scene to keep tris down (and consequently render-time). Also remember that the illusion of detail is indistinguishable form actual detail: i.e. Cheat where you can.
You can, but you need to incorporate that into your material’s coordinates like this:
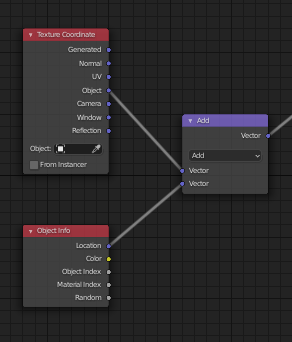
Good luck!
D*mn! I forgot that one.
I cleaned the mesh, but it’s a trail and error process.
Some things didn’t work in the compositor too.
I’m using material ID for a glow effect on some spots.
But when I change a value nothing happens, so I try an other value …
But I didn’t saw that Blender needs a second or so, to recalculate the composition maps with the new value. So fiddling the output is a waiting process. No direct feedback which annoys me. Hours are burning away 
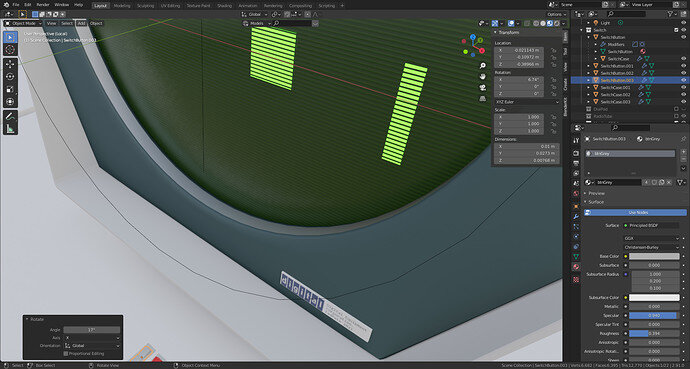
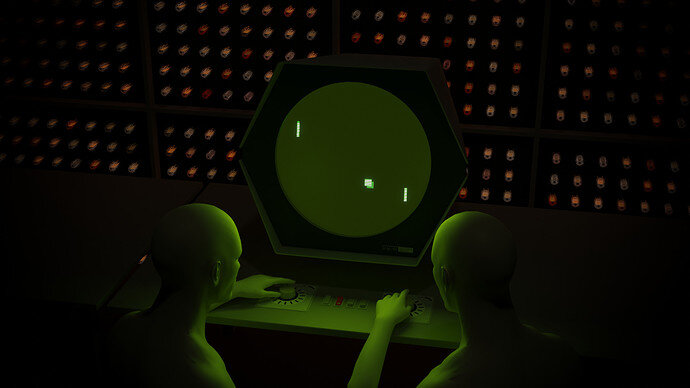
I want to make the green Pong game elements glowing in Cycles.
It works, but tweaking is so time consuming. Better to use a photoshop bitmap instead …
You are making fine progress and I really like what I see. Even those glimpses bring back memories 
I’m at the end of my computable power. After most render Blender crashes, got NVidea Kernel errors. A lot of disk swapping (16GB is not enough). So it’s getting annoying and I close this project.
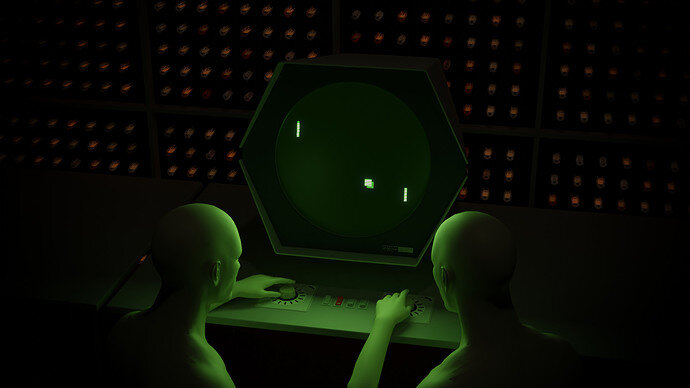
I wanted to experiment with a low lighting scene. Which succeeded.
I had a lot of problems making the green display thingies glowing in Cycles. This is not that difficult, but you need to have a good render to work on in compositing. And compositing is also a slow process on my machine. So the glowing is not what I wanted.
Conclusion: I do like the concept. And I like to fiddle more on the details. But the slow work process kills my creativity.
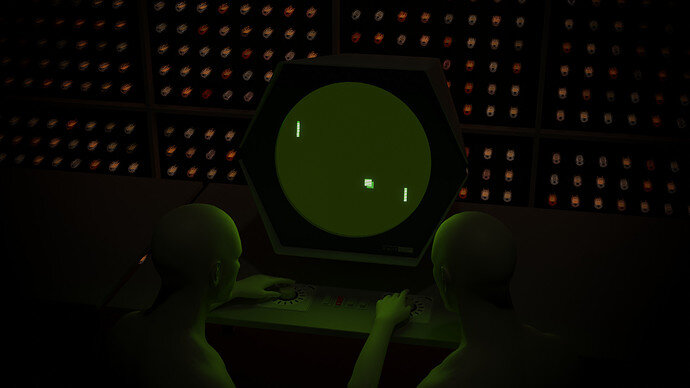
Update, with remarks made by @NP5
Did again an update, 2.5 hours render time (768 samples, because of the low noise and denoicing blurriness).
Nicely atmospheric. did you have the humans already, not had to make them as well for this?
I just wonder where the bright green illumination is coming from? Just those lit dots, pixels? Should the screen background be brighter?
Humans are just a copy. the green comes from the screen. But fiddling 1% of that and changing one factor of this. and wait for 5min. isn’t fun. The screen glows a bit but not enough. Maybe tonight a new version ( render time 1.5 hours) …
Final work does look good even though it sounds like the process frustrated you. 
It looks like 90% of your geometry is in the vacuum tubes… may be worth figuring out how to render those once into something like an environment or cube-map so you can remove them from the scene… that should make tweaking other things faster (not something I have much experience with).
The update looks great to me. Looks much more like the screen is illuminating the humans and controllers. Seen full size even the horizontal tv like lines show up. You also ‘turned up’ the back board bulbs, showing them better and all your work on then!
I did even a third iteration.
So you did, it is probably more attractive as an image that fraction more highlight, if less realistic I suspect.
I do still prefer the first one. More ecstatic I think, but we now entering the domain of art and what is art.

