WIP - Postman

My goal is to 3D-print this in full color. Which means the material will be some sort plaster. Because of the material some parts can not be thin. It’s also not strong material, so the object needs to be compact. That’s why the arms and legs are close to the body.

Just a work in progress.

15 Likes

Next part. Adding a left hand and a present box.
Maybe, remove the box. To be replaced by a real present box … “Am I going to deviate from my original plan” … Hand without a box, more possibilities to use the figure. But then the hand and fingers are too brittle for print.

Stick to the plan … which plan … :sweat_smile:

1 Like

Had a lot of problems mirroring the left hand plus bones into the right hand. Things like centering around the 3D-cursor. Using Shift-D, Scale on an ax, minus one.
Sometimes the mesh was copied and mirrored, but connect to the original armature. Deforming the right hand terrible. So I introduced an empty containing the left hand mesh and armature. And scale mirrored that combination. This worked.

Got new ideas, while working on this. … stick to the plan …

3 Likes

Very solid design. I like it a lot.
I hope, you will show us the printed one at the very end too? :heart_eyes:

Added a fire hydrant. Just as a construct to give the shoes (added later on) more ‘body’ (less fragile) for 3D-printing. Which increases printing cost, due to more material.
And now I want to add a peeing dog in front of it… deviation of my original plan :slight_smile:

3 Likes

wow thats amazing looking work there!
love the style :slight_smile:

1 Like

Great work as always! :slight_smile:

1 Like

Ok, again WIP - my first attempt to create a dog (any kind, no particular brand …)
It think it must be a smiling dog, tongue out.
But I need to keep in mind that it must be printable. legs and ears thick, robust.

Working in block mode. I tried sculpt mode, but somehow I don’t like this method.

5 Likes

Composition nearly finished. I’m not sure, It’s too much I think. Don’t like the dogs head…
Maybe it will change when adding colors.

3 Likes

Are you using a skin modifier on your models? Some cool tuts on YouTube for the modifier but look like a lot of geometry is added.

1 Like

No, this is a new tool for me! Blender amazes me every time.
And seeing some tutorials online, I think sometimes; “I never gonna master Blender”.
There are so many buttons, options I never use. And most of them are a mystery … :wink:
But, I like what I can do now with my skills, learned from this course.
A couple of weeks ago I finished the course. More than a year … And now, ready for new things to learn, not sure what. I like realism, I like cartoon.We’ll see.

1 Like

I use to feel the same way wondering if I would ever master Blender then I got to thinking about it…LOL yes, bad bad thing of me to do! :slight_smile: Unless you work in an industry where you are using Blender all the time, even then I am not sure it is even possible to master Blender because it is so packed with varying parts. It’s a good goal but are so many new things being added all the time it is a continuing learning process.

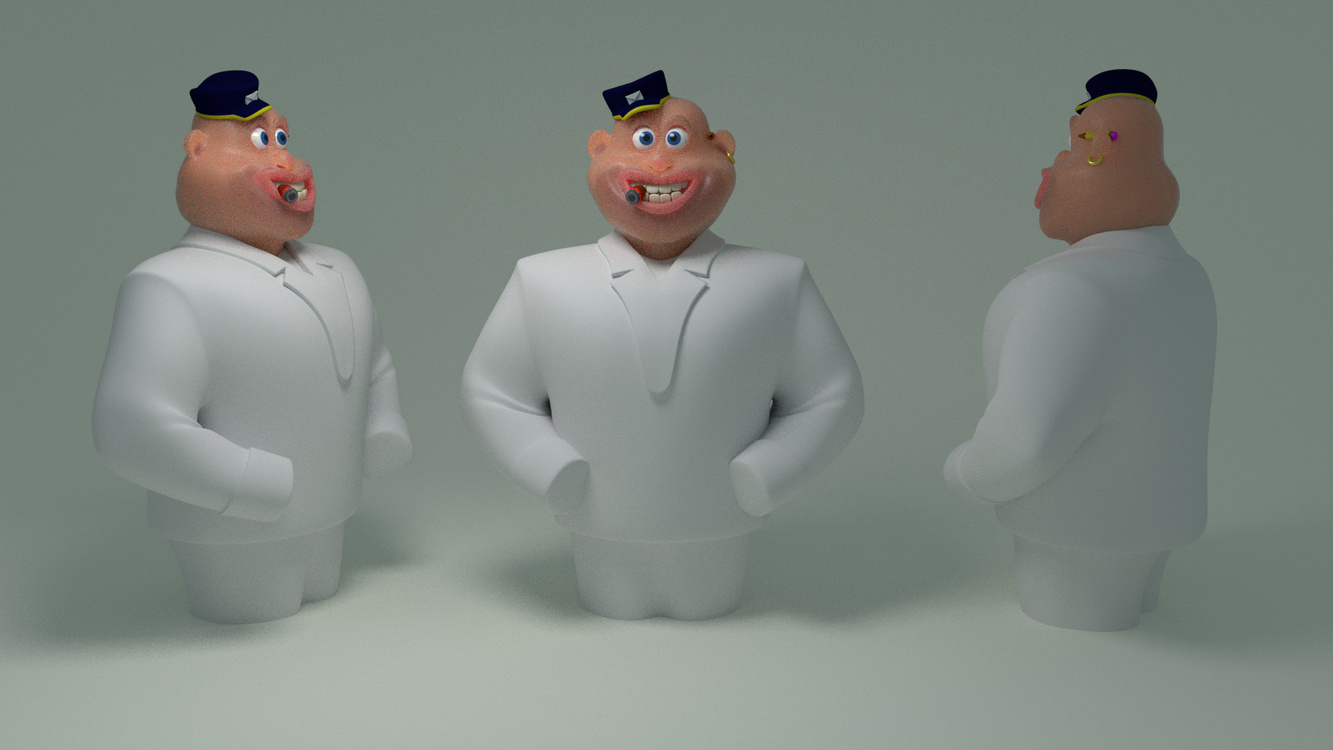
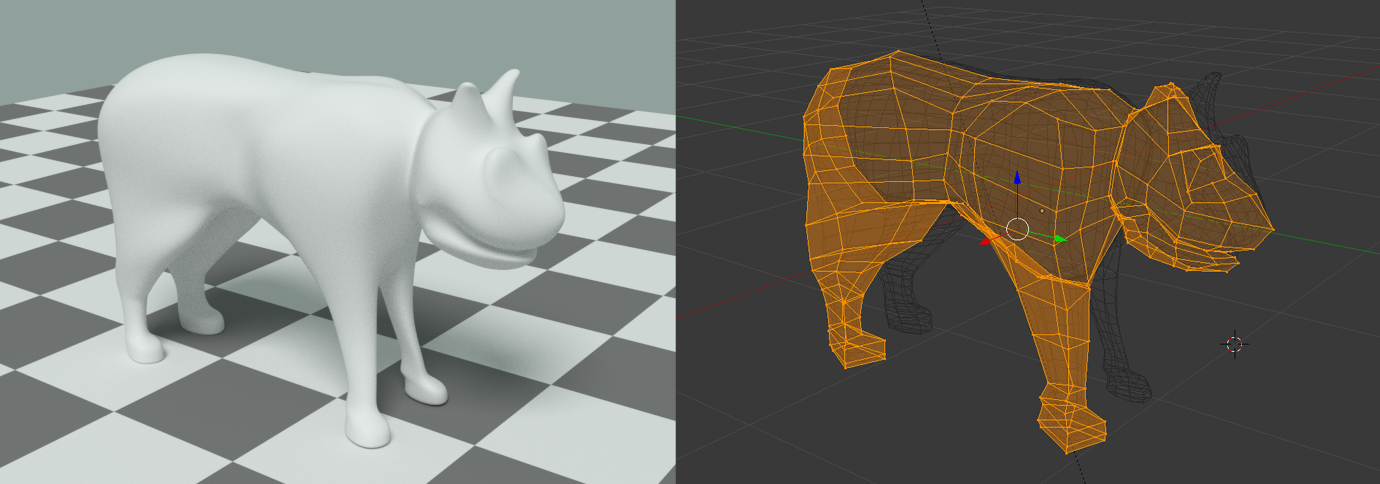
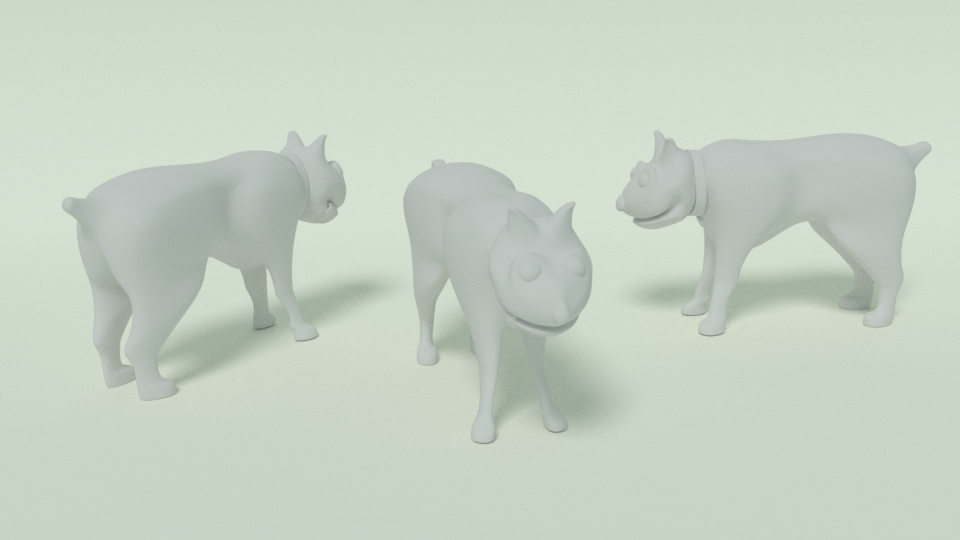
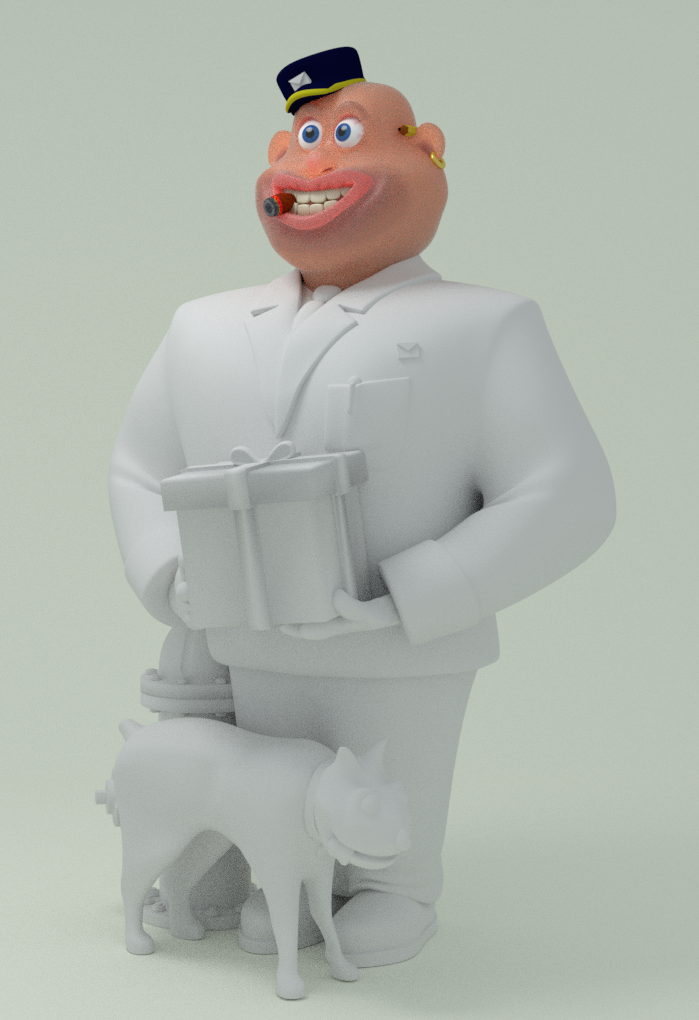
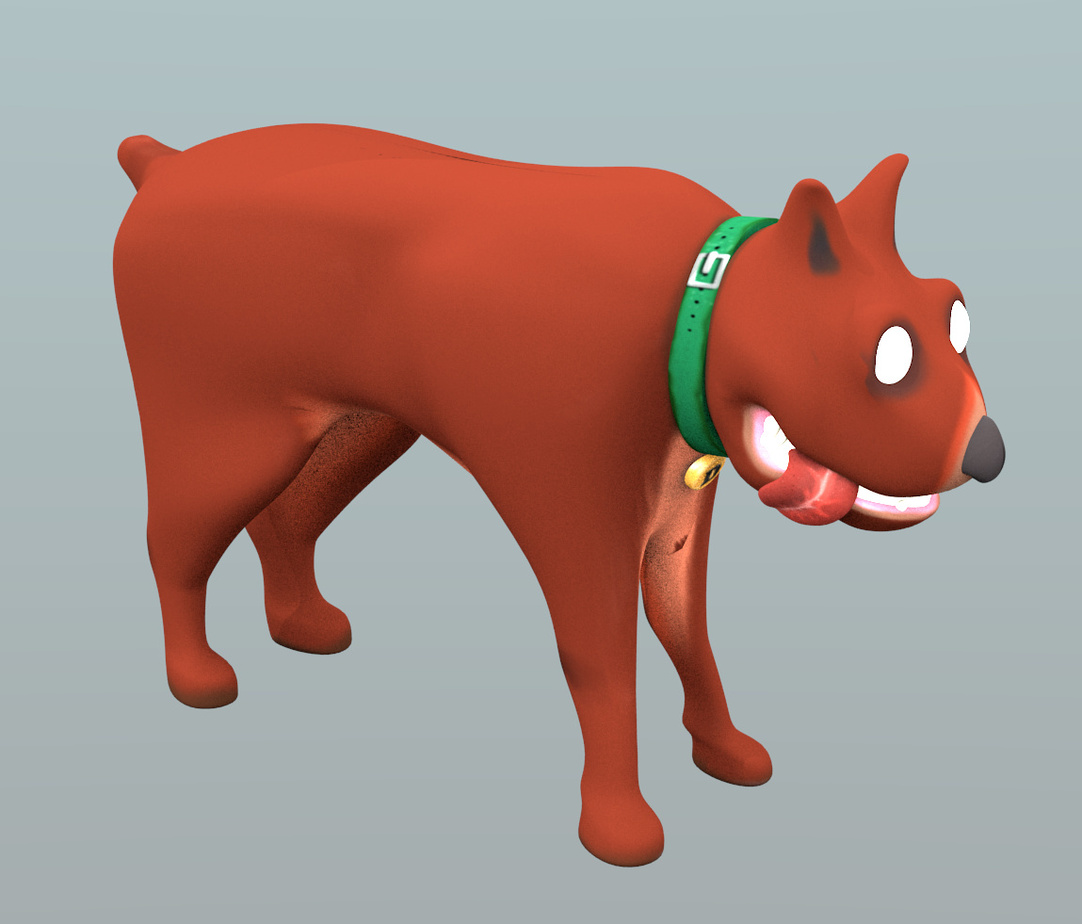
Oh, I think you can master parts of Blender’s creative process just not all of it. You can learn it but unless you use it all the time, it’s easy to forget part of it. Blender encompasses so many creative bits like texturing, modeling, rigging, animation, various map creation, uv mapping, nodes, etc. the list goes on and on. Unless you are really enamored with all the parts of Blender, I think most of us tend to stick with those parts of the program we enjoy. For me, I like modeling but really enjoy everything related to texturing though I am not really interested in animations or rigging. I tend to stick with the parts I like creating and limp along with those I don’t really care for. :slight_smile:

Don’t make yourself crazy by worrying over mastering Blender. Master those thing you enjoy and keep adding to your knowledge!

3 Likes

First concept diffuse map for the dog (texture painted). It’s not shiny, it’s all fake, because 3D color printing doesn’t have that bright colors. Or detailed bump mapsor glossy effects. It will be all natural …
I’m not sure to fake highlights or shadows (see collar and dog tag).
And while using Blender texture painter, I got strange artifact in the bitmap (see front leg). Maybe because to UV-map is low res - I’ve been thinking to apply subdivision.

Next step is create a printable export file. And check if the printer software is complaining about some parts of the model. Legs too thin or ears too tiny, we’ll see!

I also try to upload the dog to sketchfab.

3 Likes

Here’s the SketchFabulous thingy …

3 Likes

Imported into the online 3D printing tool. It warns me about thin walls. Which I expected, but not sure what to do. The figure is max. 4cm with legs about 3mm thick (too low).
also the figure is solid, which means more material print costs.

dog3dprint1

1 Like

Hmm, that is a conundrum. As the only thing you can do is pretty much thicken up the legs on the model (which kinda sucks since you have already textured the guy). 3 mm isn’t a lot and a part of me kinda wants to say go for it if it’s only 4cm tall. But since this post was in Aug24, I’m sure you have found a way or done this exact thing. Would love to see a pic of the final object if you did get it printed.

Hi, thanks. I uploaded this thing to the print shop. The 3mm is just a warning. It’s up to the customer to say, go I take a risk. 3mm can be printed, but the unit needs to be packaged and handled very care fully. So I applied a figure stand to give the legs more support.

This week I got the messages they canceled the order because the figure stand was too thin. I don’t know why because it was certainly thicker than the legs. So I have to do it again.

Scaling up, the dog can be done. It’s no problem for the texturing. I didn’t do much with the texturing. I just wanna see a first print and to see how the 3mm legs, come out the process. reducing the cost on material.

Interesting to see the process until the 3d print!!

Privacy & Terms