To get rid of the confusion with map-types, and how to treat them, I downloaded some premade maps (tif) for riverbed-pebbles.
- NormalMap
- RoughnessMap
- HeightMap
- AlbedoMap
- AmbientOcclusionMap
Source
(You can get them through a free user-account at this source: Textures for 3D, graphic design and Photoshop!)
This post is a documentation of my learning experience. I hope it can help out people who are also confused about those map-types. Or for people who just find it interesting to read. Screenshots of my blender file in the details.
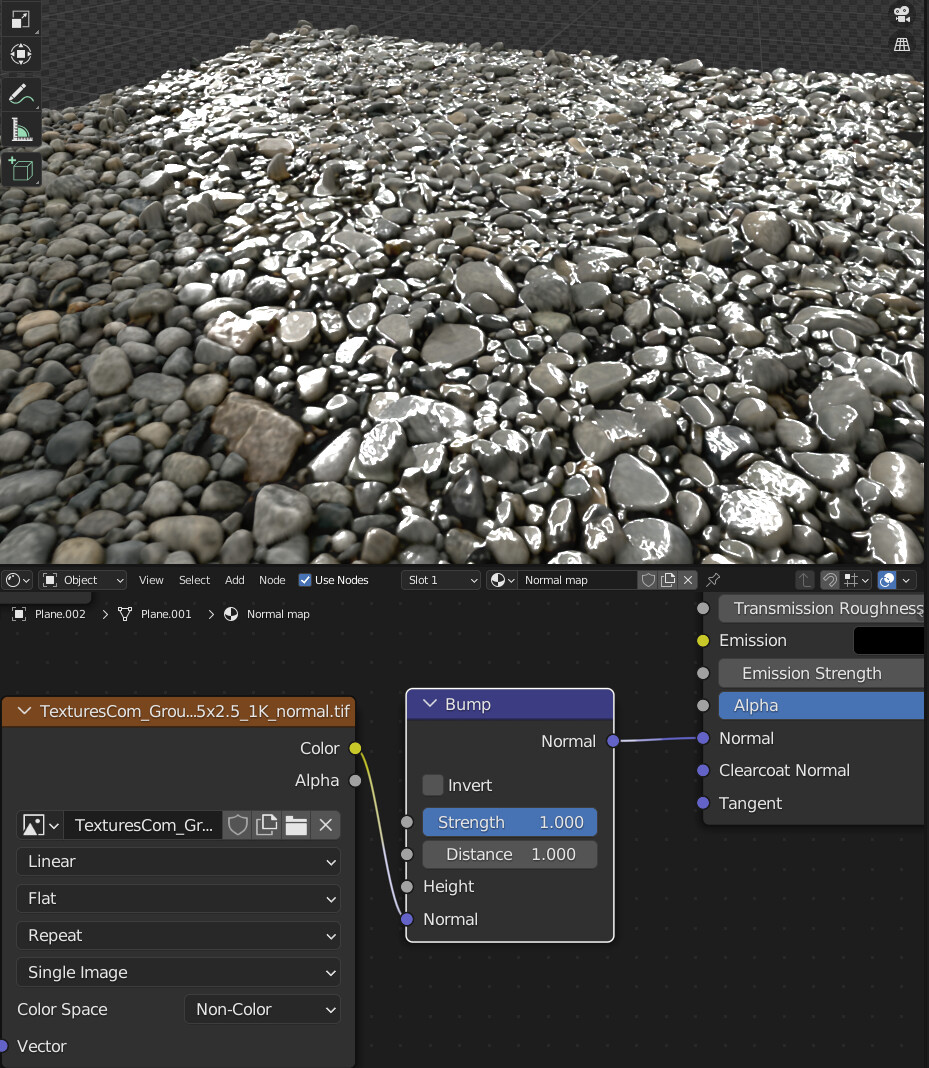
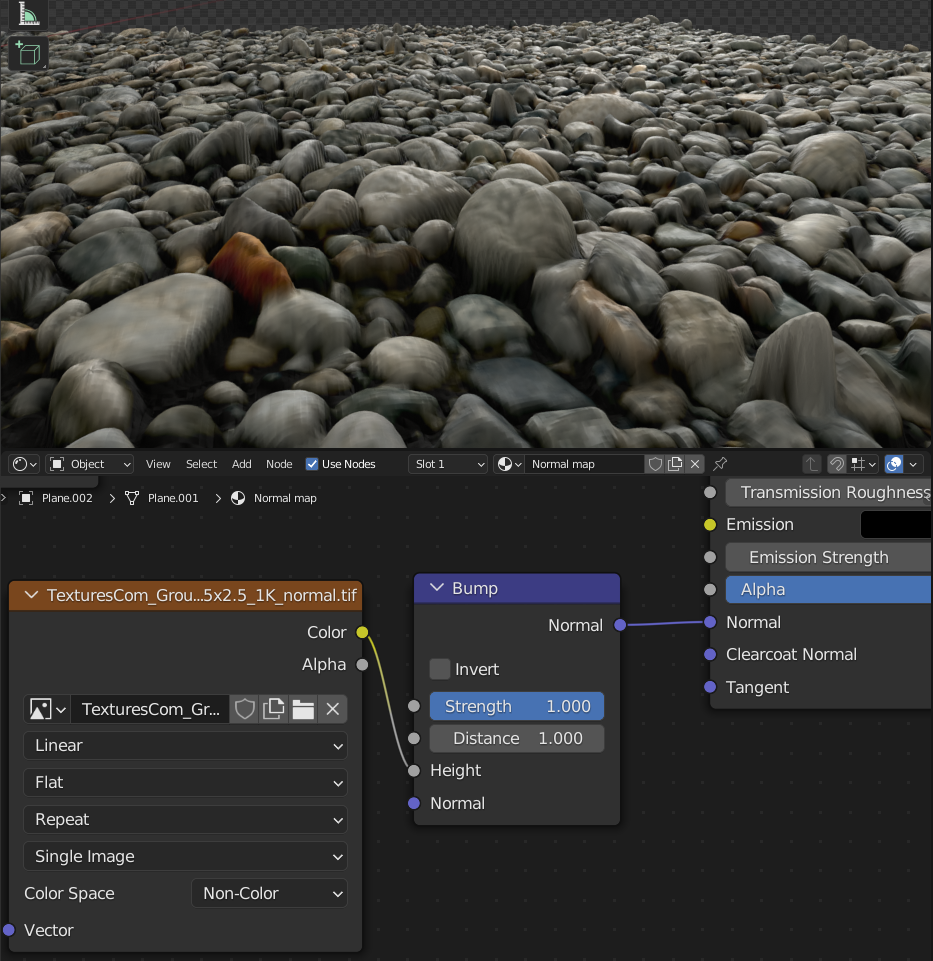
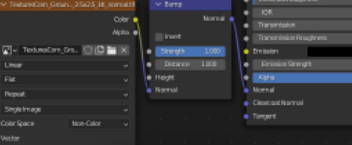
NormalMap
Just discovered it applies the normal mapping by simply plucking it into the „normal“-Socket on a shader like principled bsdf. Doesn’t change mesh geometry but already changes how light bounces off the mesh-surface (like it would if the details had a height).

Wanted to bang my head against a wall because I seriously overcomplicated my experiments in the node editor with colorRamp, normalMap, Bump, Displacement nodes. Bang Bang! Roughness map, you’re next! (If I just need to pluck it into bsdf-„roughness“, I get wild!)
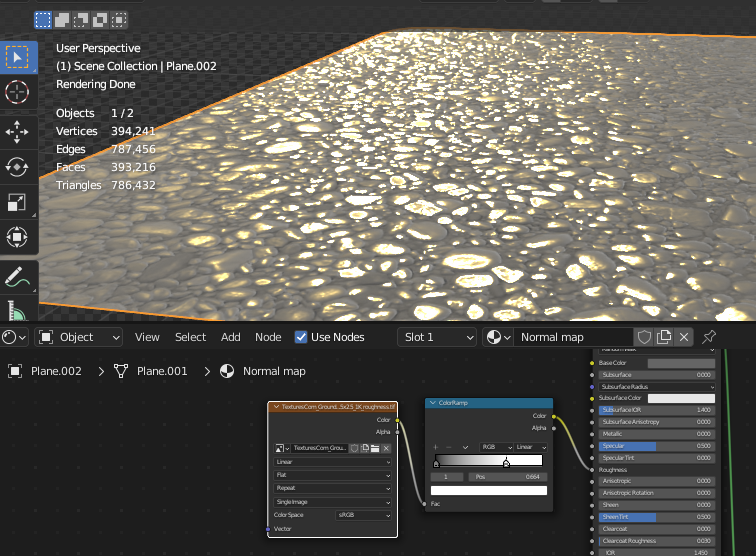
RoughnessMap
Yup. Time to get wild. Put a Sun in the scene to observe the effect under lighting circumstances and also switched from Evee to Cycles. Zoomed near the plane. There was some light-reflection without connecting the map, but it looked weird, like everything was wet.
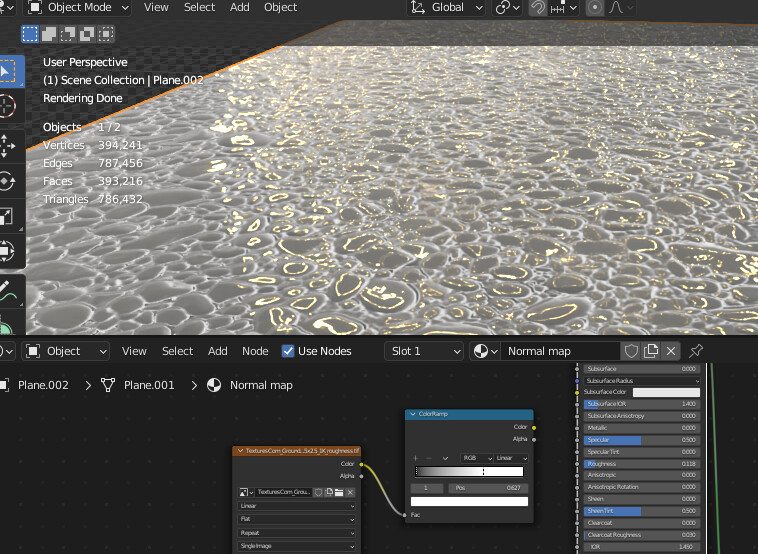
Plucked the Map in Roughness and instantly got a better result. Still not that great, but it got a little better after putting a ColorRamp between the map and the bsdf, this also gave me some control of the reflection intensity and spread.
Let’s see, if we can bring in some actual displacement with Heightmap … but I guess I can’t pluck it into the bsdf. First save project and check if „Displacement and Bump“ is enabled in the material settings.
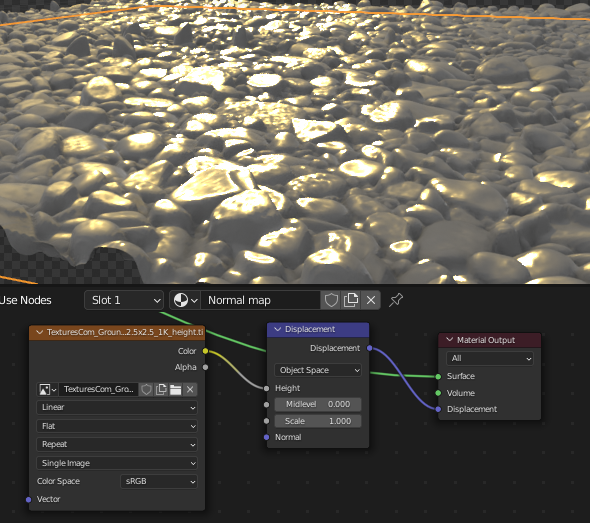
HeightMap
So let’s just pluck this mf into Material Output Displacement. Well, this did something, but the geometry now seems to be weirdly squished into one direction.
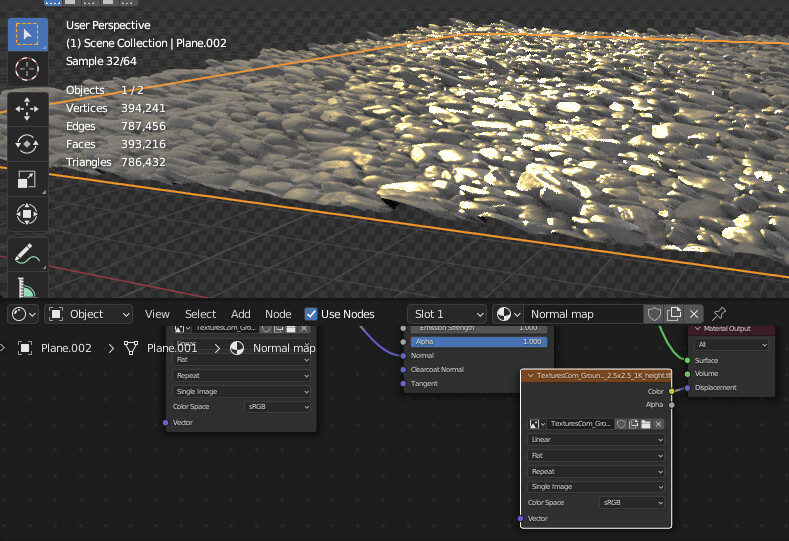
Found really good Website, which explains how to treat different maps also with node-tree examples. (Helped me here but looks a little outdated - Link: How to use PBR Textures in Blender | cgbookcase.com). Pulled a Displacement-Node in and connected map with its height-socket. Worked.
Reflection Issues
But I don’t see any reflections from topdown-perspective at this point. I was able to correct that with placing a light over the plane but I noticed, that it’s just reflected in one direction, no matter where it’s placed. Shouldn’t pebbles shimmer from each angle, when the light comes from directly above? Must be the NormalMap, don’t know if its tangentSpace/ObjectSpace/WorldSpace!!! Wasn’t able to solve this yet -.- Until I find a solution ill have to adjust lighting and position as needed.
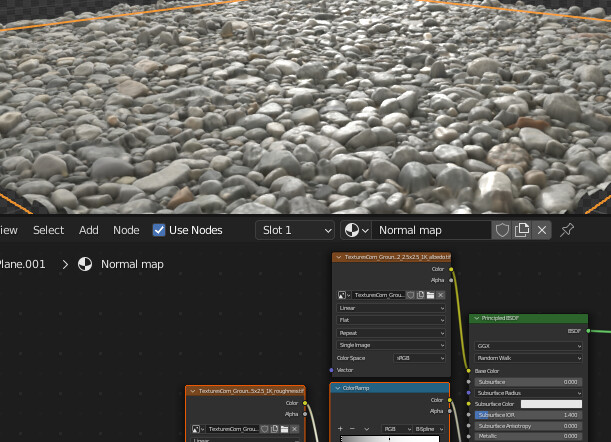
AlbedoMap
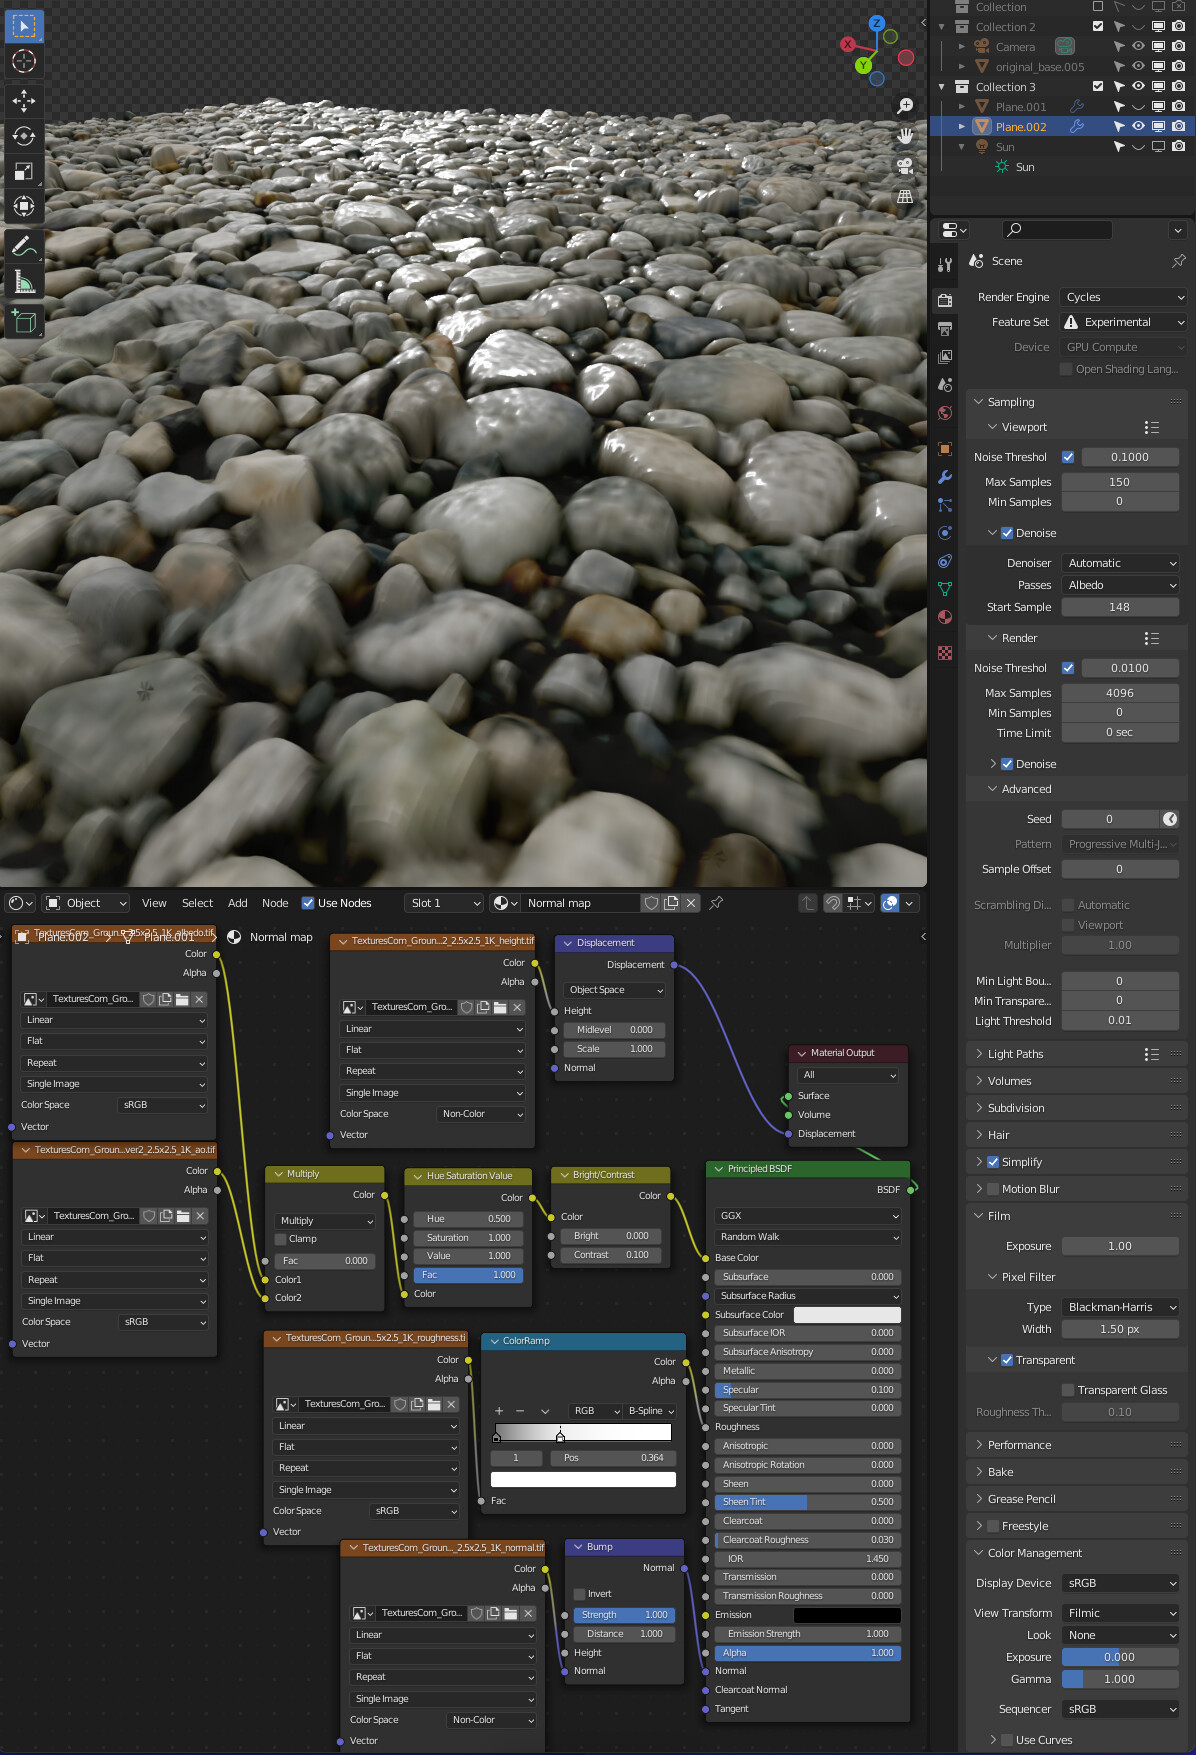
WTF means Albedo??? Now I know, it’s basically a simple texture map without shadows/highlights. Connect to color-socket for texturing. Easy. Riverbed pebbles got some colors now. But reflections look more odd again. Changed interpolation mode on ColorRamp (RoughnessMap) to „B-Spline“, toggled off the sun and implemented an hdri in the world background. Looks much smoother now.
(Maybe the 1k resolution and partly low bit-depth of the premade maps are maybe also to blame for some weird effects - but for getting them basically for free at textures.com I won’t moan). I’m pretty satisfied at this point, but let’s also try out the AmbientOcclusionMap and see if we can get more depth!
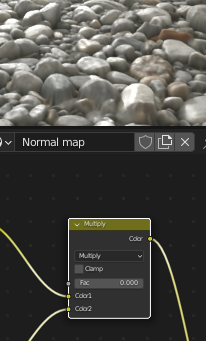
AmbientOcclusionMap
Multiplied it with AlbedoMap, as I read in an article. Don’t see a huge improvement or change.
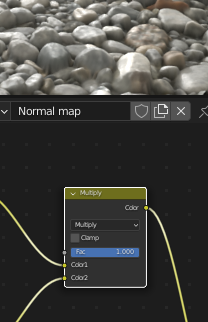
Amped it up with a math node but then I got results with everything getting brighter/darker, not only the shadows as wished. I’ll leave it in my node tree so I can revisit later.
That’s it for today - haven’t really produced anything myself but now got a basic understanding of 5 different mapping types and know some fundamentals for implementing them. And a pretty nice seamless and detailed pebbleground asset for future projects which is baked on a plane of only 128 tris. By morning it was all just puzzling and frustrating, now I look forward to experiment the hell out of my new node-tree template 
tl;dr
NormalMap → Connect to Normal socket on bsdf
RoughnessMap → Connect to Roughness socket on bsdf → tweak with ColorRamp → smoother roughness (because of „washed“ pebbles) through b-spline interpolation
HeightMap → Connect to Displacement node height socket (MidLevel 0.0) and from there to Material Output Displacement
AlbedoMap → Connect to Base Color Socket on bsdf
AmbientOcclusionMap → Multiply with AlbedoMap


 ). There’s also something called the fresnel effect, which calculates reflection based on the angle of the viewer, but I’m not sure if this has to added in Blender (maybe someone else knows?). But you wouldn’t see as much reflection from a top down view.