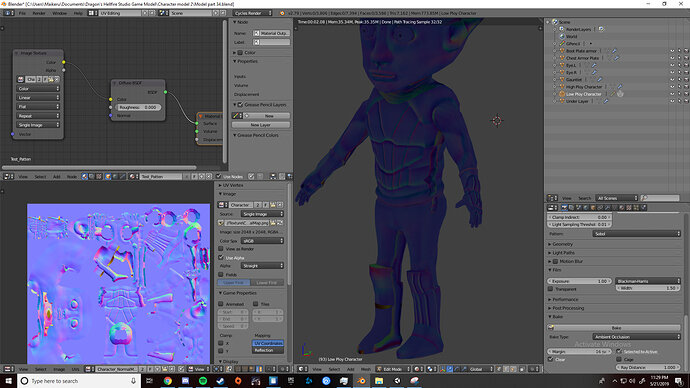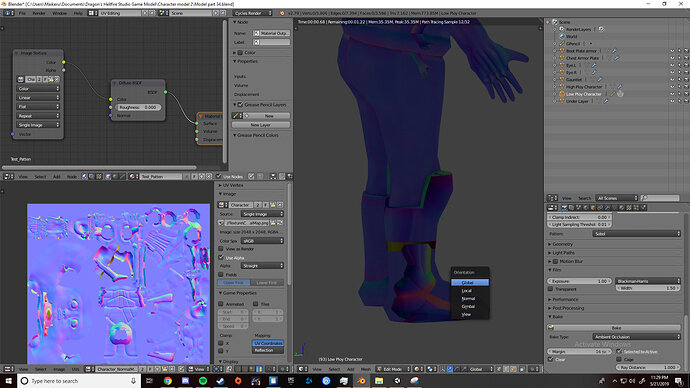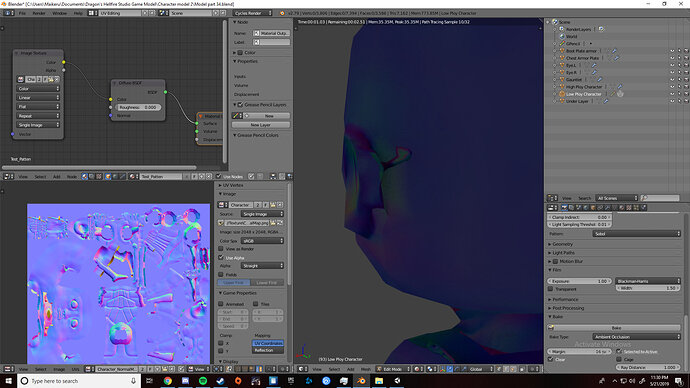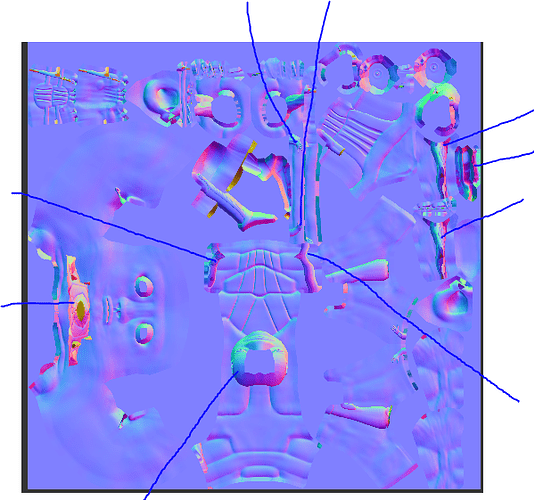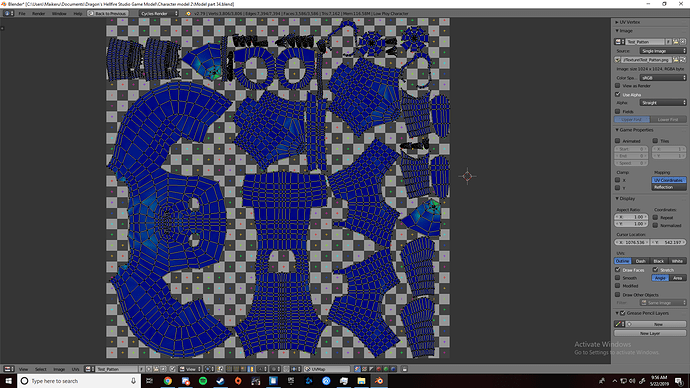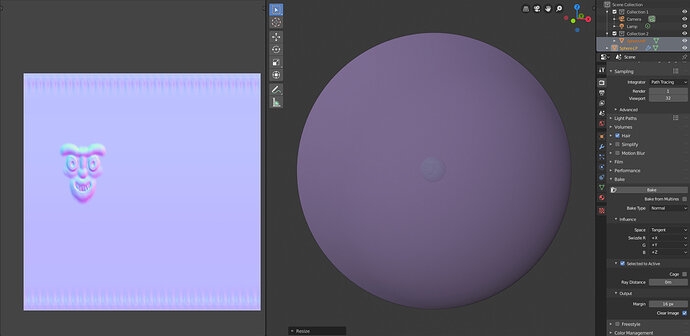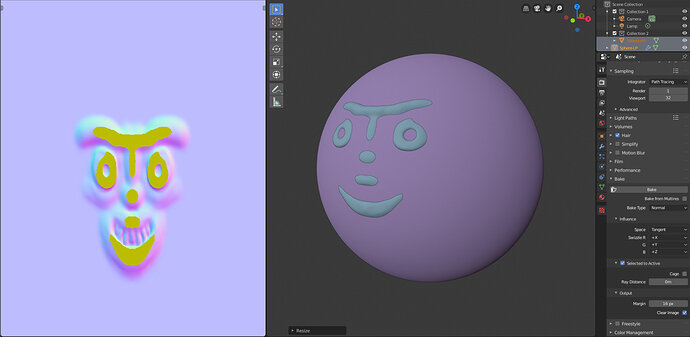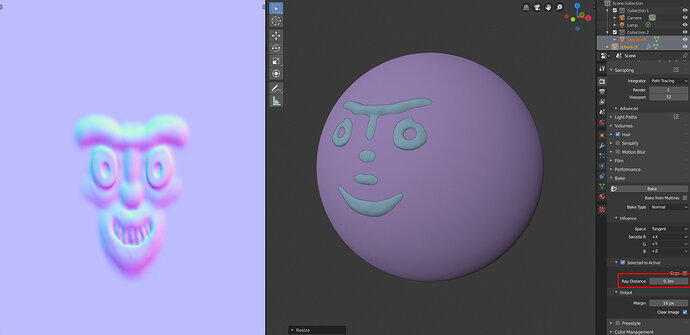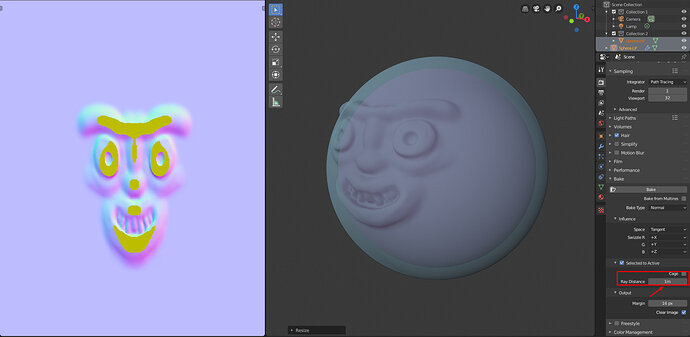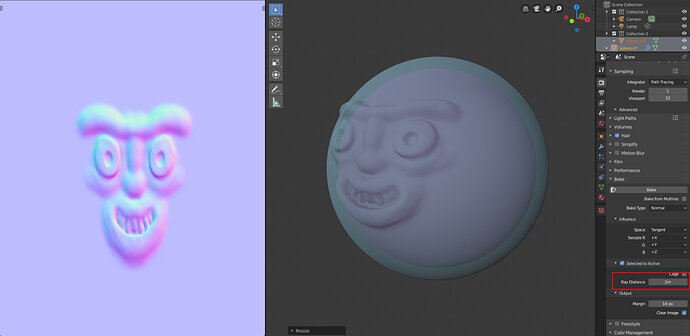
Have you tried increasing with the Ray Distance option in the Bake panel? I find that sometimes helps get a proper normal if certain areas aren’t baking correctly. I see you have it set to 1 in your screenshots. If that doesn’t work, you may need to fix the topology in the affected areas. Good luck! I’m learning how to bake normals now too and it can be frustrating when they don’t turn out right.
1 Like
I believe the problem is not the UV, but the clipping from the low poly with high poly.
so is there a way to fix it?
I guess so… are you baking from high to low or are you using multires?
i have the low ploy active and i am using the multires
The way to “bake from multires” is a bit different than “high to low poly”.
First difference is that you don’t need 2 objects.
You just need one that still has the multires NOT applied and then you need to set the Preview Value as it were the Low Poly mesh and the Sculpting value as it were the High Poly.
Then in Bake you select the box “Bake From Multires” and bake.
Have you tried this?
Note: You still need to select the Texture node to bake and so on…
no i have not
You should! 
But also made some tests of baking “High to Low Poly” that should help to understand what’s happening there.
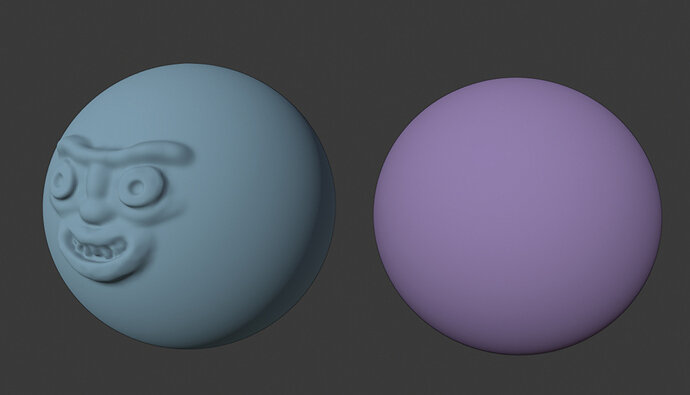
I have these objects
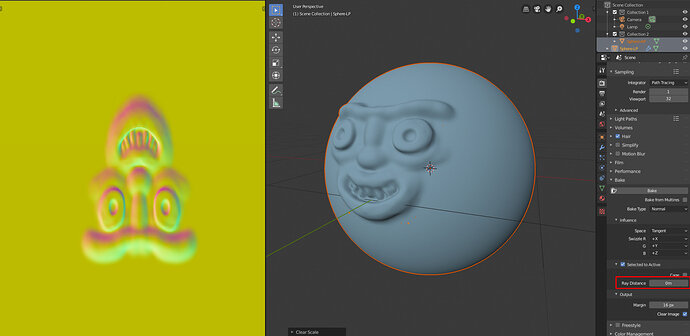
When I bake with the Low Poly inside the High and Ray Distance 0(zero), I have this:
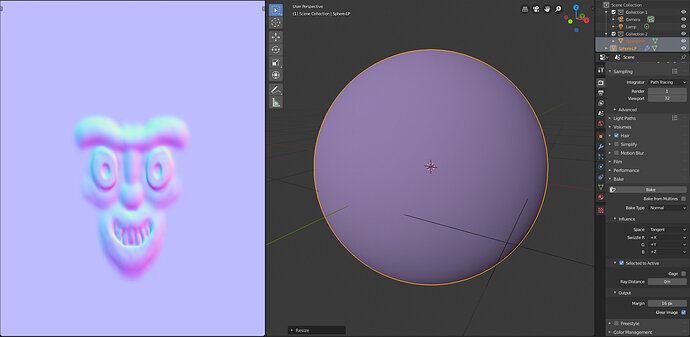
Ray Distance 0 and scale LP to make it go all above the HP I have this:
Interestingly enough even going WAY above still bakes something that looks ok
Now still with Ray distance 0, I scaled down the Low Poly so part of it is above the HP one:
As you can see I got somewhat like the “Chin problem”, the parts which the LP is above the HP looks fine but the part of the HP still clipping through, gets yellow.
Now increasing the Ray Distance to 0.3 in this case solves the issue:
As @Nowg noticed you have Ray Distance set to 1 already, so… the last possibility to simulate your problem is having the LP inside…
And there it is!
Now I found out that, at least in blender 2.8 you can go above 1, by typing the number…
Set it to 2 and looks like it worked…
Well conclusion…
On the safe side is better to have the LP above the HP.
But you can also set the Ray Distance if you need 
2 Likes
okay so I’ll do some practice on it
Appears that i had missed out on this conversation as i didnt hit reply DOH!
Sorry guys glad you found the solution
What i suggest is you pick up our blender environments course as we do go into normal maps there.
The course is in an older version of 2.8 so you would have to google some of the changes or ask in the Q&A but the learning is the same 
Hope this helps
1 Like
ok i do have that course so i will go back to it then. thanks for the suggestion 
1 Like
Wow! That was a $1 answer for a 25¢ question! I’m a bit humbled. Way to help the community in a big way. Kudos to you!
2 Likes
Thanks 
I had never done this study myself so it was a good opportunity. Learned a lot from it.
2 Likes
This topic was automatically closed 24 hours after the last reply. New replies are no longer allowed.

