No right or wrong way as long as the end result is good! I actually never thought to do it like that =)
I followed your repro steps: placed circle, extruded the edges inwards, A to select the resulting faces, extruded them up, and then flipped the entire object’s normals. No issues.
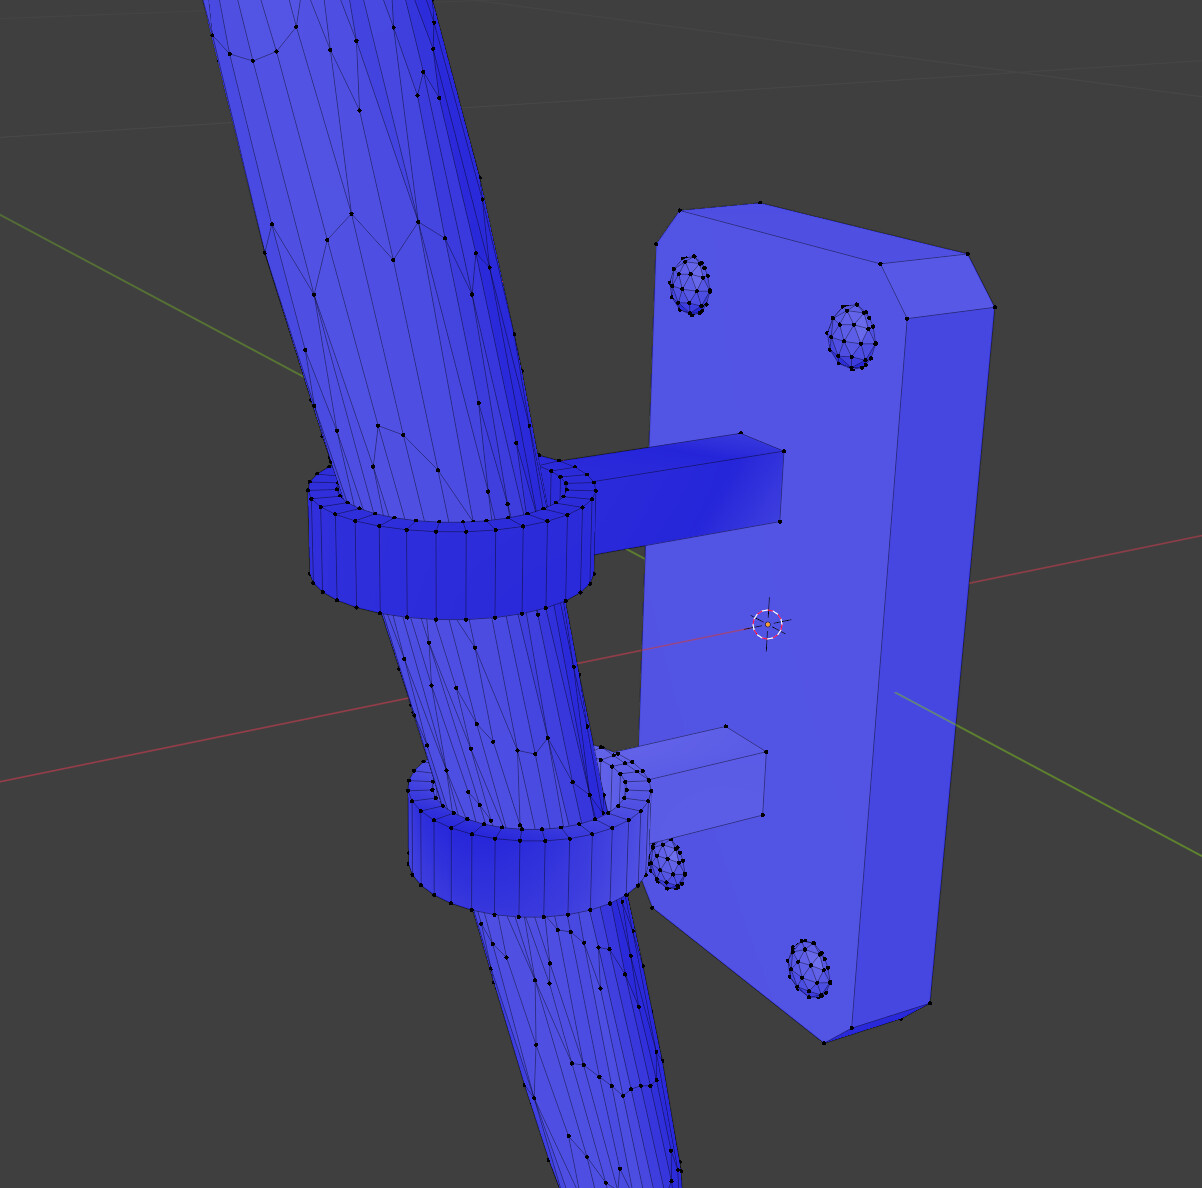
Since you’ve already checked the normals and there aren’t many modelling steps along the way, you most likely have either duplicate topology (which would usually cause obvious z-fighting) or excess topology (such as edges connecting vertices that should not be directly connected. Your second screenshot looks clean of this, though it might be hidden under duplicate topology). Some additional standard stuff to try:
- A, M–>By Distance
- Select one random vertex (or edge/face) at a time and test-grab it around to see if you have duplicates that the merge didn’t catch (this can happen if you accidentally apply a transform instead of cancelling it, or duplicate in Edit Mode without realizing it).
- Turn on X-Ray Mode (or Wireframe) and the Statistics Overlay, then carefully box-select some topology on one part of the bracket and see if your selection makes sense in the statistics. Same idea as the previous point, but a bit faster and broader in scope.
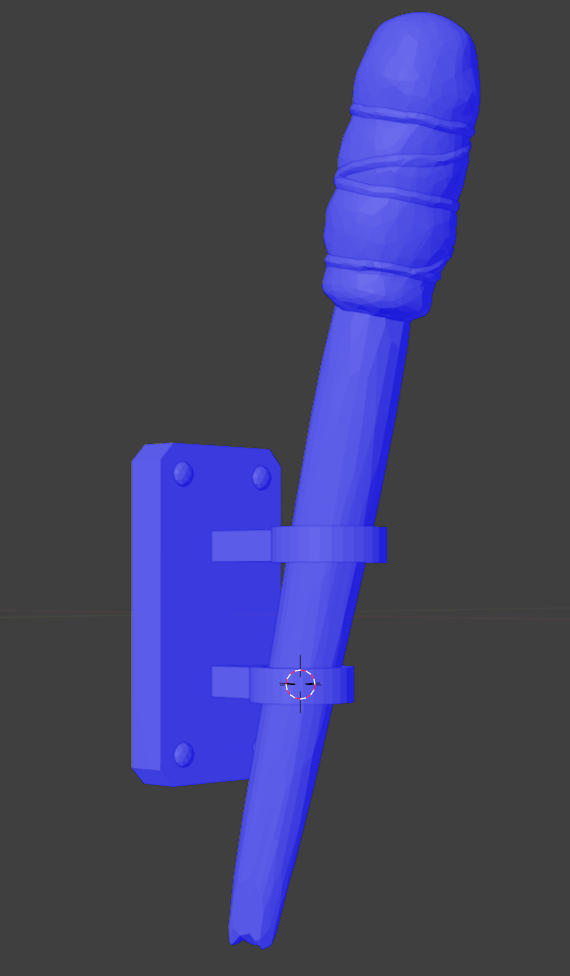
- Since it looks like you’ve got some sculpted stuff here (
 ), you might also want to make sure you don’t have any modifiers unexpectedly affecting the area. I doubt that’s it, but might as well mention it.
If there’s one good thing, it’s that it looks like you have the same issue the entire way around both brackets, which should make it easier to detect. Good hunting!