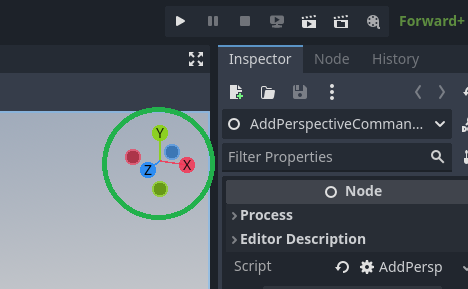
Thanks so much for your reply! I did try out the AutoHotKey script and it works like a charm! My regular top number keys now function just like the numpad keys would when I toggle my script on.
I actually ended up using the CapsLock key as a toggle though, simply because it has an indicator light that makes it much easier to tell if it is on or off at a glance. Since there isn’t much need for typing when manipulating stuff in the 3D viewport, it’s not too much trouble to turn it on and off for things like renaming or searching for nodes.
If anyone else would like to implement this functionality, here are the steps (for Windows):
- Download and install AutoHotKeys: https://www.autohotkey.com/download/
- In Windows Explorer, navigate to the folder where you want to create your numpad emulator script and right click, then select New > AutoHotKey Script
- Enter the name of your script (mine was just Numpad) with no extension–the program will add the .ahk extension for you
- Make sure “Empty” is selected and press “Create”
- Right click your newly created script and select “Edit Script.” (You might have to go to the bottom and click “Show More Options” for it to show up as an option.)
- To map your top number keys to the numpad, and to use the CapsLock key as a toggle, paste the following code into your script. You can change the toggle key by changing the keycode where CapsLock is to something else, like F12, for instance.
(Note that the first line is NOT a comment and is necessary for the script to run)
#If GetKeyState("CapsLock", "T")
1::Numpad1
2::Numpad2
3::Numpad3
4::Numpad4
5::Numpad5
6::Numpad6
7::Numpad7
8::Numpad8
9::Numpad9
0::Numpad0
- Save your script, and then to run it, simply double click it. This should cause it to go sit in your system tray.
- While it is active, you can click your toggle button (i.e., CapsLock) and then use the regular number buttons like numpad buttons.
- To stop running the script, open your system tray and you should see the AutoHotKey icon. When you hover over it, it should show the name of your script. Right clicking it will give you the options such as pause, edit, reload, and exit.
NOTE THAT YOU CANNOT access the shift characters of the number keys when the numpad emulator is on, so while it may seem convenient to set the toggle to a random key you never use and leave it on, this is not wise because then you will not be able to access characters you will need often for scripting such as !, @, #, $, &, * and ( ).


